Your first day of Ashes of Creation can be a bit overwhelming, but with the right guide you’ll be able to start off strong right on day 1. This beginner-friendly guide will provide the best tips and tricks to get started in the world of Vera, answering all of your initial questions that might pop-up in your head as you get started.
How to Play Ashes of Creation
Before jumping into the ultimate beginner’s guide for Ashes of Creation, it’s important to make sure you understand the current state of the game, and how you can gain access to it. Ashes of Creation is technically in its Phase 2 stage, with Phase 3 starting on August 4, 2025. We don’t know how long Phase 3 will last, but it’s rumored to last at least a year, making it the perfect phase to grind hard in.
Regarding gaining access to Ashes of Creation, you will have to create an account here and visit the “shop” section of the Ashes of Creation website to purchase your key. Upon purchase, you will receive access to play the rest of Alpha Two, along with a key for Beta 1 and Beta 2. Additionally, you will receive your one month of gameplay for Ashes of Creation upon launch, and $15 worth of embers (in-game marketplace credits).
There is no difference in cost when it comes to purchasing your key now instead of August 4, so if you are considering trying Ashes of Creation out, it’s worth picking up your key sooner than later. All progress will be wiped with the launch of Phase 3 (on August 4), so if you plan on jumping in, it’s best to focus on the basics, testing out the different archetypes, and not getting too attached to your character yet.
Please note: For the remainder of Phase 2, testing will be on a 5+ day per week schedule (not playable on Tuesdays and Wednesdays). This will transition to a 24/7 live schedule with the launch of Phase 3 on August 4, 2025.
The Ultimate Beginner’s Guide for Ashes of Creation
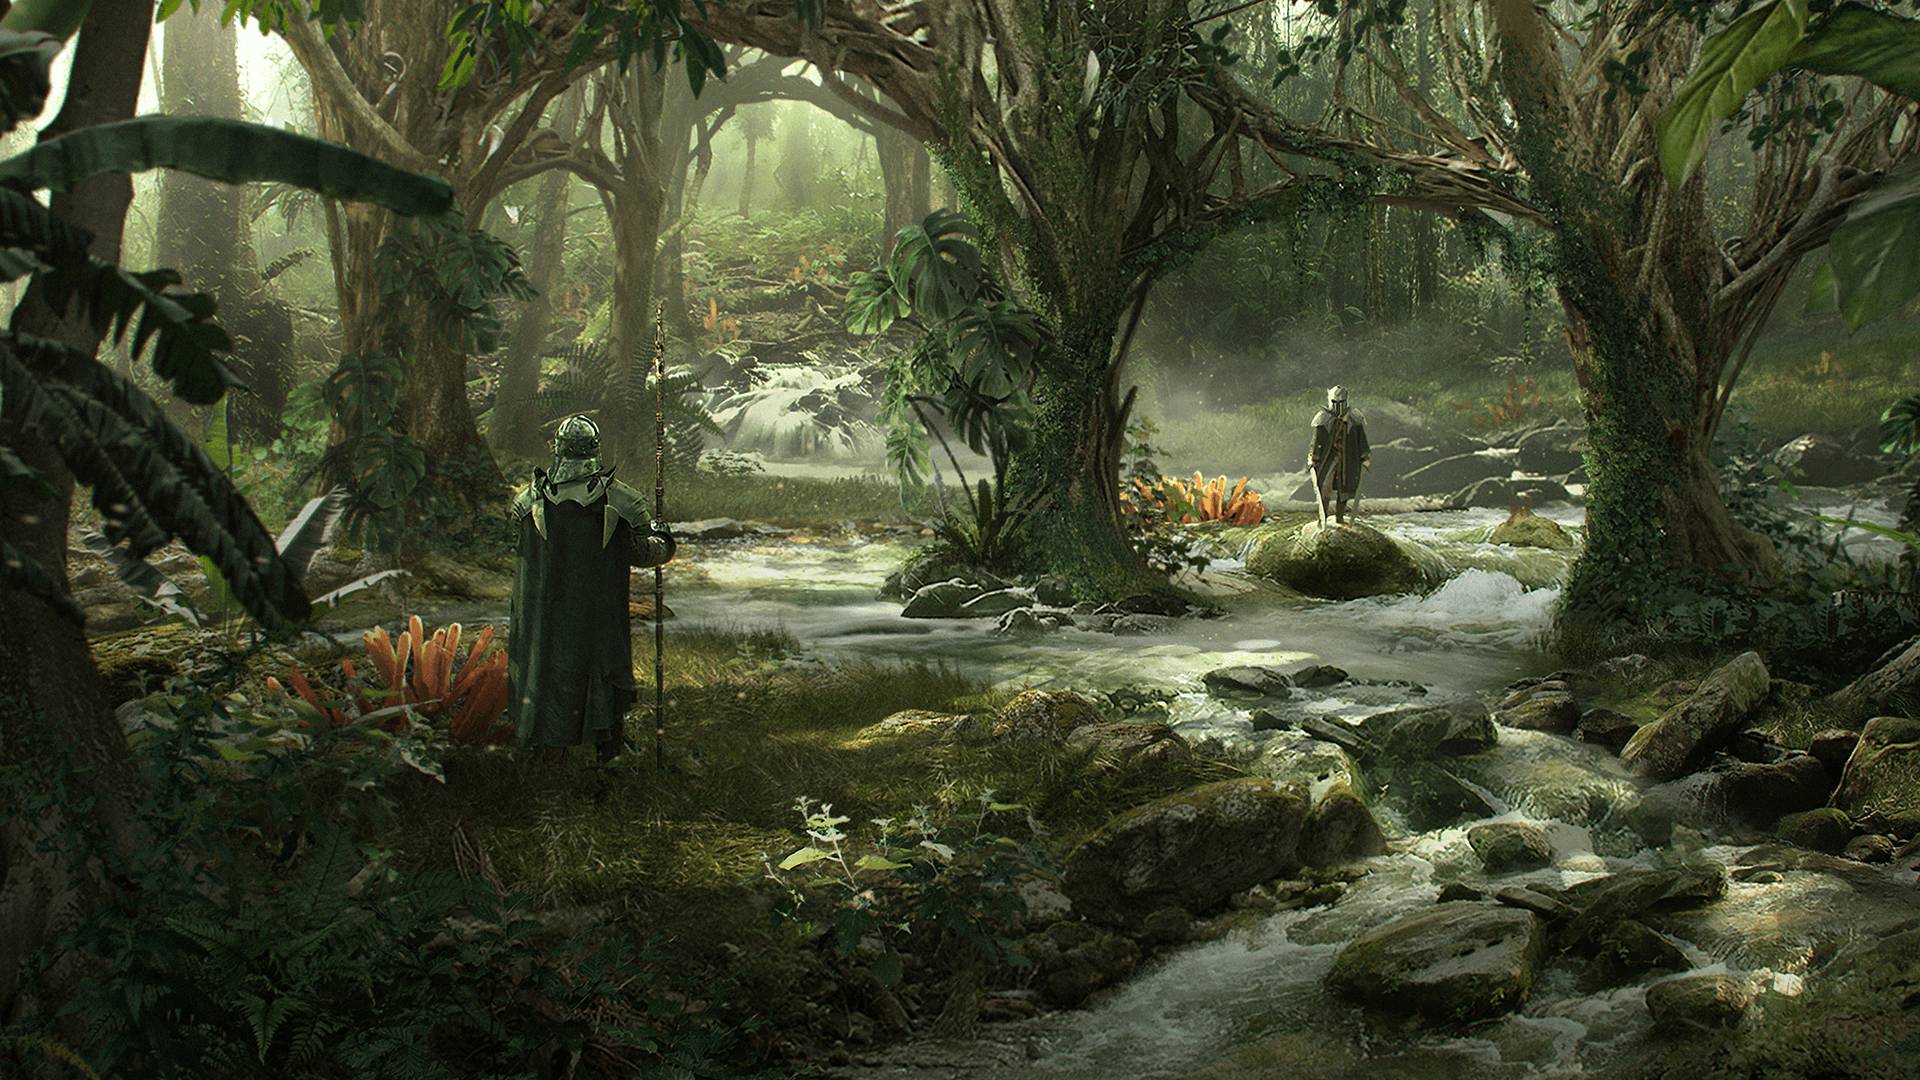
Once you take your first few steps into the world of Verra, you’ll realize how large of a world it truly is (and how long it might take you to get from one point to the next). In this beginner’s guide, we call out a few important tips and tricks that will not only prepare you further for your adventures in Ashes of Creation, but also save you a ton of time avoiding some common mistakes that many players tend to fall victim of.
For a quick video overview of these tips and tricks, feel free to watch the video below. If you prefer to follow-along within a written format, feel free to continue reading the tips below.
Tip #1: Choosing Your Weapons
Every player in Ashes of Creation will have the option to equip two different types of weapons – one melee, and one ranged. For example, as a Fighter, I can equip both a greatsword and a longbow, and alternate between the two weapons as I’m in a battle.
When you first load into the world of Verra, you will be spawned into a large building. Before running out and slashing goblins, take a look around inside, and you’ll come across a handful of free weapons scattered around the floor. This is your chance to pick up a handful of weapons that you might want to try out, allowing you quick access to enhance your combat already before even engaging in an enemy.
It’s highly recommended to pick up multiple weapon types here, allowing you to test them out to see what you like most. Plus, you’ll be able to start gaining weapon experience for the two weapons you equip instantly, making your life already a bit easier.
Tip #2: Using Your Skill Points
Every time your character levels, you will gain one skill point to use on your character. These skills are class-specific and will allow you to unlock another ability to use while in combat. It’s highly recommended that you use your additional skill point every time you level up, as it will make the overall grinding process much, much easier by having more abilities and/or passives to support you.
Leveling up in this game is not as easy as it is in other games – you will need to spend many, many hours in order to hit max level, so be sure to get the most out of these skill points to help you along the way.
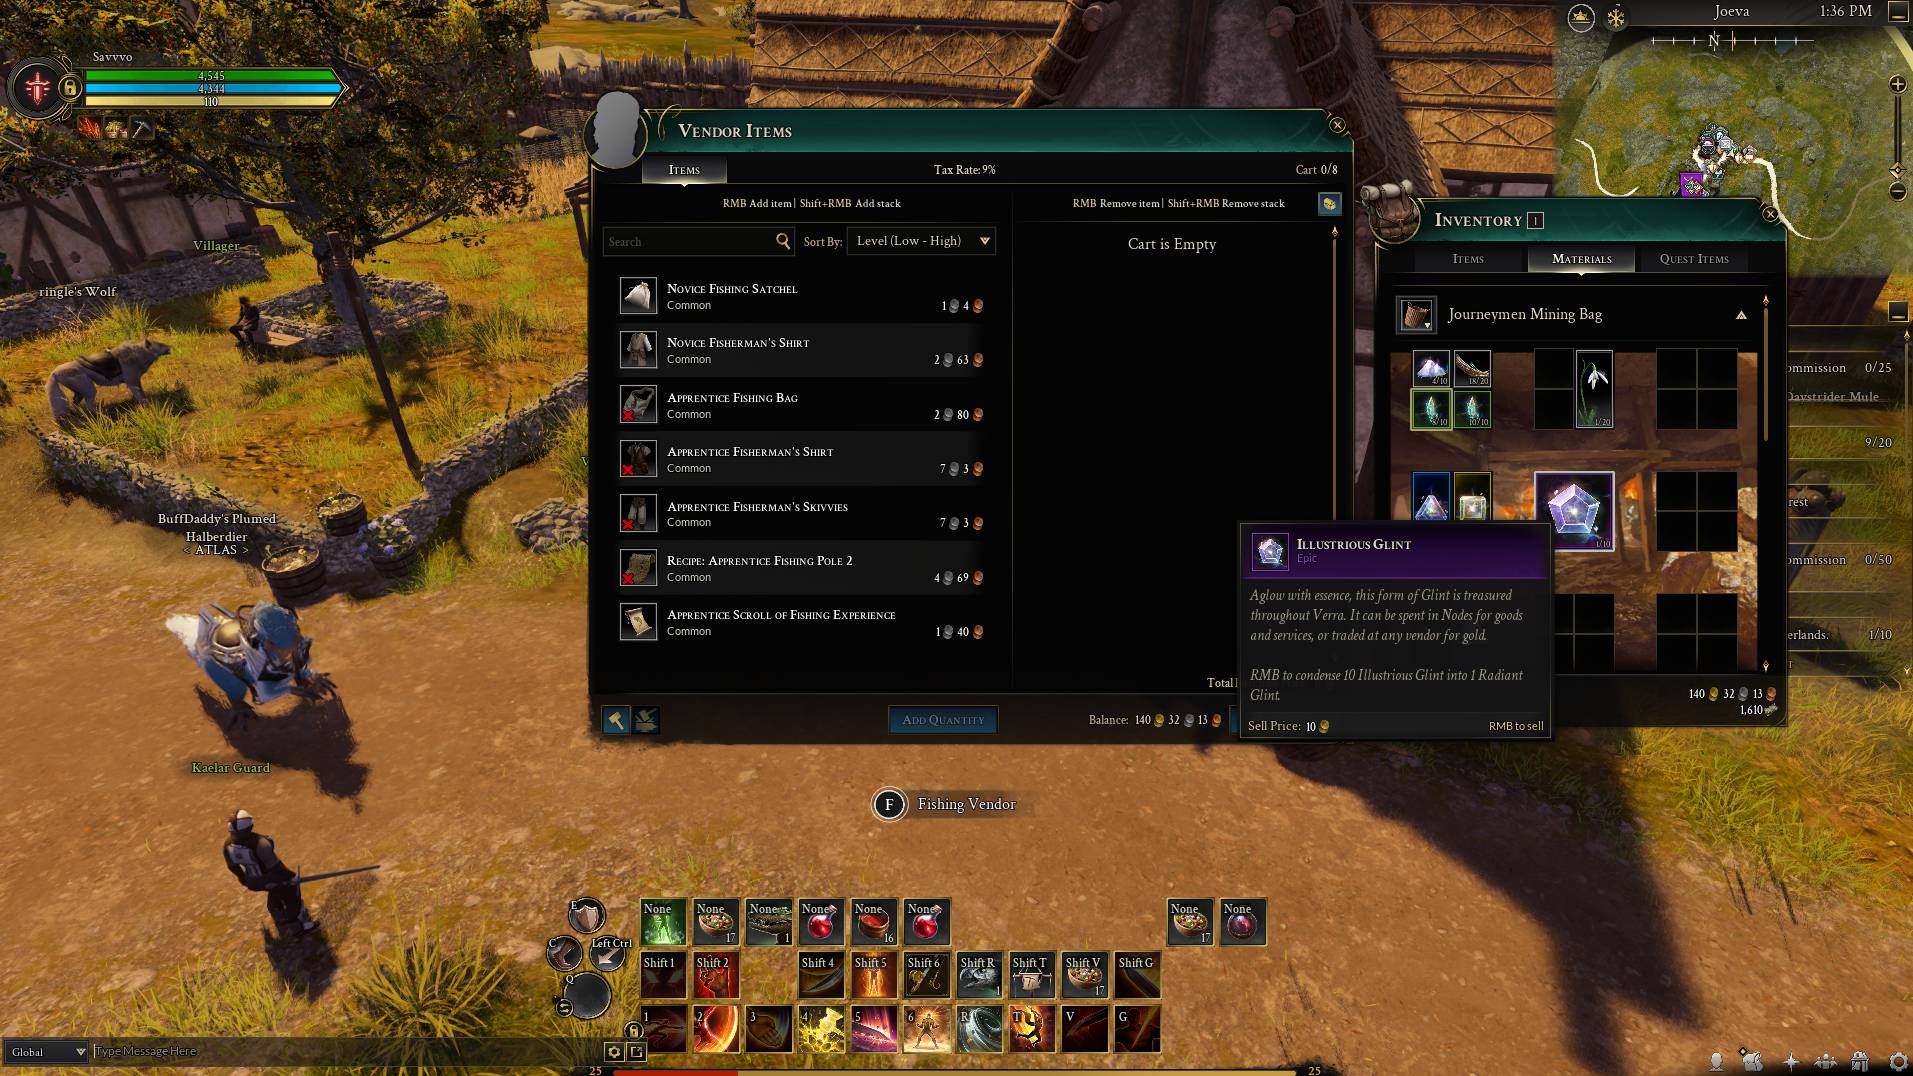
Tip #3: Save Your Glint
As you defeat different types of enemies, you will see a currency known as “glint” occasionally drop instead of gold. Although you can quickly sell gold to any NPC in the game for some quick gold, it’s best practice to store this within your storage and stockpile them until you’re ready to run a caravan.
Glint can be used to buy certain commodities, which you can store within a caravan. Once you stockpile a caravan with these commodities, you can then transport it from one node to another, allowing you the ability to sell the commodities in the new node for a profit. The longer the distance you travel within your caravan, the larger the profit!
Please note: When you are driving your caravan, you are essentially labeled as a target for all other players. It’s best practice to group up with friends and not doing caravans alone for this reason, as there is a good chance that this could lead to some PvP action.
Tip #4: Get Your Mount
One of the main differences between Ashes of Creation and other MMOs is that there are very limited teleport-like features, such as way shrines or portals. Instead, you are expected to travel directly to where you need to go by foot (or by mount). Instead of going by foot, it’s highly recommended to use a mount, which can be unlocked by completing the “sweat of your brow” quest.
It’s also highly recommended that you purchase an additional mount or two to ensure you have a mount ready to use at all times. If your mount dies, you will be unable to use it for a total of 10 minutes, making it a very annoying (and long) walk for your character until it’s revived. Instead, consider purchasing another mount, and even a water mount, allowing you to breathe underwater in case you end up adventuring in nodes that have large bodies of water.
Tip #5: Commission Boards
Within every node (or city) that you visit, you will see a handful of different commission boards, allowing you the opportunity to accept a range of different types of quests. These quests can range from killing a certain number of mobs, to gathering a certain type of resource, or even taking down an elite enemy.
Every time you visit a node, it’s a good idea to check these out and claim any quests that you think you may encounter as you continue to adventure throughout Verra. These quests can provide a handful of rewards, including glint and experience, so you might as well accept these quests if there’s a chance you’ll naturally be completing the objectives anyways.
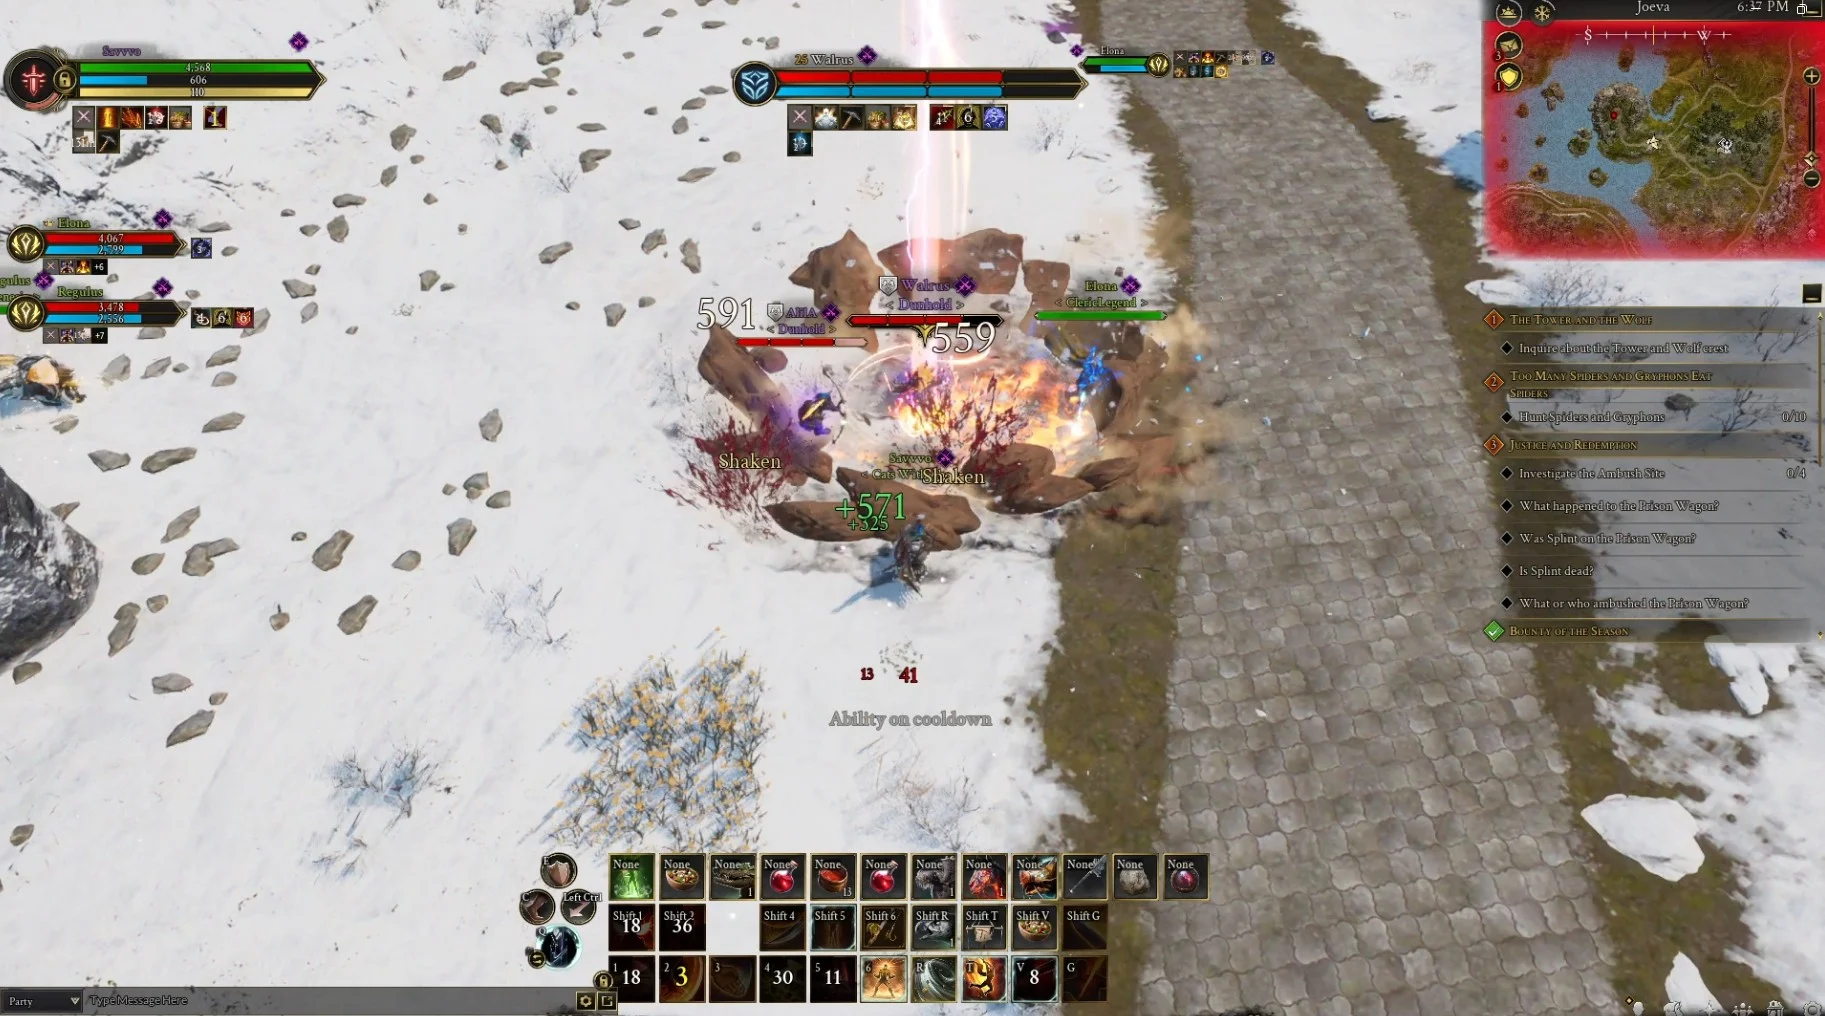
Tip #6: Flagging for PvP
Ashes of Creation is considered a very PvP-oriented game, and it’s important to understand how exactly the PvP system works. By clicking F + ALT, you’ll flag your character, allowing you the ability to attack other players. If you start attacking a player, and they start attacking back, then you both will be considered “flagged”, and your names will both be purple. If you defeat the other player, you’ll be able to gather their loot from their ashes, which will be approximately 25% of what was in their inventory at the time of death.
If you start attacking that player and they don’t fight back, and you then kill that player, you will then be “Corrupted”. You do not want to be corrupted, as you will not only receive a debuff on all of your stats, but you will also be on the mini-map for all nearby players to easily find you. Here comes the worst part – if you are corrupted and then killed, you will have the chance of dropping some of your equipped gear, so be careful! This system is in place to allow PvP if it’s truly desired, but to punish players that try to kill other players that are not interested in PvP.
It’s important to also know that whenever a player dies, their bodies will turn into a pile of ashes. You can interact with those ashes to loot what they dropped upon death, but be careful. If you loot someone’s ashes, you will then be temporarily flagged for PvP, and your nameplate will become purple, inviting other players to flag up and challenge you to a fight.
Please note: You cannot unequip items once you go corrupted. If you are corrupted, prepare to be targeted and potentially lose some gear.
Tip #7: Visit Embersprings
Although there are not teleport shrines in this game, there are locations known as “Embersprings”. These embersprings are scattered throughout the map, and can be viewed at as respawn locations. If you die, you will be respawned at the nearest emberspring, so be sure to visit as many as you can as a safety net (to save you from a long run back to wherever you died.
Additionally, players can use the “unstuck” feature to instantly teleport them to the nearest emberspring. Although this can be viewed as a form of “teleporting”, it is currently not a reliable form of transportation and should only be used if truly needed (or if you get stuck of course)!
More Ashes of Creation Tips & Tricks
To learn more about some helpful Ashes of Creation tips and tricks, be sure to watch the video above and explore our many Ashes of Creation guides. These guides will be update on an ongoing basis, so be sure to bookmark this page and any other guides you find helpful for the latest and greatest information around Ashes of Creation.