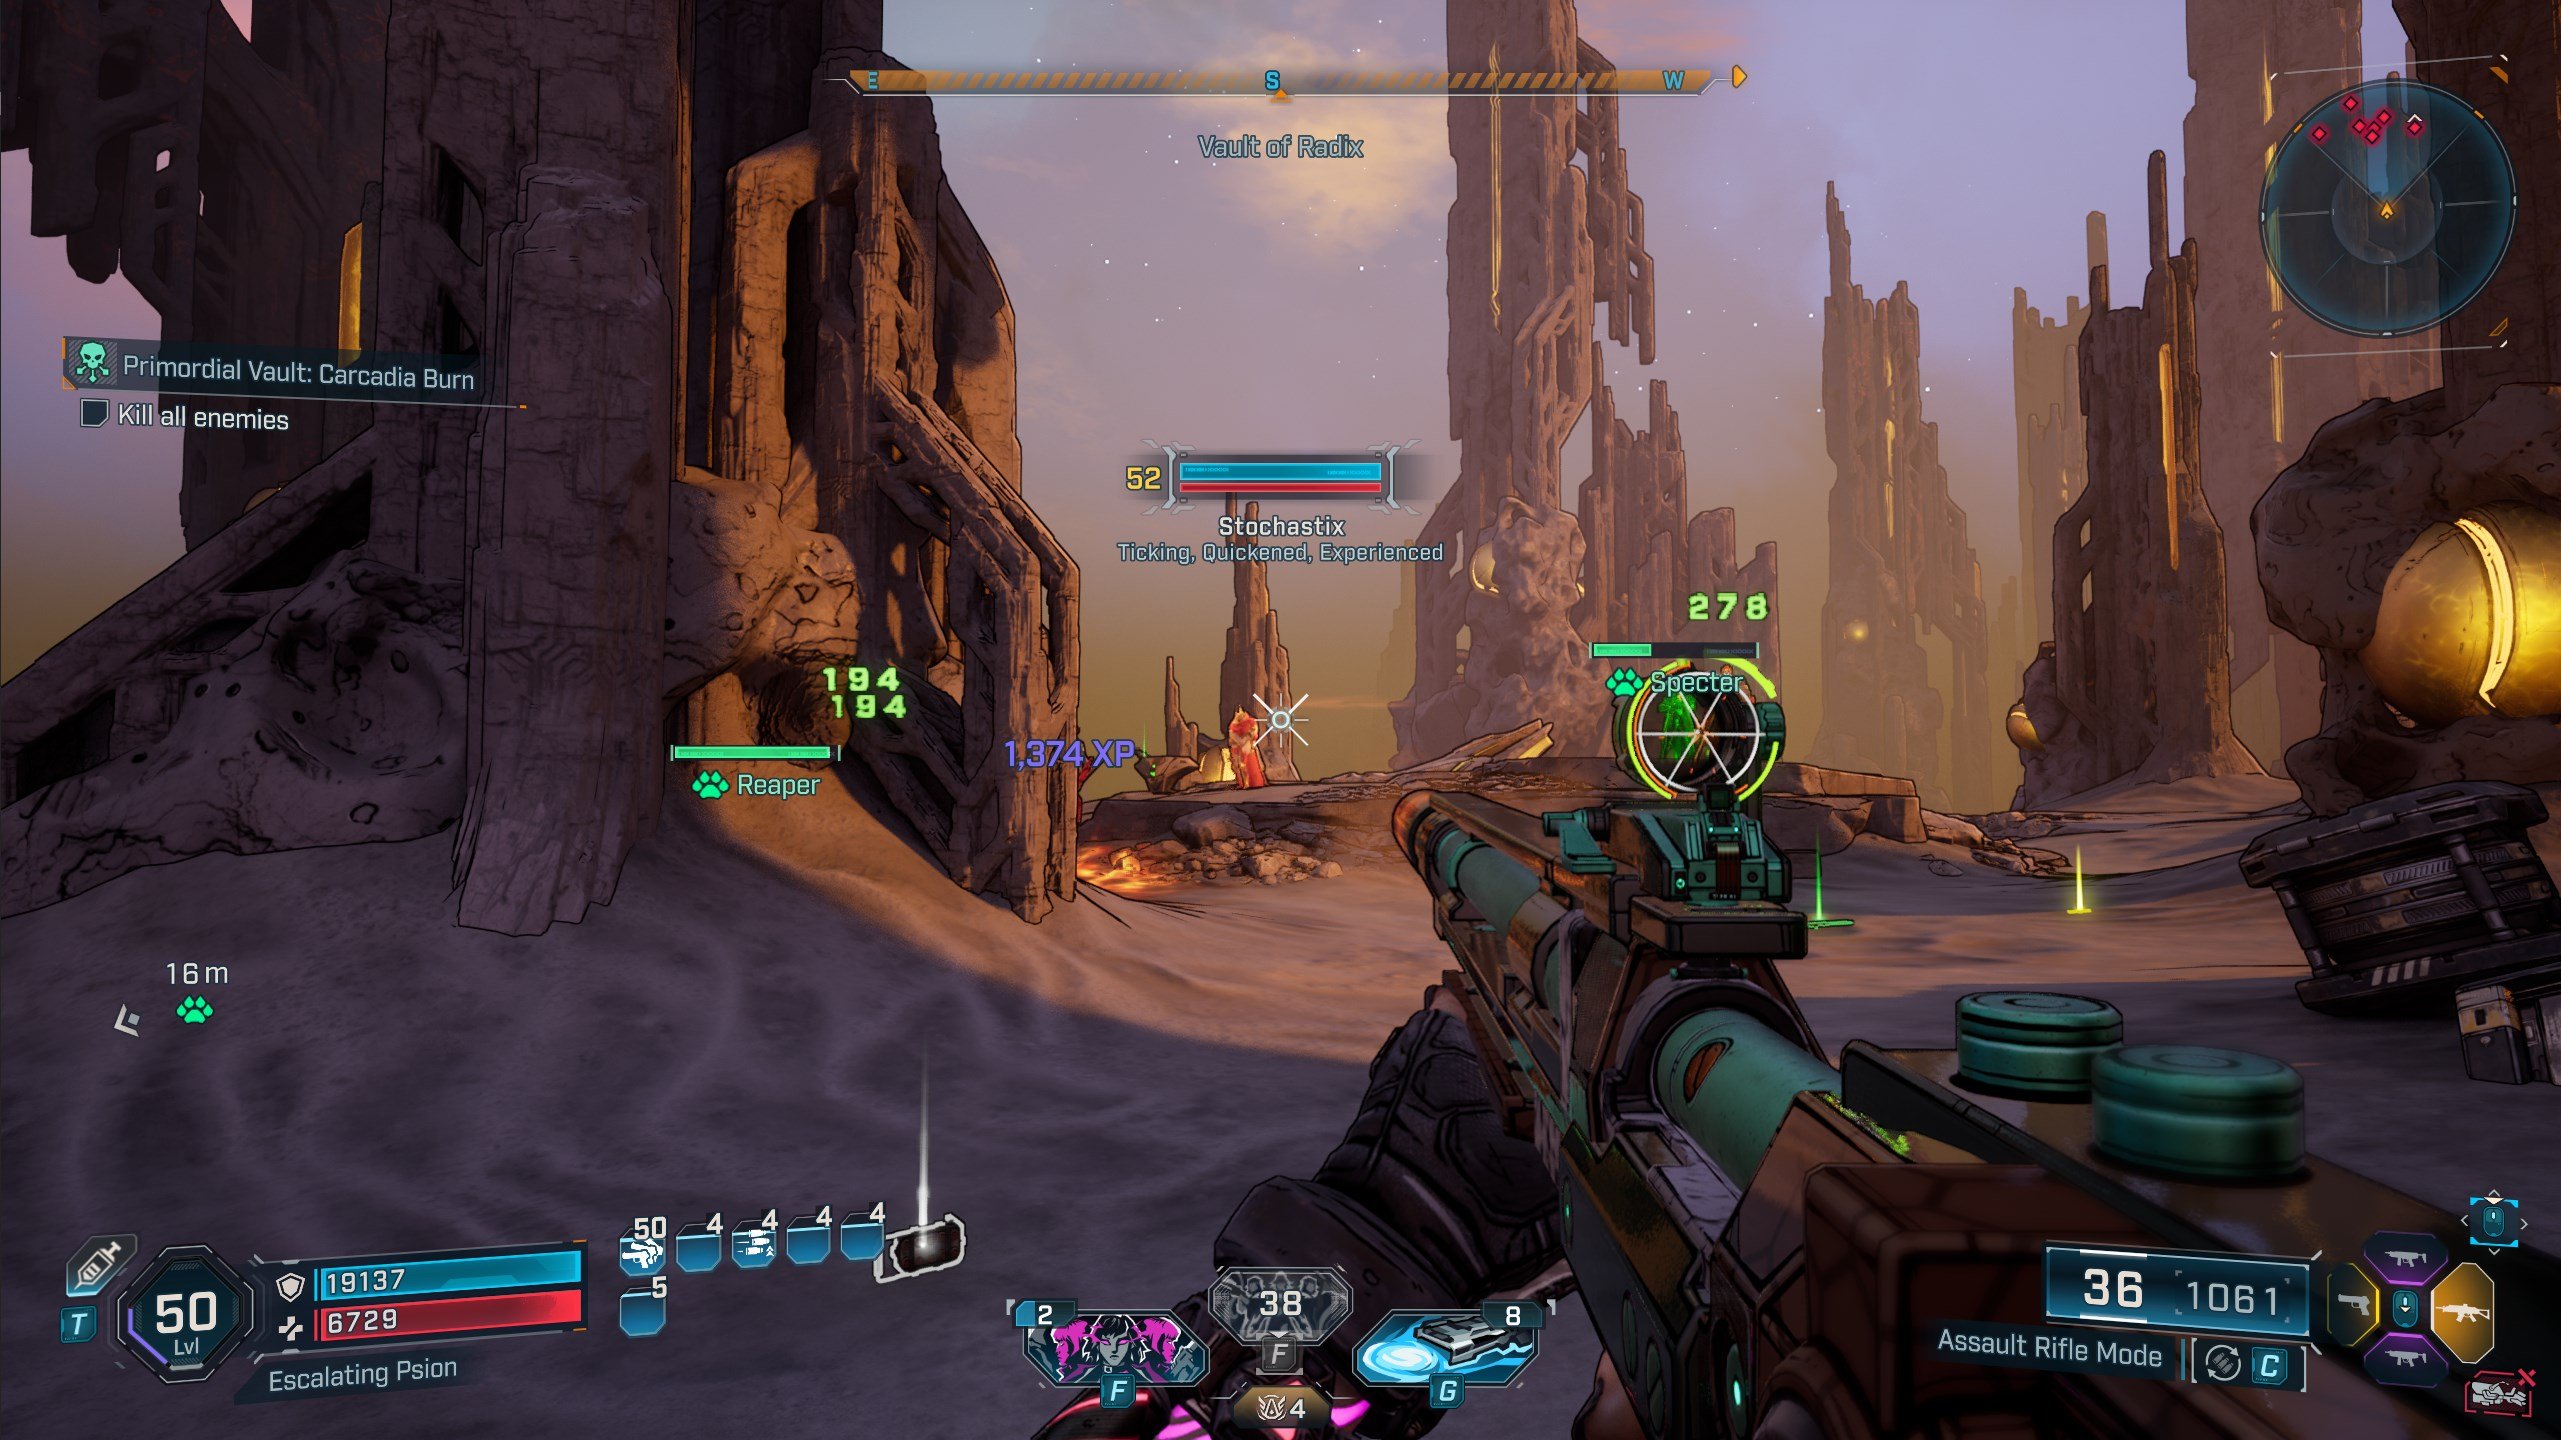
During your travels on Kairos you may have noticed that some enemies have additional words underneath their names, known as modifiers. These modifiers add unique effects to a given enemy, creating an additional layer of difficulty and often requiring a change in strategy to succeed. Some side missions have these modifiers applied to many of the enemies present in it, so take extra special care when accepting these missions!
Modifiers comes in all shapes and sizes and can range from simply boosting an enemy’s health or damage, to invisibility, black holes, and bonus loot. As you ramp up the game’s difficulty towards Ultimate Vault Hunter Mode 5, the presence of modifiers will greatly increase, making it all the more important to know what you are dealing with at any given time.
Rather than learning the hard way, or scratching your head over some of the more obscure entries, we have compiled a comprehensive list of Borderlands 4 enemy modifiers below. We have also added some quick tips on how to tackle them.
Global Enemy Modifiers
The following modifiers may be present on any enemy in UVHM1 and higher, and multiple effects can be present at the same time:
| Enemy Modifier | What it does | Tips and Counterplay |
|---|---|---|
| Healthy | Enemy gains an additional red health bar. | Use Incendiary damage. |
| Armored | Enemy gains an additional yellow armor bar. | Use Corrosive or Cryo damage. |
| Shielded | Enemy gains an additional blue shield bar. | Use Shock damage. |
| Vampiric | Heals based on their damage dealt. Can restore health, armor, and shields. | Avoid taking unnecessary damage. Do not use minions that will tank damage. |
| Regenerative | Passively restores health, armor, and shields over time. | Do not change targets after beginning to kill it. Either burst it down early or isolate at the end of a fight. |
| Deflector | Has a percentage chance to deflect direct projectiles. | Avoid high-powered bullets that may one-shot you if deflected back at you. Use fast and low-damage weapons or melee attacks, splash damage, and skill damage. |
| Elemental Eater | Has a chance to heal damage from currently attuned element. | Try to avoid dealing damage using an enemy’s attuned element, shown to the right of their Health bar. |
| Chain Master | Enemy will attach elemental chains connecting to other nearby enemies. Coming into contact with these chains deals significant damage. | Pick off weaker enemies to minimize the number of chains. Do not stand near a Chain Master to avoid being caught between a newly-chained enemy. |
| Chromatic | Enemy will periodically cycle to a new elemental attunement. | Be mindful of your target’s attunement when choosing your own damage at any given moment, especially if this Affix is paired with another modifier like Elemental Eater. |
| Leaking | Enemy movement and abilities drop elemental puddles on the floor, based on its elemental attunement. | Avoid haphazardly running from your target. Either stand still or move away in a controlled manner to avoid creating too many puddles. |
| Cold Heart | Deals bonus Cryo damage and will create a Cryo explosion on death. | Avoid being close to the target when it dies. |
| Centripetal | Creates a black hole on death. This black hole pulls in both friend and foe and will explode after a duration. | Avoid being close to the target when it dies. Use air dashes to escape if you are being pulled in. |
| Vengeful | Summons a missile swarm on death. | Stay near cover or ensure you have enough armor or shields to tank moderate damage. |
| Ticking | Enemy will self destruct when close to death. | Avoid being close to the target when it dies. |
| Quickened | Faster movement speed. | Be mindful of the movement speed of melee enemies. Be ready to sidestep, slide, or air dash out of the way if needed. |
| Fast Forward | Faster attack speed. | Respect your enemy’s damage output. Try to avoid tanking damage for too long. Be careful if this affix is present alongside other damage-boosting modifiers. |
| Strong | Higher base damage. | Similar to Fast Forward, respect your enemy’s damage output. Be especially cautious if combined with other damage-boosting modifiers. |
| Experienced | Enemy will be of a higher level than normal, resulting in more health and damage. | Do not underestimate your target and be prepared for a slower kill with more damage taken. |
| Tricky | Enemy will gain a new subset of skills, such as temporary invisibility and a small dash. | Consider your enemy’s increased evasiveness. Trying to land slow and high-powered shots might be difficult. |
| Immovable | Resistance to knockbacks and slowing effects like Cryo damage. | It can be harder to escape or take cover. Expect to deal less damage if you’re reliant on rooting or slowing enemies to deal bonus damage. |
| Irritable | Enemy will fixate a target and gain the ability to periodically charge at it. | Prepare to dodge and evade the target if needed. Do not rely on allies or minions to draw attention. |
| Fortified | Enemy gains a rotating barrier around them. | Try to shoot over the barrier for headshots against humanoid targets or wait for the barrier to rotate around. If absolutely necessary shoot the orb in the center of the barrier to take it down. |
| Invisibility | A killable blue orb will follow around and channel into the target, causing them to only show up as a faint shimmer. | You can almost always disregard the invisibility and shoot based on the faint shimmer of the enemy or target where the orb is channeling. If you need to remove the invisibility for an action skill or to see a weak spot, target it with shock damage. |
| Invulnerability | A killable yellow orb will follow around and channel into the target, causing them to be immune to all damage taken. | Target the orb as soon as possible to make the target vulnerable, then kill as normal. |
| Contagious | Modifiers have a chance to spread to other enemies. | Be aware that modifiers from the Contagious mob may be present on other enemies. Take note of particularly dangerous ones like Centripetal. |
| Deal With it | Enemy is only vulnerable to critical hits. | Take your time when shooting to ensure you hit an enemy’s weak point. If this is difficult, consider using skills or gear that have an increased chance of critically striking in order to deal damage. |
Unique Modifiers
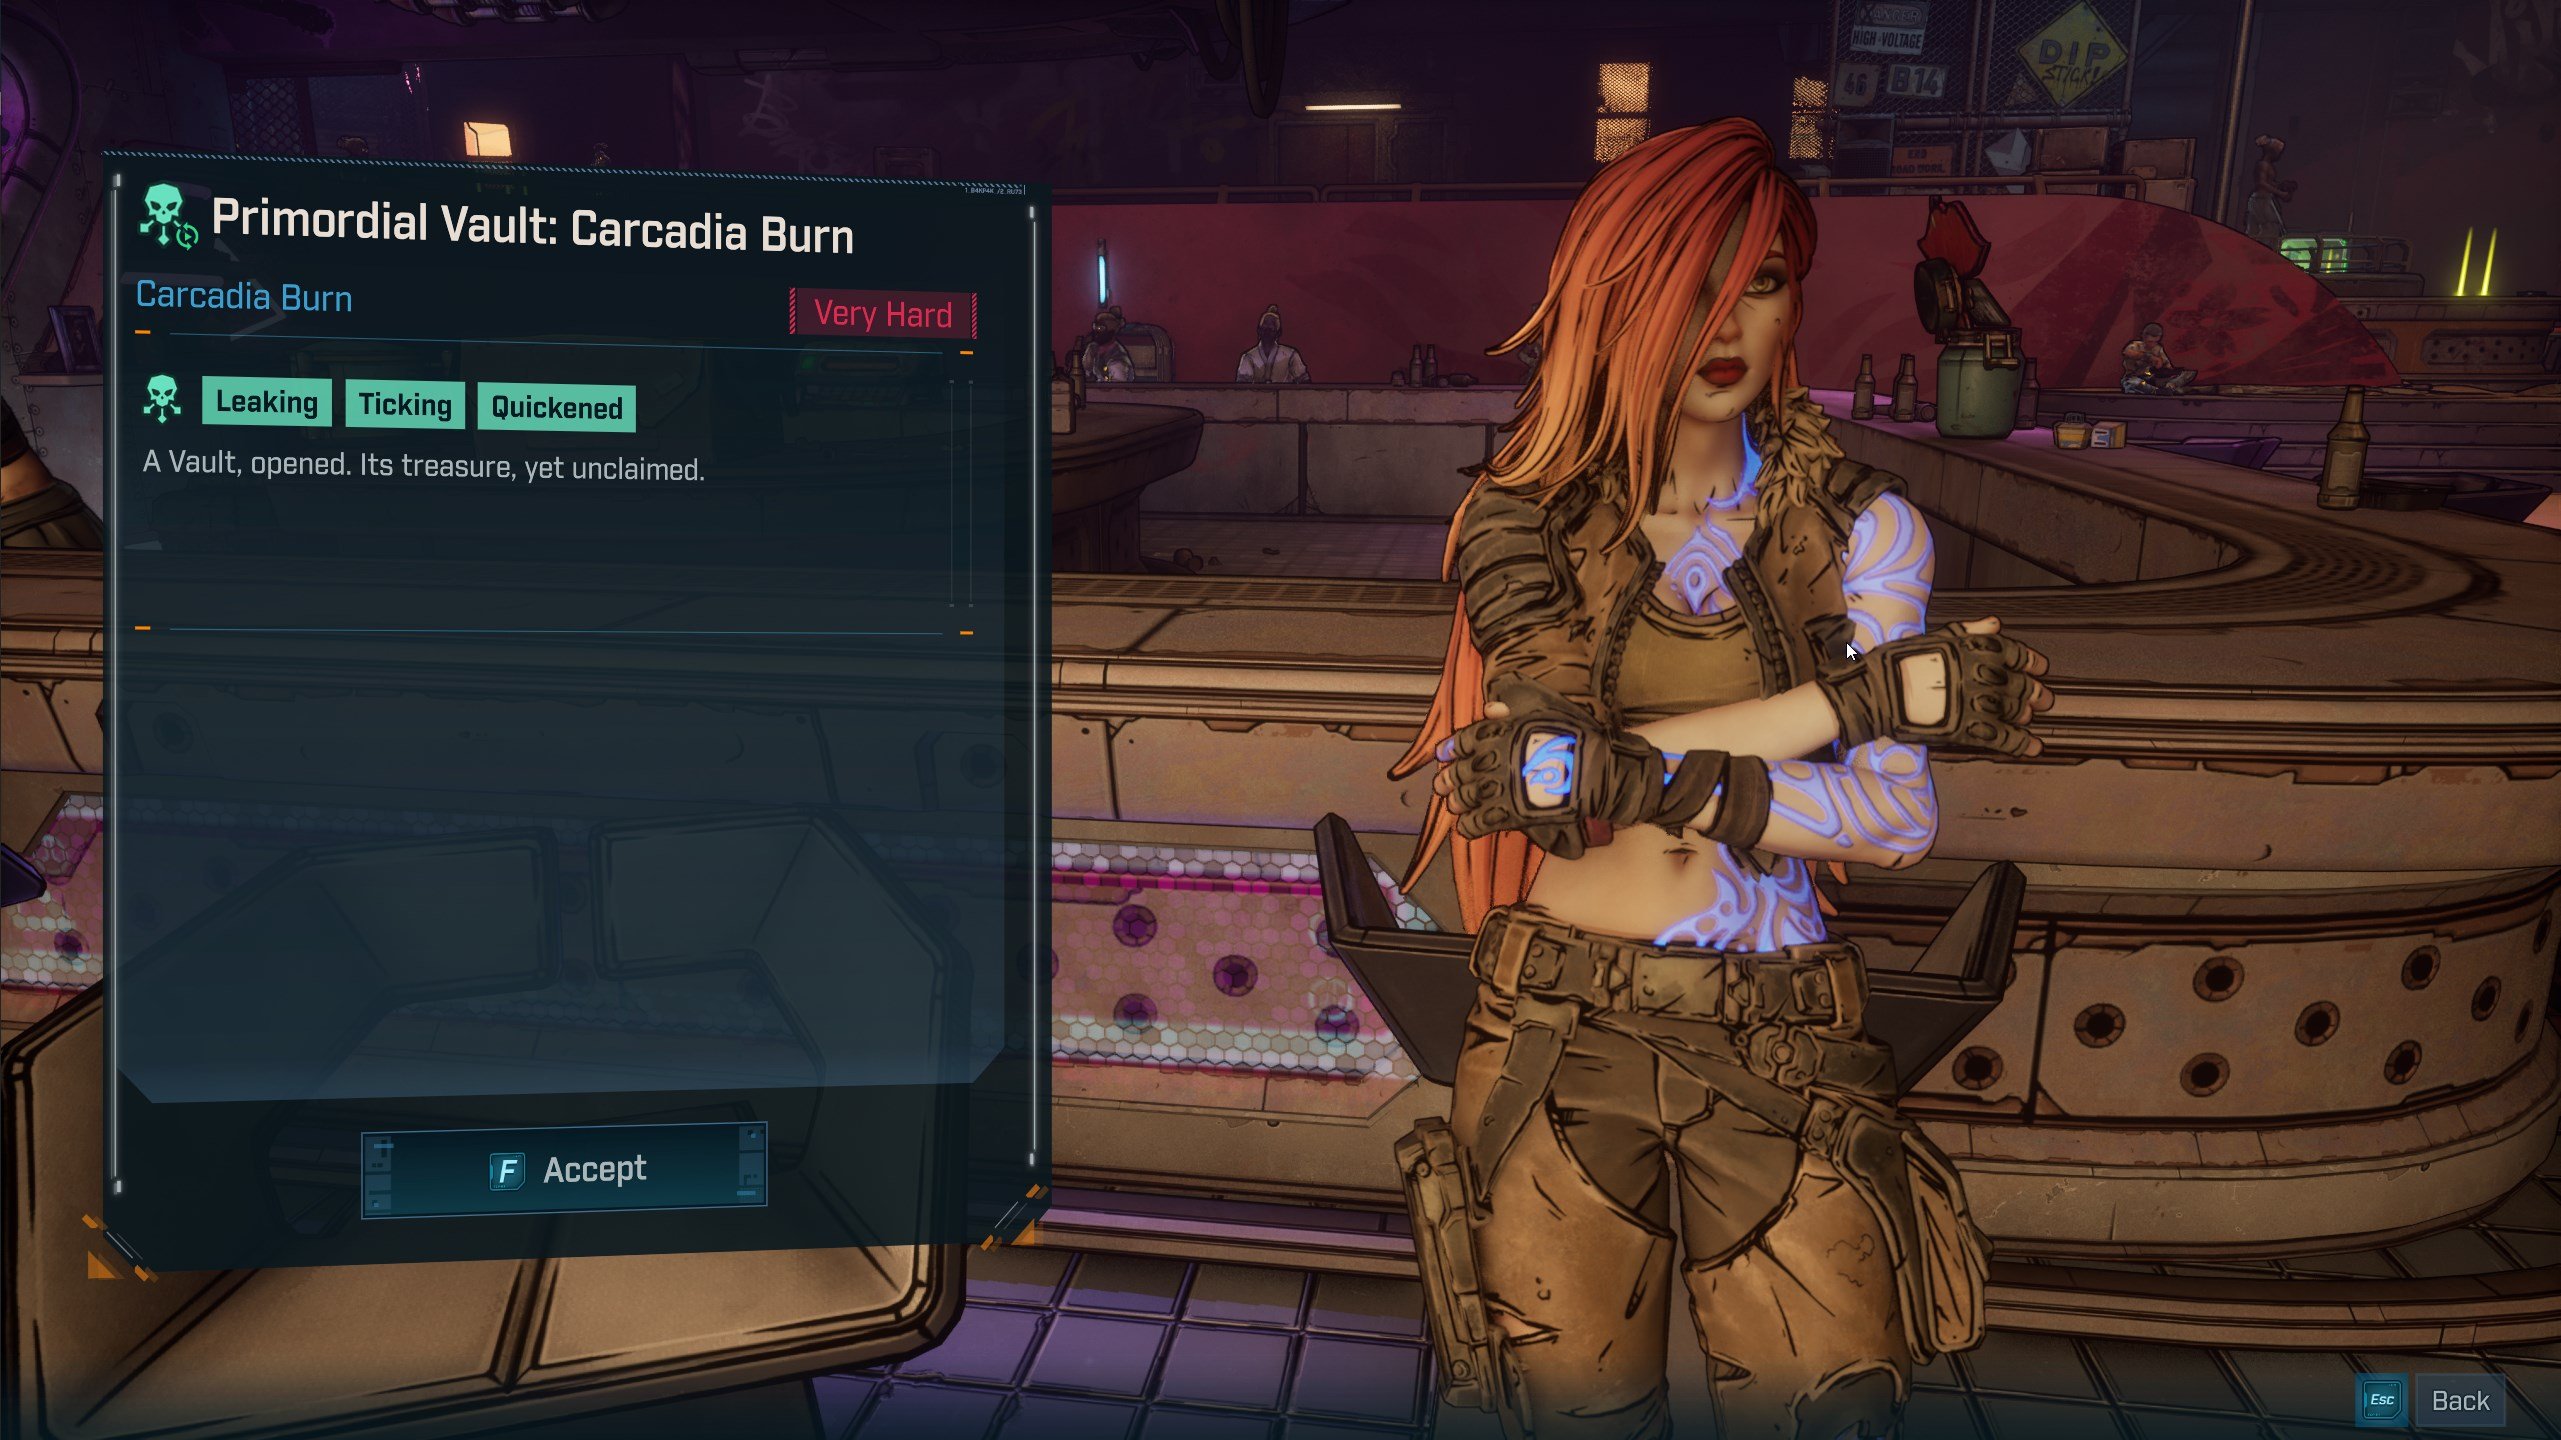
Unique modifiers are much more extreme than global modifiers, for one reason or another, and are only present against certain bosses or in wildcard missions. All currently known unique modifiers are as follows:
| Enemy Modifier | What it does | Tips and Counterplay |
|---|---|---|
| One Crit Wonder | Enemies are only damageable by critical hits but will die in one hit. Found in Wildcard missions. | Use skills and gear that have passive critical hit chance. |
| IMMORTAL | Target is fully immune to all skills, projectiles, and damage. Present on some enemies in The Old Scrape Drill Site and during some Terminus Range side missions. | Disregard the target and focus on killing other enemies until the Immortal status is lost. |
| Stim Pack | Special ability used by the Genone boss. Provides offensive bonuses and rapid regeneration similar to a Medkit. | Plan on dealing damage as fast as possible, as Stim Pack gains more value in longer fights. |
Loot Modifiers
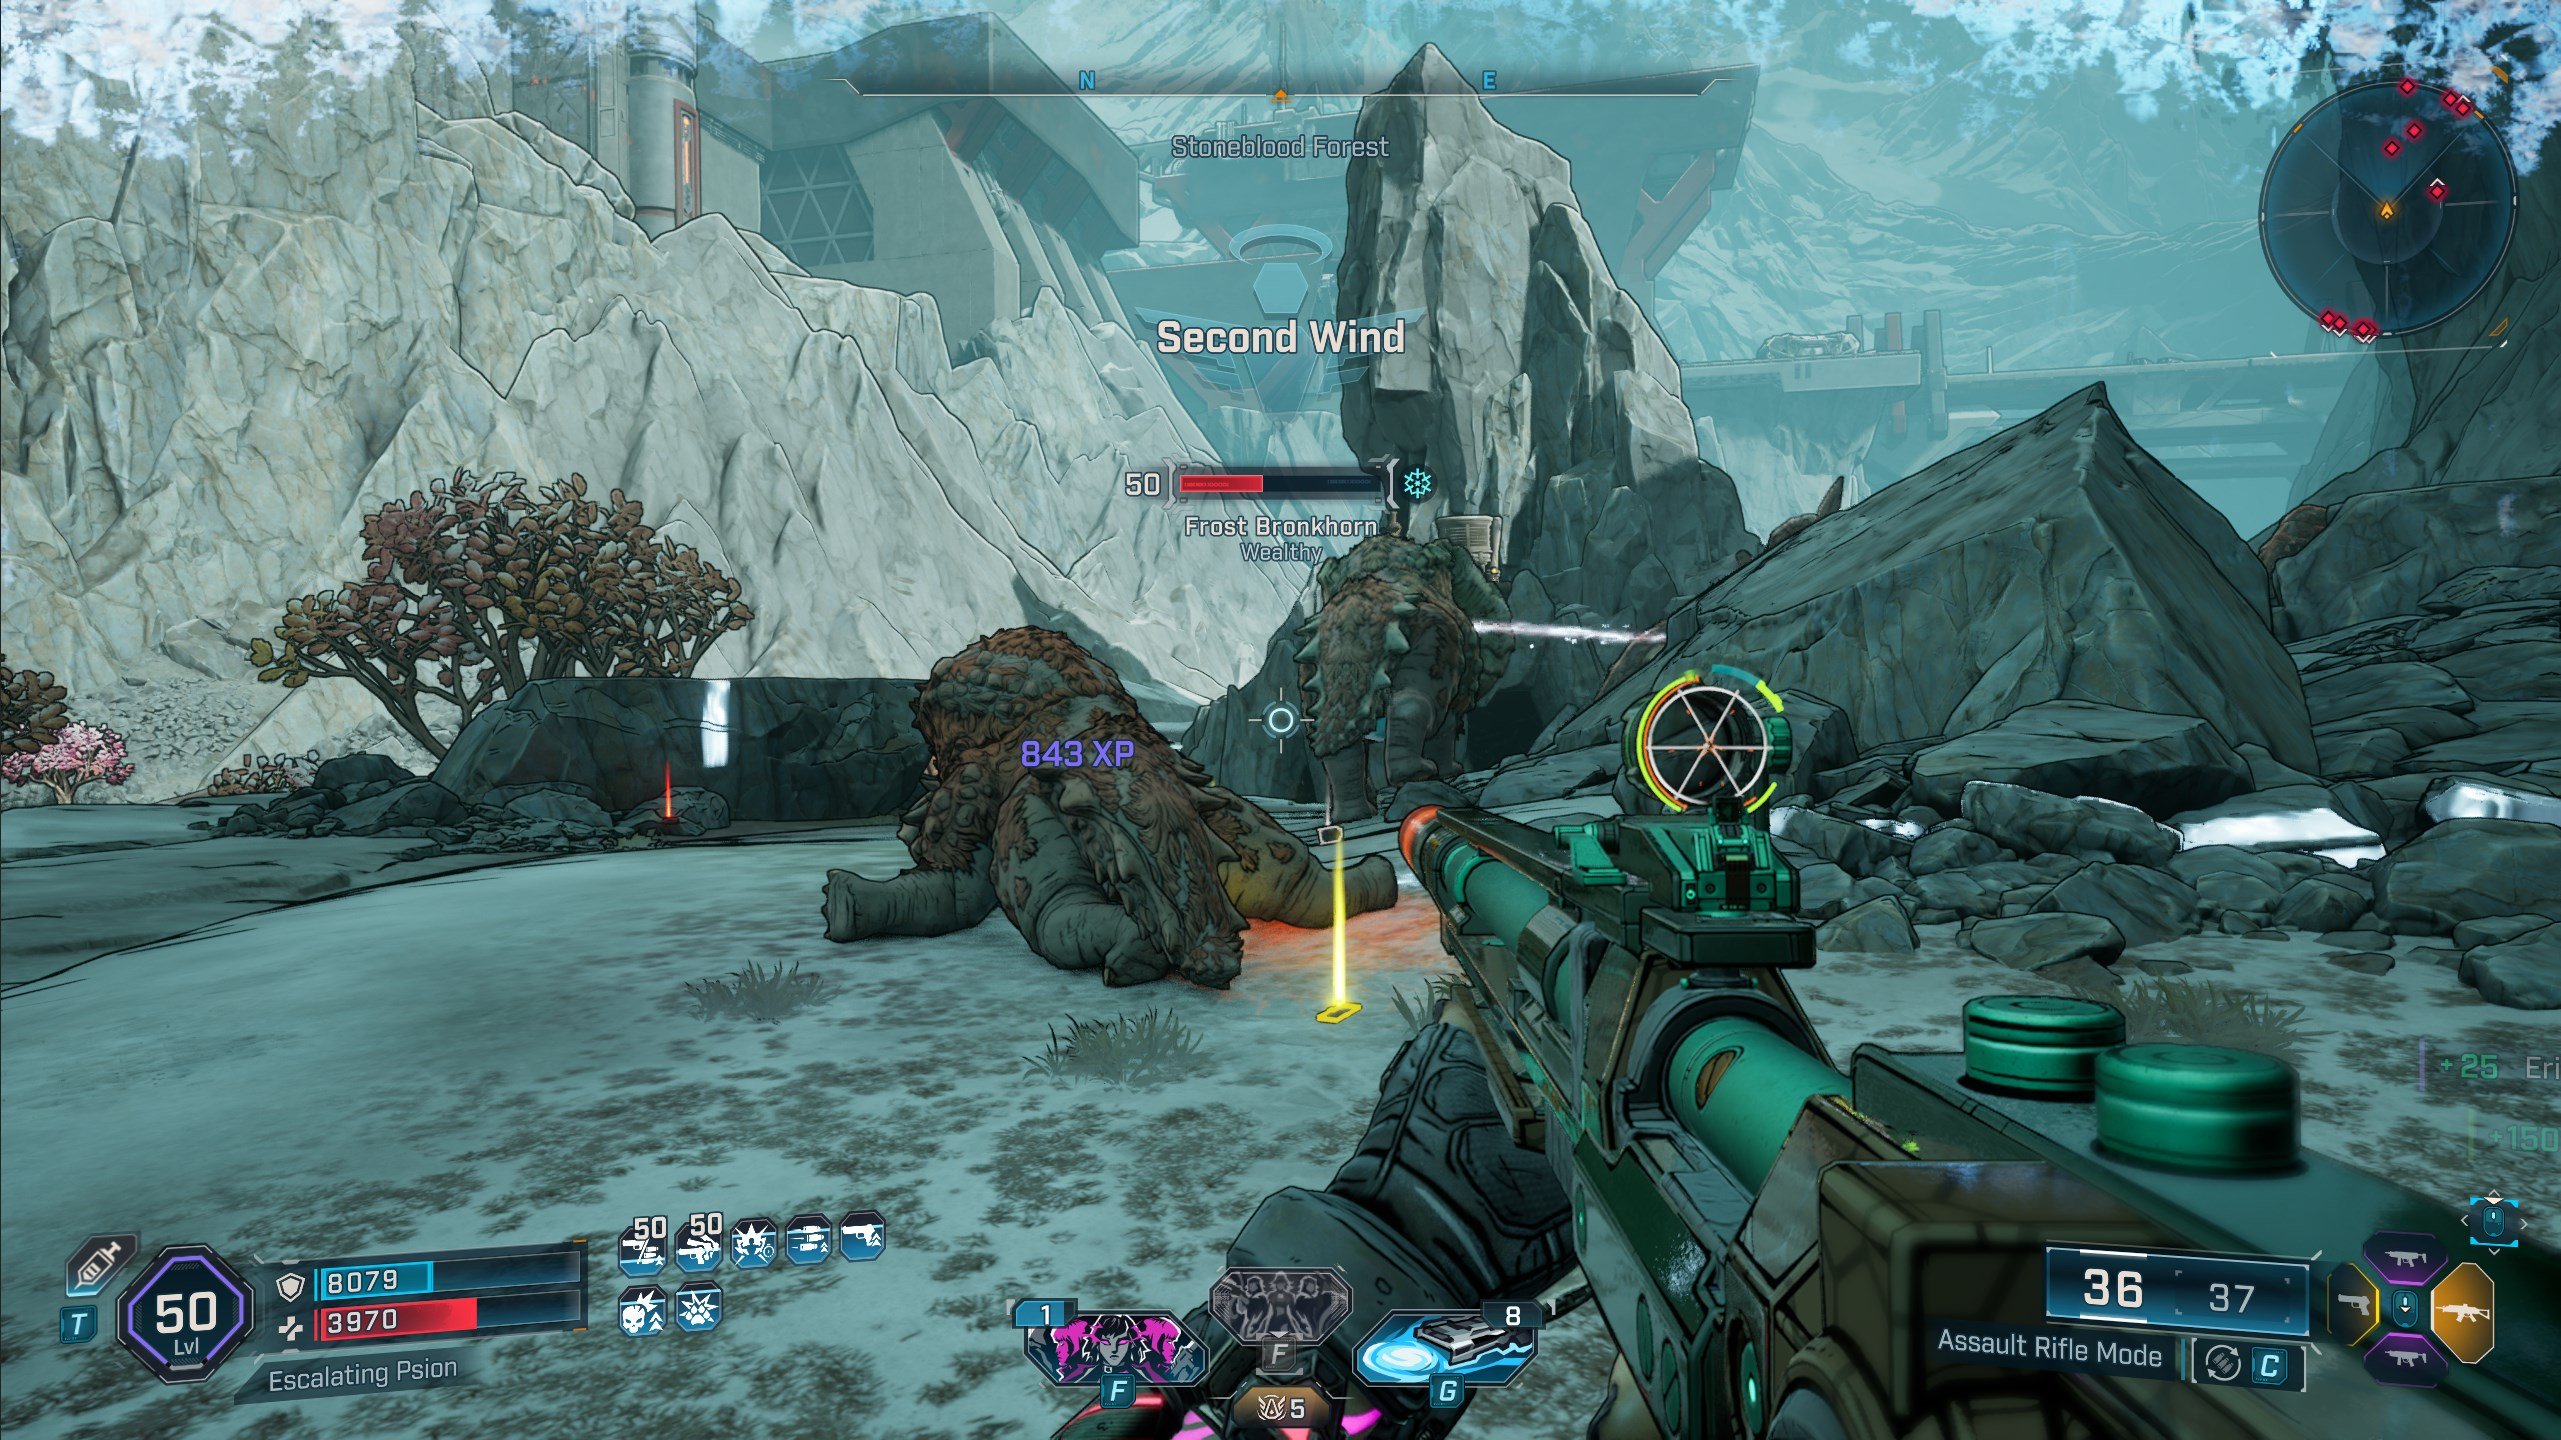
Some rarer enemies will have special modifiers that will lead to additional loot upon being killed. While these modifiers do not provide any increase in difficulty, they may entice you to prioritize killing enemies you may otherwise ignore in order to get a bigger payday, so look out for the following:
| Enemy Modifier | What it does | Tips and Counterplay |
|---|---|---|
| Wealthy | Drops a significant number of cash bundles when killed. | |
| Arms Dealer | Drops additional guns when killed. | |
| Quartermaster | Drops additional Enhancements, Class Mods, Shields, and Medkits when killed. | |
| Bougie | Drops a lot of Eridium when killed | |
| LOOT Explosion | Will explode into a random assortment of loot when killed. Enemy will not fight back and will teleport away or self destruct if not killed fast enough. | Unleash your maximum damage output immediately. Stuns and other crowd control can be used to slow down escaping. |
Now that you know what each modifier does and how to play around it, we hope you can reach UVHM5 even faster for the biggest and best loot. See you in Kairos!