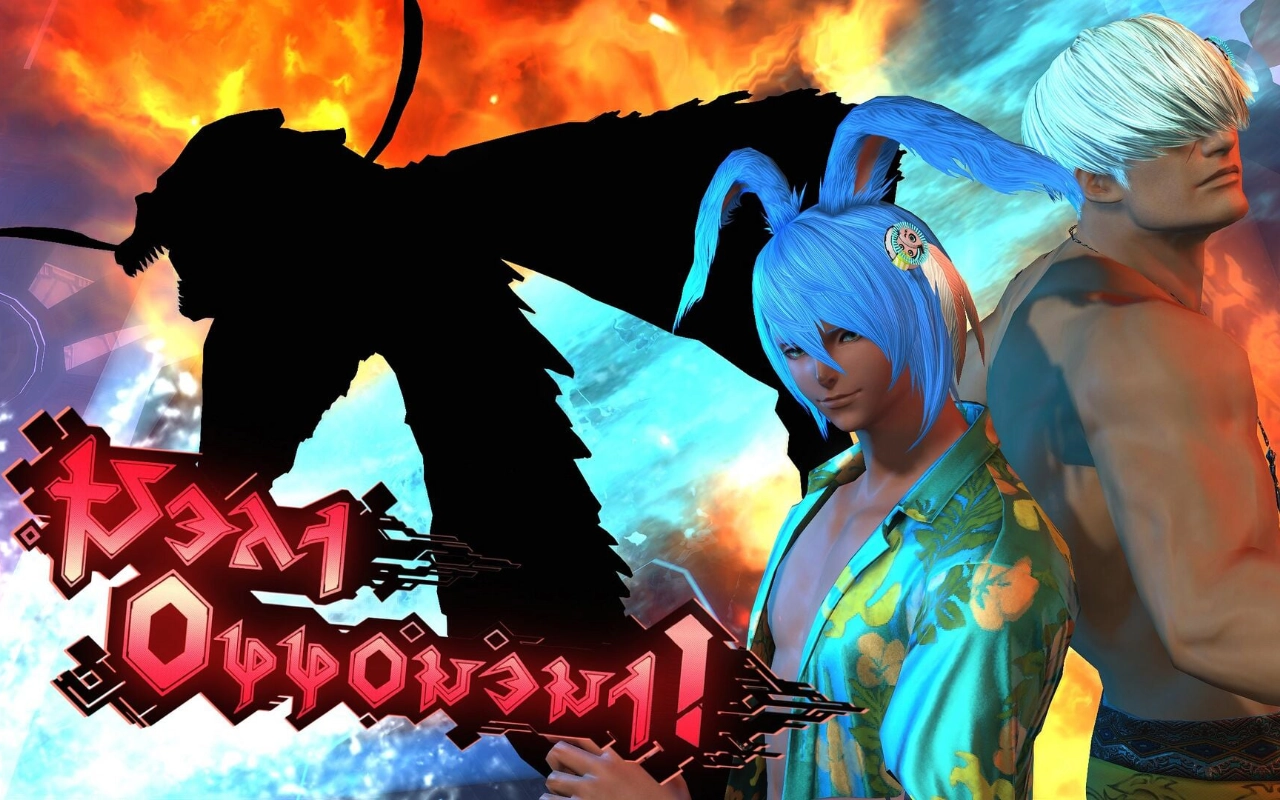
Our second article in our Savage catchup series focuses on the bodacious surfing bros: The Xtremes. I heard watching Point Break gives you a buff in this fight. Here are the key points to watch out for.
Unique Mechanics
- Dual Bosses: While the fight starts with Deep Blue and Red Hot tagging in and out, they’ll quickly dispense with the pre-tenses and fight your party together. Main Tank and Off Tank should be prepared to deal with either boss.
- Elemental Eruptions: If either of the bosses’ fire and water attacks ever meet, a circular AOE will spawn where the attacks intersect or in the middle of the fire orb. Players should be aware of this whenever arena spacing is tight.
Pre-Pull
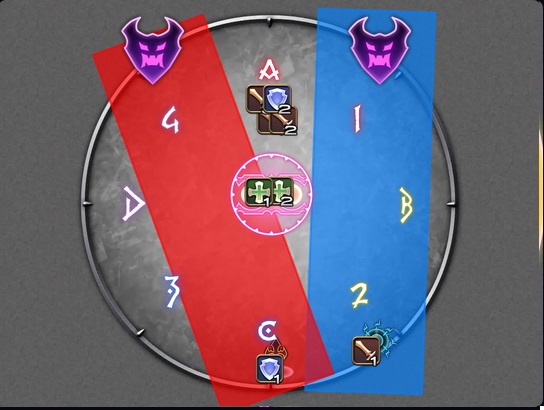
Your party will need light parties and clock spots. Light party one will focus on Deep Blue, and party 2 will focus on Red Hot. During Insane Air 1 & 2, parties may need to switch if they are assigned a debuff marking them for a boss’ attacks.
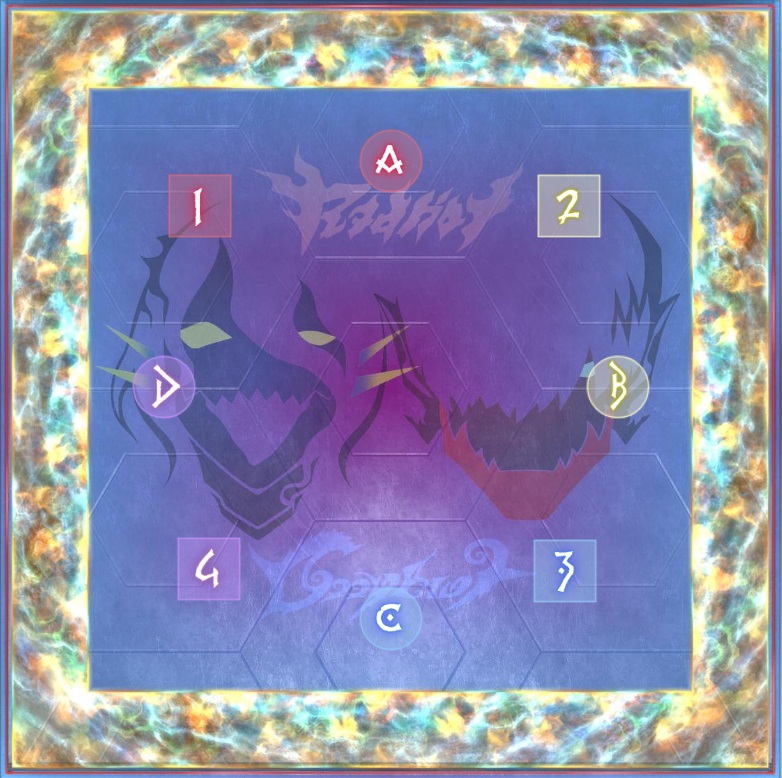
Waymarkers
Most Challenging Mechanics
While the first half of the fight won’t give you too much trouble, the second half has some mechanics to watch out for. Fire/Watersnaking, Deep Aerial, and Flame Floater.
FIRESNAKING/WATERSNAKING: NOM NOM STRAT
Fire & Watersnaking will target players with a debuff that prioritizes them for certain attacks from Deep Blue and Red Hot. To make it through this mechanic, players will need to bait the mechanics from their boss while keeping the rest of the arena clear for the other group. The most common way to solve Watersnaking and Firesnaking in party finder is through the Nom Nom strat.
Waterside players will need to bait several attacks from Deep Blue on the west side of the arena. They will also need to handle back-to-back spreads or stacks as the boss jumps from one end of the arena to the other. Fireside players meanwhile need to bait persistent fire puddles in an exact pattern to keep the arena clear. The tank dealing with Red Hot will also need to bait a cutback blaze, making positioning important.
A full breakdown of the Nom Nom strat can be found here.
DEEP AERIAL: PARALLEL VERSION
Immediately following the snaking mechanics, two players will need to soak a tower that confines them in a watery grave. Players will need to destroy the grave before it enrages, while also dealing with Deep Blue and Red Hot. The surfers will tether two random players at a time before moving to them via a line AOE. If Red Hot goes through the watery grave, he will reduce its health but 15% each time. But watch out, if Deep Blue clips the grave, it will get a damage vulnerability down buff.
The standard way to solve this is through the Parallel Aerials strategy. The first player tethered to Red hot will bait him to either the north or south waymarker, depending on where they start. The player tethered to Deep Blue will bait him on the other side of the arena, almost directly across from his starting position (slightly clockwise or counter-clockwise).
After these first baits are done, all the subsequently tethered players need to do is go directly across the arena from where the bosses are to safely solve the mechanic. After the first bait is done, all other players should be at max melee near the east waymarker. Melees should stay at max distance to avoid getting clipped, and PF will typically hold two-minute buffs until after the mechanic is over.
Paralell Aerials raidplan can be found here.
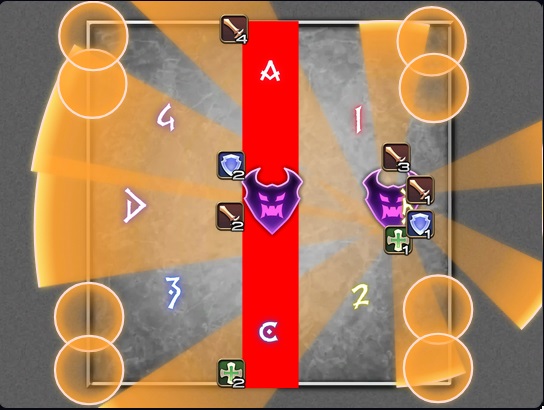
FLAME FLOATER/SPLIT ARENA
After Deep Aerial, Red Hot will split the arena in two, forcing light parties to go east and west. Parties will split into pairs to bait flame puddles before converging to deal with either a Double Alley-oop or a Reverse Alley-oop from Deep Blue. For the side closest to Blue, this is solved normally. The party further away will need to spread further out, with the tank and melee close to the middle. For these two players, Double Alley-oop is dodged normally, and Reverse is dodged by collapsing to the middle. This is followed up by puddle pair stacks, a knockback (immune this), and a light party stack all while dodging the AOEs from the fire puddles.
For full details, read our full M10S guide here on Icy Veins.
Also check out Hector Hectorson’s video guide below!