


Build Introduction
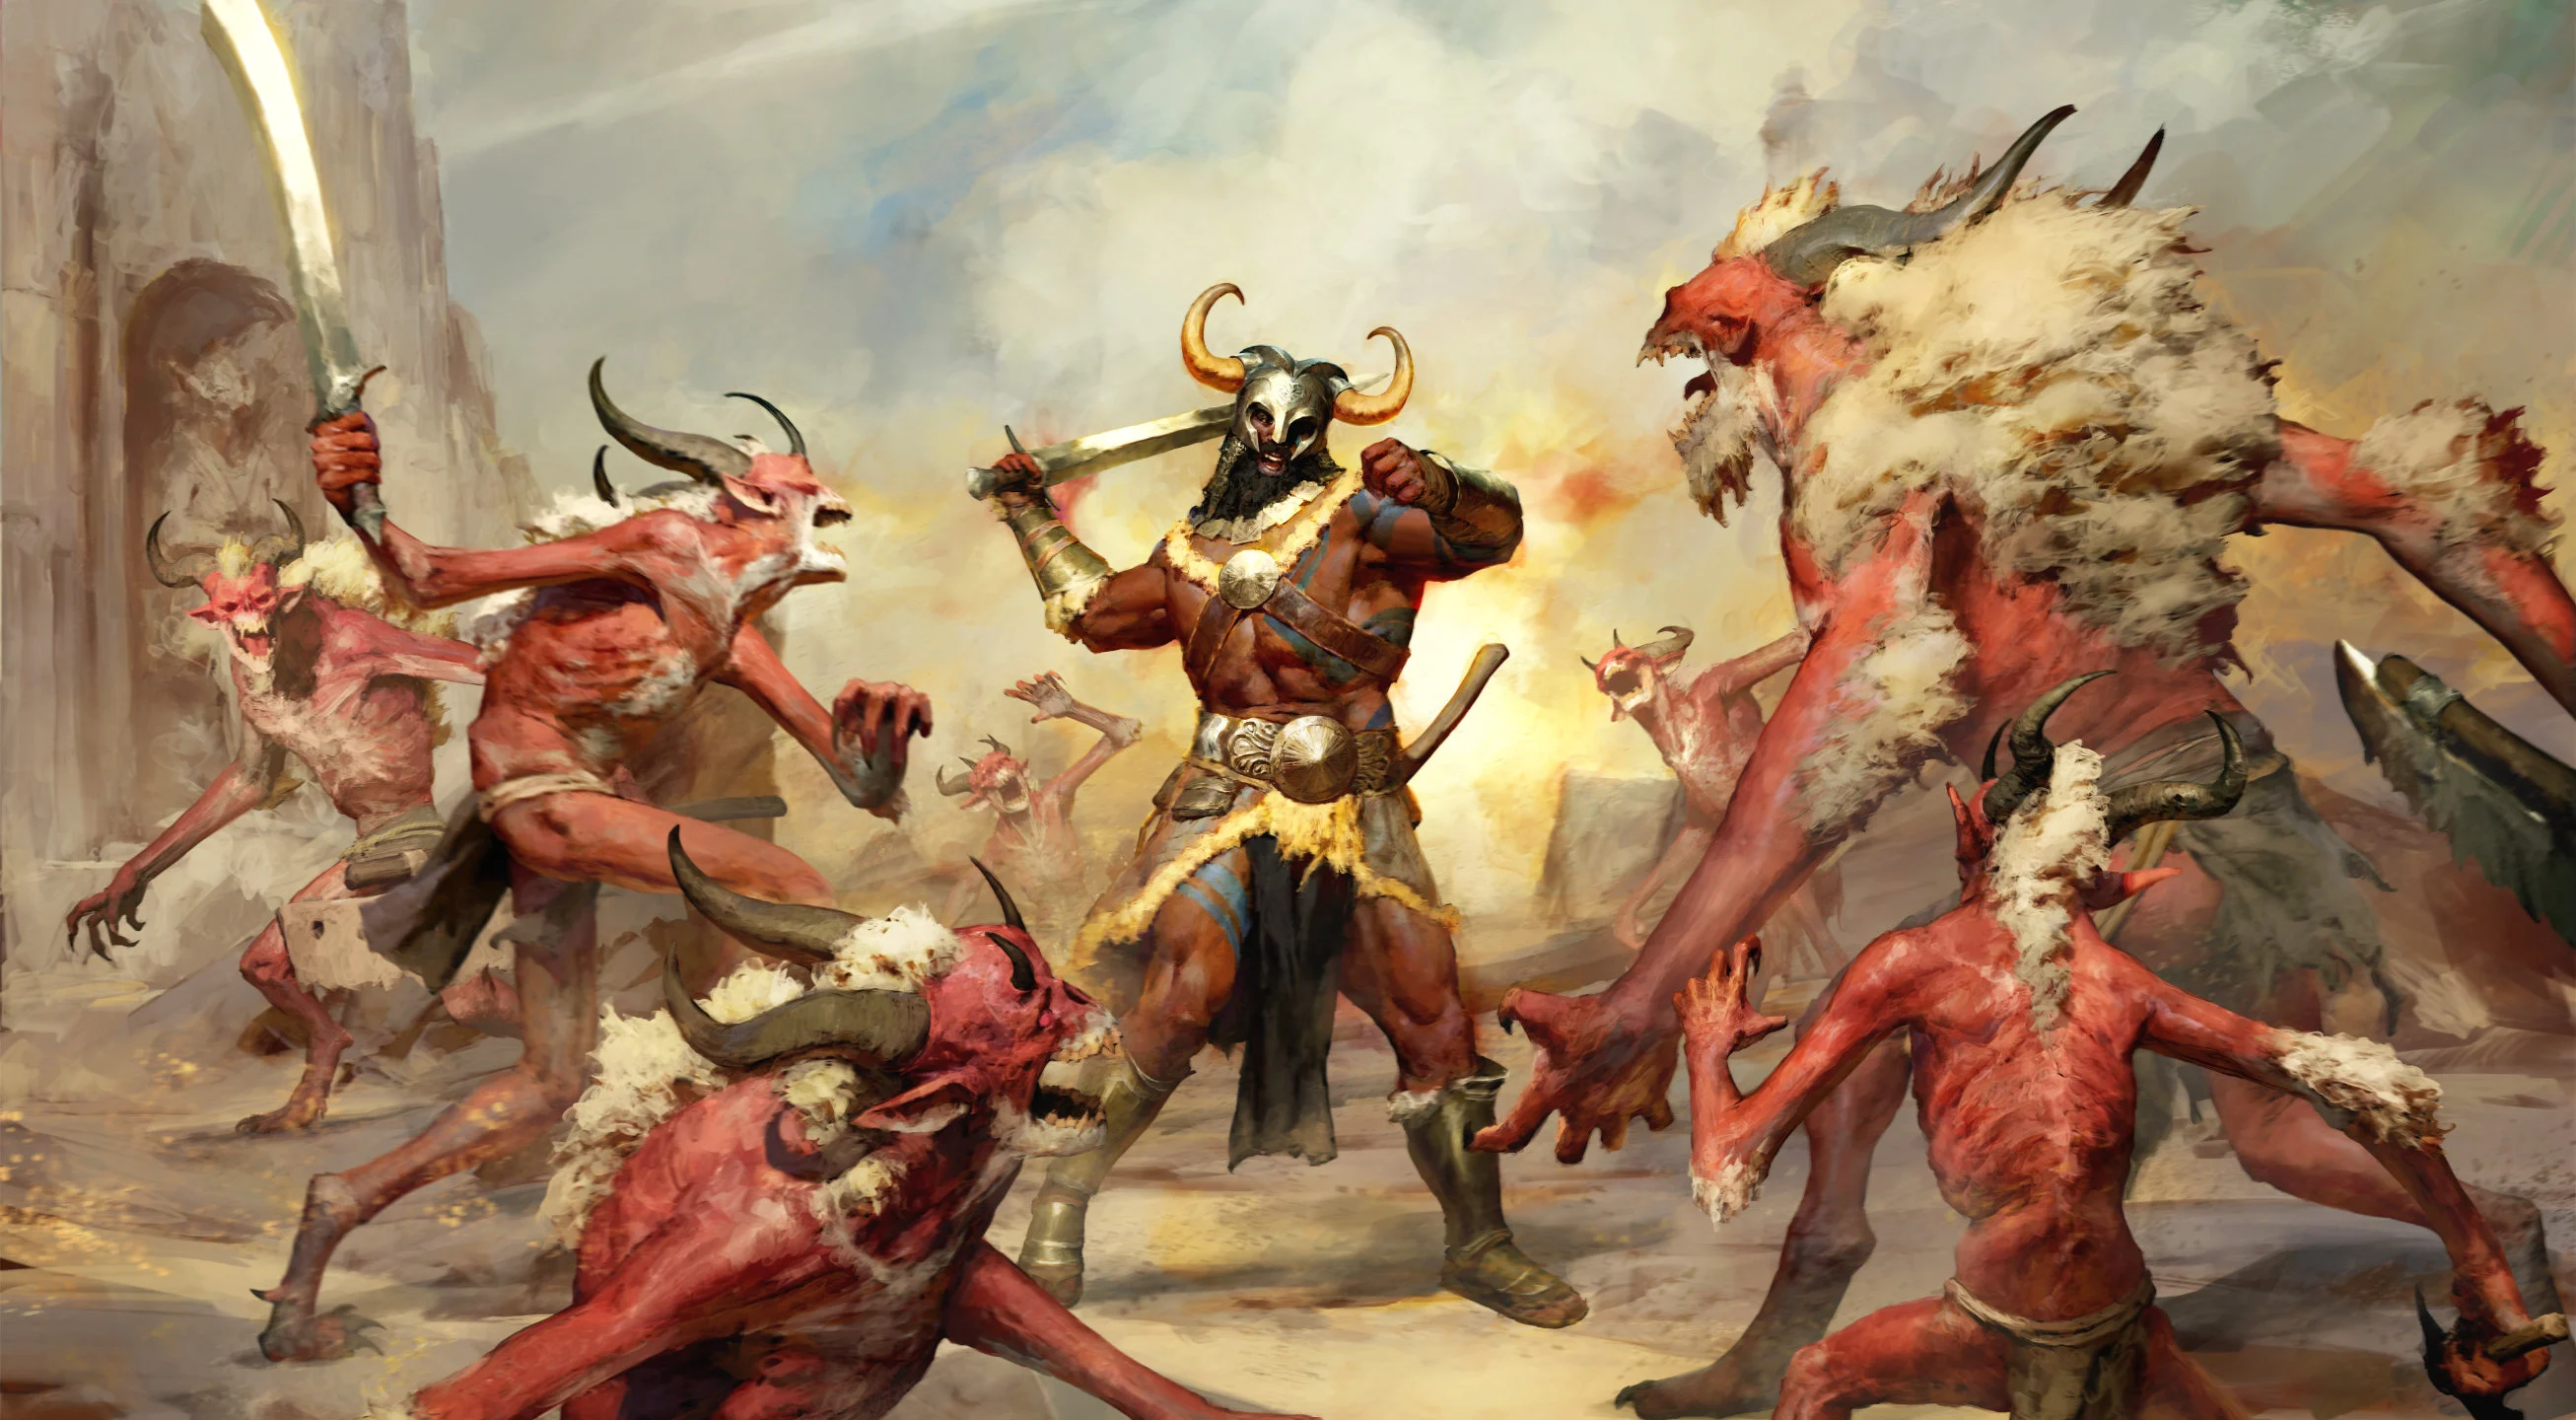
Welcome to the comprehensive guide for the new and improved ![]() Hammer of the Ancients Barbarian at endgame, utilizing insane overpowers and powerful slams to annihilate anything in your way. Bosses? No problem. Nightmare Dungeons? Easy. The Pit? Trivial. With the new Runewords, new Paragon Glyph Levels, New Uniques, and the power of more skill points this Vessel of Hatred version of a beloved Barbarian build has little problem turning demons in front of them into paste. Let’s dive in!
Hammer of the Ancients Barbarian at endgame, utilizing insane overpowers and powerful slams to annihilate anything in your way. Bosses? No problem. Nightmare Dungeons? Easy. The Pit? Trivial. With the new Runewords, new Paragon Glyph Levels, New Uniques, and the power of more skill points this Vessel of Hatred version of a beloved Barbarian build has little problem turning demons in front of them into paste. Let’s dive in!
This page covers the build’s introduction, requirements, skill tree points, and mercenary recommendations for the HotA Barbarian. To navigate to the other pages of this build, you can use the buttons below.
Strengths and Weaknesses
- Strong AoE damage style
- Huge damage numbers
- Easily stuns enemies
- Tons of Unstoppable uptime for escaping crowd control
- Requires managing weapon swaps
- Requires cooldown management
- Stationary and little mobility
- Getting the biggest numbers requires some endgame uniques
Build Requirements
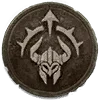
 Aspect of EarthquakesAspect of Incendiary FissuresExecutioner’s Aspect
Want to know more about the Uniques supporting this build? Jump to the Uniques Section.
Quick Navigation
Use the table below to jump to the sections you are looking for.
Skill Bar and Skill Tree Points
 Hammer of the Ancients
  Rallying Cry
  War Cry
  Challenging Shout
  Call of the Ancients
  Ground Stomp
 Wondering what to do after Level 60? Head to the Paragon Board section to power up the build even further.
Follow the points allocated in the image above for the complete build. The additional skill points are completed using the Renown system.
Barbarian Class Mechanic – The Arsenal System
The Barbarian can wield four weapons simultaneously as well as choose a weapon expertise to use as their Technique allowing them to gain that weapon’s bonus even if they’re wielding another weapon type. Finally, the Barbarian can assign its skills to use different weapon types shuffling between Two-Handed Bludgeoning Weapons, Two-Handed Slashing Weapons, and Dual-Wield Weapons.
For ![]() Hammer of the Ancients it requires that we use our Two-Handed Bludgeoning Weapon so we don’t get to customize our weapon selection as much as other builds.
Hammer of the Ancients it requires that we use our Two-Handed Bludgeoning Weapon so we don’t get to customize our weapon selection as much as other builds.
For our Weapon Technique Slot, we will be choosing Two-Handed Axe for its damage bonus to vulnerable enemies.
Horadric Spell (Season 9)
Season 9 brings a new complex mechanic that modifies your skills by attaching an ancient Horadric Catalyst to one of them, which you can then modify further with spells and infusions, causing some very potent combos. For this build, we recommend the following setup:
| Type | Power | Description |
| Catalyst | Awaken an Oracular Rune that pulls in all surrounding enemies. A torrent of stars follow that randomly strike the area 20 times for 1288% damage each. At Rank 10+: Stars periodically fall around you and are guaranteed to crash around a nearby enemy for the same damage | |
| Infusion | Your Catalyst now deals Fire and/or Burning damage. It destroys enemy structures and has a 10% chance to ignite the ground beneath enemies dealing 1215% burning damage over 5 seconds. While equipped, your Fire Damage Bonus is equal to that of your highest damage type bonus. Rank 5+: Deactivates monster Chilling Winds effects for 5 seconds. | |
| Arcana | Your Catalyst applies Vulnerable for 8 seconds | |
| Arcana | Your Catalyst deactivates monster damage resistance aura effects for 5 seconds, but you take 15% more damage for the same duration | |
| Arcana | Your Catalyst gains a specialized Execute effect for Non-Boss enemies with 20% or less life. Bloody Charm creates the following effect: (Celestial Surge): The Moon’s impact executes non-boss enemies with 20% or less life. Successful Executions reduce your cooldowns by 2 seconds |
Assign your Catalyst to ![]() Hammer of the Ancients
Hammer of the Ancients
Horadric Jewels
Additionally, Season 9 brings back new special gems for your Amulets and Rings called Horadric Jewels. We recommend the following gems for this build:
 Idol From Below – You gain x6% Primary Stat, x6% Maximum Life, and are always Unhindered. However, you will be hunted in Sanctuary’s darkest places by Jewel Guardians who were entombed to protect this relic
 Elemental Brand – Your Catalytic Skill deals 33% damage of your Infusion’s element over 3 seconds. Lucky Hit: Dealing damage of your Infusion’s element has up to a 33% chance to trigger its secondary effects.
- Scornful Light – You deal x20% and take x10% more Elemental Damage
Mercenaries
As you play through the campaign in Vessel of Hatred, you will unlock various NPC Mercenaries who can join you on your quest to slay demons. Each Mercenary has their own small talent tree that will give them bonuses and skills to help you. Additionally, you can assign a Mercenary that you don’t take with you as a reinforcement to jump in when you activate certain skills. Let’s take a look at how we want to set this up for this build.
We hire Raheir, the Shieldbearer
- Core Skill:
 Ground Slam
 - Core Skill Passive:
 Raheir’s Aegis
 - Iconic Skill:
 Bastion
 - Iconic Skill Passive:
 Inspiration
Our Reinforcement Mercenary will be Varyana, The Berserker Crone
- Opportunity Skill:
 War Cry
 - Reinforcement Skill:
 Bloodthirst
Season 9 Updates
For a complete overview of Season 9, its mechanics and theme, new leveling activities, and other changes coming with the Season of Horadric Spellcraft, please take a look at our comprehensive season hub here.
Here is a quick overview of the seasonal changes relevant to this build:
 Hammer of the Ancients damage increased from 98% to 110%
 Rumble damage bonus reduced from 35.1% to 30.1%x
- Executioner’s Aspect damage now capped at 100% from 200%
 Heavy Hitter now 10% per point from 15%
 Vehement Augments can no longer temper Heavy Hitter now tempers
 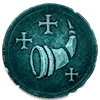 Wallop instead
Navigation to Other Pages:
Changelog
- June 28 2025: Updated for Season 9
- April 25th 2025: Reformatted and updated for Season 8
- March 31st 2025: Updated skill tree recommendations
- January 21st 2025: Added section detailing Earthquake spawns and provided Leap variant information.
- January 19th 2025: Tooltips and Seasonal section updated for Season 7
- January 17th 2025: Build updated for Season 7.
- October 22nd 2024: Updated talent setup, paragon images removed and paragon tool added, and gear recommendations shifted slightly.
- October 3rd 2024: Guide updated for Season 6 and Vessel of Hatred.
- August 2nd 2024: Guide updated for season 5 and patch 1.5.0.
- May 6th 2024: Guide restructured, updated for season 4.
- April 16th 2024: Ownership of page transferred, build Revamped, paragon adjusted, unique items added.
- March 5th 2024: Updates for Patch 1.3.3.
- January 21st 2024: Season 3 speculative changes.
- October 13th 2023: Build Adjusted to prepare for Season 2 launch.
- August 7th, 2023: New Format and build Revamp.
- August 2nd, 2023: Patch 1.1.1 section added with build specific changes.
- July 18th, 2023: Guide updated for Season 1.
