d4Guideseason 9

Horadric Strongrooms and Jewels in Diablo 4 (Season 9)

Fight your way through a Strongroom and craft a Horadric Jewel!

NeviriahAvatar

Neviriah

WRITER


Updated:


Horadric Strongrooms are special challenge rooms found inside Nightmare Dungeons in Season 9: Sins of the Horadrim. These micro-dungeons are short, fast-paced, and full with enemies. They have their own unique mechanics.

Strongrooms are optional, but if your goal is loot and Horadric Jewels crafting, they are absolutely worth your time.

How to Find a Horadric Strongroom

Strongrooms do not appear in every Nightmare Dungeon, but there are ways to increase your chances:

  • Play on higher World Tiers. Playing in Torment will increase your chances of finding a Strongroom.
  • Upgrade your Horadric Wayfinder through the seasonal questline to help you locate Strongrooms within Nightmare Dungeons.
  • Use Nightmare Sigils that include an affix guaranteeing a Strongroom in the dungeon.
  • Inside a dungeon, watch for a flash of light and distinct sound. That is your clue that a Strongroom gateway is nearby.

Once you find it, defeat the initial ambush of monsters to open the portal and enter the Strongroom.

Inside the Strongroom

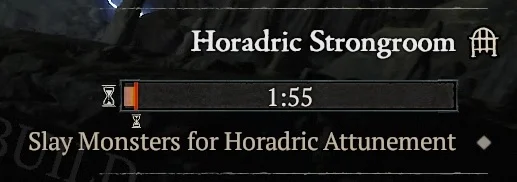
Once you are inside, the challenge begins. You will be racing against the clock to earn Horadric Attunement, a score that scales your final reward. You have 100 seconds on the timer to fill up the Attunement bar. Every death will give you a penalty, just like the Pit.

1. Activate Horadric Pillars

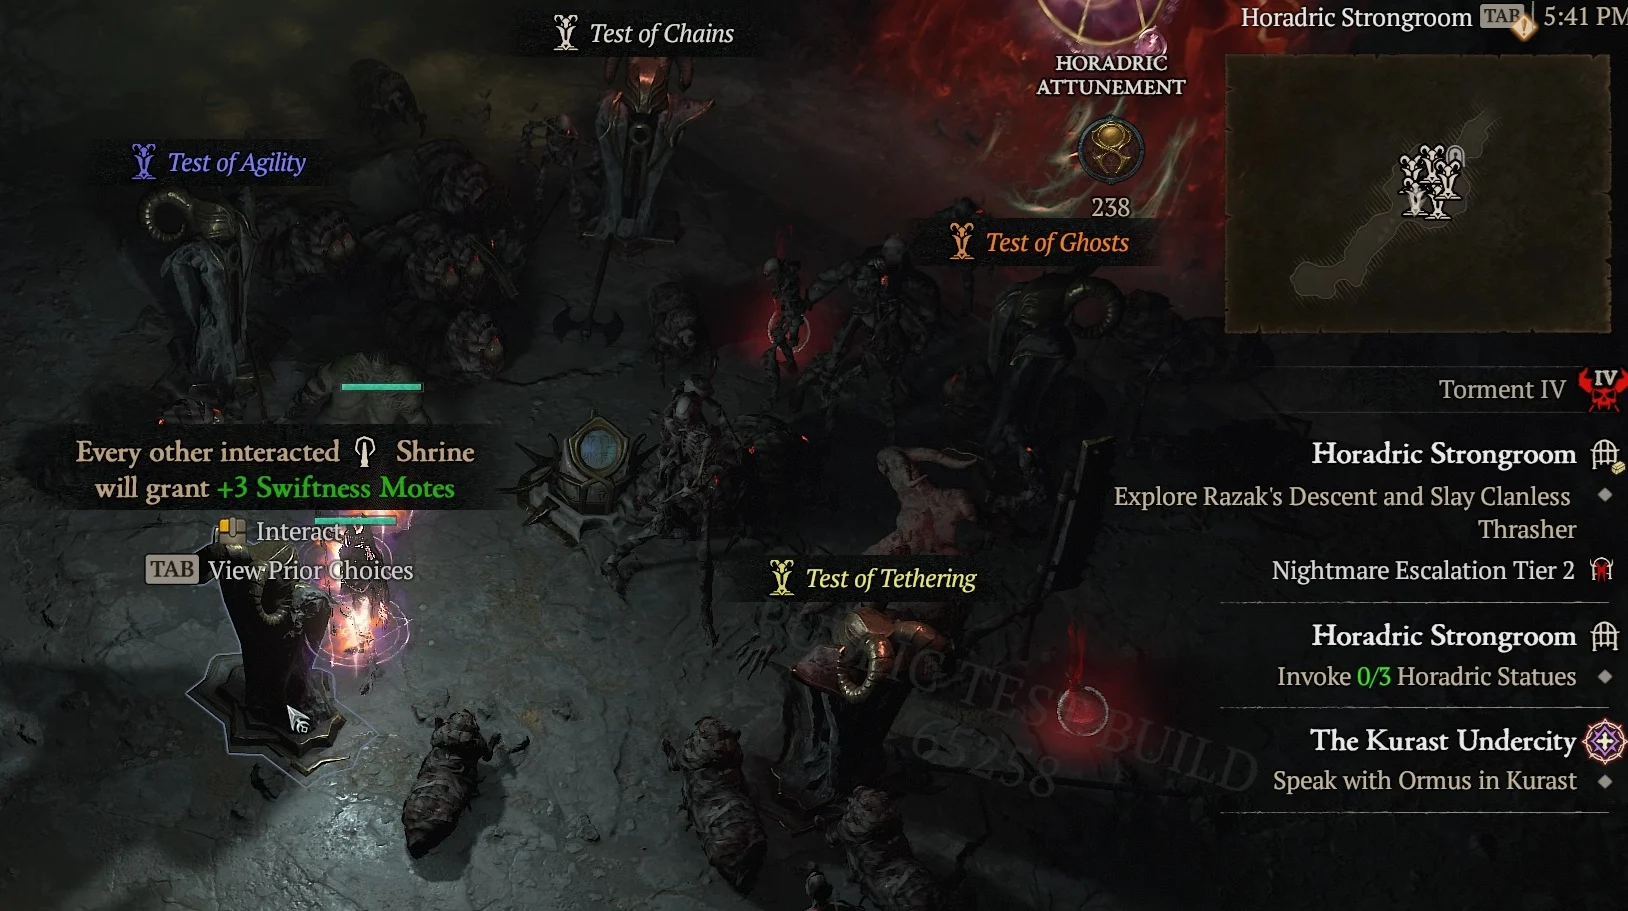
You will be given a choice to pick up to 3 Horadric Statues. You can activate more statues if you play at a higher difficulty level.

Statues can either offer bonuses or be corrupted by Astaroth‘s influence, adding risk in exchange for much greater rewards. Choosing the right Pillars can change your entire Strongroom experience: stack buffs, summon tougher enemies, or both.

2. Slay Monsters to Earn Attunement

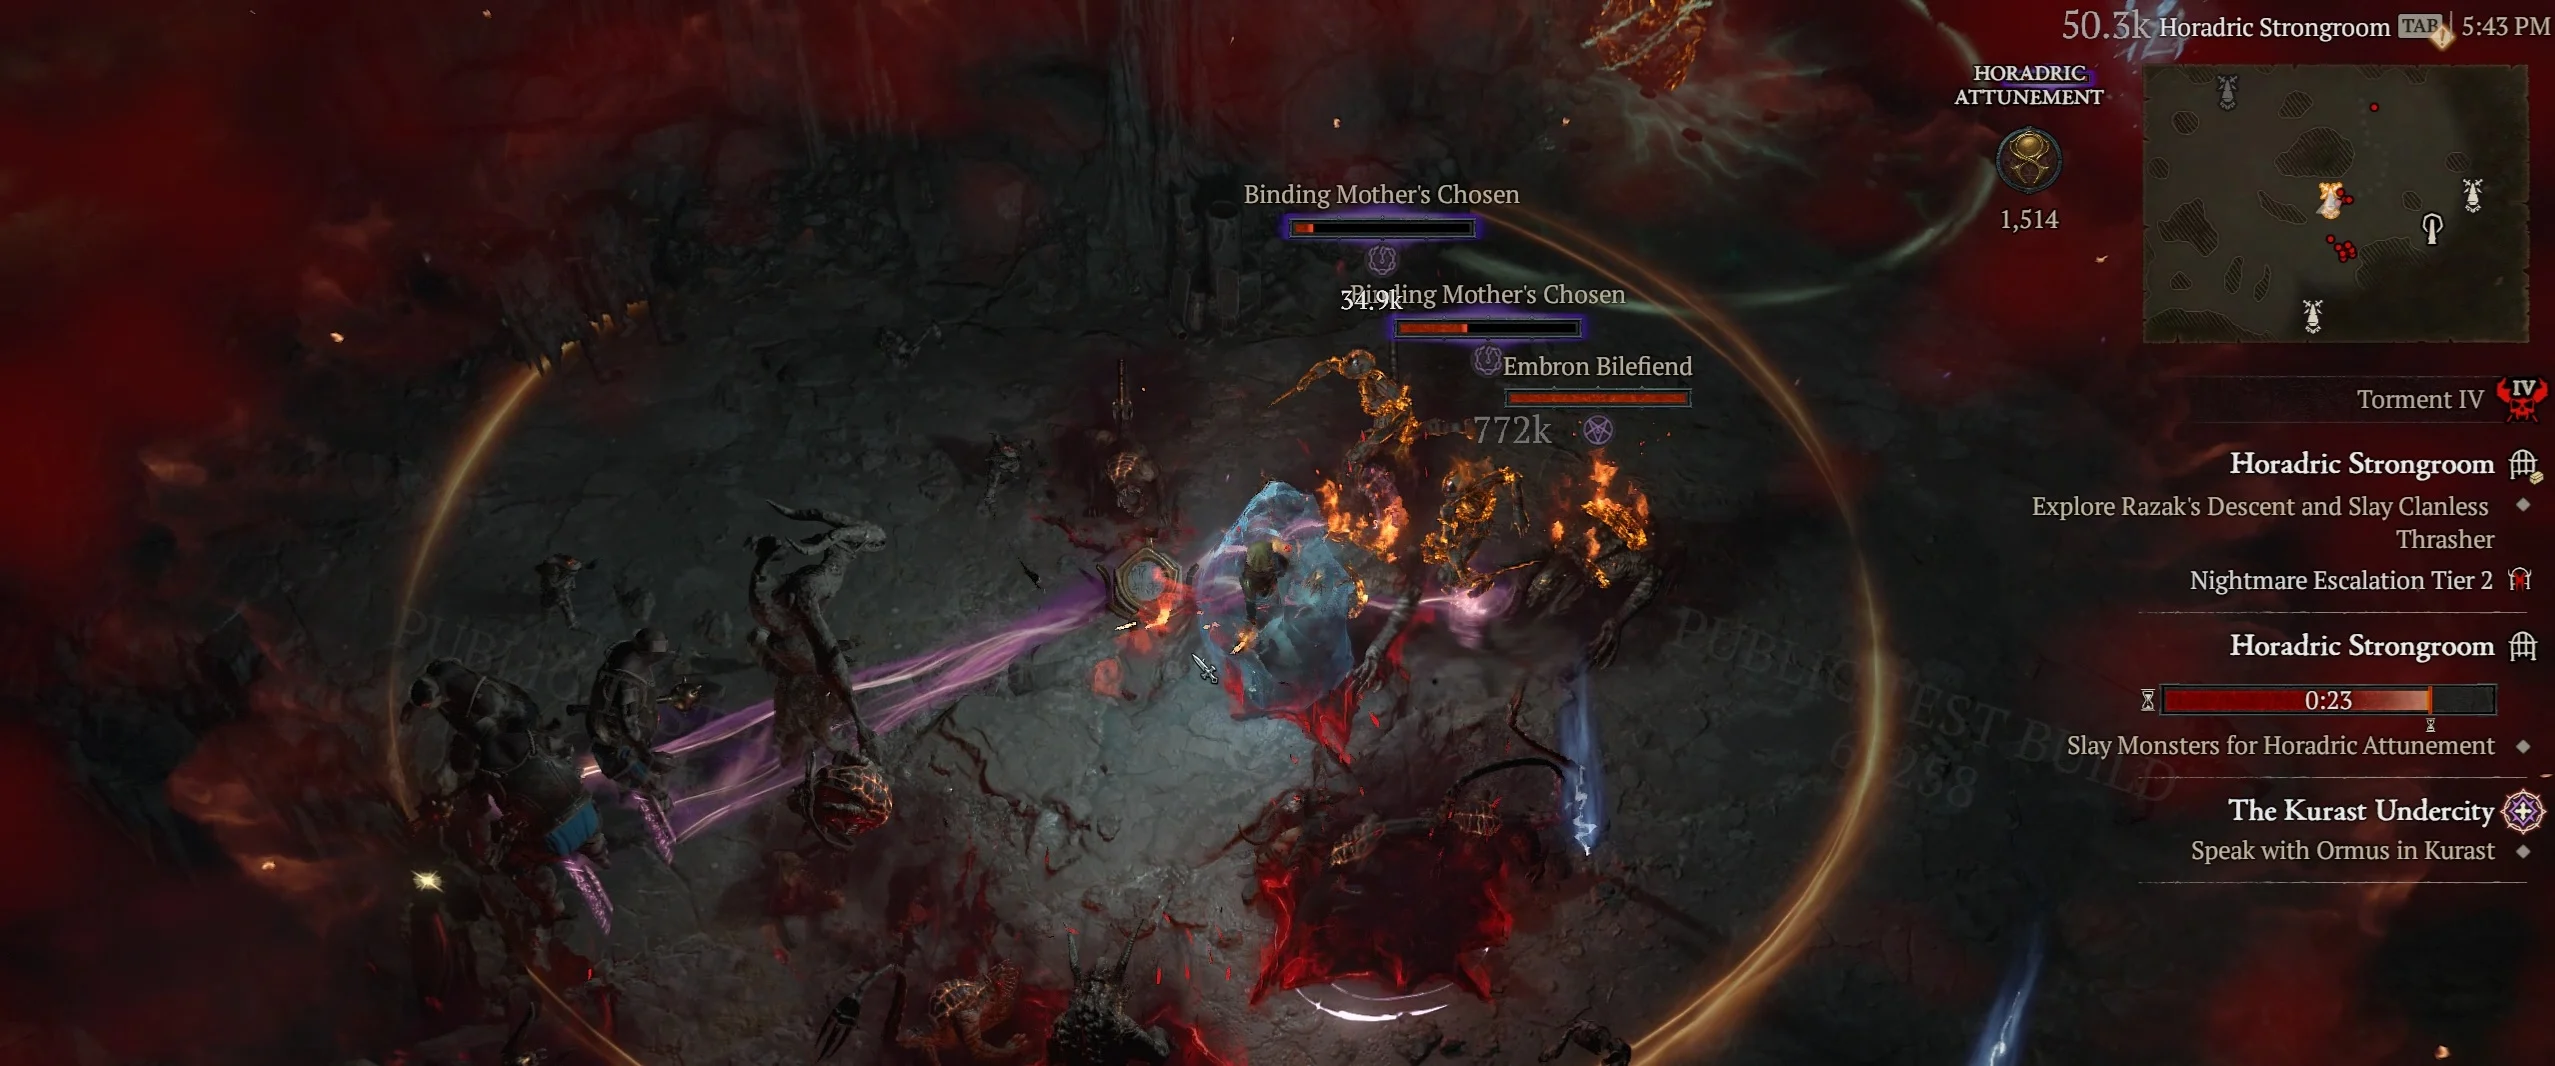
Each kill gives Attunement. You can see your Attunement score up right, next to the minimap. Completing a Pillar Ritual activates a 10-second buff where all monster kills give +2 bonus Attunement. Use that window to go on a killing spree.

3. Use Sacrifice Shrines

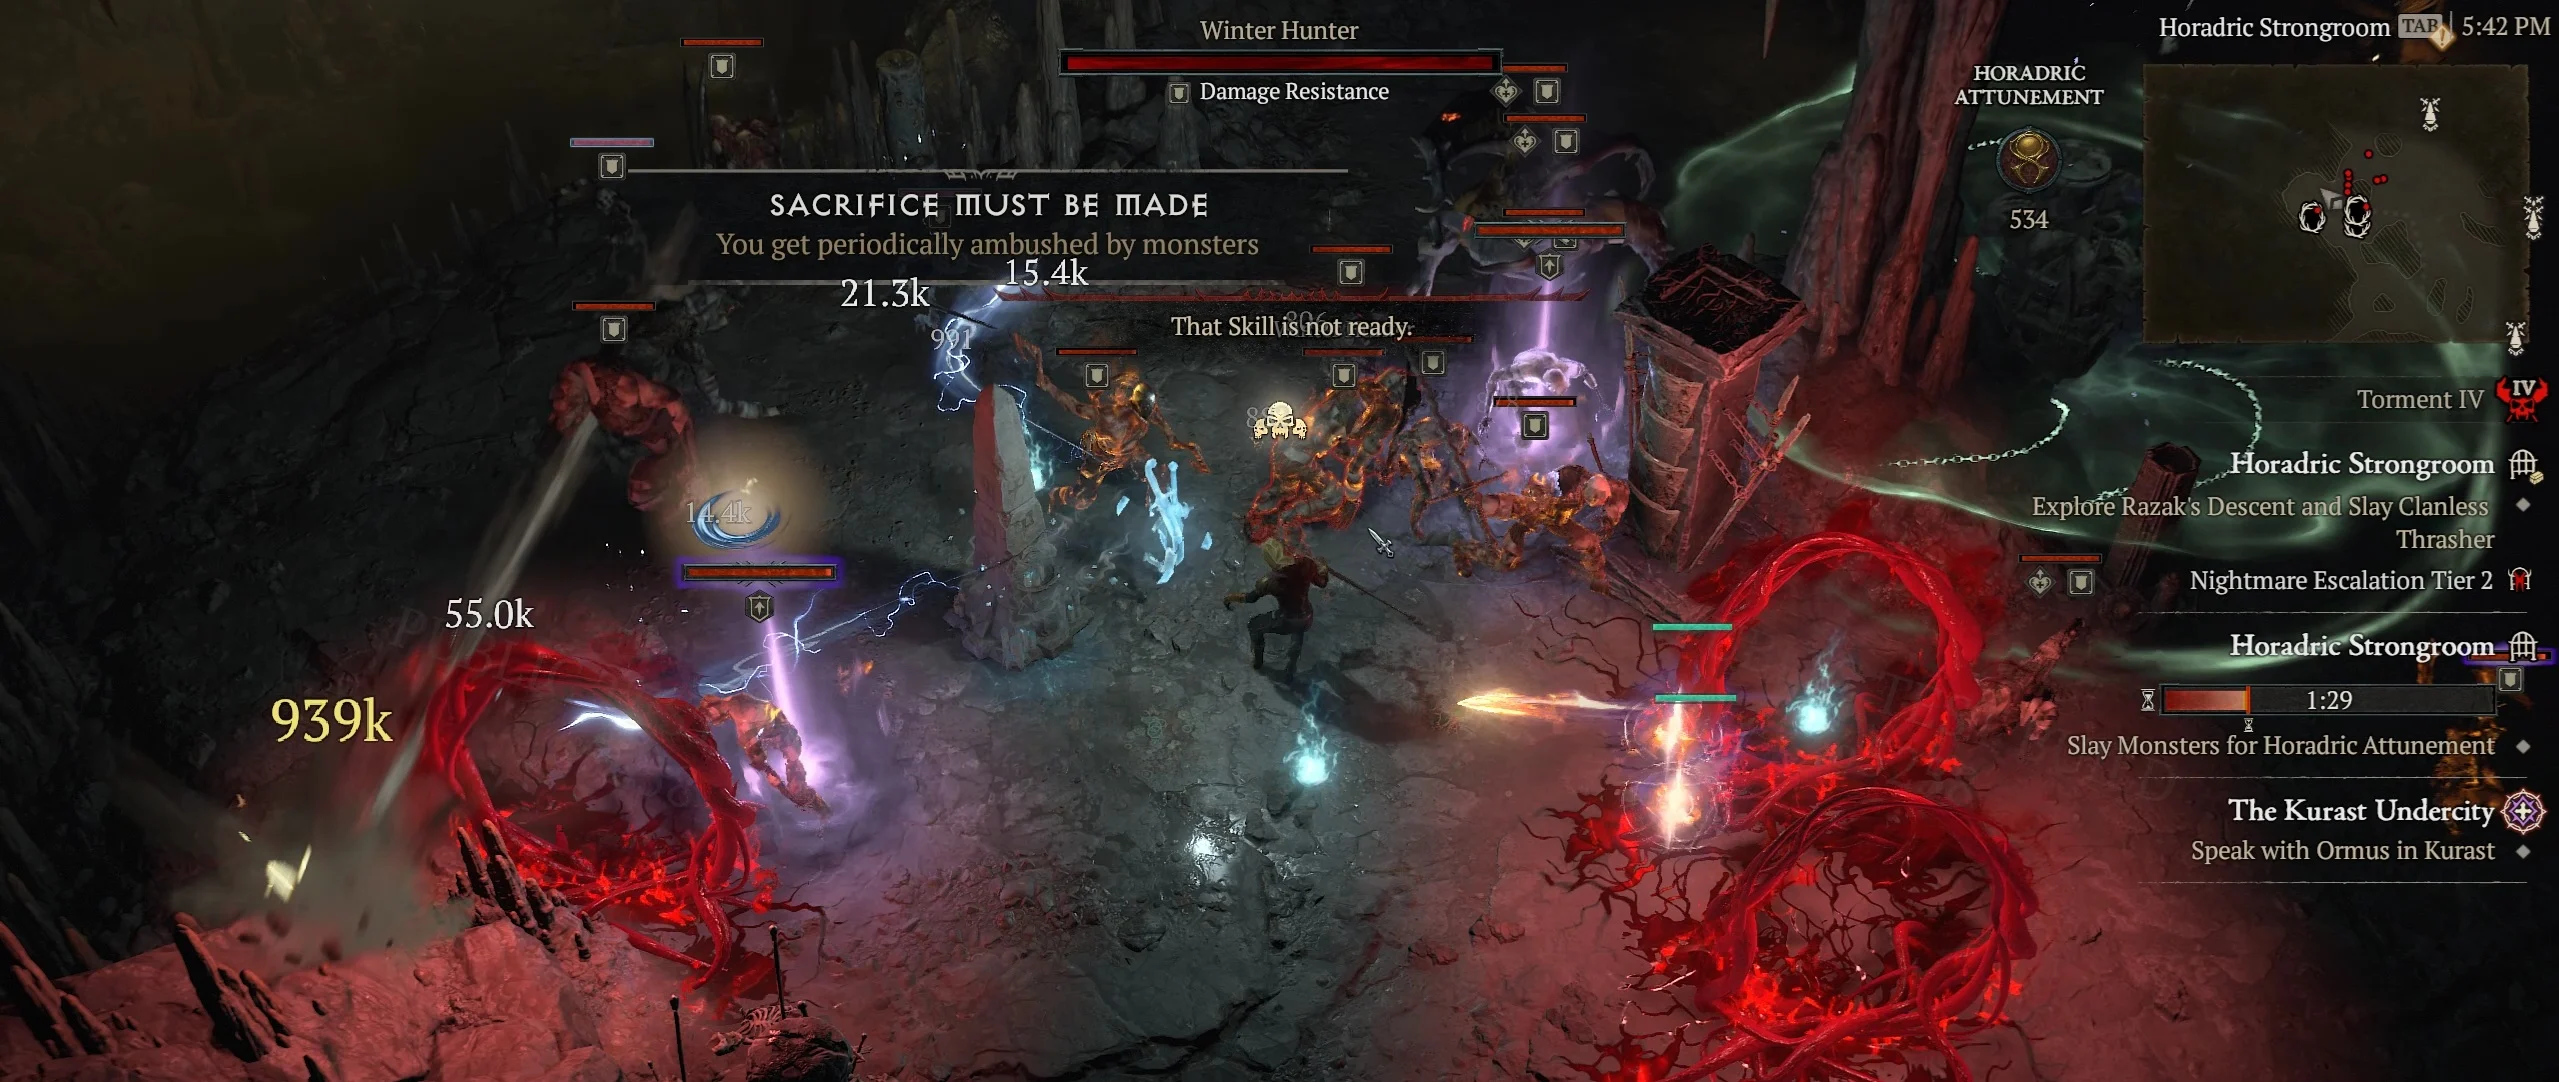
These unique Shrines spawn portals for enemy ambushes at your location. Risky, but use them after clearing Pillar Rituals to trigger the effects faster and gain more attunement.

Strongroom Boss and Rewards

Once time runs out or enough Attunement has been gathered, a boss will spawn. Defeat the boss to complete the Strongroom.

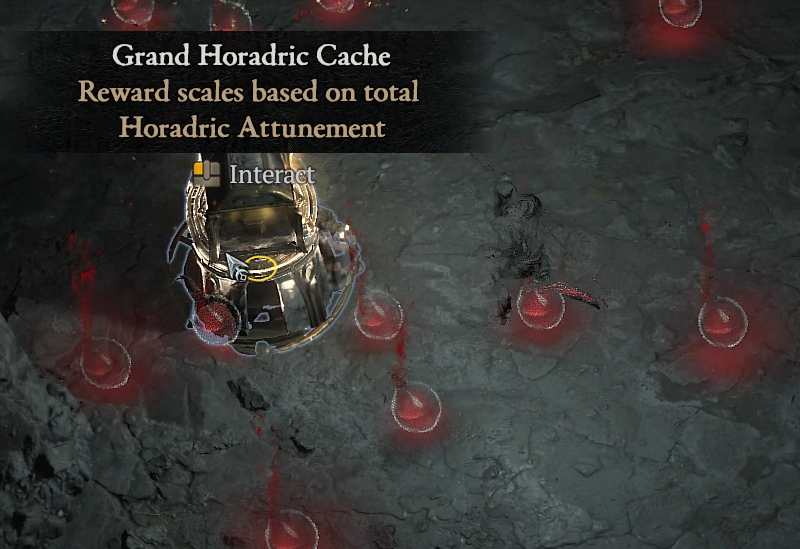
After the fight, open the Grand Horadric Cache. The better your Attunement score, the better the loot. Here are some of the interesting parts of the loot:

  • ObduciteObducite
  • Escalation Sigils for Escalating Nightmares
  • Horadric Tomes (Horadric Jewels recipes)
  • Horadric Knowledge, seasonal reputation
  • Horadric Phials, seasonal currency

When leaving the Horadric Strongroom, you will receive a buff for the remainder of your Nightmare Dungeon. Here are the possible buffs you can receive:

  • Experience: You gain increased Experience from Monster Kills.
  • Reputation: You gain increased Horadric Favor from Monster Kills.
  • Obducite: You gain increased Obducite from Monster Kills in this dungeon.
  • Gold: You find 25% more gold.
  • Horadric Phials: Monsters in this dungeon can drop Horadric Phials.

Horadric Jewels

Strongrooms reward you with Horadric Phials and Horadric Tomes.

Tomes allow you to learn to craft Horadric Jewels at Wayfinders, using Horadric Phials and Gem Fragments as materials. These powerful gems socket into Amulets and both Ring slots, and play a big role in boosting your Horadric Spell.

Horadric Jewels always include a +120 Armor and +6% Resistance to All Elements in addition to their power. This allows all players to not sacrifice armor and resistance in favor of power.

Here is the list of Horadric Jewels:

Horadric JewelEffect
Seal of ControlSeal of ControlWhile you have two or more Arcana from the School of Control equipped, gain 45%[+] Control Duration and 30%[+] Lucky Hit Chance.
Seal of PowerSeal of PowerWhile you have two or more Arcana from the School of Power equipped, gain 25%[+] Movement Speed and 15%[+] Critical Strike Chance.
Seal of DenialSeal of DenialWhile you have two or more Arcana from the School of Denial equipped, gain 30%[x] more Barrier, Fortify and Thorns.
Horadric CrestHoradric CrestFor each Arcana from a unique School you have equipped, gain 5%[+] Damage Reduction and 1%[+] Maximum Resistance to All Elements.
Reverie HornReverie HornAfter you injure or kill an enemy, your Summons are empowered, growing larger and dealing 50%[x] more damage for 4 seconds.
Scornful LightScornful LightYou deal 20%[x] and take 10%[x] more Elemental damage.
Tyrant BaneTyrant BaneAfter you deal damage over time to an enemy, they take 0.33%[x] more damage over time from you forever.
Liminal EchoLiminal EchoIf you would take fatal damage, instead prevent that damage, invoke Propulsion, and become Invulnerable for 3 seconds. This can only occur once every 75 seconds. (does not drop in hardcore)
Idol From BelowIdol From BelowYou gain 6%[x] primary stat, 6%[x] maximum life and you are always Unhindered. However, you will be hunted in Sanctuary’s darkest places by Jewel Guardians who were entombed to protect this relic.
Jewel Guardians generated by Idol from Below can no longer appear in Training Grounds or after a Dungeon’s objective has been completed. They now also spawn at specific intervals as opposed to two random times.
Myriad StoneMyriad StoneAfter you cast your Catalytic Skill, if it is an Ultimate, gain 30%[+] Attack Speed for 10 seconds.
Spark of CreationSpark of CreationAfter you cast your Catalytic Skill, gain 5 Primary Resource.
Luminate EyeLuminate EyeYour Catalytic Skill gains 25%[+] Cooldown Reduction.
Brilliant SigilBrilliant SigilYour Infusions are 150%[x] more potent.
Elemental BrandElemental BrandYour Catalytic Skill deals 33% damage of your Infusion’s element over 3 seconds. Lucky Hit: Dealing damage of your Infusion’s element has up to a 33% chance to trigger its secondary effect.
The StarfluxThe StarfluxYour Catalysts deal 100%[x] more damage. However, you lose control over Horadric Spellcraft, causing your Catalysts to inherit Infusions randomly.
WillbreakerPhysical damage you deal shatters enemies’ spirits, causing them to take 40% more Physical damage for 6 seconds. This effect applies when first damaging a Boss or Elite, or when they are affected by Crowd Control.

Refer to your chosen build guide to see which Horadric Jewel fits best. Not sure what to play this season? Our Diablo 4 Tier Lists can help you decide.

ARPG Vault Logo

Have feedback or questions about our guides? Join our ARPG Discord community and let us know!