


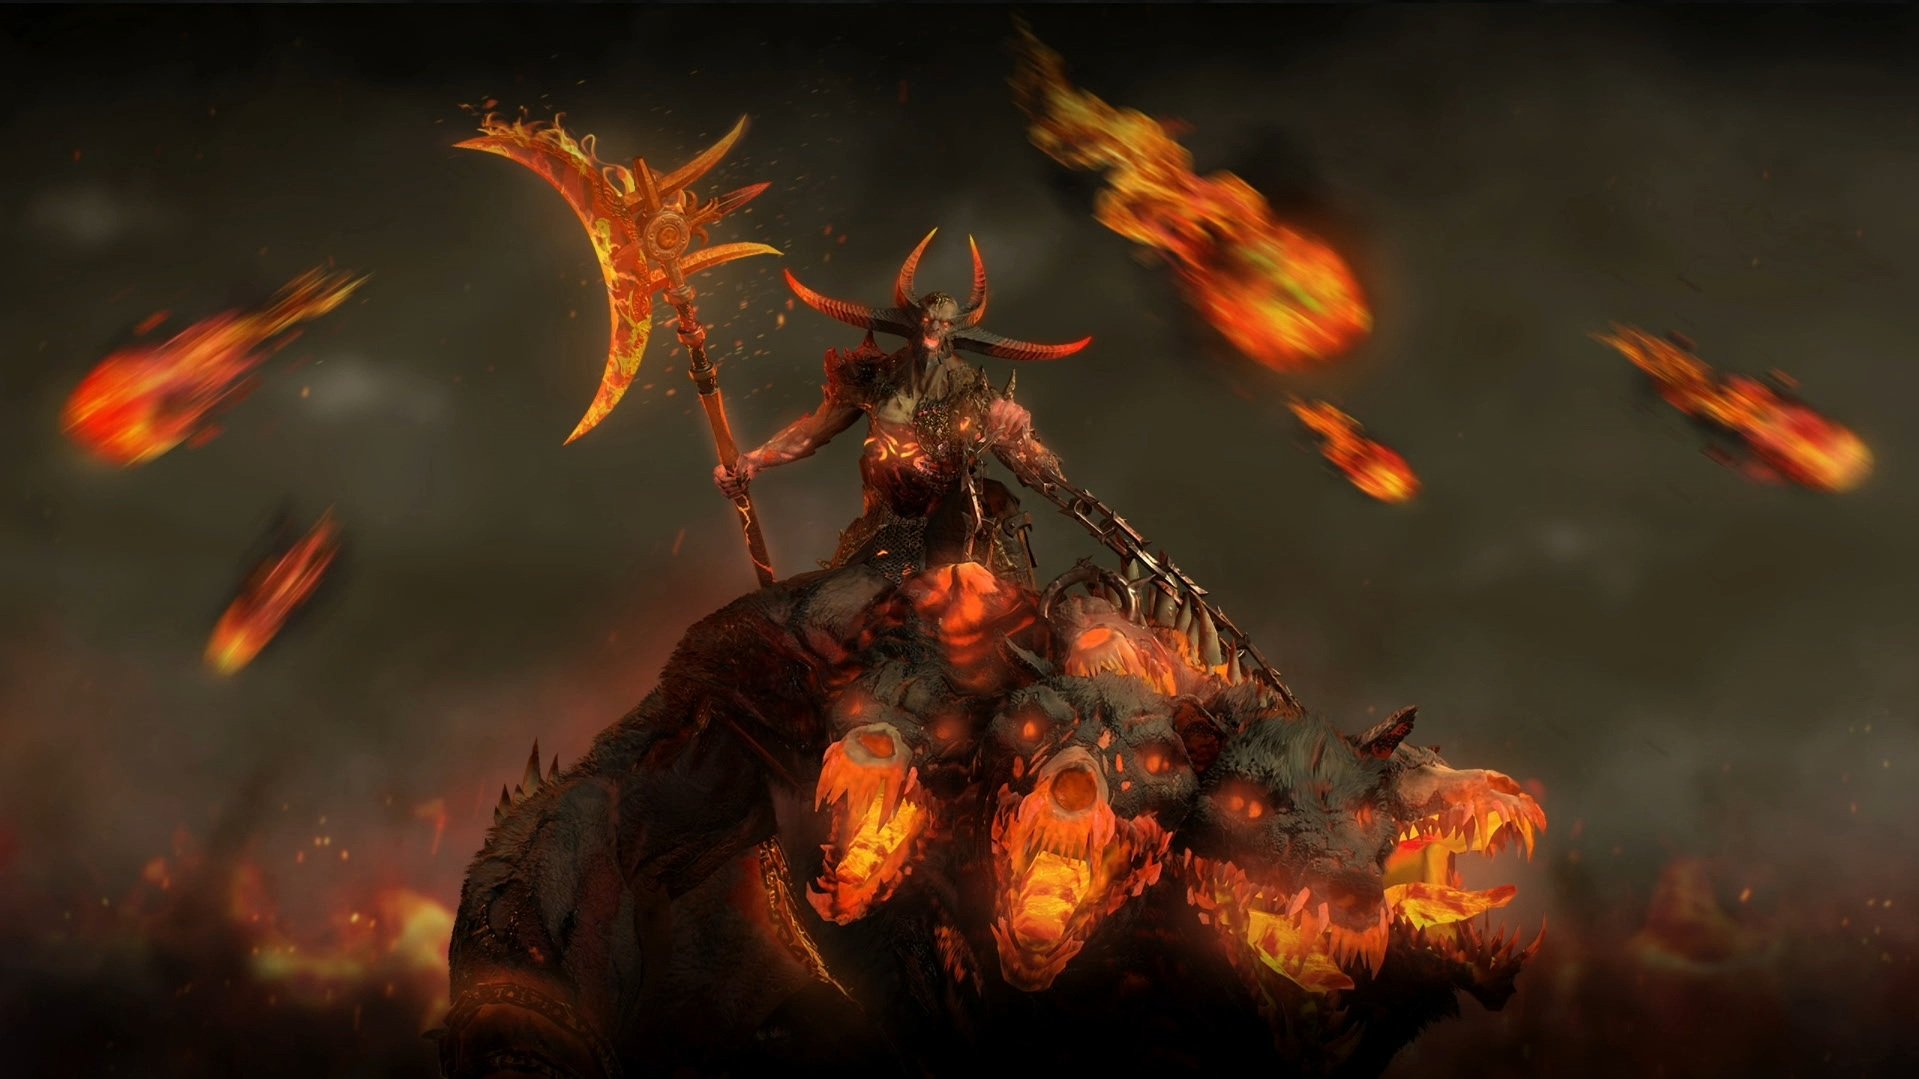
Get ready to face Astaroth and the terrifying Amalgam of Rage hound in a multiphase fight that tests your survivability. You will need to take down both of them, together.
To access the fight, complete a Nightmare Escalation by activating an Escalating Sigil. You can find more details in our Nightmare Dungeons guide. Escalating Nightmare affixes can also impact your fight with Astaroth, creating some uniques challenges in function of the affixes you have gathered in the three prior dungeons.
Preparation
- Stack Fire and Lightning Resistance: This encounter is heavy on elemental damage. Boost your Fire Resistance as much as possible, and consider using
 Elixir of Fire Resistance II to raise your Max Resistance.
 - Play a Build You Trust: Bring a build with strong area-of-effect control and survivability. If unsure, check out our Boss Tier list for suggestions.
Boss Mechanics
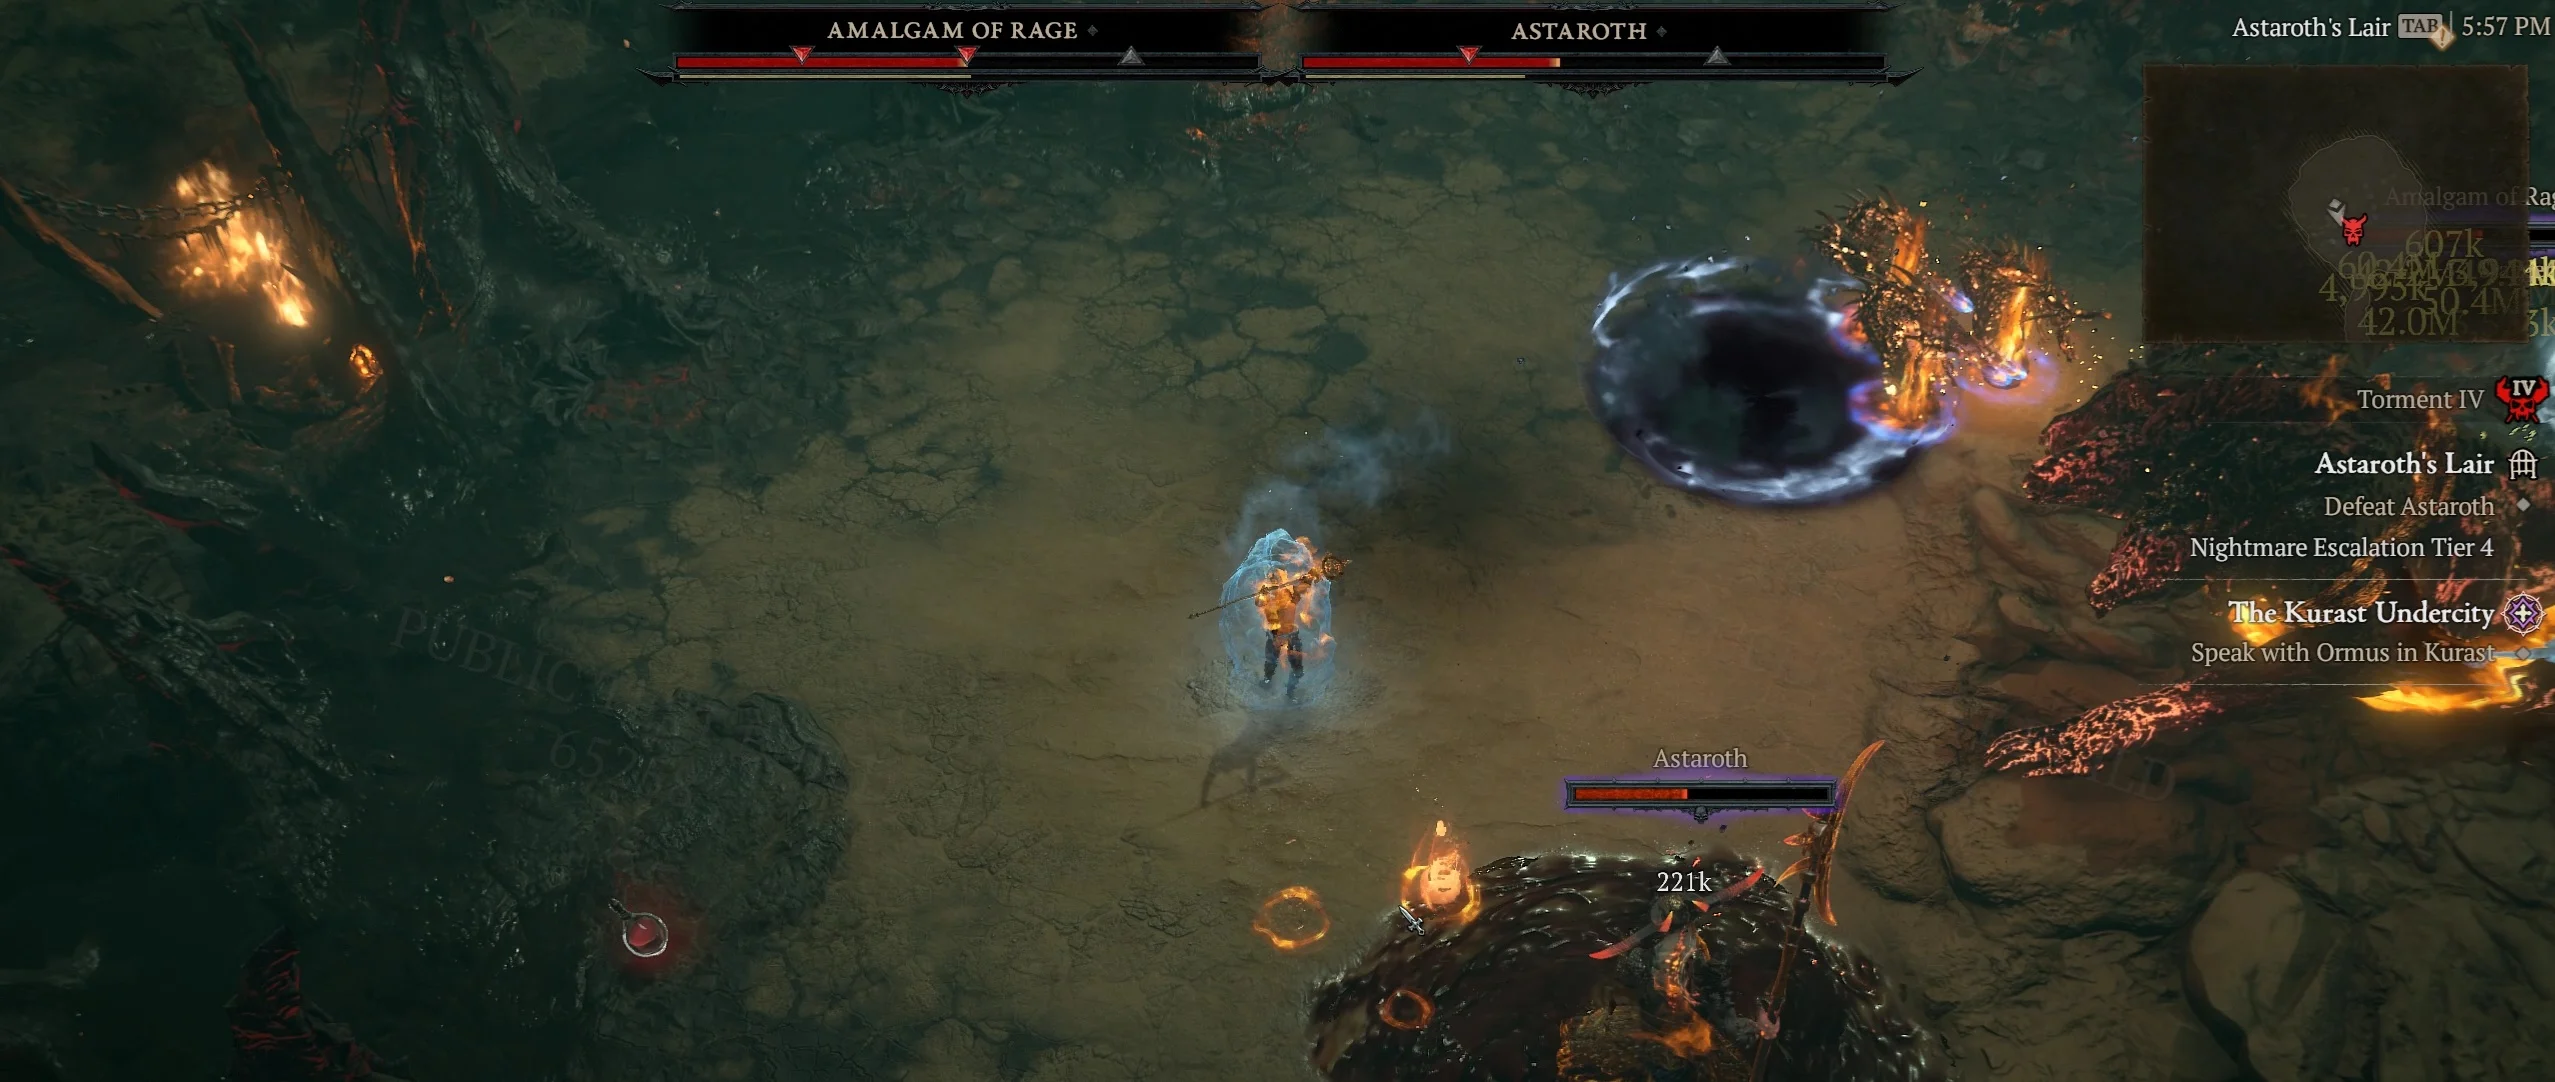
Phase 1: Mounted Astaroth
Astaroth rides in on the Amalgam, a beast that sets the tone with brutal fire damage.
- Triple Fire Beams: The hound spews three frontal fire beams. Do not stand in front. He rotates slightly but does not do a full sweep of the arena.
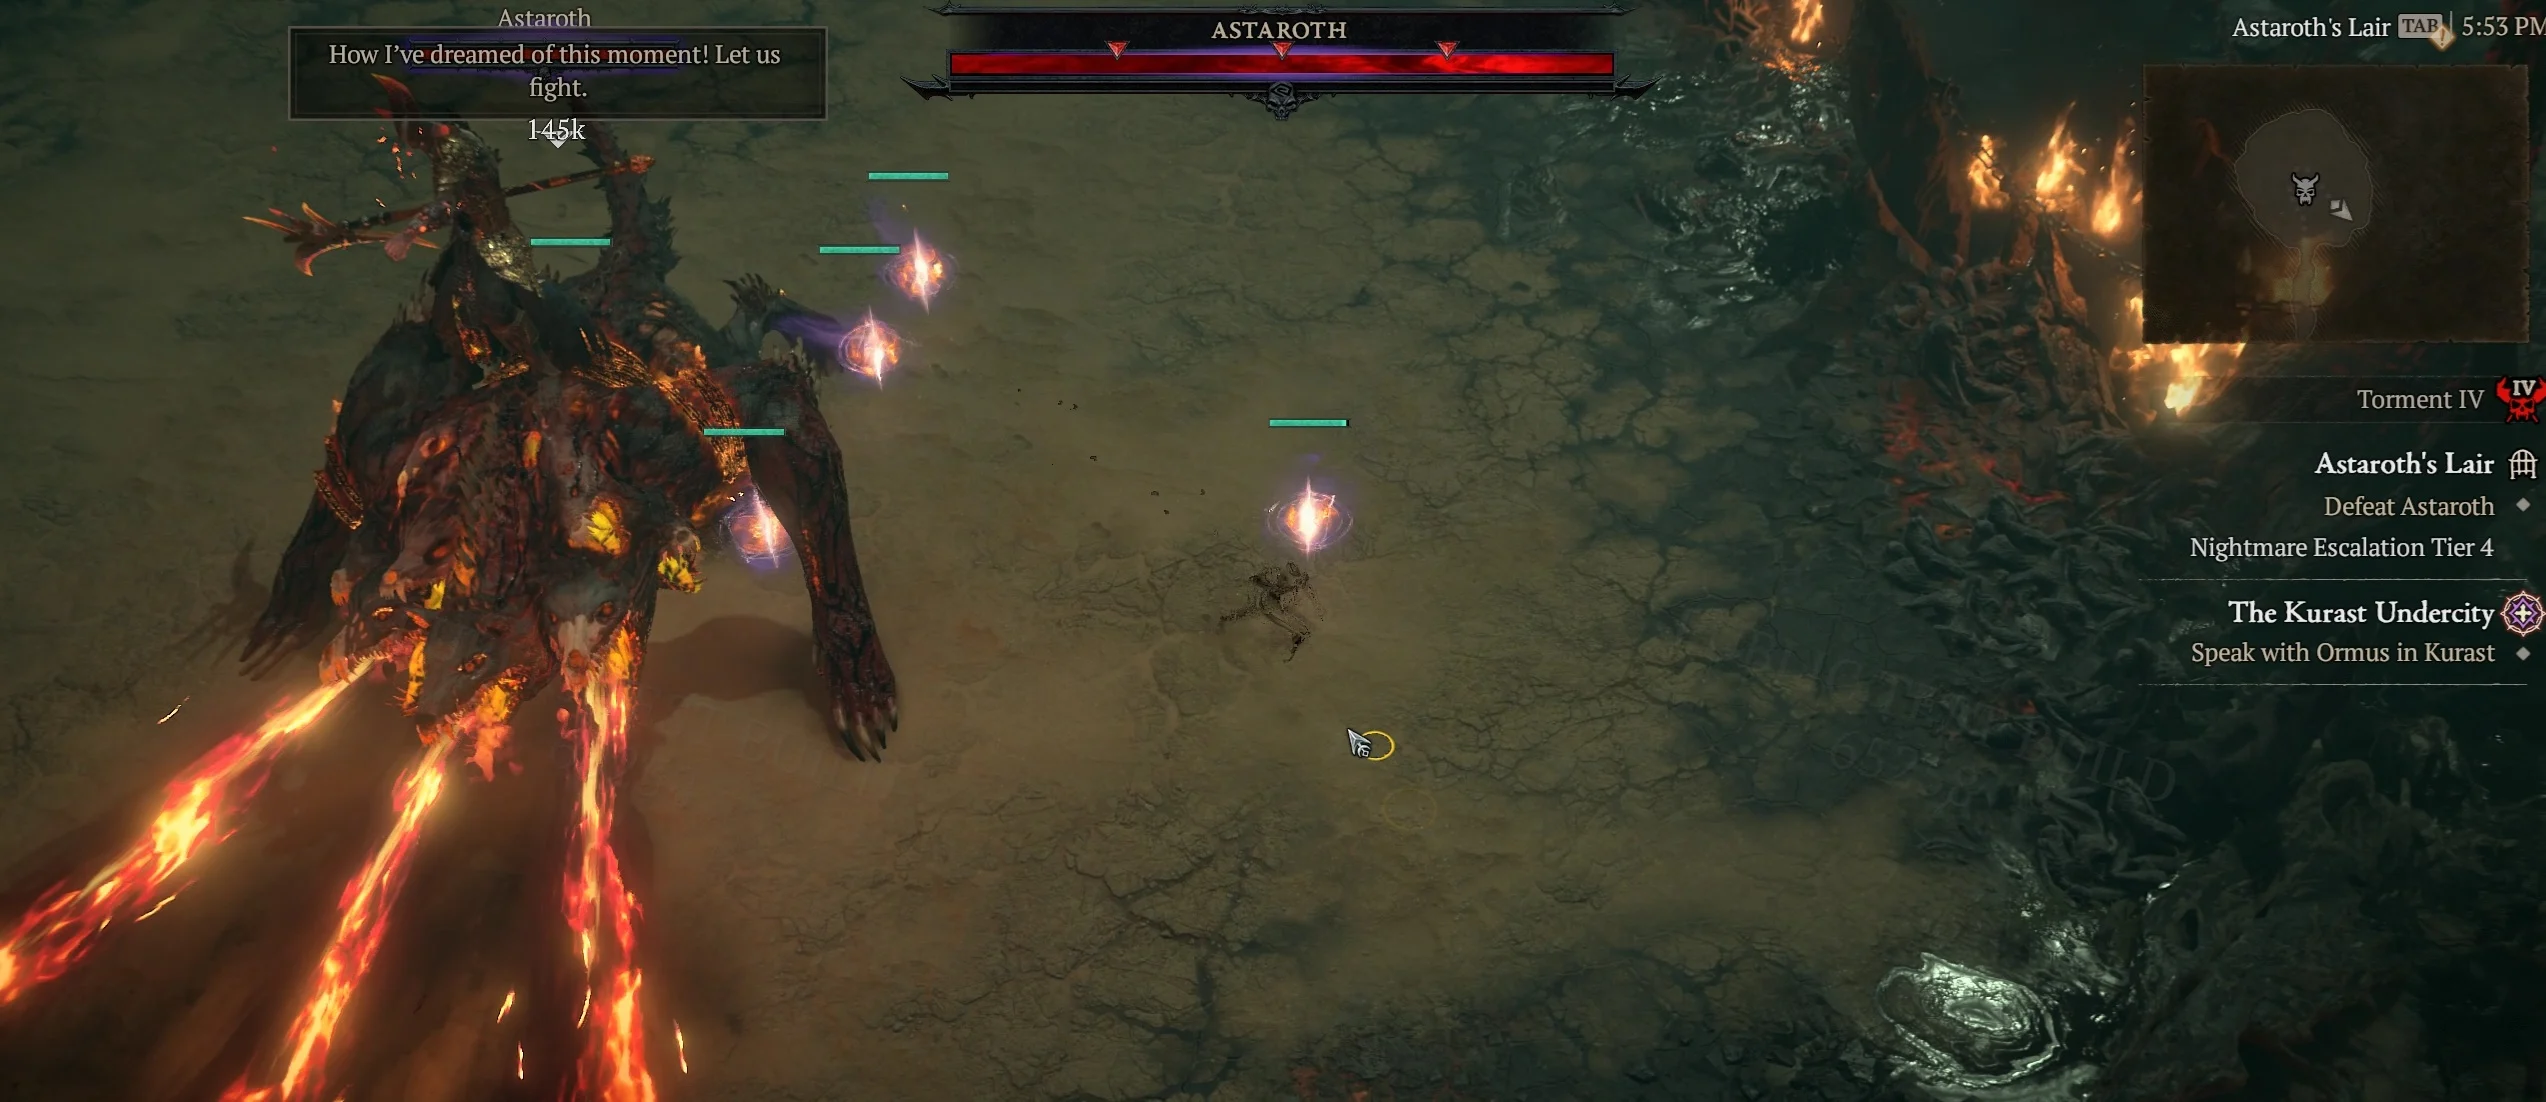
- Staff Swipe and Fire Orbs: Astaroth swings his staff in a wide arc in front of him. Watch his wind-up and step out in time. The swipe leaves behind 3 fireballs, which detonate into smaller projectiles shortly after.
- Jump Attacks: The hound leaps to random points in the arena. These are marked with smoky circles, move out fast.
- Meteors: Fireballs rain from the sky. Each has a clear red landing zone; just avoid standing still.
- Drifting Shade: A tracking orb slowly follows you. Touching it creates a high-damage pool beneath you. Avoid it completely if possible because the damage can be very overwhelming to deal with.
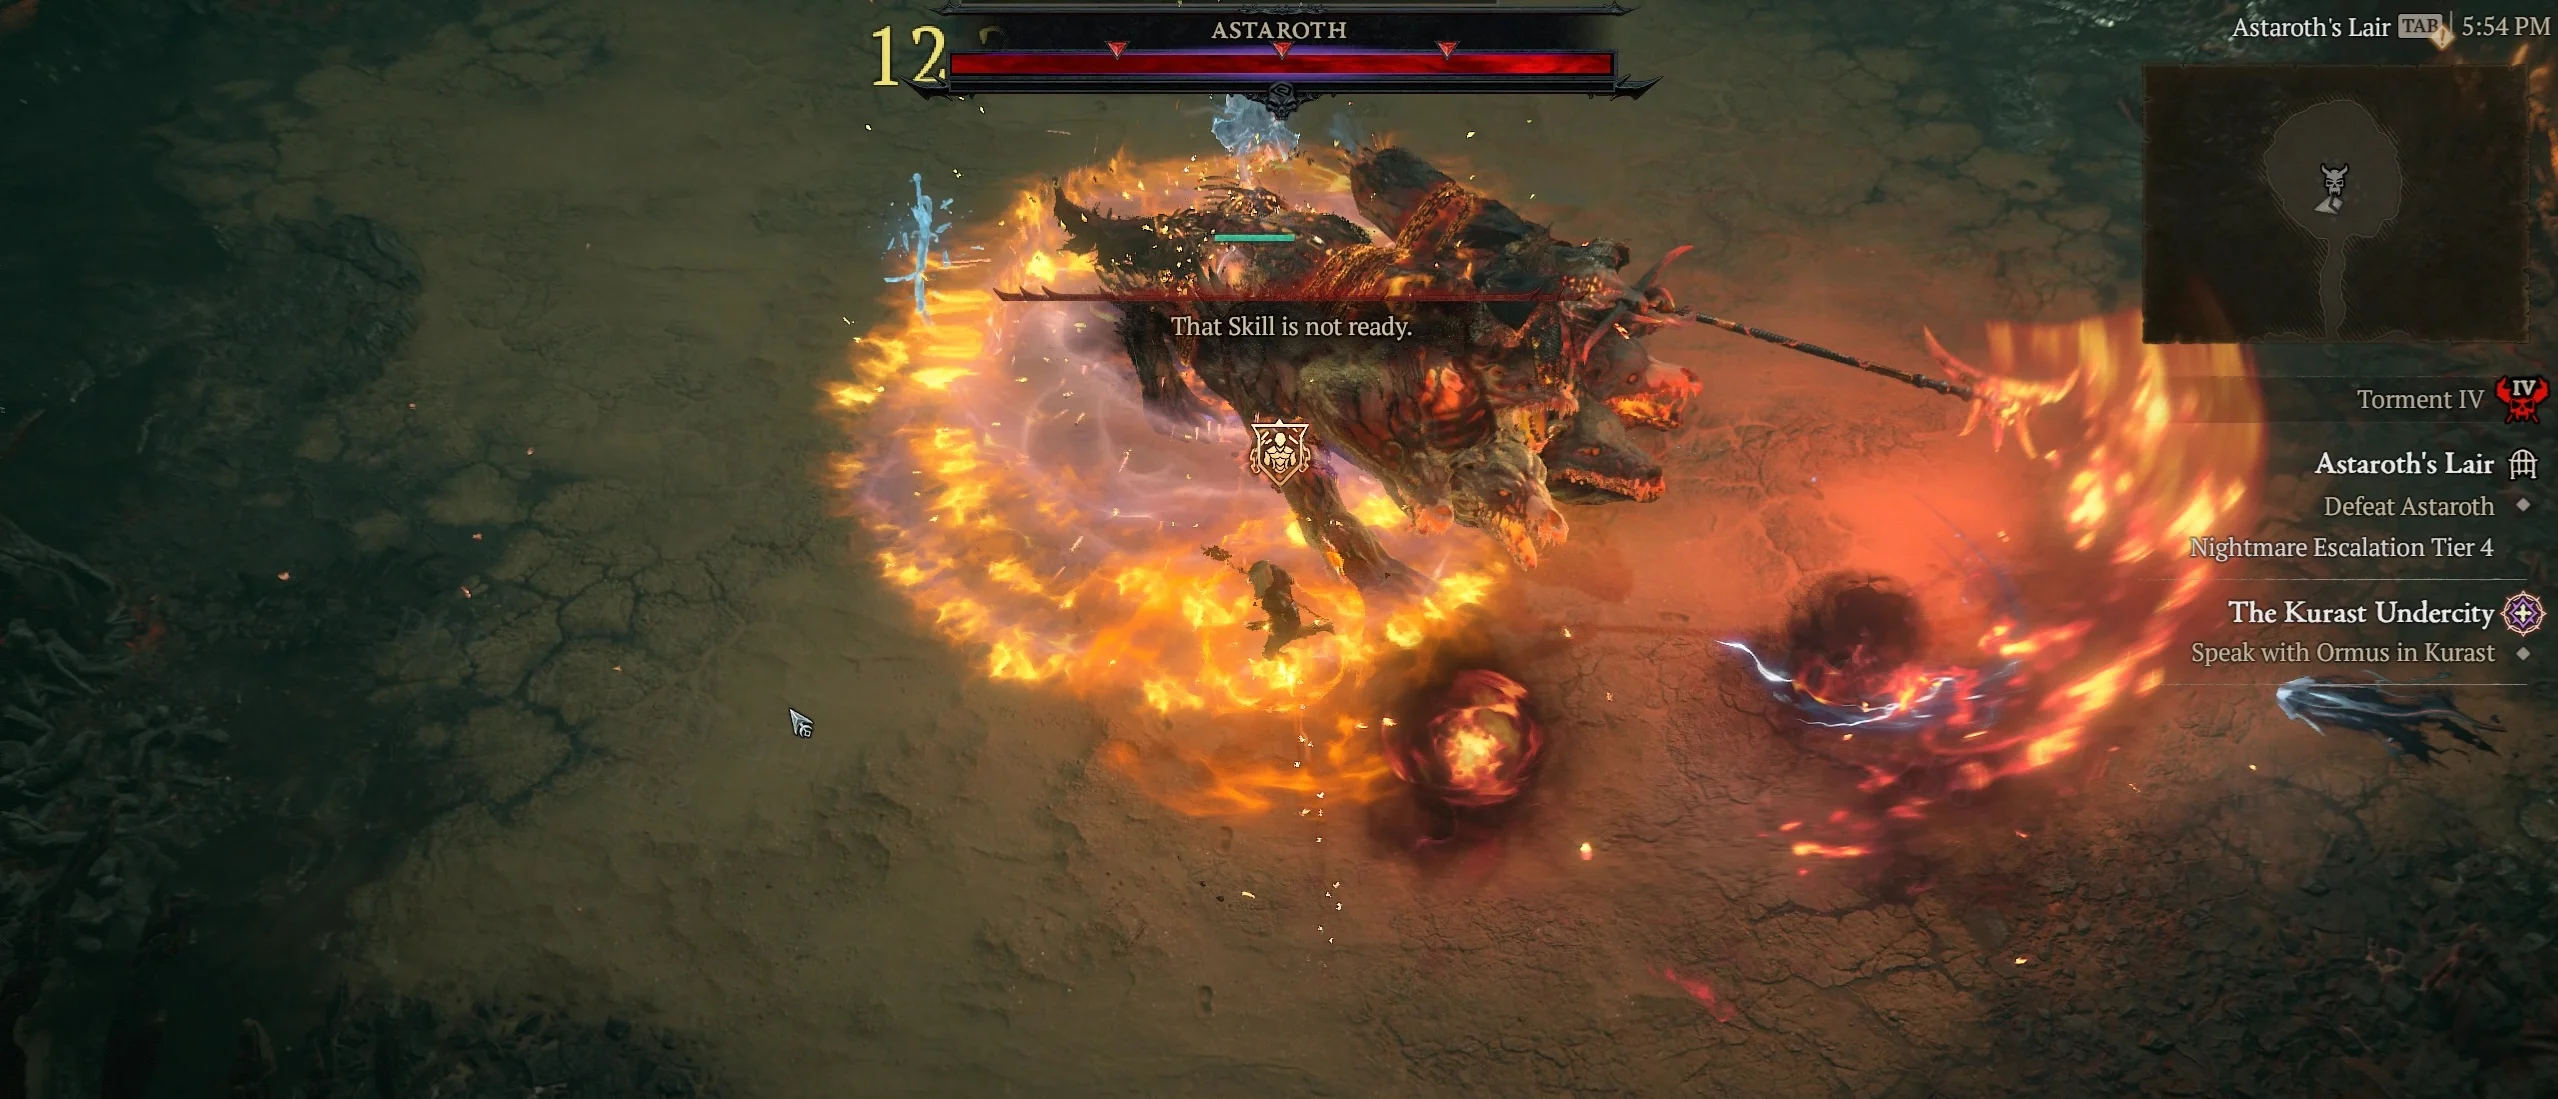
Phase 2 – Astaroth
After you bring the Amalgam down, Astaroth jumps off and enters his second phase. The arena changes here. Amalgam’s corpse occupies the center in its reviving stage, limiting your space.
In addition to some of the mechanics mentioned above, you will now have to deal with the following attacks:
- Fire Wave: A wave of flame moves around the outer ring. Keep moving and do not let Astaroth corner you.
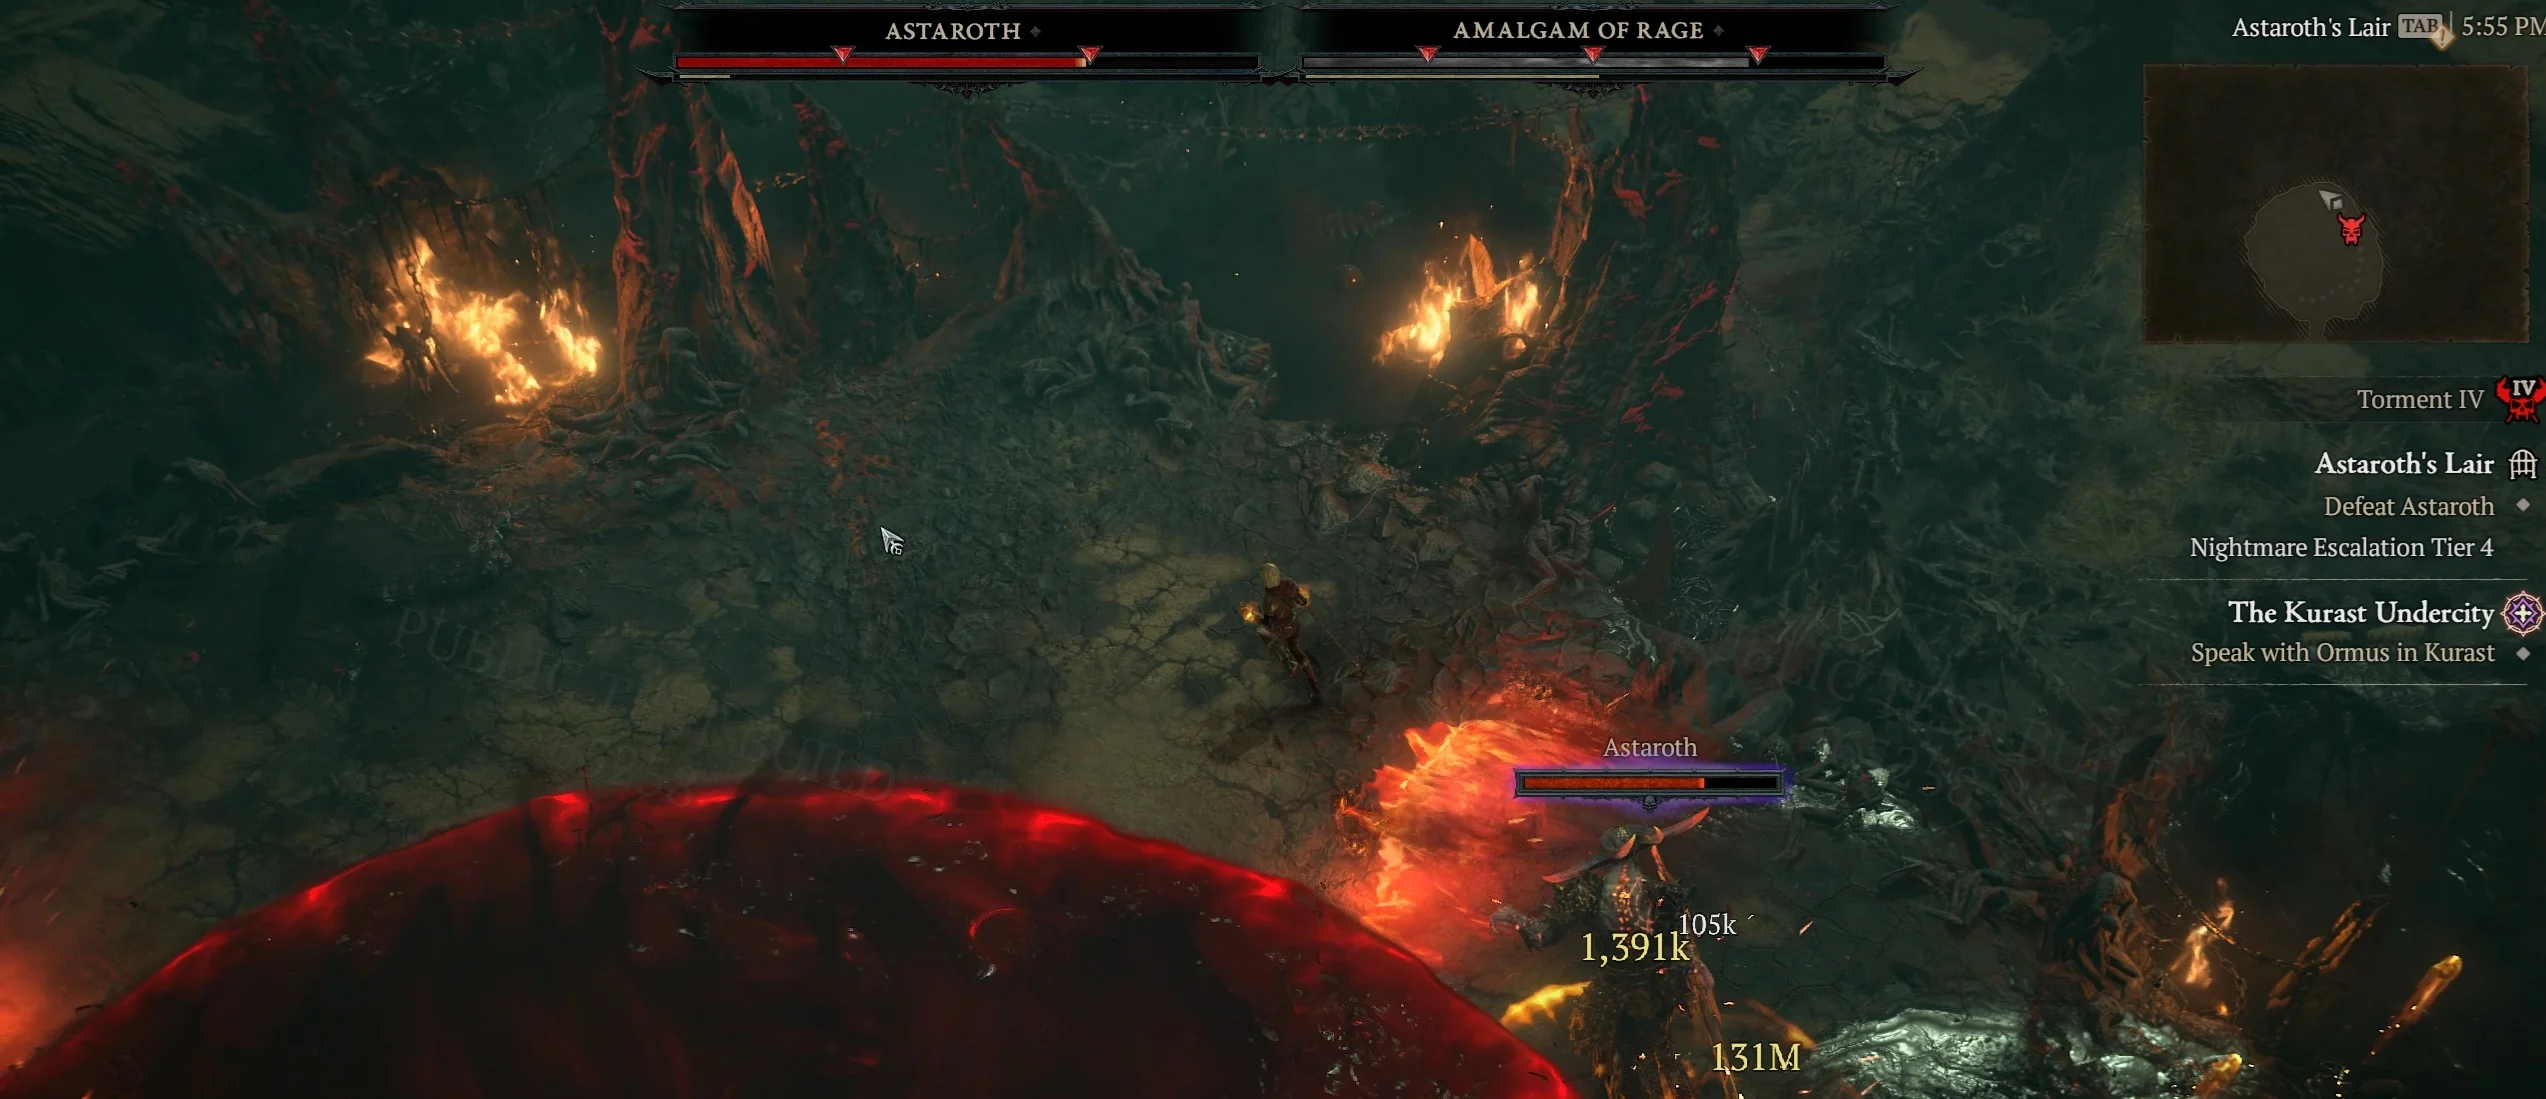
- Fire Pools: Pools appear around the edge of the arena. There is always a safe spot, so watch your positioning.
- Flame Charge: Astaroth charges forward, leaving three straight fire paths. Stay clear of the lanes.
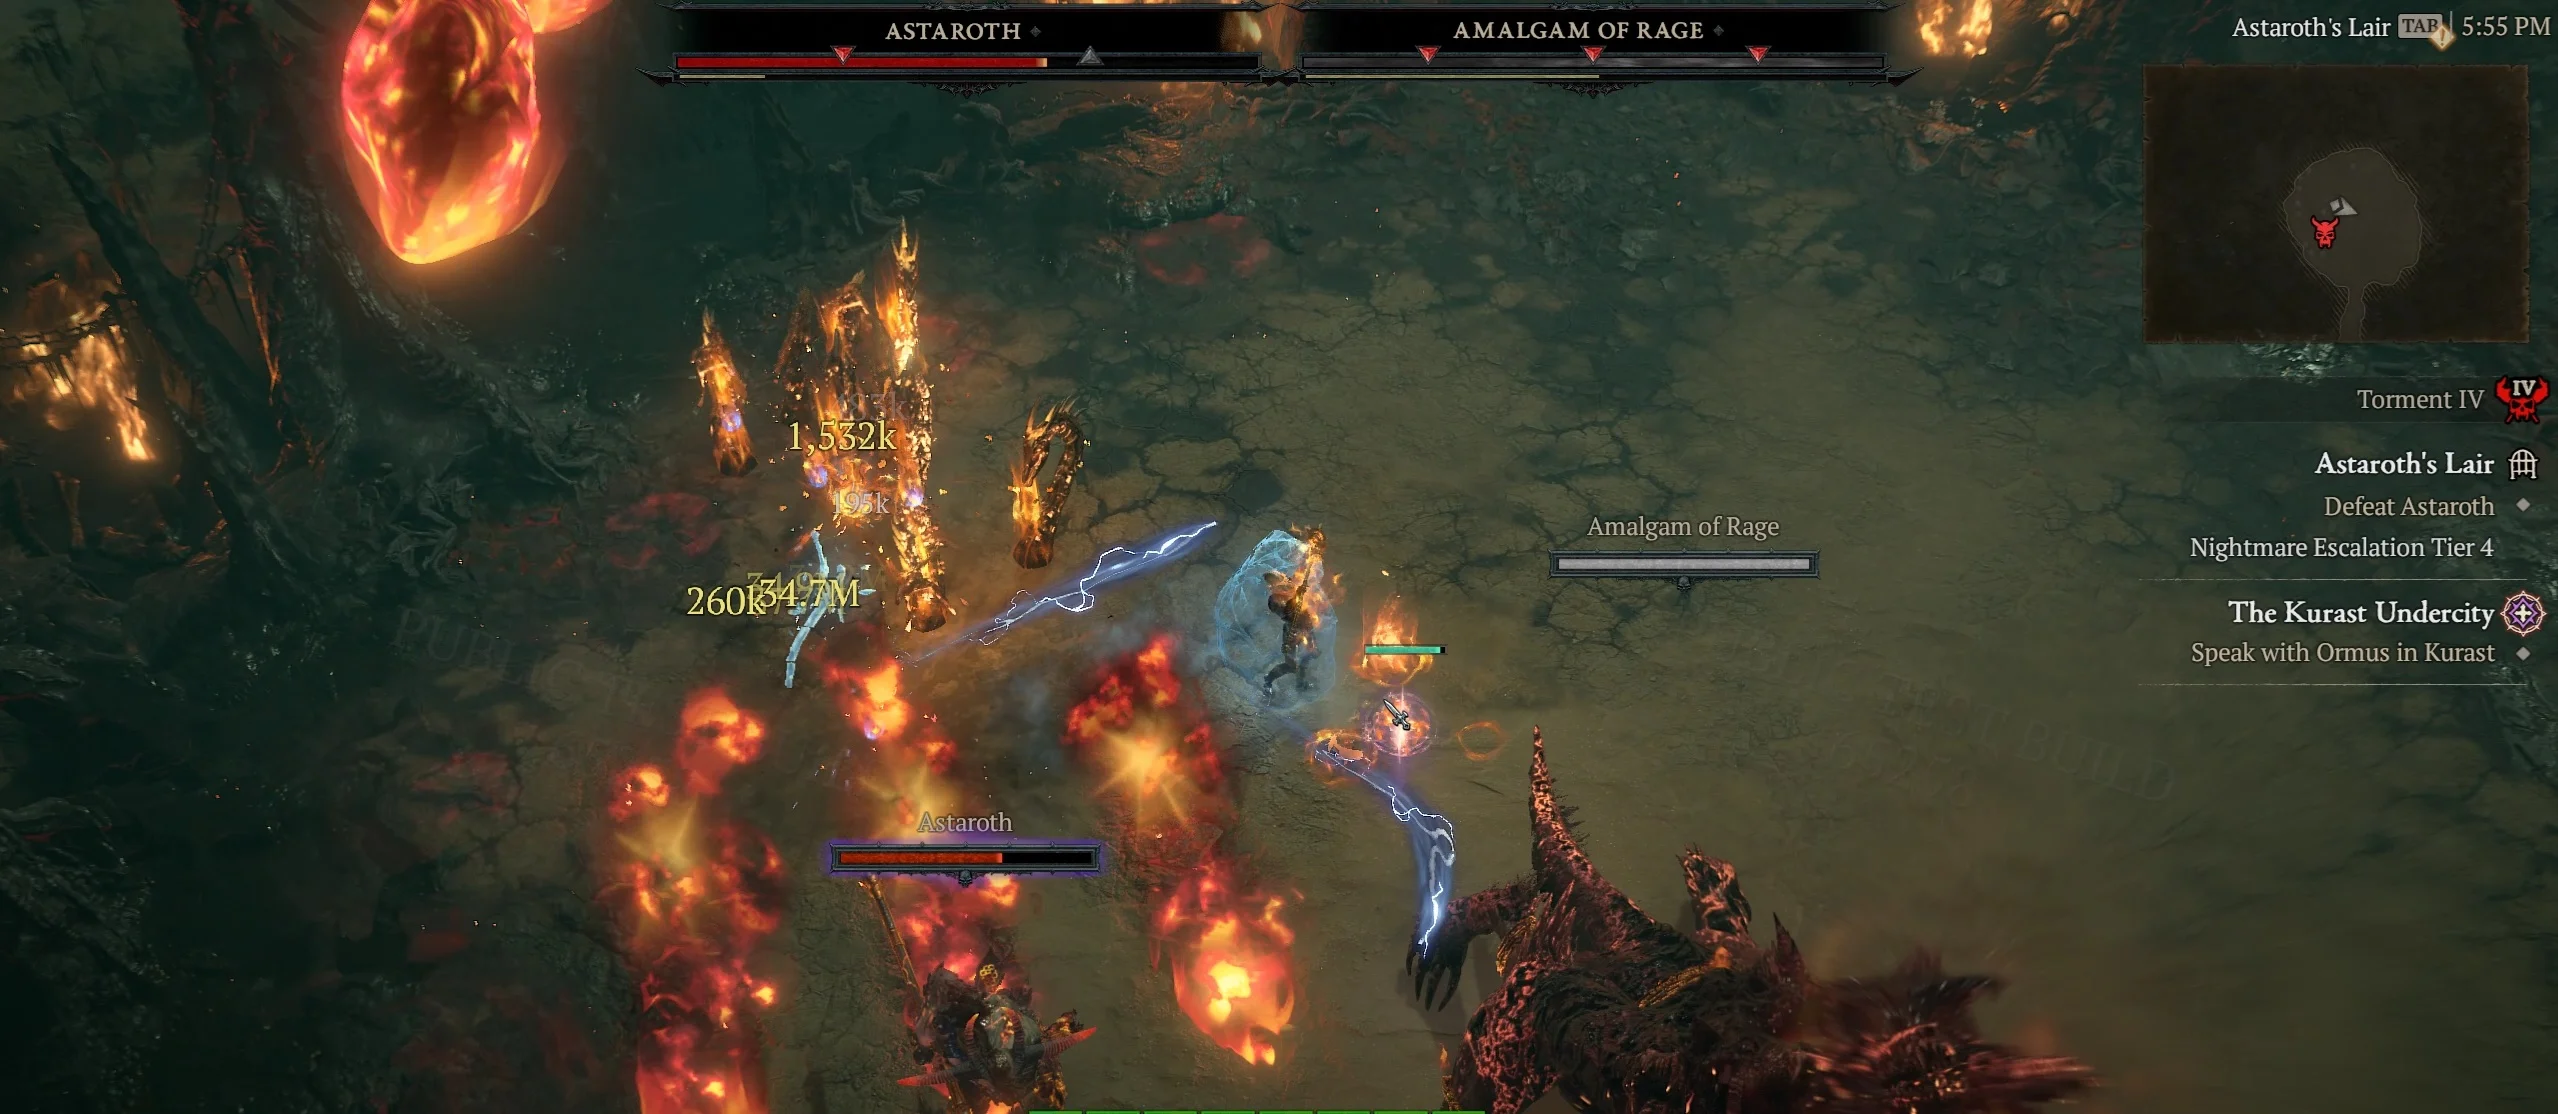
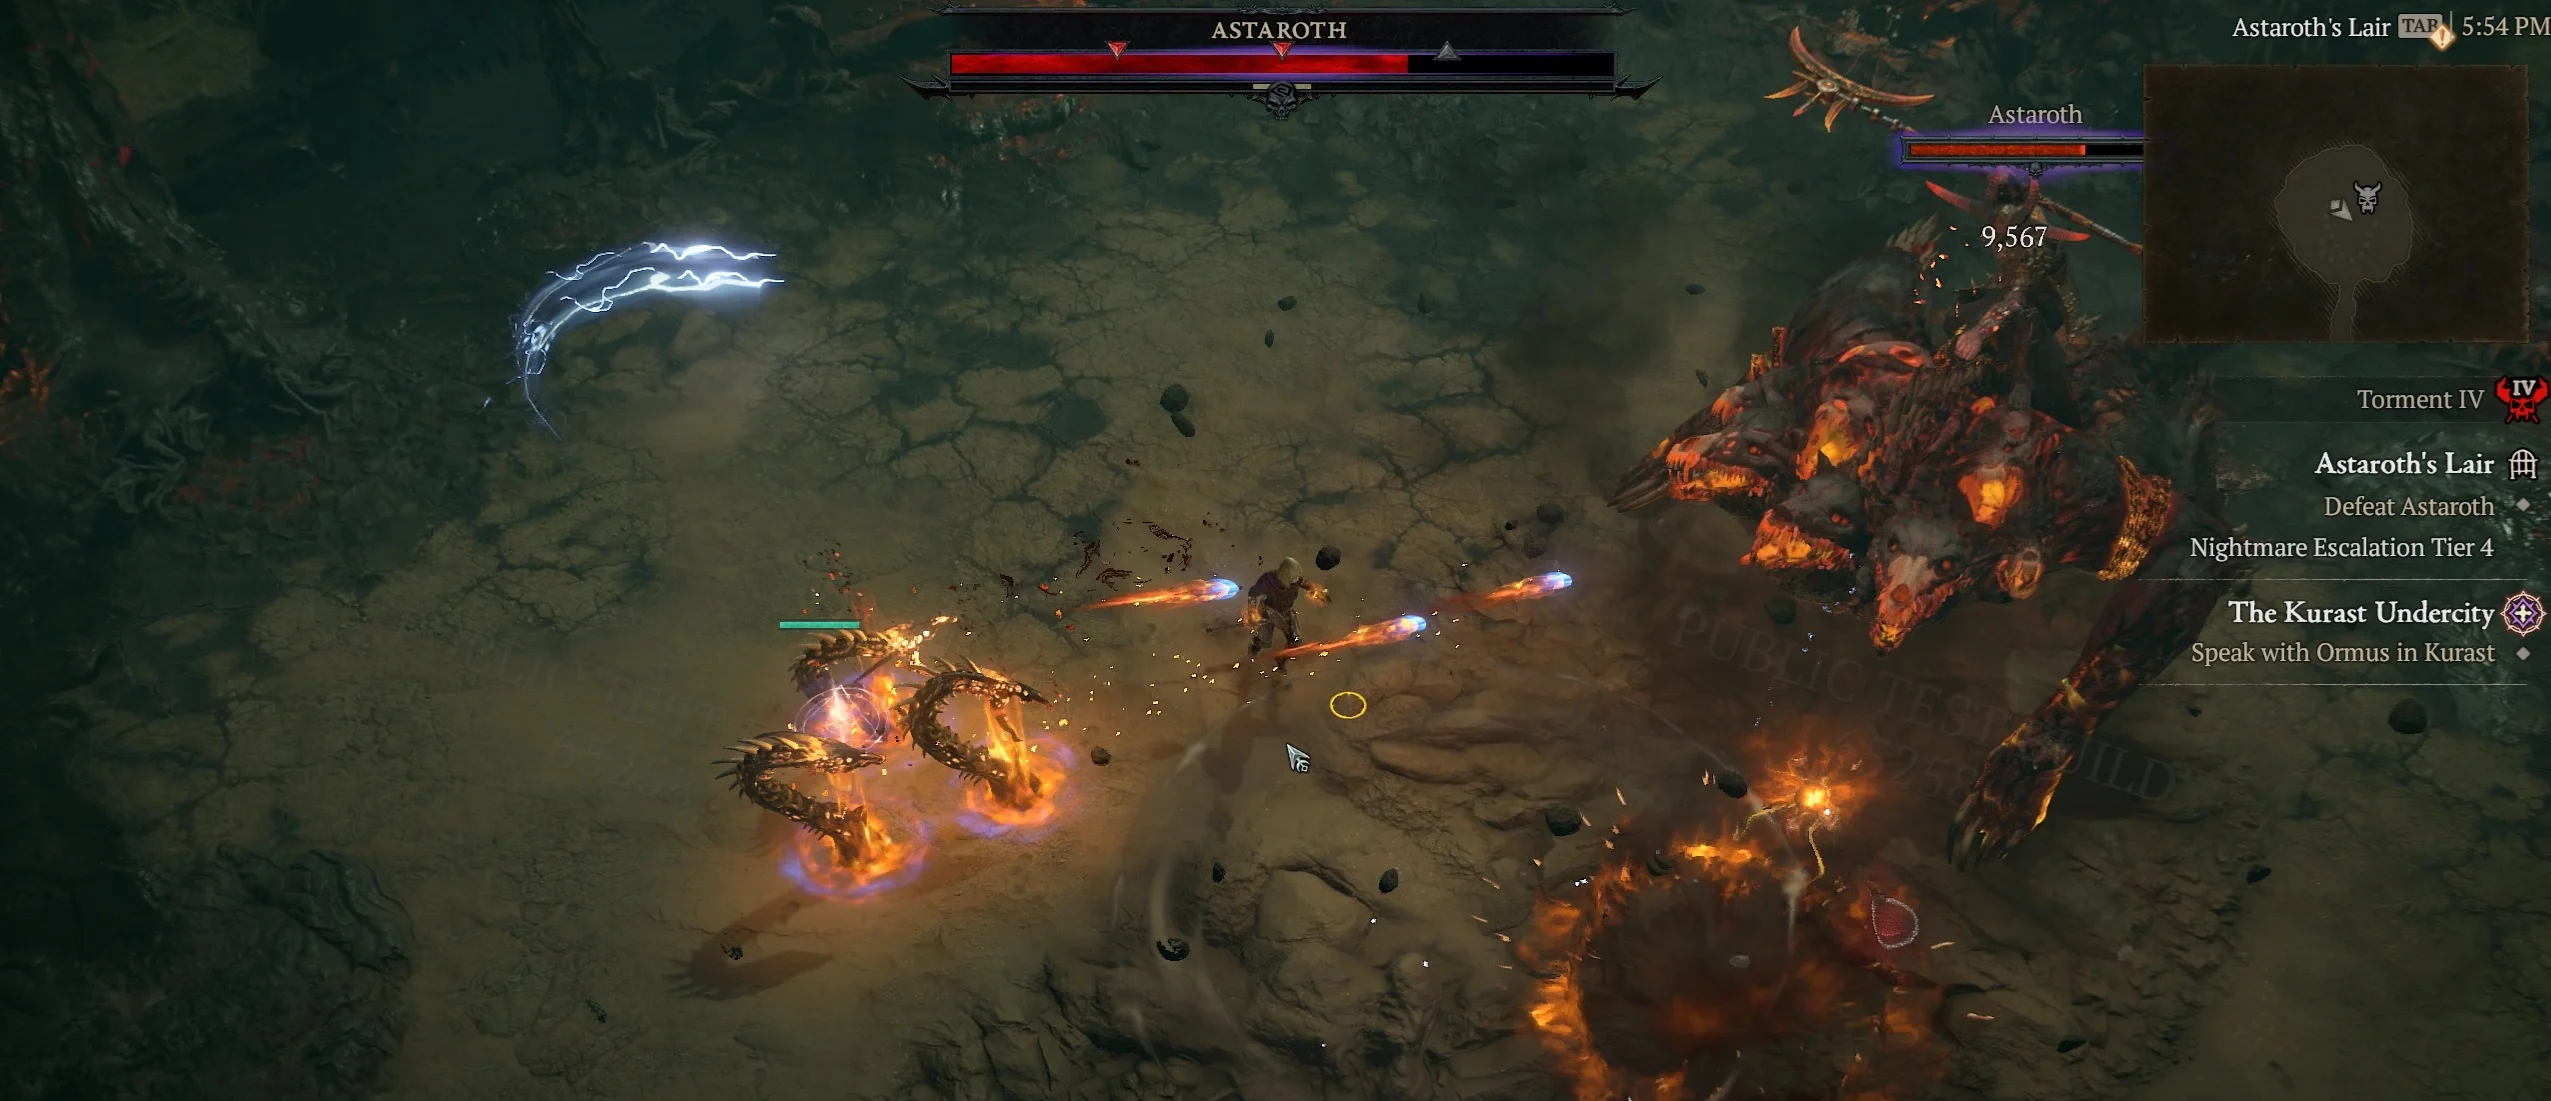
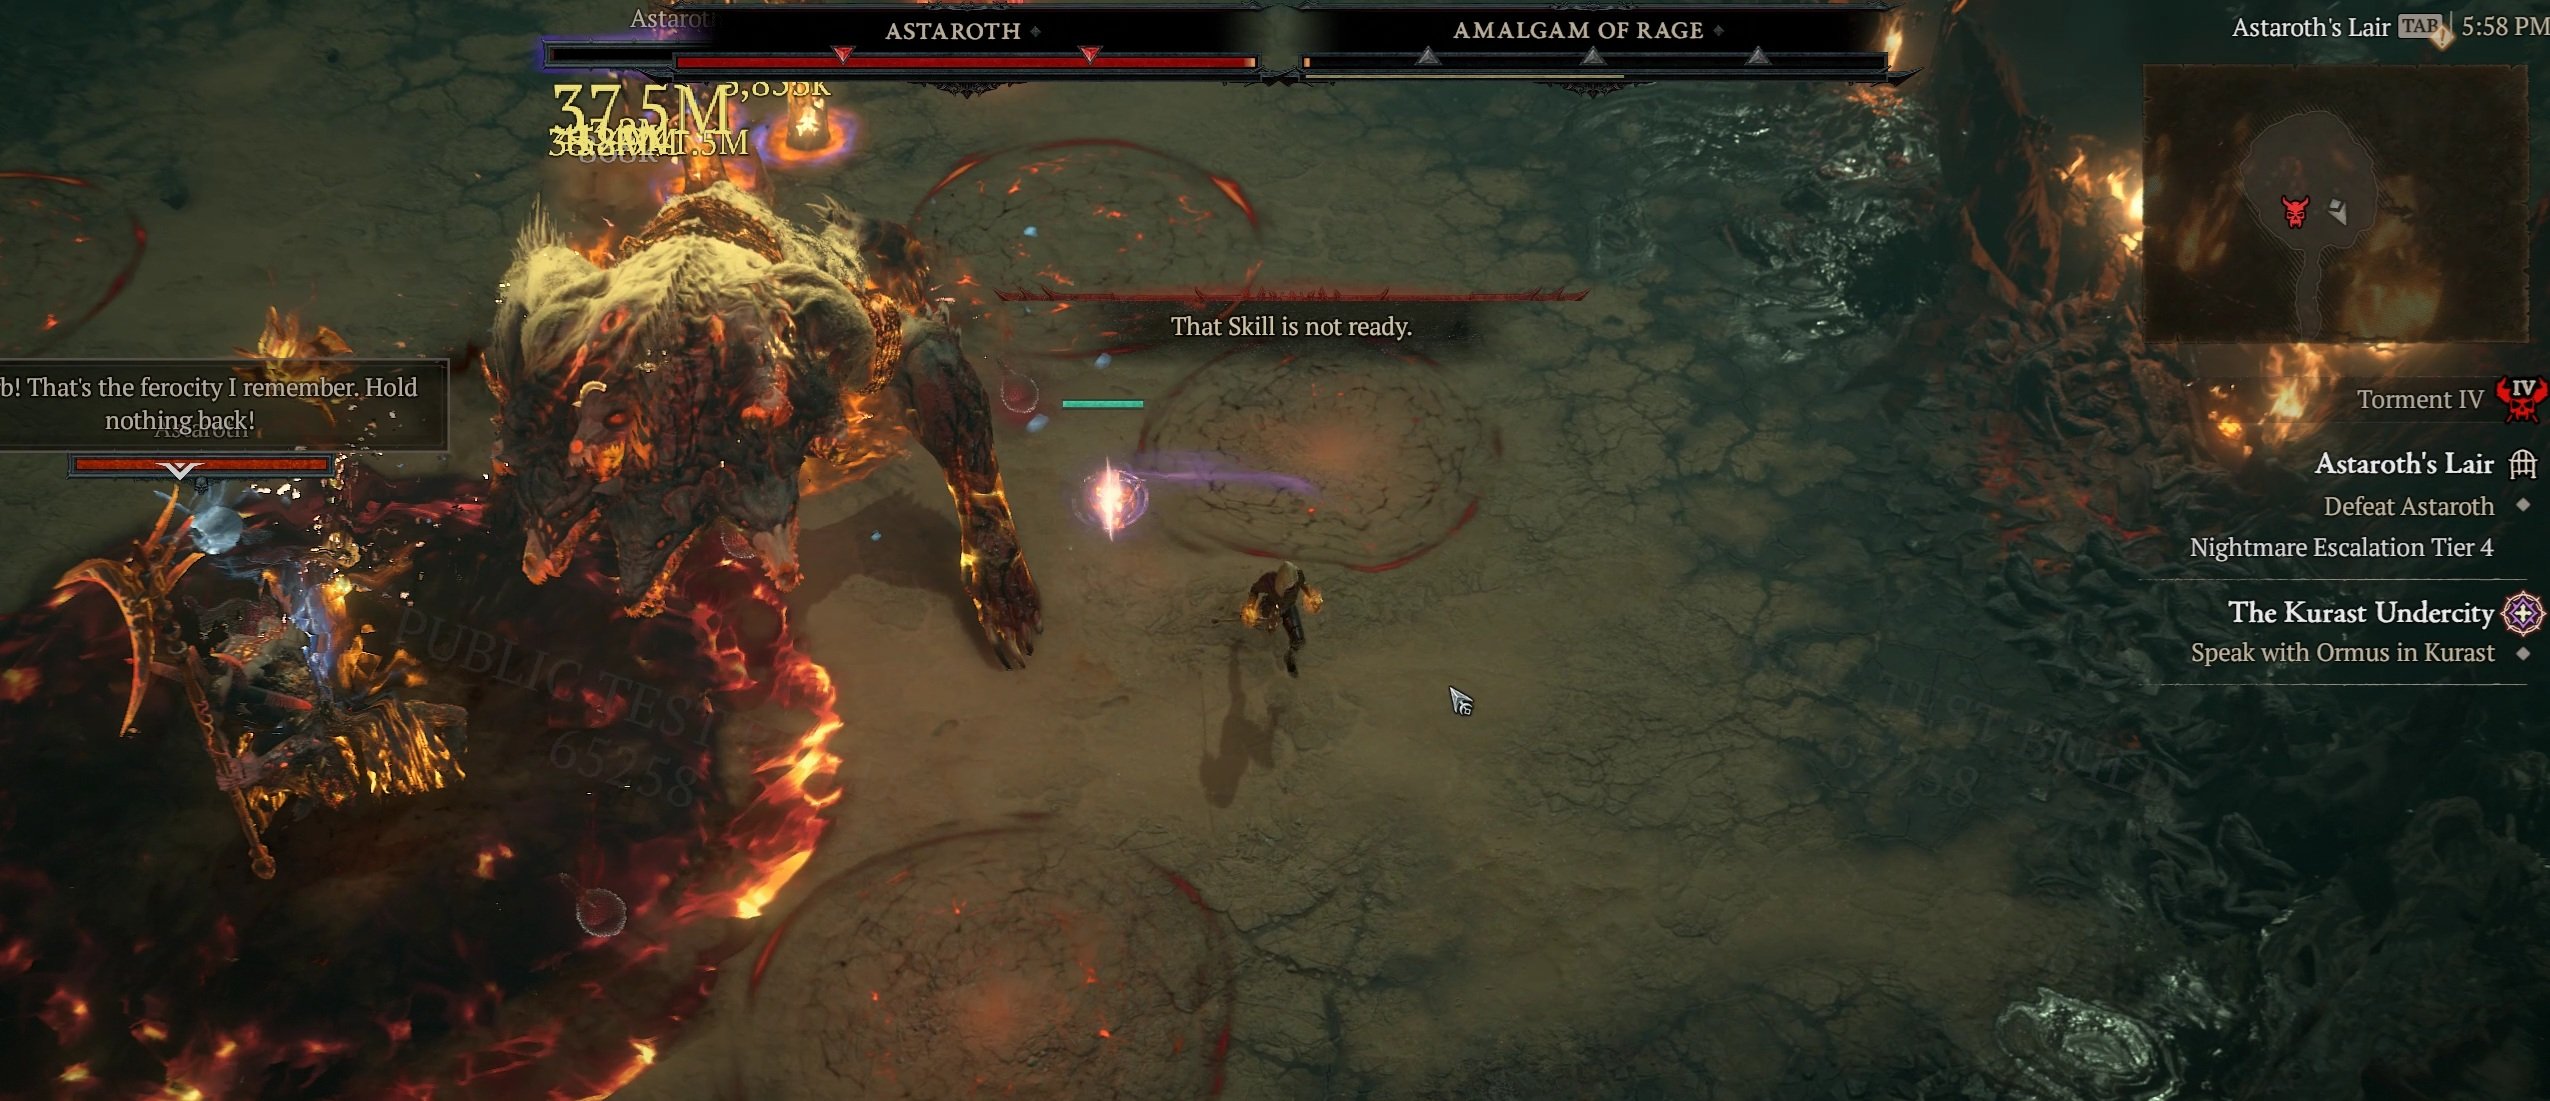
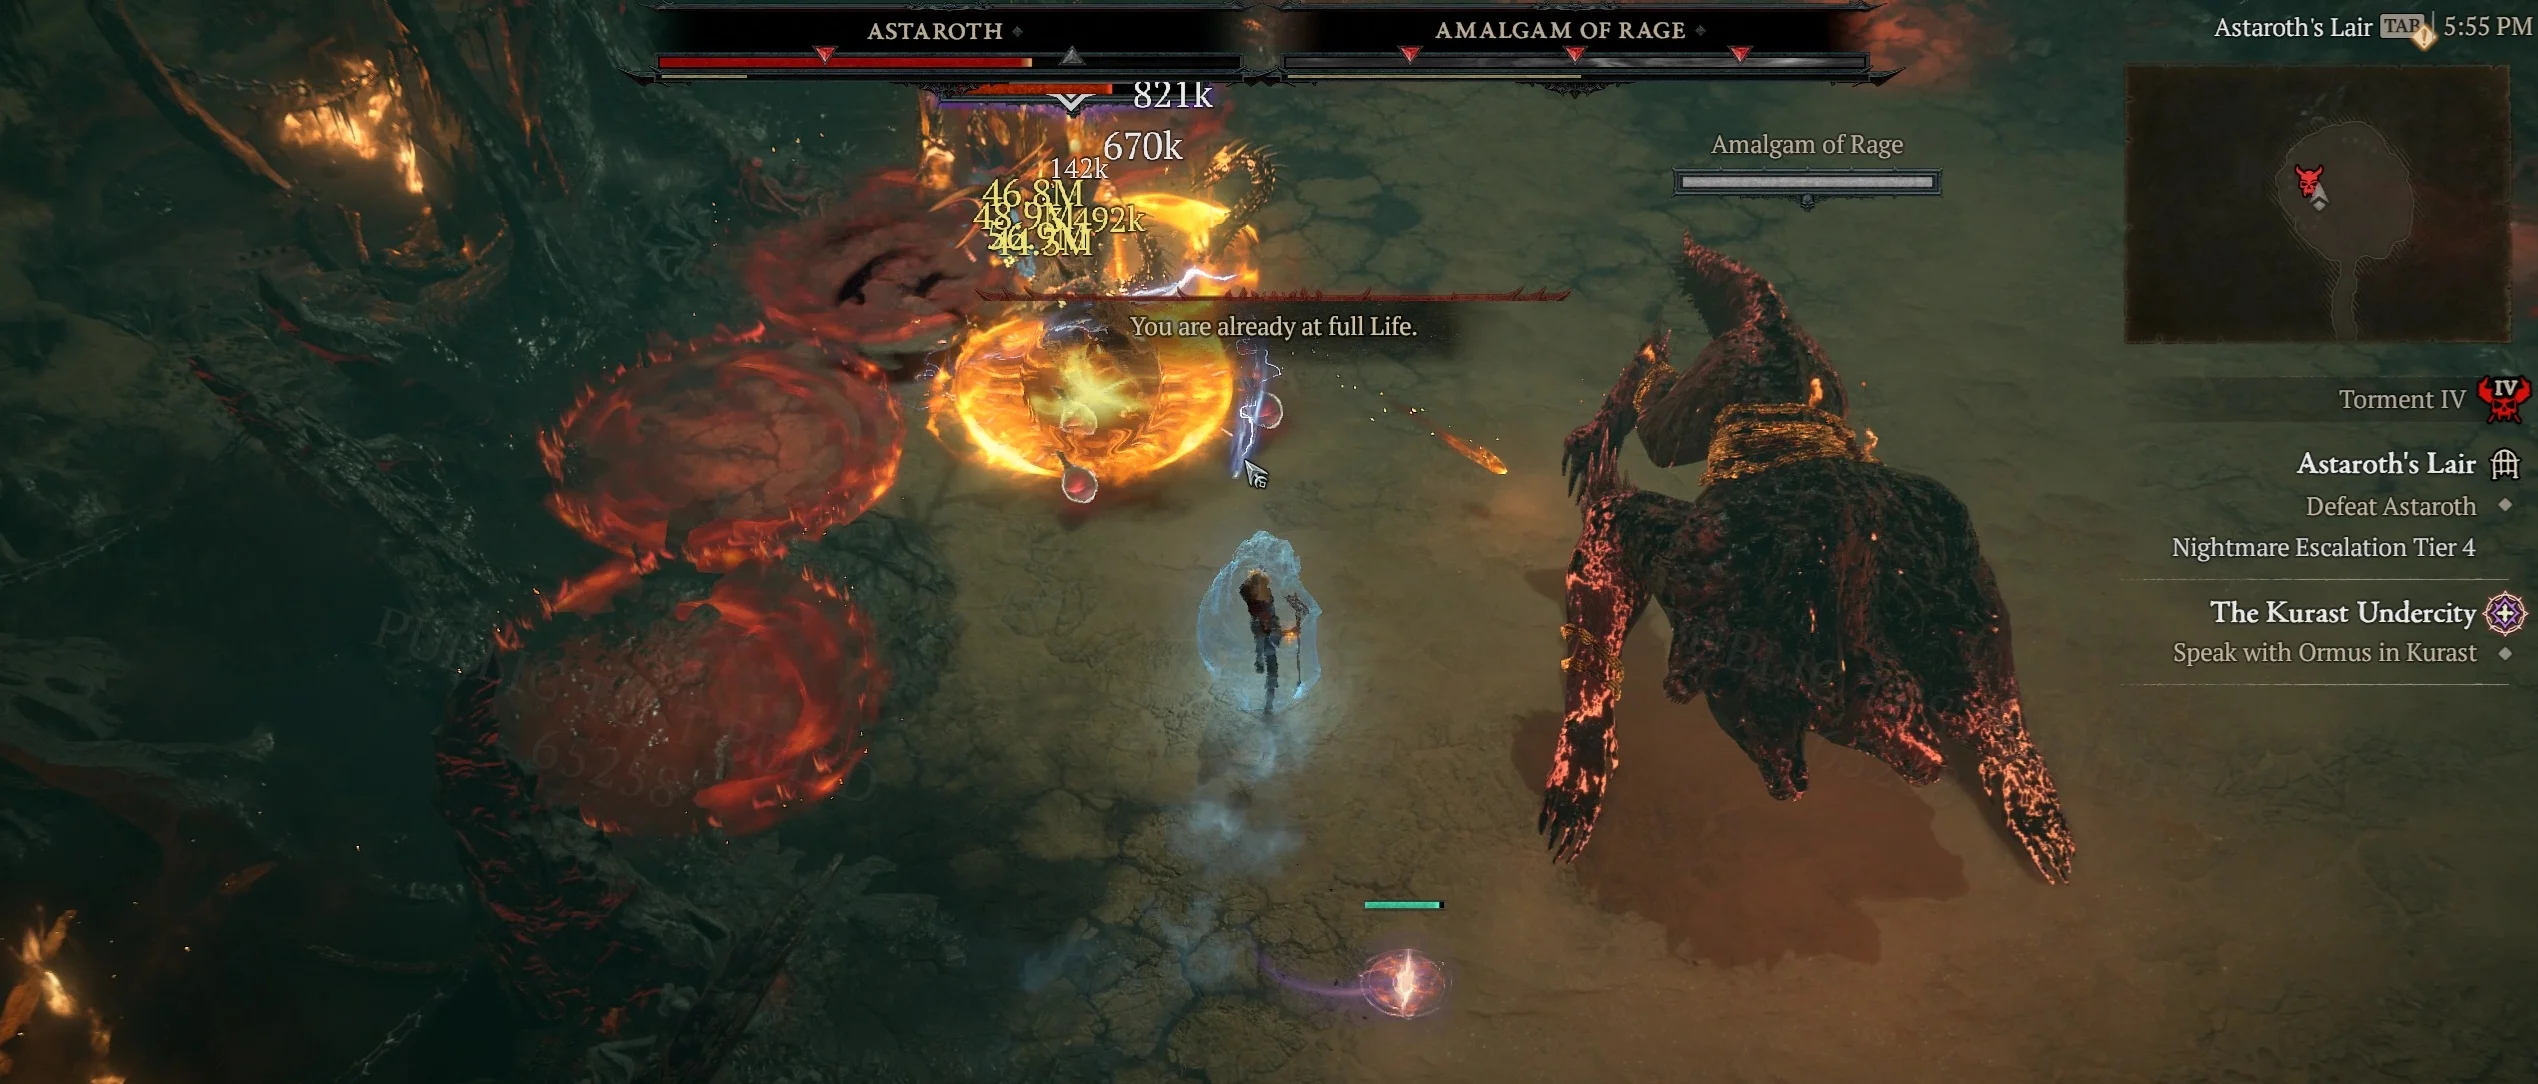
Phase 3 – Dual Boss Fight
The Amalgam resurrects and rejoins the fight, unlocking the full arena again. You now fight both Astaroth and the Amalgam.
- You must kill them at the same time. If you bring down Amalgam first, it will start reviving.
- Astaroth continues his phase 2 mechanics, while the Amalgam roams and adds pressure from the side.
- Focus your damage evenly and keep rotating around the arena.
This is a tough fight that rewards patience, good movement, and timing. Keep both bosses within reach as you bring them down.
Rewards
This boss can drop Ancestral gear, Uniques, and even has a chance to reward Mythic Uniques, which makes it a good source for gear in endgame.
