If you are still working through your Mythic+ runs or just getting started with Season 2 of The War Within, here is a quick breakdown of high-impact tricks to help your group avoid wipes and push keys a little more easily. These tips come from a popular Reddit thread by a 3300-rated healer and cover skips, target drops, and utility plays that many groups still overlook.
To keep it simple, we have grouped the tips by dungeon and clearly labeled each section (trash, bosses, etc.) for quick reference.
You can check out the original Reddit thread here.
General Tricks Every Group Should Know
Before we get started on all the dungeon-specific advice, here are a few important mechanics that apply almost everywhere:
- Target-drop abilities (
 Feign Death,
  Vanish,
  Shadowmeld,
  Invisibility) can cancel many mechanics mid-cast.
 - Evoker’s
 Sleep Walk works like DH
  Imprison for skips (e.g. first pack in ToP, hallway in Meadery).
 - Combat drop interrupts most channeled spells (e.g., Pyros, Lightspawns, etc.) and stops their casts from completing.
Cinderbrew Meadery

This dungeon has a lot of physical damage and movement-based mechanics. Several bosses can be cheesed with clever positioning or defensives, and the same goes for a few trash groups.
- Dungeon Trash:
- Hopgoblin Charges can be avoided with BoP (
 Blessing of Protection) or by standing on barrels and ledges.
 - You can also combat drop before moving to cancel the charge path so it does not follow you.
- Bee Wrangler’s Beezooka frontal line can be outranged.
- Hopgoblin Charges can be avoided with BoP (
- 1st Boss:
- Use
 Anti-Magic Shell,
  Evasion, or
  Blur to avoid DoTs from the boss.
- Use
- IPA Boss:
- Avoid spawning blobs too close by tanking away from walls – they spawn in a triangle pattern based on your positioning.
- If you are afflicted by the DoT from IPA, use a combat-drop ability to remove it entirely.
- Warlocks can use their imp (
 Singe Magic) to dispel magic debuffs on both the IPA and final boss fights.
- Bee Boss:
- Bee barrels can be skipped with perfectly timed bee charges – move just as circles begin spawning.
- Use
 Ursol’s Vortex,
  Freezing Trap, or
  Typhoon to control bee adds and mitigate bleed stacks.
 - The Final Sting bleed stacks and only applies if bees are close; ranged players are safer.
- Use the “Interact With Target” key if bees are hard to click, especially if the tank is standing directly on top of them.
- Mini-Boss Before Final:
- Priests can
 Mind Control one goblin just before it dies to skip a transformation.
 - If you hold the MC until the final set, you can reduce the total from 4 phases to just 3.
- Priests can
- Final Boss:
- Warlock imp can dispel the frequent magic debuff with Singe Magic, saving the healer a lot of stress.
- Warlock imp can dispel the frequent magic debuff with
Darkflame Cleft
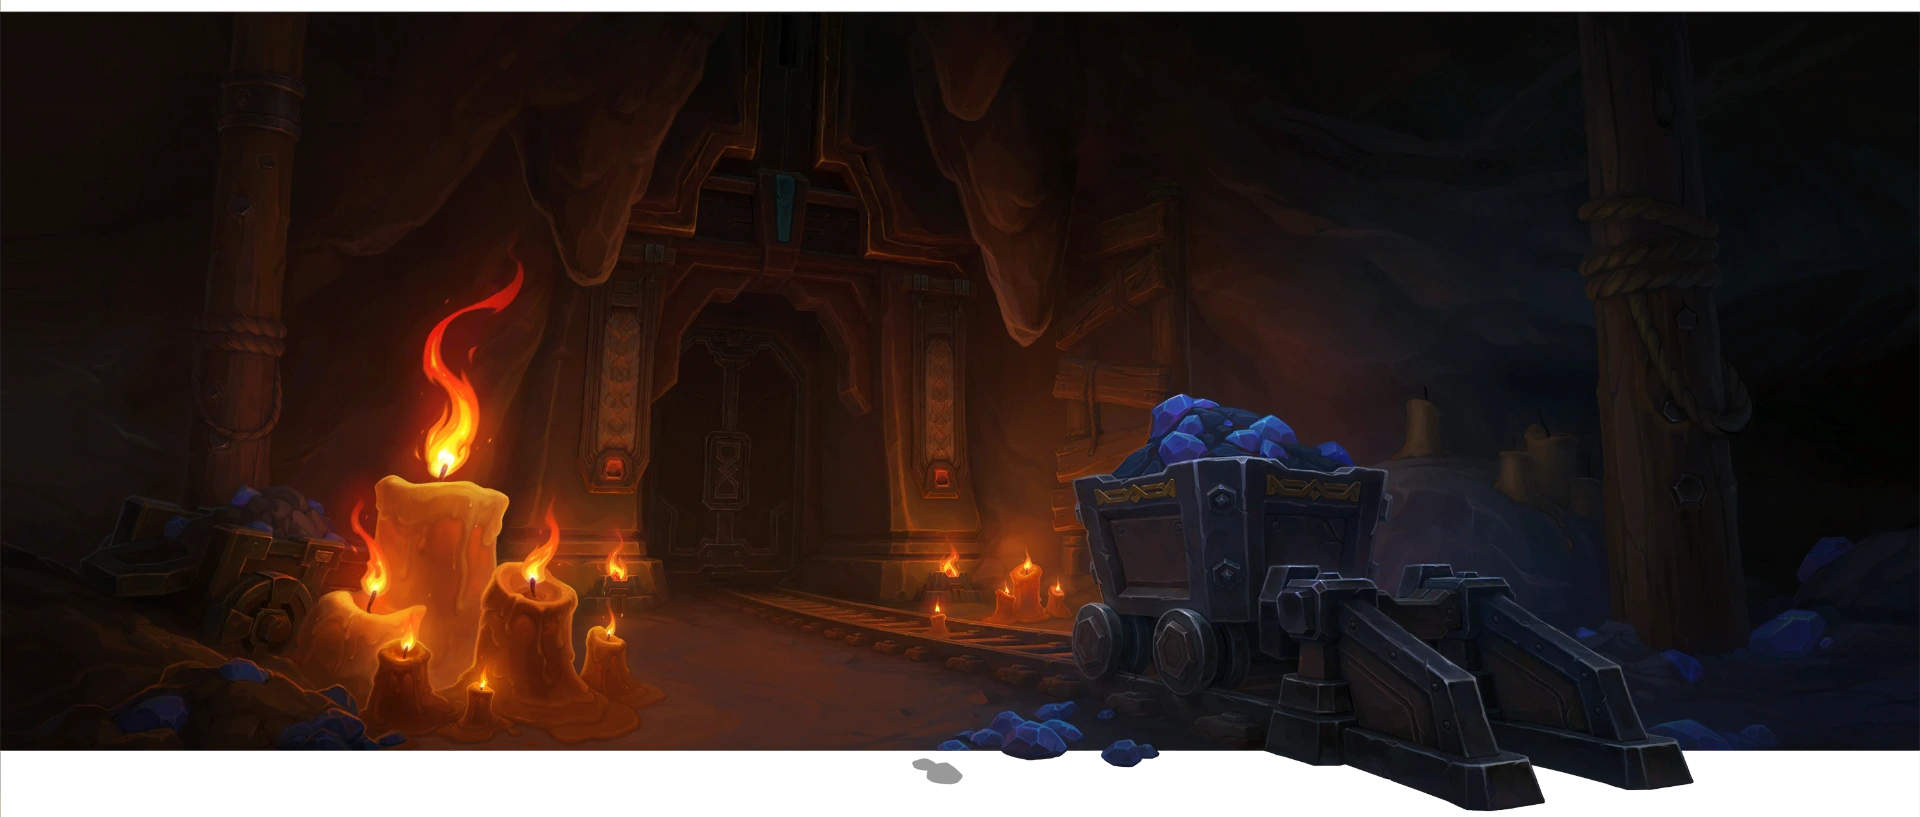
This dungeon is filled with candle-themed chaos, knockbacks, surprise DoTs, and high group damage. Many of the hardest parts can be controlled with crowd control or movement tools.
- Trash:
- Prevent Overseer knockbacks with Ursol’s Vortex,
 Sigil of Chains,
  Earthgrab Totem, Typhoon,
  Void Tendrils,
  Binding Shot, etc.
 - Paladins can use
 Blessing of Freedom to stay in the circle and continue DPS.
- Paladins can use
- Stand directly on rock-throwing kobolds to avoid damage (5-yard minimum range).
- LoS (Line of Sight) Wandering Candle AoEs behind pillars or large candles if stacks get high.
- Creepers gain damage from corpses – move them away.
- Dismiss pets if you skip minibosses before Candle King!
- Prevent Overseer knockbacks with
- 1st Boss:
- Kite fixated adds onto the cart track to kill them fast.
- Bleed can be removed by Blessing of Protection (physical only) or
 Cauterizing Flame by Evokers.
 - Use slows, stuns, or stand near boss with defensives.
- 2nd Boss (Candle Wax Fire Circles Boss, Blazikon):
- Light all candles when marked to avoid DoTs, then extinguish one after gust.
- Save a defensive for Dousing Breath.
 Anti-Magic Zone or
  Zephyr can help during this phase.
- 3rd Boss (Candle King):
- Do NOT use Bubble, AMS, or Cloak if carrying a melting circle (prevents statues).
 Aspect of the Turtle works fine.
- After phases, stack on boss to control statue spawns.
- Move in a wide circle along the outer wall to group spawns.
- Be in front of boss when candles respawn to avoid puddles.
- Do NOT use Bubble, AMS, or Cloak if carrying a melting circle (prevents statues).
- Between Bosses:
- After minecart ride, use movement skills before landing to skip the 5s stun.
- Stun immunity (
 Icebound Fortitude, etc.) and
  Demonic Gateway can also work.
- Final Boss:
- Recharging candles give ~10 seconds full light – use during Eternal Darkness!
- Shadowmeld / Feign Death avoids Shadow Blast damage (visual remains).
- Hunter
 Flare gives temporary vision but does not prevent fear.
Motherlode
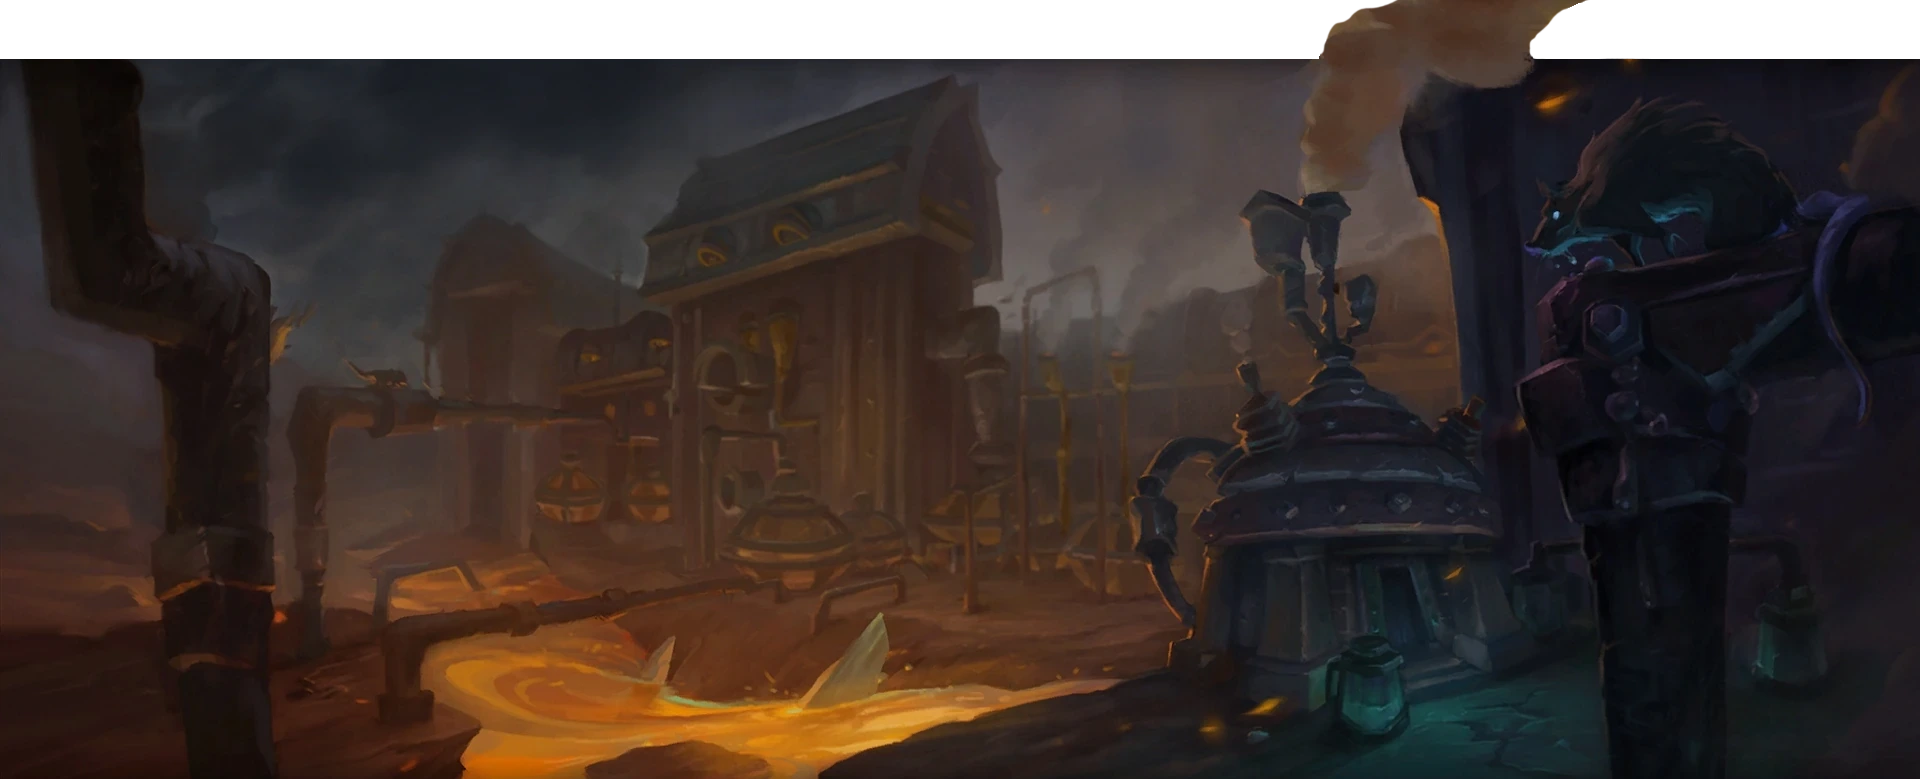
This dungeon features a lot of AoE, ground effects, and mob density. However, there is also a surprising amount of safe spots and possible skips.
- Trash:
- Combat-drop cancels thug charge knockups and some targeted azerite circles.
- Use Warlock portals (Demonic Gateway),
 Leap of Faith, or passenger mounts to skip the opening wall jump.
 - Bombs only count toward enemy forces if killed manually; if they explode, no credit is given.
- Be careful when using Feign/Invis/Vanish on bombs – they will instantly retarget and might wipe teammates.
- 1st Boss:
- Tank the boss near a wall to reduce bomb spread radius.
- Ranged (especially Druids) may be able to outrange Excavator circles by standing at max range.
- 2nd Boss (Azerokk):
- Warlocks can
 Banish one add on cooldown; tanks should taunt others for better cleave uptime.
- Warlocks can
- 3rd Boss (Rixxa):
- Target-drop (Feign Death, Invisibility, Vanish, Shadowmeld) cancels targeted Azerite circles.
- Anti-Magic Shell,
 Divine Shield, and other immunities also work on the pre-pushback circles.
- Target-drop (
- Final Boss:
- There are 3 known safe spots to avoid fire and missiles:
- Front-left grate near the entrance.
- Tight corner beside the grate (microsafe but effective).
- Front-right near entrance (ideal for ranged).
- Use target-drop during cast to cancel homing missiles (if you wait too long, they will still hit).
- Dropping combat during Charged Shot avoids the DoT.
- There are 3 known safe spots to avoid fire and missiles:
Operation: Floodgate
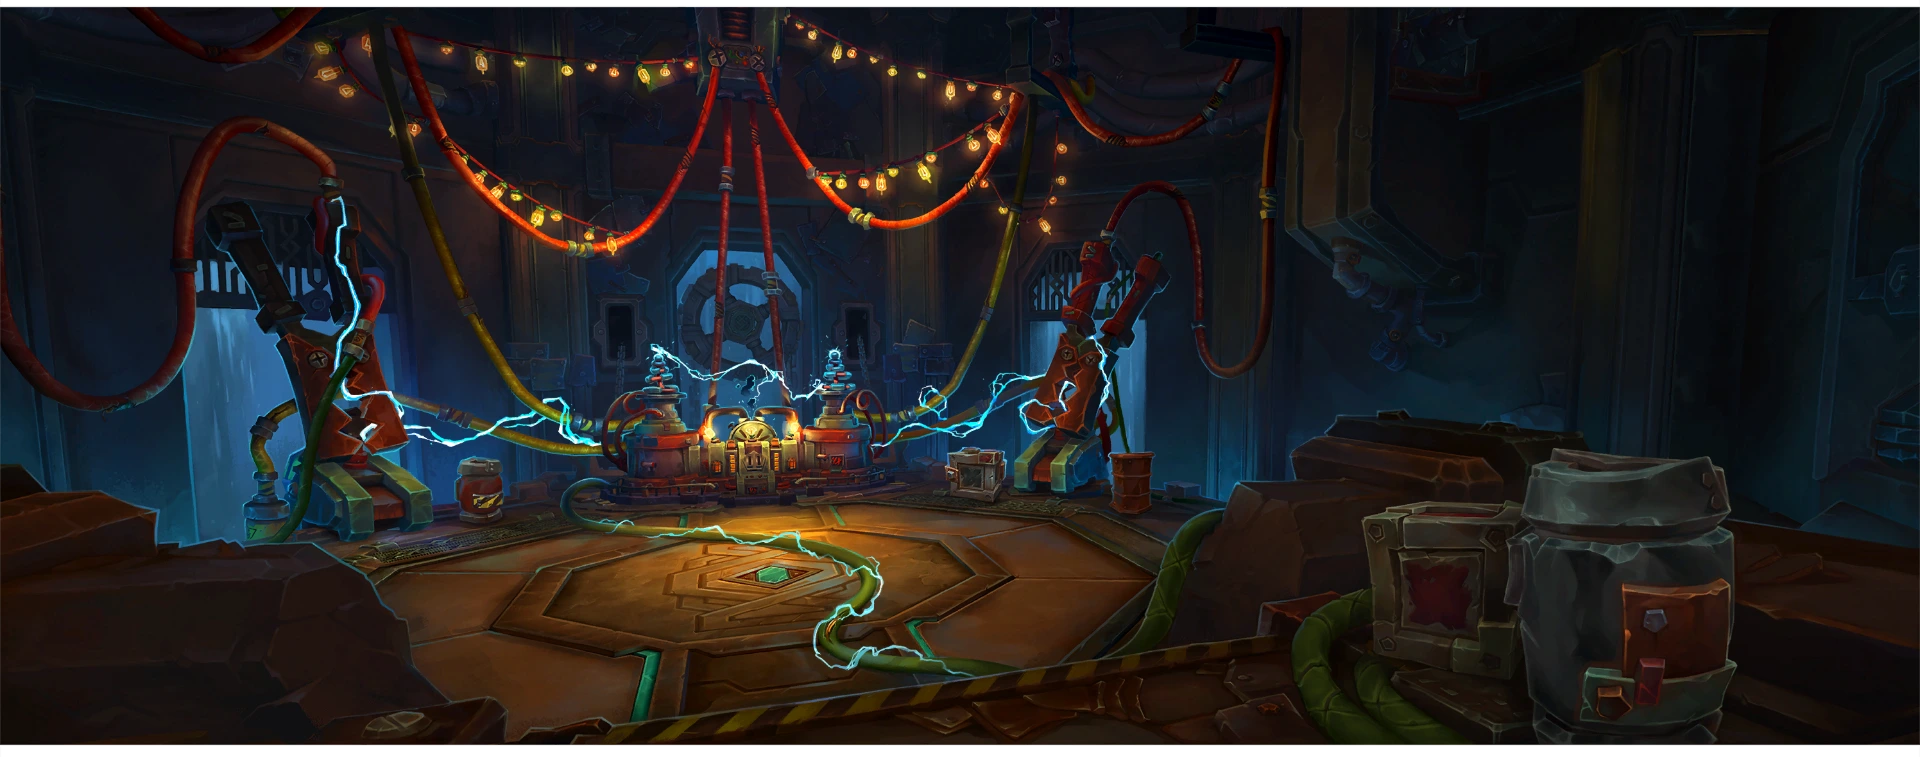
Floodgate features tons of AoE, awkward mob pulls, and some very punishing boss mechanics. Movement-based skips and good positioning make a huge difference here.
- Trash:
- Jump on boxes near Shreddation bots to safely DPS and avoid AoE.
- Crab bombs do not explode if killed while hard CC’d (stun, freeze, etc.).
- Diver bombs explode on expiry – even if untouched. Stay clear.
- Use Ursol’s Vortex, Typhoon, or similar to knock Divers out of bombs.
- Be careful pulling Shreddation bots near boxes; they can flame the platform.
- Demolition Duo Boss:
- Position charging boss to hit bomb piles and trigger explosions.
- 3rd charge is always on tank; pre-position to cover any remaining bombs!
- 3rd Boss (Swampface):
- Healer should stand behind the boss, away from the group, to avoid link mechanics.
- Boss will occasionally frontal the healer, which gives free DPS uptime for others.
- Skips / Utility:
- Use Warlock Gate (Demonic Gateway) to skip Fish Bubbles: place gate before trigger point and run as a group.
- Do not run ahead or you risk butt-pulling him after spawn.
- Use Warlock Gate (
- Final Boss:
- Anti-Magic Shell, Divine Shield, and Aspect of the Turtle prevent both lightning DoTs and fixate.
- Spark is a stun + magic debuff – Anti-Magic Shell or
 Cloak of Shadows prevents both.
 - Prot Paladins can
 Blessing of Spellwarding the first Giga Zap target to prevent both DoTs.
 - Warriors can
 Spell Reflection one stack of the DoT.
 - Death Knight AMS and similar tools can help maintain uptime if puddles spawn awkwardly.
Operation: Mechagon – Workshop
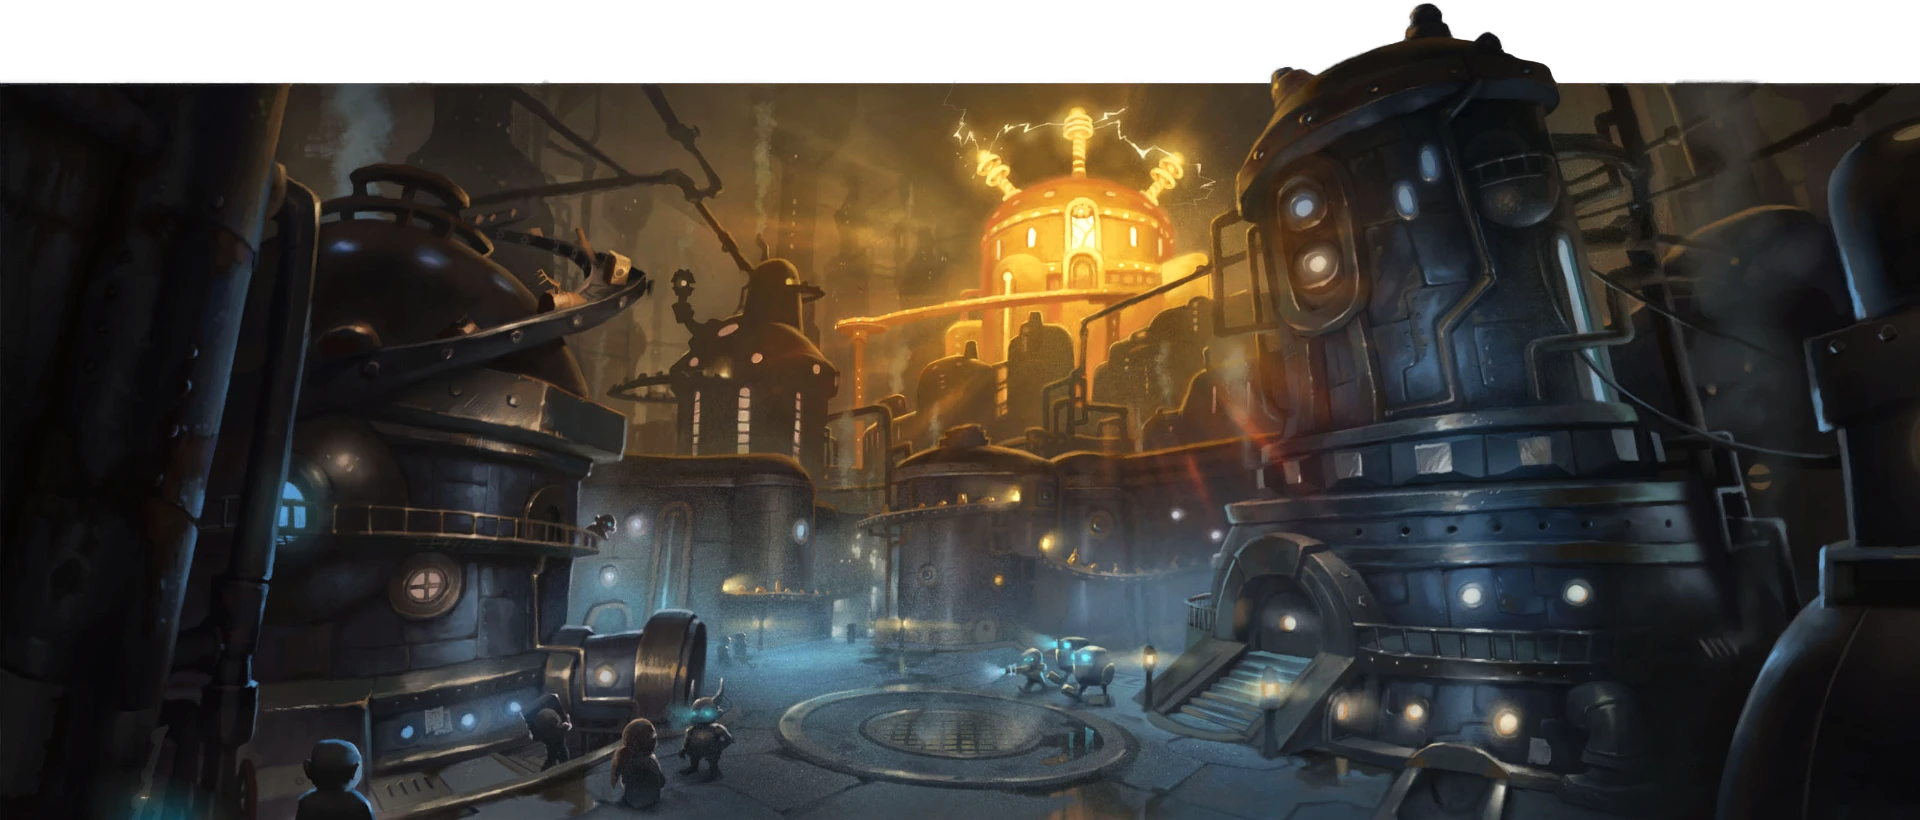
This dungeon returns from Battle for Azeroth and brings a mix of tight arenas and mechanical chaos. The Workshop part of Mechagon is loaded with skips, clever positioning, and utility-based cheese. Almost every boss here has some form of trick to make the encounter easier.
- Trash:
- Blind does not work on bomb adds in the arena (before first boss spawns); use stuns instead.
- Warlock imps can dispel fire DoTs with Singe Magic from dogs and spark debuffs in later areas.
- Mind Control the Defender mob before 3rd boss and bring it to spider bots – grants a healing dome that reduces HPS needs.
- Killing the 2nd spider bot (upper platform before last boss) triggers the RP to spawn the mechahead transport.
- Mecha-Dog Boss:
- Feign Death mid-air cancels K.U-J.0’s leap.
- You can intentionally spawn an extra add to enable cleave damage (e.g. for Marksmanship Hunters).
- Skips:
- Use
 Heroic Leap,
  Infernal Strike, or Demonic Gateway to skip conveyor belt mobs.
 - You can skip post-conveyor mobs with a camera-angled Warlock Gate against the wall.
- Ramp near post-KUJO boss is a safe spot – watch for LoS (Line of Sight) issues if healing.
- Void Elves can use racial teleport (
 Spatial Rift) to skip part of the “Flesh Detected” maze.
- Use
- Garden Boss:
- Ranged can safely stand on a leaf pile on the left wall (opposite entrance) to avoid gears and fire circles. Still need to move for lasers, and it may LoS some healers.
- Only half the room gets fire circle spawns; move boss to the safe side for a break.
- Turret in the fight can be stunned.
- Final Boss:
- Target-drop abilities (Feign Death, Shadowmeld, Invisibility) cancel one hit of Giga-Zap if timed during the cast.
- Target-drop abilities (
Priory of the Sacred Flame
Priory has a lot of movement and trap-based mechanics. Not to worry, though, because many of its worst effects are avoidable with good positioning, crowd control, or class utility.
- Trash:
- Ranged should stack in melee to bait sharpshooter traps and enable fast AoE cleave.
- Root removal (Druid shapeshift,
 Disengage,
  Rescue, Blessing of Freedom) removes trap effects and the bleed.
 - Light Elementals explode at 25% – kite away from other mobs.
- Risen mobs explode on death unless hard CC’d.
- Hunters can Feign Death to cancel the Purification channel from Light Elementals.
- Minibosses:
- Knights’ AoE shout can be blocked with
 Aura Mastery +
  Concentration Aura (Paladins).
 - Suleyman’s Thunderclap does no damage if pre-Freedom’d (or use
 Invoke Chi-Ji, the Red Crane for MW monks).
 - Shaynemail jumps at players and applies a heavy bleed. Move before she lands to avoid it.
- Lynxes always jump to the furthest target and apply a bleed on hit.
- Knights’ AoE shout can be blocked with
- 2nd Boss:
- DKs can soak Sacrificial Pyre (after Castigator’s Shield) with Anti-Magic Shell (and
 Death’s Advance to avoid knockback).
 - Prot Paladins can Divine Shield > Blessing of Spellwarding > Divine Shield to cover 3 Pyres in a row.
- Rogues can Cloak of Shadows the DoT off, but only after it’s applied (it will not prevent application).
- DKs can soak Sacrificial Pyre (after Castigator’s Shield) with
- Final Boss:
- Do NOT interrupt Phase 1 casts – doing so causes her buff and AoE to overlap.
- Use CC (vortex, slows, stuns) to stall adds before they reach the top floor. They have no aggro table and die over time.
- Move the boss to the back of the platform if a 2nd wave spawns – this buys you time to control the adds.
- Demonic Gateway (near the stairs up to the top platform), Rescue (finicky), or Heroic Leap/Infernal Strike can help reach the top platform more easily.
The Rookery
The Rookery is full of annoying movement and dangerous AoEs. Make sure you use terrain and class tools to avoid high-risk moments.
- Trash:
- Click orb early to free gryphons – no need to kill all trash first.
- Lightning channel from storm gryphons can be canceled with Shadowmeld/Feign Death/Invisibility.
- LoS (Line of Sight) the void circle during diffuser pulls to avoid heavy AoE and ricochet damage. It will recast, but staggering helps your healer.
- Void Crushers:
 Ring of Peace blocks Void Crusher leaps if placed between the target and the mob.
- Fast gap closers like
 Roll can also dodge the leap if timed well.
- 2nd Boss:
- DKs can use Anti-Magic Shell to completely absorb the “hot potato” DoT. Have it passed to the DK while AMS is active.
- DK AMS also blocks the Feasting Void debuff from Skardyn casters.
- Ranged can stand near the walls to bait leap patterns and keep the center clean.
- DKs can use
- Final Boss:
- The boss’s frontal is slow and dodgeable – sidestep or use a gap closer like Heroic Leap or Infernal Strike.
- DKs can avoid the frontal with Anti-Magic Shell +
 Death Strike if needed.
 - Warlock imps can dispel the darkness DoT from beacons with Singe Magic.
- Good tanks need very little healing in this fight; healers can optimize throughput by supporting others instead.
- The boss’s frontal is slow and dodgeable – sidestep or use a gap closer like
Theater of Pain
Theater of Pain still hits hard, but many of its mechanics can be LoS’d, dodged, or removed entirely. Group positioning and smart target drops make it a lot easier.
- 1st Boss (Affront of Challengers):
- Warlock imp can dispel 1 of 2 magic DoTs with Singe Magic to help your healer.
- Use Shadowmeld/Feign Death to cancel the final boss’s pull or DK Anti-Magic Shell to avoid add spawns.
- Warlock imp can dispel 1 of 2 magic DoTs with
- Gorechop Wing:
- Stack in melee for the first trash pull to keep mobs from leaping everywhere.
- Tank can invis pot or stealth to gather the trash, while everyone else waits at the entrance.
- On Gorechop, use movement to dodge the adds’ leap damage.
- You can also CC the adds (e.g.,
 Paralysis) and let them die over time to avoid damage.
- Lich Wing:
- Blessing of Freedom removes the snare + DoT from the spirit channel. Any root/snare removal works.
- Warriors can use Spell Reflection against Well of Darkness from the boss to avoid all incoming damage.
- Xav Wing:
- Stack together for miniboss spinning swords (melee with melee, ranged with ranged) to control the spawn pattern.
- Ground AoE, ricochet blade, and AoE shout from minibosses can all be LoS’d, which helps melee especially.
- Sit during the duel on Xav to take crits and lose faster.
- If you have a Disc Priest, remove
 Power Word: Shield before the duel (macro helps).
- Skips:
- Demonic Gateway skips the 2nd/3rd minibosses in Xav wing – just clear more in the Lich wing to make up enemy count.
- Final Boss:
- Feign Death, Shadowmeld, or Vanish cancels Grasp of Death pull.
- Anti-Magic Shell negates the Manifest Death DoT and prevents the add from spawning.
Read the Full Reddit Thread
This big Reddit thread is one of the best resources for Mythic+ this season, especially if you are pushing high keys or looking for new ways to support your group. Keep in mind, though, that most of these tricks are class-specific, so talk to your team and coordinate usage based on your comp.
Full thread credit to u/Magdanimous on Reddit:
If you are still deciding what class to play this season, you can also check out our Mythic+ tier lists to see which specs are performing well right now: