


Introduction
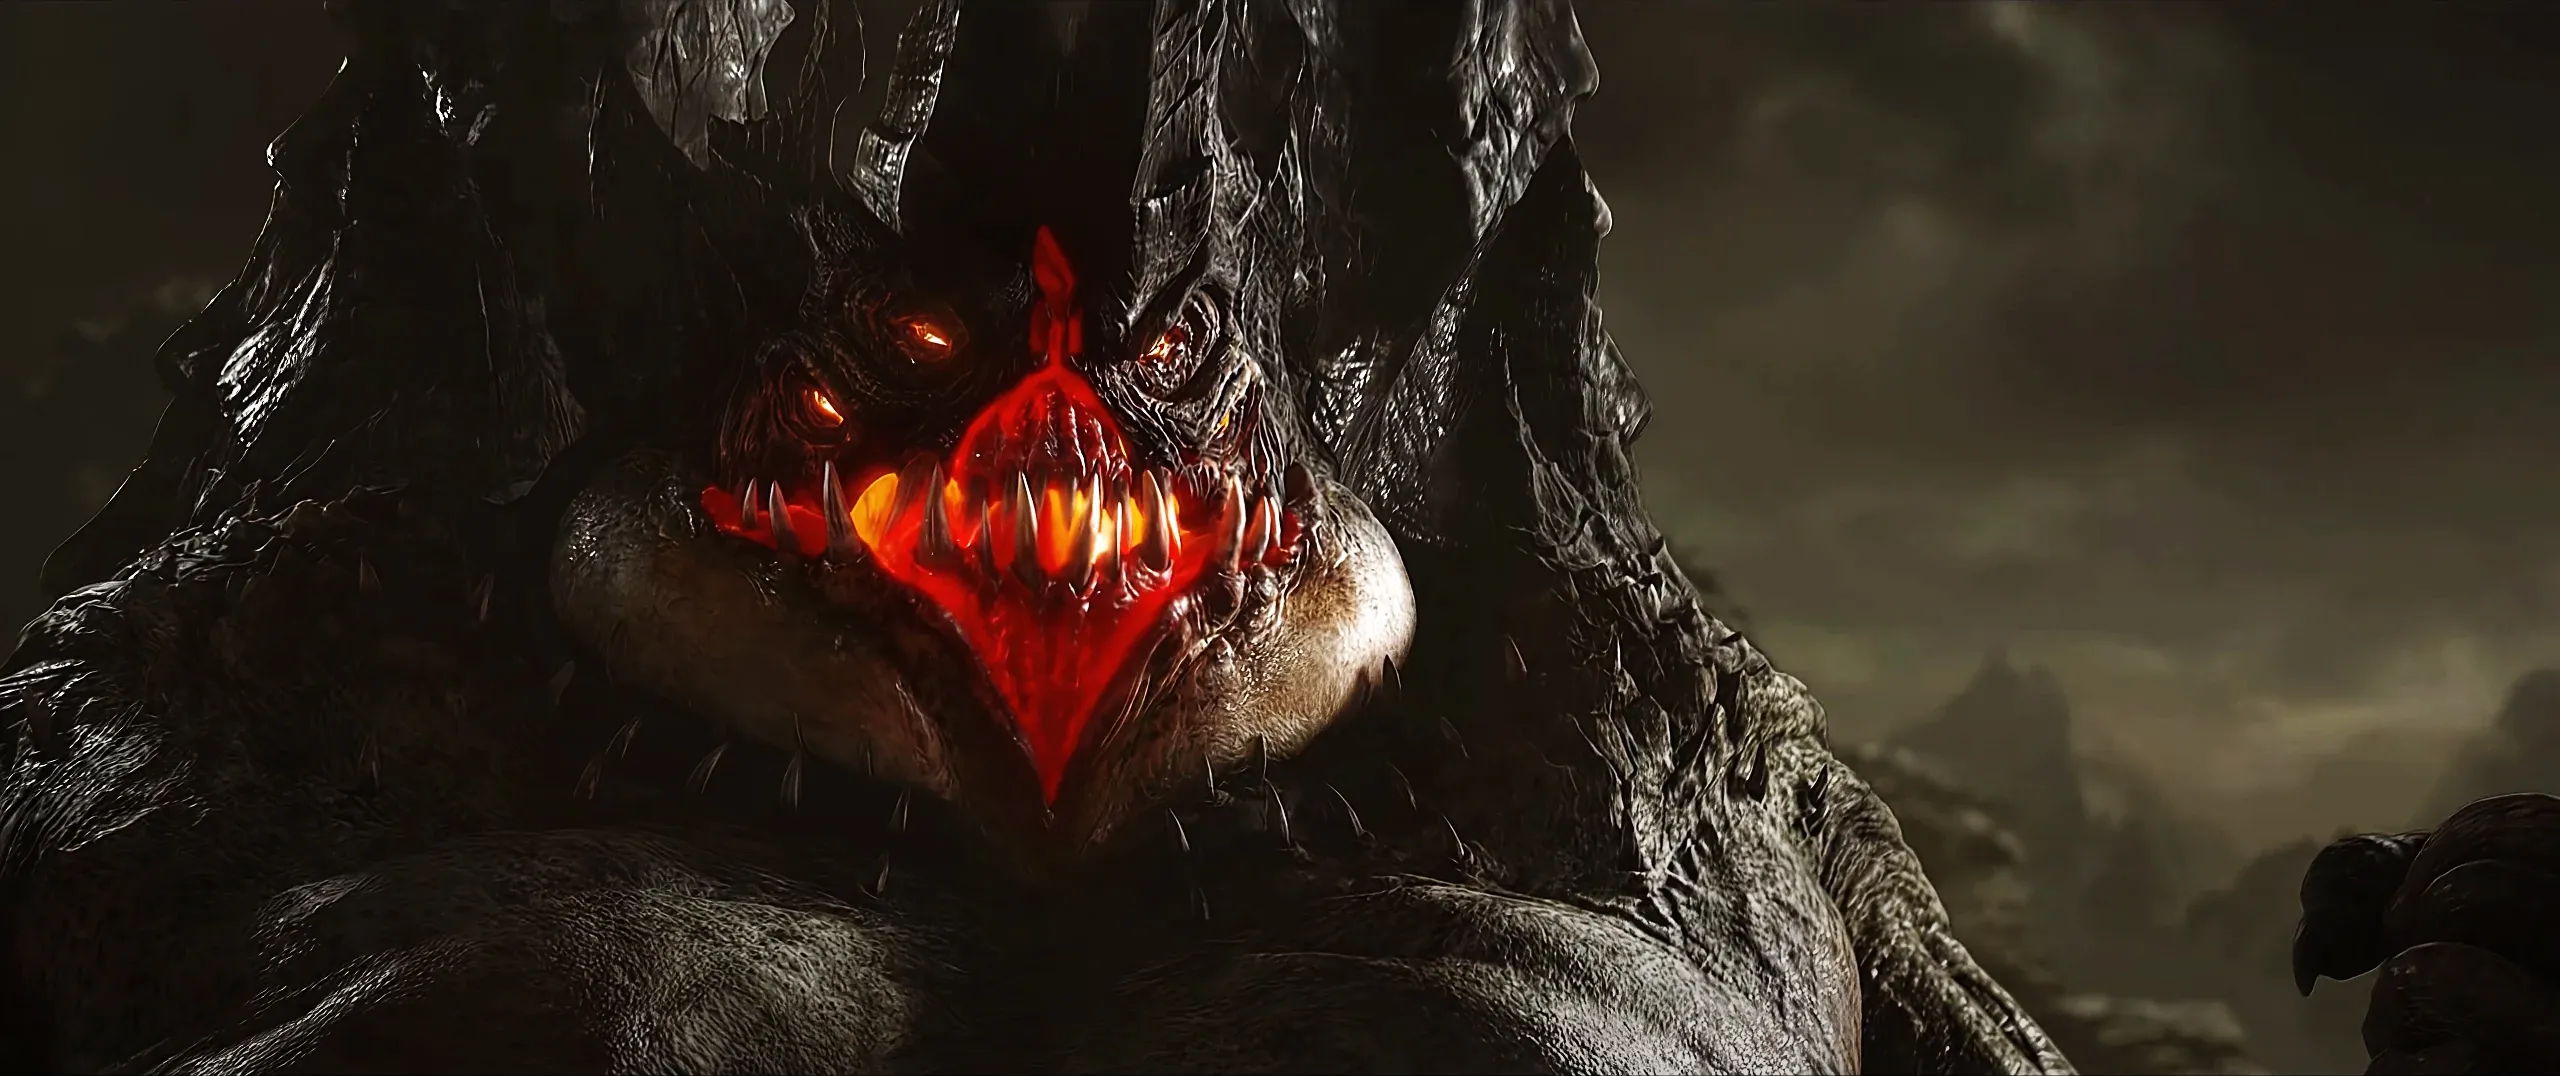
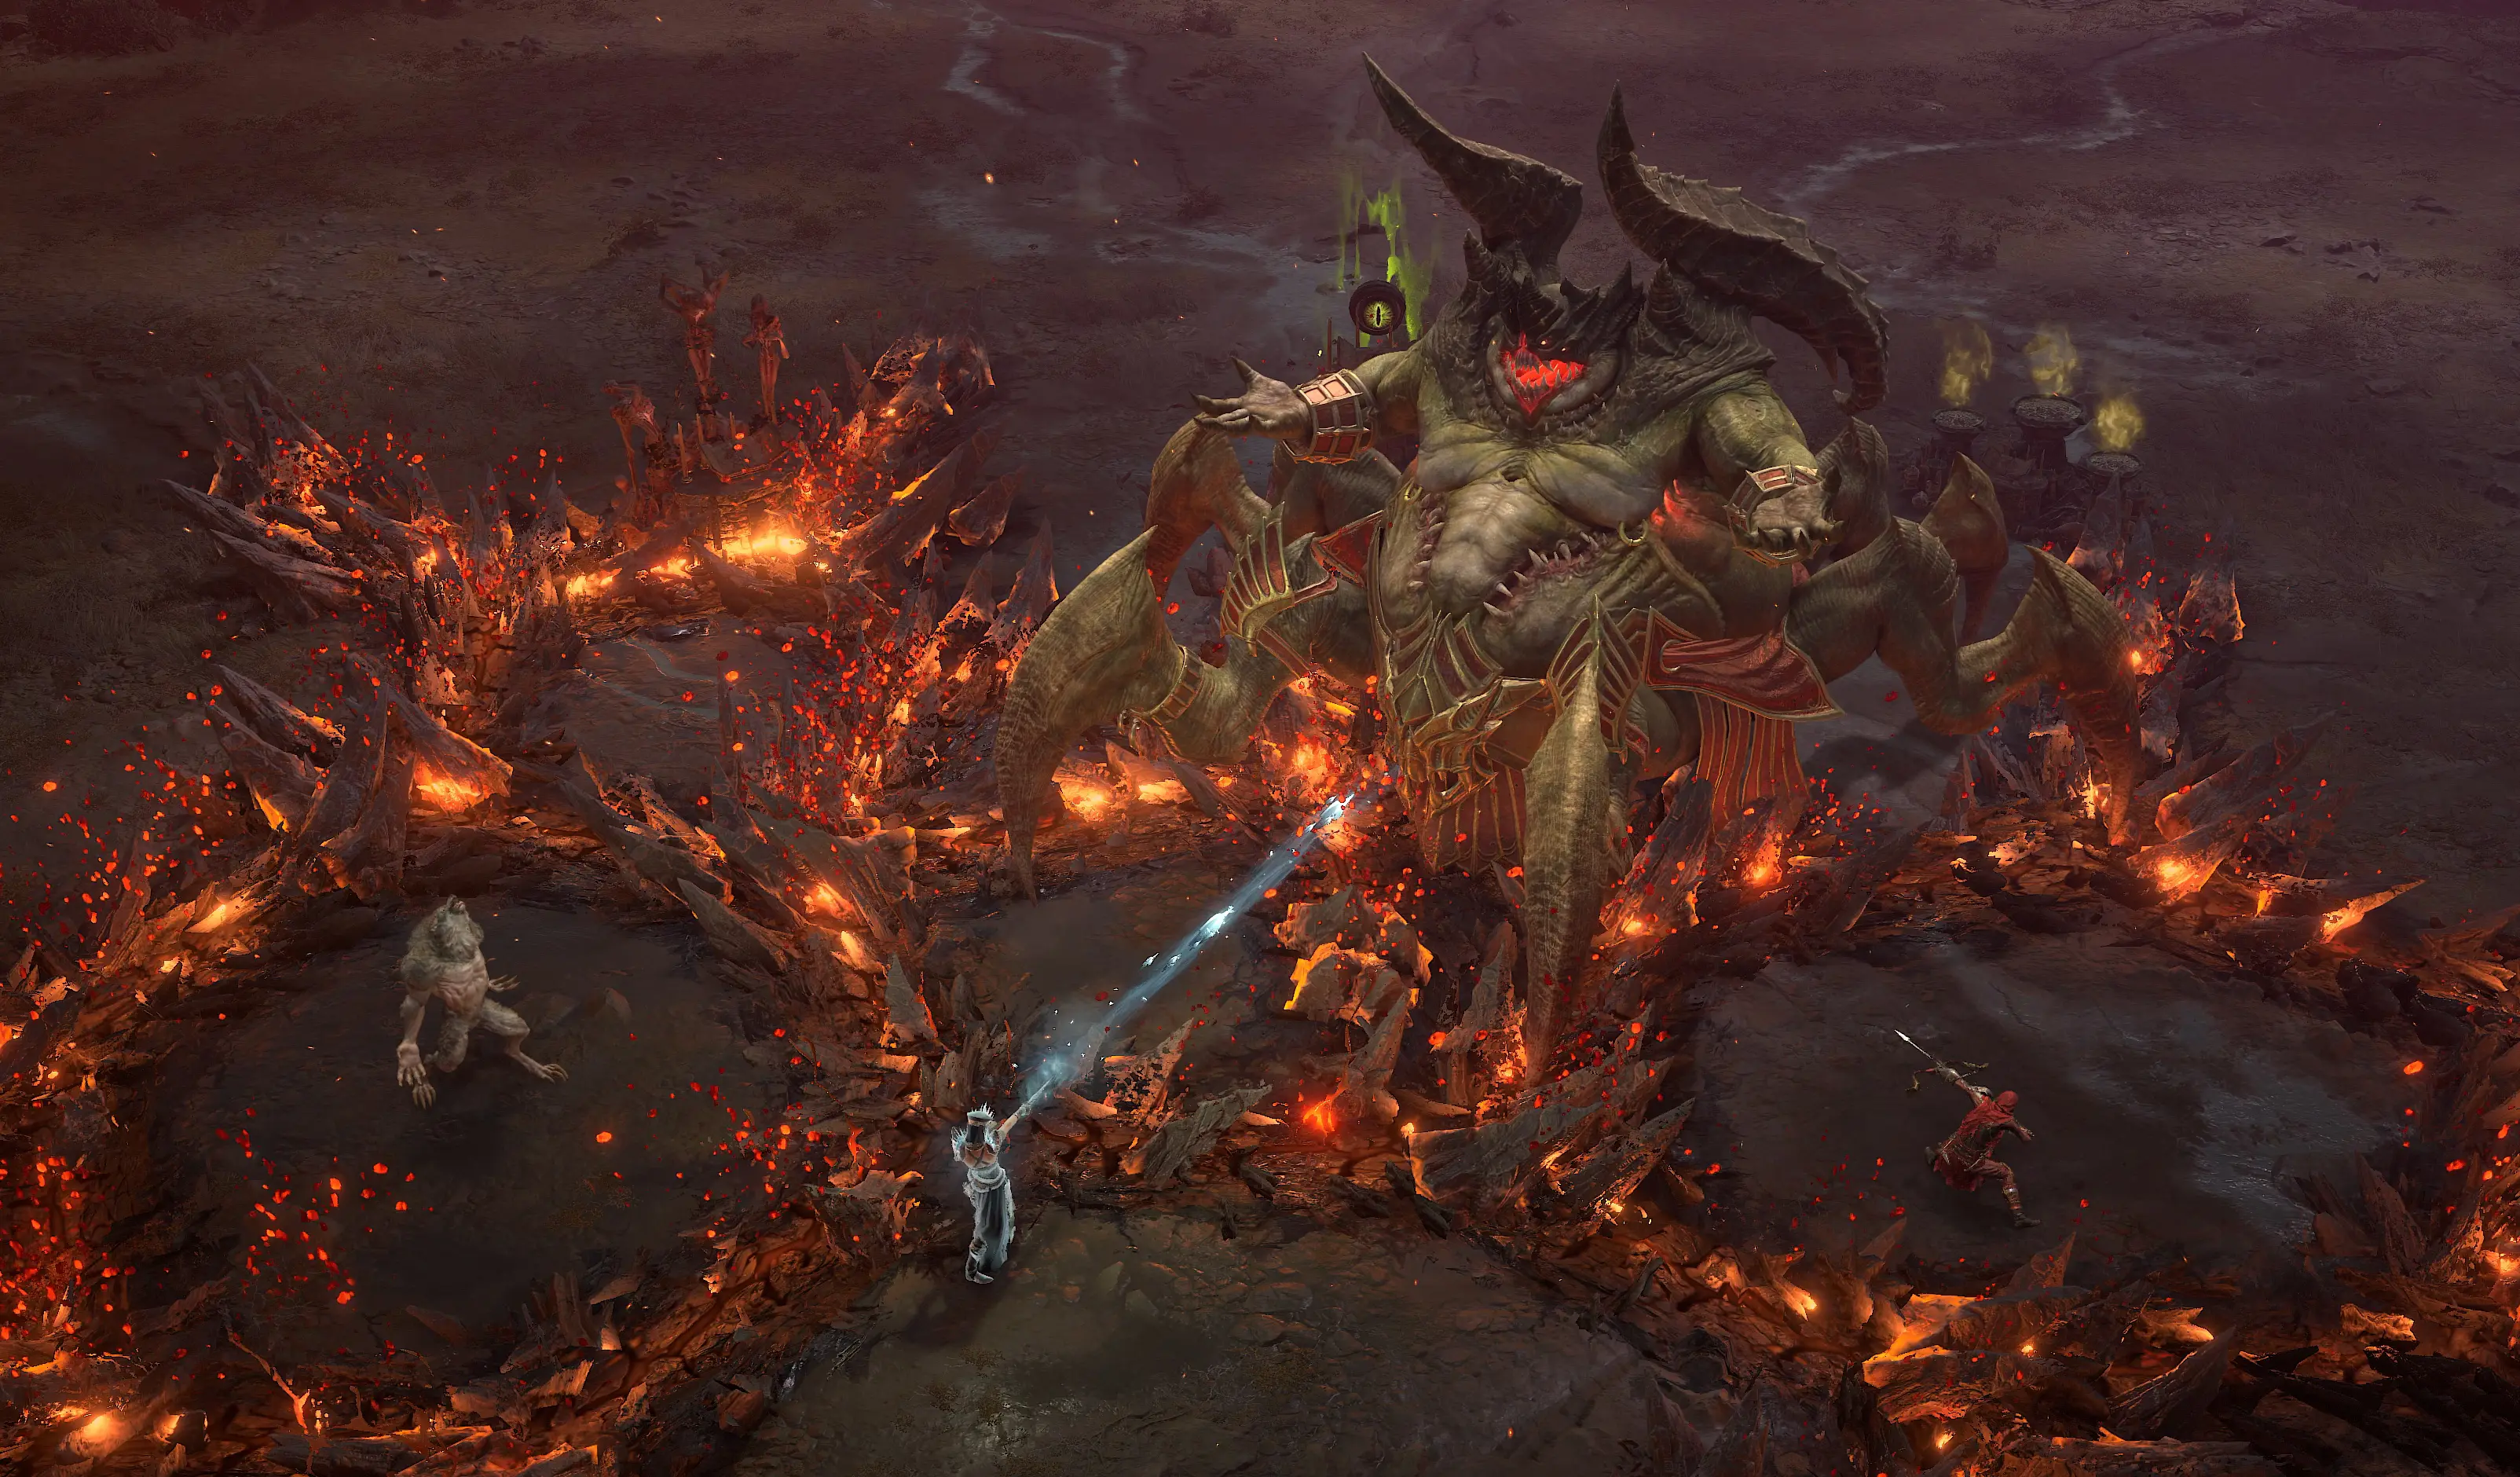
Azmodan is one of Sanctuary’s rotating World Bosses. These fights require a large group of players in the same arena, and Azmodan brings a lot of Fire damage, huge health, and several arena-wide hazards that make him one of the tougher bosses to deal with.
For guides on the other World Bosses, check out the guides below.
Azmodan – Location
Azmodan can spawn in any of the designated World Boss areas.
World Bosses follow a global schedule. When it is time for Azmodan to appear, you will get a map marker and a 30-minute countdown. Use that window to ride over, adjust your build, and group up with other players who are waiting.
Once Azmodan emerges:
- The camera automatically pulls back, signaling the event start.
- A 15-minute encounter timer appears.
- All players in the zone join the fight automatically, no party required.
A group of around 12 players is recommended for most World Boss fights. Lower-level characters or builds with weak defenses will have a rough time because Azmodan hits extremely hard and has a massive health pool.
Preparations
Before the fight starts, make sure your character can handle sustained Fire damage and big area attacks:
- Stack Fire Resistance as high as possible; nearly every ability Azmodan uses deals Fire damage.
- Use defensive Elixirs if your build is on the squishier side.
- Keep high mobility skills like
 Dash,
Dash,  Teleport, Movement Speed buffs, and frequent Dodges. It will greatly reduce incoming damage.
 - Strong single-target damage helps you burn through the later phases faster.
- Dying and respawning causes gear damage, so revive other players whenever it is safe.
Azmodan – Boss Mechanics
Phases & Health Bar
Azmodan’s health bar is split into four sections/phases. Each phase ramps up his speed and overall pressure. When a phase starts, he drops several health globes around him, which you can grab if needed.
The final phase is noticeably more aggressive than the rest.
Stagger Bar
Below his health bar is a Stagger Bar. Crowd-control effects like Slow, Chill, Freeze, Taunt, Stun, Immobilize, or Knock Down all contribute to filling it. Once he is staggered, Azmodan is interrupted briefly, giving everyone a small damage window.
Death and Revival
If you go down, teammates can revive you, or you can respawn at the checkpoint. Respawning reduces durability, so direct revives are always better when possible.
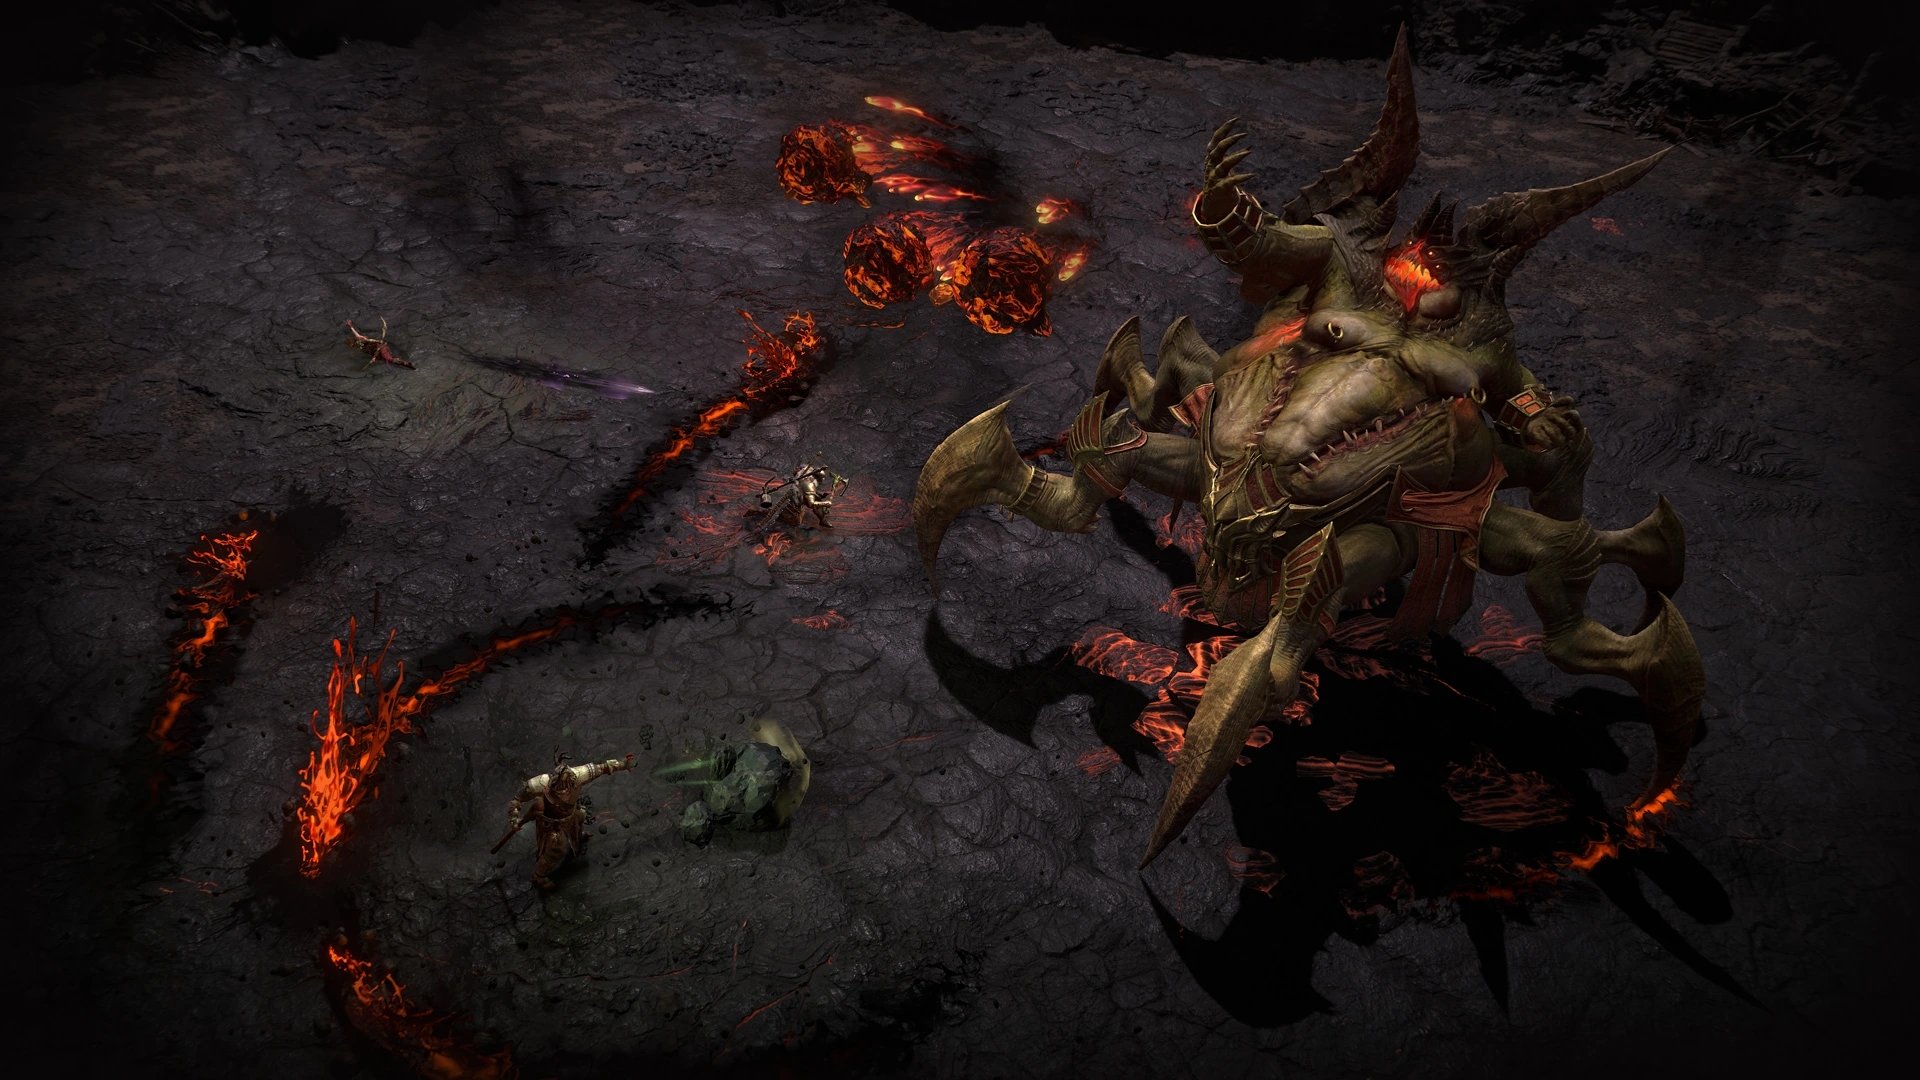
Fight Mechanics
Azmodan’s attacks combine heavy-hitting melee blows, rotating fissures, lingering fire zones, and add spawns that can crowd the arena if ignored. Mobility and positioning are important, especially avoiding his frontal attacks.
Below are the most important mechanics to look out for:
Stomp
A heavy front-facing slam after a short forward lean; stay behind or on his sides to avoid the high-damage impact.
Fissure → Spike Eruption
Two slow pulling gestures create fissures that erupt shortly after. Move early and stay between the fissure lines.
Shockwave Slam
He raises both arms as smoke gathers beneath him before sending a 360° shockwave outward; retreat from melee as soon as the wind-up begins.
Lava Strikes (Traveling Fissures)
Sends thin fissures outward that rotate around him. Maintain medium distance and sidestep (but do not panic-dodge).
Rings of Fire
An upward hand-wave motion creates expanding rings in front of him. Move sideways to avoid the flames.
Lava Breath
Quick inhale before he breathes lava in a wide arc. The ground stays burning, so move out fast.
Balrog Spawn
Glowing circles mark Balrog adds spawning in. Kill them quickly so the arena does not get overwhelmed.
Quick Overview
- Stay at Azmodan’s sides or back unless you are very tanky.
- Keep moving; most of his moves punish standing still.
- Ranged builds perform best at medium distance, where both fissures and frontal attacks are easier to track.
- Carefully watch his animations. Nearly every ability has a clear and readable tell.
- Kill Balrogs quickly before they crowd the arena.
- If too many fire patches pile up, step out briefly and re-engage safely.
Rewards
Defeating Azmodan grants a range of valuable rewards, including:
 Scattered Prism for adding sockets to gear
- Legendary items
- Boss materials
- Temper Manuals
- A weekly World Boss Cache containing gold, gem fragments, Legendaries, and a chance at Unique items
If you disconnect or forget to collect your loot, rewards are automatically transferred to your stash.
