


This is a legacy build that is not valid anymore for the current version of Diablo 4, and which we do not recommend using. It only exists for documentation purposes and will not receive any further updates.
Build Introduction
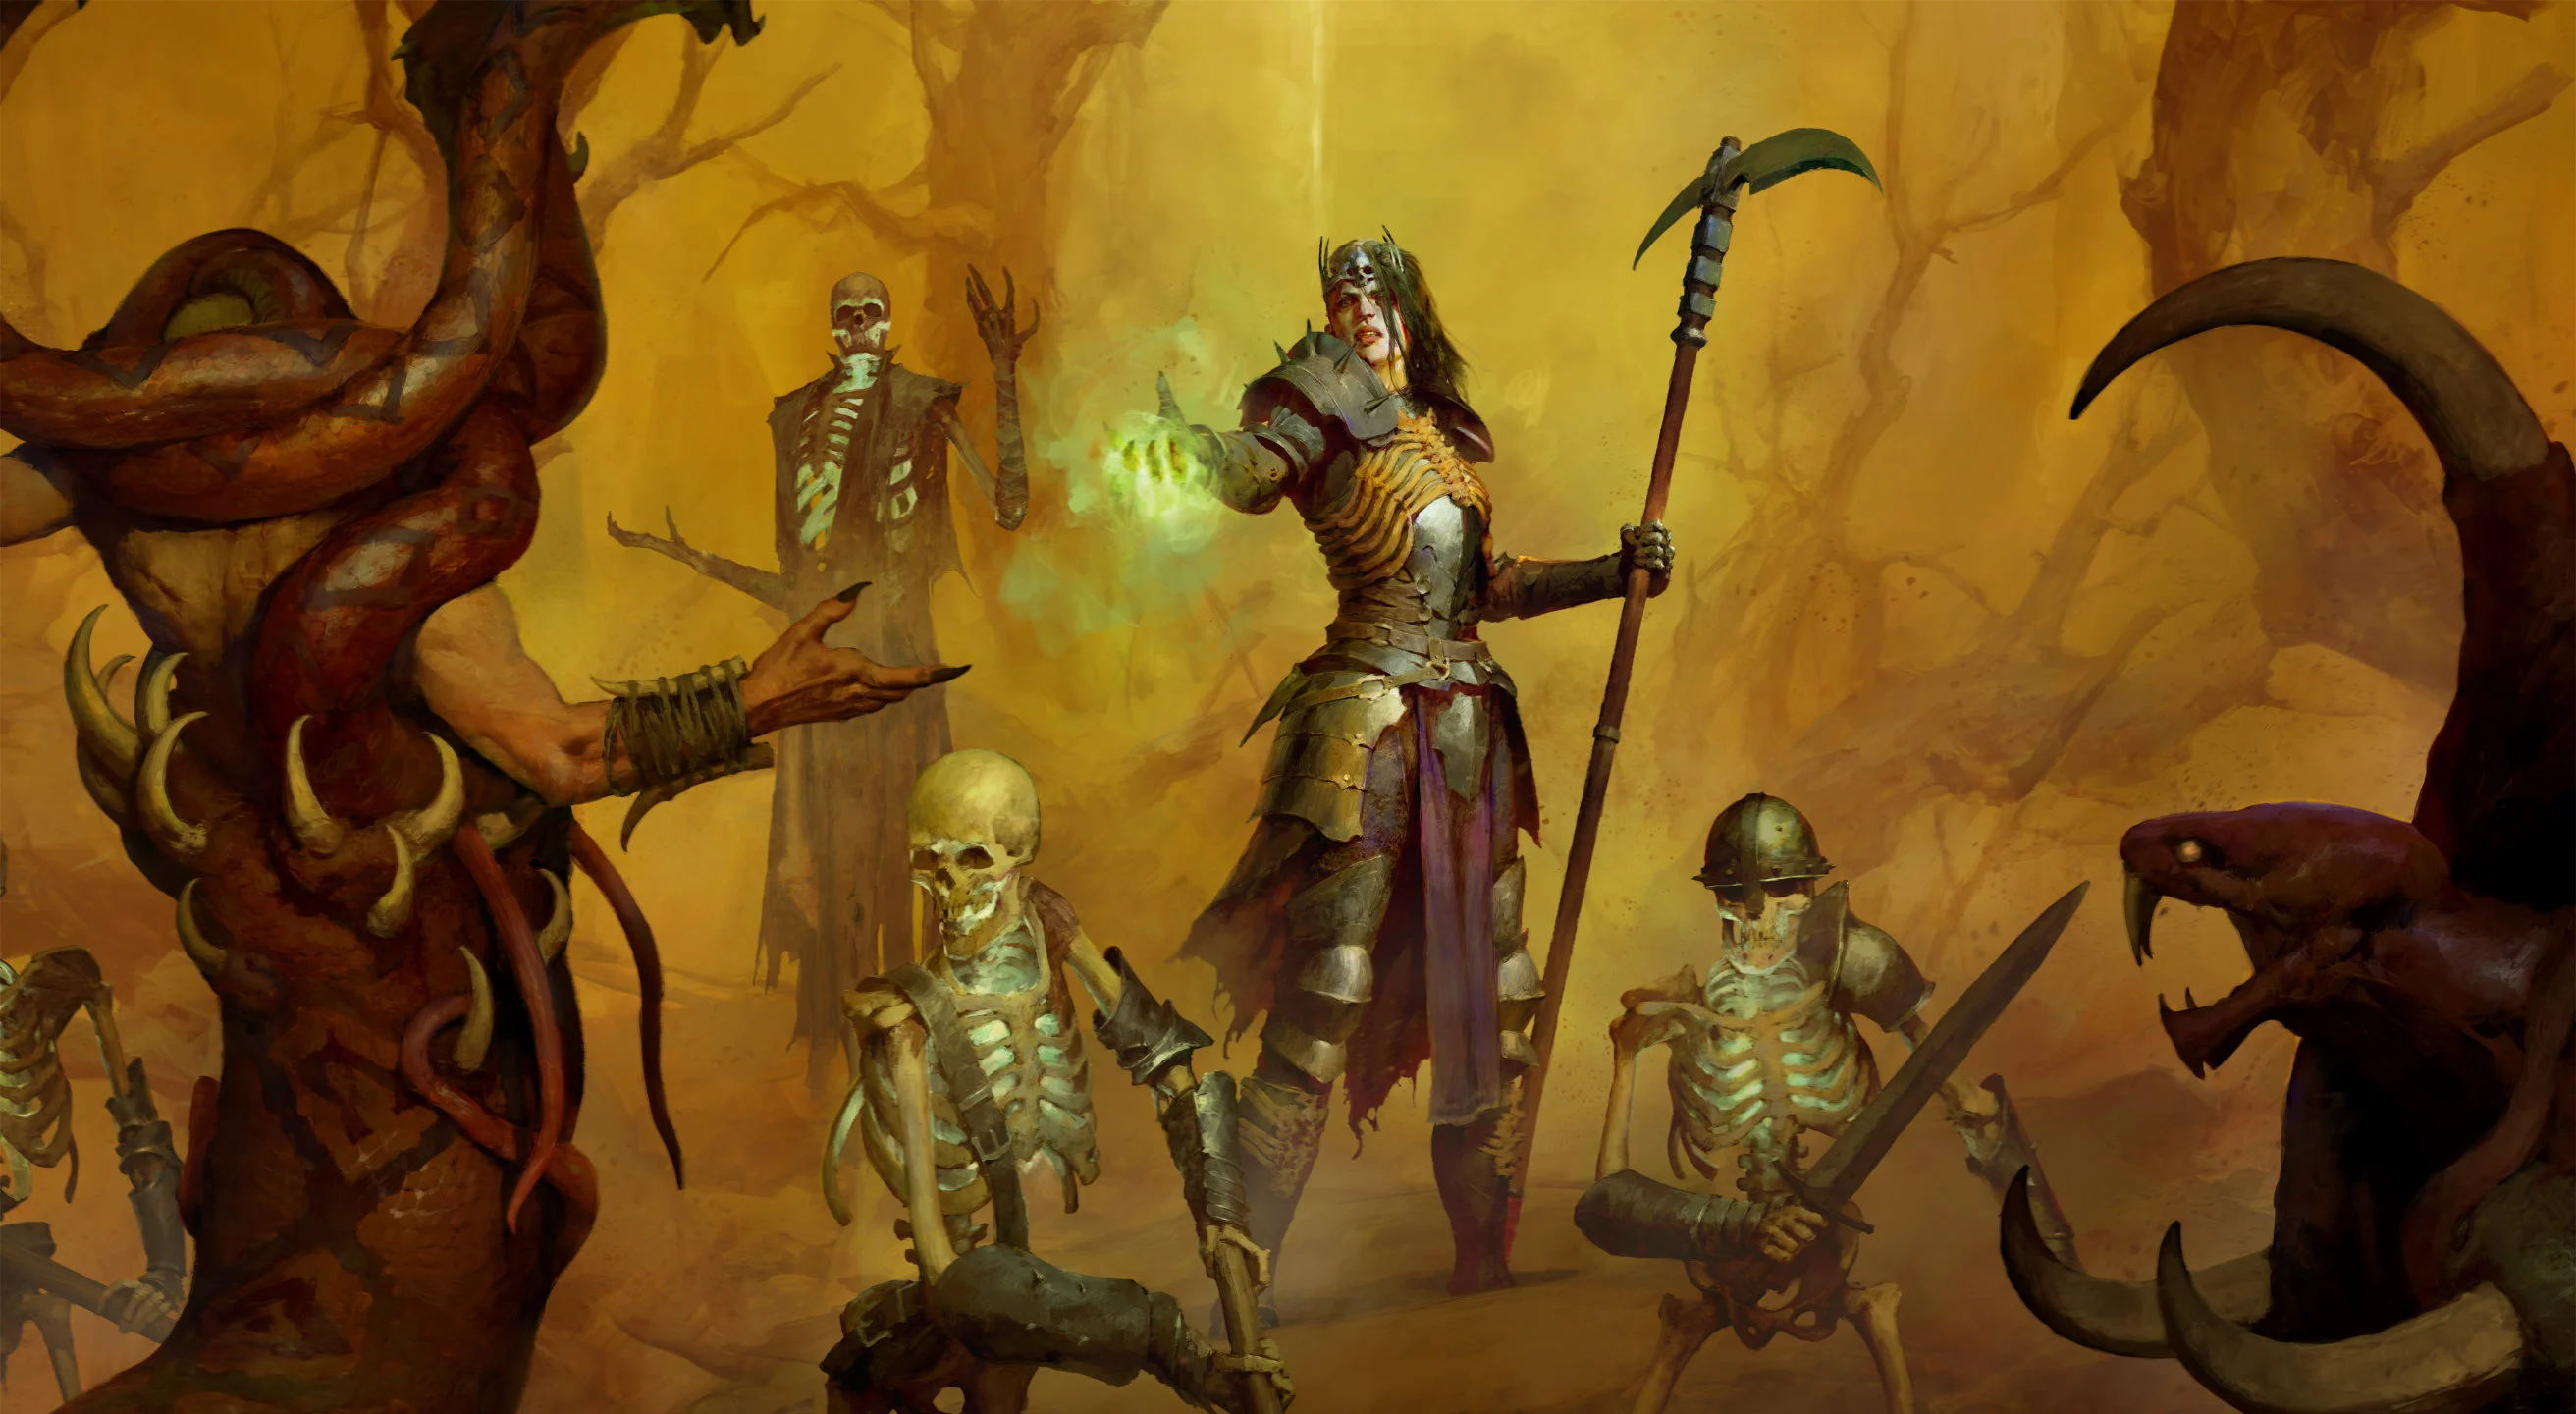
This guide is a collaboration between GhazzyTV and community member Garm Z. The  Blood Surge Necromancer leveling build is a high-damage build that brings great consistency to the battlefield, ensuring the damage output is kept high even when you’re building up your Essence to continue casting Blood Surge.
Solo play can be fun, and playing with friends can be great, if you have the right spec! The high damage output makes the build very attractive to have in a party with friends. Most importantly, the build is designed to be extremely resilient, making you become more than a high damage dealer, but also a front-lining tank.
Have questions or feedback on the guide? Join the livestream and ask me!
Quick Navigation
Want to skip ahead? Use the table below to jump to the selections you are looking for.
Allocation of Skill Points


Skill Bar and Skill Tree Points
Our skill-bar will change a bit during our progression, below you’ll find a list of these events:
 Hemorrhage will be replaced by
  Soulrift as your Skeletal Mages will help sustain Essence you no longer need the basic attack as long as you have Essence per Second on your gear. You can easily do this at the Occultist vendor in town. (The lower level gear the cheaper it is to reroll the enchantment to target this modifier).
To prepare yourself for what happens after level 60 when you get access to your Paragon Board head over to our Necromancer Builds page and chose your weapon!
Necromancer Class Mechanic – Book of the Dead
Necromancer’s class specific ability is the Book of the Dead, which provides three different type of minions that unlock by leveling up. This build thrives on using skeletons when leveling whilst the golem will be sacrificed for better attack speed.
- Melee Skeletons: Defenders [Upgrade #2] – This makes our melee minions insanely resilient.
- Mage Skeletons: Cold Mages [Upgrade #1] Essence generating skeletons will help sustain our essence pool.
- Golem: Bone [Sacrifice] – Provides increased Attack Speed.
Gear, Stats, Gems, and Runes
Prioritize a higher total damage output when it comes to your weapon, as the higher it is, the better. Important to point out that we always want to be wielding a 2H weapon with this build. Make sure you check the aspects listed below to have a smooth leveling experience.
Legendary Aspects
To unlock Aspects in the Codex of Power, you must complete the corresponding Dungeon where the specific Aspect drops or find it naturally. Visit the Occultist to imprint this Aspect onto an item. Aspects from the Codex of Power can be used often on weapons.
Below you’ll find a list of recommended Legendary Aspects used in this build, most notable would be the  Blood-bathed Aspect which you’ll get access to via the Hoarfrost Demise dungeon in Fractured Peaks. For the build to function the best it is crucial you keep the
  Aspect of the Cursed Aura equipped at all times when you get access to it.
| Aspect Name | Legendary Aspect Power | Source |
| Blood-bathed Aspect (Offensive) | Blood Surge’s nova echoes again after a short delay, dealing x% less damage. | Hoarfrost Demise in Fractured Peaks |
 Aspect of Hardened Bones (Defensive) Aspect of Hardened Bones (Defensive) | You and your Minions gain % increased Damage Reduction. | Random Drop |
| Aspect of Occult Dominion (Utility) | Your maximum number of Skeletal Warriors and Skeletal Mages is increased by 2. | Random Drop |
| Aspect of Rathma’s Chosen (Offensive) | Whenever your Blood Skills Overpower you gain +#% Attack Speed for 4 seconds. | Random Drop |
| Aspect of the Cursed Aura (Utility) | A dark aura surrounds you, inflicting Decrepify and Iron Maiden on enemies who touch it. Curses inflicted this way spread to surrounding targets every x seconds and last 4 seconds outside the aura. | Random Drop |
 Aspect of Slaughter Aspect of Slaughter(Mobility) | You gain 20% Movement speed. Lose this bonus for 5-2 seconds after taking damage from a Close Enemy. | Random Drop |
 Aspect of the Great Feast (Offensive) Aspect of the Great Feast (Offensive) | Gain x% Summoning damage, but each active Minion drains 1 Essence from you per second. Note: You will need Essence per Second modifiers on your gear (at least 2) to sustain your Essence using this Aspect. | Random Drop |
| Aspect of Grasping Veins (Offensive) | Gain #% Increased Critical Strike Chance for 6 seconds when you cast Corpse Tendrils. You deal x#% bonus Critical Strike Damage to enemies damaged by Corpse Tendrils for 6 seconds. | Corrupted Grotto in Kehjistan |
| Aspect of Reanimation (Offensive) | Your Minions gain increased damage while alive, up to x#% after 10 seconds. | Scosglen Campaign |
| Aspect of Frenzied Dead (Offensive) | Each time one of your Minions damages an enemy, they gain % Attack Speed for 3 seconds up to X%. | Random Drop |
Changing Aspect costs ![]() Veiled Crystal which is easily farmed in Helltides. The order of priority for what aspect to have on your weapon is listed below:
Veiled Crystal which is easily farmed in Helltides. The order of priority for what aspect to have on your weapon is listed below:
For your amulet the order of priority is the following:
Priority order for your rings:
We have a dedicated in-depth Aspect and Codex of Power guide that you can check out for more information.
Stat Priority and Tempering Affixes
Keep in mind that this is only possible if you’ve found tempering manuals as you progress this leveling guide. There’s really not many modifiers worth bothering during the leveling stage but the recommendation is the same as our stat priority listed above for defenses such as Life and armor. For offensive scaling you’re only looking for summoning damage or specific minion damage such as Skeletal Mage damage.
When it comes to modifiers on your gear as you progress this build you’ll be looking for the following stats:
- Essence per Second – This is the most important modifier and you should consider using the Occultist in town to enchant ALL your items with this modifier where possible.
- + Ranks to Skeletal Masteries
- + Ranks to Hellbent Commander
- + Ranks to Core or Blood Surge
When it comes to Tempering affixes it all depends whether or not you’ve dropped the Tempering Manual for them. Below you’ll find a list of attractive temper modifiers for this build:
- Total #% Armor
- Damage Reduction for your minions
- Chance for minion attacks to fortify you
- Corpse Tendril #% Size
- Blood Surge Nova Size
- Soulrift Duration
Gems and Runewords
Listed below are the best Gems to socket into gear for each slot type.
Gems
As of Season 9 we will want to use Horadric Jewels as soon as you gain access to them. Till then you’ll use the following ones:
- Weapon: We don’t recommend socketing anything in the weapon due to material cost and the fact that you’ll be switching your weapon so frequently during your level progression. If a socket exist on the item you could slot in a
 Sapphire for increased Vulnerable damage.
 - Armor:
 Topaz for +#% Increased Intelligence.
 - Jewelry:
 Skull to help reach the armor cap.
Runewords
When it comes to Runewords there’s a couple this build could utilize well, most attractive combination is: ![]() Cir +
Cir + ![]() Lum, this is extremely helpful with your Essence management. Other options are useful as well. Below you’ll see them described:
Lum, this is extremely helpful with your Essence management. Other options are useful as well. Below you’ll see them described:
 Yax +
Yax +  Lum – Every time you drink a potion you’ll also recover Essence.
 Feo +
Feo +  Ner – If you become Injured or Crowd Controlled you invoke the Rogue’s
  Countering Concealment gaining Dodge Chance, Movement Speed, Unstoppable and Stealth.
- Feo +
 Xal – If you become Injured or Crowd Controlled you gain extra Maximum Life. Do note that the extra life you gain isn’t automatically healed so you’ll have to spam your healing potion (which you can do whilst being Crowd Controlled)!
  Poc +
Poc +  Qua – By spending your Essence you gain increased Movement Speed.
Make sure you place these in your Pants or Chest as you’ll want to keep your weapon slot open to be replaced should you find one with higher item power.
Seasonal Power
In Season 9, we will have access to Horadric Jewels and Horadric Spells, granting some absolutely crazy abilities that you can utilize to enhance a build’s power.
Mercenaries
Raheir is a great choice with increased resistances for you. The mercenaries are a nice addition to the game and whichever you choose to run is up to you. The recommendation for this build will be to run Raheir. We also recommend using the Reinforcement slot to level up all your Mercenary to get access to the caches for extra loot.
Below you’ll find the recommended skill set-up for Raheir:
Build Mechanics
Rotation and Playstyle
The build starts off with casting Blood Surge as your main source of damage output coupled with  Hemorrhage until it is replaced by
 ![]() Soulrift. Once you have access to
Soulrift. Once you have access to ![]() Bone Prison we use this to increase our damage but also restore Essence.
Bone Prison we use this to increase our damage but also restore Essence.
Once you have access to ![]() Blood Mist you can use this as an opener to create a corpse which allows for
Blood Mist you can use this as an opener to create a corpse which allows for ![]() Corpse Tendrils to group enemies together, follow this up with
Corpse Tendrils to group enemies together, follow this up with ![]() Bone Prison before
Bone Prison before ![]() Blood Surge spam. Make sure you stand close to the enemies to maximize your
Blood Surge spam. Make sure you stand close to the enemies to maximize your ![]() Blood Surge nova damage and trigger Overpower counter for
Blood Surge nova damage and trigger Overpower counter for ![]() Paranormal Blood Surge.
Paranormal Blood Surge.![]() Soulrift is used for both offensive and defensive purposes, on top of that it provides us with a lot of Essence!
Soulrift is used for both offensive and defensive purposes, on top of that it provides us with a lot of Essence!
Don’t forget to use your ![]() Raise Skeleton even when you have maximum number of minions as this will heal them and make them stronger as well as provide you with consistent Essence on hit.
Raise Skeleton even when you have maximum number of minions as this will heal them and make them stronger as well as provide you with consistent Essence on hit.
Which Elixirs Should You Use?
To gain an edge in your adventures, head to the Alchemist in any major town, and craft Elixirs that enhance your stats and experience gain for 30 minutes. Remember to gather the necessary crafting materials by foraging plants. Select an Elixir that provides the resistance you need most, or try the ![]() Elixir of Resourcefulness II to help with Essence sustain.
Elixir of Resourcefulness II to help with Essence sustain.
Return to the Alchemist again around every 10 levels to upgrade your potion. The extra healing is essential to survival.
Season 9 Updates
For a full overview of what is new in Season 9, please take a look at our comprehensive season hub.
Difficulty and Endgame
This guide is designed to get you to level 60 in a smooth and enjoyable way. Once there, you’ll want to look at a proper endgame designed build guide. Make sure you pick one of our recommended ones!
Changelog
- June 29th, 2025: Build removed from Tier Lists. Legacy status added (not valid anymore).
- May 5th, 2025: Optimized and updated post launch for Season 8.
- April 29th, 2025: Optimizations made for Season 8.
- April 21st, 2025: Guide updated for Season 8.
- January 20th, 2025: Added Recommended Runewords.
- January 18th, 2025: Guide updated for Season 7.
- October 12th, 2024: New Paragon tool added.
- October 7th, 2024: Paragon board added.
- October 2nd, 2024: Guide updated for Season 6.
- August 5th, 2024: Guide updated for Season 5.
- May 12th, 2024: Guide updated for Season 4 Loot Reborn.
- January 22nd, 2024: Guide updated for Season 3 Season of the Construct.
- October 28th, 2023: Improved Vampiric Power decisions and clarified the double-curse decision.
- October 16th, 2023: Optimized the build.
- October 15th, 2023: Build made ready for Season 2 Patch 1.2.0
- August 5th, 2023: Build added.
