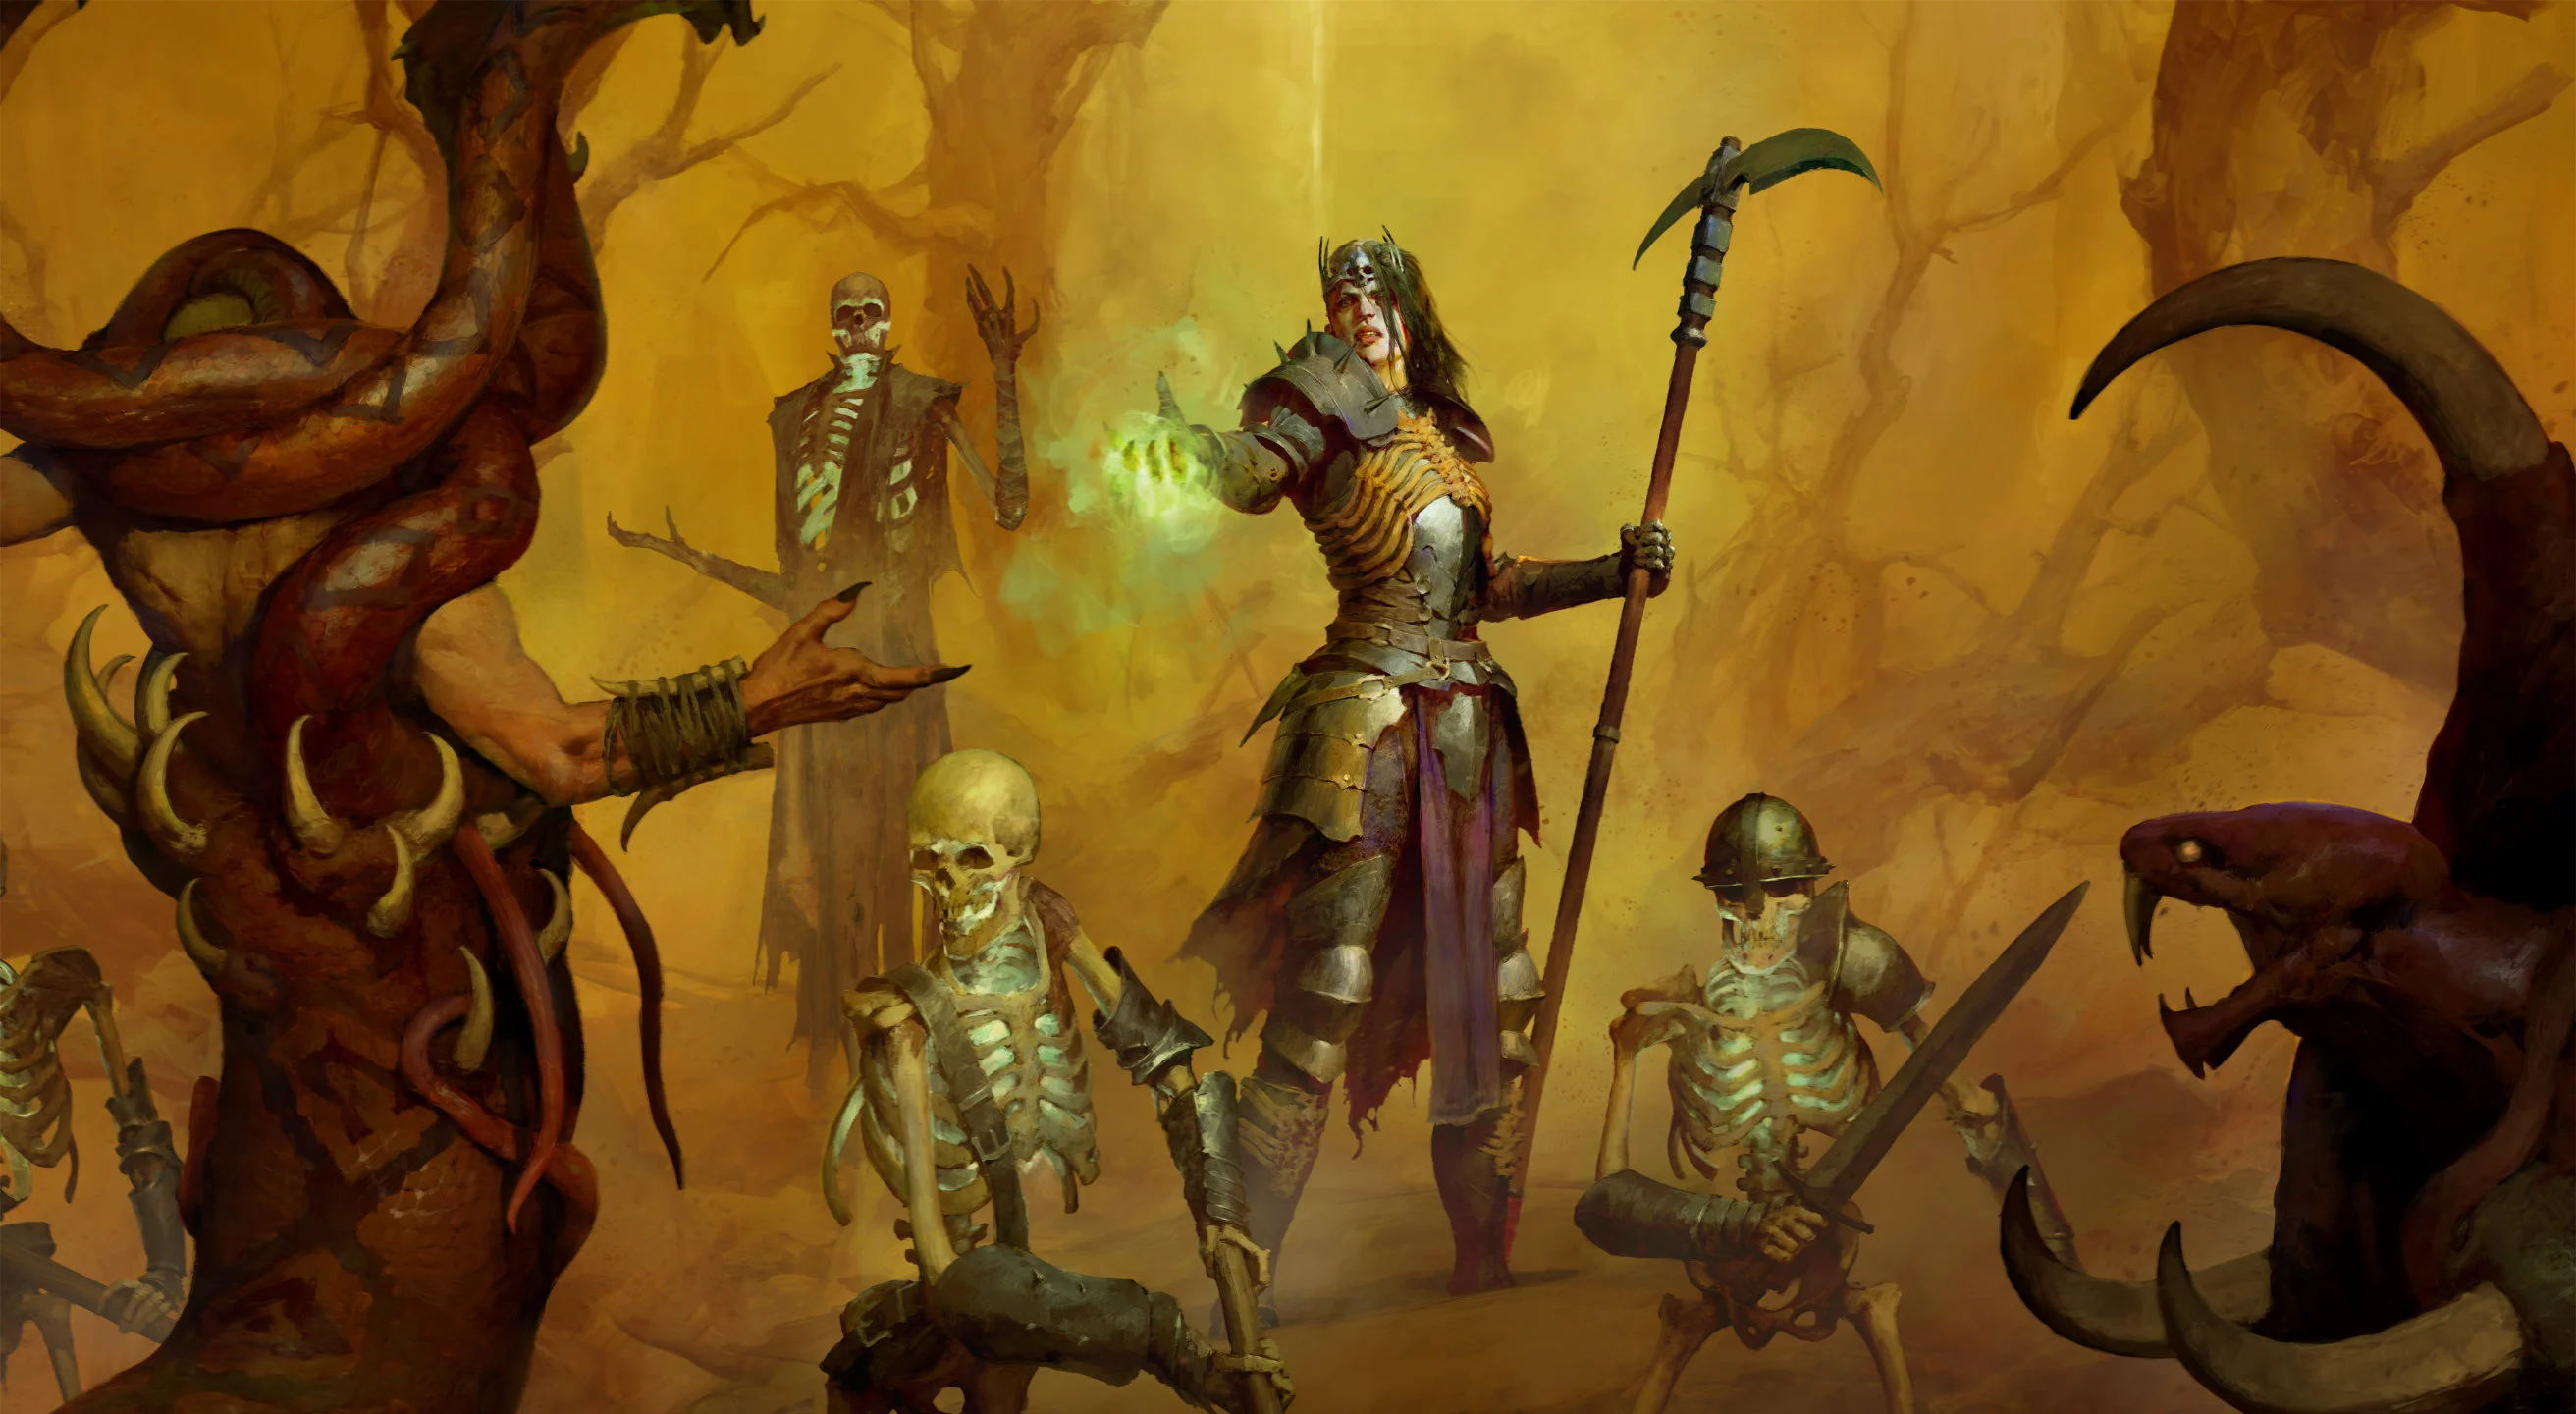


Build Introduction
This solid Necromancer build controls a dozen of nearly immortal ![]() Skeletal Mages, summoned by
Skeletal Mages, summoned by ![]() The Hand of Naz Unique gloves and shielded by
The Hand of Naz Unique gloves and shielded by  Aspect of Service and Sacrifice powers. The sheer amount and speed of
 ![]() Skeletal Arch-Mages chaining attacks, is perfect for triggering devastating explosions from
Skeletal Arch-Mages chaining attacks, is perfect for triggering devastating explosions from ![]() Ring of Mendeln, which is the true power behind this build. The build features excellent clearing speed and allows chill and relaxed gameplay at the cost of efficiency.
Ring of Mendeln, which is the true power behind this build. The build features excellent clearing speed and allows chill and relaxed gameplay at the cost of efficiency.
Have questions or feedback on the guide? Join the livestream and ask me!
Curious how this build fares in various content types? Take a look at our build tier lists.
Strengths and Weaknesses
- Outstanding clearing speed
- High survivability
- Allows to skip rotation and just wait
- No focus fire or targeting for Skeletal Mages
- Minion AI hates crates and barrels in room corners
Build Requirements
 Ring of MendelnAspect of Service and Sacrifice
![]() Blood Moon Breeches are not required, but strongly recommended as Best in Slot option by far.
Blood Moon Breeches are not required, but strongly recommended as Best in Slot option by far.
Quick Navigation
Want to skip ahead? Use the table below to jump to the sections you are looking for.
Skill Tree Points and Skill Bar
Follow the points allocated in the Skill Tree above for the complete 71-point build. 12 skill points are locked behind the Season Rank System.
Lowest priority skills to skip, until extra skill points acquired:
Class Mechanic – Book of the Dead
This build is using only ![]() Shadow Skeletal Mages to further boost
Shadow Skeletal Mages to further boost ![]() Ring of Mendeln damage – the rest of minions are sacrificed for
Ring of Mendeln damage – the rest of minions are sacrificed for ![]() The Hand of Naz.
The Hand of Naz.
- if Critical Strike Chance < ~75%
- then
 Skeletal Warriors: Skirmishers [Sacrifice] – Increased Critical Strike Chance.
- else Skeletal Warriors: Defenders [Sacrifice] – Increased Resistance to All Elements.
- then
- Skeletal Mages: Shadow [Upgrade #1] – 3%[x] increased damage for each active Shadow Mage.
 Golem: Iron [Sacrifice] – Increased Critical Strike Damage.
Gear, Gems, Elixirs, and Stats
The following sections cover the important systems that are essential to improving the power of your character in the endgame of Diablo 4.
Legendary Aspects
Each aspect is listed with its matching gear slot. Do your best to keep each aspect in the assigned slot. Aspects placement is planned with potential Unique and Mythic Unique gear upgrades in mind for easiest and cheapest transition. Obol gambling is a great way to try to obtain specific slot Legendary Aspects and even Uniques early. For exact Runewords suggestions, see here.
| Gear Slot | Gems | Aspect / Unique | Legendary Aspect / Unique Power |
|---|---|---|---|
| Helm |  Aspect of the Cursed Aura Aspect of the Cursed Aura | A dark aura surrounds you, inflicting | |
| Chest |  Aspect of Hardened Bones Aspect of Hardened Bones | You gain 30% [10 – 30]% increased Damage Reduction. (Necromancer Only) | |
| Gloves | n/a | Sacrificing both When a | |
| Pants | Aspect of Might or Coldbringer’s Aspect | Basic Skills grant 20.0% Damage Reduction for 10.0 seconds. Every 4 seconds, your | |
| Boots | n/a | Aspect of Occult Dominion | Your maximum number of |
| Weapon 2H (Scythe) | Aspect of Service and Sacrifice | ||
| Amulet (50% Scaling) | Aspect of Reanimation | Your Minions gain increased damage while alive, up to 90%[x] [60 – 90]% after 10 seconds. (Necromancer Only) | |
| Ring | Aspect of Grasping Veins | Gain 25%[+] [5 – 25]% increased Critical Strike Chance for 6 seconds when you cast | |
| Ring | Every 6th attack from each Minion is empowered, exploding for 8,946 [5,169 – 8,946] Physical damage. |
Affixes and Tempering Priority
- Affixes on gear are sorted in priority descending order.
- Bolded affixes are the most important targets for Masterworking upgrade. If multiple affixes marked – any selected is acceptable for case by case gear.
- Affixes marked by multiple “*” – indicate desirability of obtaining them as Greater Affix originally or with lucky Tempering.
Be sure to check our Tempering and Masterworking guides for more details about these topics.
| Slot | Affixes | Tempering Affixes |
|---|---|---|
| Helmet | ** 1. Critical Strike Chance * 2. Lucky Hit Chance | n/a |
| Helmet | * 1. Maximum Life * 2. Intelligence 3. Cooldown Reduction 4. Armor / Resistance to All Elements 5. Essence per Second (once) | |
| Chest | ** 1. All Stats * 2. Maximum Life | n/a |
| Chest | ** 1. Maximum Life * 2. Intelligence 3. Armor / Resistance to All Elements 4. Essence per Second (once) | |
| Gloves | *** 1. +Ranks to Skeletal Mage Mastery * 2. Attack Speed | n/a |
| Pants | *** 1. +Ranks to Hellbent Commander * 2. Critical Strike Chance | n/a |
| Pants | * 1. Maximum Life * 2. Intelligence 3. Armor / Resistance to All Elements 4. Essence per Second (once) | |
| Boots | * 1. Movement Speed * 2. Maximum Life * 3. Intelligence 4. Essence per Second (once) 5. Armor / Resistance to All Elements | |
| Amulet | *** 1. +Ranks to Hellbent Commander *** 2. +Ranks to Coalesced Blood ** 3. Critical Strike Chance * 4. Attack Speed * 5. +Ranks to Amplify Damage 6. Intelligence | |
| Ring | ** 1. Critical Strike Chance * 2. Attack Speed * 3. Intelligence * 4. Maximum Life 5. Cooldown Reduction | |
| Ring | *** 1. +X to Skeletal Mastery, Skeletal Mage Mastery, and Golem Mastery * 2. Summon Attack Speed * 3. Intelligence | n/a |
| Weapon 2H (Scythe) | * 1. Maximum Life * 2. Intelligence 3. Critical Strike Damage 4. Vulnerable Damage 5. Lucky Hit: Up to a 15% Chance to Restore +X Primary Resource | ** |
For the dedicated page on Gear Systems and Itemization Overview, check the guide here.
Recommended Early Endgame Stats
Below you’ll find expected character stats to start engaging endgame content:
 Ring of Mendeln Aspect top or at least high roll
 - Attack Speed slightly above 40%, 60%, 80% or 100% (total in character stats sheet)
- Critical Strike Chance near or at 100% with
 Corpse Tendrils Aspect of Grasping Veins.
 - Movement Speed above 30%.
- Maximum Life at least 5000.
- Resistances / Armor above 65% (in Toughness tooltip)
Ancestral and Mythic Uniques
See below for information on useful Uniques and how to integrate them into this build:
| Unique | Category | Synergy | Source |
| Required | – Converts all – Attack Speed affix for – Doubled amount of Ranks to | Duriel or Harbringer of Hatred Lair Bosses | |
| Required | – Unique Aspect is build’s main damage source – Minion build compatible affixes | Beast in the Ice Lair Boss | |
| Best in Slot | – Extra large Critical Strike Chance affix – Sizeable damage multiplier from Unique Aspect – Ranks to – Curse application from Unique Aspect | Duriel or Andariel Lair Bosses | |
| Mythic Best in Slot | – Extra large Critical Strike Chance affix – Extra large Lucky Hit affix – Sizeable damage multiplier from Unique Aspect see below for equipping instructions | How to Farm Mythic Uniques guide | |
| Mythic Best in Slot | – +1 All Passives equates to large damage multiplier – Extra large All Stats affix helps with Paragon Rare Node requirements on last boards – Extra large Maximum Health affix – Movement speed bonus | How to Farm Mythic Uniques guide |
![]() Heir of Perdition leads to loss of Aspect of the Cursed Aura on Helmet slot. This can be compensated by:
Heir of Perdition leads to loss of Aspect of the Cursed Aura on Helmet slot. This can be compensated by:
 Igni
Igni  Wat runeword to keep build’s access to Curses, see here how
- Rely on Curse application by
 Blood Moon Breeches Unique Aspect Chance on Hit
 - High priority Aspect of the Cursed Aura can just be applied to Boots slots over
 Aspect of Metamorphosis. Missing aspect would be forfeited until Sanctified version of one of two aspects acquired, so second one would be applied back to Boots slot.
Other listed Uniques are straightforward slot replacement without any extra actions.
Gems and Runewords
See below for a more detailed explanation of the best Gems and Runewords to socket into your gear.
| Weapon Gems | Armor Gems | Jewelry Gems |
|---|---|---|
| – | ||
| Increased damage. | Increased All Stats or Intelligence. | Resistances against buffed Lightning and Fire Elite Affixes. |
| Runeword Combination | Effect |
| Gain: 15 Offering. Lucky Hit: Up to a 100% chance against non-Healthy enemies Requires: 400 Offering. Cooldown 1 second. Casting a Skill other than a Basic or Defensive spends all your Primary Resource to increase your damage up to 100% for 1 second. (Overflow: Further Increased Damage). | |
| Occasionaly consumes all essence to double the damage against non-Healthy enemies | |
| Gain: 25 Offering. Stores Offering every 0.3 seconds. Cast a Non-Basic Skill to gain the stored Offering. (Up to 500 Offering). Requires: 300 Offering. Invoke the Sorcerer’s Mystical Frost Nova Skill, inflicting Freeze and Vulnerable onto enemies. (Overflow: Up to 100% Increased Size) | |
| Provides occasional damage multiplier, Crowd Control and Vulnerable application. | |
| Gain: 25 Offering. Stores Offering every 0.3 seconds. Cast a Non-Basic Skill to gain the stored Offering. (Up to 500 Offering). Requires: 100 Offering. Invoke the Necromancer’s | |
| [Optional] | Replacing Aspect of the Cursed Aura, allowing to apply curse more reliably and not only by chance from |
Paragon Board
Below you’ll find entire endgame paragon board with recommended glyphs, optimal pathing and both minimal and nearly maximum investments!
After acquiring max level Eliminator glyph and 280+ paragon points – Amplify glyph on Flesh-eater board is replaced by Eliminator.
It is imperative to level up all Glyphs to level 15 first and then to level 46 to increase activation radius second time and unlock secondary damage multiplier. More about paragon glyphs and how to level them, here.
Some paragon points are locked behind the Season Rank System.
Season of Divine Intervention (Season 11)
Season 11 of Divine Intervention introduces very few very limited borrowed powers, but allows you to adjust the difficulty-to-reward ratio of certain content types and introduces new crafting mechanic, Sanctification.
Sanctification
Sanctification results are too unpredictable to be planned around, but this particular build benefits most from following:
- #% Chance of Projectiles to Cast Twice
- #%[x] Shadow Damage
- 50/25 bonus Quality on Weapon
- #% Intelligence
- +# to Core Skills
- Offensive Aspect with damage multiplier
- Aspect of Hardened Bones
- Aspect of Disobedience
- Aspect of the Cursed Aura
- Aspect of Metamorphosis
Divine Gifts
Corrupted gift slots grant increased specific content rewards, but increases difficulty of associated content – therefore should be activated only for target farming, when character can handle it.
Recommended Purified Divine Gifts for the build:
- Essence of Shadows – Briefly become Unstoppable when Crowd Controlled every 12 seconds.
- Essence of Screams – Gain 20%[+] increased Resistance.
- Essence of Sin – Gain 20%[+] increased Armor.
- Essence of Pain – Briefly gain maximum Barrier after becoming Injured, every 20 seconds.
Mercenaries
During the Vessel of Hatred campaign, you will unlock Mercenaries to assist you. While you can choose freely early on, we recommend Raheir as your main merc:
For the reinforcement, stick with Aldkin, utilizing his ![]() Flame Surge to trigger
Flame Surge to trigger ![]() Abhorrent Decrepify when any Ability is being cast.
Abhorrent Decrepify when any Ability is being cast.
Rotation and Build Mechanics
This builds purpose is just to stay alive, while ![]() Skeletal Arch-Mages melt enemies away. Grouping up enemies with
Skeletal Arch-Mages melt enemies away. Grouping up enemies with ![]() Corpse Tendrils, keeping
Corpse Tendrils, keeping ![]() Raise Skeleton buff and various debuffs up – is not mandatory for easier content, but always speeds up the process significantly.
Raise Skeleton buff and various debuffs up – is not mandatory for easier content, but always speeds up the process significantly.
Rotation and Playstyle
- Approach the pack to trigger Aspect of the Cursed Aura or Igni Wat runeword when
 Soulrift used.
 - Activate and recast Soulrift on cooldown.
- If no Corpses are available, produce one with
 Acolyte’s Reap.
 - Use Corpse Tendrils to pull and lock in as many enemies as possible with
 Bone Prison.
 - If Essence is available, throw a couple
 Blights inside Bone Prison and enemy groups to increase damage and proc
  Abhorrent Decrepify.
 - Make a few Reap swings to get Enhanced Reap and Damage Reduction buffs.
- As Skeletal Arch-Mages deal with the enemies, just stay alive while reactivating Soulrift, re-grouping enemies with Corpse Tendrils, re-applying Blight to packs for Abhorrent Decrepify, and refreshing Reap for buffs and extra Essence.
Which Elixirs Should You Use?
Visit the Alchemist and craft an Elixir providing any Resistance you need most, ![]() Elixir of Precision II, if you lack Critical Strike Chance, or the
Elixir of Precision II, if you lack Critical Strike Chance, or the ![]() Elixir of Advantage II for increased Attack Speed. Recommended incenses are
Elixir of Advantage II for increased Attack Speed. Recommended incenses are ![]() Reddamine Buzz,
Reddamine Buzz, ![]() Soothing Spices,
Soothing Spices, ![]() Sage’s Whisper. Make sure to keep your Health Potion upgraded!
Sage’s Whisper. Make sure to keep your Health Potion upgraded!
Season 11 Updates
For a complete overview of Season 11, mechanics and theme, new leveling activity, and other changes coming, please take a look at our comprehensive season hub here.
- Major Ring of Mendeln aspect damage buff
Obol Gambling
Obol gambling is a great way to potentially find specific Legendary Aspects or specific slots Uniques missing from your build. Check out the new tool guide from Icy Veins for gambling Obols in the link below.
Changelog
- December 7th, 2025: Guide updated for Season 11, Divine Intervention
- September 19th, 2025: Guide updated for Season 10. Minor utility changes, main changes comes from the new seasonal mechanic.
- July 1st, 2025: Minor adjustments and improvements prior to launch.
- June 29th, 2025: Guide updated for Season 9.
- May 5th, 2025: Optimized and updated post launch for Season 8.
- April 26th, 2025: Guide updated for Season 8.
- February 24th, 2025: Mendeln bug fix seemingly fixed, removed disclaimer.
- February 18th, 2025: Mendeln bug fix isn’t working, re-added disclaimer.
- February 18th, 2025: Mendeln unique bug fix patched, removed disclaimer.
