Eureka Orthos Floors 1-30 Guide
This page provides information about floors 1 through 30 of Eureka Orthos including enemy information and boss advice.
Eureka Orthos Guide for Floors 1-30
The first 30 floors of Eureka Orthos are relatively simple in comparison
to the later floors, and do not require as much detail to cover. Future
floorsets will be given their own individual pages. On floors 1-30, the
Accursed Horde will take the form of a ![]() Bronze-tinged Sack,
and Mimics can spawn from Bronze Coffers.
Bronze-tinged Sack,
and Mimics can spawn from Bronze Coffers.
Across all floorsets in Eureka Orthos, Pomanders of Affluence, Flight and Altercation will not appear in Gold Coffers on the final non-boss floor of a floorset.
Floors 1-9
As an introductory floorset, many enemies here have no mechanics or ways to deal damage outside of their basic attacks. These enemies are excluded from the table below. You can expect 3-7 kills to be required to proceed between floors, 4-6 Treasure Coffers per floor, 3-6 rooms per floor and 2-3 enemies per room outside of Treasure Rooms, which will have significantly more Coffers and enemies.
Unique to this floorset, Bronze Coffers and Demiclone Generations will not appear before floor 7. Additionally, Pomanders of Altercation, Purity, Serenity, Storms, Raising or Dread will not appear before floor 7.
| Enemy | Aggro | Abilities | Floors | Notes |
|---|---|---|---|---|
| Orthoiron Claw | Proximity | The Hand: Telegraphed cone-shaped AoE. Inflicts knockback on players hit. | 1-3 | Immune to Bind and Sleep. |
| Orthos Dahak | Sight | The Look: Telegraphed cone-shaped AoE. | 1-4 | Immune to Bind. |
| Orthos Grenade | Sight | Big Burst: Late-telegraph point-blank AoE. | 3-5 | Immune to Bind. |
| Orthos Demon | Sight | Condemnation: Telegraphed cone-shaped AoE. | 4-5 | None. |
| Orthos Vassago | Sight | Grim Halo: Telegraphed point-blank AoE. Inflicts knockback on players hit. | 4-6 | Patrol. Immune to Bind, Heavy, Sleep and Stun. |
| Orthos Behemoth | Sight |
|
5-7 | Immune to Bind, Heavy, Sleep and Stun. |
| Orthos Bhoot | Sound | Terror Touch: Inflicts Disease, reducing movement speed and healing for 20s. | 6-9 | Immune to Bind. |
| Orthos Fachan | Sight | Dread Gaze: Untelegraphed cone-shaped Gaze AoE. Inflicts Paralysis for 22s if hit. | 7-9 | Patrol. Immune to Bind, Heavy and Stun. |
| Undead Orthos Dragon | Sight |
|
8-9 | Immune to Bind, Heavy and Stun. |
| Orthos Thanatos | Sound | Iron Justice: Telegraphed cone-shaped AoE. | 8-9 | Immune to Bind, Heavy and Stun. |
| Mimics | Proximity |
|
7-9 | Bronze Coffers. Immune to Bind, Heavy, Sleep and Slow. |
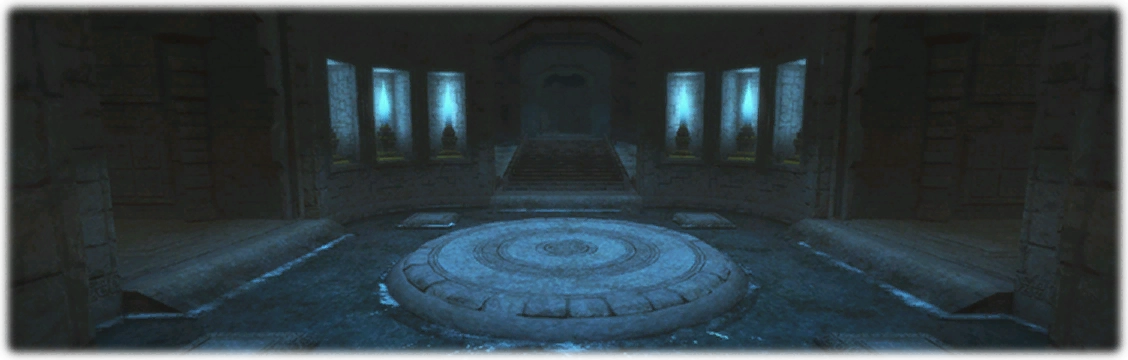
Floor 10 Boss - Gancanagh
The first boss of Eureka Orthos, and one of the simplest. Despite this,
its auto-attacks are deceptively strong and will require either healing or
the use of ![]() Orthos Potions to survive.
Orthos Potions to survive.
- Authoritative Shriek (dodge mines)
- Authoritative Shriek (dodge mines)
- Mandrastorm (proximity)
- Mandrashock (dodge 3-1 or 2-1)
- Repeat from Start
The arena is a square, made up of a 3x3 grid of Pachypodium Mines. Upon the boss using Authoritative Shriek, random mines will glow and begin casting Mandrashock, using large point-blank AoEs shortly after. Stand on any non-glowing mine to easily avoid this.
After using Authoritative Shriek twice, the boss will then begin to cast Mandrastorm, a proximity AoE centered on itself. Move away ASAP. Once the castbar ends, the mines on the floor will begin to glow, and numbers will appear above their heads from one to three. The middle row or column will always be marked with one, while the two other rows or columns will either be marked two or three.
The easiest way to resolve this is to stand on a mine marked with the number three, and move into the central row or column once those mines explode. This allows you the most time to move. It is possible to do a two-to-one dodge instead of the safer three-to-one dodge, but high ping or unfamiliarity with the timing can lead to death while attempting to do so.
After this point, the boss will begin to loop mechanics, starting back at the first of two Authoritative Shrieks before then using another Mandrastorm, which will be followed up with another one-two-three set of mines.
On a DPS, you can expect a killtime of about six minutes at level 85, or faster with the aid of a Pomander of Strength or Demiclone Generator. On a tank or healer, you can expect a killtime of about eight minutes under the same conditions.
Floors 11-19
As the second floorset of Eureka Orthos, enemies will start requiring more awareness to defeat. As always, those without significance are excluded from the table below. You can expect 3-7 kills to be required to proceed between floors, 4-6 Treasure Coffers per floor, 3-6 rooms per floor and 2-3 enemies per room outside of Treasure Rooms, which will have significantly more Coffers and enemies.
| Enemy | Aggro | Abilities | Floors | Notes |
|---|---|---|---|---|
| Orthos Keter | Sight | Glass Punch: Telegraphed cone-shaped AoE. Inflicts knockback on players hit. | 11-12 | Patrol. Immune to Bind, Heavy, Sleep and Stun. |
| Great Orthos Morbol | Sight | Bad Breath: Telegraphed cone-shaped AoE. Inflicts various debuffs on players hit. | 11-14 | Immune to Bind. |
| Orthos Netzach | Sight | Creeping Hush: Telegraphed point-blank AoE. Inflicts poison for 24s if hit. | 11-14 | None. |
| Orthos Microsystem | Proximity | Piercing Laser: Telegraphed line AoE. Cannot be LoS'd. | 13-15 | Immune to Bind and Sleep. |
| Orthos Belladonna | Sight | Shadow Burst: Telegraphed circle AoE. | 14-15 | None. |
| Orthos Wood Golem | Sight | Ovation: Telegraphed line AoE. Inflicts Heavy for 20s if hit. | 14-16 | Patrol. Immune to Heavy and Sleep. |
| Orthosoldier | Sight | Headspin: Telegraphed point-blank AoE. | 15-17 | Immune to Bind, Heavy, Sleep and Stun. |
| Orthosystem B | Proximity | Gravity Field: Telegraphed circle AoE. Inflicts Heavy for 15s if hit. | 16-17 | Immune to Bind and Sleep. |
| Orthos Rafflesia | Sight | Gold Dust: Telegraphed Circle AoE. Inflicts Poison for 24s if hit. | 16-19 | None. |
| Orthos Groundskeeper | Sight | Neck Splinter: Telegraphed point-blank AoE. | 17-19 | Patrol. Immune to Bind and Sleep. |
| Orthos Sawtooth | Sight |
|
18-19 | Immune to Bind, Heavy, Sleep and Stun. |
| Mimics | Proximity |
|
11-19 | Bronze Coffers. Immune to Bind, Heavy, Sleep and Slow. |
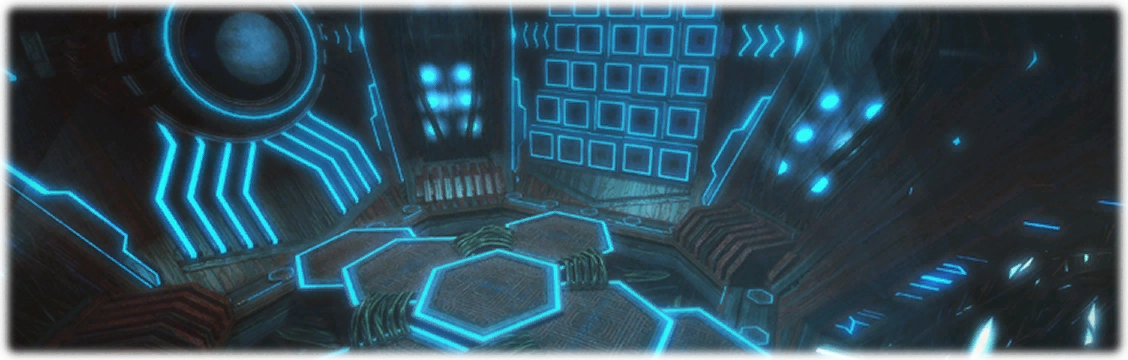
Floor 20 Boss - Cloning Node
The second boss of Eureka Orthos. Potentially scary for some at first, especially melees, but easy to grasp once you know what to look for.
Boss Rotation Quick-Guide:- Offensive Command (3 adds)
- Offensive Command (5 adds)
- Piercing Laser
- Order Relay
- Piercing Laser
- Piercing Laser
- Offensive Command (5 adds)
- Repeat from Order Relay
The arena is a circle, with the boss unmoving in the centre. Upon using Offensive Command for the first time, three adds will spawn around the arena and tether to the boss. Each add will then cast Flame Breath, a cone-shaped AoE, which will be telegraphed shortly before it finishes casting and travels across to the other side of the arena. To dodge these, simply stand anywhere not opposite one of the three adds.
The boss will then repeat the same cast, this time summoning five adds and tethering to them, bringing the total around the arena to eight, one at each cardinal and inter-cardinal point. The safe spots for this second set of AoEs are a lot smaller, but they do very little damage so it's not a big deal to be hit by one or a few over the course of the encounter.
After a simple line AoE that can be easily dodged, the main mechanic of the fight will begin, Order Relay. The boss will tether to four adds, then the other four. The first four adds will then cast Flame Breath, followed by the next set of four adds. Quickly identifying the safe spots can be difficult, but there is a pattern to the mechanic that trivialises it.
When the boss tethers to the first set of four adds, three of them will be adjacent to each other. There will then be a gap of one add, followed by the fourth tether. This means that two adds will always be opposite each other on the first set, and the skipped add will always be opposite another on the second set. Simply stand in front of either the skipped add or the one opposite it to avoid the first set of Flame Breaths, then move in front of one of the pair that were facing each other on the first set to avoid the rest.
Following this mechanic, there will be two more Piercing Lasers, followed by another Offensive Command that will tether to five of the adds. As these are random, you will need to quickly locate the three adds that are not tethered and go opposite one of them.
After this point, the boss will begin to loop mechanics, starting back at Order Relay before using two Piercing Lasers and another five-tether Offensive Command.
On a DPS, you can expect a killtime of about five to six minutes depending on level, or faster with the aid of a Pomander of Strength or Demiclone Generator. On a tank or healer, you can expect a killtime of about seven to eight minutes under the same conditions.
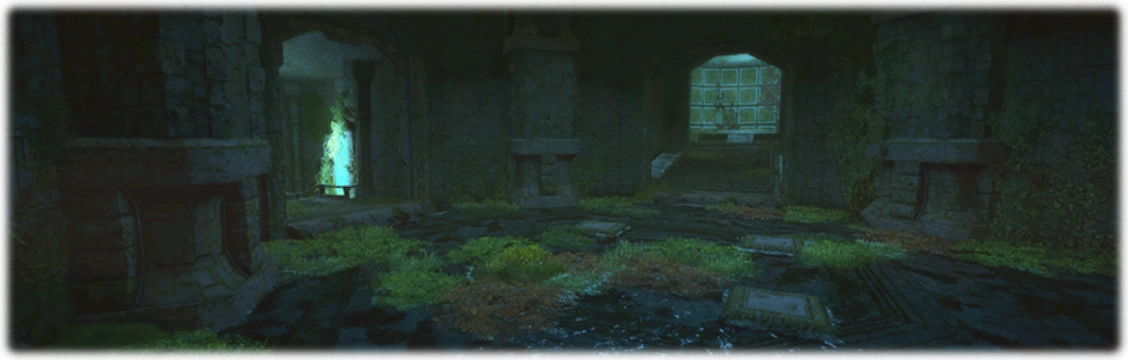
Floors 21-29
As the third floorset of Eureka Orthos, enemies are starting to become dangerous, with large untelegraphed mechanics that can sometimes kill unaware players. This is also the final floorset of the 'story' part of the dungeon, and everything after this is meant as a challenge to players who are willing to attempt it. As always, enemies without significance are excluded from the table below. You can expect 3-7 kills to be required to proceed between floors, 4-6 Treasure Coffers per floor, 3-6 rooms per floor and 3-4 enemies per room outside of Treasure Rooms, which will have significantly more Coffers and enemies.
| Enemy | Aggro | Abilities | Floors | Notes |
|---|---|---|---|---|
| Orthodemolisher | Proximity |
|
21-22 | Immune to Bind, Heavy, Sleep and Stun. |
| Orthogiant | Sight | Exhaust: Telegraphed line AoE. | 21-23 | Patrol. Immune to Sleep. |
| Orthos Wyvern | Sight | Spiked Tail: Inflicts poison on the target for 30s. This can stack up to 8 times. | 21-23 | Immune to Bind. |
| Orthos Brobinyak | Sight |
|
21-24 | Immune to Bind. |
| Orthoknight | Sight | Electromagnetism: Large late-telegraph circle AoE. Draws players in if hit, and is immediately followed up by Headspin, dealing heavy damage. | 23-25 | Immune to Bind, Heavy and Sleep. |
| Orthodroid | Sight | Passive Infrared Guidance System: Telegraphed circle Aoe. Can be used outside of combat. | 24-25 | Immune to Sleep. |
| Lesser Orthos Dragon | Sight | Swinge: Late-telegraph cone-shaped AoE. Lethal. | 24-26 | Patrol. Immune to Bind, Heavy, Sleep and Stun. |
| Orthoblue Dragon | Sight | Chilling Aspiration: Telegraphed line AoE. Inflicts Frostbite for 20s if hit. | 25-27 | Immune to Bind, Heavy and Stun. |
| Orthos Biast | Sight | Electrify: Telegraphed Circle AoE. | 26-27 | Immune to Stun. |
| Orthos Vouivre | Sight | Bombination: Late-telegraph room-wide AoE. Inflicts vulnerability up for 30s if hit. Only used outside of combat. | 26-29 | Immune to Bind. |
| Orthos Vanara | Sight | Scythe Tail: Late-telegrapgh point-blank AoE. Inflicts Stun for 4s if hit. Also inflicts knockback on players hit, and is instantly followed up with Barrelling Smash and Ripper Claw if any player is hit by the initial AoE of Scythe Tail. | 27-29 | Patrol. Immune to Bind, Heavy and Stun. |
| Orthokaliya | Sight | Nerve Gas: Telegraphed cone-shaped AoE. Inflicts heavy for 20s if hit. | 28-29 | Immune to Bind, Heavy, Sleep and Stun. |
| Orthoshelled Dragon | Sight |
|
28-29 | Immune to Bind, Heavy and Stun. |
| Mimics | Proximity |
|
11-19 | Bronze Coffers. Immune to Bind, Heavy, Sleep and Slow. |
Floor 30 Boss - Tiamat Clone
The third boss of Eureka Orthos. This boss has significantly more mechanics than previous bosses, but said mechanics are simple to execute, especially solo.
Boss Rotation Quick-Guide:- Creature of Darkness
- Dark Wyrmwing/Dark Wyrmtail
- Dark Megaflare
- Whei Morn
- Dark Wyrmwing/Dark Wyrmtail
- Creature of Darkness
- Dark Wyrmwing/Dark Wyrmtail
- Whei Morn
- Repeat from first Dark Wyrmwing/Dark Wyrmtail
The arena is a square, with the boss on the north wall. Upon using Creature of Darkness, the box will spawn multiple adds on the north wall that will slowly move south. There will be gaps between the adds in some places, so simply move through one of these. Walking into an add will deal a small amount of damage and inflict a stack of Vulnerability Up.
Next, the boss will cast either Dark Wyrmwing or Dark Wyrmwtail. This is identical to the Hot Wing or Hot Tail mechanic from fights such as The Final Steps of Faith and Dragonsong's Reprise (Ultimate). If the boss casts Wyrmwing, move to the centre of the arena. If the boss casts Wyrmtail, then the safe zones are on the sides of the arena. This attack will spawn more adds, which should be dodged in the same way as the first set.
Dark Megaflare will be cast next, creating multiple circle AoEs on the ground. Stand in any safe space. This mechanic then repeats three more times without the castbar, for a total of four, with each repetition creating adds that then move towards a random player. As they move slowly, their paths are easy to predict, but it can be difficult to dodge them if many are blocking your way. If you need to move through them to get to a safe spot for Megaflare then do so, as the adds deal significantly less damage than the Megaflare AoEs.
The last unique mechanic of the fight is Whei Morn ("Waiting Death" in Dragonspeak), targeting one player. They will be marked with a chasing AoE, and should drop this on any wall of the arena if possible. They should then move to the opposite side of the arena to avoid the five blasts that will follow about two-thirds of the way across the arena, with each hit spawning adds that move towards a random player similar to Dark Megaflare.
The boss will then use another Wyrmwing or Wyrmtail mechanic, which will always be opposite of the first, followed by another Creature of Darkness, another Wyrmwing/Wyrmtail, and another Whei Morn. After this point, the boss will begin to loop mechanics, starting back at the first Wyrmwing/Wyrmtail. As mentioned above, the adds during Megaflare and Whei Morn are much easier to deal with when solo, unless the party coordinates their movement and stands together throughout both mechanics.
On a dps, you can expect a kill-time of about seven minutes, or faster with the aid of a Pomander of Strength or Demiclone Generator. On a tank or healer, you can expect a kill-time of about eleven minutes under the same conditions.
Continuing your Adventure
This is the end of the basic floorsets for Eureka Orthos. Upon completing the quest Rage Extinguished, players will be able to progress to floors 31 and onwards with a fixed party.
Changelog
- 08 May 2024: Guide added.
More FFXIV Content

Stella is a long-time FFXIV player who started in 2018, and has become a Mentor for The Balance in the years since. She enjoys large-scale content such as Eureka and Save the Queen areas and raids, and can be found on Twitter, Youtube and Twitch, as well as Discord (EshEhdAfah). After several previous tiers of raiding casually, she has cleared Anabaseios Savage week 1, completed four out of five Ultimate raids, and taken to challenging herself by using unorthodox, high-speed builds for certain jobs in older ultimates in Party Finder.
- FFXIV’s Berlin Fan Festival Schedule Is Out!
- Pre-Order FFXIV Nendoroids Y’shtola & G’raha Now!
- From Action to Tab Targetting — How Did You Start FFXIV?
- Developing FFXIV Big Fish Together With Ryuta Suyama
- These Changes Will Make You Think Twice Before Tanking in Evercold
- Complete Dawntrail’s Art Book Collection With – Relics of Eternity –
- New Framer’s Kit With Return Of Breaking Brick Mountains
- Last Chance For THE PRIMALS x Download Festival T-Shirt!