Starstone Barrows Expedition Guide for New World
Welcome to the ultimate guide to conquering the Starstone Barrows expedition in New World: Aeternum. This expedition offers a thrilling mix of ancient mysteries, deadly traps, and powerful enemies. From step-by-step strategies to pro tips that can give you the edge, this guide has everything you need for the Starstone Barrows expedition.
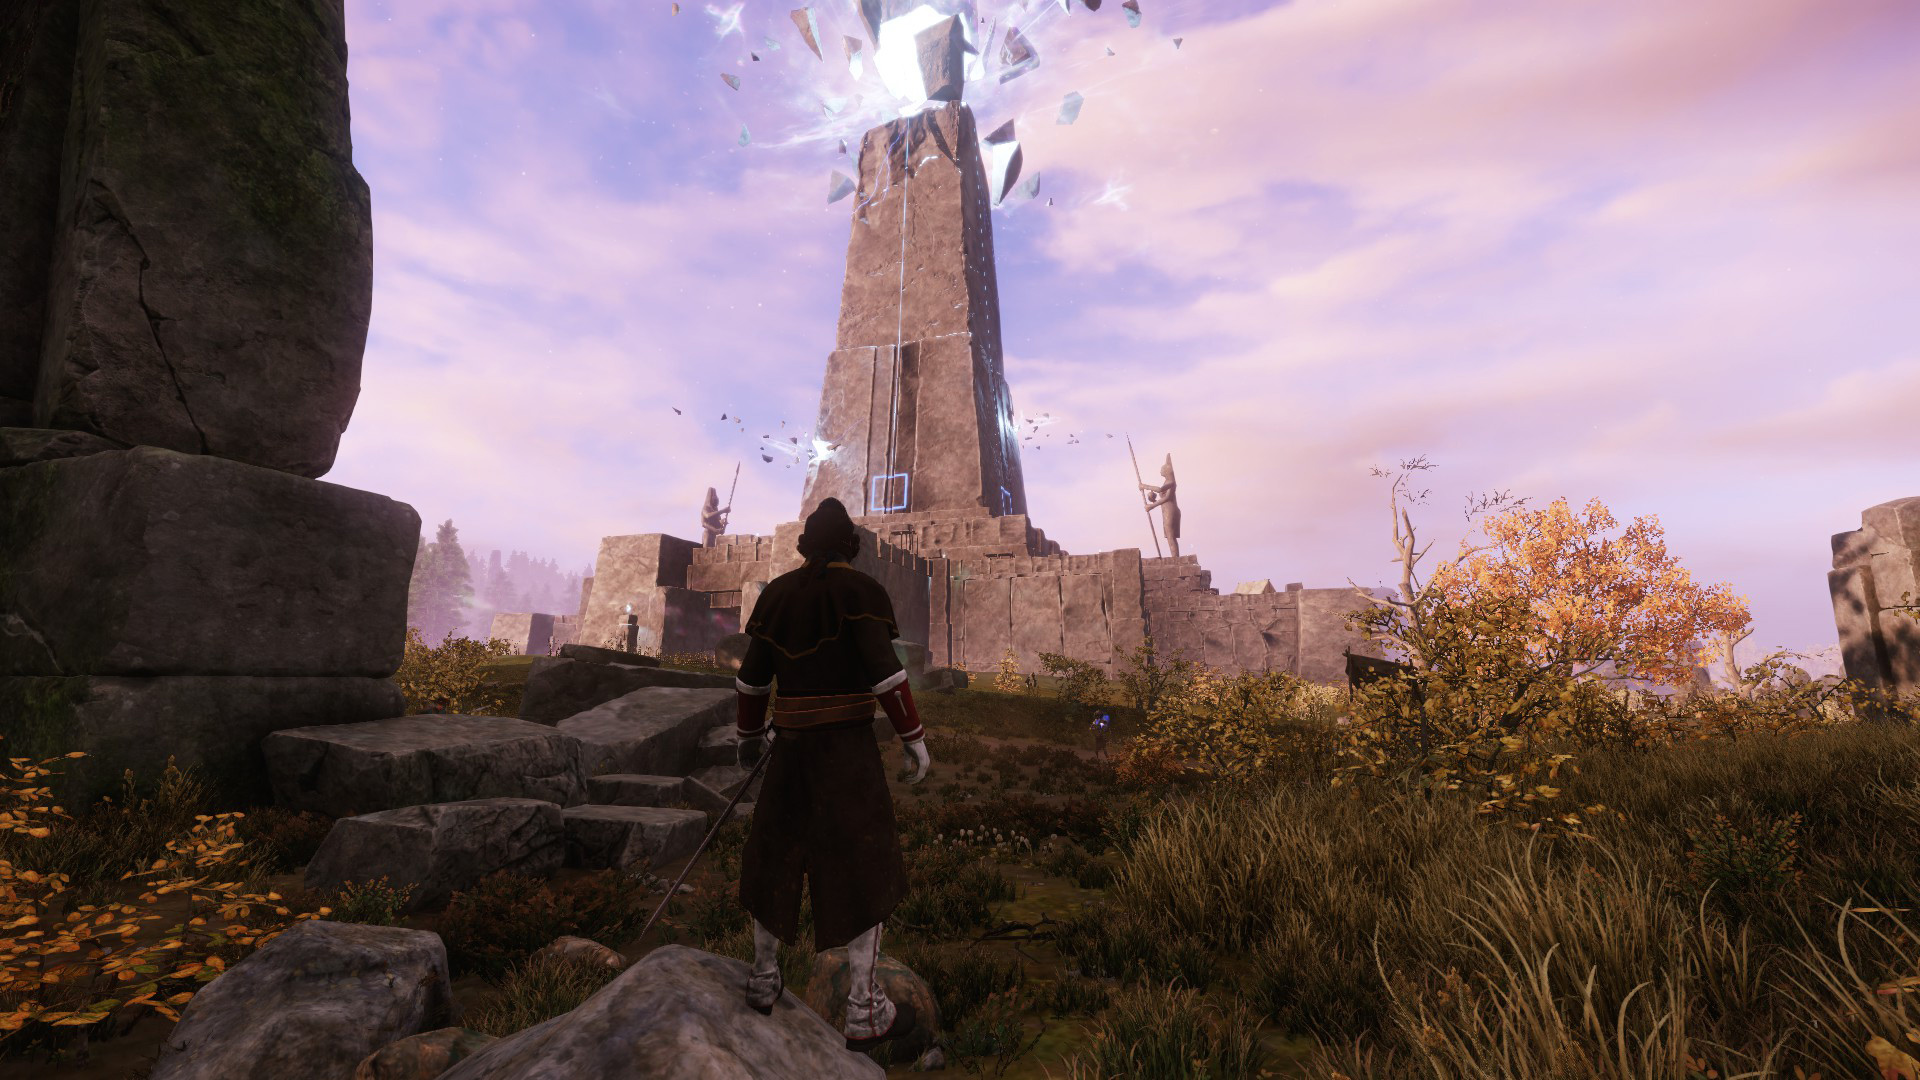
Starstone Barrows
This expedition is located Southeast of Everfall. While its
in-game recommended level is 35, we suggest going in as early as level 33,
because that is when you can start to receive repeatable quests for this
expedition. Starstone Barrows is somewhat long when compared to Amrine Excavation,
and is filled with dangerous laser traps that will keep you on your toes.
Completing this expedition is worth it though, as there are a handful of valuable resources that
can be gathered within, including the ![]() Sliver of Crystalized Azoth, which is a highly valuable
crafting mod for healers.
Sliver of Crystalized Azoth, which is a highly valuable
crafting mod for healers.
The entrance to the expedition is located on the north side of this building.
Mob Types
Starstone Barrows contains solely Ancients mob types, which means they are more vulnerable to Strike, Void, and Lightning damage. With that being said, builds that include the War Hammer or the Void Gauntlet tend to do very well in this expedition.
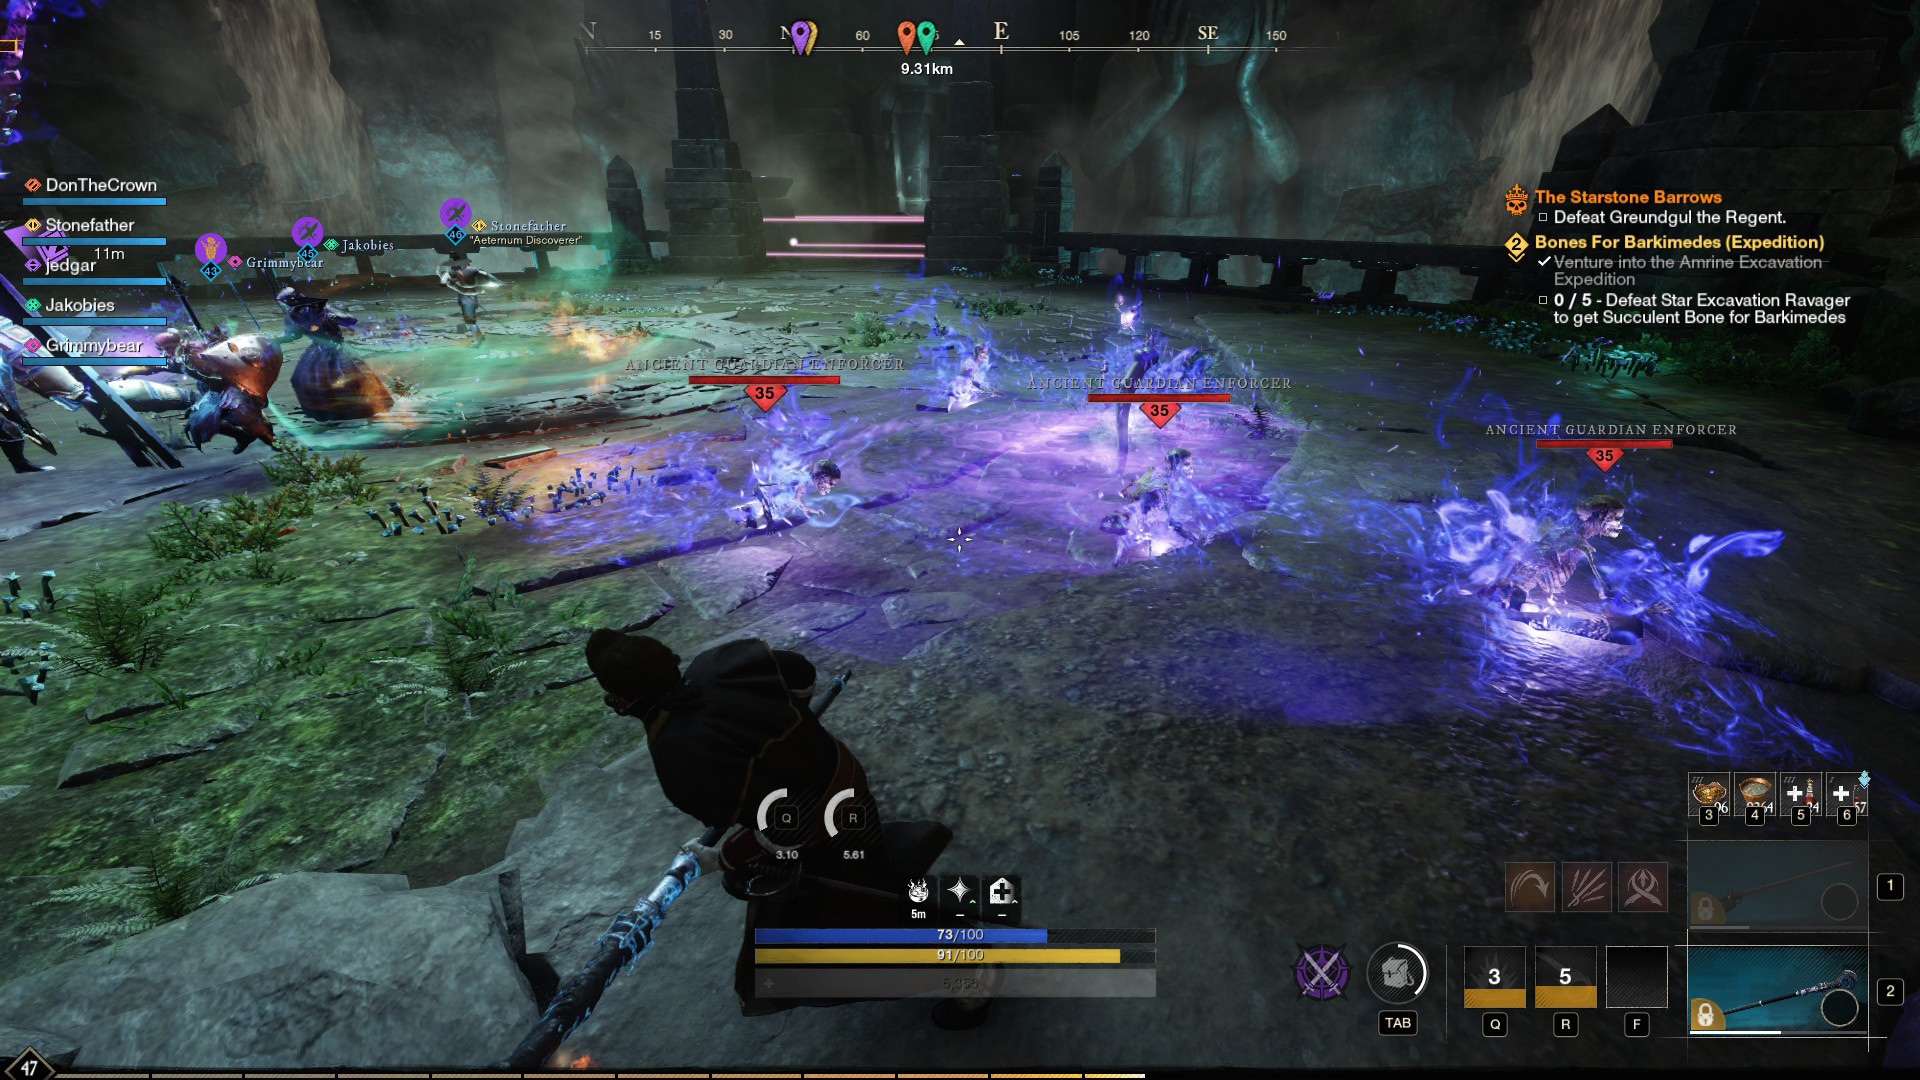
Repeatable Quests
At level 23 you can receive the  More Bones for Barkimedes (Expedition)
quest. Each time you complete the Expedition you should encounter three Skeleton
mini-bosses that each drop a bone; loot them all to be awarded 6,760 XP upon
completing the quest with Barkimedes. This repeatable is okay, but different
than all other repeatables because the turn in is not directly outside the
entrance to the expedition, making it a bit of a longer process. Instead, you
will have to head over to Windsward to talk to Barkimedes outside the Amrine Excavation
to get the quest and hand it in. You can also start to receive expedition faction missions from Everfall
once you reach level 33.
More Bones for Barkimedes (Expedition)
quest. Each time you complete the Expedition you should encounter three Skeleton
mini-bosses that each drop a bone; loot them all to be awarded 6,760 XP upon
completing the quest with Barkimedes. This repeatable is okay, but different
than all other repeatables because the turn in is not directly outside the
entrance to the expedition, making it a bit of a longer process. Instead, you
will have to head over to Windsward to talk to Barkimedes outside the Amrine Excavation
to get the quest and hand it in. You can also start to receive expedition faction missions from Everfall
once you reach level 33.
Layout
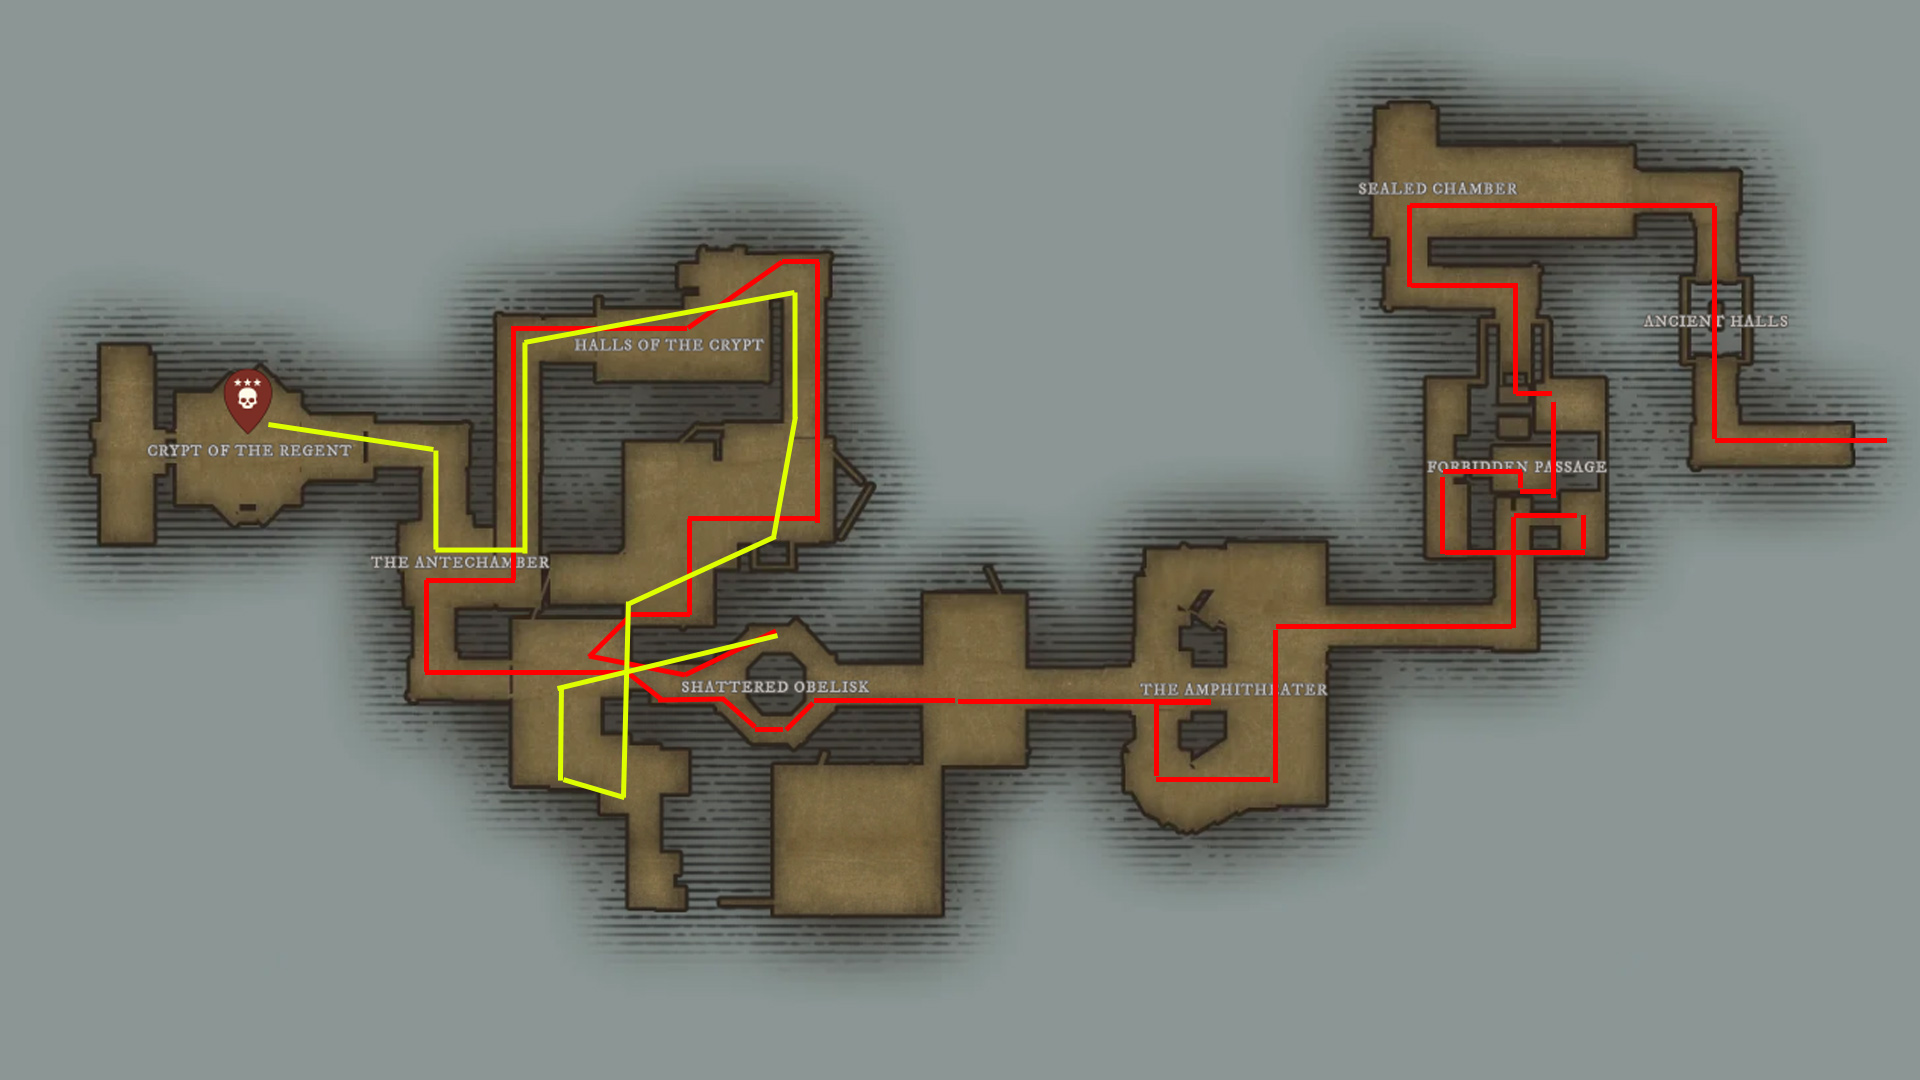
Starstone's layout can be a bit confusing at first, because there is some back-tracking, and A LOT of lasers. Outside of the laser room, lasers are there to tell you not to go that way and should never be bypassed, except with the laser protector. If you get lost, check your map for the location of your next objective and head towards it.
Bosses
While Starstone Barrows only has one true boss (Greundgul), there are many mini-bosses within the expedition. These mini-bosses are slightly tougher versions of the normal skeletons you face in the expedition.
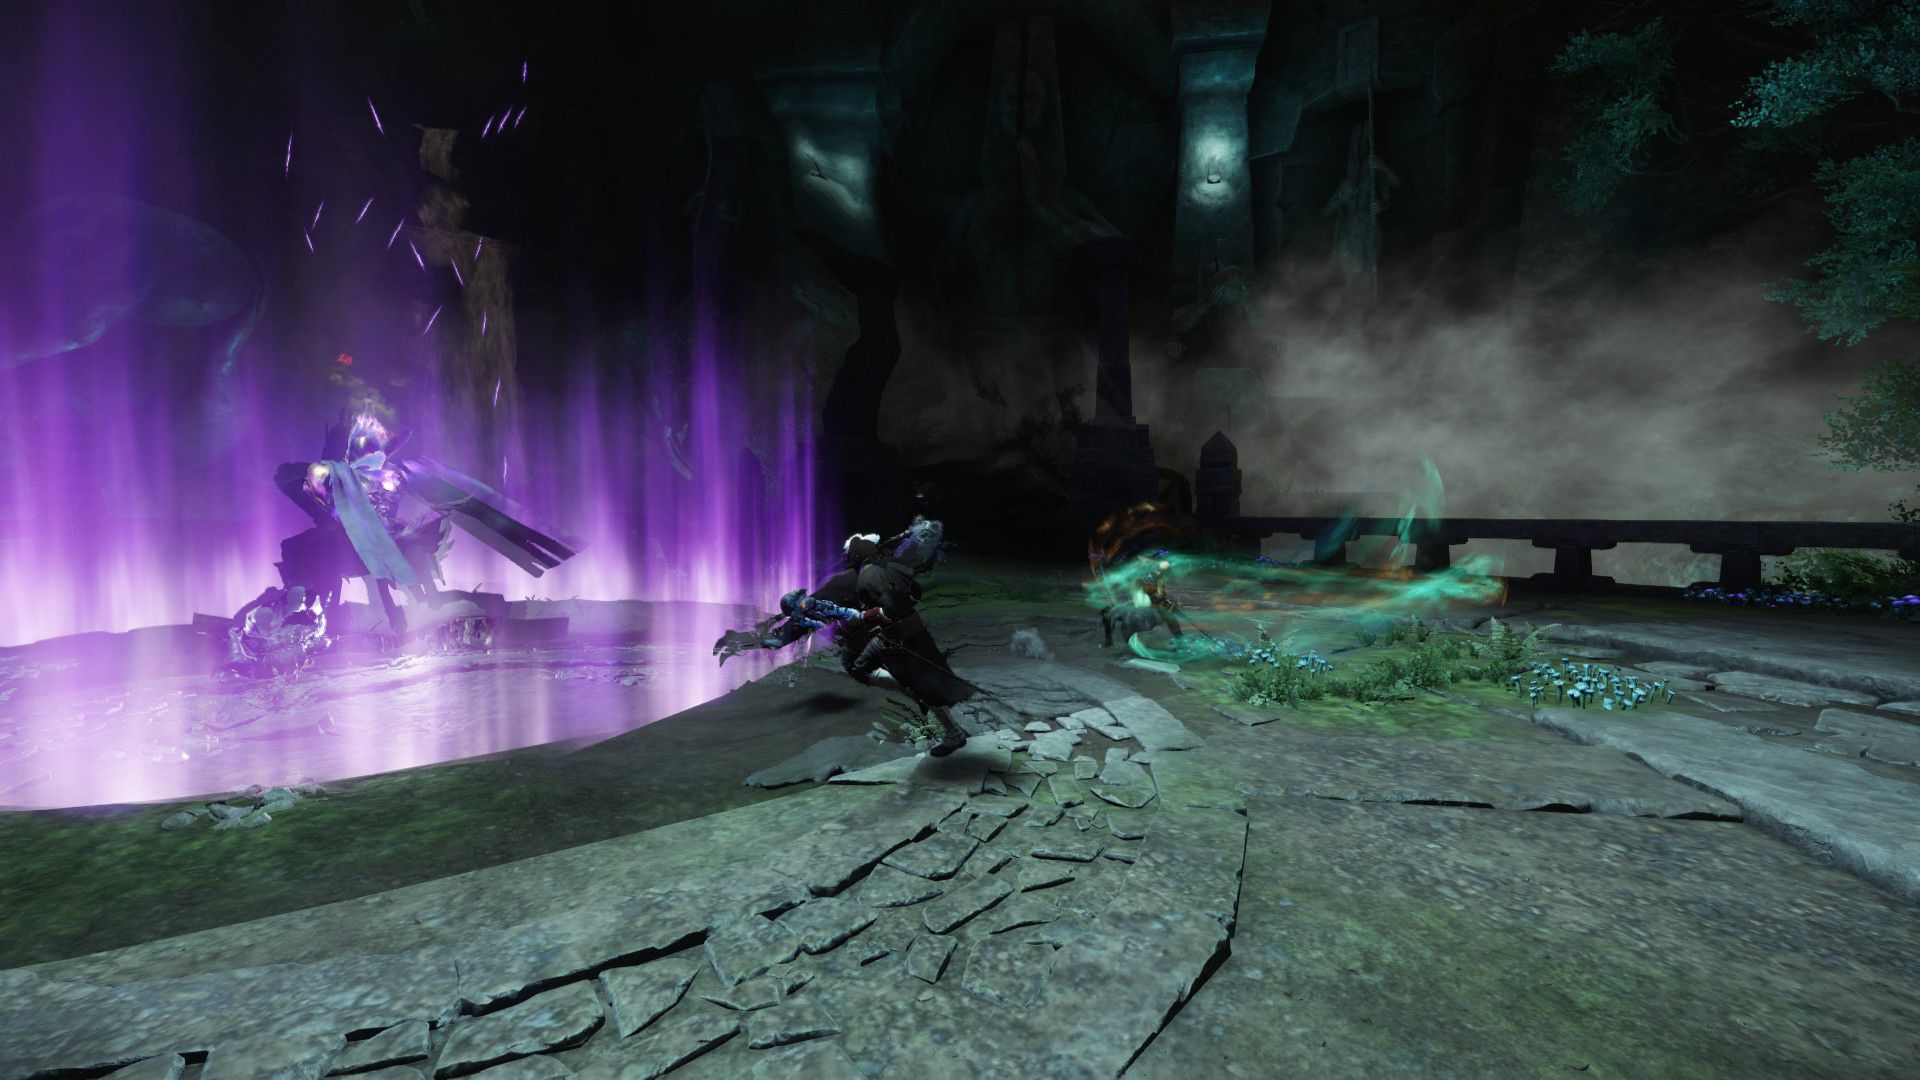
Greundgul the Regent
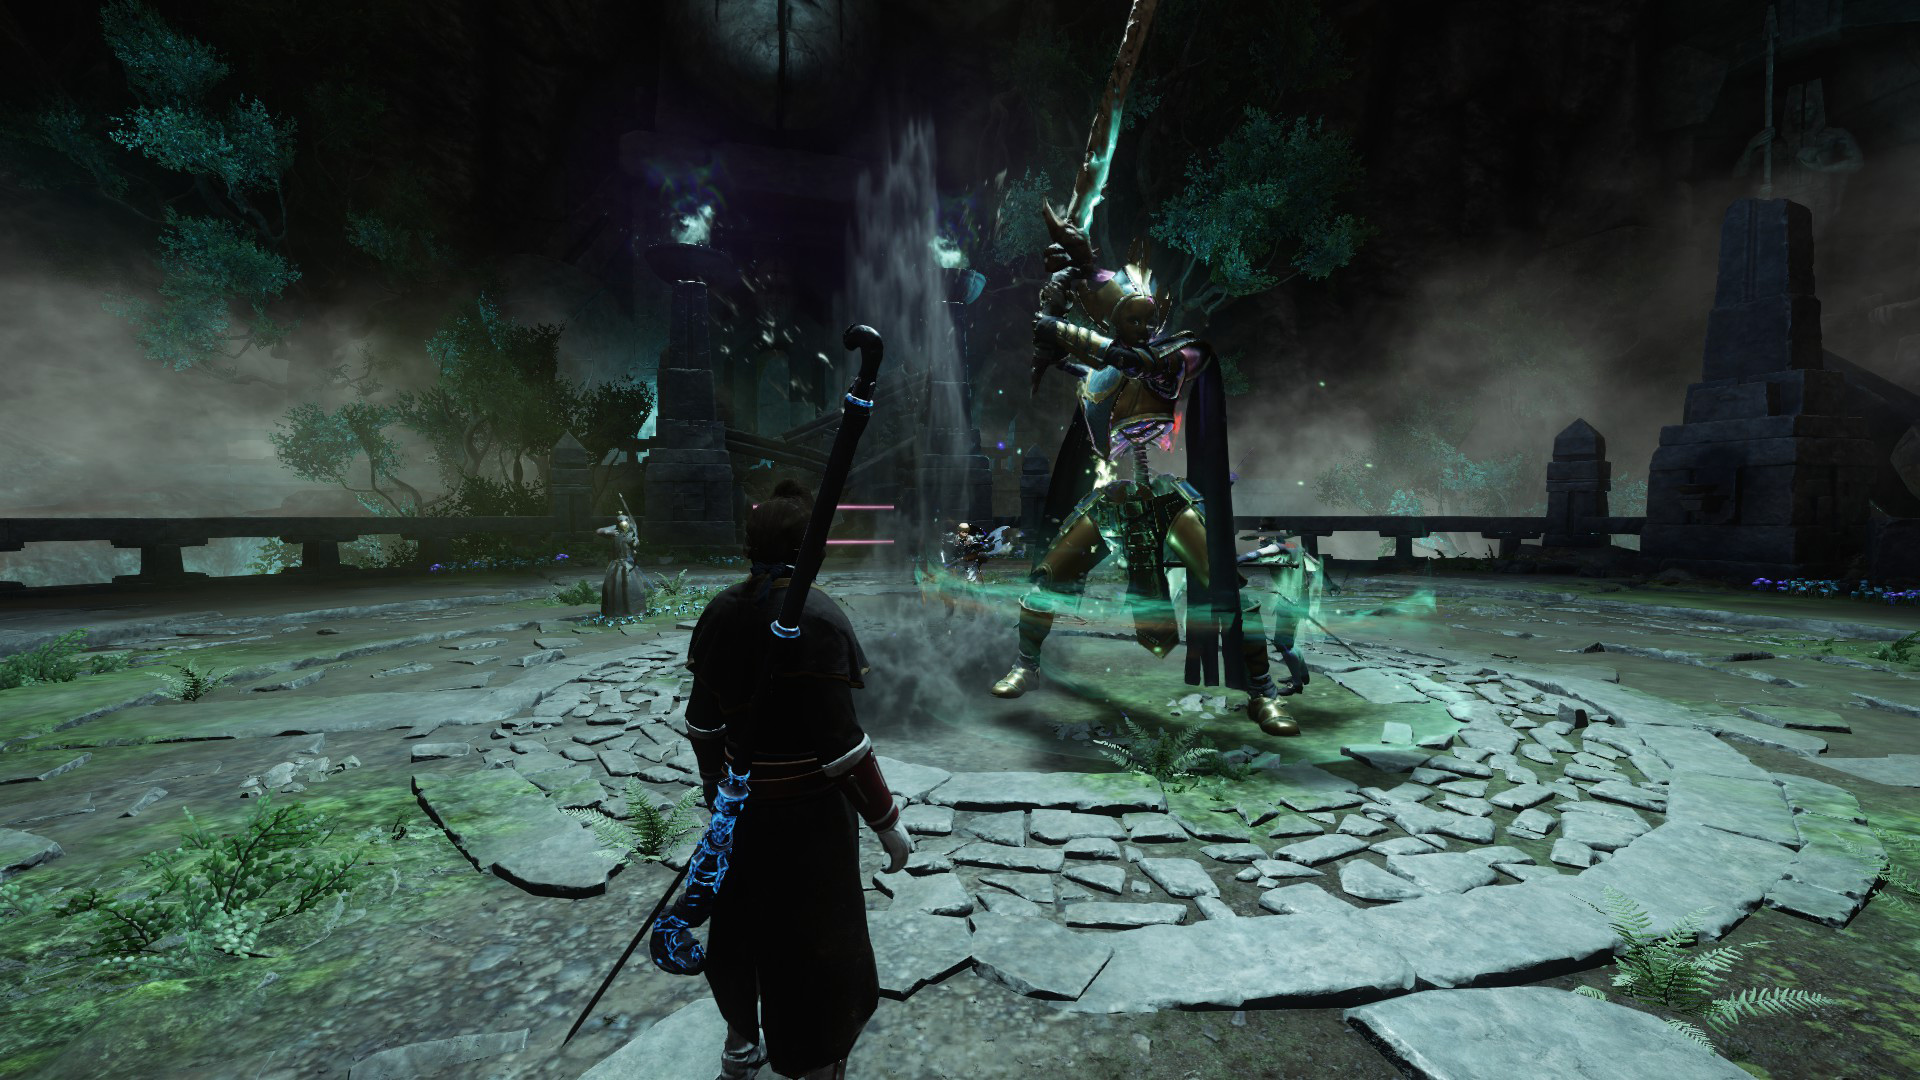
This boss starts off as a pile of bones on the ground and, once engaged, will spin together into a fierce sword wielding skeleton. This boss has two phases and, once its first health bar is depleted, it will collapse to the ground and then reform again with an ability.
Abilities
Bone Spear — Greundgul will occasionally throw a spike-like bone at a player which will immediately spawn several skeletons and then continue to spawn more skeletons over time. The first time Greundgul uses this ability, they will throw one bone and each time after they will increase the number of bones they throw by one.
Shockwave Slam — In Phase Two, Greundgul will leap into the air and slam their sword into the ground, releasing a shock wave from the point of impact. This shock wave does mild damage but also staggers those hit by it.
Strategy
This boss hits extremely hard with its two-handed sword attacks, so the DPS and Healer should make sure to stand behind the boss to avoid getting hit by Greundgul's sweeping attacks. Ranged players should stay group up and somewhat close to the boss, so that when Greundgul throws a bone at a player it can be quickly killed along with its skeletons. Whenever a bone is thrown it should be focused right away along with the skeletons. In Phase Two, you can avoid being staggered by the leap shock wave by blocking or dodge rolling through the wave. Try to stay grouped up to take down the bones when they are thrown and then maximize DPS while avoiding the shock wave.
Puzzles
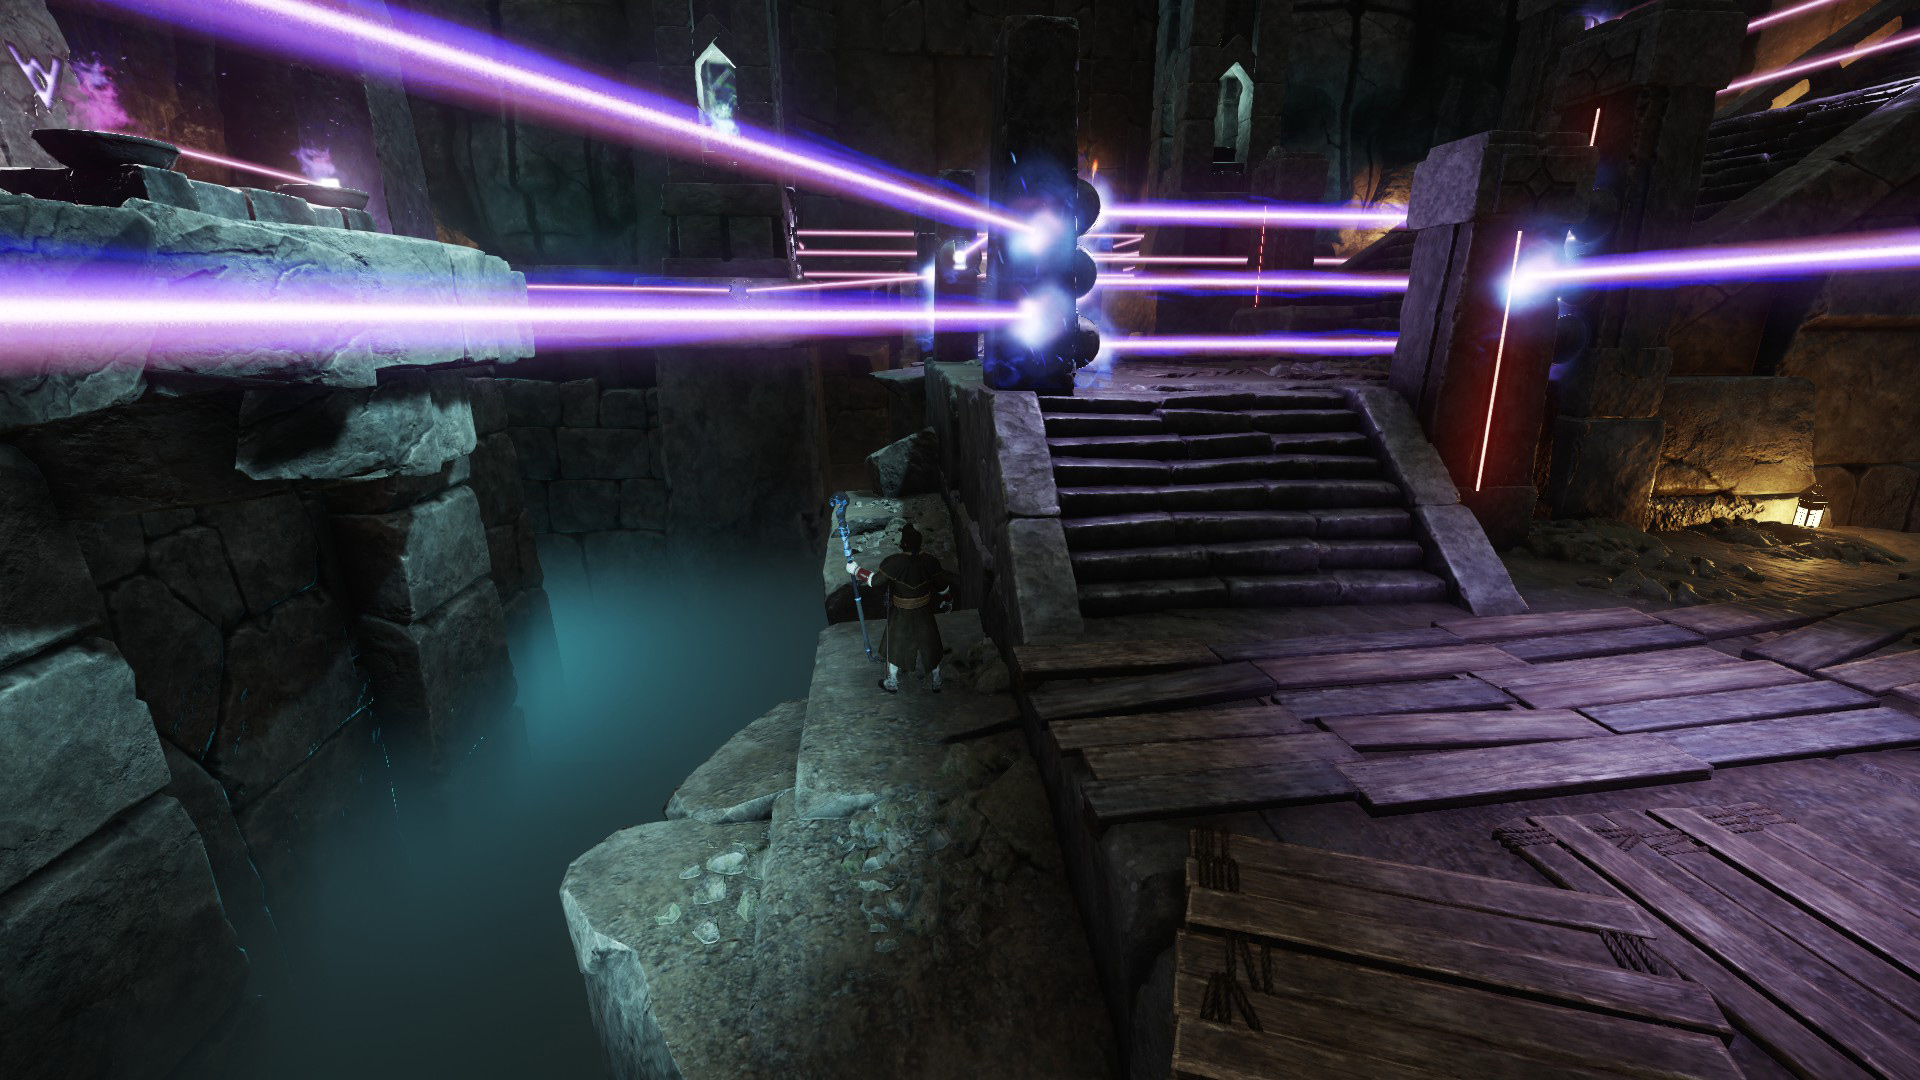
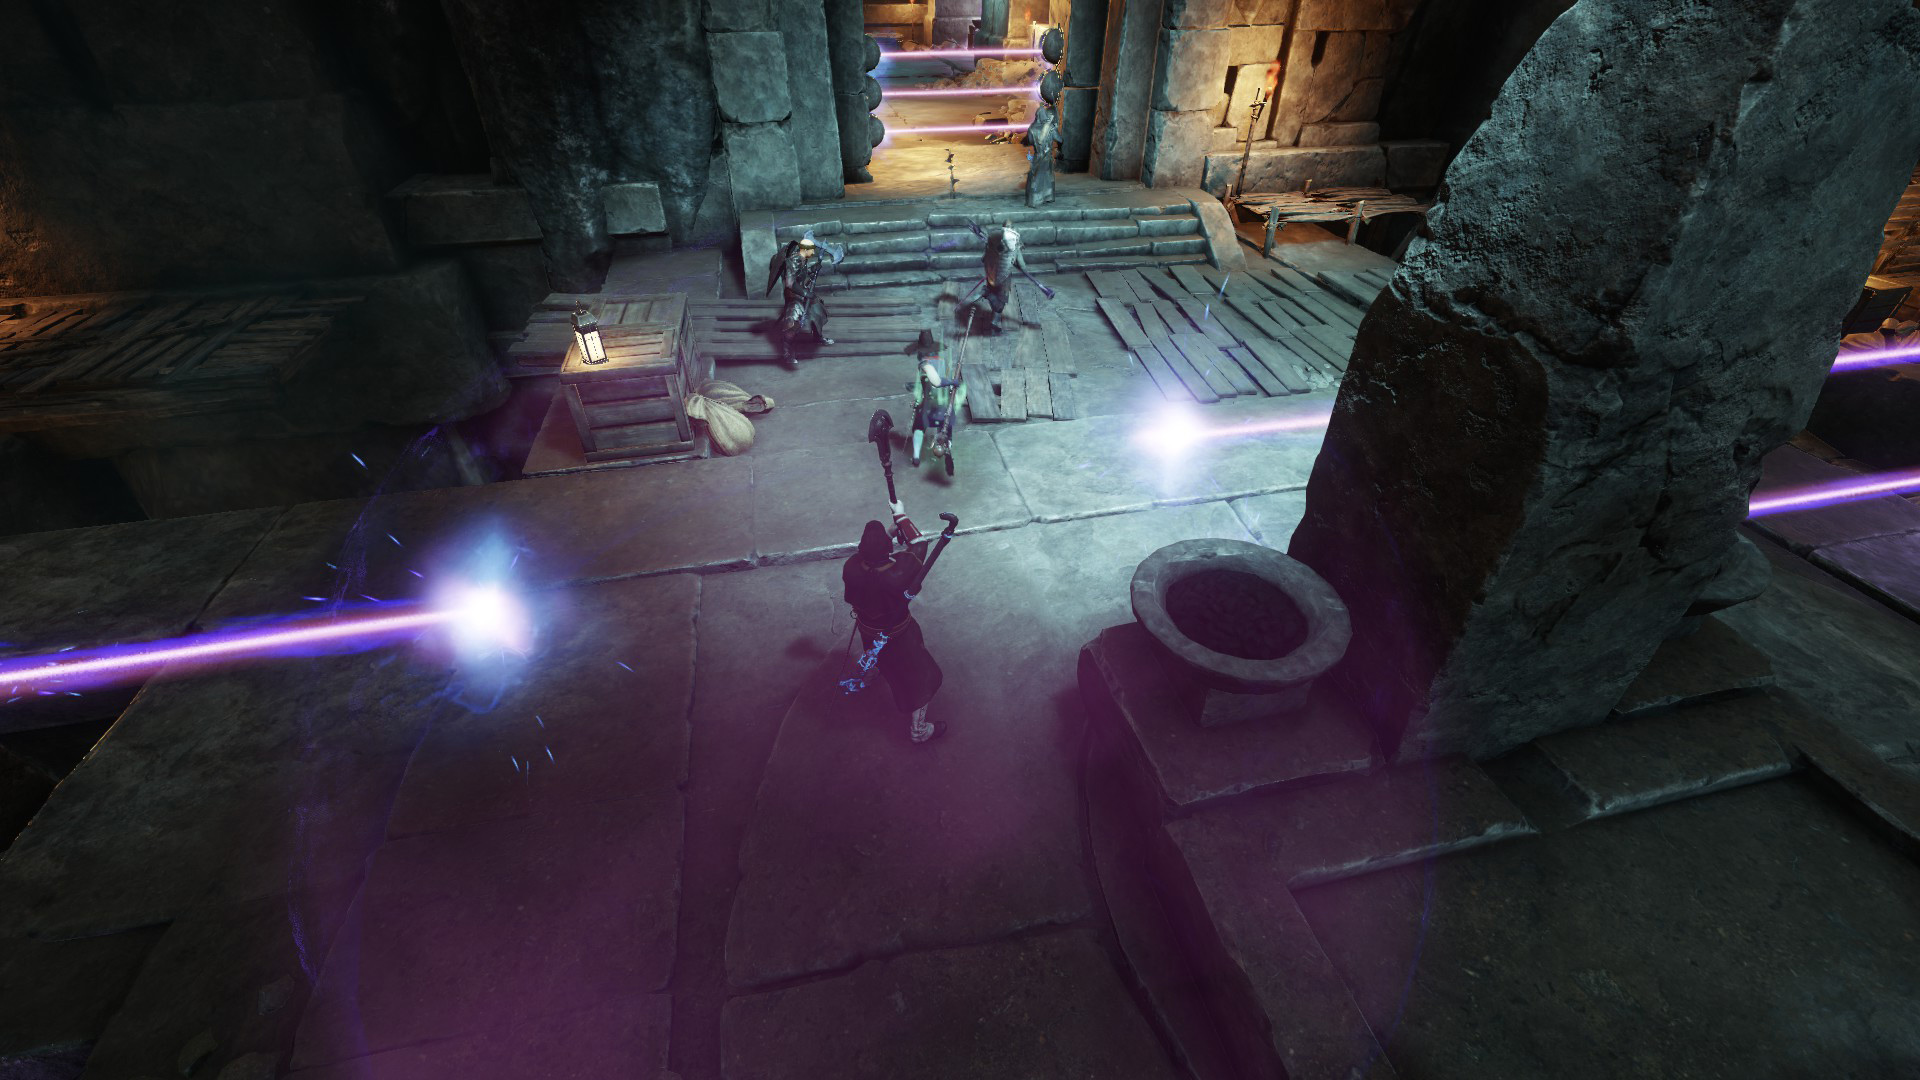
Starstone is full of lasers that will instantly kill you if they touch you, most of the time you either need to crawl under them or avoid them but there is one exception, the Laser Room.
Laser Room
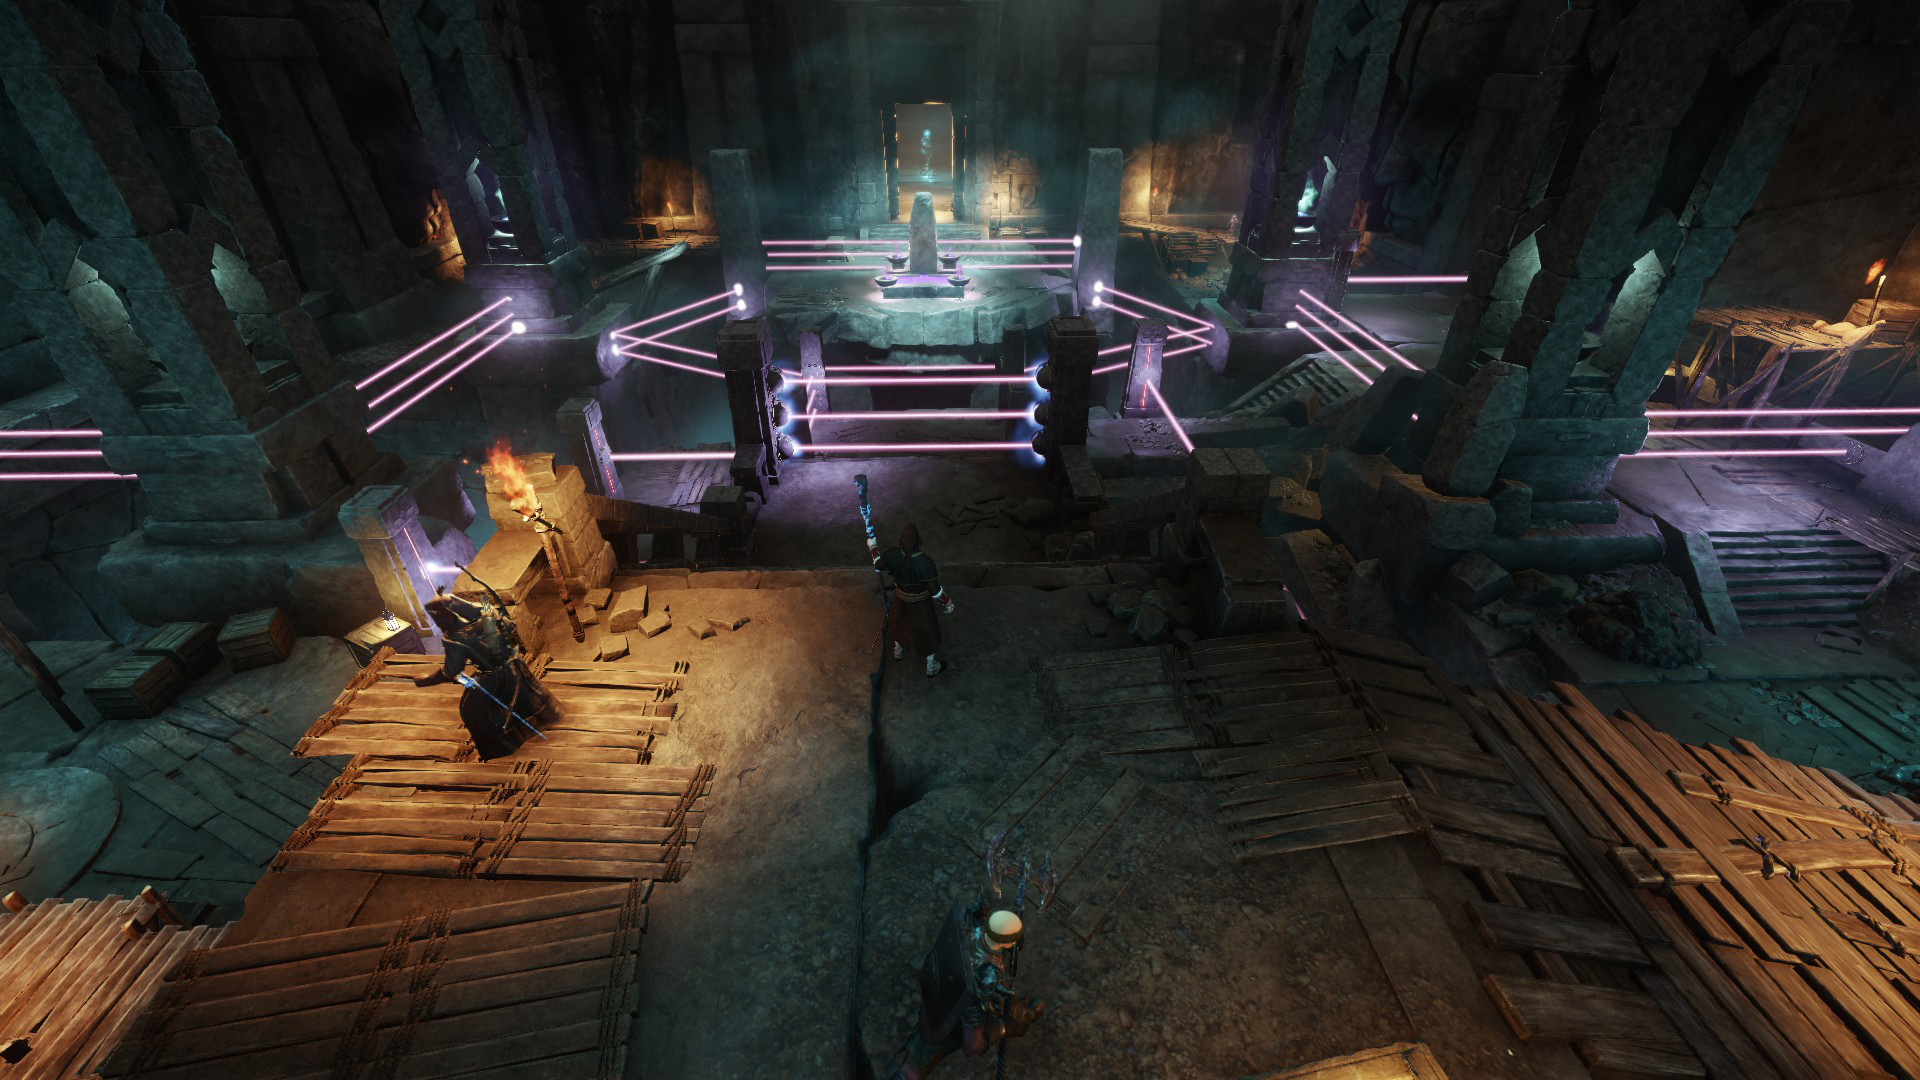
Entering the laser room for the first time can be intimidating. Since lasers instant kill those that touch them, it is important to traverse this room the proper way. You can go left of the entrance and then climb over this rock to left of this gate.
 ;
;
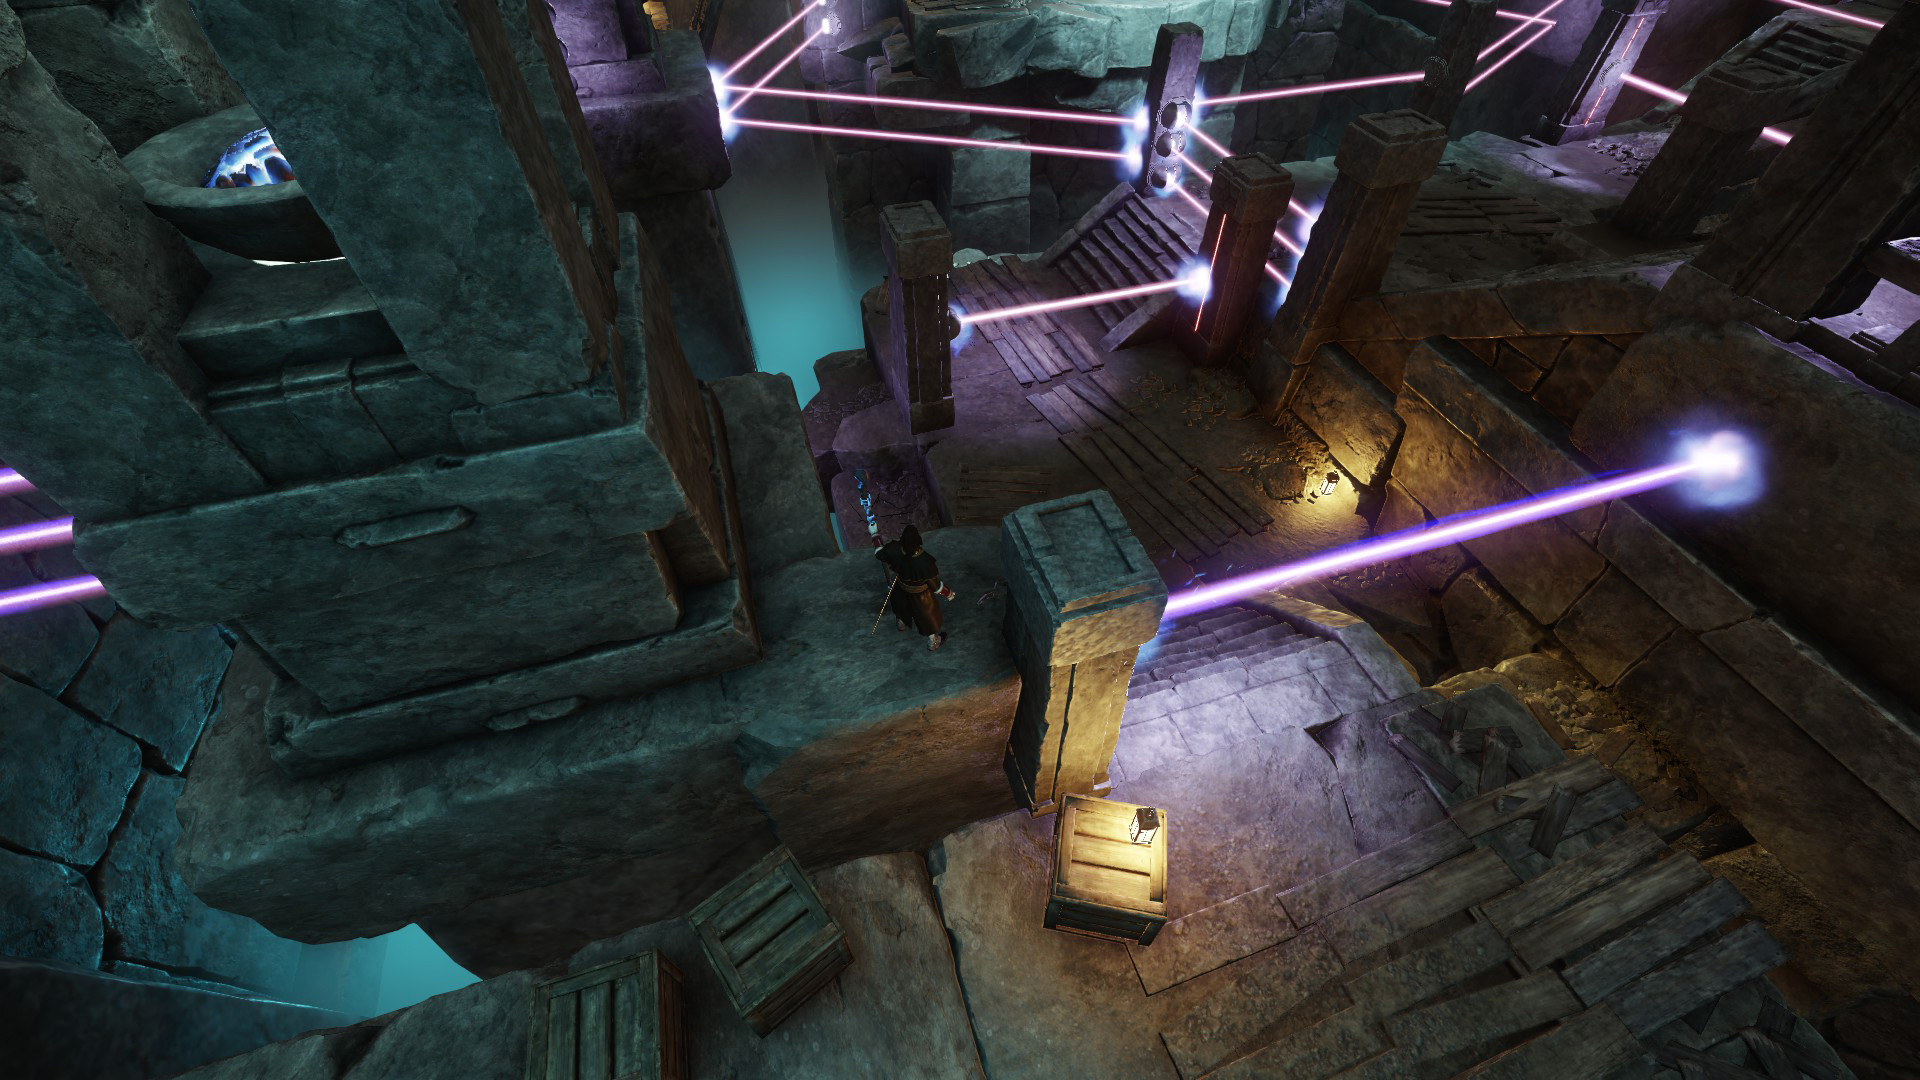
After that walk around the next laser gate to the left.
Then walk to the left of this ramp and leap across the small gap.
Then climb up this ledge.
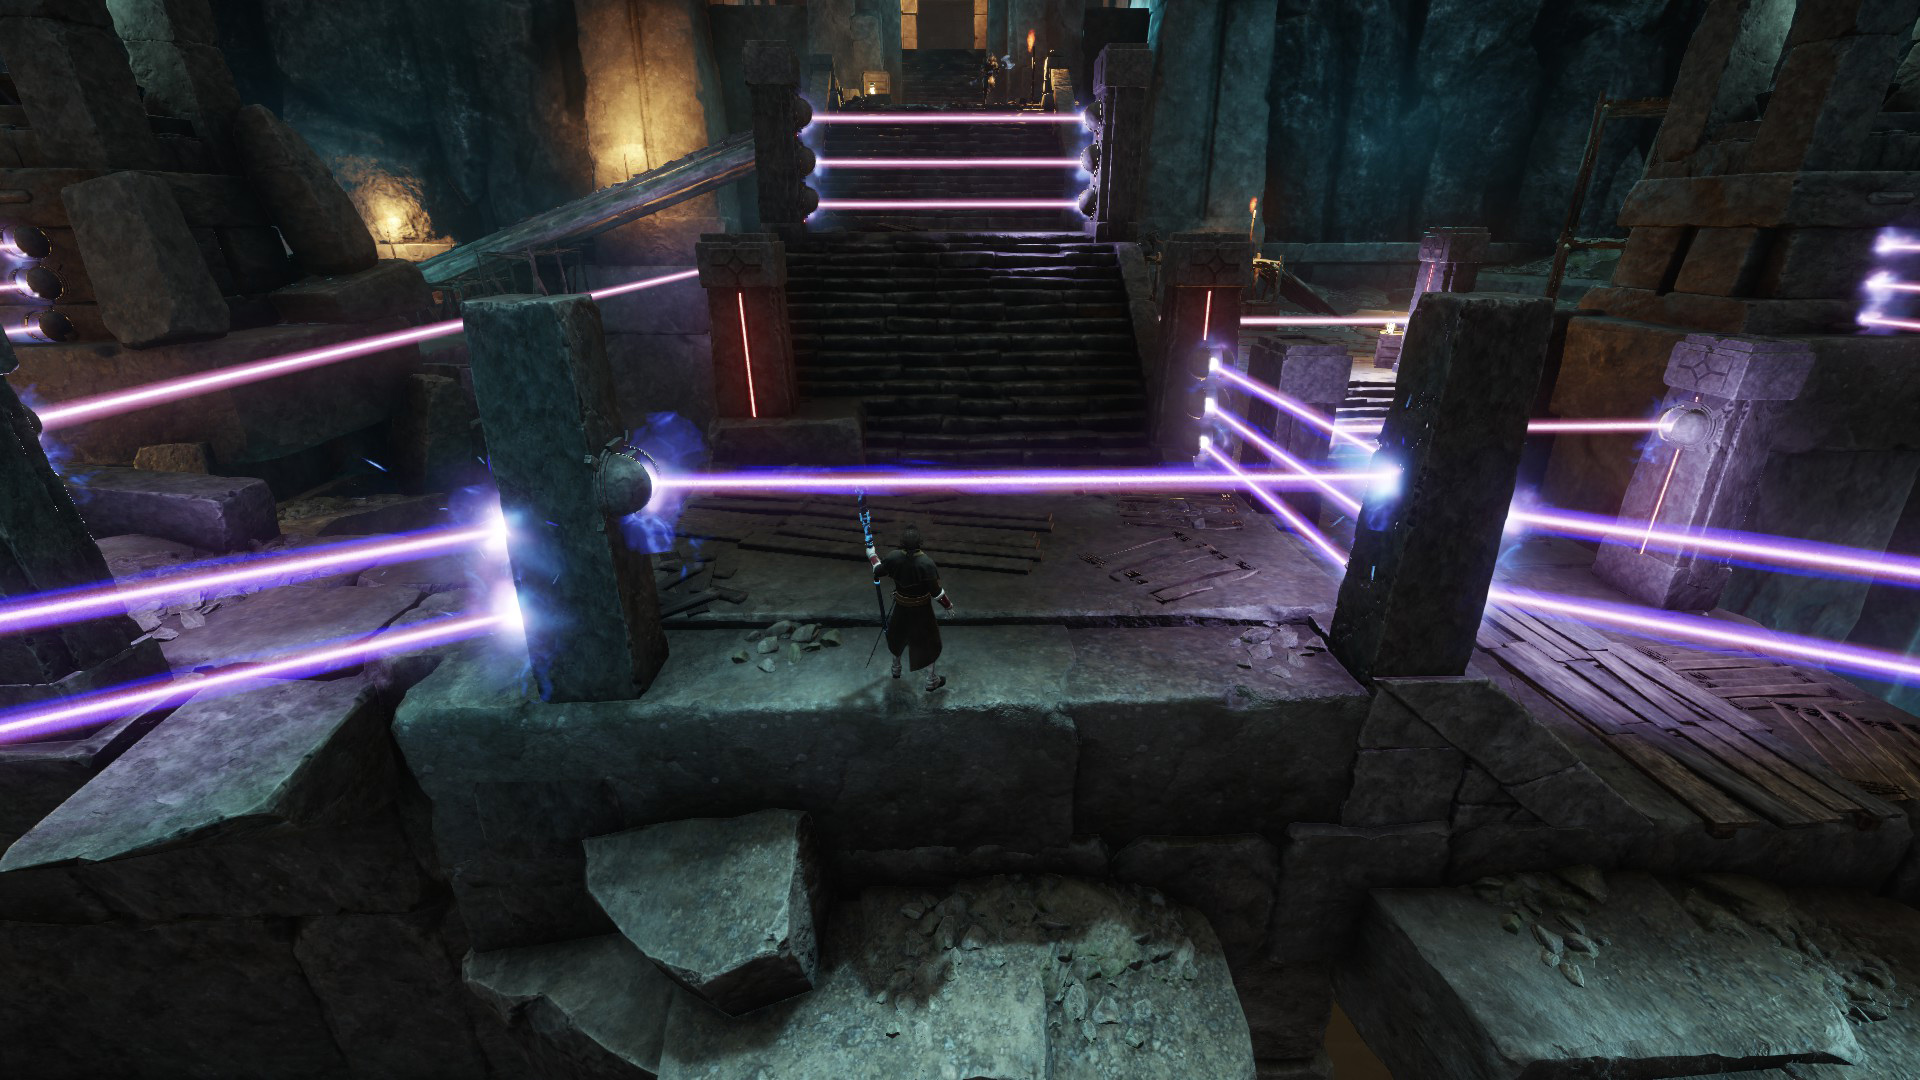
Next walk along this lower pathway and climb up.
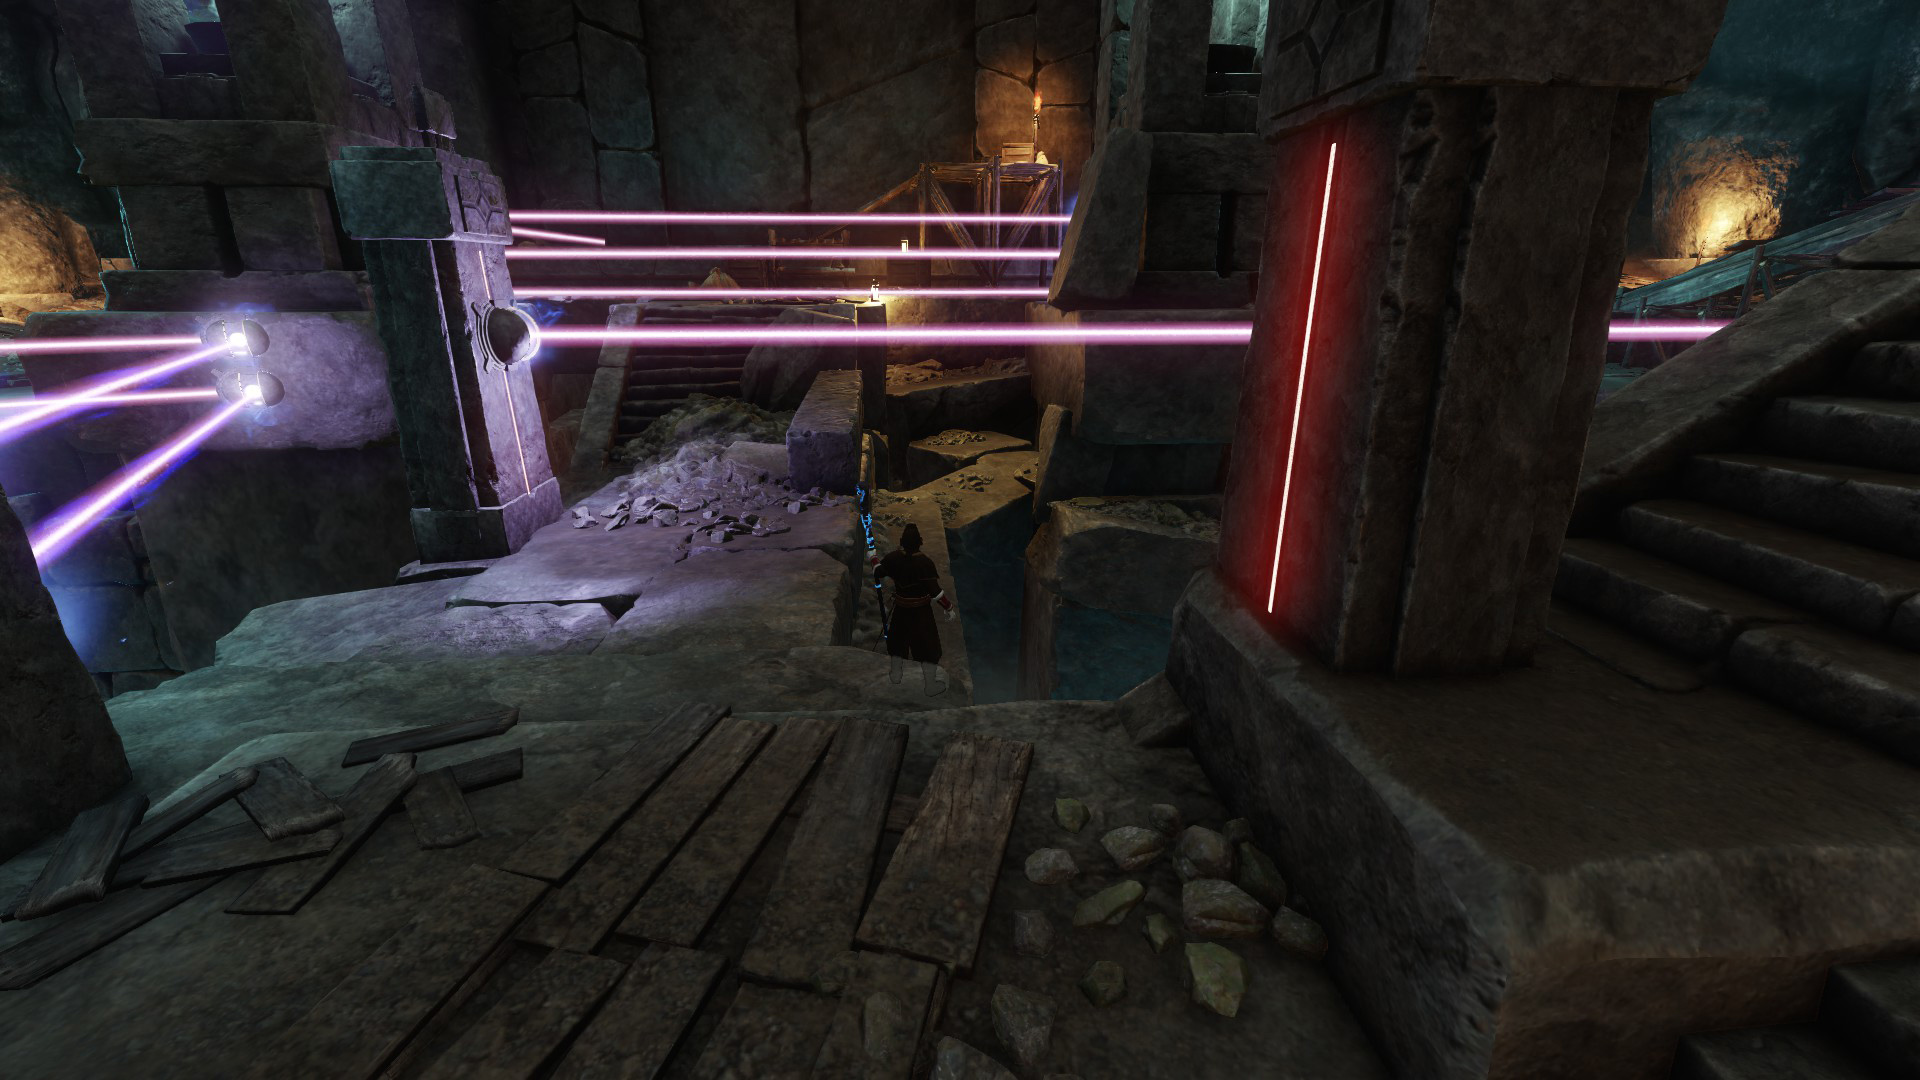
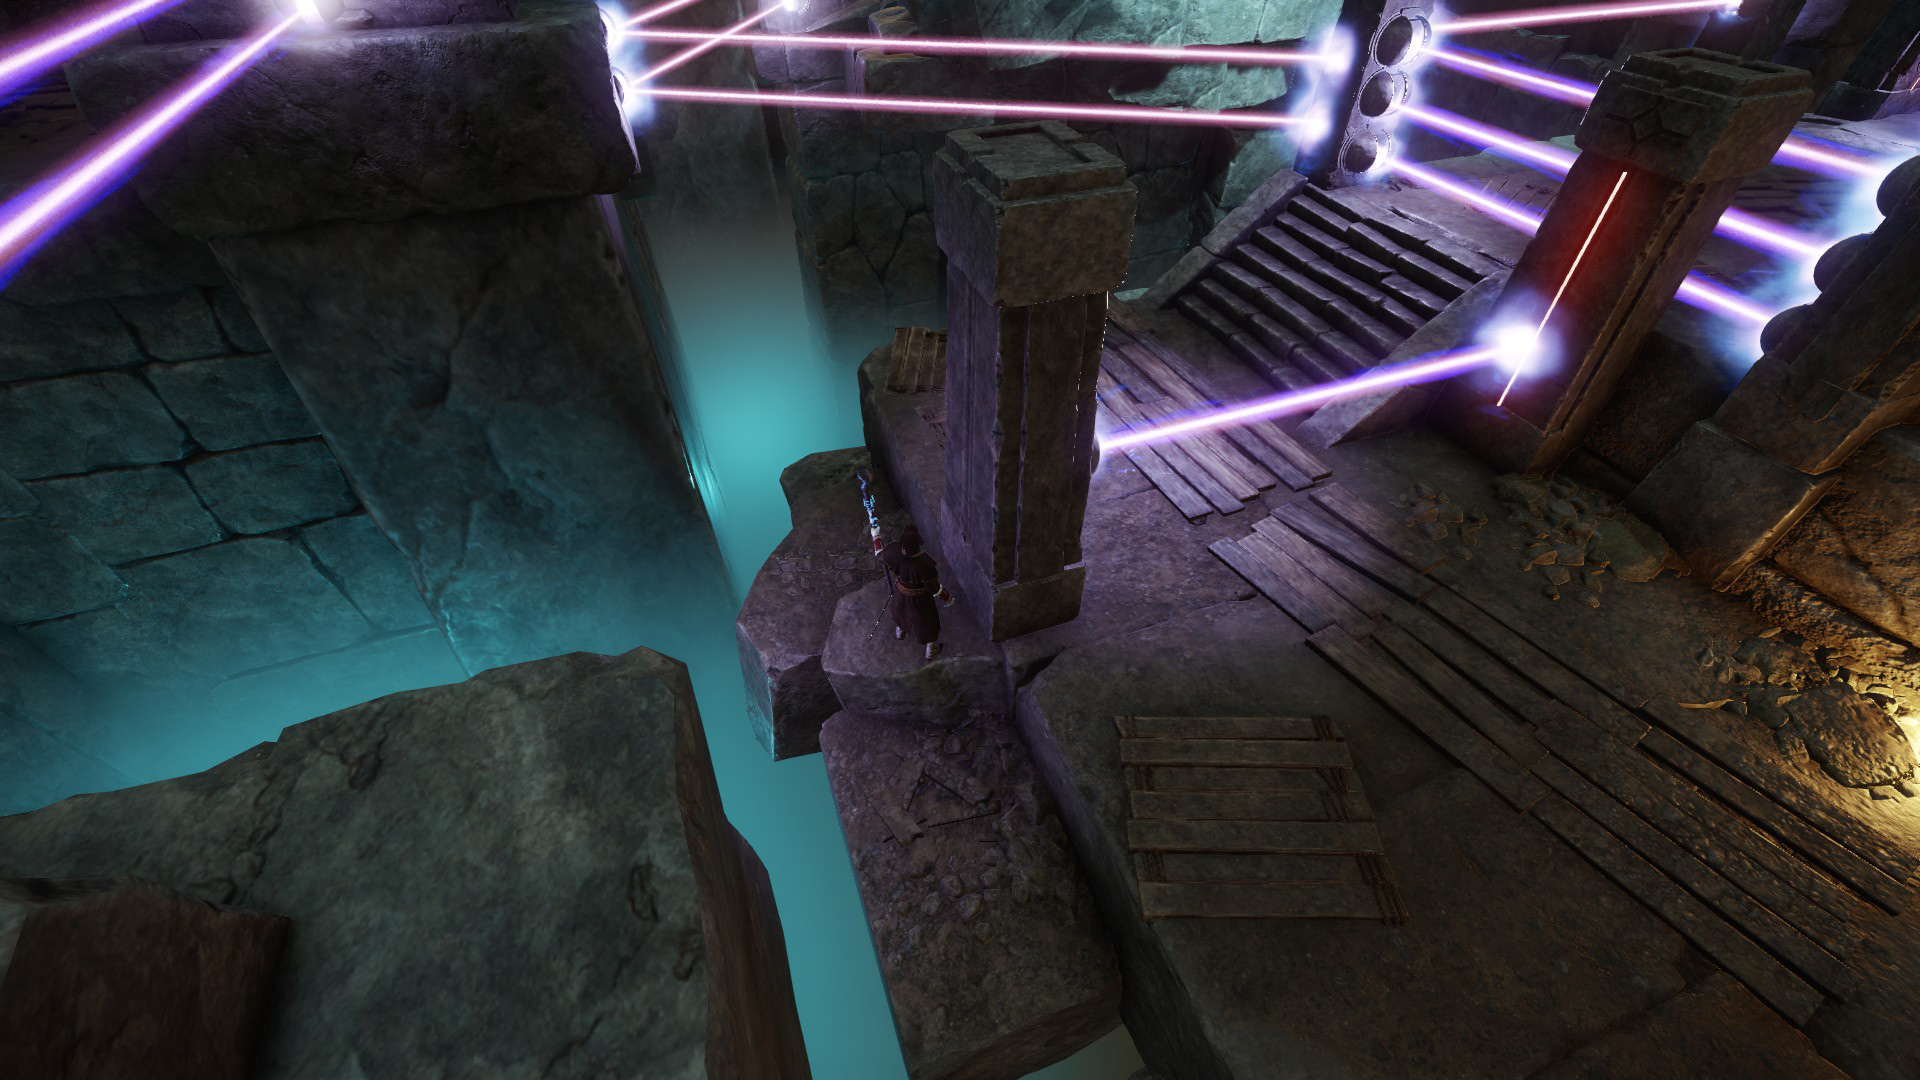
The next thing is to pass under this moving laser. This laser does not always move consistently up and down so be careful to move quickly.
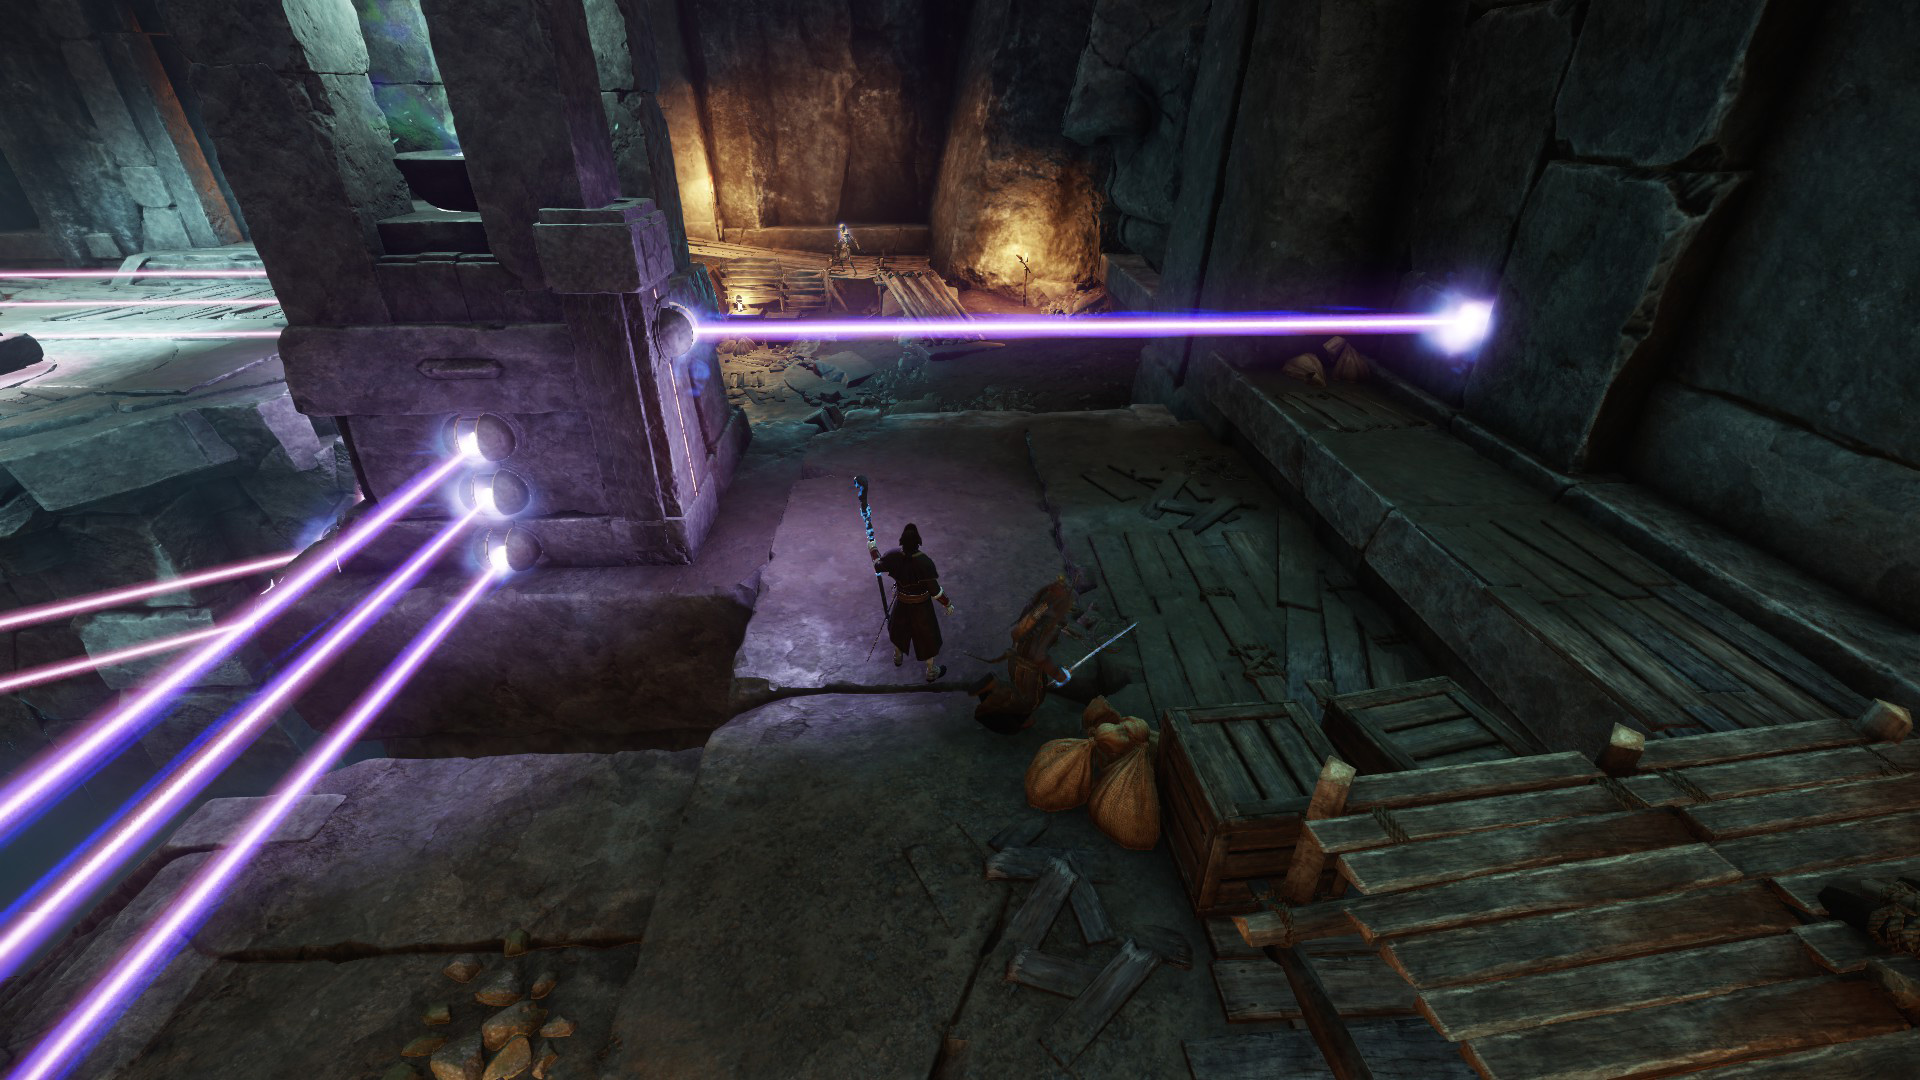
Next jump across several gaps until you get to the protection font.

Activating this provides you with a temporary buff that projects a dome around you that blocks lasers. You can use this buff to block the lasers in the door leaving this room. Be careful to not attack, use an ability, or dodge roll because it will remove the laser dome.
Loot Drops
 Graveguard's Seal
 Staff of the Immolated Veil
 Obsidian Rapier
 Creeping Cold
 Tip of the Morning Star
 Stonehewn Ring
 Ancient Heartstring
 The Obelisk
 Fleeting Reality
 Glacial Longsword
 Sliver of Crystalized Azoth
 Sparkling Bone Dust
Heartrune
To acquire the Starstone Heartrune, you must complete the normal difficult of Amrine Excavation, or you can obtain it in the Mutated version of Starstone Barrows because it is uniquely combined with Amrine Excavation when it is Mutated.
Mutated Drops
Some items can only drop on certain difficulty levels of the mutated version within some expeditions. This expedition is unique, as it combines with the Amrine Excavation to create one, merged expedition full of challenges. Below is the list of some items that can be obtained from this mutated expedition.
 Simon Grey's Helmet
 Simon Grey's Shambles
 Simon Grey's Wristguards
 Simon Grey's Pants
 Simon Grey's Boots
 The Space Between
 Crusher's Craze
 Amrine's Forgotten Axe
 Lost Faith
 Darkness Defined
 Amrine Excavator's Amulet
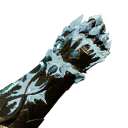
 Cavern Lurker's Defense
 Nakashima's Keepsake
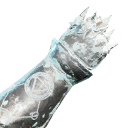 Frozen Mire
 Simon Grey's Toothpick
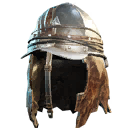 Excavator's Safety Helmet
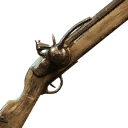 Tomb Raider's Rifle
 Burial Spear
 Simon's Hacksilver Ring
 Prosperous Promise
 Flare Spark
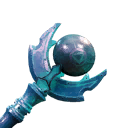 Staff of the Befouled Temple
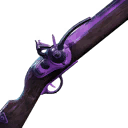 Obsidian Edged Musket
- Graveguard's Seal
- Creeping Cold
- Staff of the Immolated Veil
 Sunderstrike
- Obsidian Rapier
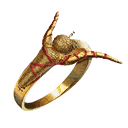 Fanged Ring
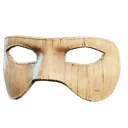 Masquerade Mask
- Glacial Longsword
- Fleeting Reality
- The Obelisk
- Ancient Heartstring
- Tip of the Morning Star
- Stonehewn Ring
 Long Winter
 Abyssal Reckoning
 Two-Face
 Unanswered Question
 Hybris
 Lady of the Ancient
 Ritual's Call
 Signal
Artifacts
Once your character reaches max level, you will be given the opportunity to retake this
expedition at a more difficult level. When taking down the Greundgul the Regent boss in this mutated
expedition, you will have a chance of obtaining a rare ring artifact known as ![]() Blooddrinker, which
has a very rare perk that reduces your damage by 25% in exchange for an additional 25% lifesteal and a 5% buff
to all healing that comes from lifesteal, making it a great addition to certain tank and lifesteal builds.
Blooddrinker, which
has a very rare perk that reduces your damage by 25% in exchange for an additional 25% lifesteal and a 5% buff
to all healing that comes from lifesteal, making it a great addition to certain tank and lifesteal builds.
Limited Mount Drop
Once you perfect this expedition, you'll be prepared to take it on at it's highest mutation level (level three), which introduces you
to a new unqiue item that can be dropped - a wolf mount skin! The wolf mount skin is called ![]() Wolfgang. This wolf mount looks great, and is a
fun way to show off how succesful you were within this expedition.
Wolfgang. This wolf mount looks great, and is a
fun way to show off how succesful you were within this expedition.
Changelog
- 02 Sep. 2024: Updated guide to include up-to-date tips and tricks, and artifcat information.
- 07 Mar. 2023: Drop list updated, Tuning Orbs removed, Heartrune info added.
- 31 Oct. 2021: Guide added.
Savvvo is a full-blown MMORPG try-hard who overthinks every build, min-maxes every stat, and theorycrafts like his life depends on it. If there’s a meta, he’s dissecting it. If there isn’t, he’s creating one.
You can take a closer look at his guides and content on YouTube.
- AMA Session with New World’s Former Lead World Designer
- New World Aeternum 2026 Roadmap Revealed
- Can New World Be Saved? Offers Are Starting to Pop Up.
- The Last Day of New World: Aeternum
- New World Server Mergers (Again)
- What Else Was Planned for New World: Aeternum?
- Global Storage Search is Now Live in New World: Aeternum
- Daggers Are Officially Live in New World: Aeternum