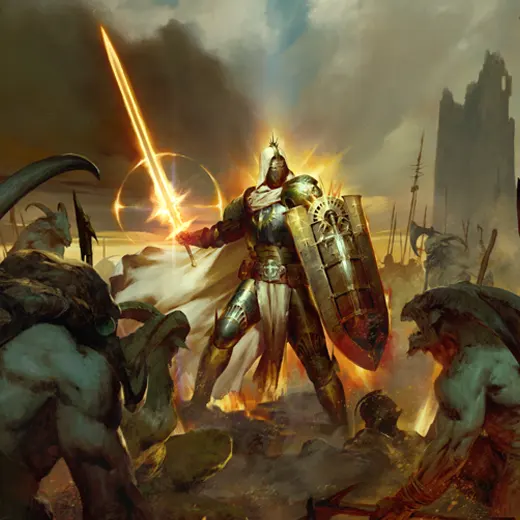


Build Introduction
Welcome to the comprehensive guide for the Arbiter Disciple Paladin for the endgame of Diablo 4. This build uses the skill Wing Attacks from the Arbiter of Justice form to deal rapid passive strikes as you move around the battlefield. If you enjoy passive damage characters then this might be the best character in the game for you to play.
Strengths and Weaknesses
- Powerful Passive Attacks
- Powerful defensive utility and survivability.
- Capable of clearing Pit 100+ Easily
- Requires Gear for Perma-Form
Build Requirements
This build technically can function without any uniques but there are two that will really help improve the build. Additionally, more Legendary Aspects are listed in the Gear section but the ones listed here are the most important.
 Aspect of AscensionAspect of Celestial StrifeAspect of Tyrael’s Jurisdiction
 Aspect of the IndomitableAspect of Interdiction
 Griswold’s Opus – A Sword that is very helpful with Critical Strike Damage. Not necessary for the build to work at all but is a nice damage boost.
 Herald of Zakarum – A Shield with great Block Chance, Armor and Armor boosting. Again, not required for the build exactly but will be a large boost to survivability and damage.
- Sanctis of Kethamar – An Amulet that gives a large chance for Arbiter to deal Double Damage as well as a big Wing Strike bonus. This will be your biggest damage gaining piece of gear.
Quick Navigation
Want to skip ahead? Use the table below to jump to the sections you are looking for.
Skill Bar and Skill Tree Points
Your skill bar should contain the following six skills. The location of these skills doesn’t matter, place them wherever is comfortable for you.
If you are running into Faith issues and cannot get it from an item, you can also run ![]() Rally instead of
Rally instead of ![]() Aegis with Words of Sacrifice.
Aegis with Words of Sacrifice.
![]() Arbiter of Justice can also be used in place of
Arbiter of Justice can also be used in place of ![]() Advance for maintaining form.
Advance for maintaining form.
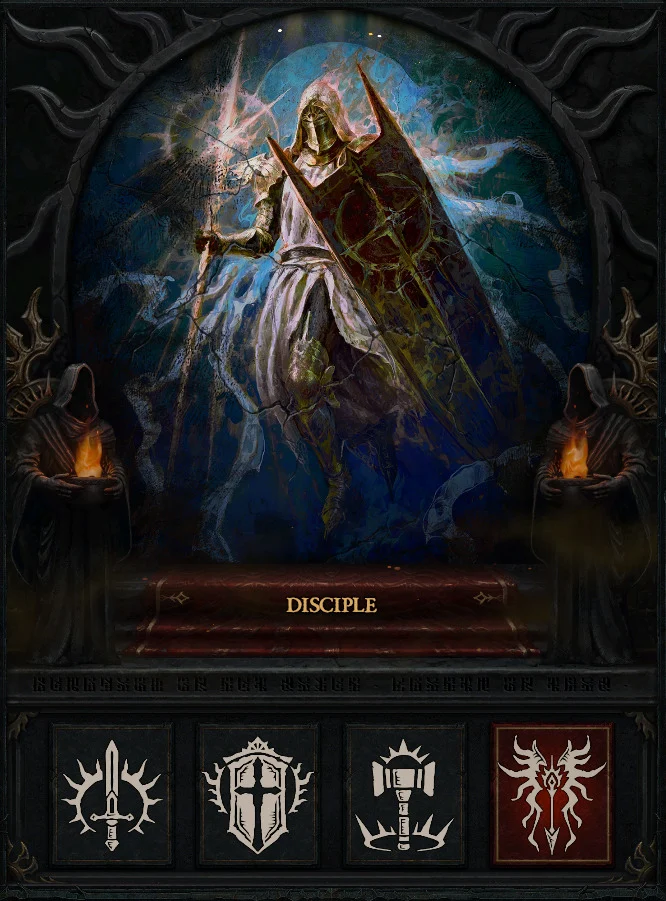
Paladin Class Mechanic – Oaths
Paladins are able to devote themselves to one of four Oaths which drastically change your game play and give you access to some new resources that allow you to take your build even further. Each Paladin archetype is represented in the Oath system allowing players to choose between Zealot, Juggernaut, Judicator, or Disciple. For this build we will want to take the Disciple Oath.
Under this Oath whenever we cast a Disciple skill with a cooldown we enter Arbiter form for 4.5 Seconds. Our Wing Strikes gain Disciple Skill benefits as well and in Arbiter form our Disciple Skills do 50% increased damage. Since we have a bunch of Disciple cooldown skills on our skill bar, we will be able to be in this form 100% of the time we are in battle and while moving in-between.
Gear, Stats, Gems and Runes
The following sections will cover all systems that are critical if you want to improve the power of your character and move towards the highest difficulties in the endgame of Diablo 4. Early on while leveling you can focus on simply getting higher item power but in the later part of the game the item power starts to become the same for everything and the affixes and legendary aspects are a more important focus.
Legendary Aspects
Below you will find all of the best-in-slot Aspects found on Legendary Items that are important for this build. Remember that all Legendary Powers can be added into your Codex of Power once you salvage the items. You can still find some aspects through dungeons though they will always be at the minimum power level. To get the most out of this system, combine these Aspects with the right stats and unique items.
| Gear Slot | Gems | Aspect / Unique | Aspect / Unique Power |
| Helm | Aspect of Glynn’s Anvil | Your maximum Resolve is increased by 2 and you gain [3-4%] Damage Reduction per Resolve | |
| Chest | Aspect of Disobedience | Your Damage Over Time grants you [1.0-1.5%] Damage Reduction for 2 seconds, stacking up to 30 times | |
| Gloves | N/A | Aspect of Holy Punishment | Holy and Fire damage are increased by [40-60%]X |
| Pants | Aspect of the Indomitable | Gain up to [30-45%] Damage Reduction and Impairment Resistance based on your Block Chance | |
| Boots | N/A | Aspect of Interdiction | Gain [2.0 – 3.0%] Block Chance per Resolve stack |
| Amulet | Aspect of Ascension | Casting a Skill that grants Arbiter form increases your damage by [5-7%]X stacking up to 10 times. All stacks are lost when leaving Arbiter form | |
| Ring 1 | Aspect of Celestial Strife | While in Arbiter form, kills grant [1.0 – 1.5%]X increased Vulnerable damage up to a maximum of [50-75%]X | |
| Ring 2 | Aspect of Utmost Glory | While Healthy, your skills deal x[20-35%] increased damage. Double this bonus against Weakened enemies. | |
| Weapon | Aspect of Lagera’s Sovereignty | Your Disciple Skills deal [40.0 – 60.0]%[x] increased damage. | |
| Shield | Aspect of Tyrael’s Jurisdiction | Arbiter’s Wing Strikes now seek nearby enemies and deal [160-240%] increased damage |
To see how this build compares to the others on our site, you can check out our Endgame Tier List.
Stat Priority and Tempering Affixes
Below are the affixes to prioritize on gear. Each line of affixes is listed in order of importance. Tempering Manuals and their recommended affixes are provided in the second column and the bolded yellow affixes are the most important targets for the Masterworking Capstone Upgrade. Be sure to check out our Tempering and Masterworking guides for more details about these topics.
| Slot | Gear Affixes | Tempering Affixes |
| Helm | 1. Cooldown Reduction 2. Strength 3. Armor 4. Maximum Life | +[2-3] Maximum Resolve Stacks |
| Chest | 1. Strength 2. Maximum Life 3. Armor 4. Resistance to All Elements | +[2-3] Maximum Resolve Stacks |
| Gloves | 1. Cooldown Reduction 2. Critical Strike Chance 3. Critical Strike Damage 4. Strength | Damage while in Arbiter Form OR Holy Damage |
| Pants | 1. Strength 2. Maximum Life 3. Armor 4. Resistance to All Elements | +[2-3] Maximum Resolve Stacks |
| Boots | 1. Movement Speed 2. Strength 3. Armor 4. Resistance to All Elements | Movement Speed |
| Amulet | 1. Movement Speed 2. Cooldown Reduction 3. Critical Strike Chance 4. Strength | Damage while in Arbiter Form OR Holy Damage |
| Ring 1 | 1. Critical Strike Damage 2. Critical Strike Chance 3. Cooldown Reduction 4. Damage % 5. Strength | Damage while in Arbiter Form OR Holy Damage |
| Ring 2 | 1. Critical Strike Damage 2. Critical Strike Chance 3. Cooldown Reduction 4. Damage % 5. Strength | Damage while in Arbiter Form OR Holy Damage |
| Weapon | 1. Strength 2. Maximum Life 3. Critical Strike Damage 4. Vulnerable Damage | Critical Strike Chance OR Damage while in Arbiter Form OR Holy Damage |
| Shield | 1. Cooldown Reduction 2. Strength 3. Armor 4. Vulnerable Damage | Arbiter Duration OR +[2-3] Maximum Resolve Stacks |
Mythic Uniques
Below you will find information about the Mythic Uniques that are useful to this build. Moreover, if you are interested in target farming Mythic Uniques, check out our How to Farm Mythic Uniques guide.
These are the chase rare items in Diablo 4. They have a very low drop rate from most content and a slightly higher drop rate from Tormented Bosses in Torment 1 and beyond. We will be listing only the ones useful to this build. Let’s take a look.
 Harlequin Crest – The infamous “Shako” helm provides a massive amount of armor and cooldown reduction as well as additional ranks to our skills as well as providing a 20% damage reduction. If you’re lucky enough to pick one up, replace your helm and drop Aspect of Glynn’s Anvil entirely.
 Heir of Perdition – Even though the Core Skills do not do much here, the large Critical Strike Chance and additional damage gain will be a solid improvement over what other helms will provide.
 Shroud of False Death – An extremely powerful chest for its implicit bonus of +1 to all Passive Skills. Paladin has amazing passives and if you’re lucky enough to find one the power it provides through that alone is worth dropping your normal chest for. The additional stats and life are also helpful as is the stealth bonus which can help you speed through large areas quickly.
 Tyrael’s Might – This is the tankiest armor in the game, providing massive Damage Reduction and Resistances. If you want to improve your defenses and find this, you cannot get better.
Gems and Runewords
Listed below are the best gems to socket into gear for each slot type.
Gems
| Weapon Gems | Armor Gems | Jewelry Gems |
Runes
Runewords return from Diablo 2 in Vessel of Hatred! You are limited to two Runewords across your gear and it requires two sockets in the same item. So this limits creating Runewords by combining two Runes to either Helm, Chest, Pants, or Two-Handed Weapons. We recommend putting these in some combination of your Helm, Chest, or Pants. Let’s jump in.
| Rune Name | Rune Effects |
| Gain 300 Offering: Cast 5 Skills then become exhausted for 3 seconds. | |
| Requires 25 Offering (Overflow: Gain multiple stacks): Gain 2% Critical Strike Chance for 5 seconds, up to 10% | |
| Gain 100 Offering: Cast 2 Mobility or Macabre Skills | |
| Invoke the Barbarian’s War Cry Skill, increasing your damage dealt by 7.5% for 6 seconds. |
Paragon Board
We recommend using the following Legendary Nodes and Glyphs to truly take this build into the endgame. Note that each glyph’s information and radius listed below is for the level 100 Version. As a reminder, glyph’s reach their maximum radius at level 46 and unlock their Legendary Bonuses at level 45.
The main focus on each board is to rush to the Legendary Node followed by the Glyph. Beyond that, focus on Armor, Block Chance, and Damage Nodes
You can find the Paragon Board Setup HERE:
Season 13 Mechanics
There are no specific seasonal mechanics in Season 13. Instead the Lord of Hatred expansion and all of its features are available to explore. These include:
- War Plans
- New Skill Trees
- Talisman Sets
- The Horadric Cube
- Echoing Hatred
For the full patch notes and to look through our Season Guide links will be provided here once the pages are updated.
Talisman
Lord of Hatred introduces Talisman Sets. The Talisman is a Seal and Charms are placed within. Charms have some general affixes from a limited pool and can have Set bonuses which can grant significant power.
For our Seal, we will want a Legendary Seal with +1 Charm Slots so we can access all six charms. During the leveling portion of the game this may not be easily attained so just use what you can until you can eventually get the +1 Charm Slot.
For the other affixes look for anything that adds bonuses while using the Light’s Epiphany charm set such as damage reduction, faith generation, movement speed or resistances.
For our Charms, we will want to use the 5-piece charm set Light’s Epiphany which will grant us the following bonuses:
- 2 Set: Disciple Skills reduce the Cooldown of Arbiter of Justice by 0.1 seconds when they deal damage or 0.5 seconds if they have a Cooldown
- 3 Set: While in Arbiter, gain 30% increased Maximum Life and 10%X increased Movement Speed
- 5 Set: When you cast Arbiter of Justice, unleash all Ultimates triggering Heaven’s Fury and Fortress and replacing Arbiter of Justice with Zenith for 10 seconds. Gain 500%X increased damage with Disciple skills for the duration of Arbiter of Justice. All Ultimates are also Disciple Skills
For our sixth and final charm slot, we will want to use a Unique Charm. Specifically one with the power of ![]() Griswold’s Opus which will grant us its powerful bonus without having to actually equip the sword thus letting us benefit from another aspect and better affix stats.
Griswold’s Opus which will grant us its powerful bonus without having to actually equip the sword thus letting us benefit from another aspect and better affix stats.
Mercenaries
As you play through the campaign in Vessel of Hatred, you will unlock various NPC Mercenaries who can join you on your quest to slay demons. Each Mercenary has their own small talent tree that will give them bonuses and skills to help you. Additionally, you can assign a Mercenary that you don’t take with you as a reinforcement to jump in when you activate certain skills. Let’s take a look at how we want to set them up for this build.
We hare Raheir, the Shieldbearer
- Core Skill:
 Ground Slam
 - Core Skill Passive:
 Raheir’s Aegis
 - Iconic Skill:
 Bastion
 - Iconic Skill Passive:
 Inspiration
Our reinforcement Mercenary will be Varyana, the Berserker Crone
- Opportunity Skill: Skill Cast in Combat
- Reinforcement Skill:
 Bloodthirst
Build Mechanics
Rotation and Playstyle
The endgame setup for the Arbiter Disciple focuses on getting into Arbiter form and getting as much damage into Wing Strikes as possible.
Thanks to the Legendary Paragon Node, Castle, we can stack armor for a massive multiplier of damage that makes this very easy to set up. Let’s review our skills and how to move around maps.
- Cast
 Advance (If needing a resource generator, otherwise you can use
  Arbiter of Justice) to move around and have another skill to proc Arbiter Duration.
 - Cast
 Falling Star as often as its cooldown allows. This stacks damage, refreshes Arbiter duration, and allows you to reposition yourself as needed.
 - Activate
 Fanaticism Aura to apply Weakened to nearby enemies and elites/bosses.
 - Activate
 Holy Light Aura whenever you need to heal and crowd control nearby mobs via its stun. This also allows for more damage through all of our “Damage vs Crowd Controlled Enemies” nodes and sources.
 - Activate
 Defiance Aura to become Unstoppable for 2 seconds whenever you become Crowd Controlled or to prevent yourself from being Crowd Controlled in the first place while you cut up your foes. Defiance Aura also boosts Armor (which is more damage) and Resistances so feel free to press it whenever it comes off cooldown.
 - Activate
 Aegis to gain 100% Block Chance and max Resolve Stacks. This also grants unstoppable so it can be saved if necessary for tough moments.
Which Elixir Should You Use?
Visit the Alchemist in any main town to craft helpful Elixirs that increase stats, and experience gain for 30 minutes. Make sure to forage plants and pick up the necessary crafting materials during your adventures; they randomly spawn around the world. Use ![]() Elixir of Precision II for its Critical Strike Chance and Damage.
Elixir of Precision II for its Critical Strike Chance and Damage.
Season Updates
For a comprehensive look at what’s new in Season 13, its mechanics and theme, new activities, and other changes, check out our comprehensive Season Hub.
Obol Gambling
A final point on acquiring gear is using your Obols to target farm specific slots instead of randomly spending them on random drops. Similar to Kadala in Diablo 3, you can use Obol Vendors in towns to try and get what you’re missing. With the expansion when a level 70 Character spends obols, all gear from the vendors will be at least 850 item power, the highest non-ancestral power allowing you to fill out gear with the affixes or Legendary Aspects you need while also having a small chance to grant Ancestral Items, Uniques, and even Mythic Uniques!
Check out our Obol Gambling Tool Guide HERE.
Changelog
- April 27th 2026: Guide updated for Season 13 & Expansion
- March 6th, 2026: Guide updated for Season 12
- December 15th 2025: Guide created
