This is a legacy build that is not competitive for the current version of Diablo 4 and which we do not recommend using. It only exists for documentation purposes and will not receive further updates for now.
Build Introduction
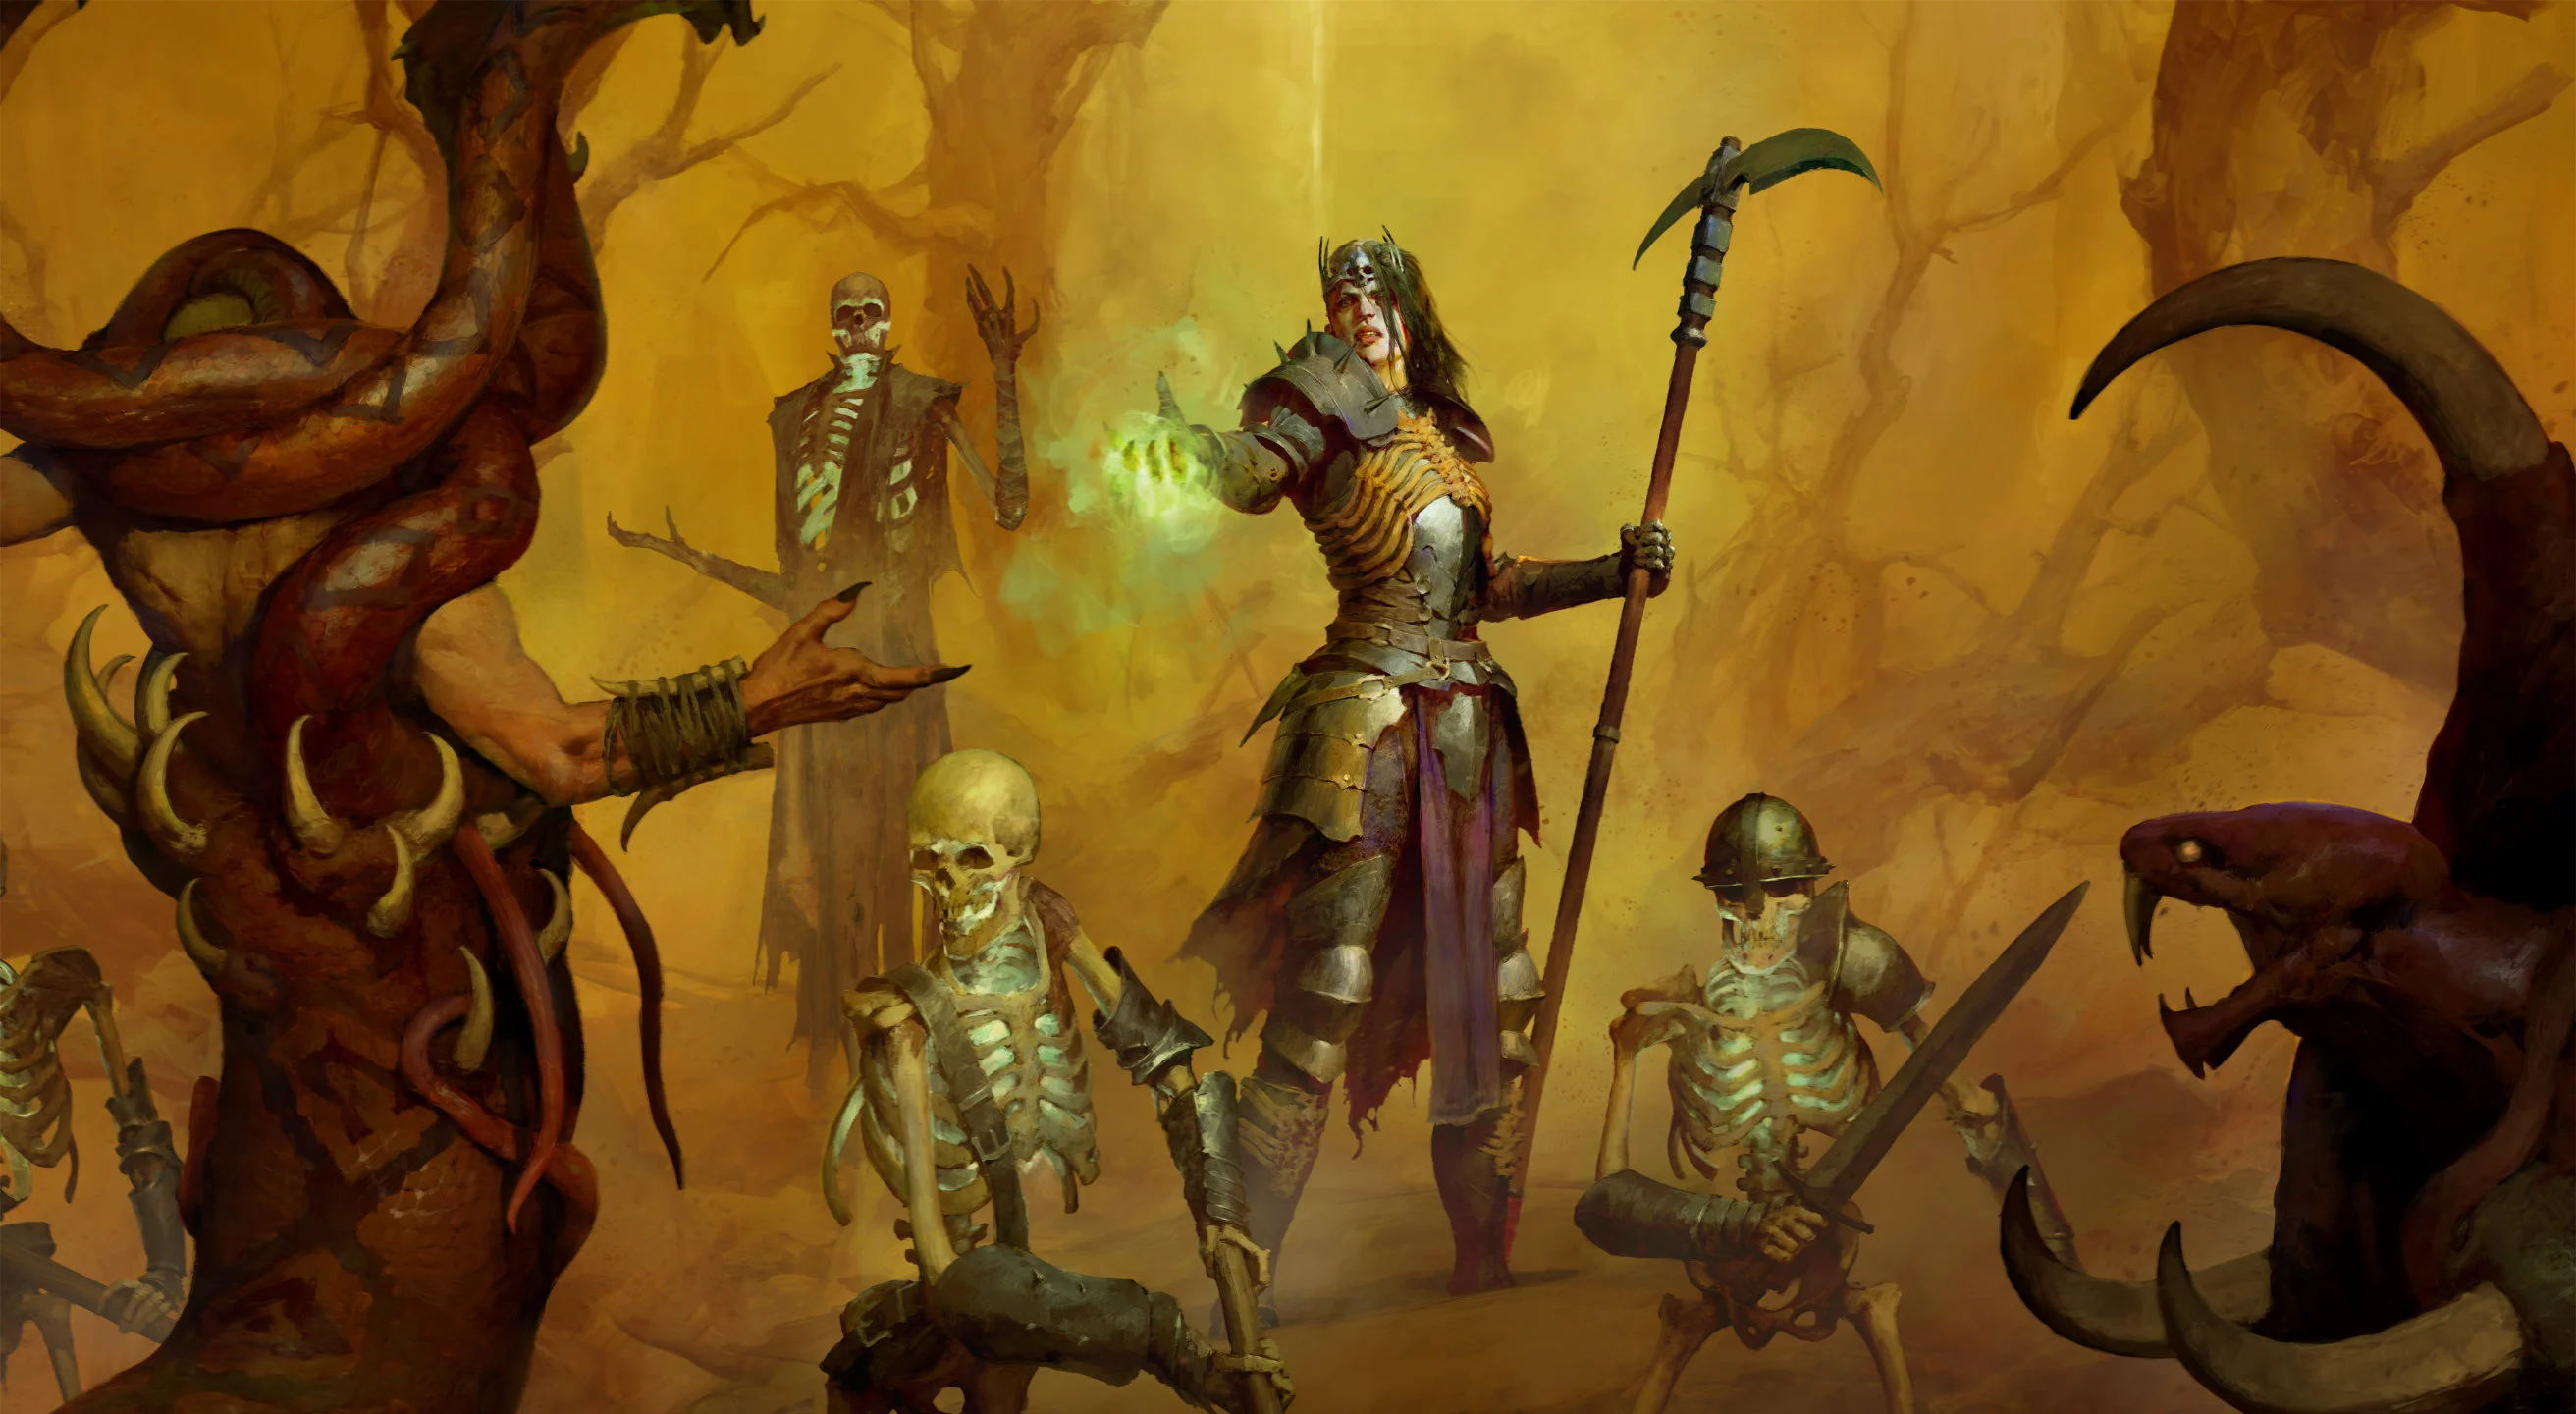
The  Bone Spear Necromancer leveling build is a high damaging ranged build that brings high, consistent damage to the battlefield, ensuring high DPS output even when building up Essence to continue casting Bone Spears. This makes it an incredibly smooth build to level your Necromancer with!
Due to the high damage output, this build will take you from the start of the game all the way through the campaign with ease.
Solo play can be fun and playing with friends can be great, if you have the right spec! The high damage output makes the build very attractive to have in a party with friends, and it also makes enemies consistently Vulnerable, allowing the rest of your party to benefit immensely for having you with them.
Have questions or feedback on the guide? Join the livestream and ask me!
Quick Navigation
Want to skip ahead? Use the table below to jump to the selections you are looking for.
Allocation of Skill Points
At this point in your character progression it is optimal to move all your points in  Blood Surge over to
  Bone Spear, as both are located in the Core cluster. This allows you to utilize
  Corpse Explosion to clear any extra enemies the Bone Spear did not kill without forcing you to move into close range of your enemies.
Skill Tree and Skill Tree Points
To prepare yourself for what happens after level 60 when you get access to your Paragon Board head over to our Necromancer Builds page and chose your weapon!
Necromancer Class Mechanic – Book of the Dead
Necromancer’s class specific ability is the Book of the Dead, which provides three different type of minions that unlock by leveling up. Some of these choices comes down to personal preference, so we will outline our preferred setup for leveling this build.
- Melee Skeletons – We’ll want to run the Reapers. The second effect choice from these bad boys allows them to have a 15% chance to create a corpse on hit. Seeing as our build thrives on both damage output and Essence gain from corpses this is the ideal choice.
- Mage Skeletons – In the early leveling process, you can choose to run the Cold version of the Mage Skeletons to regain Essence on Hit. We are not aiming to invest anything to have them survive long term, as this would cause them to take up more time being resummoned rather than providing something beneficial for your build. Our choice here is to sacrifice them as Cold Skeletons, providing us with extra damage against Vulnerable enemies.
- Golem – When you first gain access to the Golem, we would strongly recommend using him as an actual tank. The Golem doesn’t go down easily and helps taunt enemies, enabling you to safely do damage from a distance. Use either the
 Golem (Bone), which provides corpses when the summon takes a certain amount of damage, or the
  Golem (Blood), which redirects a portion of the damage you take yourself, as both are great choices during this time frame. Towards the end of the campaign, we would opt for sacrificing the
  Golem (Iron), which provides Necromancer with extra Critical Strike Damage.
Gear, Stats, Gems, and Runes
Prioritize a higher total damage output when it comes to your weapon, as the higher it is, the better. It should be kept in mind that if you find a higher Item Power 1-handed weapon, it could very well be better than a 2-handed weapon if coupled with an off-hand or even a shield, as shields scale your main-hand weapon by 80%!
Legendary Aspects
To unlock Aspects in the Codex of Power, you must find it naturally or complete the corresponding Dungeon where the specific Aspect drops. Visit the Occultist to imprint this Aspect onto an item. Aspects from the Codex of Power can be used often on weapons.
There is really only one Legendary Aspect that is truly powerful and worth mentioning for this build, which is the  Splintering Aspect, everything else are just nice to have. Below you’ll find a list of all recommended powers for this build.
| Aspect Name | Legendary Aspect Power | Source |
 Splintering Aspect (Offensive) Splintering Aspect (Offensive) | Bone Spear’s primary attack makes enemies hit beyond the first Vulnerable for 3 seconds. Bone Shards from Bone Spear deal % bonus damage to Vulnerable enemies and pierce them. | Campaign in Dry Steppes |
 Juggernaut’s Aspect (Defensive) Juggernaut’s Aspect (Defensive) | Gain X Armor, but your Evade has 100% increased Cooldown. | Random Drop |
 Aspect of Hardened Bones (Defensive) Aspect of Hardened Bones (Defensive) | You and your Minions gain % increased Damage Reduction. | Random Drop |
 Bone Duster’s Aspect (Offensive) Bone Duster’s Aspect (Offensive) | Bone Spear is guaranteed to Overpower enemies within Bone Prison and deals x% increased damage to them. | Random Drop |
 Aspect of Occult Dominion (Utility) Aspect of Occult Dominion (Utility) | Your maximum number of Skeletal Warriors and Skeletal Mages is increased by 2. | Random Drop |
We have a dedicated in-depth Aspect and Codex of Power guide that you can check out for more information.
Stat Priority and Tempering Affixes
Keep in mind that this is only possible if you’ve found tempering manuals as you progress through this leveling guide. There are really not many modifiers worth bothering with during the leveling stage, but the recommendation is the same as our stat priority listed above for defenses such as Life and armor. For offensive scaling, you’re only looking for summoning damage or specific minion damage,e such as Skeletal Mage damage.
When it comes to modifiers on your gear as you progress this build, you’ll be looking for the following stats:
- Critical Strike Chance;
- Critical Strike Damage;
- Lucky Hit Chance, which is very effective as this helps generate more corpses to keep the rotation of Bone Spears & Corpse Explosion going.
- + Level of Bone Spear
- Attack Speed
Gems and Runewords
Listed below are the best Gems to socket into gear for each slot type.
Gems
- Weapon:
 Emerald for +#% Critical Strike Damage.
 - Armor:
 Topaz for +#% Increased Intelligence.
 - Jewelry:
 Diamond for all Resistance or any gem that provides you with the resistance type you lack the most.
Runewords
When it comes to Runewords for the leveling stage of this build we’d recommend combining ![]() Cem +
Cem + ![]() Ton as well as
Ton as well as ![]() Moni +
Moni + ![]() Gar to optimize your builds efficiency.
Gar to optimize your builds efficiency.
Boss Powers (Season 8)
In Season 8, we will have access to Boss powers, granting some absolutely crazy abilities that we’ll utilize to enhance our build’s power. Below, you’ll find a list of the recommended powers we use for this build. However, since these powers are coming from specific bosses, they will either require you to be in the end-game content of the game or kill specific world bosses. Our recommendation during the leveling stage is to use whichever powers you come across as you progress till the end-game. Once you switch over to your desired end-game build, this is where targeting specific boss powers becomes more important.
Mercenaries
Aldkin is a great choice with crowd-controlling features, but the comfortability of using Subo, who brings the ability to reveal enemies and materials in the area, makes him a natural preferential decision. The mercenaries are a nice addition to the game and whichever you chose to run is up to you. The recommendation for this build will be to run Subo.
Skill-tree wise we’ll grab the left-hand side first for ![]() Wire Trap to provide stuns with the following node is up to you.
Wire Trap to provide stuns with the following node is up to you. ![]() Trip Mines is the next big notable to grab, taken for safety reasons. We finish that tree with
Trip Mines is the next big notable to grab, taken for safety reasons. We finish that tree with ![]() Mastermind.
Mastermind.
For the reinforcement, stick with Raheir, utilizing his Bastion skill being cast when the player becomes injured.
Build Mechanics
Rotation and Playstyle
The build starts off with casting  Blood Surge as your main source of damage output coupled with
  Corpse Explosion. This works very well, but does force you to position yourself close to the enemies. This is later solved by moving your points over to
  Bone Spear which will be our main source of single-target damage. However, thanks to the combination of exploding corpses and the passive
  Grim Harvest, we can easily use Bone Spear to kill initial enemies and finish the remaining mobs with our Corpse Explosion, building our Essence pool back and creating a very smooth playstyle and leveling experience.
When fighting bosses you essentially want to dump all your Essence by casting  Bone Spear. Thanks to your Reaper Skeletons providing corpses, as well as the passive
  Hewed Flesh, you should always have an abundant amount of corpses around your enemies to create a wave of explosions with
  Corpse Explosion. Aside from re-summoning your skeletons if needed, this rotation rinses and repeats like clockwork!
Should you find yourself completely out of Essence and with no corpses, you’ll resort to using your  Bone Splinters to create corpses and regain Essence.
 ![]() Blood Mist is our panic button to get our of harms way if needed.
Blood Mist is our panic button to get our of harms way if needed.
Elixirs and Health Potions
To gain an edge in your adventures, head to the Alchemist in any major town, and craft Elixirs that enhance your stats and experience gain for 30 minutes. Remember to gather the necessary crafting materials by foraging plants. Select an Elixir that provides the resistance you need most, or try the ![]() Assault Elixir to boost your Attack Speed.
Assault Elixir to boost your Attack Speed.
Return to the Alchemist again around every 10 levels to upgrade your potion. The extra healing is essential to survival.
Season 8 Updates
For a complete overview of Season 8, mechanics and theme, new leveling activity, and other changes coming please take a look at our comprehensive season hub here.
Additionally, Season 8 isn’t changing anything notably for the build outside of providing the new Boss powers.
Difficulty and Endgame
This guide is designed to get you to level 60 in a smooth and enjoyable way. Once there, you’ll want to look at a proper endgame designed build guide. Make sure you pick one of our recommended ones!
Changelog
- April 21st, 2025: Guide updated for Season 8.
- January 20th, 2025: Guide updated for Season 7.
- October 12th, 2024: New Paragon tool added.
- October 7th, 2024: Paragon board added.
- October 2nd, 2024: Guide updated for Season 6.
- August 5th, 2024: Guide updated for Season 5.
- May 12th, 2024: Guide updated for Season 4 Loot Reborn.
- January 22nd, 2024: Guide updated for Season 3 Season of the Construct.
- October 15th, 2023: Guide made ready for Season 2 patch 1.2.0
- August 7th, 2023: Guide made ready for Patch 1.1.1
