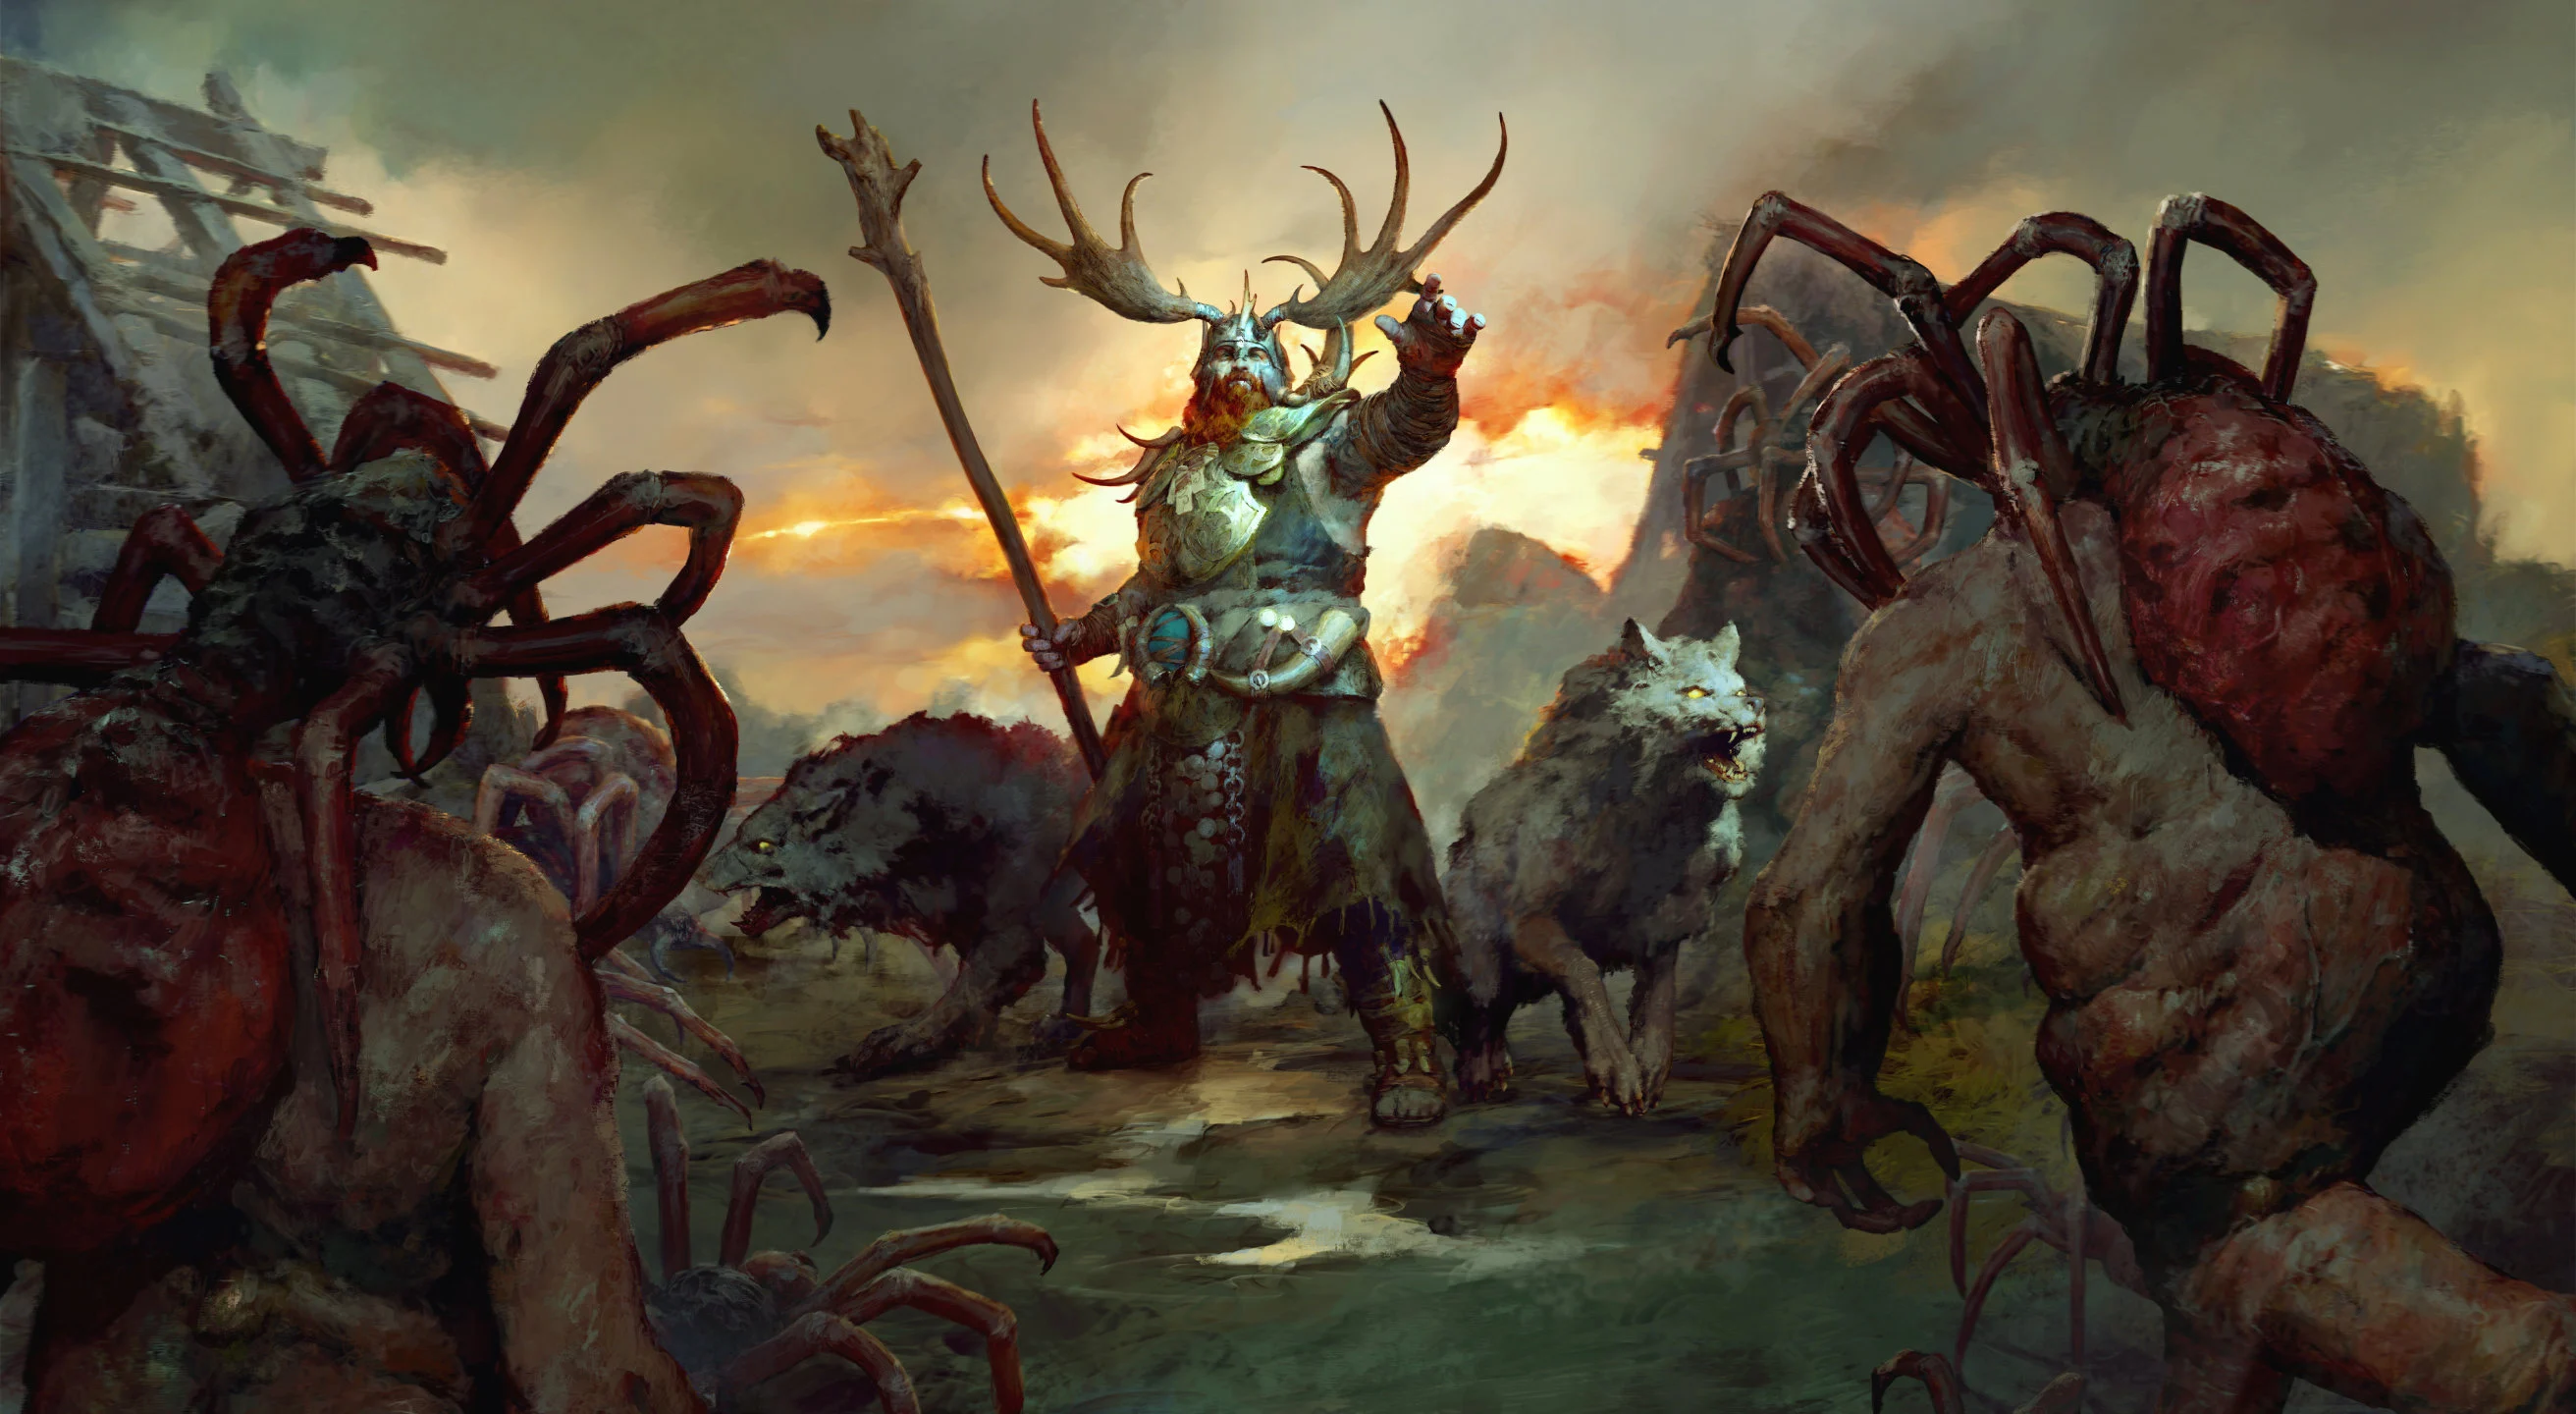


Build Introduction
The ![]() Shred Druid dashes and rips into the foes of Sanctuary, every strike echoing the ferocity of a werewolf under the moonlit sky. Gather and destroy enemies with powerful
Shred Druid dashes and rips into the foes of Sanctuary, every strike echoing the ferocity of a werewolf under the moonlit sky. Gather and destroy enemies with powerful ![]() Storm Shred and cleave in bursts of lightning!
Storm Shred and cleave in bursts of lightning!
This is a ![]() Grizzly Rage Dire Werewolf Shred that will play smoothly in both farm and push content, and is always in Werewolf Form.
Grizzly Rage Dire Werewolf Shred that will play smoothly in both farm and push content, and is always in Werewolf Form.
Just starting on your Druid adventure? Try out the Shred Leveling Build and swap to this one at Level 70.
Strengths and Weaknesses
- Fast and mobile
- Always in Werewolf Form
- Very high action gameplay
- Limited to melee-ranged splash damage
Build Requirements
![]() Ifeh’s Dire Totem is required to make
Ifeh’s Dire Totem is required to make ![]() Grizzly Rage a Werewolf Skill, allowing Shred to be cast while active.
Grizzly Rage a Werewolf Skill, allowing Shred to be cast while active.
![]() Dark Howl Unique Item is required to make
Dark Howl Unique Item is required to make ![]() Debilitating Roar a Werewolf Skill, allowing Shred to be cast during
Debilitating Roar a Werewolf Skill, allowing Shred to be cast during ![]() Grizzly Rage.
Grizzly Rage.
![]() Waxing Gibbous empowers Shred damage and gives chances for extra attacks. The build can be started without this item but greatly improves in power once obtained.
Waxing Gibbous empowers Shred damage and gives chances for extra attacks. The build can be started without this item but greatly improves in power once obtained.
Get more info on the Uniques supporting this build in the Uniques section.
Quick Navigation
This guide covers everything necessary to get started on the ![]() Shred Druid, including Skill Tree points, Paragon, Gearing, and Seasonal updates. Jump to the sections you’re looking for here.
Shred Druid, including Skill Tree points, Paragon, Gearing, and Seasonal updates. Jump to the sections you’re looking for here.
Skill Bar and Skill Tree Points
![]() Earthen Bulwark is triggered with
Earthen Bulwark is triggered with ![]() Que Rune and does not need to be on the Skill Bar.
Que Rune and does not need to be on the Skill Bar.
![]() Storm Shred Variation is chosen for its competitive damage and favorable Tags; the Storm tag opens many Utility, Buff maintenance, Paragon, and Charm options.
Storm Shred Variation is chosen for its competitive damage and favorable Tags; the Storm tag opens many Utility, Buff maintenance, Paragon, and Charm options.
In early gearing before Spirit is handled, use a Basic Builder like ![]() Claw – Spirit – Cast Speed –
Claw – Spirit – Cast Speed – ![]() Dash or
Dash or ![]() Blood Howl –
Blood Howl – ![]() Spirit Howl. Replaces
Spirit Howl. Replaces ![]() Poison Creeper.
Poison Creeper.
Eternal players complete Renown events in each zone for additional Skill Points, while Seasonal Players engage with the Season Journey and Rank for these Skill points.
Druid Class Mechanic – Spirit Boons
Use these Spirit Boons for the Shred Druid.
| Boon Name | Animal | Effect |
|---|---|---|
| Gift of the Stag | Deer | Gain 30 Maximum Spirit. Gain 5 Spirit Per Second. |
| Avian Wrath | Eagle | Gain 20% Critical Strike Damage. |
| Iron Feather | Eagle | Gain 30% Maximum Life |
| Calamity | Wolf | Extend the duration of Ultimate Skills by 35% |
| Calm Before the Storm | Snake | Lucky Hit: Nature Magic Skills have up to a 10% chance to reduce the cooldown of your Ultimate Skill by 2 seconds. |
In early gearing, use Energize over Calamity for Spirit Management.
Druid’s primary resource is Spirit. See the Spirit Management Section on how to keep casting!
Gear, Stats, Gems, and Runes
Check these sections for all important Shred gearing considerations to improve the power of your character in the endgame.
Legendary Aspects
Gear Slots with multiple options are listed in recommended priority. Any slot with a Mythic Unique will include a valid alternative to use while still leveling and gearing. Combine these with the right stat priorities.
| Slot | Aspect | Unique/Legendary Aspect Power |
|---|---|---|
| Weapon | Unique – | Shred deals 20-25% more damage, and Shred has a 25% chance to land an additional strike, up to 4 times. |
| Totem | Unique – | Grizzly Rage is now a Werewolf Skill and Shapeshifts you into a Dire Werewolf. Dire Werewolves 100-125%, Critical Strike Damage, 100-125% bonus Poisoning damage and Spirit Cost Reduction instead of Armor. In addition, kills Heal you for 5% of your Maximum Life. |
| Helm | Mythic – Unique – | Give in to hatred and earn Lilith’s Favor, increasing your damage dealt by 80%. Slaughter enemies to briefly steal Lilith’s Favor from Nearby allies. |
| Chest |  Aspect of Debilitating Toxins Aspect of Debilitating Toxins | Gain 20-30% Damage Reduction. In Addition, Poisoned enemies deal 15% less damage to you. |
| Gloves | ||
| Pants |  Overcharged Aspect Overcharged Aspect | Your Storm Skill damage makes enemies Vulnerable for 4 seconds. You deal 15-20% increased damage to Vulnerable enemies. |
| Boots | Each enemy you Evade through reduces your active Ultimate Cooldown by 2-4 seconds, up to 10 seconds. | |
| Amulet |  Crushing Aspect Crushing AspectKulle Transfiguration – Great Storm Aspect | While Fortified, you deal 45-65% (68-98%) increased damage |
| Ring 1 | Conceited Aspect | Deal 40-60% more damage while you have a Barrier. |
| Ring 2 | Mythic –  Balanced Aspect Balanced Aspect | Spending your Primary Resource reduces the Resource cost of your Skills and increases your damage by 10% for 3 seconds, up to 50%. |
| Unique Charm | Storm Skills that you cast grant 1 Spirit and deal 25-36% bonus damage. These bonuses are doubled when damaging a Vulnerable, Immobilized or Slowed enemy. |
To see how this build compares to the other builds on our site, you can check out our build tier lists.
Stat Priority and Tempering Affixes
Each line of affixes is listed in order of importance, with some alternatives given. The bolded affixes are the most important targets for Greater Affixes and Masterwork Critical Increases. Check the Tempering guide and Masterworking guide for more details about these topics.
| Slot | Gearing Affixes | Tempering Affixes |
|---|---|---|
| 2-Handed Weapon |  Weapon Damage Weapon DamageWillpower Critical Strike Damage MultiplierAll Damage Multiplier Maximum Life | Weapon – Critical Strike Chance |
| Helm – Mythic | Critical Strike Chance Lucky Hit Movement Speed Core Skill Ranks | Defensive – Maximum Life |
| Helm – Unique | Willpower Maximum Life Armor Resistance to All Elements Spirit Generation | Defensive – Maximum Life |
| Chest – Legendary Aspect | Willpower Ranks to Defensive Skills Maximum Life Armor All Resistance | Defensive – Maximum Life |
| Gloves – Unique | Willpower Critical Strike Damage Multiplier Ranks to Shred Vulnerable Damage Multiplier | Defensive – Critical Strike Damage |
| Pants | Willpower Maximum Life Armor All Resistance Spirit Regeneration | Defensive – Maximum Life |
| Boots – Unique | Willpower Maximum Life Movement Speed Attacks Reduce Evade’s Cooldown | Mobility – Movement Speed |
| Amulet | Critical Strike Damage Multiplier Ranks in Nature Magic, Shapeshifting, Storm, or Core Skills Vulnerable Damage Multiplier Critical Strike Chance Ranks in All Skills | Defensive – Maximum Life |
| Ring – Mythic | Attack Speed Critical Strike Chance Lucky Hit Chance Ranks to Core Skills | Resource – Cooldown Reduction |
| Rings – Legendary Aspect | Willpower Critical Strike Damage Multiplier Attack Speed Critical Strike Chance Life on Hit | Resource – Cooldown Reduction |
Tempers can be rerolled until they Greater Affix.
Remember to fully Socket, Temper, Enchant, Aspect, and Masterwork (STEAM) your item before Transfiguring it in the Horadric Cube!
After gearing, look at progression systems like Paragon next.
Uniques and Mythic Uniques
The Shred Druid uses the following Unique items:
 Godslayer Crown is a high quality of life grip-in option to help cleave down enemies. It is especially useful during farm content. Casts of
  Wolves will Stun enemies, triggering the helm. Or select the Wolves Variant Werewolves to have them trigger the Stun by themselves against Distant enemies. Use before getting
  Heir of Perdition or in farm-level content.
 Dark Howl makes
  Debilitating Roar a Werewolf Skill, allowing use during
  Grizzly Rage, and providing a competitive damage multiplier.
 Ifeh’s Dire Totem makes Grizzly Rage a Werewolf Skill, allowing use with
  Shred and granting significant Critical Strike Damage Multiplier and Cost Reduction.
 Flickerstep reduces Grizzly Rage cooldown when Evading through enemies.
 Dirge of Airidah grants Spirit on Storm Skill, damage to storm skills, and extra when enemy is Vulnerable. We apply Vulnerable with Overcharged Aspect.
Mythic Unique Items
 Ring of Starless Skies is a powerful Resource Cost Reduction tool and damage multiplier, and can be useful for making gameplay smoother. However, if you can solve Spirit management and Critical Strike Chance from other sources like Charms and armor, then a legendary ring with Critical Strike Damage Multiplier and other strong affixes can be better than Starless.
-
 Heir of Perdition has Strong Gear Affixes and a steady damage multiplier. The multiplier can be stolen occasionally from others who also use this helm for a higher damage multiplier.
 Shroud of False Death is potentially usable for the high All Stats category, which is useful for paragon rare node secondary bonuses. However, it is better to try to get the All Stats on a Charm or Two, and instead use a Legendary Chest with a high Damage Reduction category.
Gems and Runewords
The following are the recommended Gem and Runeword setups for the Shred Druid.
Gems
| Weapon Gems | Armor Gems | Jewelry Gems |
|---|---|---|
| 2x 1x |
Most of the dangerous one-shots are fire damage. Swap in more Rubies if necessary.
Runewords
Use these Runeword combinations for the Shred Druid, placed in Armor slots.
| Runeword Combination | Runeword Effects |
|---|---|
| Moni Kry | |
| Nagu Que | Evoke the Druid’s |
Runewords use a conditional Rune of Ritual to generate Offering. The Offering is consumed by the Rune of Invocation to trigger its effect. Runes replace Gems in gear with two sockets. Up to two sets of Runeword Pairs can be placed at a time.
![]() Shred is a fast attack and has the Mobility Tag, meaning
Shred is a fast attack and has the Mobility Tag, meaning ![]() Moni will work as a trigger, giving high volumes of grip-ins with
Moni will work as a trigger, giving high volumes of grip-ins with ![]() Vortex.
Vortex.
Using ![]() Que allows us to benefit from our Skill Point investments into
Que allows us to benefit from our Skill Point investments into ![]() Earthen Bulwark without needing it on the Skill Bar, and without breaking Werewolf Form.
Earthen Bulwark without needing it on the Skill Bar, and without breaking Werewolf Form.
While still gearing, consider options such as:
- Early Gearing – many Magic and Rare runewords, such as
 Gar for Critical Strike Chance, will be viable.
Paragon Board
The following are the preferred Glyphs, Boards, and pathing recommended for making the most of the Shred Druid.
The road to max Paragon is long. The above Paragon tabs show the following:
- The first tab shows a setup around Paragon 200. This pathing is stricter to grab all Legendary nodes, essential rare nodes, and to fill in glyph areas.
- The second tab is the paragon tree in its final form.
At level 15, the glyph grows in radius and gains a special effect. At level 46, the glyph grows to its max radius and gains a strong conditional damage multiplier.
Total Boards placed are now limited to a max of 5; the Starter Board and four Class Boards. Rotate boards as necessary.
For a more defensive setup, exchange ![]() Earth and Sky for
Earth and Sky for ![]() Werewolf.
Werewolf.
Season Mechanics
There are no specific seasonal mechanics in season 13. Instead, the Lord of Hatred DLC and all of its features are available to explore. This includes:
- War Plans
- New Skill Trees
- Talisman Sets
- The Horadric Cube
- Echoing Hatred
Enjoy the expansion!
Talisman
Lord of Hatred introduces Talisman sets. The Talisman is a Seal and the Charms placed within. Charms have general affixes from a limited pool and can have Set bonuses, which grant significant power.
The ideal setup for an Ancestral Seal for the Shred Druid is the following:
- Seal Bonus +1 Charm Slot for 6 total Charm slots. This allows for a full 5-set and Unique Charm.
- 5/5 Rush of the Red Wolf Moon Set
- Unique Charm for Dirge of Airidah
Ideal affixes for the Seal, Seal Bonuses, and Charms include the following in order of priority:
- Ranks to Shapeshifting, Core, Werewolf, Storm, or Nature Magic Skills.
- All Stats. All Stats is important for Paragon Secondary Bonus nodes.
- Armor or Max Life.
- Critical Strike Chance
The Rush of the Red Wolf Moon is the werewolf form set for the Druid. The 2 set bonus ramps up a stacking Frenzy by targeting the tethered enemy with damage. After enough stacks, the 5 set bonus replaces the 2 set multiplier with a strong general multiplier and gives your Werewolf skills a Dash.
Mercenaries
Once unlocked, Mercenaries are followers that aid the Player in combat. A main mercenary is chosen to fight alongside you, granting strong buffs or perks, and a secondary Mercenary is chosen to Reinforce you under a chosen Opportunity condition periodically.
The following Mercenary options are recommended for the Shred Druid:
Main Mercenary – Raheir, the Shieldbearer
- Skills:
 Shield Charge,
  Raheir’s Guard,
  Provoke,
  Mocking Lure
Reinforcement – Aldkin, the Cursed Child
- Reinforcement Ability –
 Field of Languish
 - Opportunity – Shred
Raheir will grant a notable increase to Armor and a small damage bonus, taunting enemies occasionally. Other setups are viable, such as Subo’s ![]() Cover Fire for Critical Strike Damage and minimap marking quality of life.
Cover Fire for Critical Strike Damage and minimap marking quality of life.
Build Mechanics
Rotation and Playstyle
- Upkeep your Debilitating Roar for bonuses.
- Activate Grizzly Rage to enter Dire Werewolf Form.
- If used, use your Wolves to activate your Godslayer Crown to help group enemies with their Feral Dash stun.
- As needed, use
 Cyclone Armor Reversal to drag in enemies.
 - Cast and Hold Shred to slay your foes. Prioritize enemies with the Talisman 2 set Red Wolf Moon Tether to build Frenzy into Feral Rage.
- Evade through enemies with Flickerstep to recharge your Grizzly Rage.
Skills, Support, and Synergies
The ![]() Shred Druid groups and dashes into enemies for serious damage. Shred is a high mobility skill that is efficient for killing and then moving on.
Shred Druid groups and dashes into enemies for serious damage. Shred is a high mobility skill that is efficient for killing and then moving on.
 Storm Shred Variation causes a secondary hit of splashed lightning damage. This is guaranteed and has a Chain Lightning visual.
 - Shred is a three-hit combo, ramping up into its final damage, then resetting back to hit one. All attacks in the combo have a Dash attached to them, but require a target to Dash.
Supporting Skills
- Cyclone Armor is largely just used for the passive boost to All Resistance, but the active drag with Reversal can be handy.
 Poison Creeper and Wolves are there for their supporting buffs. When Wolves critically strike, we gain 40% Attack Speed. Poison Creeper helps Poison enemies for
  Constricting Tendrils. Together, they are 4 Summons for
  Nagu, which upkeeps your
  Earthen Bulwark. Companion Skills are Versatile, and keep the previous form when Cast, so they will not break Werewolf Form.
  Blood Howl is another option over Creeper, to help with Spirit Generation, give Dodge Chance, or Poison enemies and buff allies. Trade out Nagu for another useful trigger like
  Igni.
Igni.
- With
 Que, we gain access to Earthen Bulwark without placing it on the Skill Bar. Earthen Bulwark provides Fortify, periodic Unstoppable, Barrier, and Resolve.
 - In early gearing and leveling, before getting access to strong Spirit generation, use
 Earth Spike as your Basic Builder. It is a handy targeted ranged skill that can be used in Werewolf Form. Take the Spirit and Overpower side upgrades, the Werewolf Form node, and the Megalith Stone variation. This skill can also be used to trigger a targetless teleport with the 5-set Talisman bonus.
Grizzly Rage
This build uses ![]() Grizzly Rage as its Ultimate Skill. With Ifeh’s Dire Totem, we become the Dire Werewolf.
Grizzly Rage as its Ultimate Skill. With Ifeh’s Dire Totem, we become the Dire Werewolf.
With ![]() Cornered Beast Variation, we build stacks of extra damage each time we take damage or deal damage with a Skill. Shred is a speedy attacker and ramps these stacks quickly.
Cornered Beast Variation, we build stacks of extra damage each time we take damage or deal damage with a Skill. Shred is a speedy attacker and ramps these stacks quickly.
Grizzly Rage can work on its cooldown while still active. We extend Grizzly Rage with Calamity Spirit Boon, and reduce its cooldown with Calm Before the Storm Spirit Boon and other Cooldown Reductions on Gear. ![]() Flickerstep reduces Grizzly Rage cooldown each time we evade through enemies.
Flickerstep reduces Grizzly Rage cooldown each time we evade through enemies.
Buff Check
Here’s a breakdown of where we are getting what essential buffs!
| Power | Source |
|---|---|
| Barrier | |
| Berserking | |
| Crowd Control | |
| Ferocity | Great Storm Aspect |
| Fortify | |
| Poisoning | |
| Resolve | |
| Unstoppable | |
| Vulnerable | Overcharged Aspect |
| Weaken | – |
Spirit Management
We have several sources of Spirit Cost Reduction and Spirit Generation, making Spirit not a difficult issue to manage in this build.
- Gift of the Stag Spirit Boon gives 5 Spirit Per Second.
- Ifeh’s Dire Totem gives Spirit Cost Reduction during Grizzly Rage.
- Lust for Carnage grants Spirit on Critical Strikes with Werewolf Skills.
- Ancestral Guidance nodes give Spirit on Kill, resource generation, and Max Spirit.
- Dirge of Airidah Unique Item or Charm grants Spirit on Storm Cast.
- Ring of Starless Skies gives significant Spirit Cost Reduction.
In Early Gearing and Leveling, consider doing the following for Spirit Generation and Management:
- Use the Wolf’s Energize Spirit Boon.
- Gear for Spirit Generation on armor slots.
- Use Spirit Howl Blood Howl for Spirit upkeep. This can be used with
 Malefic Crescent to move off the Skill Bar and increase frequency.
 - Use the Spirit Side Upgrade for Shred.
- Use Earth Spike or
 Claw – Dash as a Basic Spirit builder.
Controller vs Keyboard and Mouse
The Shred Druid can play smoother on a controller. When held, ![]() Shred can auto-move to the nearest enemies or continue in the direction if no enemies are in range. The Dashes from casts of
Shred can auto-move to the nearest enemies or continue in the direction if no enemies are in range. The Dashes from casts of ![]() Shred auto-aim to the nearest enemy. A keyboard and Mouse can offer better control, allowing you to choose targets to Dash to. Both options are valid. Keyboard and Mouse can also access the auto-aim behavior by going into ESC -> Options -> Gameplay, and changing Skill Toggle Behavior to Toggle All.
Shred auto-aim to the nearest enemy. A keyboard and Mouse can offer better control, allowing you to choose targets to Dash to. Both options are valid. Keyboard and Mouse can also access the auto-aim behavior by going into ESC -> Options -> Gameplay, and changing Skill Toggle Behavior to Toggle All.
Season Updates
Everything has changed, but nothing has changed. Expect Shred to play similarly to previous seasons, as a mobile close-range melee skirmisher, using electrified claws to slay enemies. This time, you can stay in Werewolf Form the whole time (or you drop your Talisman bonus).
Check out the Mechanics section for a full breakdown on how things play, and for some extra options!
Check the Patch Notes for a full list of updates. It is a lot. For general Season 13 information, check out our Season 13 Hub.
Changelog
- 29 April, 2026: Updated for Season 13 and Lord of Hatred DLC. Significant changes to Skill Tree, Gearing, Paragon, and everything in between.
- 15 March, 2026: Updated for post-season launch to include the updated Godslayer Crown.
- 8 March, 2026: Updated for Patch 2.6 and Season 12. Updated recommendations for gems and mercenaries.
- 16 December, 2025: Updated gear affix recommendations for Amulet, Swapped Rabid Beast and Werebeast, since Werebeast affix now scales post-ptr. Added options for Runewords. Clarified Boon usage.
- 6 December, 2025: Updated for Patch 2.5 and Season 11.
