Mad King's Breach Dungeon Guide
Mad King's Breach is one of eight dungeons available at launch in Diablo Immortal, and is located within Ashwold Cemetery. Entering this dungeon requires your character to be at least Level 10 and will see you and your party members facing off against three bosses — Sir Gorash, Manoruk, and the Skeleton King — to receive valuable Set items; read on to learn how to tackle this dungeon's unique challenges.
Mad King's Breach Overview
Mad King's Breach is located in Ashwold Cemetery. It is a three-floor dungeon that faces you off against a total of three bosses: Sir Gorash, Manoruk, and the Skeleton King. Mad King's Breach is an excellent source of experience and item farming, with trivial maintenance of the Massacre Bonuses for an experienced group.
Mad King's Breach Dungeon Statistics
- Average Dungeon Runtime: Up to 5 minutes
 Battle Points Reward: 15
- Required Level For Entry: 10
- Notable for: Good experience farming, proximity to Haunted Carriage event.
Mad King's Breach Dungeon Loot
- Hell I+:
 Torn Sole (Grace of the Flagellant Set
Boots)
Torn Sole (Grace of the Flagellant Set
Boots) - Hell I+:
 Mountebank's Bravado (Untouchable Mountebank
Set Belt)
Mountebank's Bravado (Untouchable Mountebank
Set Belt) - Hell II+:
 Issatar at Rest (Issatar Imbued Set Neck)
 - Hell II+:
 Dozen Strikes of Shal'baas (War Rags of Shal'baas
Set Hands)
Dozen Strikes of Shal'baas (War Rags of Shal'baas
Set Hands) - Hell IV+:
 Fairfleet (Windloft Perfection Set
Ring)
Fairfleet (Windloft Perfection Set
Ring) - Hell IV+:
 Shepherd and Mother (Shepherd's Call to Wolves
Set Ring)
Shepherd and Mother (Shepherd's Call to Wolves
Set Ring)
Mad King's Breach Strategy Guide
The overall strategy for Mad King's Breach is centered around fast, coordinated movement and upkeep of the Massacre bonuses — they are what makes this dungeon so appealing and efficient for Experience farming. Though short, its floors are decently populated with monsters, making spreading out the best strategy to maintain the kill streaks. For groups, keep one party member near the start of each floor, hacking away at the first batch of monsters, while the others rush off into the floor corners, chaining one fight into another as each monster pull gets slowly depleted of monsters.
First Floor
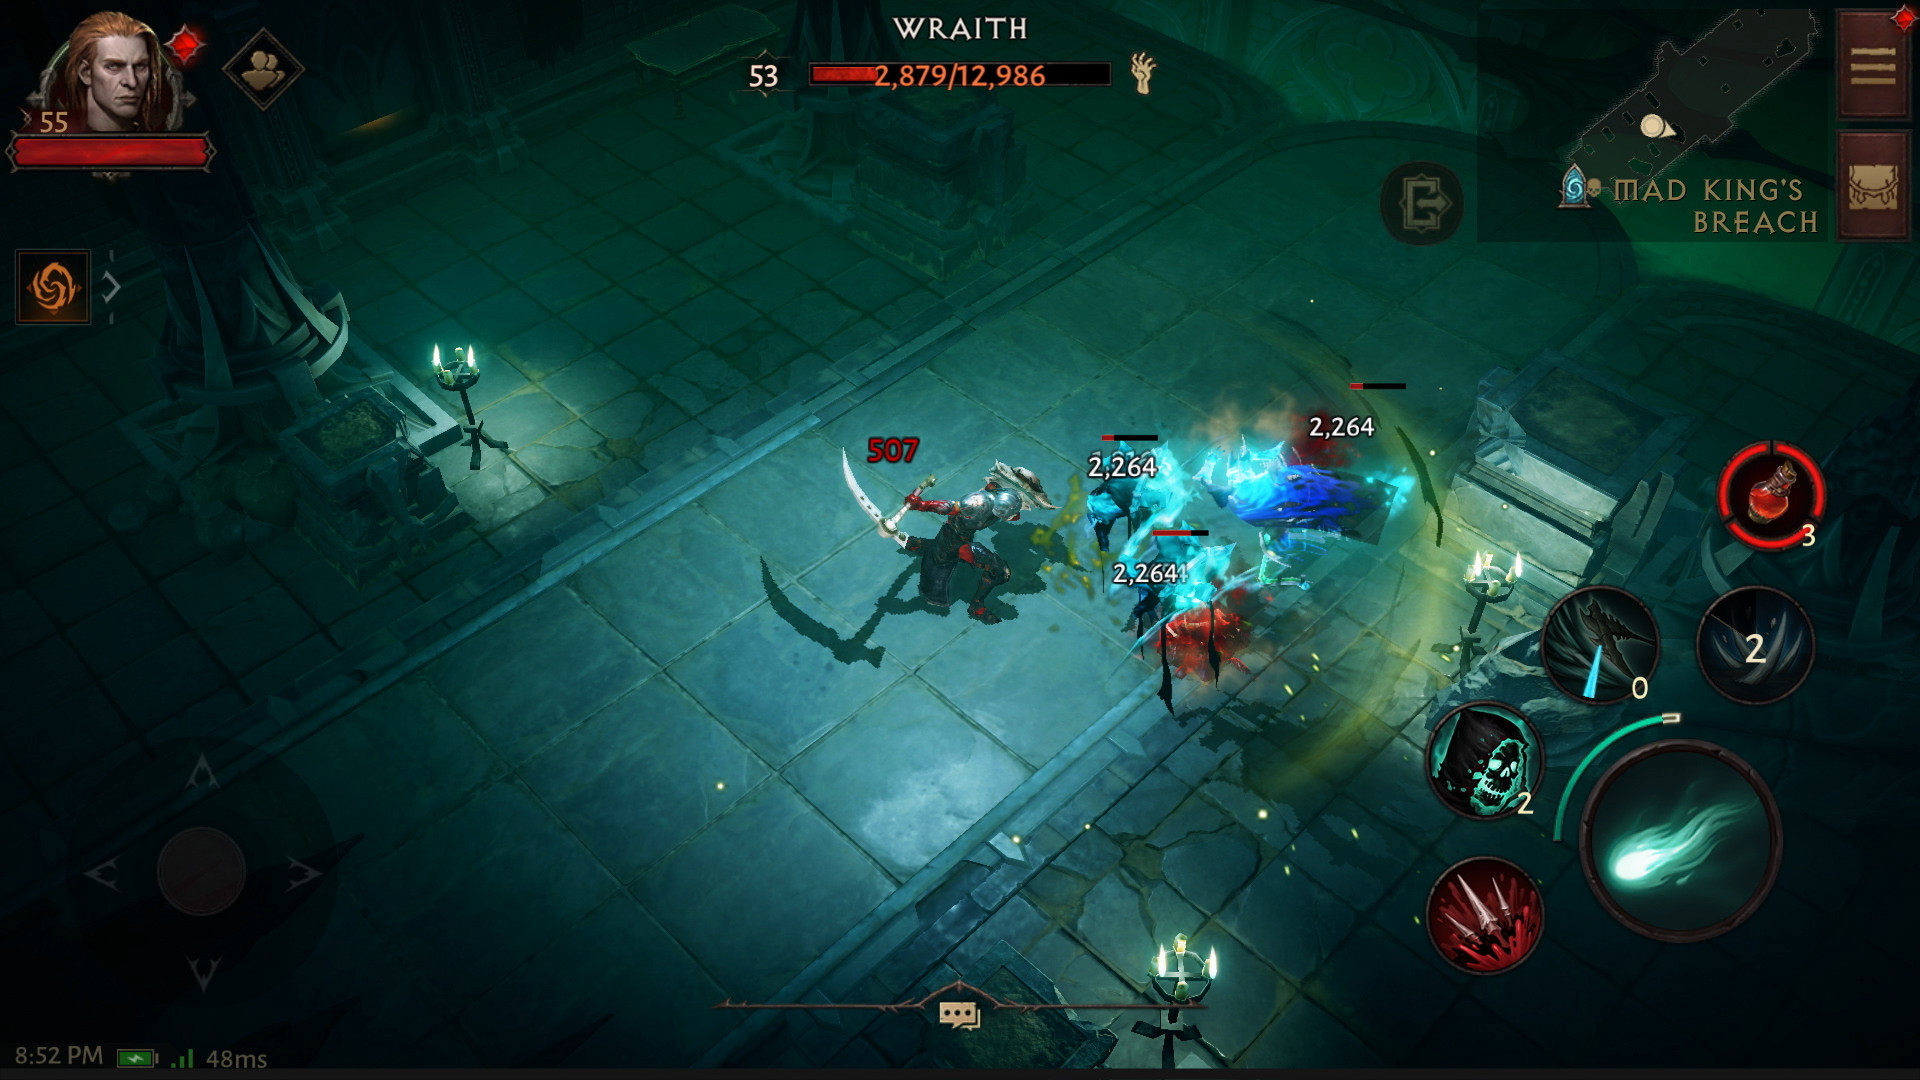
The floor begins with a fight with a pack of Wraiths. For groups, you should leave one party member to take care of the first Wraith pack, another will go straight down the middle to fight the second Wraith pack, and the two other remaining party members beeline for the north-eastern and north-western corners of the map to pull (and do not immediately slaughter!) the packs of Spectral Vermin. Note that there is a Treasure Chest along the left wall, which you can quickly pop open. Any Elite spawns should also be pulled toward the upper middle part of the room for the convenience of the group. As the fights converge into one another into the center and quickly come to an end, Sir Gorash will spawn.
Sir Gorash has the Waller and Arcane Beams affixes, neither of which are especially threatening. He will immediately summon a Wall to trap players in his immediate vicinity, which you can avoid by staying outside of the circular pedestal where he spawns, or simply by using a movement ability. His Wall summon is usually followed up by an Arcane Beam — a 360-degree spinning ray of energy that can hurt a great deal, especially if you stand in its center where it will tick constantly. Reposition accordingly.
Second Floor
This is a long, corridor-like floor that is somewhat sparsely populated, but still has more than enough Lost Souls and Spectral Sorcerers to keep kill streaks going. For groups, leave one party member to deal with the enemy packs in the first chamber of the floor, while the remainder of the party rushes forward. The fastest character in the group should ideally be chosen to rush to the northern corner of the room where the Boss appears, so they can start chipping away at him as soon as he spawns. The two remaining group members need to clean up the Undead Guardians in the second chamber of the floor, which forces the Boss to spawn.
Manoruk starts out the fight with two abilities beside his basic attacks. He is primarily a Summoner, and he will frequently spawn packs of Skeletal Warriors, Skeletal Archers, and Skeletal Shieldbearers. He will also briefly channel a circular Area-of-Effect attack that grows as he channels; as it visibly reaches its maximum, anyone still caught within will take substantial damage and will be knocked back. The attack gives plenty of time to be dodged, especially if you have a movement skill in your build.
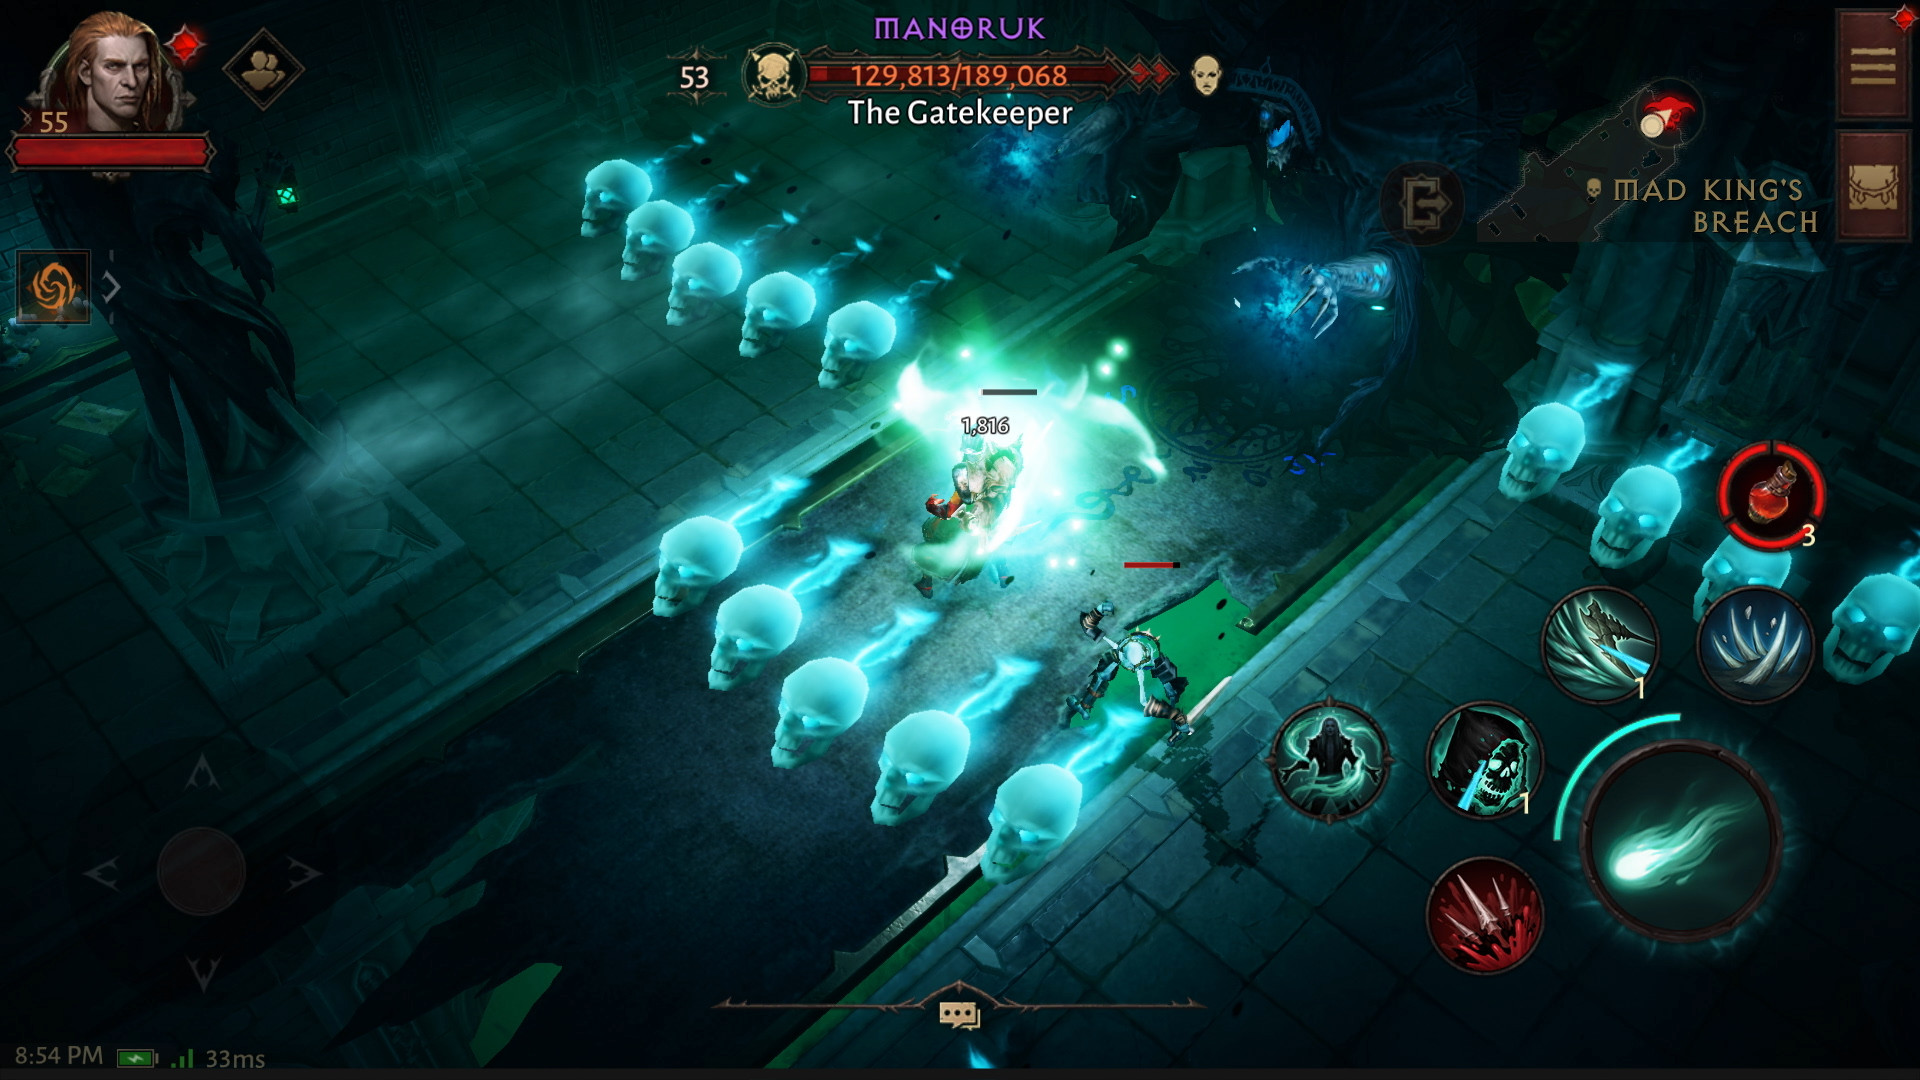
Around the halfway point of his health bar, Manoruk starts sending out "skull wall"-like waves of necrotic energy that travel across the room, hurting anyone caught in their way. These waves can be maneuvered around, or support-oriented party members can apply their shielding/immunity abilities so the party can ignore the mechanic and continue DPSing the boss.
Third Floor
This floor winds up through several chambers and culminates in the Skeleton King. For groups, coordinate with the rest and have the slowest party member methodically pull and slaughter enemies as they climb to the first landing of stairs. The remainder of the group rushes to the wall of energy that bars the way to progress. Monsters will leash to the group and conveniently follow you to their deaths, so you do not need to stop individually for each small pack. You need to repeat this process twice more as you climb toward the Skeleton King — have the bulk of the group rush ahead, with one heavy-hitter going more slowly and making sure every monster is pulled towards the next barrier.
Once the final wall of energy is down, have your fastest party member rush to the far end of the upmost chamber where the Skeleton King resides; this ensures his slow spawning animation starts as soon their allies finish off the last remaining enemies, and is ready to be fought by the time they arrive.
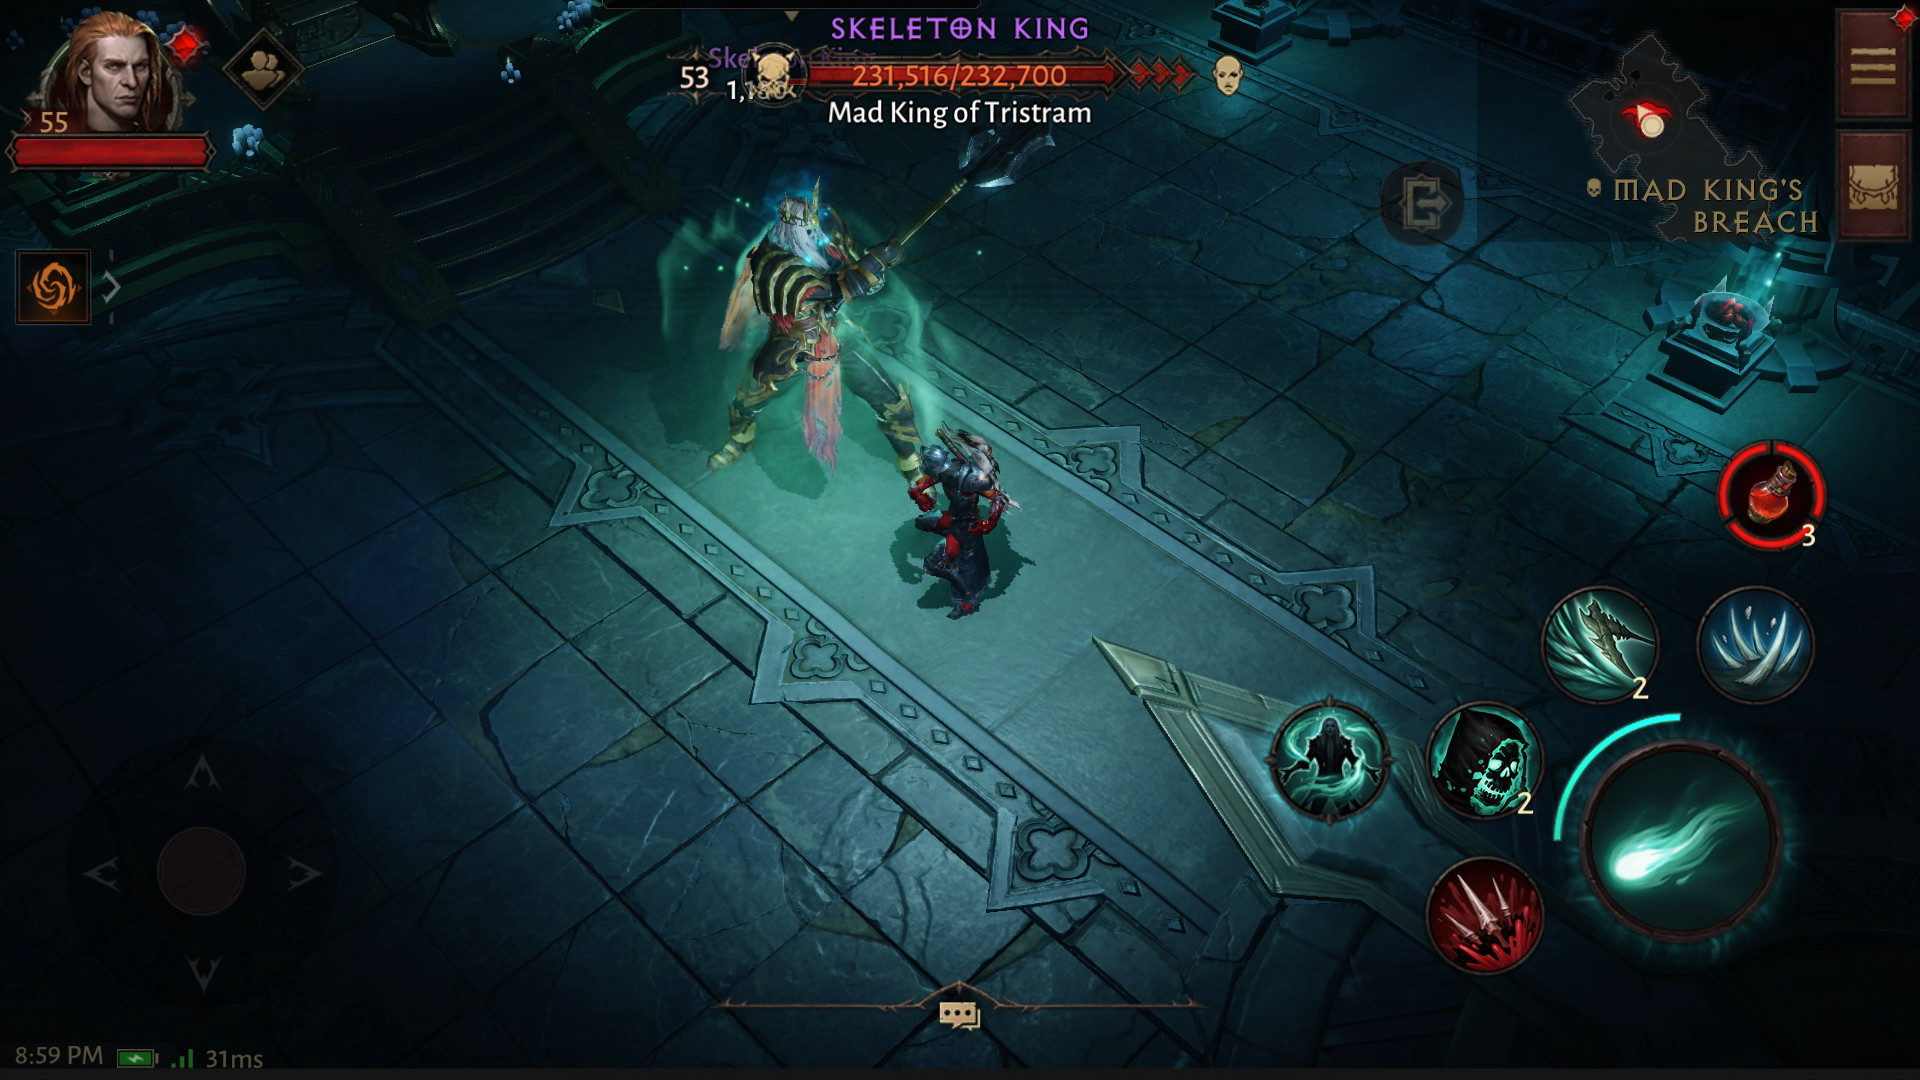
The Skeleton King is a two-phase fight with an immunity phase transition between the two. Either pop Ultimates and hard-hitting Cooldowns immediately as the fight starts so they recharge for Phase 2, or save them up for the second phase so you do not waste DPS on the immunity transition.
The Skeleton King has several abilities at his disposal. He telegraphs a circular AoE just prior to slamming down with his mace, which inflicts a considerable amount of damage and stuns heroes caught within. He also summons skeletal minions, which can grow from a distraction to a real pain if unattended. At a third of his health, the Skeleton King mounts up on a skeletal steed and raises up ghostly walls that start closing in toward the center of the room. Anyone caught outside the walls will start ticking for a heavy DoT effect and inevitably perish. Skeleton King's mounted form shares a similarly painful circular AoE as his basic form, and also adds a charging mounted attack telegraphed via a spectral line drawn across the ground. Move away from both, or suffer some damage and a knockback.
Dungeon Summary
Dungeons are an integral part of Diablo Immortal and are tied to
daily quests, Contracts, Bounties, and the very finalization of your
character's gear overall. Always make sure you have checked your Codex,
since certain Dungeons will have extra ![]() Battle Points rewarded for their
completion at any given time. Dungeons are also the only place to obtain Sets
— which, once completed, are a powerful addition to your endgame gear.
But no two Dungeons drop the same pieces! Make sure to target-farm specific
Dungeons for the set pieces you need.
Battle Points rewarded for their
completion at any given time. Dungeons are also the only place to obtain Sets
— which, once completed, are a powerful addition to your endgame gear.
But no two Dungeons drop the same pieces! Make sure to target-farm specific
Dungeons for the set pieces you need.
Changelog
- 01 Jun. 2022: Page added.
This build is presented to you by Deadset, one of the very few professional Diablo 3 players. Deadset regularly publishes video guides on Youtube and streams on Twitch, where you can see how this and other builds play out in practice.
- Diablo Immortal x WoW Crossover Event: Frostmourne in Sanctuary!
- Icy Veins Seeking Writers for Zenless Zone Zero: Apply Today!
- Icy Veins Launches Genshin Impact Guides Section
- Icy Veins Podcast About Path of Exile
- ARPG Vault Discord Giveaway
- Diablo Immortal Destruction's Wake Update Notes: June 13th
- Icy Veins is Getting a New Look
- Diablo Immortal: Age of Falling Towers Content Update Notes