Vitaath the Shivering Death Helliquary Raid Guide
Vitaath the Shivering Death is the second main encounter of the Helliquary Raiding system of Diablo Immortal. Like the previous Helliquary encounter (Lassal the Flame-spun), you will need to gather a group of 8 players to stand a chance against this boss's four phases of mechanics. Here you will find specific strategies to survive this encounter's mechanics and claim its unique piece of loot.
Vitaath The Shivering Death Overview
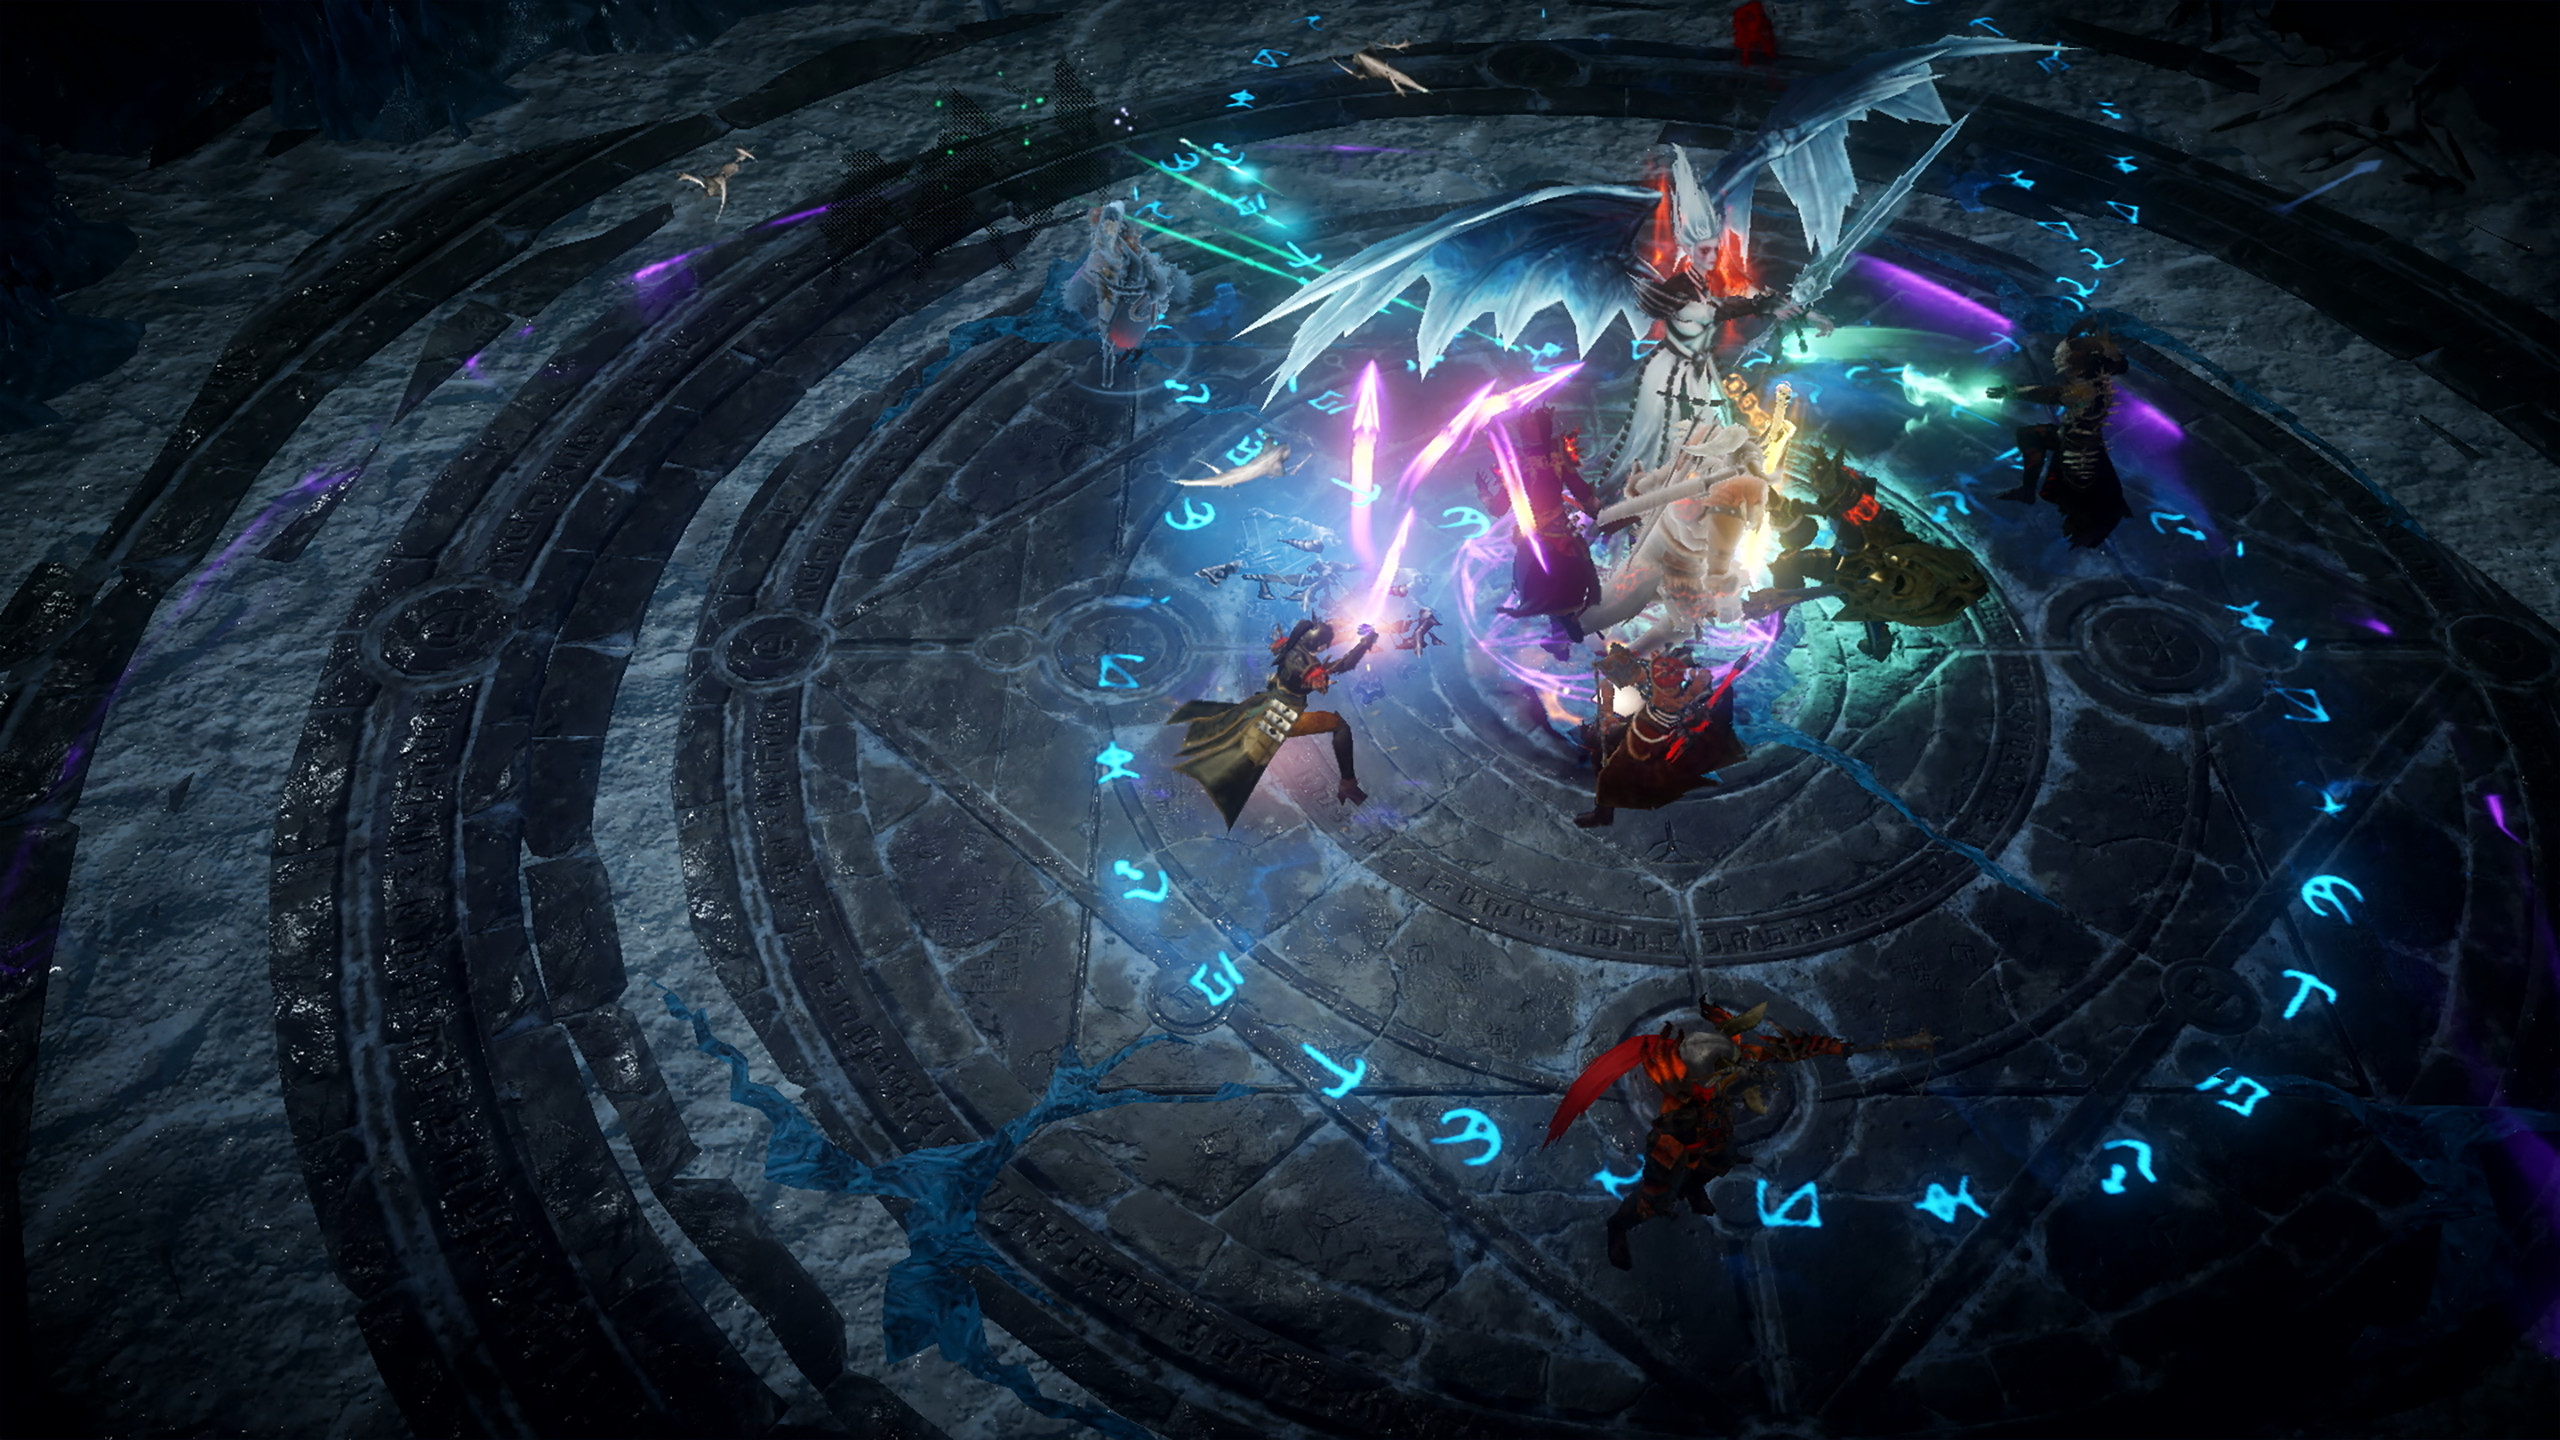
Vitaath The Shivering Death is the second boss fight from the Helliquary endgame activity, part of the Raiding content in Diablo Immortal. In stark contrast with the clear telegraphs and singular attack patterns of the Lassal fight, Vitaath is a frantic brawl with plenty of projectiles flying around.
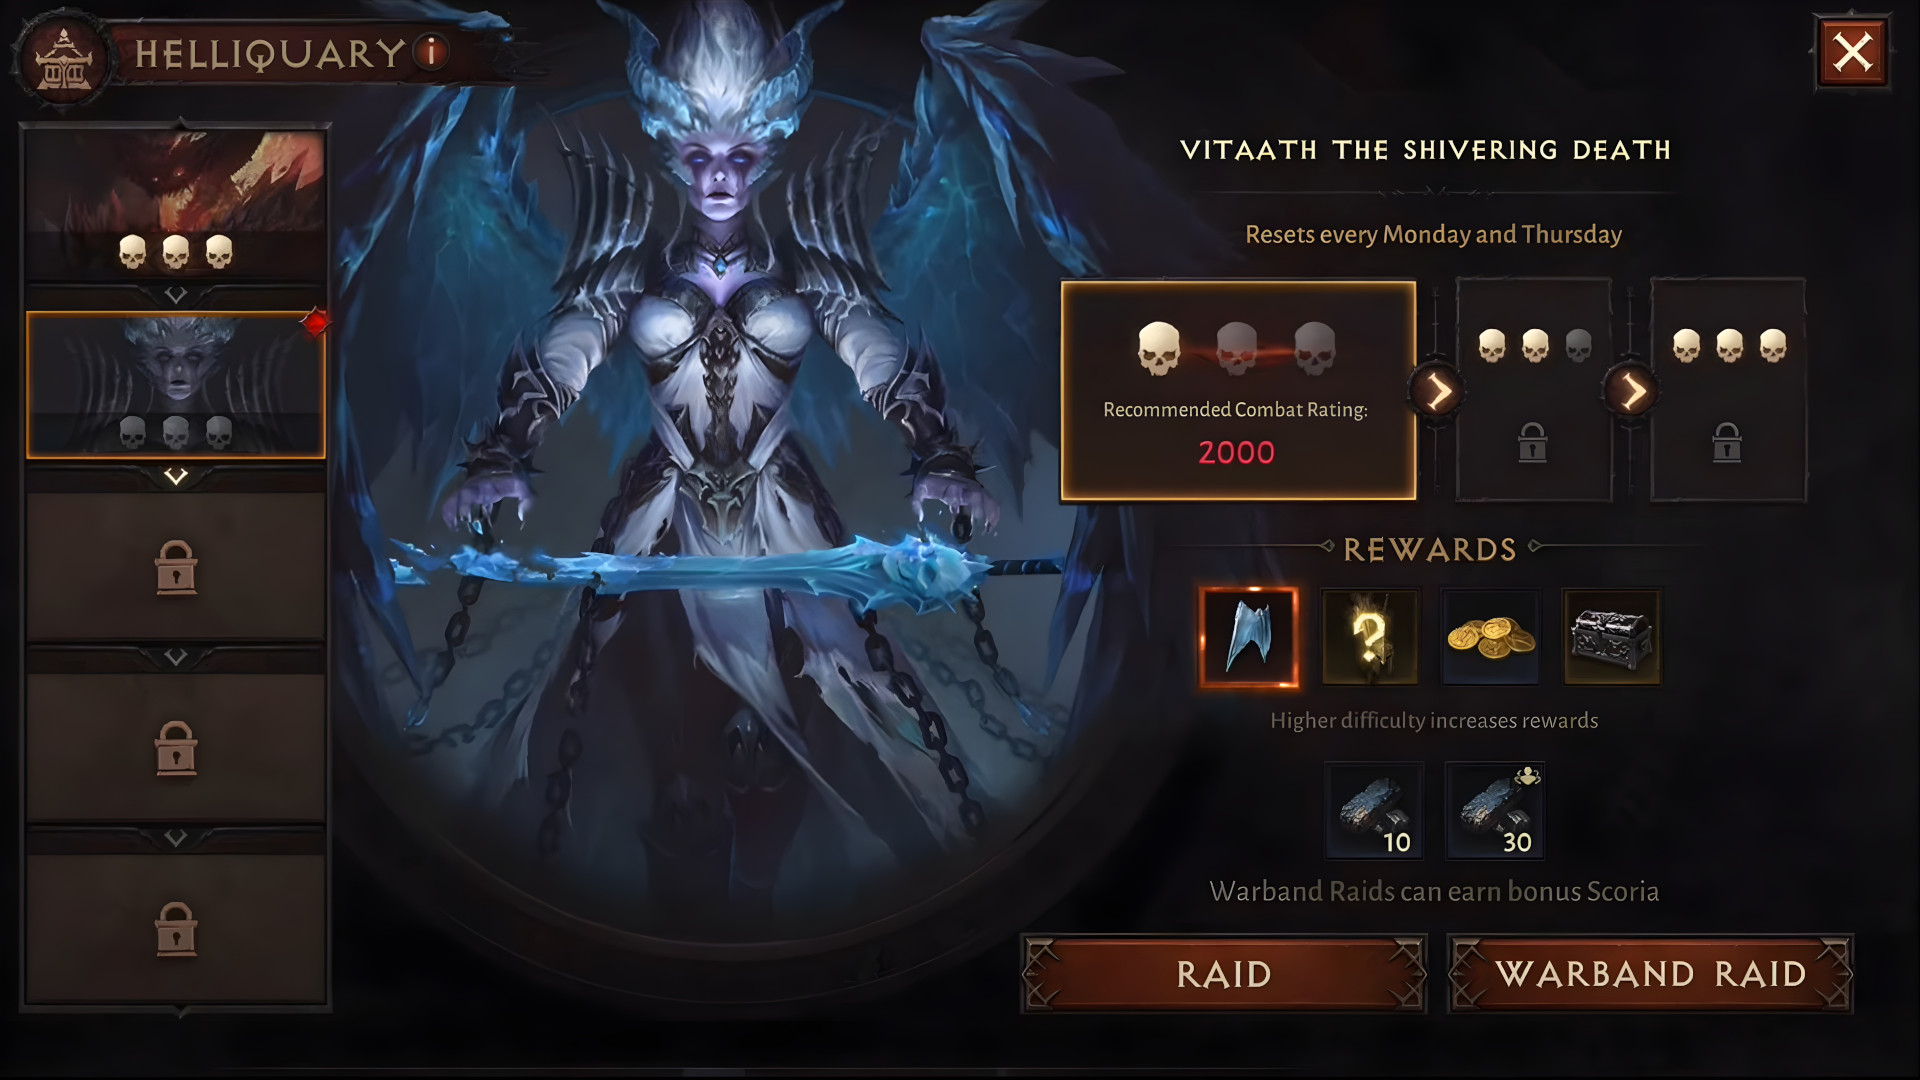
It should be noted that Helliquary raid bosses operate on a
2/week reset basis (Monday and Thursday), so make sure to do the Helliquary
raid twice per week on the hardest difficulty you can handle in order to
maximize your ![]() Scoria rewards.
Scoria rewards.
Vitaath The Shivering Death Statistics
- Location: Westmarch, Central Square, the Demonic Portal
- Reward:
 Frozen Wing of the Shivering Death
 - Advisable Combat Rating: 2,000 (Difficulty 1), 2,450 (Difficulty 2), 3,465 (Difficulty 3)
Vitaath the Shivering Death Guide
The fight begins with a short intro phase that has you breaking Ice Clan Warriors and Impalers out of Ice Blocks, and then promptly killing them. Several more waves of Ice Clan will spawn from the ground, but these adds are trivial and mostly serve as downtime while the boss mocks and taunts you. Once you deal with them, Vitaath the Shivering Death makes her grand entrance. She is the second Helliquary boss, with a fight that can roughly be divided into four phases.
Phase 1
This is the easiest phase of the fight and lasts for the entirety of the first health bar of the boss. Throughout its duration, Vitaath will use:
- Frontal Arcing Slashes: Vitaath swings her sword twice in a cris-crossing pattern, dealing damage to anyone in front of her.
- Frontal Cone of Cold: Vitaath raises her sword and channels briefly, marking a 80-degree conal area in front of her. She then slashes forward, unleashing an icy projectile that deals damage to anyone in the marked radius.
- Frontal Line of Ice: Vitaath points her sword up, marking an straight lane in front of her with a faint white outline. A second after, she slams her sword into the ground, forcing ice shards to erupt from the telegraphed area and dealing moderate damage to anyone caught within.
- Frostbite Debuff: Vitaath marks a random player with a chilling debuff, pulsating for damage over time and harming nearby players. Run out of the group if you get marked to avoid dealing more harm than good.
- Icicle Circles: Vitaath points her sword out, simultaneously marking 4 large, circular areas on the ground nearby with a faint blue pattern. After a 3-second delay, large icicles fall from the ceiling, dealing heavy damage to anyone caught within the marked area of effect. These areas can stack. Stop whatever you are doing and run out of their radius immediately.
- Summon Chilling Constructs: Vitaath summons automaton-like melee trash adds that deal single target damage. Cleave them down as you fight higher priority targets.
- Summon Frozen Shade: Vitaath summons ghost-like ranged trash adds that deal single-target damage. Cleave them down as you fight higher priority targets.
Melee players should use movement abilities, or simply move away in time when they see the linear or circular telegraphs. Ranged players should keep their distance and fire away. If you happen to die, wait on teammates to resurrect you, since Vitaath is relatively tame in this phase.
Phase 2
The fight ramps up. This phase lasts for the entirety of the second health bar of the boss. The phase begins with Vitaath teleporting to the middle of the fighting arena and floating into the air, briefly becoming invulnerable as she spawns the following adds:
- Vitaath Clones: Vitaath summons three clones of herself. These clones mimic some of her abilities described in Phase 1 and have a far-reaching, narrow, linear attack that hits very hard (and is thankfully very clearly telegraphed on the ground). Focus Vitaath's clones down with priority.
- A bunch of Chilling Constructs and Frozen Shades: They appear at the start of the Phase. Mechanically identical as the ones described above in Phase 1.
Vitaath eventually descends and resumes her attack patterns, adding the following abilities to the mix of all the ones from Phase 1:
- Frozen Shard: Similarly to The Glacial Colossus in the Cavern of Echoes dungeon, Vitaath summons frozen shards on the battlefield. Her three shards are centered around her and emit three individual spraying patterns of icy missiles (one wave per shard). Multiple missiles can hit the same target, so make sure you are not anywhere near Vitaath when the shards drop.
- Icy Stalagmite: Vitaath raises her hands, reaching to a Frozen Shard. Small circular telegraphs will then dot the battlefield. Shortly thereafter, stalagmites of ice will erupt from the ground, dealing damage to anyone caught within their radius. The ice then crumbles, revealing Chilling Construct or Frozen Shade trash adds within.
Phase 3
The fight gets hectic. This phase lasts for the entirety of the third health bar of the boss. Throughout its duration, Vitaath will:
- Do all of the above: All previously described attacks and trash summons from Phases 1 and 2 will continue.
- Icy Slash: Vitaath raises her sword and channels briefly, unleashing nearly unpredictable crescent waves of ice-cold energy. This is an extremely dangerous, far-reaching and sudden attack. The best thing you can do is to pull away from the boss when you notice the charge-up animation, finger on the trigger of your movement ability.
- Radiant Ice: Vitaath flies up in the air, targeting a random player and becoming briefly untargetable. A radiant, snowflake-like pattern will be marked on the ground, and will follow the marked player. Its center is where she lands; the radiating beams indicate the pathway of the crescent projectiles that emit from Vitaath's crash to the ground. These projectiles reach across the battlefield and hit extremely hard; thankfully, they are a little more predictable.
Phase 4
The fight gets deadly. This phase lasts for the entirety of the fourth health bar of the boss. Unleash all of your hardest-hitting cooldowns and abilities, use revives and potions, and simply go all-out on Vitaath.
The phase starts with her teleporting to the center of the arena and casting a 360-degree, damaging knockback on all nearby players. She then repeats the Phase 2 summoning pattern:
- Vitaath Clones: Vitaath summons three clones of herself. These clones mimic some of her abilities described in Phase 1 and have a far-reaching, narrow linear attack that hits very hard (and is thankfully very clearly telegraphed on the ground). Unlike Phase 2, you can either focus Cones (safer), or focus on burning down Vitaath herself (riskier but faster).
- A bunch of Chilling Constructs and Frozen Shades: They appear at the start of the Phase. Mechanically identical as the ones described above in Phase 1.
Vitaath also resumes her other attack patterns, adding the following ability to the mix of all the ones from Phase 1,2 and 3:
- Rain of Icicles: Vitaath marks seven areas on the ground with small blue circles; icicles also appear visibly over the telegraphs. After a second, the icicles drop, dealing heavy damage to players caught within. She deals this attack twice in quick succession, for a total of fourteen icicles. The icicle areas can overlap, almost assuredly dealing lethal damage.
Vitaath the Shivering Death Summary
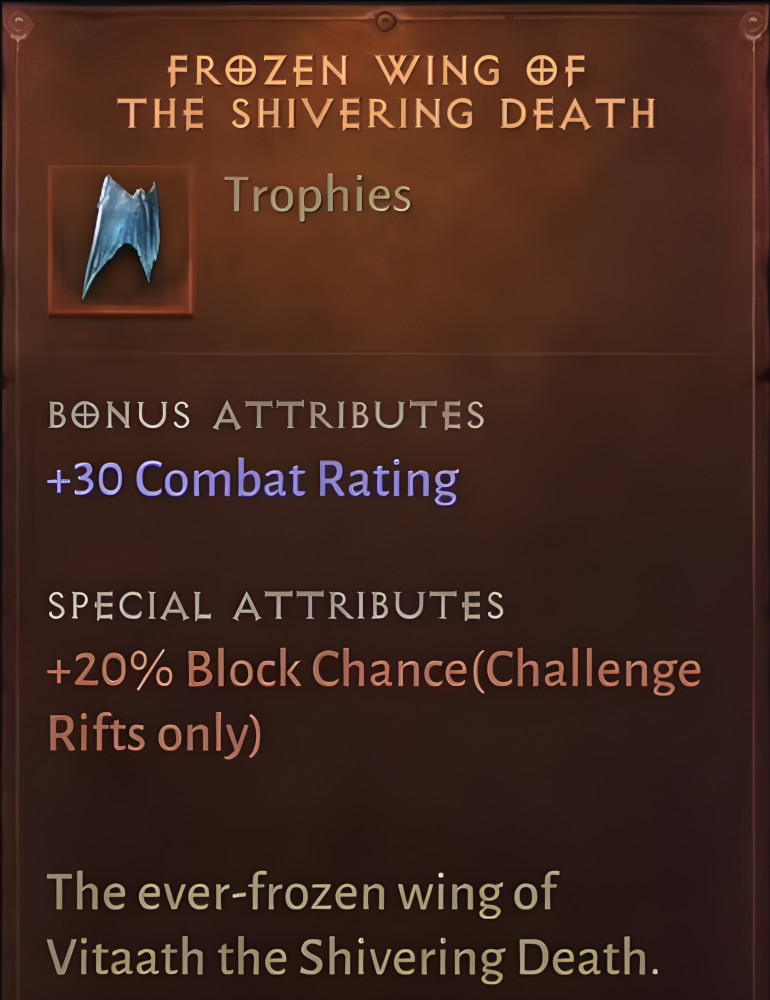
The reward from Vitaath the Shivering Death is the
![]() Frozen Wing of the Shivering Death. When inserted in your
Helliquary, this item increases Combat Rating by 30 and Block
Chance by 20% (the latter is only applicable when doing
Challenge Rifts).
Frozen Wing of the Shivering Death. When inserted in your
Helliquary, this item increases Combat Rating by 30 and Block
Chance by 20% (the latter is only applicable when doing
Challenge Rifts).
Changelog
- 07 Jul. 2022: Guide added.
This build is presented to you by Deadset, one of the very few professional Diablo 3 players. Deadset regularly publishes video guides on Youtube and streams on Twitch, where you can see how this and other builds play out in practice.
- Diablo Immortal x WoW Crossover Event: Frostmourne in Sanctuary!
- Icy Veins Seeking Writers for Zenless Zone Zero: Apply Today!
- Icy Veins Launches Genshin Impact Guides Section
- Icy Veins Podcast About Path of Exile
- ARPG Vault Discord Giveaway
- Diablo Immortal Destruction's Wake Update Notes: June 13th
- Icy Veins is Getting a New Look
- Diablo Immortal: Age of Falling Towers Content Update Notes