Blackrock Depths Detention Block Dungeon Guide
Blackrock Depths is split into 2 sections, the Detention Block and Upper City. This guide will focus on the earlier section, Detention Block. Blackrock Depths is most commonly referred to as BRD, can be found in Searing Gorge. The recommended level range to run Blackrock Depths: Detention Block is 47-55.
In this guide, we will cover dungeon quests, the layout of the dungeon, tactics for each boss and loot that can be obtained inside the lower section of Blackrock Depths.
Season of Discovery Loot in BRD Detention Block
With Phase 3 of Season of Discovery, new loot has been added to the Blackrock Depths Detention Block to help players better prepare for raiding. Below you can find a full list of all of the new loot and each boss they drop from.
High Interrogator Gerstahn
| Item | Required Level | Item Type |
|---|---|---|
| 48 | Off-hand |
Houndmaster Grebmar
| Item | Required Level | Item Type |
|---|---|---|
| 48 | Bow | |
| 48 | Gun |
Anub'shiah
| Item | Required Level | Item Type |
|---|---|---|
| 50 | Cloak |
Eviscerator
| Item | Required Level | Item Type |
|---|---|---|
| 50 | Leather Shoulders |
Grizzle
| Item | Required Level | Item Type |
|---|---|---|
| 50 | Mail Shoulders |
Hedrum the Creeper
| Item | Required Level | Item Type |
|---|---|---|
| 49 | Cloth Gloves |
Ok'thor the Breaker
| Item | Required Level | Item Type |
|---|---|---|
| 49 | Ring |
Pyromancer Loregrain
| Item | Required Level | Item Type |
|---|---|---|
| 48 | Leather Chest | |
| 48 | Staff | |
| 48 | Mail Legs |
Warder Stilgiss & Verek
| Item | Required Level | Item Type |
|---|---|---|
| 48 | Main-Hand Sword | |
| 51 | Mail Waist |
Blackrock Depths Entrance Location
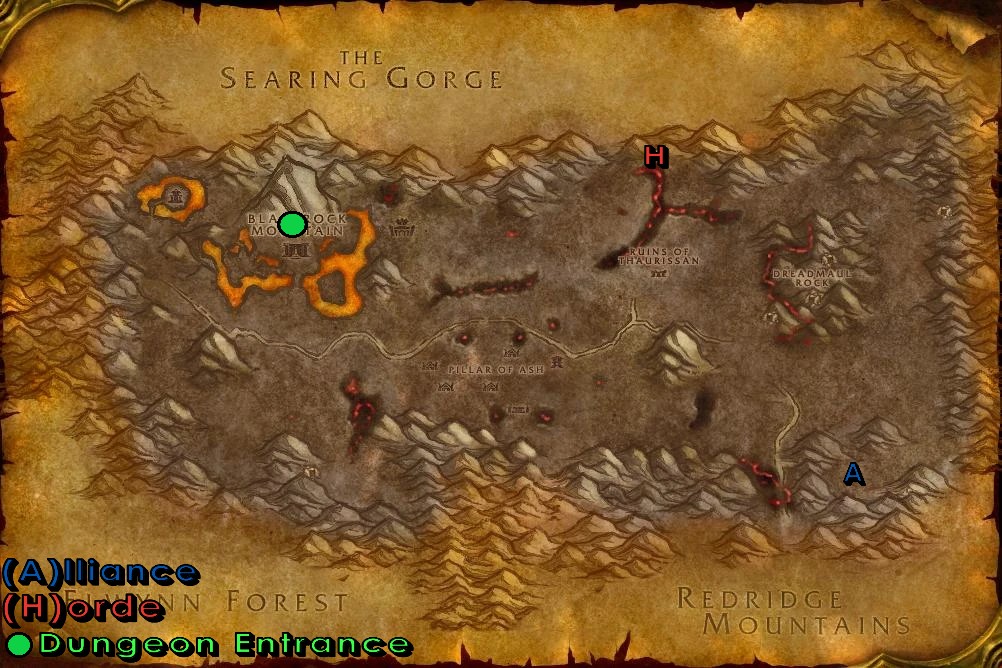
Blackrock Depths is located in the Blackrock Mountain, which can be accessed from either Searing Gorge or Burning Steppes. Head towards Blackrock Mountain and follow the pictures below to find the dungeon entrance.
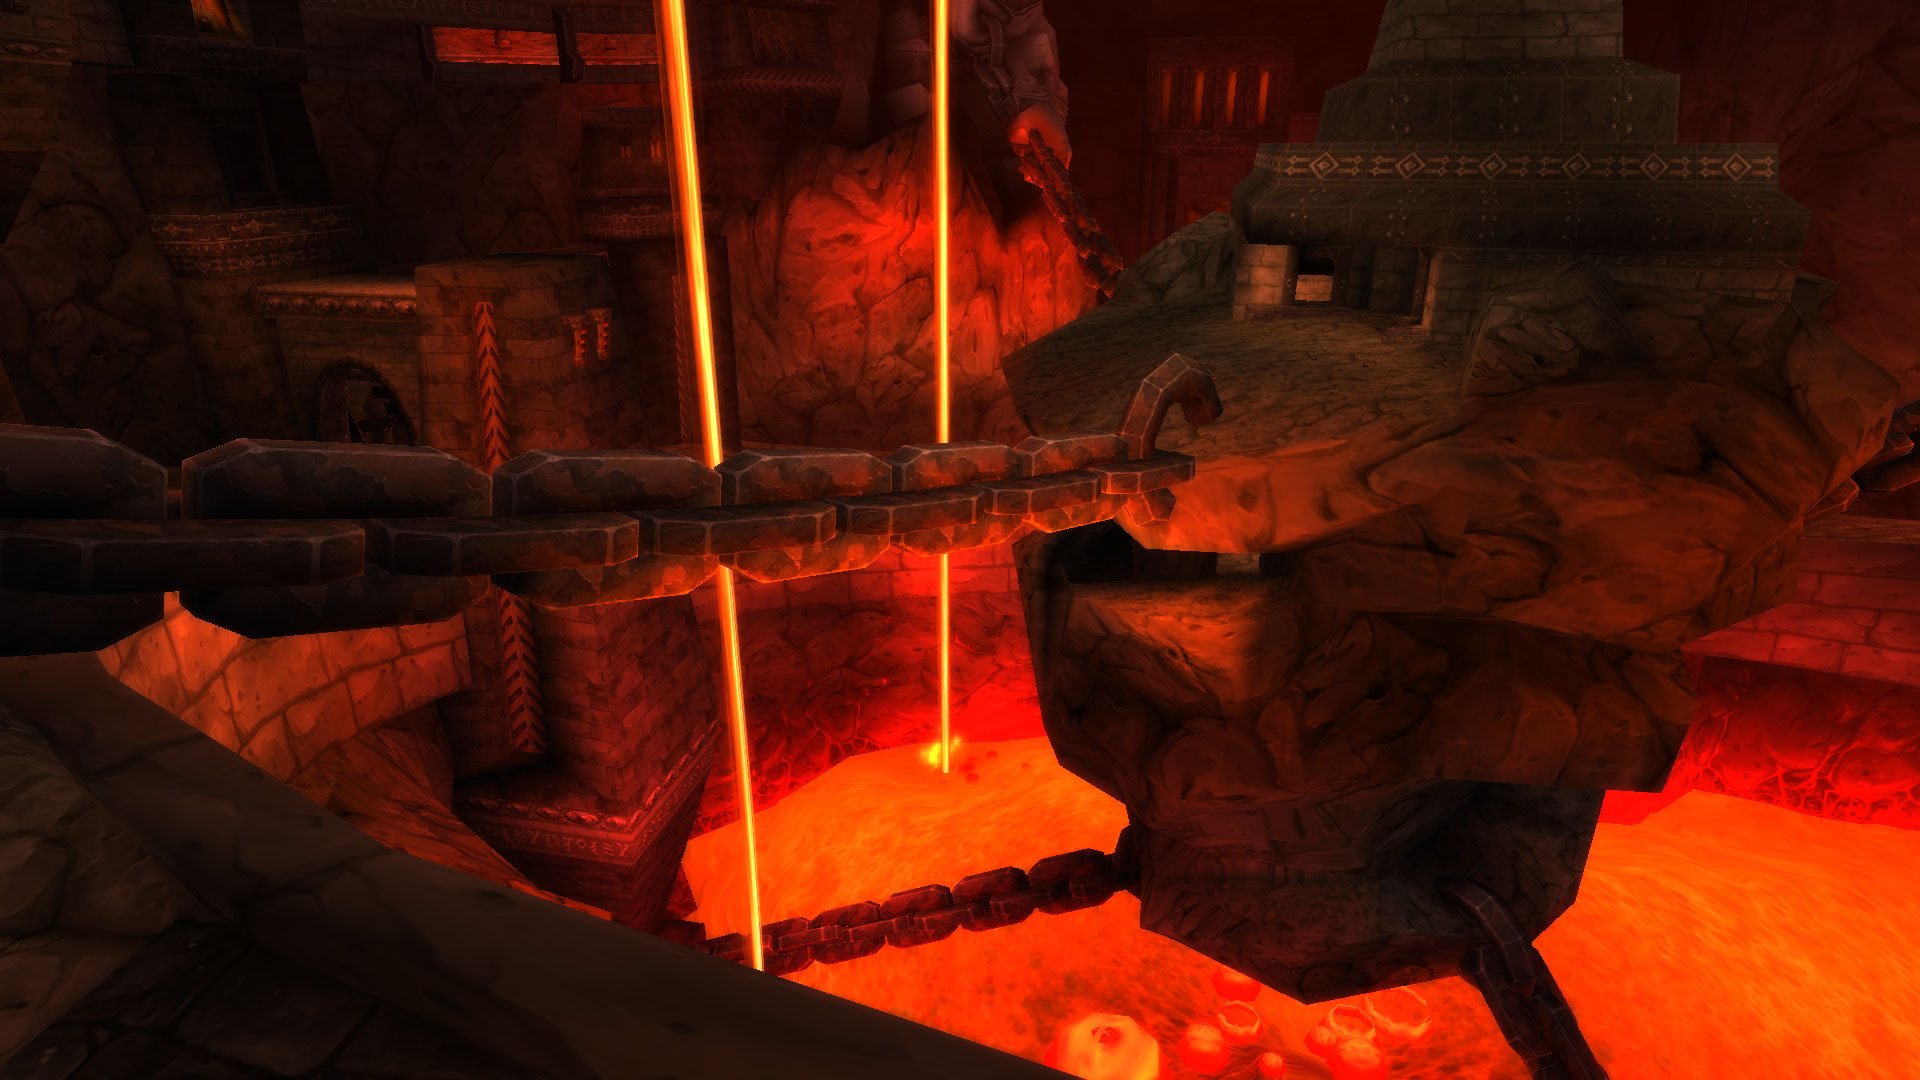
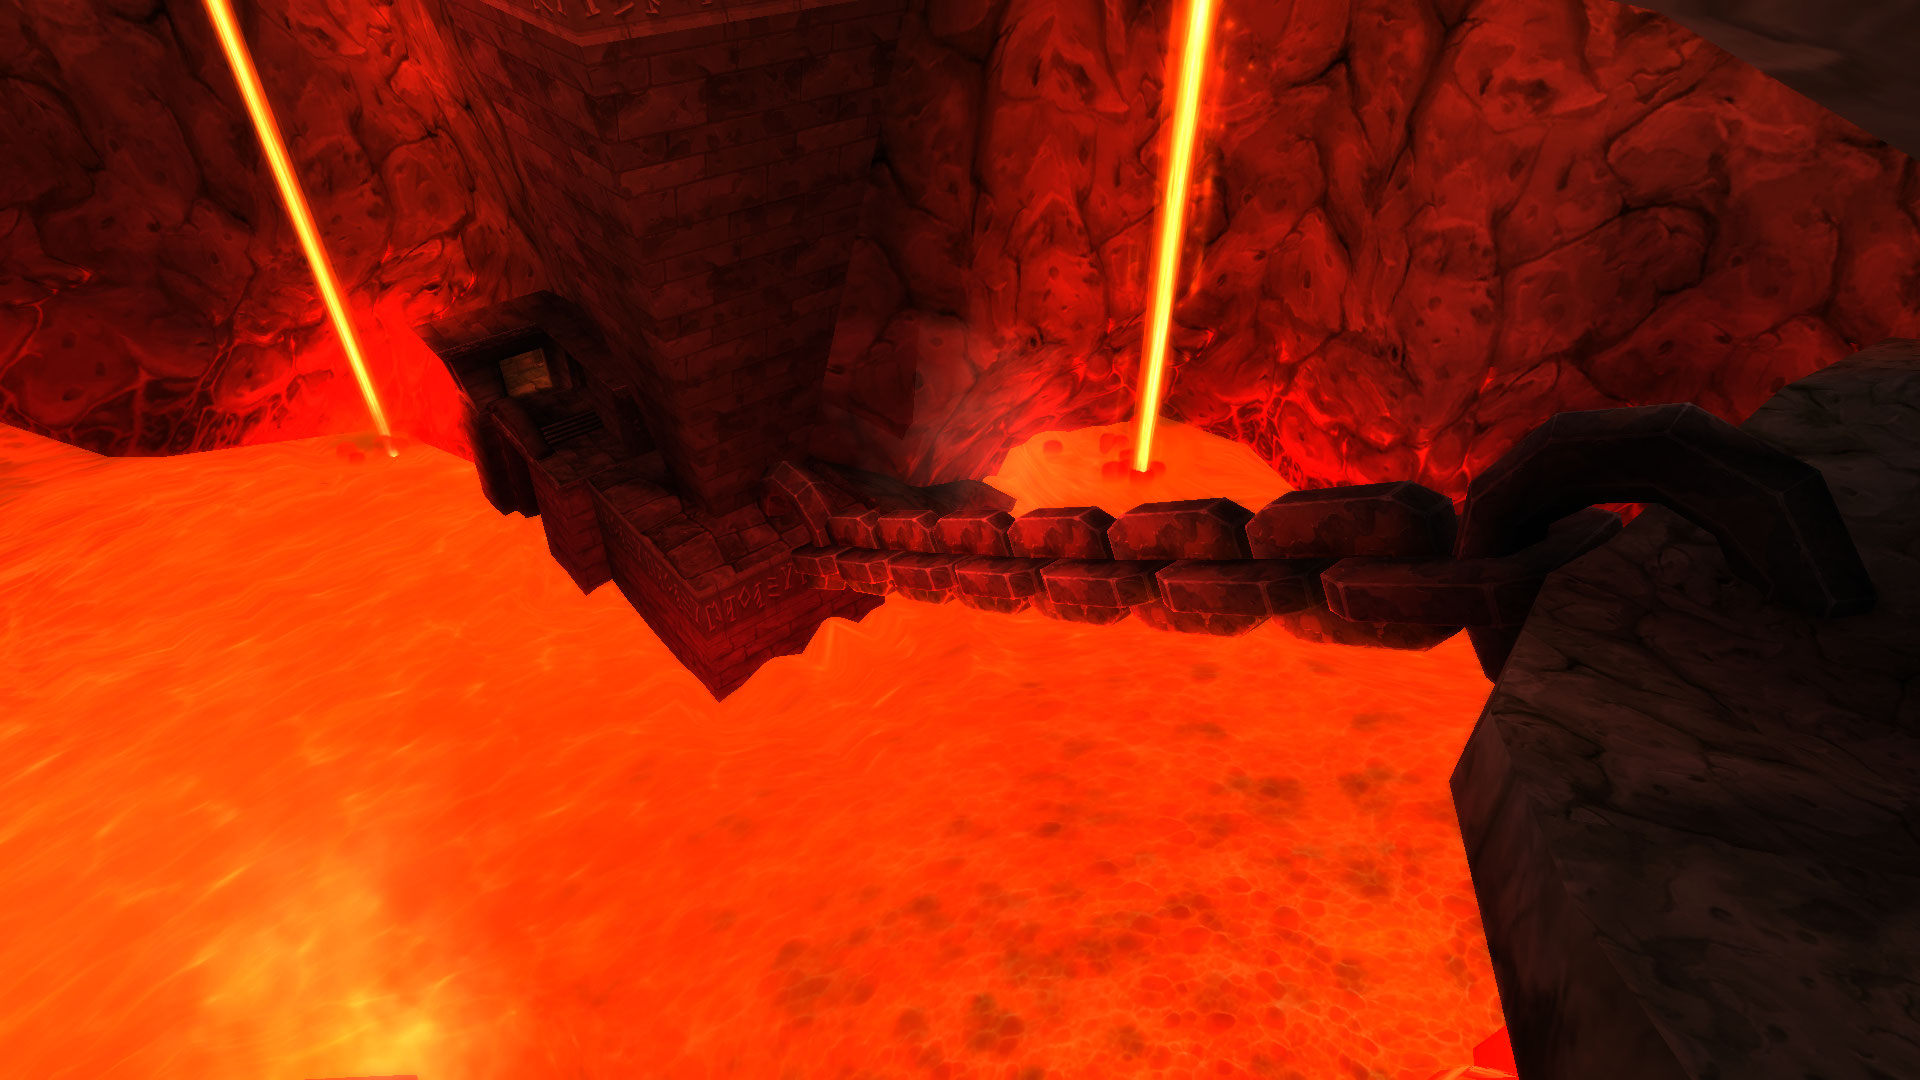
After entering the mountain, follow these two chains down until you enter the quarry mine.
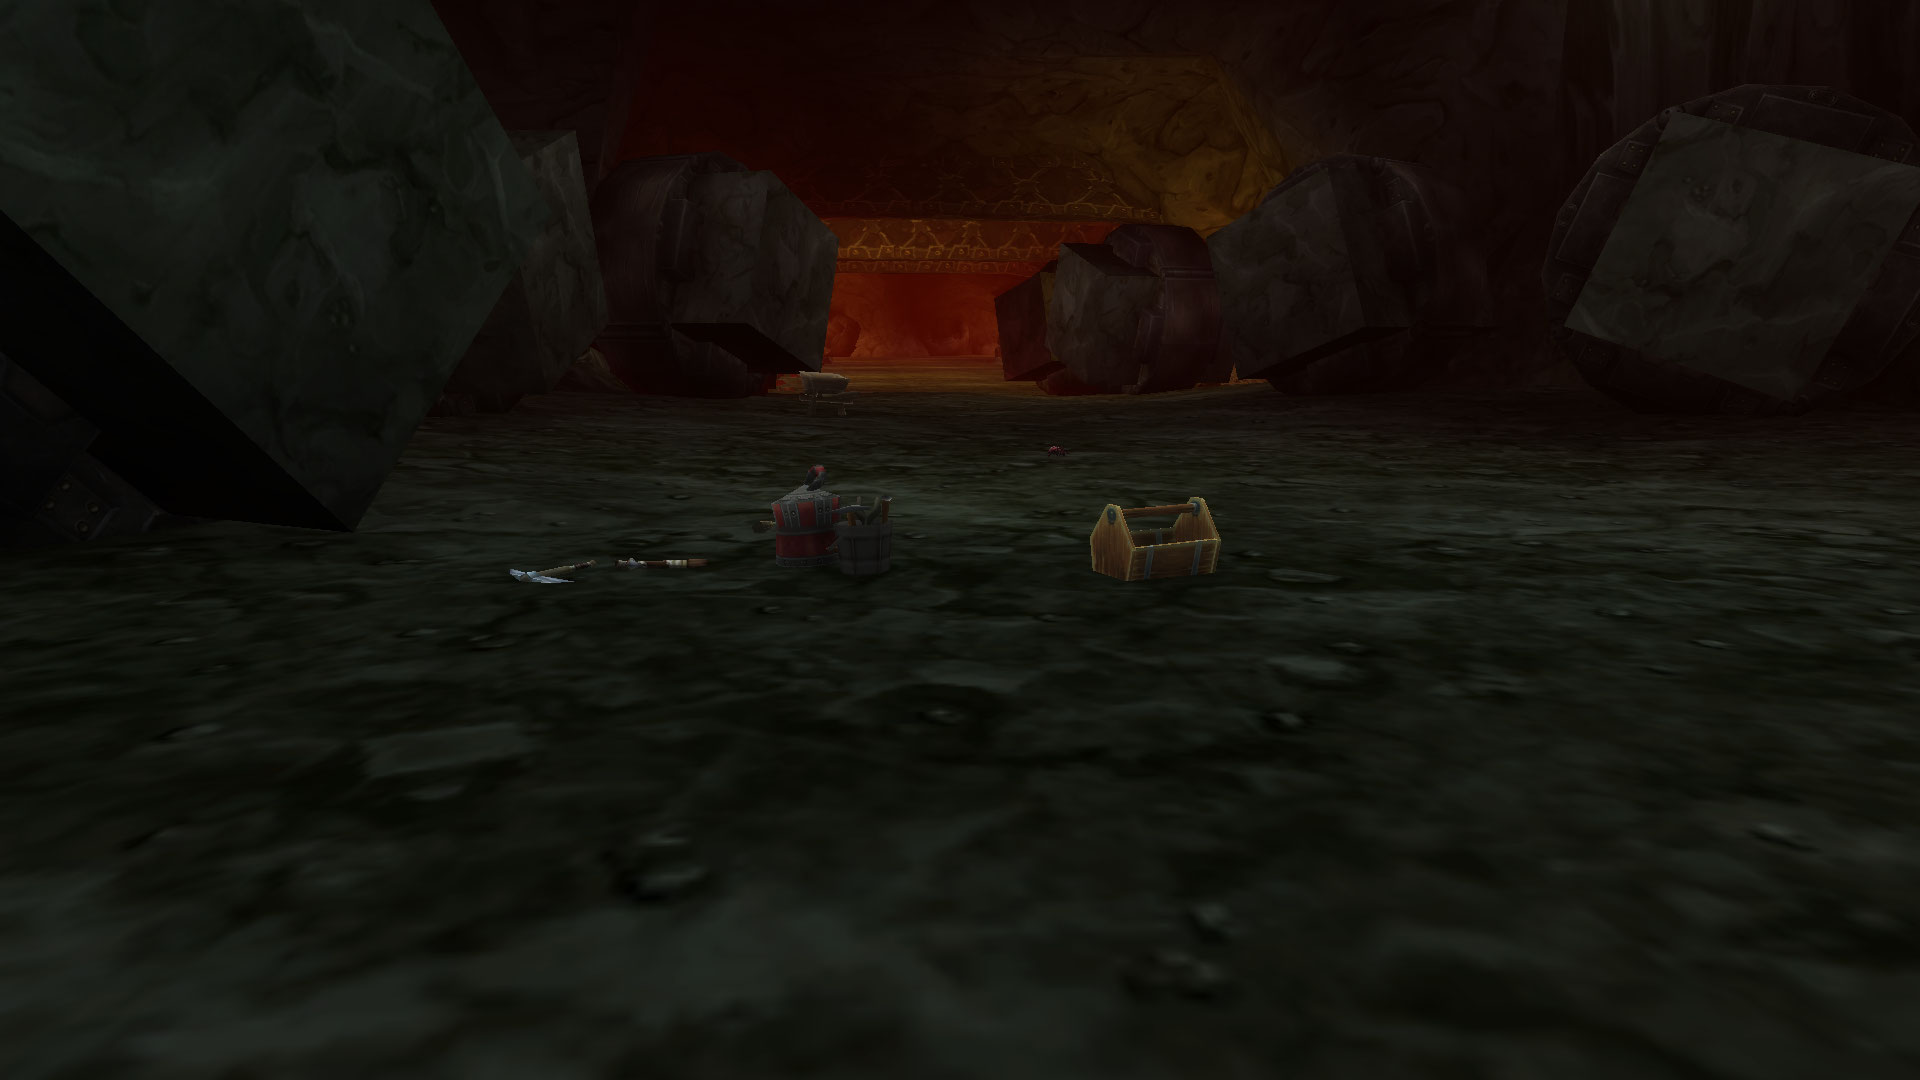
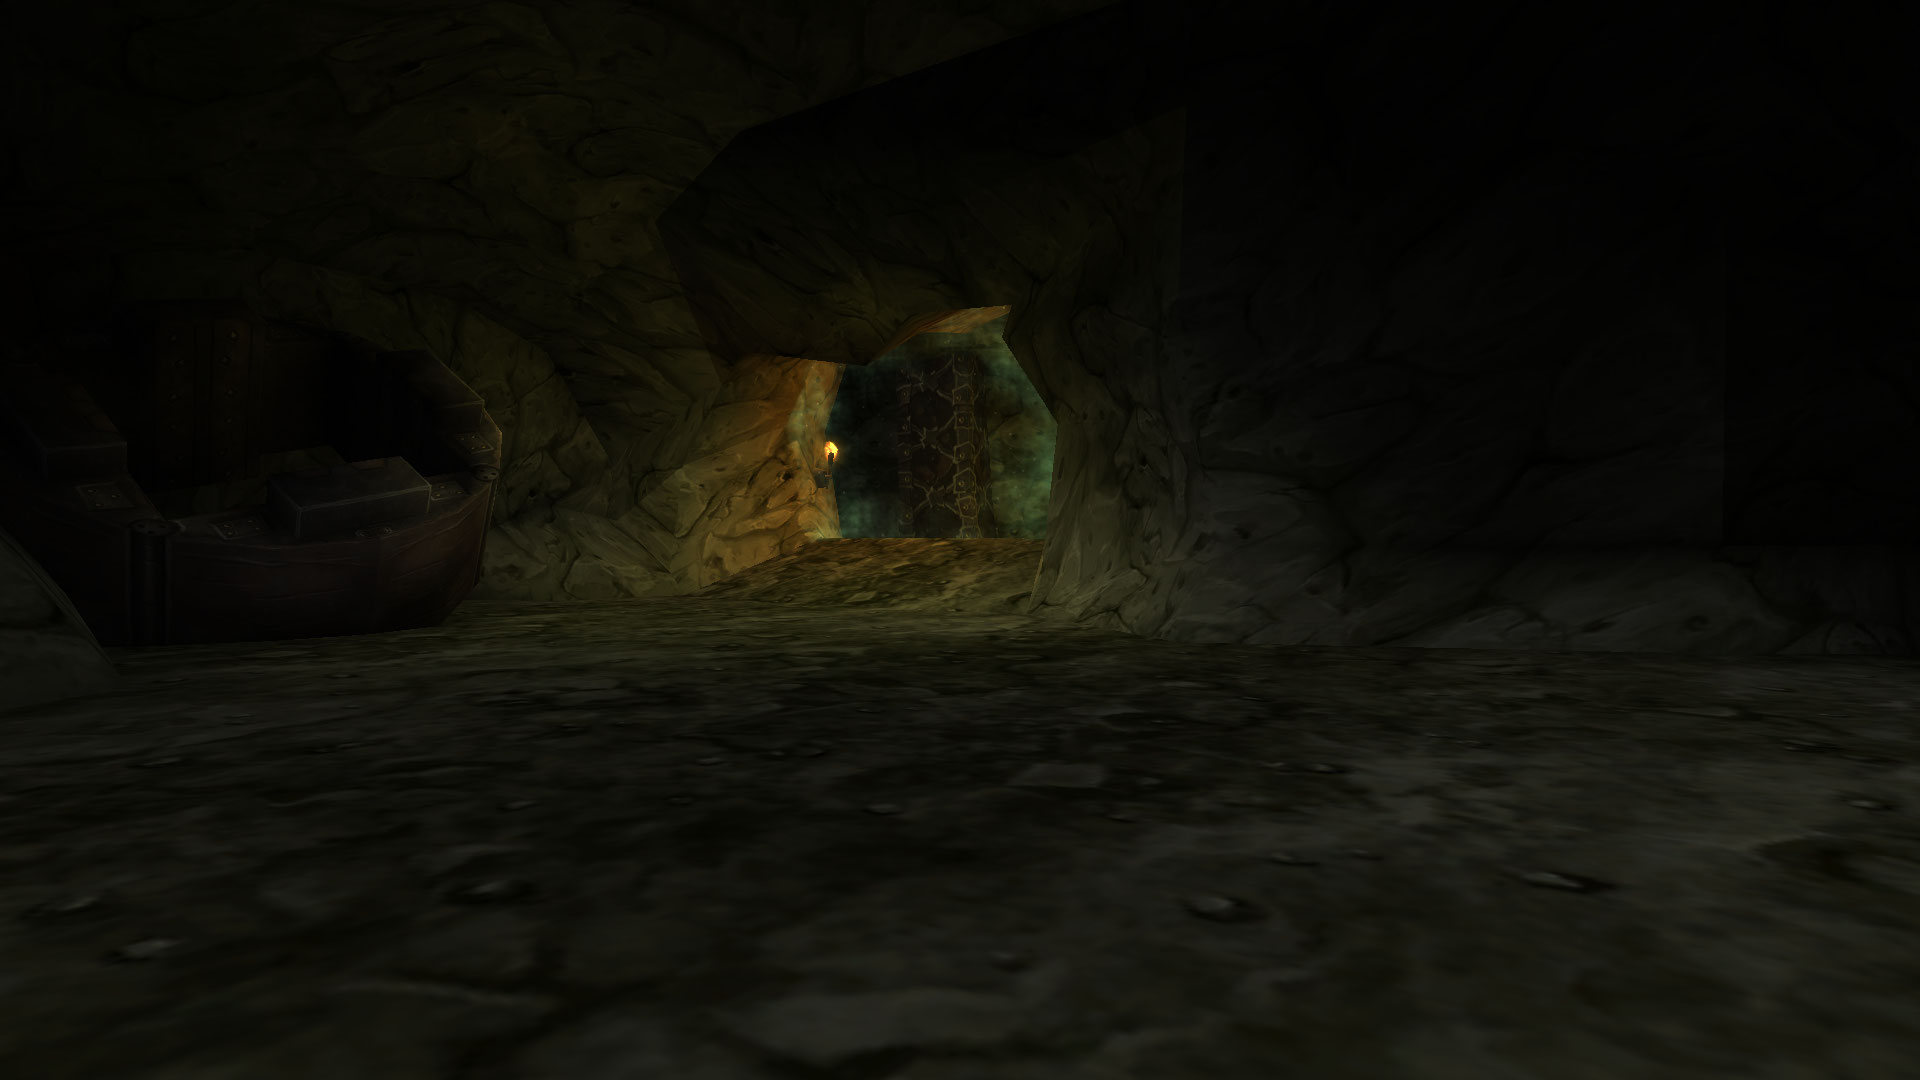
Run through all the way through the quarry mine till you reach the back, there you will find the entrance portal to Blackrock Depths.
Bosses in BRD Detention Block
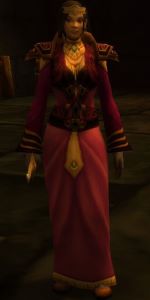
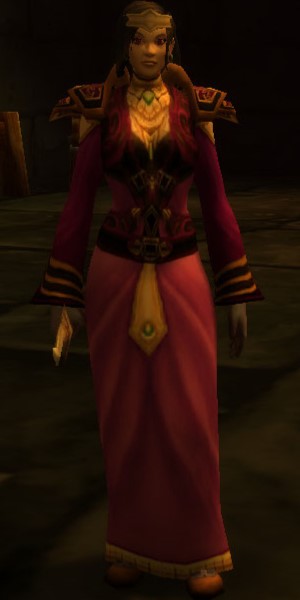
High Interrogator Gerstahn
-
 Mana Burn
  Psychic Scream
 Shadow Shield
 Shadow Word: Pain
Clear as many packs around High Interrogator Gerstahn as possible to
prevent anyone from being feared into additional enemies by her
![]() Psychic Scream. Be sure to interrupt the
Psychic Scream. Be sure to interrupt the ![]() Mana Burn as
much as possible and you won't have much trouble with this fight.
Mana Burn as
much as possible and you won't have much trouble with this fight.
High Interrogator Gerstahn Loot
| Item | Required Level | Item Type |
|---|---|---|
| 48 | Cloak | |
| 48 | Off-hand | |
| 48 | Mail Boots | |
| 47 | Cloth Shoulders | |
| N/A | Key |
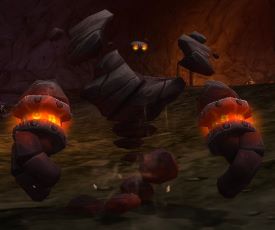
Lord Roccor
-
 Earth Shock
  Flame Shock
 Ground Tremor

Have your ranged DPS and healers stand at max range away from
Lord Roccor to avoid the interrupt from ![]() Earth Shock and the
stun from
Earth Shock and the
stun from ![]() Ground Tremor.
Ground Tremor.
Lord Roccor Loot
| Item | Required Level | Item Type |
|---|---|---|
| 47 | Plate Shoulders | |
| 52 | Relic - Idol | |
| 48 | Cloth Shoulders | |
| 47 | Shield | |
| 47 | Ammo - Bullet | |
| 265 | Enchanting Formula |
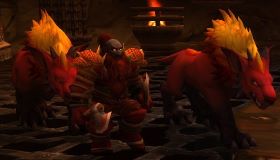
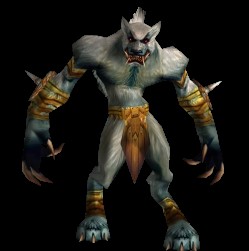
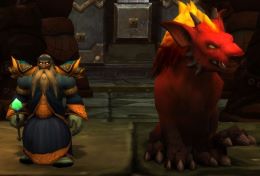
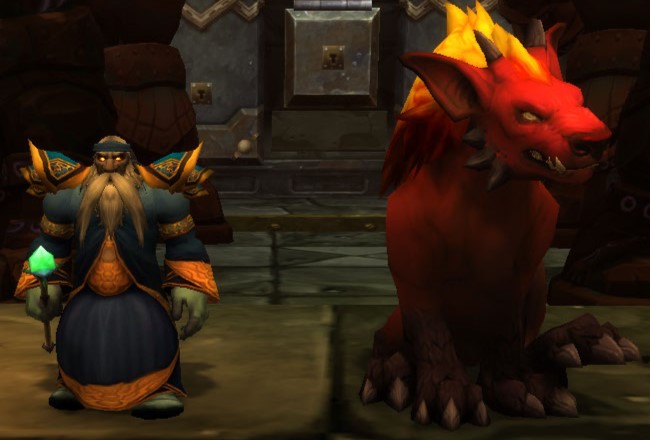
Houndmaster Grebmar
-
 Bloodlust
  Demoralizing Shout
 Pummel
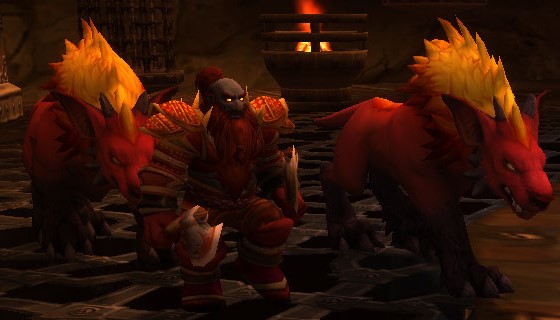
Clear the nearby hounds whenever Houndmaster Grebmar is not near them. After both packs are cleared this fight is very straight-forward.
Houndmaster Grebmar Loot
| Item | Required Level | Item Type |
|---|---|---|
| 48 | Mail Boots | |
| 48 | Bow | |
| 48 | Gun | |
| 47 | Back |
Ring of the Law
Your group must enter the arena and fight waves of enemies spawned at random. After clearing the waves of monsters, one of six random bosses will be chosen to deal with the players. Below you can find each of the bosses that you can possibly face.
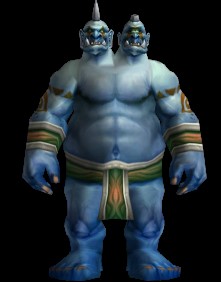
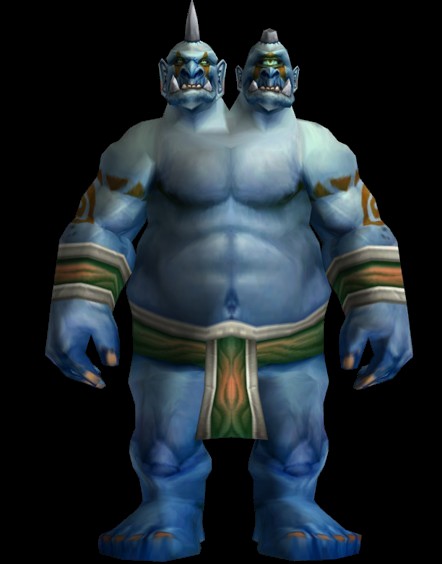
Anub'shiah
-
 Curse of Tongues
  Curse of Weakness
 Demon Armor
 Enveloping Web
 Shadow Bolt
Decurse the ![]() Curse of Tongues if possible. Use spells such as
Curse of Tongues if possible. Use spells such as
![]() Blessing of Freedom to remove the
Blessing of Freedom to remove the ![]() Enveloping Web if
available. Aside from these two spells the fight should be over quickly.
Enveloping Web if
available. Aside from these two spells the fight should be over quickly.
Anub'shiah Loot
| Item | Required Level | Item Type |
|---|---|---|
| 50 | Plate Chest | |
| 50 | Cloak | |
| 52 | Mail Boots | |
| 50 | Leather Boots |
Eviscerator
-
 Anti-Magic Shield
 - Shadow Bolt Volley
 Vicious Rend

The main threat of this boss is his ![]() Shadow Bolt Volley. Make sure
your healer keeps the group topped up as much as possible to prevent any low
health party members from dying.
Shadow Bolt Volley. Make sure
your healer keeps the group topped up as much as possible to prevent any low
health party members from dying.
Eviscerator Loot
| Item | Required Level | Item Type |
|---|---|---|
| 50 | Leather Waist | |
| 50 | Mail Bracers | |
| 52 | Mail Gloves | |
| 50 | Leather Shoulders |
Gorosh the Dervish
-
 Bloodlust
  Mortal Strike
 Whirlwind
Gorosh the Dervish hits fairly hard and has a dangerous
![]() Mortal Strike. Be sure your healer keeps the tank topped up at all
times as a tank death is the highest threat on this fight.
Mortal Strike. Be sure your healer keeps the tank topped up at all
times as a tank death is the highest threat on this fight.
Gorosh the Dervish Loot
| Item | Required Level | Item Type |
|---|---|---|
| 52 | Ring | |
| 52 | One-Hand Dagger | |
| 52 | Leather Legs | |
| 52 | Mail Chest |
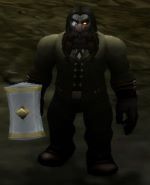
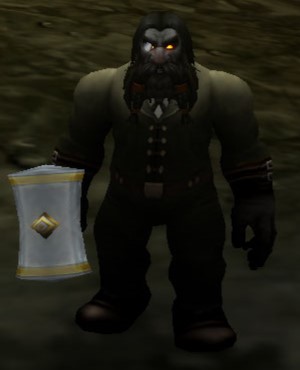
Grizzle
-
 Cleave
 Enrage
- Ground Tremor
Make sure your ranged DPS and healer stand at max range to avoid the stun
from ![]() Ground Tremor, and your melee DPS avoid the
Ground Tremor, and your melee DPS avoid the
![]() Cleave.
Cleave.
Grizzle Loot
| Item | Required Level | Item Type |
|---|---|---|
| 50 | Mail Shoulders | |
| 50 | Plate Boots | |
| 50 | Main-Hand Axe | |
| 50 | Plate Waist | |
| 265 | Blacksmithing Pattern |
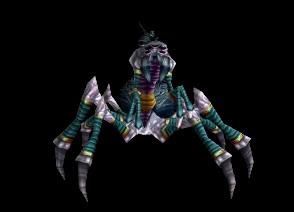
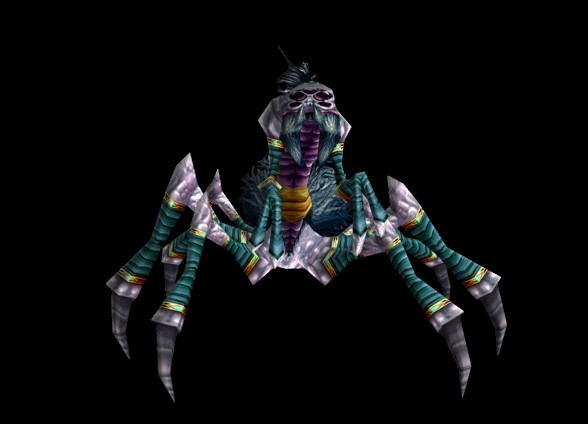
Hedrum the Creeper
-
 Baneful Poison
  Paralyzing Poison
 Web Explosion
Remove the ![]() Paralyzing Poison whenever possible. Aside from that,
there is no additional noteworthy mechanics to this encounter.
Paralyzing Poison whenever possible. Aside from that,
there is no additional noteworthy mechanics to this encounter.
Hedrum the Creeper Loot
| Item | Required Level | Item Type |
|---|---|---|
| 49 | One-Hand Dagger | |
| 52 | Mail Helmet | |
| 49 | Cloth Gloves | |
| 49 | Plate Chest |
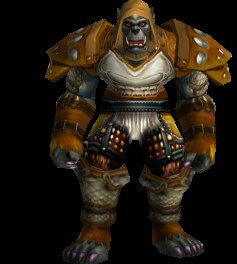
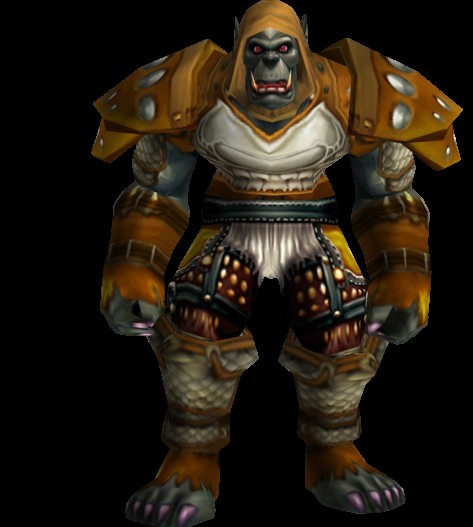
Ok'thor the Breaker
-
 Arcane Bolt
  Arcane Explosion
 Polymorph
 Slow
Slow
Can be quite challenging if he lands a ![]() Polymorph on the healer.
Be quick to dispel any
Polymorph on the healer.
Be quick to dispel any ![]() Slows and
Slows and ![]() Polymorphs that go
out. Have your healer and ranged DPS stand at max range to avoid taking damage
from the
Polymorphs that go
out. Have your healer and ranged DPS stand at max range to avoid taking damage
from the ![]() Arcane Explosion.
Arcane Explosion.
Ok'thor the Breaker Loot
| Item | Required Level | Item Type |
|---|---|---|
| 49 | Cloth Waist | |
| 49 | Ring | |
| 49 | Leather Gloves | |
| 52 | Mail Legs |
Fineous Darkvire
-
 Devotion Aura
  Holy Light
 Holy Strike
 Kick
Kick Seal of Reckoning
The main threat from this boss is how hard he attacks with his attacks
and ![]() Holy Strike and
Holy Strike and ![]() Seal of Reckoning spells. Be sure to
interrupt the
Seal of Reckoning spells. Be sure to
interrupt the ![]() Holy Light casts to prevent him from healing.
Holy Light casts to prevent him from healing.
Fineous Darkvire Loot
| Item | Required Level | Item Type |
|---|---|---|
| 50 | Cloth Helmet | |
| 50 | Plate Helmet | |
| 50 | Mail Shoulder | |
| 50 | Cloth Legs |
Pyromancer Loregrain
-
 Fire Ward
 - Flame Shock
 Molten Blast
 Scorching Totem

Quickly kill the ![]() Scorching Totem, dispel the
Scorching Totem, dispel the
![]() Flame Shock debuff and this fight will end quickly.
Flame Shock debuff and this fight will end quickly.
Pyromancer Loregrain Loot
| Item | Required Level | Item Type |
|---|---|---|
| 48 | Leather Chest | |
| 48 | Staff | |
| 48 | Wand | |
| 48 | Mail Legs | |
| 265 | Enchanting Formula |
Bael'Gar
-
 Magma Splash
  Summon Spawn of Bael'Gar
As Bael'Gar loses health he will spawn in aSpawn of Bael'Gar.
Bael'Gar himself deals high melee damage, further increased by
![]() Magma Splash. Make sure your tank keeps him faced away from the
group to prevent the
Magma Splash. Make sure your tank keeps him faced away from the
group to prevent the ![]() Magma Splash from splashing onto other party
members.
Magma Splash from splashing onto other party
members.
Bael'Gar Loot
| Item | Required Level | Item Type |
|---|---|---|
| 51 | Two-Hand Mace | |
| 53 | Plate Legs | |
| 51 | Main Hand Mace | |
| 53 | Cloth Waist |
Lord Incendius
-
 Curse of the Elemental Lord
  Fiery Burst
 Fire Storm
 Mighty Blow

It is important for your tank to place their back against a wall to avoid
being knocked off the bridge by Lord Roccors ![]() Mighty Blow.
If possible, decurse
Mighty Blow.
If possible, decurse ![]() Curse of the Elemental Lord to reduce the damage
taken by your tank.
Curse of the Elemental Lord to reduce the damage
taken by your tank.
Lord Incendius Loot
| Item | Required Level | Item Type |
|---|---|---|
| 52 | Leather Bracers | |
| 52 | Plate Bracers | |
| 52 | Cloth Bracers | |
| 52 | Mail Wrist |
Warder Stilgiss and Verek
-
 Frostbolt
  Frost Armor
 Frost Nova
 Frost Ward
This fight is not overly difficult; interrupt as many of Warder Stilgiss' casts as possible.
Warder Stilgiss and Verek Loot
| Item | Required Level | Item Type |
|---|---|---|
| 48 | Main-Hand Sword | |
| 52 | Cloth Shoulders | |
| 52 | Mail Waist | |
| 52 | Leather Shoulders | |
| 51 | Mail Waist | |
| 51 | Necklace |
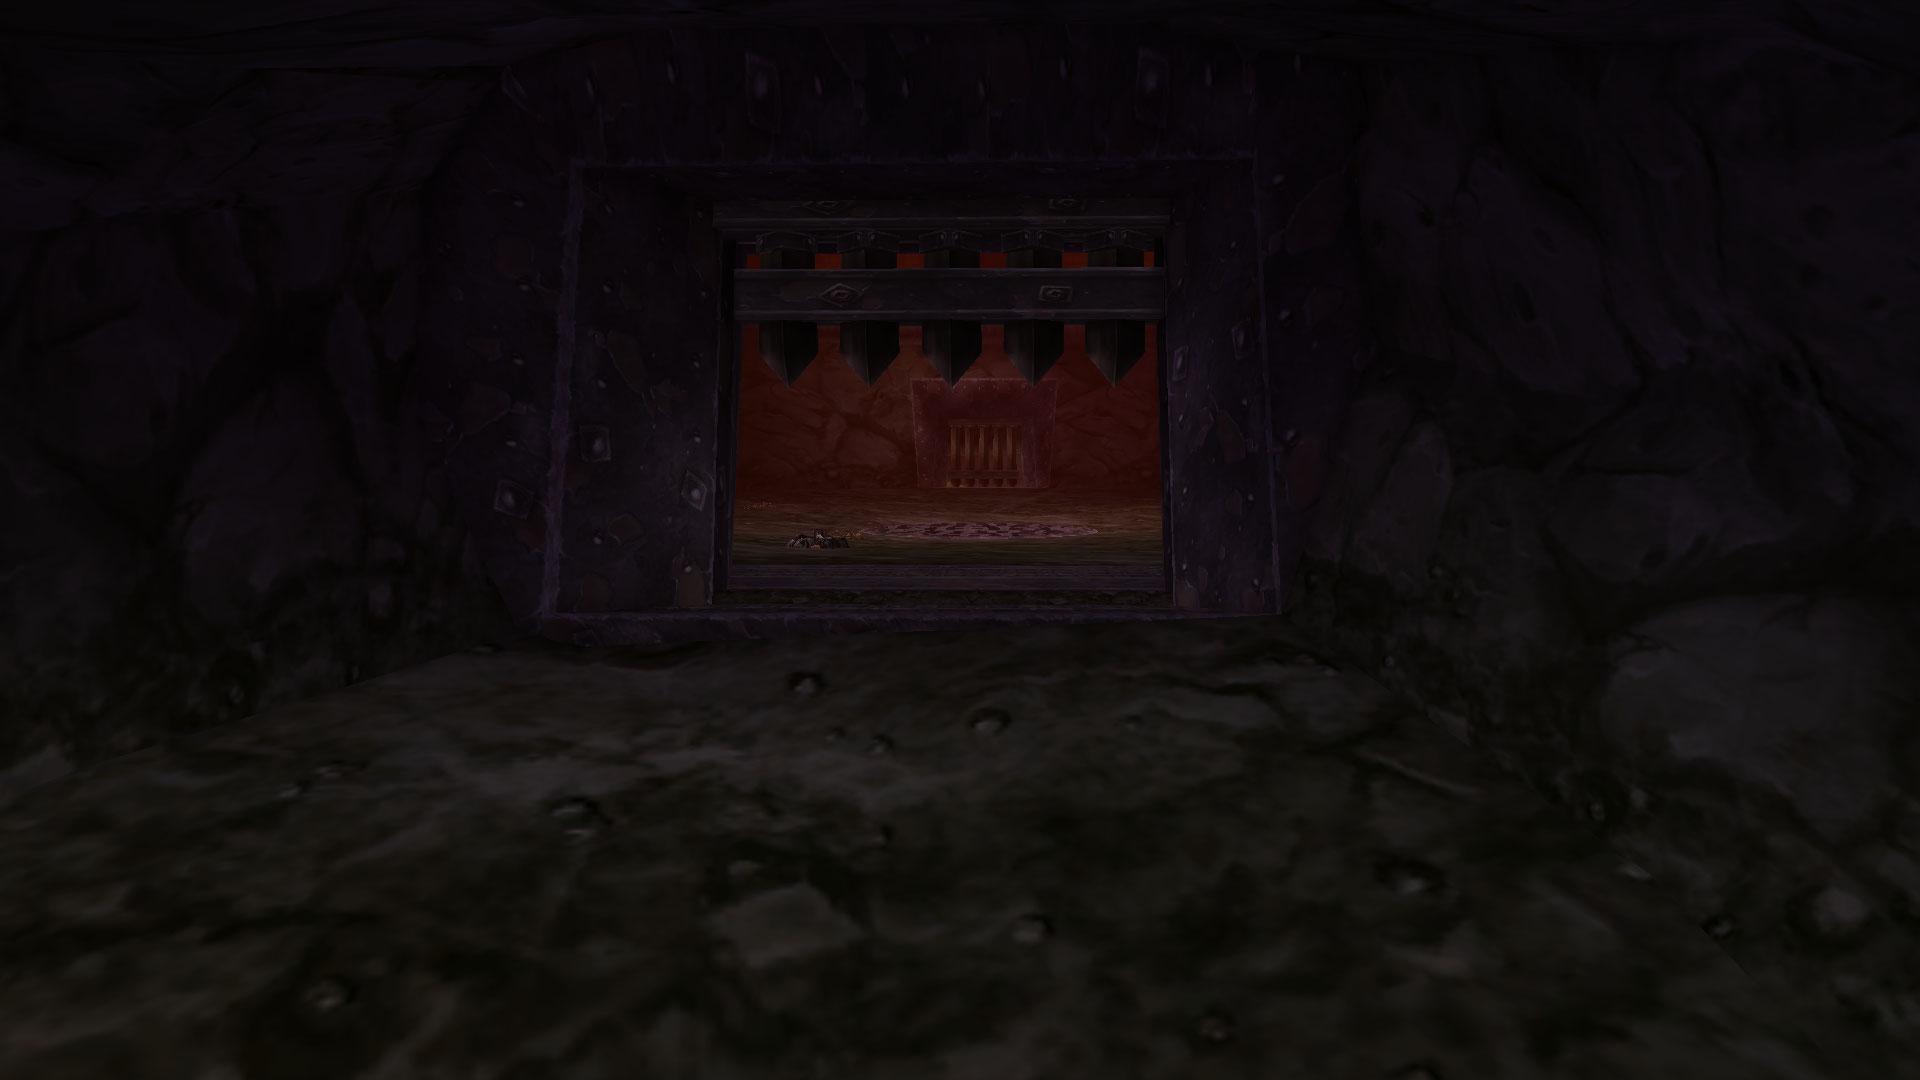
Secret Safe
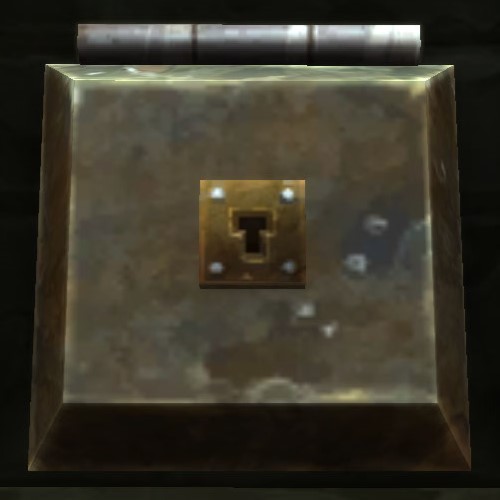 You will need open all 12 of the Relic Coffers with the
![]() Relic Coffer Keys you find throughout the dungeon. This will open the
Secret Vault Room, which is guarded by Watchman Doomgrip. After
defeating him the Secret Safe will be lootable.
Relic Coffer Keys you find throughout the dungeon. This will open the
Secret Vault Room, which is guarded by Watchman Doomgrip. After
defeating him the Secret Safe will be lootable.
Secret Safe Loot
| Item | Required Level | Item Type |
|---|---|---|
| 52 | Plate Bracers | |
| 52 | Mail Chest | |
| 52 | Cloth Legs | |
| 52 | Ring | |
| 52 | Cloth Gloves | |
| 52 | Wand | |
| 51 | Main-Hand Axe |
Changelog
- 04 Apr. 2024: Page added.
Classic Leveling Guides
Classic Dungeon Guides
Classic Profession Guides
This guide has been written by Abide, TBC veteran for nearly a decade. Abide is a Warrior tank and multi-class expert currently playing on Faerlina as Horde. You can find him in the the Icy Veins Discord. You can also see him live on Twitch.
- Leveling in Cataclysm Classic (Official Preview)
- No BlizzCon in 2024
- Currency Conversions in Cataclysm Classic
- Embrace Two New Races in Cataclysm Classic
- Additional Hunter Tuning in Season of Discovery: April 23rd
- Damage Reduction Testing in PvP
- Periodic Free Realm Transfers Coming to Season of Discovery
- Season of Discovery Class Tuning: April 23rd