


Build Introduction
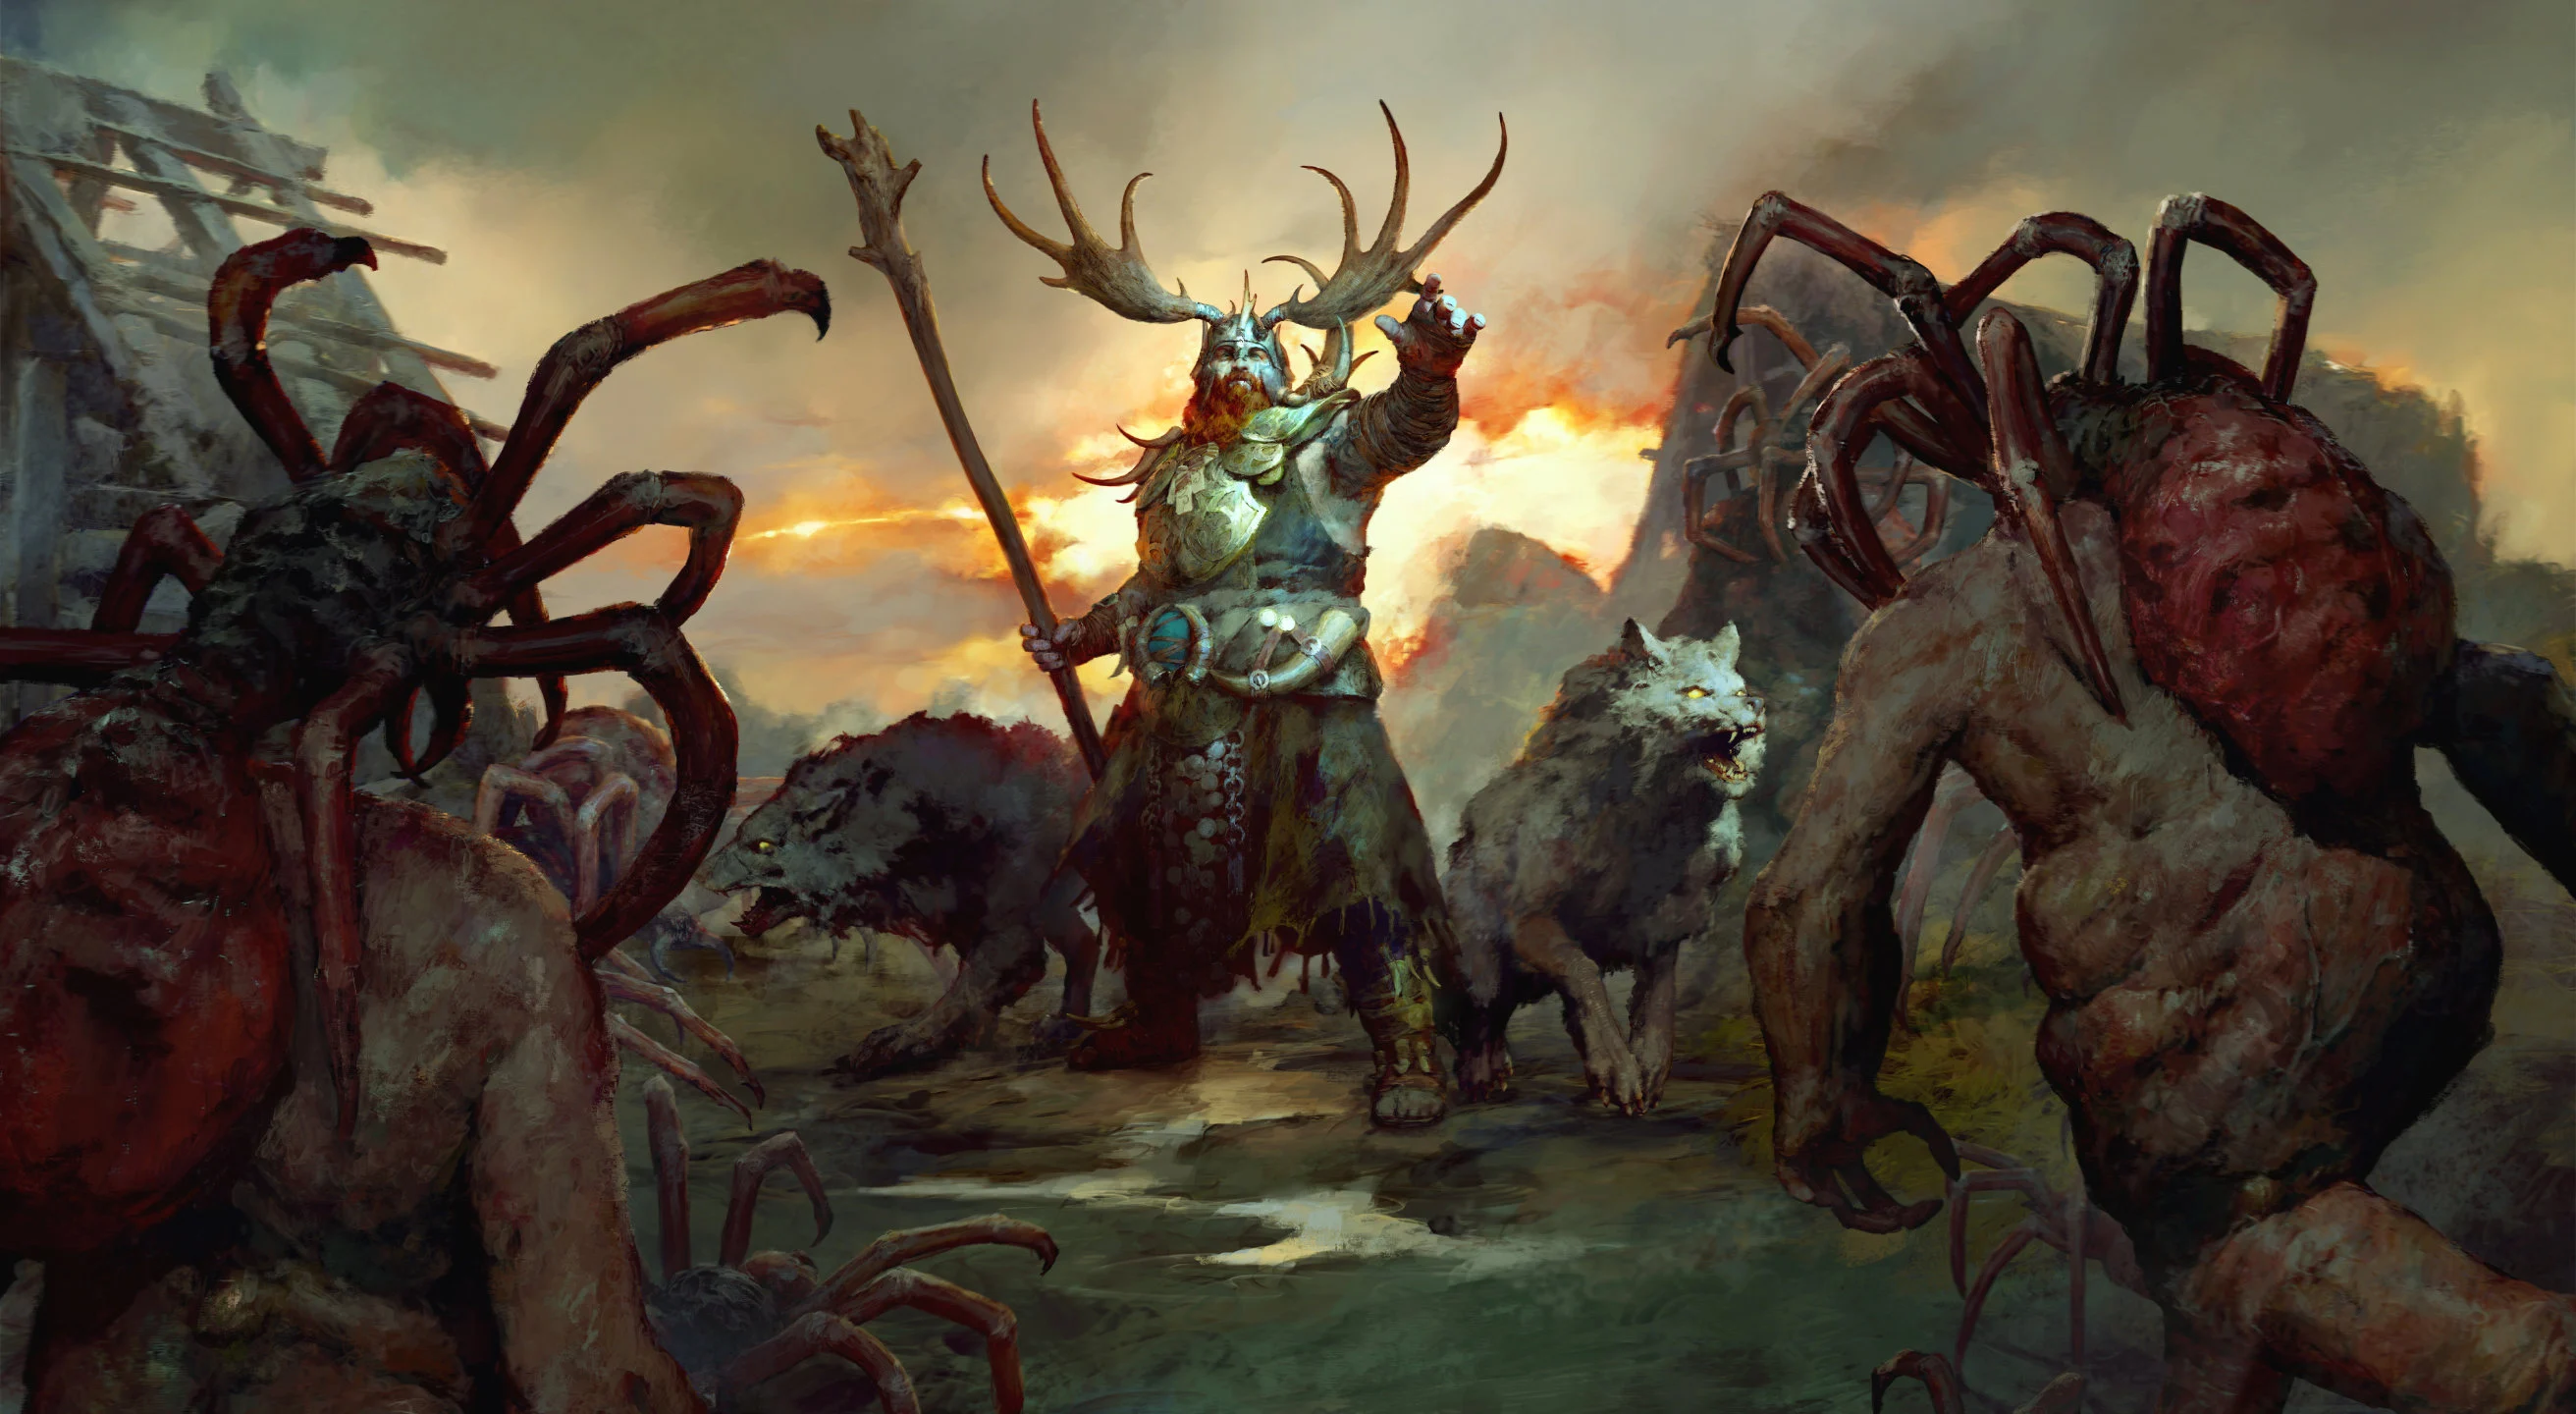
Smash through the enemies of Sanctuary with the Pulverize Druid: Puddle Edition! This is your guide for the balanced and dependable ![]() Pulverize Druid. This is a poisonous
Pulverize Druid. This is a poisonous ![]() Grizzly Rage build leveraging the Unique Item
Grizzly Rage build leveraging the Unique Item ![]() Rotting Lightbringer, splashing and attacking with a high volume of Overpowered puddles.
Rotting Lightbringer, splashing and attacking with a high volume of Overpowered puddles.
Just starting on your Druid adventure? Try out the Pulverize Leveling Build and swap to this one at Level 60.
Strengths and Weaknesses
- Simple smashy gameplay.
- Leveling friendly, low requirements.
- Grizzly Rage cooldown management.
- Has some resource management to balance.
Build Requirements
The following Legendary Aspects are required for build functionality to get started on the Pulverize Druid.
 Aspect of the Ursine Horror
Several Unique Items enhance the build’s gameplay but are not required for its function. Check out the Uniques section for more information.
This is a ![]() Grizzly Rage build! Read up on managing your Ultimate Skill here.
Grizzly Rage build! Read up on managing your Ultimate Skill here.
Quick Navigation
This guide covers everything necessary to get started on the ![]() Pulverize Druid, including Skill Tree points, Paragon, Gearing, and Seasonal updates. Jump to the sections you’re looking for here.
Pulverize Druid, including Skill Tree points, Paragon, Gearing, and Seasonal updates. Jump to the sections you’re looking for here.
Skill Bar and Skill Tree Points
 Debilitating Roar
  Grizzly Rage
  Poison Creeper
  Cyclone Armor
  Claw
Claw  Pulverize
 Eternal players complete Renown events in each zone for additional Skill Points, while Seasonal Players engage with the Season Journey and Rank for these Skill points.
![]() Poison Creeper is recommended before getting access to the
Poison Creeper is recommended before getting access to the ![]() Constricting Tendrils paragon node to apply Poisoning for multipliers like
Constricting Tendrils paragon node to apply Poisoning for multipliers like ![]() Envenom. Creeper can be used afterward for redundancy and Crowd Control, or exchanged for other useful skills, such as
Envenom. Creeper can be used afterward for redundancy and Crowd Control, or exchanged for other useful skills, such as ![]() Trample for mobility.
Trample for mobility.
See how these Skills play in the Rotation and Gameplay section.
Druid Class Mechanic – Spirit Boons
Druids unlock powerful Spirit Boon passives, giving offerings to the animal spirits to receive their blessing. Once fully unlocked, you can activate the final boon by Spirit Bonding with one of the four animal spirits to take two passives from that row.
| Boon Name | Animal | Effect |
|---|---|---|
| Gift of the Stag | Deer | Gain 30 Spirit. Gain 10 Spirit Per Second. |
| Swooping Attack | Eagle | Gain 20% Attack Speed. |
| Avian Wrath | Eagle | Gain x40% Critical Strike damage. |
| Energize | Wolf | Lucky Hit: Dealing damage has up to a 15% chance to restore 100 Spirit. |
| Calm Before the Storm | Snake | Lucky Hit: Nature Magic Skills have up to a 10% chance to reduce the Cooldown of your Ultimate Skill by 2 seconds. |
Druid’s primary resource is Spirit. See the Spirit Management Section on how to keep casting!
Gear, Stats, Gems, and Runes
Check these sections for all important Pulverize gearing considerations to improve the power of your character in the endgame.
Legendary Aspects
Gear Slots with multiple options are listed in recommended priority. Any slot with an Optional Mythic Unique or Unique Item will include a valid alternative legendary power to use while still leveling and gearing. Combine these with the right stat priorities.
| Slot | Aspect | Unique/Legendary Power |
|---|---|---|
| 2 Handed Mace | Unique – | If no puddle is around you, Pulverize forms a puddle that guarantees its own Overpowers and deals 200-600% of its normal damage as Poisoning over 7 seconds. Pulverize causes all close puddles to splash 20-60% of their total damage within their areas and around them. Pulverize radius increase will affect the size of the puddle and its splashes. |
| Helm | Mythic – Unique – | Give in to hatred and earn Lilith’s Favor, increasing your damage dealt by 60%. Slaughter enemies to briefly steal Lilith’s Favor from Nearby allies. |
| Chest | Mythic – Unique – | If you haven’t attacked in the last 2 seconds, gain Stealth and 40% Movement Speed. |
| Gloves | Shockwave Aspect | Pulverize creates a shockwave that travels forward, dealing 80-120% of its damage to targets in the path. |
| Pants | Defense – Offense – | Effects that Heal you beyond 100% Life grant you a Barrier up to 40-100% of your Maximum Life that lasts for 8 seconds. You may now drink your Healing Potion while at full Life. |
| Boots |  Aspect of the Ursine Horror Aspect of the Ursine Horror | Pulverize is now also an Earth Skill. After it Overpowers, your Earth Skill Cooldowns are reduced by 0.5-1.5 seconds. |
| Amulet | Aspect of the Rampaging Werebeast | Critical Strikes while in Grizzly Rage increases your damage by 3% for 60 seconds, up to 120%. |
| Ring 1 | Aspect of the Rabid Beast | Deal 40-80% more Poison Damage. While Shapeshifted, your direct damage is converted into Poison damage. |
| Ring 2 | Mythic – Aspect of the Changeling’s Debt | Spending your Primary Resource reduces the Resource cost of your Skills and increases your damage by 10% for 3 seconds, up to 50%. |
See how this build compares to the rest at our Endgame Build Tier List.
Stat Priority and Tempering Affixes
Each line of affixes is listed in order of importance, with some alternatives given. The bolded affixes are the most important targets for Greater Affixes and Masterwork Critical Increases. Check the Tempering guide and Masterworking guide for more details about these topics.
| Slot | Gearing Affixes | Tempering Affixes |
|---|---|---|
| 2 Handed Mace – | Willpower% Poison Damage Chance for Cast Pulverize Twice Resource Cost Reduction | |
| Helm – | Critical Strike Chance Lucky Hit Chance Movement Speed Ranks to Core Skills | |
| Helm – | All Stats Maximum Life Damage to Elites Cooldown Reduction | |
| Chest – | All Stats Maximum Life Damage on Next Attack After Entering Stealth Resource Generation | |
| Chest – | Max Life Werebear Overpower Damage Ursine Strength’s Bonuses Ranks to | |
| Gloves – Legendary Aspect | Ranks to Attack Speed Critical Strike Chance Willpower Lucky Hit: Chance to make enemies Vulnerable | |
| Pants – | Lucky Hit: Up to a 15% Chance to Heal Healing Received Maximum Life Armor | |
| Pants – | All Stats Critical Strike Chance Maximum Resource Attack Speed | |
| Boots – Legendary Aspect | Movement Speed Willpower Max Life Spirit Per Second Armor | |
| Amulet | Ranks to Ranks to Ranks to Ranks to Critical Strike Chance Cooldown Reduction Movement Speed | |
| Ring – | Attack Speed Critical Strike Chance Lucky Hit Chance Ranks to Core Skills | |
| Rings – Legendary Aspect | Critical Strike Chance Willpower Attack Speed Lucky Hit: Chance to Make Enemies Vulnerable Cooldown Reduction |
Max Size Temper increases are capped at 100% total.
Tempers can be rerolled until they Greater Affix.
At least one Pulverize Size and one Grizzly Rage Duration are recommended for general play. Any extra tempers could go to Earth Critical Strike Chance if more Critical Strike Chance is needed.
In push, it can be beneficial to have no Pulverize Size tempers at all; Usually, puddles cannot be overlapped. However, orbwalking, spinning around, or juking away and then back into a puddle lets you overlap puddles. smaller puddles are easier to overlay.
Vulnerable is a strong multiplier that can be applied with the gear affix Lucky Hit: Chance to Make Enemies Vulnerable on ring, amulet or gloves. Only one source is needed. This also enables our ![]() Earth and Sky multiplier.
Earth and Sky multiplier.
For information on Legendary Aspects and the updated Codex of Power, see here.
After gearing, look at progression systems like Paragon next.
Uniques and Mythic Uniques
The following Unique items are recommended for the Pulverize Druid.
 Rotting Lightbringer places puddles that deal Poisoning damage over time, lasting 7 seconds each. Subsequent Casts of Pulverize will send Splashes from Puddles, dealing high damage.
 - More than one puddle can be active at a time, just not overlapped under ordinary circumstances. However, orbwalking, spinning around, or juking away and then back into a puddle lets you overlap puddles.
- There are two kinds of splashes—Puddle Splashes that resonate from the puddle on Pulverize cast, and Splash Projectiles that are sent out from the center of the puddle to impact near the edge of the puddle.
- Puddles and their Splashes increase with Pulverize Size temper.
- The damage of the base puddle is not significant (Normal Damage).
- Splashes will be the highest damage for the build. Splashes always Overpower.
- The initial hit that triggers a puddle will have a standard Overpower chance. Options like
 Provocation are still taken to help fill these gaps.
 - Pulverize hits inside the puddle will always Overpower, but have normal Critical Strike Chance.
- General Strategy for using Rotting Lightbringer:
- In farm, keep smashing and moving. Puddles behind will send out splashes as you Pulverize, so most things will die as you go.
- In Push, gather multiple packs, place several puddles nearby, and smash until enemies are dead.
- Vs bosses, place puddles nearby with the boss generally centralized around them, maximizing the number of potential splashes and projectiles to hit them. It will look like you are circling them.
- (Before Mythic, Farming)
 Godslayer Crown has been improved and is an utterly fantastic effect with strong affixes on top. The grip will generally be activated with Mercenaries or
  Neurotoxin. This is highly recommended for general use in all content other than the highest push when you want
  Heir of Perdition‘s topend damage. The large All Stats category can help activate Paragon Secondary Rare Node Bonuses before getting your
  Shroud of False Death.
- (Option Before Mythic)
 Vasily’s Prayer is not required for the build to function, but does have favorable affixes and a unique effect.
  Pulverize receives its Earth Tag from Aspect of the Ursine Horror.
- (Before Mythic)
 Insatiable Fury gives Skill ranks to all Werebear Skills, including Pulverize, and the ranks to
  Iron Fur are a welcome defensive boost.
- (Defensive)
 Temerity offers a welcome boost to defense with a large Barrier, Life, Healing and Armor. The Barrier is strong, but we are the Bear-iest. Legendary pants with
  Aspect of Disobedience is a close contender, with more damage but less survival.
- (Offensive)
 Tibault’s Will offers strong offensive gear affixes and a reasonable multiplier. The multiplier will be active during
  Grizzly Rage.
Mythic Unique Items
 Heir of Perdition has Strong Gear Affixes and a steady damage multiplier. The multiplier can be stolen from others who also use this helm.
 Shroud of False Death gives +1 rank to all Skill Passives, which means several bonuses to Damage Multipliers, Damage Reductions, Resistances, Fortify, Healing, and Critical Strike Chance. The high category for All Stats helps activate Paragon Rare Node bonuses.
 Ring of Starless Skies is a powerful Resource Cost Reduction tool and damage multiplier with strong Gear Affixes.
Check our Unique Item Target-farming guide for information on where to find everything you need.
Gems and Runewords
The following are the recommended Gem and Runeword setups for the Pulverize Druid.
Gems
| Weapon Gems | Armor Gems | Jewelry Gems |
|---|---|---|
In high push, many deadly affixes are Fire damage type; swap in more Grand Rubies to jewelry as needed.
Runewords
Use these Runeword combinations, placed in a 2-Handed Weapon and one Armor slot.
| Runeword Combination | Runeword Effects |
|---|---|
| Ahu Qax | |
| Cir Vex |
Runewords use a conditional Rune of Ritual to generate Offering. The Offering is consumed by the Rune of Invocation to trigger its effect. Runes replace Gems in gear with two sockets. Up to two sets of Runeword Pairs can be placed at a time.
![]() Vex is a consistent benefit with Ranks to all Skills, including
Vex is a consistent benefit with Ranks to all Skills, including ![]() Pulverize damage and
Pulverize damage and ![]() Grizzly Rage cooldown reduction and multiplier. This rune wants a larger pooling rune trigger so it can overflow for the max +3 Skill Ranks.
Grizzly Rage cooldown reduction and multiplier. This rune wants a larger pooling rune trigger so it can overflow for the max +3 Skill Ranks.
![]() Qax is for top-end damage in push content. Only use this rune if your Spirit is solved. If there are any gaps in your Spirit Generation, this can be a disruptive and negative rune choice. See the Spirit Management Section on taking care of your Spirit.
Qax is for top-end damage in push content. Only use this rune if your Spirit is solved. If there are any gaps in your Spirit Generation, this can be a disruptive and negative rune choice. See the Spirit Management Section on taking care of your Spirit.
Other combinations also work; adjust to the content you are running.
- Speedfarming –
 Bac
Bac Jah for Teleport is useful when farming.
 - Spirit Management – If you have any spirit issues early on, use
 Lum.
Lum. - Critical Strike – While still gearing before Mythic Uniques, help cap your Critical Strike Chance with
 Gar over
  Qax. Most triggers can maintain the Critical Strike stacks, such as
  Tam or
  Noc.
Noc.
Paragon Board
The following are the preferred Glyphs, Boards, and pathing recommended for making the most of the Pulverize Druid.
The road to max Paragon level is long. The above Paragon tabs show the following:
- The BASE SETUP tab spends 50 fewer points than the FULL SETUP, taking a stricter pathing to take almost all Legendary, Rare, and Magic Nodes, and activates all Glyph Nodes with their secondary effects.
- The FULL SETUP tab completes the paragon board in its final form, filling in the rest of the board to give additional additive bonuses, especially within the Glyph areas.
Glyphs have two breakpoint increases. At level 15, the glyph grows in radius and gains a special effect. At level 46, the glyph grows to max radius and gains an additional damage multiplier.
In general, for Toughness priority, take Max Life > Armor > Resistance nodes. For a more defensive setup, swap ![]() Earth and Sky for
Earth and Sky for ![]() Werebear.
Werebear.
Glyphs are placed as if they are at least level 15+ in radius. Rotate boards as necessary.
Season 12 Mechanics
The Season of Slaughter introduces Bloodied Items, Killstreaks, and Bloodied Sigils.
Killstreaks
Slay enemies to advance your Killstreak. Gain Experience and seasonal reputation after the Killstreak completes. Higher Killstreak count gives more rewards.
Bloodied Items
Bloodied Gear will drop throughout Sanctuary, granting additional. stackable Bloodied Affixes that interact with Killstreaks. There are three categories of Bloodied Affixes:
- Rampage Affixes (Armor Slots) increase in power based on Killstreak Tier.
- Feast Affixes (Weapons) gives its periodic bonus every X kills.
- Hunger Affixes (Jewelry) increases drop rewards, scaling with Killstreak Tier.
Chase the following Bloodied Affixes for the Pulverize Druid:
- Rampage (Armor): Primary Stat per Killstreak Tier is bugged and not working for Willpower. A mix of Attack Speed, Cooldown and if needed, Resource Cost Reduction can be beneficial.
- Other affixes, such as Critical Strike Chance if not capped, Attack Speed, or Cooldown Reduction, will also be beneficial. Having at least one Cooldown Reduction affix will help with Grizzly Rage downtime.
- Other affixes, such as Critical Strike Chance if not capped, Attack Speed, or Cooldown Reduction, will also be beneficial. Having at least one Cooldown Reduction affix will help with
- Feast (Weapons): Every 25 Kills, Gain Berserking.
- Berserking increases damage and movement speed.
- Hunger (Jewelry): Any
- Hunger Affixes are non-combat power reward increases. The power of the rest of the item will be more important. Feel free to tailor the affixes to what you are grinding for. For example, if you want more seasonal reputation, then Increased Reputation from Kill Streaks will be beneficial.
Bloodied Sigils
Bloodied Sigils empower content and increase Bloodied drop reward volume for your Nightmare Dungeons, Infernal Hordes, and Lair Bosses. These are a step up, as the Relentless Butcher Bloodied Affix increases the difficulty of the content by around a full Torment Tier.
Beware of Bloodsoaked Sigils, which are even further empowered, guaranteeing multiple Bloodied Items and scaling the content heavily after completing Pit Tier 100. Pulverize can handle it though!
Mercenaries
Main Mercenary – Raheir, the Shieldbearer
- Skills:
 Shield Charge,
  Raheir’s Guard,
  Provoke,
  Mocking Lure
Reinforcement – Varyana, the Berserker Crone
- Reinforcement Ability:
 Bloodthirst
 - Opportunity: Pulverize
Once unlocked, Mercenaries are followers that aid the Player in combat. A main mercenary is chosen to fight alongside you, granting strong buffs or perks, and a secondary Mercenary is chosen to Reinforce you under a chosen Opportunity condition periodically.
Raheir will grant a notable increase to Armor and a small damage bonus, taunting enemies occasionally. ![]() Bloodthirst will grant some attack speed while active. Other mercenary options are valid, such as using Subo for the minimap tracking, or Raheir for an Armor boost.
Bloodthirst will grant some attack speed while active. Other mercenary options are valid, such as using Subo for the minimap tracking, or Raheir for an Armor boost.
Build Mechanics
Rotation and Playstyle
The Pulverize Druid is straightforward gameplay with minor buff maintenance.
- Prebuild stacks of
 Quickshift by casting
  Claw and Pulverize.
 - Cast Grizzly Rage to activate your Werebeast form.
- Pulverize your enemies. Place Puddles nearby with your Rotting Lightbringer and Pulverize to resonate splashes from each.
- Puddles usually cannot be placed on top of one another. However, if you Orbwalk, Spin around, or Juke away then back to the puddle, you can overlap these puddles for massive splash volume in the same place. Make this motion quickly between each cast of Pulverize.
Use ![]() Debilitating Roar Defensively as needed, or proactively for the
Debilitating Roar Defensively as needed, or proactively for the ![]() Innate Debilitating Roar damage buff.
Innate Debilitating Roar damage buff.
![]() Cyclone Armor is for passive defense and unavailable for Active Use during
Cyclone Armor is for passive defense and unavailable for Active Use during ![]() Grizzly Rage. You still keep the passive defensive benefits.
Grizzly Rage. You still keep the passive defensive benefits.
![]() Poison Creeper passively applies poison, and the Active Use can be used to Immobilize as necessary.
Poison Creeper passively applies poison, and the Active Use can be used to Immobilize as necessary.
![]() Claw and
Claw and ![]() Maul during
Maul during ![]() Grizzly Rage can be used as filler to gain Spirit as necessary.
Grizzly Rage can be used as filler to gain Spirit as necessary.
Skills, Support, and Synergies
![]() Pulverize is our primary, high-damage Skill. Two Legendary Aspects modify the Skill:
Pulverize is our primary, high-damage Skill. Two Legendary Aspects modify the Skill:
- Shockwave Aspect creates a damaging wave along the path of the Pulverize. There is an overlap between the initial Pulverize and its shockwave, so enemies can be double-hit by each Pulverize. Shockwave’s range is useful for gathering and speeding through content. Shockwave does increase the total splash volume of close Puddles.
- Aspect of the Ursine Horror makes Pulverize an Earth Skill. Earth Skills are also Nature Skills, and this allows Pulverize to benefit from Nature-based modifiers such as
 Defiance or
  Crushing Earth.
Pulverize damage type becomes Poison, from Physical, thanks to Aspect of the Rabid Beast.
![]() Rotting Lightbringer places pools of Poisoning damage, which scales off your Overpowered Pulverize damage. More than one puddle can exist at a time. Subsequent casts of
Rotting Lightbringer places pools of Poisoning damage, which scales off your Overpowered Pulverize damage. More than one puddle can exist at a time. Subsequent casts of ![]() Pulverize will cause puddles to send out Splashes for serious damage.
Pulverize will cause puddles to send out Splashes for serious damage.
Is Shockwave Aspect or Aspect of Retaliation better?
- Shockwave sends extra splashes from puddles, so wherever you are actively pulverizing, this will be better. As well, Shockwave makes gathering easier with the distant hits.
- Retaliation can boost the base damage of your Pulverize and puddle splashes and may be better in high push.
Shockwave will generally be the better pick. There is some unreliability, given how many bugs there are with ![]() Rotting Lightbringer. Feel free to try out either and adjust to your own gameplay.
Rotting Lightbringer. Feel free to try out either and adjust to your own gameplay.
With Aspect of the Rabid Beast, our damage type for all attacks becomes Poison, which helps unify several multipliers. We apply Poisoning Condition for ![]() Envenom with Constricting Tendrils and
Envenom with Constricting Tendrils and ![]() Poison Creeper.
Poison Creeper.
Overpower
Overpowered attacks will deal extra damage to enemies. We get Overpowers from several sources:
- Rotting Lightbringer guarantees Overpower from hits inside the puddle and from splashes sent out from the puddle.
- Enhanced Pulverize grants an Overpower every 10 seconds.
- Provocation gives Overpowers as you remain in Bear Form. Some uptime is lost while casting any non-Werebear skills. This is a buff to watch, as it can be triggered on any damaging non-defensive Skill like Maul. Try to only use it on Pulverize.
- A natural 3% chance for any non-channeled Skill to Overpower.
There are several damage multipliers to Overpower, including Survival Instincts, ![]() Raging Pulverize, and
Raging Pulverize, and ![]() Rotting Lightbringer scales its splashes from Critical Strike and Overpower.
Rotting Lightbringer scales its splashes from Critical Strike and Overpower.
Ultimate Skill
This build uses ![]() Grizzly Rage as its Ultimate Skill. Grizzly Rage grants Unstoppable for its duration, grants Damage Reduction and a large Damage multiplier that increases with Skill Ranks.
Grizzly Rage as its Ultimate Skill. Grizzly Rage grants Unstoppable for its duration, grants Damage Reduction and a large Damage multiplier that increases with Skill Ranks.
Grizzly Rage’s cooldown cannot be reduced while Grizzly Rage is active. We use ![]() Zec and Calm Before the Storm Spirit Boon to minimize Grizzly Rage downtime.
Zec and Calm Before the Storm Spirit Boon to minimize Grizzly Rage downtime.
Any Skill not tuned to Grizzly Rage, such as Storm or Wolf Skills, will be unavailable while Grizzly Rage is active. Certain Skills like ![]() Cyclone Armor will still grant the Passive effect, but the Skill will be unavailable for Active Use.
Cyclone Armor will still grant the Passive effect, but the Skill will be unavailable for Active Use.
![]() Grizzly Rage has a capped duration, but we gain or extend Grizzly Rage duration with:
Grizzly Rage has a capped duration, but we gain or extend Grizzly Rage duration with:
- Offensive Tempers on gear give more duration.
- If used, Calamity Spirit Boon can extend the duration. You will need high Spirit Cost Reductions on your gear to use this.
Cooldown of Grizzly Rage can be reduced to minimize downtime with the following:
- Rank 5 of Grizzly Rage reduces the cooldown by 10 seconds
- Any generic Cooldown Reduction on gear
- If used,
 Zec Rune
 - Calm Before the Storm Spirit Boon
Key Passive
![]() Ursine Strength is our Key Passive, offering some health, damage, and Overpower multiplier.
Ursine Strength is our Key Passive, offering some health, damage, and Overpower multiplier.
Spirit Management
Maintaining Spirit is essential to keep smashing out your ![]() Pulverizes. Spirit is managed from a variety of sources.
Pulverizes. Spirit is managed from a variety of sources.
- Resource Cost Reduction on 2-handed weapon and Ring of Starless Skies.
- Gift of the Stag Spirit Boon.
- The Wolf’s Spirit Boon Energize.
- Intelligence stat for greater Resource Generation.
This is generally sufficient in the Endgame to maintain Spirit. However, if these are insufficient sources while leveling and gearing, consider using one or more of the following options.
- Use the Spirit Management Runeword Setup
 Poc Lum.
 - Spirit Per Second on Boots, Chest, and Helm, or Resource Cost Reduction on Jewelry affix and Tempers.
- Use Aspect of Quicksand with
 Aspect of the Umbral.
 - Remove points from
 Wild Impulses, placing them in
  Abundance, and use your Basic Skill as a Spirit Builder.
Speed Variant
For world or mid-tier farming, a ![]() Bestial Rampage setup can play smoother, especially in earlier gearing. Make the following changes for a speedfarm setup:
Bestial Rampage setup can play smoother, especially in earlier gearing. Make the following changes for a speedfarm setup:
- Use
 Wildheart Hunger on boots.
 - Use Legendary Pants, with Aspect of the Ursine Horror.
- Swap
 Ursine Strength for
  Bestial Rampage.
 - Use Bac Jah for Teleports and
 Igni
Igni Que for frequent casts of
  Earthen Bulwark, forcing form changes to upkeep Wildheart Hunger stacks.
 - Note: You cannot use Vasily’s Prayer with this setup, as you need your Que to not be bear-aligned; instead, forcing rune triggers to change to human form to upkeep Wildheart Hunger. Try out Godslayer Crown before your Heir of Perdition for easy gathering of enemies.
Elixirs, Incense, and Health Potions
The Alchemist offers helpful consumables at the cost of foraged materials found throughout Sanctuary.
- Craft your Elixir:
 Elixir of Advantage II for Attack Speed and Lucky Hit bonuses.
- One of each Incense Category can be used, for a total of three active Incenses at a time. In priority:
- Defensive –
 Reddamine Buzz for Max Life
 - Core Stat –
 Blessed Guide for Willpower.
 - Resistance –
 Soothing Spices for All Resist, All Resist Maximum, and Armor.
- Defensive –
Season Updates
There aren’t many changes for Druid in season 12, so expect the same as the past few seasons, gameplay-wise and in terms of which builds are meta. Please enjoy the new ![]() Godslayer Crown, it is wonderful!
Godslayer Crown, it is wonderful!
The ![]() Rotting Lightbringer bugs are all still there. See below.
Rotting Lightbringer bugs are all still there. See below.
The following are important changes in the Season 12 Patch Updates that are specific to the Pulverize Druid. For general Season 12 information, check out our Season 12 Hub.
Bug Fixes
- Fixed an issue where the Unstoppable buff granted by Grizzly Rage could randomly drop off.
Known Bugs for Season 12:
- The Bloody Affix for Willpower% per Killstreak tier is not working.
Known Bugs with ![]() Rotting Lightbringer
Rotting Lightbringer
- This weapon is often unreliable about whether puddles splash, depending on the terrain. This is related to the type of terrain or tile-set, where some are much less likely to have functioning puddles that properly splash. If a new puddle is not sending out splashes, move and try again with the next puddle (fixed in 2.4.0, but then returned in 2.4.1).
- Sometimes puddles can overlap, but it seems to only be when a puddle is broken and not splashing. Note: Spinning around in a circle, orbwalking, or juking away and back after pulverizing lets you place another puddle in the same spot. Why? Shrug. It’s strong to do so though.
- There is sometimes a lockout cooldown on how often you can place puddles, but this is not on a reliable timer.
- Splash Projectiles always Overpower, but they may not Critically Strike if they land outside an active puddle.
- Splash Projectile volume is not improved by Chance to Cast Pulverize Twice.
- While using Shockwave Aspect, more splash projectiles will be shown, but it is the same number of impacts, with the extra Projectiles being visual errors.
 Tracker does not improve the duration of puddles.
  Bane does not amp puddle damage or related splash damage.
Changelog
- 13 March, 2026: Updated gear recommendations around the updated Godslayer Crown. Expanded explanations on temper usage. Updated recommended Rune setup and backups. Updated recommended Bloody Affixes based on bug where Willpower% per Killstreak Tier is not working.
- 8 March, 2026: Updated for Patch 2.6 and Season 12. Recommended Bloodied Affixes are in the s12 mechanics section. Updated Mercenary recommendations.
- 16 December, 2025: Updated options for Runes, Skills. Updated Gear Stat Priority on Amulet, Rings and Tempers. Swapped Recommended Aspects Rabid Beast and Werebeast around based on post-ptr changes for better total multipliers. Updated Rotation to account for the favorable puddle overlapping bug.
- 6 December, 2025: Updated for Season 11 and Patch 2.5. Adjusted Skill Points, Gearing and information on Grizzly Rage. Variant for speedrunning re-added.
- 6 October, 2025: Adjusted offensive tempers in the gearing section to better account for seasonal powers. Added addenda in Other Chaotic Considerations for high pit push options. Added more Known Bugs.
- 26 September, 2025: Minor updates to suggested Chaotic Setup.
- 21 September, 2025: Updated for Patch 2.4 and Season 10. Seasonal Players, please note that the Season 10 Mechanics section has setups that include the seasonal Chaos Armors.
