


This is a legacy build that is not competitive for the current version of Diablo 4 and which we do not recommend using. It only exists for documentation purposes and will not receive further updates.
Last Updated for Season 7.
Build Introduction
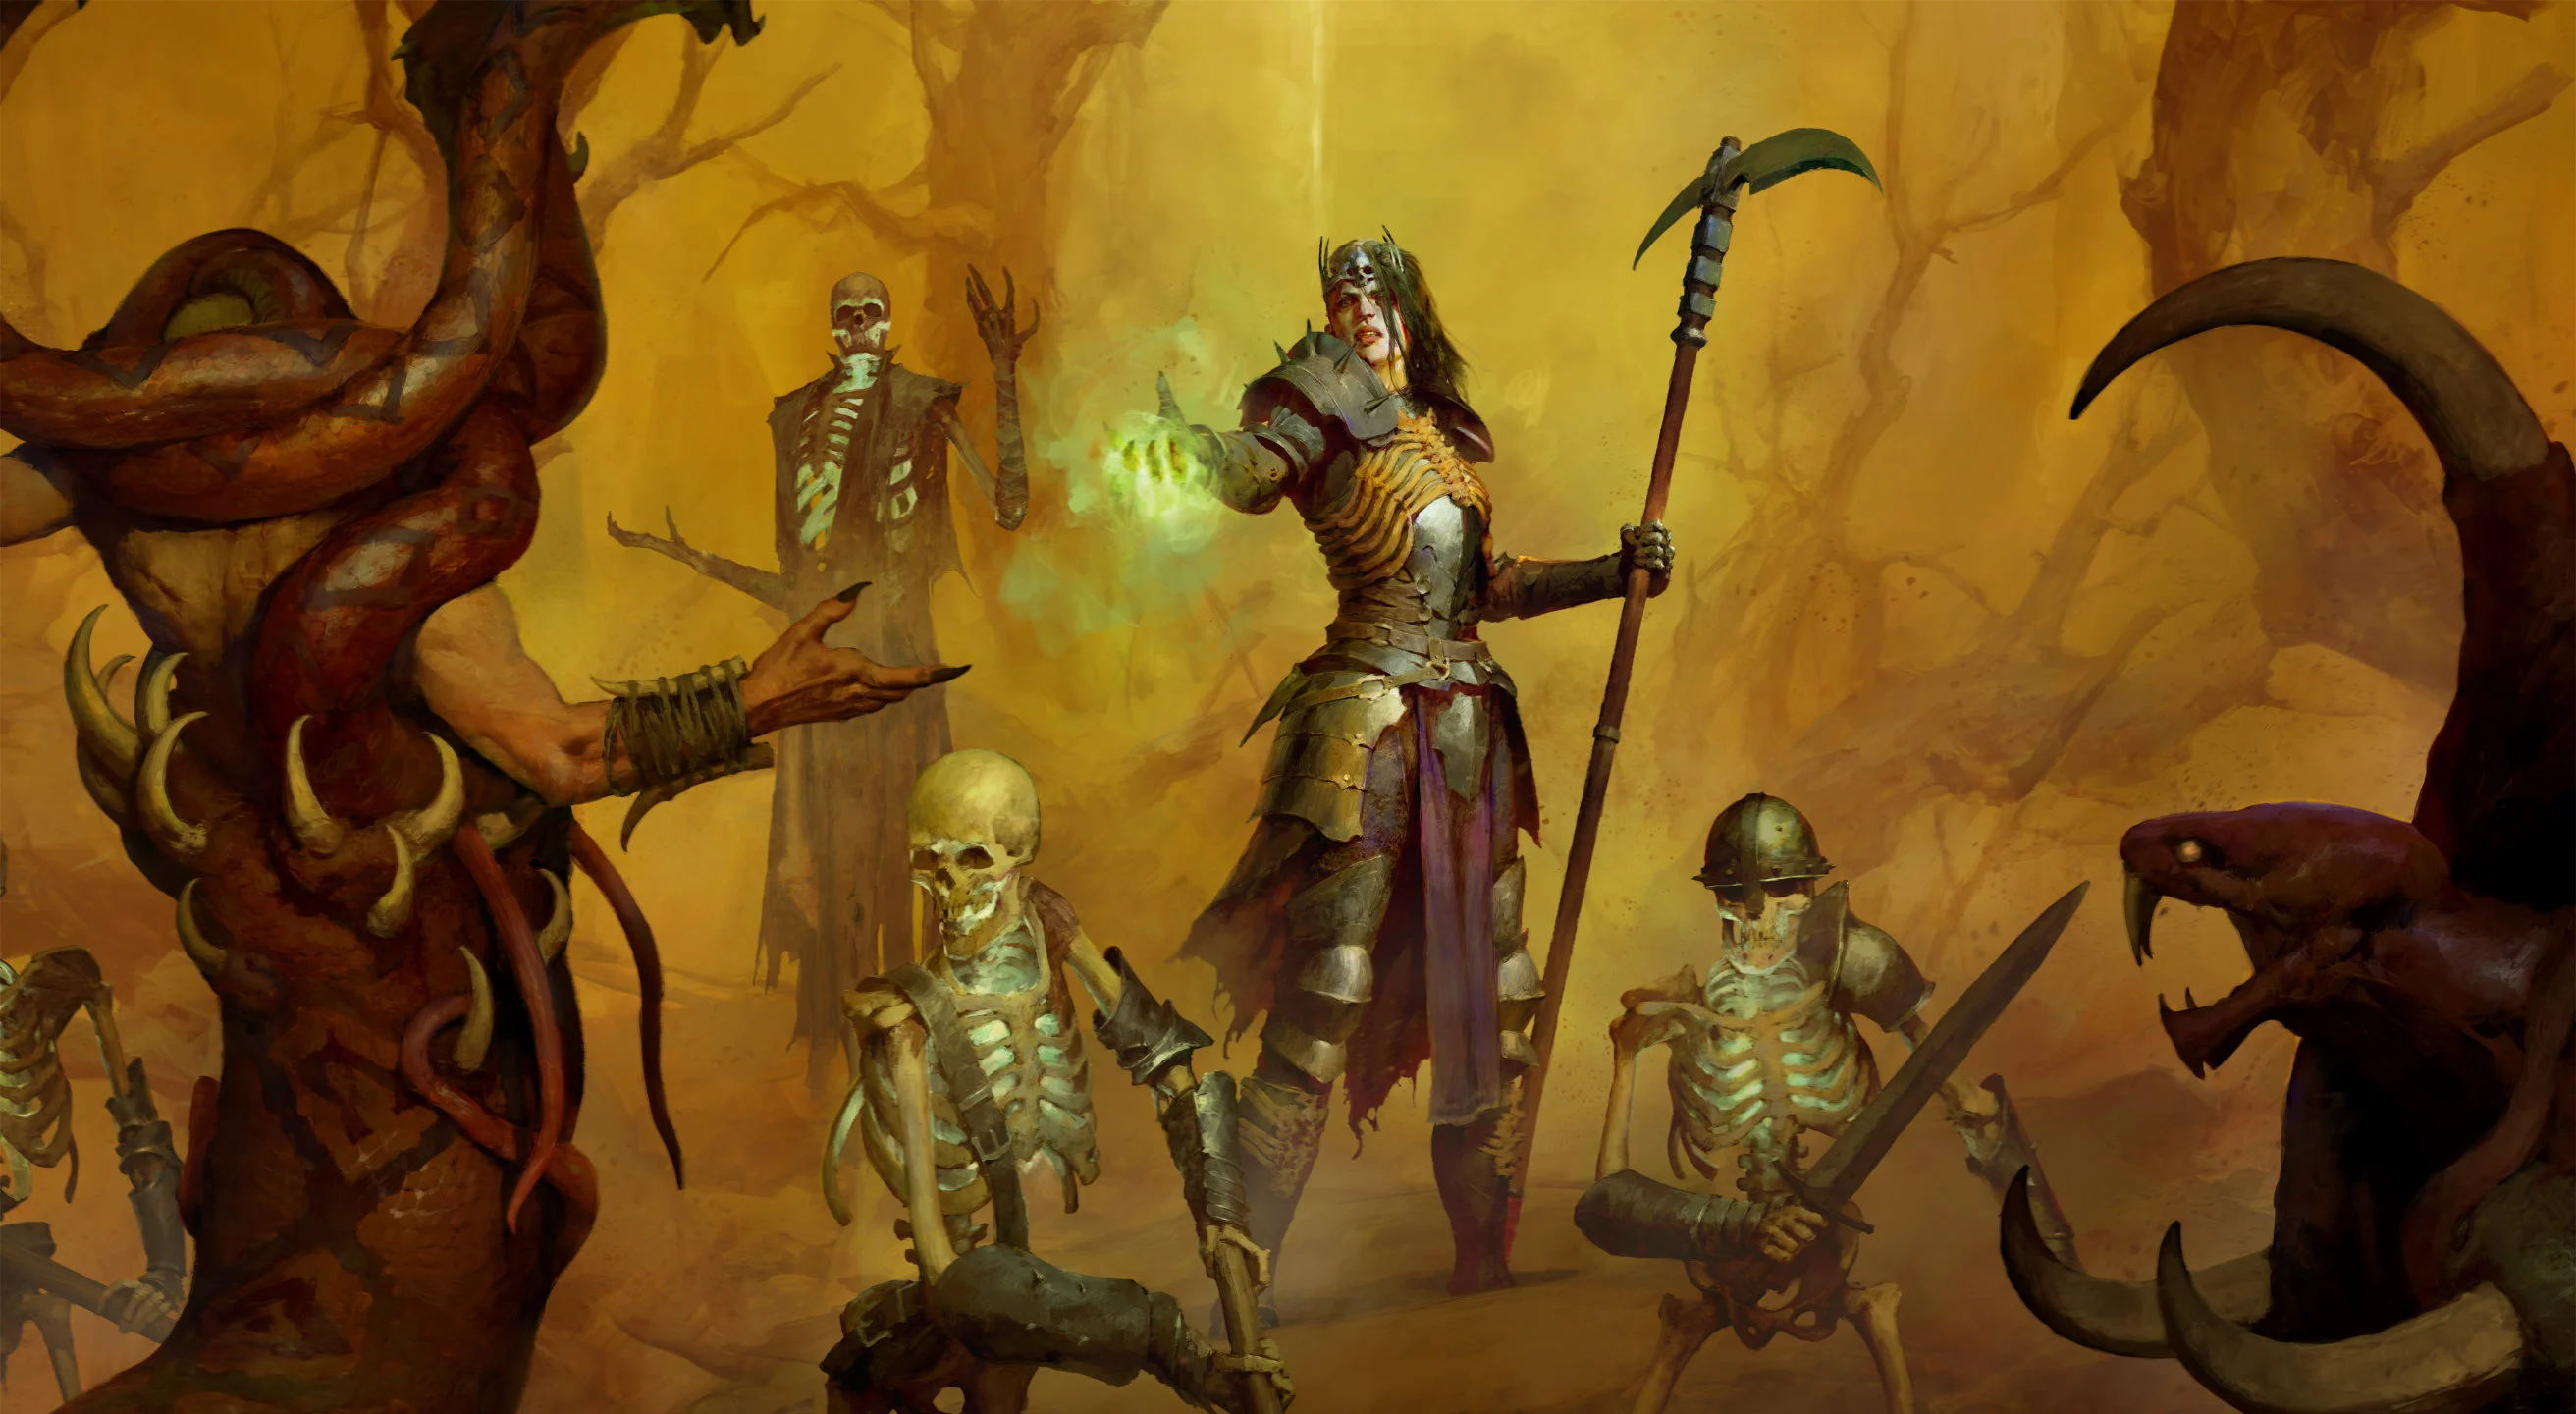
This build is showing how you can make a Shadow damage focused minion army playstyle in Diablo 4, for optimal performance I’d strongly recommend looking at the Mendeln Summoner Endgame Guide.
The beloved playstyle of having an army of Skeletal Minions destroying everything for you is the main focus of this build guide. The build will require certain Legendary Powers to be a performing character, which is covered in this guide. Outside of having Minions as the main source of damage, we will be Cursing enemies with  Decrepify and Slowing them down on top of consistent cooldown recovery, allowing for high up-time of
 ![]() Soulrift. This is combined with the Golem, creating a build dealing tons of damage. This specific version of the Summoner build is referred to as a Shadow Minion build, and since we are using both Skeletons and Golems, Zoomancer is often a common name for the build!
Soulrift. This is combined with the Golem, creating a build dealing tons of damage. This specific version of the Summoner build is referred to as a Shadow Minion build, and since we are using both Skeletons and Golems, Zoomancer is often a common name for the build!
You are able to level with this build however, if you are new to the game, we would strongly recommend checking out the Necromancer Leveling guide for the smoothest experience going through the campaign before switching to this build.
Have questions or feedback on this guide? Join the livestream and ask me!
Strengths and Weaknesses
- Truly a pure minion Necromancer build
- Safe build, thanks to our meat shield army
- High end-game version is incredibly strong
- Relies on minion AI
- Most legendary powers comes from drops
To see how this build compares to the other builds on our site, you can check out our build tier lists.
Build Requirements
This build has no mandatory items or Aspects to function, meaning you can play it right from the start! However, both ![]() Heir of Perdition and
Heir of Perdition and ![]() Tibault’s Will are extremely potent for the build.
Tibault’s Will are extremely potent for the build.
Build Variants
A build variant is a modified version of an existing build that changes some aspects of it, such as the damage type, specific skills or passives, and even certain items like different Unique or Legendary Aspects.
Below, you will find any variant that relates to the Shadow Summoner / Zoomancer Necromancer.
Skill Bar and Skill Tree Points
Follow the points allocated in the Skill Tree above for the complete 71-point build. The additional 12 skill points are completed using the Renown system.
Book of the Dead
Since we are focusing on dealing damage with our minions, we will be keeping all our minions alive for this build, and not sacrificing any of them.
- Melee Skeletons: Reaper – Grab the corpse generating upgrade here.
- Mage Skeletons: Shadow – Having more multiplicative damage per active Shadow Mage will directly scale our minions damage output.
- Golem: Blood – The second option lets the Golem deal significantly more damage as well as extra defensive mitigation.
Mercenary
Aldkin is a great choice with crowd-controlling features but the comfortability of using Subo, who brings the ability of revealing enemies and materials in the area, makes him a natural preferential decision. The mercenaries are a nice addition to the game and whichever you chose to run is up to you. The recommendation for this build will be to run Subo.
Skill-tree wise we’ll grab the left-hand side first for ![]() Wire Trap to provide stuns with the following node is up to you.
Wire Trap to provide stuns with the following node is up to you. ![]() Trip Mines is the next big notable to grab, taken for safety reasons. We finish that tree with
Trip Mines is the next big notable to grab, taken for safety reasons. We finish that tree with ![]() Mastermind.
Mastermind.
For the reinforcement, stick with Raheir, utilizing his Bastion skill being cast when the player becomes injured.
Witchpowers
In Season 7 we will have access to Witchpowers granting some absolutely crazy abilities that we’ll utilize to enhance our builds power. Below, you’ll find a list of the recommended powers we use for this build.
Red Power (Unique):
Purple Powers:
Paragon
Below you’ll find the entire end-game paragon board set-up for this build in detail!
Gear, Gems, Elixirs, and Stats
The following sections cover the important systems that are essential to improving the power of your character in the endgame of Diablo 4.
Legendary Aspects
Each aspect is listed with its matching gear slot. Do your best to keep each aspect in the assigned slot. Additionally, if you are trying to farm a specific item, we recommend using your Obols to target farm them!
| Gear Slot | Gems | Aspect / Unique | Legendary Aspect / Unique Power |
|---|---|---|---|
| Helm | Succumb to hatred and earn Mother’s Favor, increasing your damage deal by x60%. Briefly steal Mother’s Favor from Nearby allies by slaughtering enemies. | ||
| Chest |  Aspect of Hardened Bones Aspect of Hardened Bones | You gain 15-20% increased Damage Reduction. | |
| Gloves | N/A |  Aspect of Reanimation Aspect of Reanimation | Your Minions gain increased damage while alive, up to 30-40% after 10 seconds. |
| Pants | You deal 10-20% increased damage while unstoppable and for 5 seconds after. When you become Unstoppable, gain 50 of your Primary Resource. | ||
| Boots | N/A |  Blood Getter’s Aspect Blood Getter’s Aspect | Your Skeletal Priests also empower you at 55-75% effectiveness. |
| Weapon 2H (Scythe) | Aspect of the Great Feast | Your Minions deal 30-45% increased damage, but each one drains 1 Essence from you per second. | |
| Amulet (50% Scaling) | Any Resistance Gem | Aspect of Occult Dominion | Your maximum number of Skeletal Warriors and Skeletal Mages is increased by 2. |
| Ring | Any Resistance Gem | Conceited Aspect | Deal 10-30% increased damage while you have a Barrier active. |
| Ring | Any Resistance Gem | Aspect of Frenzied Dead | Each time one of your Minions damages an enemy, they gain 10-18% Attack Speed for 3 seconds, up to 30-54% |
Once you’re able to sustain ![]() Soulrift you can replace Frenzied Dead Aspect for Conceited Aspect.
Soulrift you can replace Frenzied Dead Aspect for Conceited Aspect.
Gems and Runewords
See below for a more detailed explanation of the best Gems to socket into your gear for each category.
| Weapon Gems | Armor Gems | Jewelry Gems |
|---|---|---|
For Crit Damage. | For increased Intelligence. |
The following Runewords are recommend to be used for this build.
| Runeword Combination | Effect |
| Gain 50 Offering when casting a skill with a cooldown 500 Offering will trigger the Barbarians Enhanced War Cry increasing your movement speed and damage dealt. | |
| Standing still gives you 25 Offering every 0.3 seconds 100 Offering will summon multiple wolves which will attack enemies for 8 seconds. |
In Season 7 we’ll have access to Occult Gems, below you’ll find the list of these gems we want to use for this build.
Which Elixirs Should You Use?
Visit the Alchemist and craft an Elixir providing any Resistance you need most, or the ![]() Elixir of Advantage to increase Attack Speed. Some Elixirs cannot be crafted and only drop from things like Helltides or Nightmare Dungeons. Additionally, make sure to keep your health potion upgraded!
Elixir of Advantage to increase Attack Speed. Some Elixirs cannot be crafted and only drop from things like Helltides or Nightmare Dungeons. Additionally, make sure to keep your health potion upgraded!
Stat Priority and Tempering Affixes
Below are the affixes to prioritize on gear. Each line of affixes is listed in order of importance. Tempering Manuals and their recommended affixes are provided in the second column, and the bolded affixes are the most important targets for Masterworking upgrades. Be sure to check our Tempering and Masterworking guides for more details about these topics.
| Slot | Targeted Gear Affixes | Tempering Affixes |
|---|---|---|
| Chest | 1. Armor 2. Maximum Life 3. Intelligence | |
| Gloves | 1. Intelligence 2. Maximum Life 3. Critical Strike Damage | |
| Boots | 1. Maximum Life 2. Movement Speed 3. Intelligence | |
| Amulet | 1. Ranks to Hellbent Commander 2. Movement Speed 3. Cooldown Reduction | |
| Ring | 1. Critical Strike Chance 2. Attack Speed 3. Intelligence | |
| Ring | 1. Lucky Hit: Chance to Make Enemies Vulnerable for 2 seconds. 2. Critical Strike Chance 3. Intelligence | |
| 2H-Weapon | 1. Critical Strike Damage 2. Intelligence 3. Maximum Life |
Keep in mind that the maximum Resistance is 70% by default for each element and can be increased to 85% by various sources.
Rotation and Playstyle
This builds main priority is to make sure all of the minions are alive and well. Ensure to use the Raise Skeleton skill every 5 seconds, keeping the damage buff active and heal your minions Minions. Outside of this, it’s important you keep enemies Cursed with Decrepify and spam your Golem skill for damage output. Using the ![]() Golem skill will render us Unstoppable and commands the Golem to taunt nearby enemies to keep us safe.
Golem skill will render us Unstoppable and commands the Golem to taunt nearby enemies to keep us safe.
Make sure to check out the advanced Build Mechanics section for a more in-depth description of how the build works, what synergies exist, and what to look out for.
Uniques and Mythic Uniques
Below you will find information on Uniques and Mythic Uniques that are useful for this build. Moreover, if you are interested in target farming Mythic Uniques, check out our How to Farm Uber Uniques guide.
Uniques & Mythic Uniques
Both ![]() Tibault’s Will and
Tibault’s Will and ![]() Heir of Perdition are extremely potent for this build and should not be replaced. Aspect of Hardened Bones could be replaced by
Heir of Perdition are extremely potent for this build and should not be replaced. Aspect of Hardened Bones could be replaced by ![]() Tyrael’s Might for higher end-game content.
Tyrael’s Might for higher end-game content.
Advanced Information
Below, you will find every additional piece of information you need to know for a more in-depth look at this build.
Build Mechanics
Needless to say, your minions are doing most of the heavy lifting. Ultimately, you’re looking at staying behind your minion army, filling the screen with destructive powers of shadow.
Defenses
Your Golem will not just taunt nearby enemies, but also make you Unstoppable, preventing you from be effected by crowd-control. Besides that and the army of skeletons protecting you, the build itself features extremely good defensive layers in the form of damage reduction, resistance caps, and armor.
Offenses
The damage output is all about your Golem; the other minions will be doing damage as well, but nothing like what the Golem puts out! The sheer amount of minions will scale the performance of the builds damage output.
Obol Gambling
Obol gambling is a great way to potentially find item upgrades or items missing from your build. Check out the new tool guide from Icy Veins for gambling Obols in the link below:
Changelog
- February 27th, 2025: Updated Termper Manual tooltips (Minion Augments).
- January 19th, 2025: Guide updated for Season 7.
- October 12th, 2024: Added Detailed Paragon Boards
- October 2nd, 2024: Guide updated for Season 6.
- August 5th, 2024: Guide updated for Season 5, Infernal Hordes.
- May 20th, 2024: 1 Aspect change, note for endgame added below that list + gear modifier priority changed.
- May 16th, 2024: Gem updates.
- May 15th, 2024: Guide finalized with Season 4 gear changes!
- May 14th, 2024: Minor tweaks on aspects and skill-tree.
- May 10th, 2024: Guide updated for 1.4.
- March 5th, 2024: Guide updated for 1.3.3.
- January 22nd, 2024: Guide updated for Season 3 Season of the Construct.
- October 28th, 2023: Improved the entire Paragon Board.
- October 22nd, 2023: Minor Skill-Tree Adjustments.
- October 15th, 2023: Guide updated for Season 2 Season of Blood, Patch 1.2.
- August 7th, 2023: Guide updated for Patch 1.1.1.
- July 19th, 2023: Guide updated for Season 1 including Malignant Hearts.
