Necromancer Rathma Set Dungeon Guide
Welcome to our guide to complete the Rathma set dungeon for Necromancers, a required step to complete the Masters of the Universe Conquest.
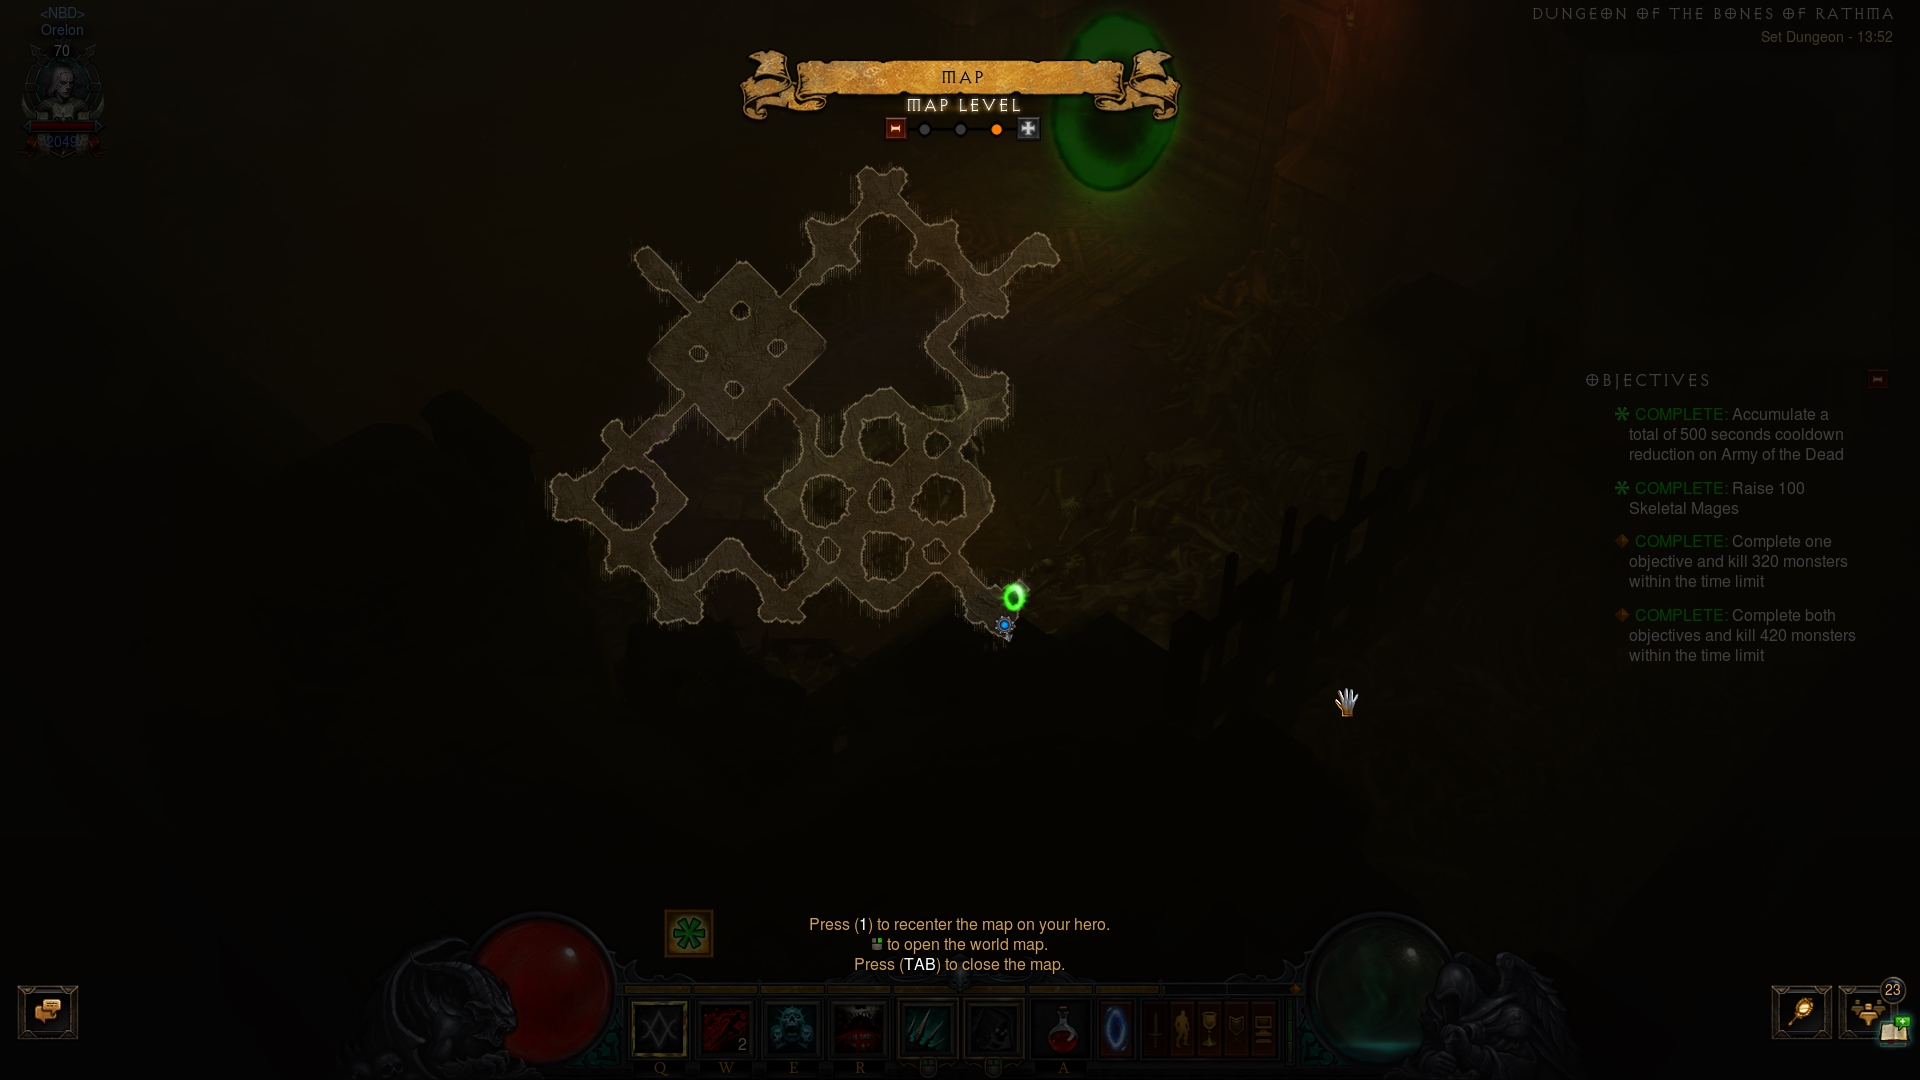
Overview of the Bones of Rathma Set Dungeon
The Bones of Rathma Set Dungeon is located in Act II, The Sacred Path. Teleport to the Temple of the Firstborn Level 1, and walk back out the nearby entrance. Traverse the long corridor backwards and into the cave. Shortly before the opening to the previous zone, The Shrouded Moor, the portal for the Rathma Set Dungeon will appear if you have the Bones of Rathma 6-piece bonus equipped.
The Bones of Rathma Set Dungeon's two unique Primary Objectives are to: 1)
Accumulate a total of 500 seconds cooldown reduction on ![]() Army of the Dead;
and 2) Revive 100 Corpses.
Army of the Dead;
and 2) Revive 100 Corpses.
The Bones of Rathma Set Dungeon is a Plague Tunnel tileset of a relatively small size. A proven attempt path is to clear the interlocking corridors right past the starting point, and then doing a clockwise movement through the map to clear the remaining areas.
The Bones of Rathma Set Dungeon is populated by several kinds of enemies:
- Skeletal Crawlers, Blazing Bone Warriors and Archers — posing next to
no threat, the horde of these enemy types will largely serve to reset your
 Army of the Dead CDs through the attacks of your minions.
 - Rathma's Furnaces — the unique enemies of the map. They resemble Act 1's Savage Beast trash, but also have the Desecrator and Molten affixes. Their charge attack can dish out some respectable damage, but is very clearly telegraphed and easily avoidable.
Tips for the Bones of Rathma Set Dungeon
The Bones of Rathma Set Dungeon is, unfortunately, of the type that benefits
from nerfing your build and toning down your damage. Having the
![]() Revives or even your own basic attacks oneshot the dungeon's trash
will act against the vital cooldown resets from the Rathma 2-piece bonus for the
1st Objective, so take some simple steps to lower your damage to the 300-400k
point: drop Intelligence and Offense-section Paragons, drop Crit Damage gems from
weaponry, drop excess offense jewelry and legendary gems. Rathma build staples
like the Jesseth set
(
Revives or even your own basic attacks oneshot the dungeon's trash
will act against the vital cooldown resets from the Rathma 2-piece bonus for the
1st Objective, so take some simple steps to lower your damage to the 300-400k
point: drop Intelligence and Offense-section Paragons, drop Crit Damage gems from
weaponry, drop excess offense jewelry and legendary gems. Rathma build staples
like the Jesseth set
(![]() Jesseth Skullscythe and
Jesseth Skullscythe and ![]() Jesseth Skullshield) or
Jesseth Skullshield) or
![]() Trag'Oul's Corroded Fang can also be avoided.
Trag'Oul's Corroded Fang can also be avoided.
Avoid making direct attacks on the enemy with your generator altogether. Also,
whenever ![]() Army of the Dead is cast (and it should be used on cooldown, to
work on your 1st Objective), you can try to minimize its victims or even aim it
into a previously cleared area while you are still working on said Objective.
Killing off large heaps of trash with non-minion attacks is a somewhat
unnecessary display of power while you still have the first task incomplete, and
you should leave all the work to the
Army of the Dead is cast (and it should be used on cooldown, to
work on your 1st Objective), you can try to minimize its victims or even aim it
into a previously cleared area while you are still working on said Objective.
Killing off large heaps of trash with non-minion attacks is a somewhat
unnecessary display of power while you still have the first task incomplete, and
you should leave all the work to the ![]() Revives and
Revives and ![]() Command Skeletons
to maximize the cooldown resets.
Command Skeletons
to maximize the cooldown resets.
Build for the Bones of Rathma Set Dungeon
| Active Skills |
|---|


|
| Passive Skills |
| Slot | Pieces | Stat Priority |
|---|---|---|
| Head |
|
|
| Shoulders |
|
|
| Torso |
|
|
| Wrists |
|
|
| Hands |
|
|
| Waist |
|
|
| Legs |
|
|
| Feet |
|
|
| Amulet |
|
|
| Ring #1 |
|
|
| Ring #2 |
|
|
| Weapon |
|
|
| Off-hand |
|
To help you with farming the gear you need for your builds, we have two very useful guides that you can access by clicking the links below: a Salvage Guide to help you quickly check whether or not you can safely salvage a piece of gear and a Legendary Farming Guide to help you efficiently farm legendaries and set items.
| Slot | Gems |
|---|---|
| Jewelry |
|
| Helm |
|
| Torso and Pants |
|
| Weapon |
Kanai's Cube
- Weapon Slot:
 In-geom
 - Armor Slot:
 Fate's Vow
 - Jewelry Slot:
 Ring of Royal Grandeur
Changelog
- 20 Apr. 2021: Revised the guide to the current bonuses of the Rathma set.
- 04 Mar. 2018: Added guide.
This build is presented to you by Deadset, one of the very few professional Diablo 3 players. Deadset regularly publishes video guides on Youtube and streams on Twitch, where you can see how this and other builds play out in practice.
- No BlizzCon in 2024
- Season 31 Guides: Everything You Need to Know
- Blizzard Games Return to China: New Agreement Signed With NetEase
- Diablo 3 Season 31 Preview
- Blizzard Reportedly Reuniting with NetEase to Bring Back WoW in China
- Ex-Activision Blizzard CEO Bobby Kotick Shows Interest in Buying TikTok
- Timeline of Blizzard Presidents
- Johanna Faires Appointed Blizzard Entertainment President