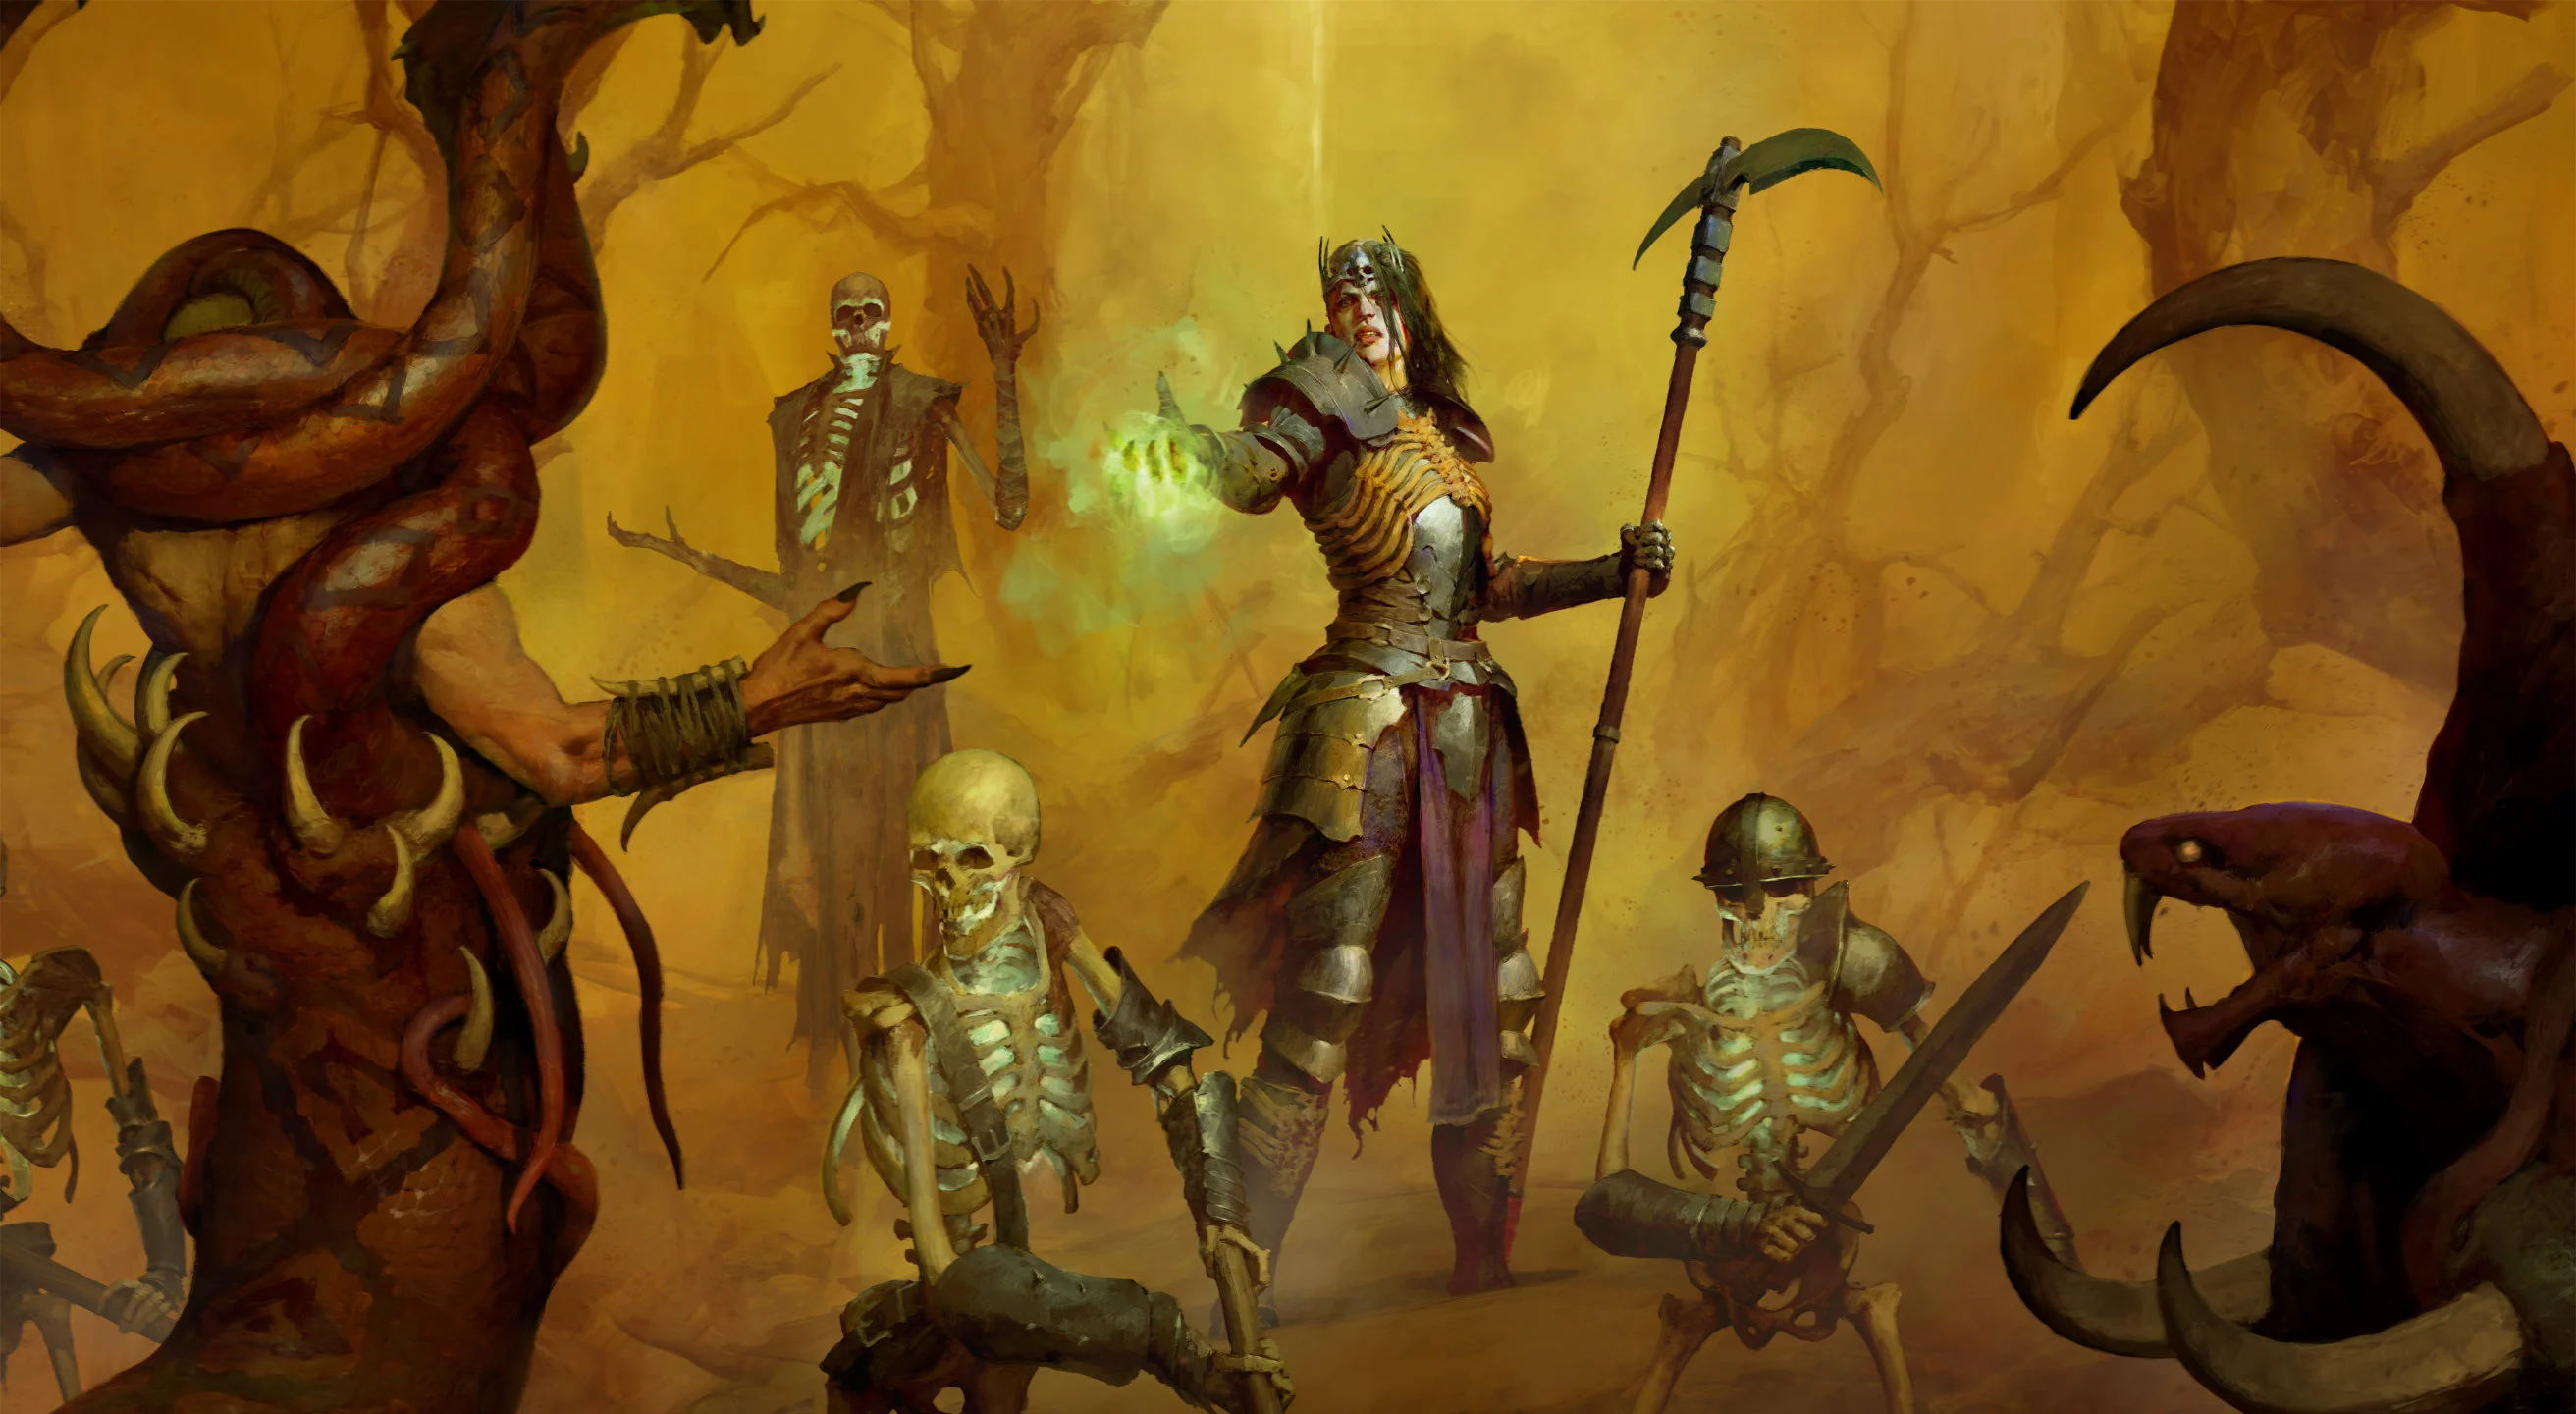


Build Introduction
This heavy set-up ![]() Dead Cold
Dead Cold ![]() Army of the Dead focuses on stacking Crowd Control duration bonuses to prolong Freeze effects which scale
Army of the Dead focuses on stacking Crowd Control duration bonuses to prolong Freeze effects which scale ![]() Signet of Pelghain, stacking endless damage multiplier. The build has a very specific way of delivering damage by consuming corpses and Freezing enemies first and then unleashing screen-wide damage. With each repetition and Freeze or Staggering duration your damage output significantly ramps.
Signet of Pelghain, stacking endless damage multiplier. The build has a very specific way of delivering damage by consuming corpses and Freezing enemies first and then unleashing screen-wide damage. With each repetition and Freeze or Staggering duration your damage output significantly ramps.
Have questions or feedback on this guide? Join the livestream and ask me!
To see how this build compares to the other builds on our site, you can check out our build tier lists.
Strengths and Weaknesses
- Great Crowd Control via Freezes
- Big minion army
- Tanky
- Complex rotation to be played
- Hard to get Critical Strike Chance cap
To see how this build compares to the other builds on our site, you can check out our build tier lists.
Build Requirements
Quick Navigation
Want to skip ahead? Use the table below to jump to the sections you are looking for.
Skill Bar and Skill Tree Points
Use the Skill Tree above to complete an 83-point build. 69 skill points are gained by leveling, and 14 skill points are locked behind the Season Rank System or Renown for Seasonal or Eternal characters, respectively.
![]() Decrepify and
Decrepify and ![]() Iron Maiden are activated via
Iron Maiden are activated via ![]() Blood Moon Breeches as well as
Blood Moon Breeches as well as ![]() Teb Runeword and are not needed on the skill bar.
Teb Runeword and are not needed on the skill bar. ![]() Decrepify ranks above 1 are the lowest priority and are leveled by the last Skill Points remaining.
Decrepify ranks above 1 are the lowest priority and are leveled by the last Skill Points remaining.
The new Lord of Hatred expansion Skill Tree unlocks in stages, permanently unlocking new skill clusters. For example, Necromancer Curses unlock at Level 13, so from Level 13 it is possible to refund all previously allocated skill points and start leveling skills starting from the Curses cluster right away, or anywhere above it.
Skill points from the Season Rank System or Renown do not affect Skill Tree progress and can be allocated to skill ranks you already unlocked.
Class Mechanic – Book of the Dead
This build will use the Sacrifice bonus from all our minions.
 Skeletal Warriors: Reaper [Upgrade #1] – Skeleton Warrior is also a Darkness Skill. Upgrades Reaper’s wind-up attacks now reduce one of your active Cooldowns by 3 seconds and form a Corpse.
- Skeletal Mages: Shadow [Ugprade #2] – Skeleton Mage is also a Darkness Skill. Upgrades Shadow Mages’ bolts grant you and the Shadow Mage a Barrier for 4.2% of your Maximum Life # for 4 seconds, up to 42%.
 Golem: Iron [Sacrifice] – You deal x15% increased Critical Strike Damage, but your Golem does x50% less damage.
Gear, Stats, Gems, and Runes
The following sections cover the essential itemization to improve the power of your character in the endgame of Diablo 4.
For the dedicated page on Gear Systems and Itemization Overview, check the guide here.
Legendary Aspects
Each aspect is listed with its matching gear slot. Do your best to keep each aspect in the assigned slot. Aspects placement is planned with potential Unique and Mythic Unique gear upgrades in mind for the easiest and cheapest transition.
The Purveyor of Curiosities is an excellent way to obtain specific slot Legendary Aspects, and even Uniques – by gambling with ![]() Murmuring Obols you farmed in your journey.
Murmuring Obols you farmed in your journey.
Multiple Legendary Aspects and Uniques options are ordered in descending priority order :
| Gear Slot | Sockets | Aspect / Unique | Description |
|---|---|---|---|
| Helm | Runeword | Your maximum number of Skeleton Warriors and Skeleton Mages is increased by 4 and your Summon damage is increased by 25.0%[x] [15.0 – 25.0]%. Commanding Skeleton Warriors also causes Skeleton Mages to focus the same target for 5 seconds. | |
| Chest | Runeword |  Aspect of Heavenly Strength Aspect of Heavenly Strength | While wielding a Two-Handed Weapon, gain 40% [30 – 40]% Damage Reduction. |
| Gloves | n/a |  Aspect of Frozen Memories Aspect of Frozen Memories | Cold damage deals 68%[x] [45 – 68]% increased damage to Chilled enemies, this bonus is tripled against Frozen enemies. |
| Pants | 1. 2. Aspect of Death’s Defense | Your Summons have #% chance to randomly inflict | |
| Boots | n/a | 1.  Exploiter’s Aspect (If Exploiter’s Aspect (If 2. Aspect of Hewed Flesh3. Aspect of Biting Cold | Lucky Hit: Up to a 25% chance to form a Corpse at the target’s location. Your Corpse Skills deal 20.0%[x] [15.0 – 20.0]% increased damage. |
| Weapon 2H | Your Summons’ damage afflict enemies with Vampiric Curse. Consuming a Corpse also contributes 3 souls to Vampiric Curse, which can now stack up to 20 souls. Only Army of the Dead can now unleash the souls from Vampiric Curse, causing both Army of the Dead and the souls to deal 25.0%[x] [20.0 – 25.0]% increased damage per soul unleashed. | ||
| Amulet (150% Scaling) | 1. [MANDATORY Transfigured] Tidal Aspect2. Hellbent Commander Aspect [Transfigured] Exploiter’s Aspect | After you spend 275 of your Primary Resource, gain 4 stacks of Overpower. Your Critical Strikes deal 9%[x] [7 – 9]% increased damage per stack of Overpower. IMPORTANT – Check unique item section for how to enable | |
| Ring | 1. Hellbent Commander Aspect 2. Crushing Aspect | You deal 90%[x] [60 – 90]% increased Summon damage. | |
| Ring | Your Freeze effects cause enemies to permanently take 20%[x] [15 – 20]% increased damage from you for each second they are Frozen. |
Affixes and Tempering Priority
Be sure to check our Tempering and Masterworking guides for more details about these mechanics.
For the dedicated page on Gear Systems and Itemization Overview, check the guide here.
Gear affixes are ordered by descending priority for acquiring, Greater Affix and masterworking crit desirability.
| Slot | Affixes | Tempering Affixes |
|---|---|---|
 1. Maximum Life 1. Maximum Life2. Resistance to All Elements 3. Armor 4. [Guaranteed Modifier] Intelligence 5. Essence per Second 6. [Guaranteed Modifier] + Ranks to Minion Skills | Defensive – #% Chance For Minion Attacks to Fortify You for 3% Maximum Life | |
| Chest | 1. Maximum Life 2. Resistance to All Elements 3. Armor 4. Intelligence 5. Essence per Second | Utility – Crowd Control Duration |
| Gloves | 1. Critical Strike Chance 2. x% Vulnerable Damage Multiplier 3. Critical Strike Damage Multiplier 4. x% Cold Damage Multiplier 5. x% All Damage Multiplier 6. Maximum Life 7. Intelligence 8. Attack Speed | Offensive – Critical Strike Chance |
| 1. [Guaranteed Modifier] Critical Strike Damage Multiplier 2. Maximum Life 3. Essence per Second 4. Resistance to All Elements 5. Armor 6. [Guaranteed Modifier] Intelligence | Defensive – Maximum Life | |
| Pants | 1. Maximum Life 2. Essence per Second 3. Armor 4. Resistance to All Elements 5. Intelligence 6. Maximum Life | Defensive – Maximum Life |
| Boots | 1. Movement Speed 2. Maximum Life 3. Armor 4. Resistance to All Elements 5. Intelligence 6. Essence per Second | Mobility – Movement Speed |
| 1. x% Vulnerable Damage Multiplier 2. Critical Strike Chance 3. [Guaranteed Modifier] Critical Strike Damage Multiplier 4. x% Cold Damage Multiplier 5. x% All Damage Multiplier 99. [Guaranteed Modifier] Intelligence | Offensive – Vulnerable Damage | |
| Amulet | 1. x% Vulnerable Damage Multiplier 2. Critical Strike Chance 3. Critical Strike Damage Multiplier 4. x% Cold Damage Multiplier 5. x% All Damage Multiplier 6. Intelligence | Offensive – Vulnerable Damage |
| 1. x% Vulnerable Damage Multiplier 2. Critical Strike Chance 3. [Guaranteed Modifier] Critical Strike Damage Multiplier 4. x% Cold Damage Multiplier 5. [Guaranteed Modifier] x% All Damage Multiplier 6. Maximum Life 7. [Guaranteed Modifier] Intelligence | Offensive – Vulnerable Damage | |
| 1-2 x Ring | 1. x% Vulnerable Damage Multiplier 3. Critical Strike Chance 4. x% Critical Strike Damage Multiplier 5. x% Cold Damage Multiplier 6. x% All Damage Multiplier | Offensive – Vulnerable Damage |
| 1. [Guaranteed Modifier] Weapon Damage 2. x% Critical Strike Damage Multiplier 3. x% Cold Damage Multiplier 4. x% All Damage Multiplier 5. Maximum Life or Intelligence 99. [Guaranteed Modifier] Physical Damage | Weapons – Critical Strike Chance |
Desired Transfigured outcomes:
- Relevant damage type multipliers
- Critical Strike Chance – Very important to reach 100% Critical Strike Chance cap, recommended to try to transfigure multiple gloves and chests to get this outcome!
- Item Quality
Ancestral and Mythic Uniques
See below for information on useful Uniques and how they integrate into this build:
| Unique | Category | Synergy and integration conditions | Source (highest chance) |
|---|---|---|---|
| Required Mid priority for Mythic quality | – Adds massive amounts of skeletons – Good damage multiplier on a defensive slot – Allows for focus targeting | Duriel | |
| Best in Slot High priority for Mythic quality | – Multiple high damage multipliers | Astaroth | |
| Required High priority for Mythic quality | – Enables endless and permanent damage multiplier scaling from each second of Freeze effect duration | Beast in the Ice | |
| Best in Slot High priority for Mythic quality | – REQUIRES imprinted Tidal Aspect using Kullean Tuning Prisms with the Horadric Cube (or have the aspect temporarily on boots till you get this imprinted) – Used in pair with – Enables overpower scaling | All bosses (Global Drop) | |
| Required Highest priority for Mythic quality | – Synergy with Vampiric Curse – Huge scaling with stacked Vampiric Curse Souls | Lord Zir |
Gems and Runewords
See below for a more detailed explanation of the best Gems and Runewords to socket into your gear.
| Weapon Gems | Armor Gems | Jewelry Gems |
|---|---|---|
| – | ||
| – | – | |
| Increased %[x] Cold Damage. | Increased Intelligence. | Resistances against buffed Lightning and Fire Elite Affixes. |
| Runeword | Role | Effect |
|---|---|---|
| Endgame Important | Invoke the Druid’s | |
| Endgame Important | Invoke the Necromancer’s |
Paragon Board
Below you’ll find the entire endgame paragon board with recommended glyphs, optimal pathing, and both minimal and nearly maximum investments!
Board attachment order and pathways:
- Starter board – Glyph Slot
 Mage
Mage - Frailty – Legendary Node (Skip Resistance clusters, we grab them later)
- Frailty – Glyph Slot
 Warrior
 - Flesh-Eater – Legendary Node (Skip Resistance clusters, we grab them later)
- Wither – Legendary Node
- Blood Begets Blood – Legendary Node
- Blood Begets Blood – Glyph Slot Control
- Grab the previous Resistance clusters you skipped on Frailty and Flesh-Eat Boards
- Wither – Glyph Slot Essence
- Use the Paragon 300 tree to swap glyphs and positions
- Fill Intelligence nodes around Control
- Grab the remaining magic and rare clusters
- Fill the Intelligence nodes around Eliminator
- Grab any remaining nodes according to the tree
It is imperative to level up all Glyphs to level 25 first to increase their activation radius, and then to level 51 to unlock the secondary damage multiplier. For more information about Paragon Glyphs and how to level them, see here.
Some paragon points are locked behind the Season Rank System. The remaining Paragon points are used to take all Intelligence nodes you can reach and any Magic nodes you may find useful.
Season Mechanics
In Season of Death Awakening, a death cult is after us! Defeat Ruptures, Realmwalkers, Risen, and Reapers for seasonal reputation and rewards. In the endgame, Uniques can now be upgraded to Mythic quality boosting all modifiers to be top rolled and even comes with a 30% bonus to the unique power!
Seasonal content and reputation will be the best source for these new Mythic uniques as well as the required materials to craft them. They can also be crafted at the Jeweler vendor or upgraded through the Horadric Cube. You can equip as many Mythic uniques as you want that were aquired from drops or caches, but you can only have 1 crafted Mythic unique equipped at a time.
Talismans
The Lord of Hatred expansion introduces Talismans as a new character progression and itemization layer. Find, equip, and fill a suitable Horadric Seal with a variety of Charms. These grant everything from plain stats similar to any gear piece to powerful set effects, doubling down on and elevating Necromancer archetypes to new heights.
This build Talisman goalposts would be:
- Legendary Seal with +1 Charm Slot affix, to unlock 6 Charm slots asap.
- Full
 Berú of the Waking Touch Set of any quality. 2-set takes priority over any other Charms, but you’ll want 5 in the end.
 - Charms replacements with better versions of themselves, avoid Lucky Hit modifiers providing random Crowd Control affixes but include affixes like:
- + to All Stats – Mainly for the Dexterity to get higher Critical Strike Chance.
- Any other damage or defensive modifier appropriate for the build.
- +% Critical Strike Chance (Seal) – This is VERY important.
- +% Critical Strike Damage (Seal).
- +% Damage Multiplier (Seal).
- If Mythic
 Banished Lord’s Talisman is obtained then you’d want to use
  Red Blessing.
 - Alternative unique charms, Offensive: Wyrdskin, Godslayer Crown or Will of RathmaDefensive options: Endurant Faith or Temerity.
- Chase unique charms:
 Seal of the Diamond Mind to equip an extra charm.
Mercenaries
During the Vessel of Hatred campaign, you will unlock Mercenaries to assist you. While you can choose freely early on, we recommend Subo as your main merc.
 Wire Trap
 Ready At Hand
 Trip Mines
 Mastermind for crowd control duration.
For the reinforcement, stick with Raheir, utilizing ![]() Provoke when skill cast in combat.
Provoke when skill cast in combat.
Rotation and Build Mechanics
This set-up build brings ![]() Army of the Dead to its full potential by consuming corpses and storing souls for the Vampiric Curse only to unleash it as amplified mega damage with both Vampiric Souls and
Army of the Dead to its full potential by consuming corpses and storing souls for the Vampiric Curse only to unleash it as amplified mega damage with both Vampiric Souls and![]() Army of the Dead on the entire screen!
Army of the Dead on the entire screen! ![]() Dead Cold
Dead Cold ![]() Army of the Dead scales with Aspect of Frozen Memories and
Army of the Dead scales with Aspect of Frozen Memories and ![]() Signet of Pelghain stacking damage multipliers, so with each wave repeatedly frozen enemies keep getting endlessly stacking damage.
Signet of Pelghain stacking damage multipliers, so with each wave repeatedly frozen enemies keep getting endlessly stacking damage.
Rotation and Playstyle
- Initiate the fight with
 Sever to generate a corpse.
 - Send in the
 Skeleton Warrior with their active ability into the fight to start producing corpses for you.
 - Use
 Blood Runs Cold
  Hemorrhage to Freeze dangerous elite enemies, also helps Essence should you need it.
 - Explode the corpses with
 Corpse Explosion till you get high stacks of Vampiric Souls. Maximum stacks is 20 which is used for highest damage output vs bosses or Pit pushing.
 - Re-apply Freeze or stagger on important targets like harder Elites or bosses with Blood Runs Cold Hemorrhage.
- Unleash
 Army of the Dead on unsuspecting enemies who are about to die.
 - Repeat.
For bosses; the more times you stagger them too fast, they become increasingly harder to stagger. After two staggers, it’s better to avoid generating more stagger (using ![]() Hemorrhage) for 15 seconds until boss drops Crowd Control resistance. After this you can stagger the boss again just as easy as the first rounds! Each cycle of staggering the boss with
Hemorrhage) for 15 seconds until boss drops Crowd Control resistance. After this you can stagger the boss again just as easy as the first rounds! Each cycle of staggering the boss with ![]() Signet of Pelghain will add more than 100% more damage multiplier!
Signet of Pelghain will add more than 100% more damage multiplier!
Season Updates
Below you’ll find the most noteworthy changes for Season 14 Death Awakening.
- Most unique items can be made in to Mythic quality.
- Significant nerfs to the Gem strength transiguration option.
- Significant nerfs to the Overpower mechanic but still viable.
 Signet of Pelghain limited to cold damage.
Changelog
- June 28th, 2026: Guide added!
