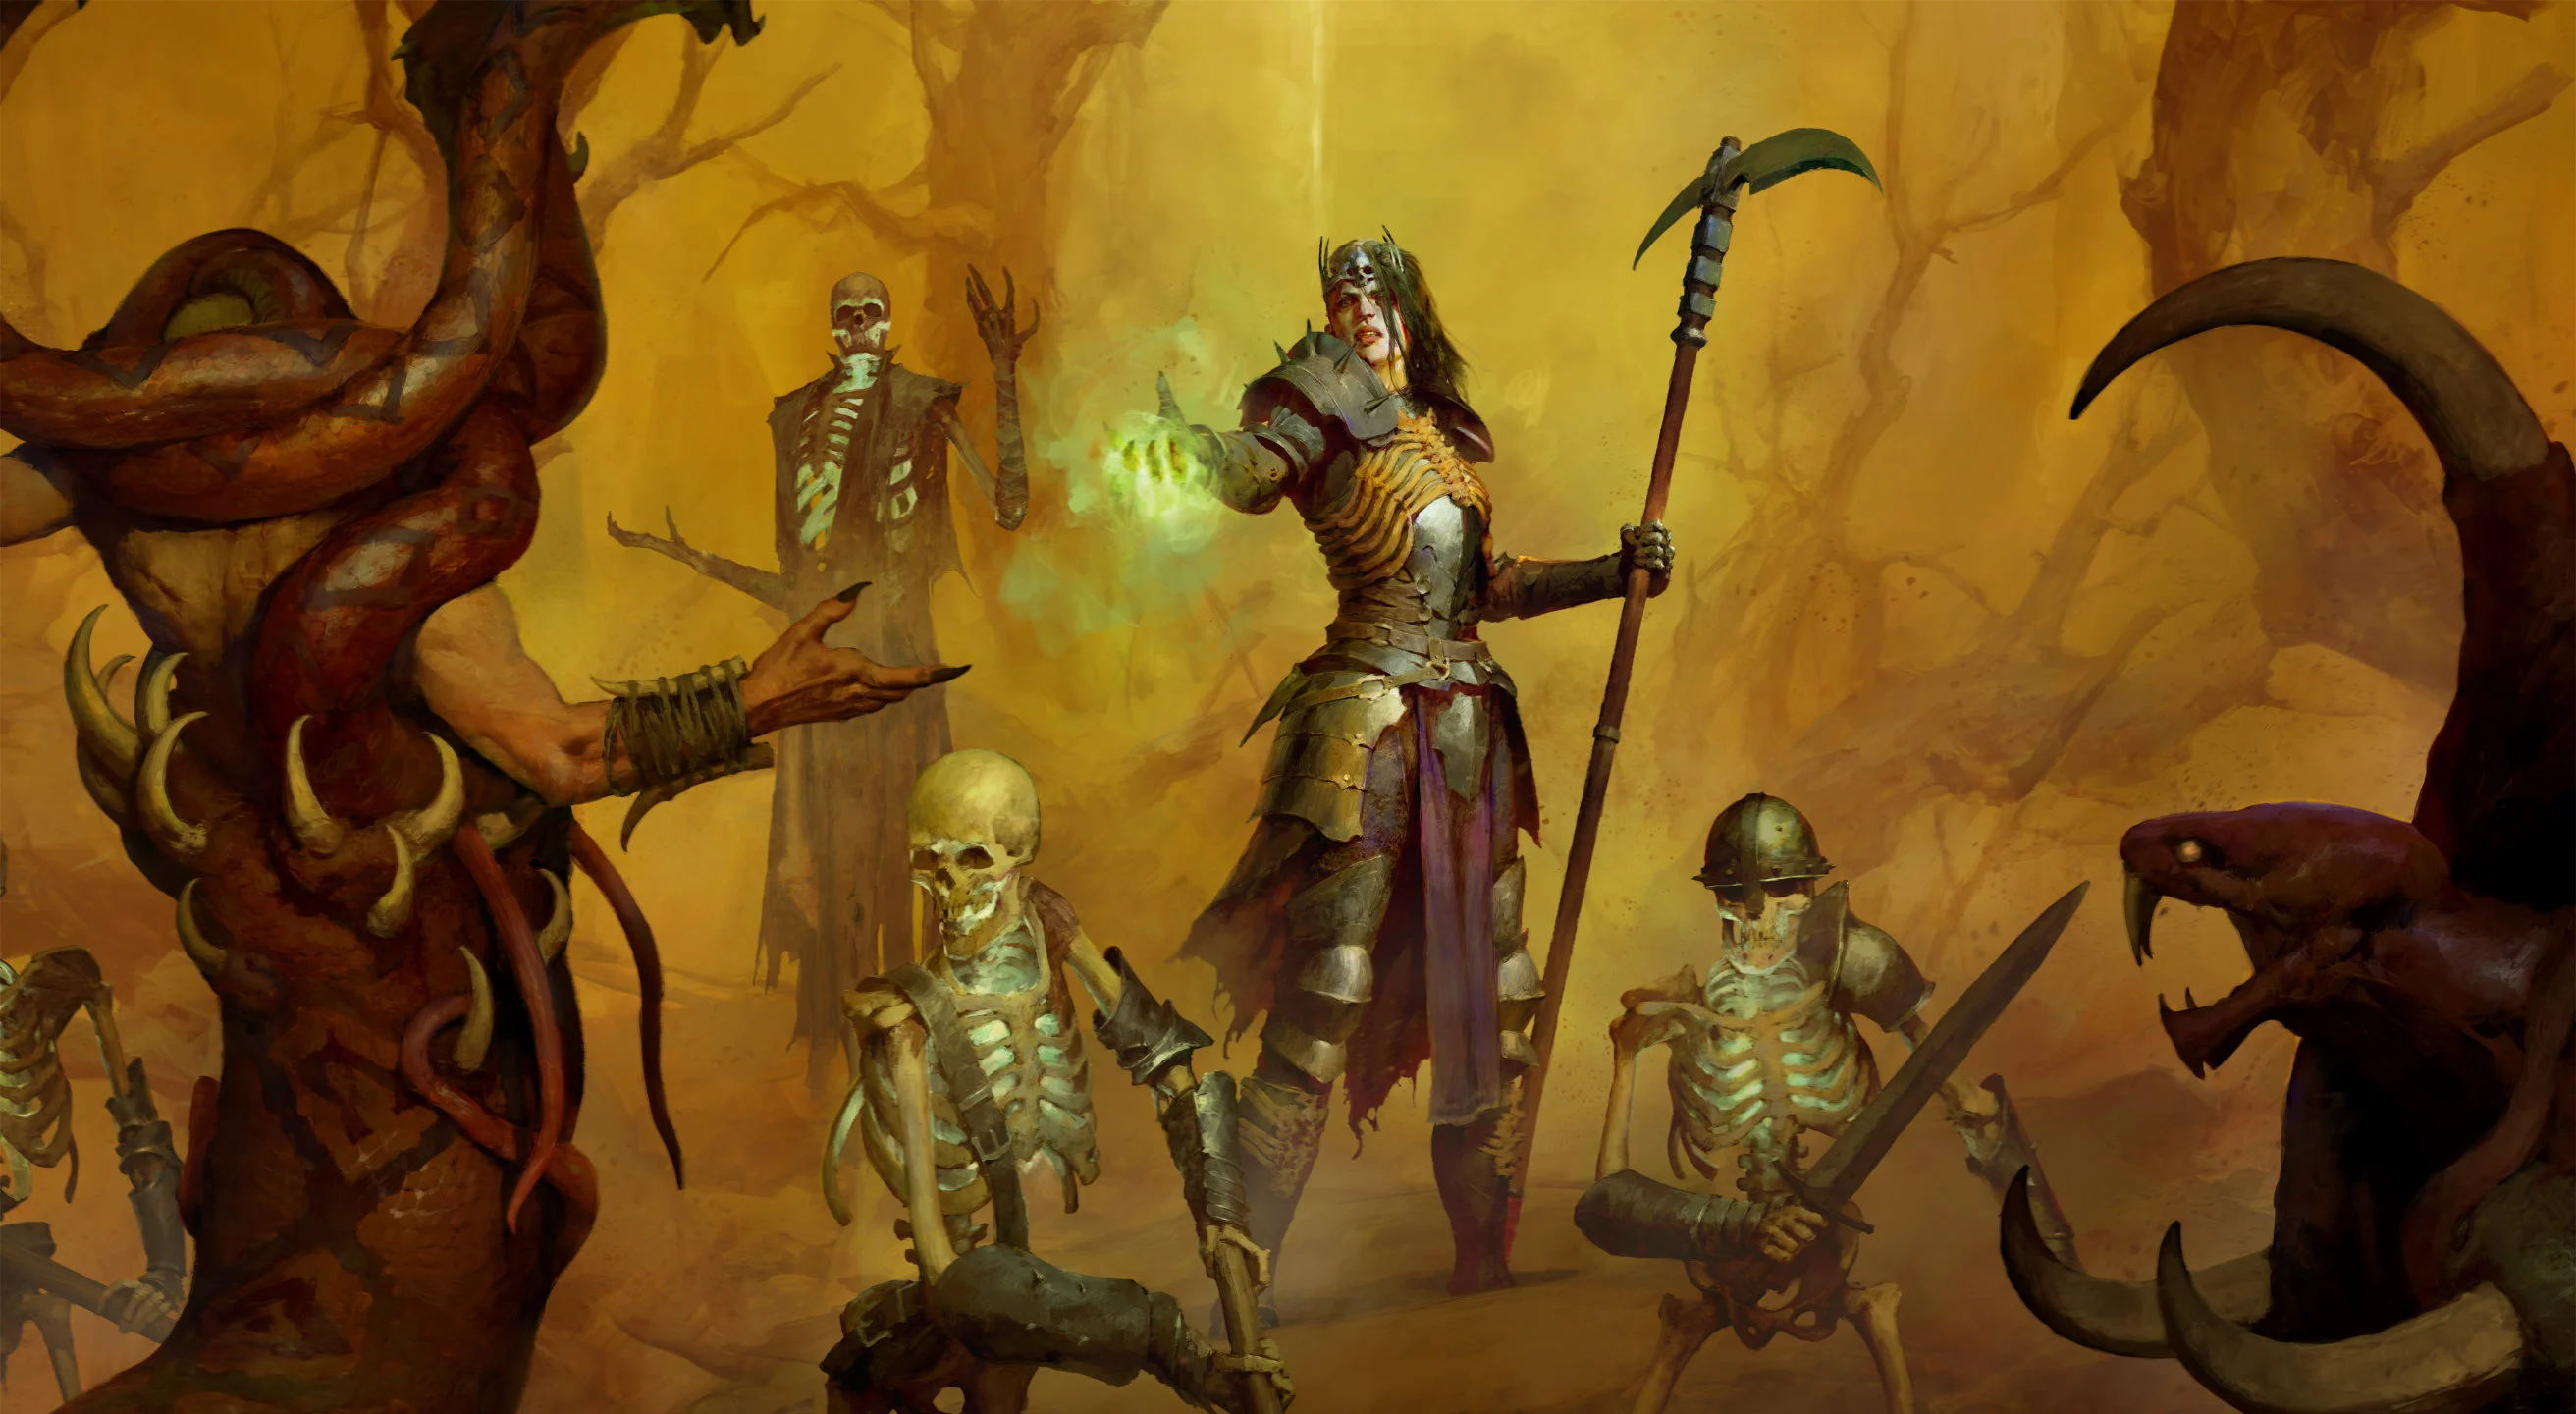


Build Introduction
This Shadow ![]() Golem build attempts to maximize damage via the
Golem build attempts to maximize damage via the ![]() Berú of the Black Shroud Talisman set, Shadow Damage,
Berú of the Black Shroud Talisman set, Shadow Damage, ![]() Litany of Death and
Litany of Death and ![]() Gravebloom. It has extreme pit pushing capabilities!
Gravebloom. It has extreme pit pushing capabilities!
Have questions or feedback on the guide? Join the livestream and ask me!
Curious how this build fares in various content types? Take a look at our build tier lists.
Strengths and Weaknesses
- Extremely high damage
- Allows for effective focus targeting
- Gear compatible with other Shadow minion builds
- Small AoE range of melee attack
- Terrible speedfarming compared to other Necromancer builds
To see how this build compares to the other builds on our site, you can check out our build tier lists.
Build Requirements
Quick Navigation
Want to skip ahead? Use the table below to jump to the sections you are looking for.
Skill Tree Points and Skill Bar
Use the Skill Tree above to complete an 83-point build. 69 skill points are gained by leveling, and 14 skill points are locked behind the Season Rank System or Renown for Seasonal or Eternal characters, respectively.
![]() Iron Maiden and
Iron Maiden and ![]() Decrepify is activated via
Decrepify is activated via ![]() Blood Moon Breeches and is not needed on the skill bar.
Blood Moon Breeches and is not needed on the skill bar. ![]() Skeleton Warrior ranks above 1 are the lowest priority and are leveled by the last Skill Points remaining.
Skeleton Warrior ranks above 1 are the lowest priority and are leveled by the last Skill Points remaining.
The new Lord of Hatred expansion Skill Tree unlocks in stages, permanently unlocking new skill clusters. For example, Necromancer Curses unlock at level 13, so from level 13 it is possible to refund all previously allocated skill points and start leveling skills starting from the Curses cluster right away (or anywhere above it).
Skill points from the Season Rank System or Renown do not affect Skill Tree progress and can be allocated to skill ranks you already unlocked.
Class Mechanic – Book of the Dead
This build continues to use some sacrificed minions for inter-Minion synergies:
 Skeletal Warriors: Reaper [Sacrifice] – x15% increased damage.
- Skeletal Mages: Bone [Sacrifice] – You deal x20% increased damage while you have a stack of Overpower.
 Golem: Iron [Upgrade #1] – Every Iron Golem attack causes a shockwave, dealing 125%[x] damage to the primary enemy and to enemies behind them
Gear, Stats, Gems and Runes
The following sections cover the essential itemization to improve the power of your character in the endgame of Diablo 4.
For the dedicated page on Gear Systems and Itemization Overview, check the guide here.
Legendary Aspects
Each aspect is listed with its matching gear slot. Do your best to keep each aspect in the assigned slot. Aspects placement is planned with potential Unique and Mythic Unique gear upgrades in mind for the easiest and cheapest transition.
Building up Mercenary Rapport and bartering for Aspect Caches or specific Legendaries is a great way to try to obtain specific slot Legendary Aspects early. The Purveyor of Curiosities is another excellent way to obtain specific slot Legendary Aspects, and even Uniques – by gambling with ![]() Murmuring Obols you farmed in your journey.
Murmuring Obols you farmed in your journey.
Multiple Legendary Aspects and Uniques options are ordered in descending priority order :
| Gear Slot | Sockets | Aspect / Unique | Description |
|---|---|---|---|
| Helm | Runeword | 1. 2.  Exploiter’s Aspect Exploiter’s Aspect | You have 50%[+] increased Crowd Control Duration. While enemies are Unstoppable, you deal 50%[x] increased damage to them. |
| Chest | Runeword |  Aspect of Glynn’s Anvil Aspect of Glynn’s Anvil | Your maximum Resolve is increased by 2 and you gain [3 – 4%] Damage Reduction per Resolve. |
| Gloves | n/a |  Conceited Aspect Conceited Aspect | Deal x#% increased damage while you have a Barrier active. |
| Pants | Your Summons have a [7 – 10%] chance to randomly inflict Decrepify or Iron Maiden when they deal damage. You deal x [50 – 60%] increased Critical Strike Damage to enemies affected by your Curses. | ||
| Boots | n/a | 1. Exploiter’s Aspect 2. Aspect of the Void | You have 50% increased Crowd Control duration. While enemies are Unstoppable, you deal #% increased damage to them. |
| Weapon 2H | Aspect of Reanimation | Your Summons gain increased damage while alive, up to 135%[x] after 10 seconds. | |
| Amulet (150% Scaling) | Hellbent Commander Aspect Transfigured: Aspect of Dominance | While Healthy, gain 4 Maximum Overpower. Blood Orbs grant 2 stacks of Overpower. You deal x#% increased damage per stack of Overpower. | |
| Ring | Aspect of Amplified Damage | You deal 60%[x] increased damage to Cursed enemies. | |
| Ring | Your Minions gain #% Attack Speed and Critical Strike Chance. When one of your Minions die, your other minions enrage, dealing #% increased damage for 3 seconds. |
Affixes and Tempering Priority
Be sure to check our Tempering and Masterworking guides for more details about these mechanics.
For the dedicated page on Gear Systems and Itemization Overview, check the guide here.
Gear affixes are ordered by descending priority for acquiring, Greater Affix and masterworking crit desirability.
Important: Mixing Damage over Time and Critical Strike Damage multipliers is intentional and must be done in a way where you have no more than a few Critical Strike Damage Multipliers.
| Slot | Affixes | Tempering Affixes |
|---|---|---|
 1. Critical Strike Chance 1. Critical Strike Chance | Defensive – # Resolve Stacks | |
| Helm | 1. Maximum Life 2. Armor 3. Resistance to All Elements 4. Essence per Second | Defensive – # Resolve Stacks |
| Chest | 1. Maximum Life 2. Armor 3. Resistance to All Elements 4. Essence per Second | Defensive – # Resolve Stacks |
| Gloves | 1. x% Critical Strike Damage Multiplier (If Critical Strike Chance is above 90% with 2. Attack Speed 3. Critical Strike Chance 4. x% Vulnerable Damage Multiplier 5. x% Shadow Damage Multiplier 6. x% All Damage Multiplier | Offensive – Damage per Overpower Stack |
| 1. Maximum Life 2. Armor 3. Resistance to All Elements 4. Essence per Second | Defensive – # Resolve Stacks | |
| Boots | 1. Movement Speed 2. +Maximum Evade Charges 3. + Ranks to Corpse or Skeleton Warrior Skills 4. Maximum Life 5. Armor 6. Resistance to All Elements 7. Essence per Second | Mobility – Movement Speed |
| Amulet | 1. x% Critical Strike Damage Multiplier (If Critical Strike Chance is above 90% with 2. Attack Speed 3. Critical Strike Chance 4. x% Vulnerable Damage Multiplier 5. x% Shadow Damage Multiplier 6. x% All Damage Multiplier | Offensive – Damage per Overpower Stack |
| 2 x Ring | 1. x% Critical Strike Damage Multiplier (If Critical Strike Chance is above 90% with 2. Attack Speed 3. Critical Strike Chance 4. x% Vulnerable Damage Multiplier 5. x% Shadow Damage Multiplier 6. x% All Damage Multiplier | Offensive – Damage per Overpower Stack |
| Weapon 2H | 1. Weapon Damage 2. x% Critical Strike Damage Multiplier 3. x% Shadow Damage Multiplier 4. x% All Damage Multiplier 5. Maximum Life or Intelligence | Weapons – Attack Speed |
Ancestral and Mythic Uniques
See below for information on useful Uniques and how they integrate into this build:
| Unique | Category | Synergy | Source (highest chance) |
| Required | – Decent damage multiplier – Ensures | Astaroth | |
| Best in Slot | – Massive damage multiplier from Unique Aspect – Extra mobility – Lucky hit chance improving Blood Orb generation | How to Farm Mythic Uniques guide | |
or | Best in Slot | – Amplifies Overpower damage scaling | Bloodied Butcher |
| Best in Slot | – Massive amounts of attack speed and critical strike chance scaling | Harbinger of Hatred |
Gems and Runewords
See below for a more detailed explanation of the best Gems and Runewords to socket into your gear.
| Weapon Gems | Armor Gems | Jewelry Gems |
|---|---|---|
| – | ||
| – | – | |
| Increased %[x] Shadow Damage. | Increased Intelligence. | Resistances against buffed Lightning and Fire Elite Affixes. |
| Runeword | Role | Effect |
| Early Game Important | Summons packs of Spectral Wolves to tank enemies, apply Lucky Hit based procs and Vulnerable. | |
| Endgame Important | Maintains the Druid’s | |
| Early Game Important | Maintains 10% increased critical strike chance. | |
| Endgame Important | Summons packs of Spectral Wolves to tank enemies, apply Lucky Hit based procs and Vulnerable. |
Paragon Board
Below you’ll find the entire endgame paragon board with recommended glyphs, optimal pathing and both minimal and nearly maximum investments!
Board attachment order and pathways:
- Frailty – Legendary Node
- Cult Leader – Legendary Node
- Frailty – Glyph Slot
 Dominate For the
  Red Blessing scaling it’s important this Glyph gets the highest priority of being leveled up!
 - Hulking Monstrosity – Legendary Node
- Hulking Monstrosity – Glyph Slot
 Mage
Mage - Wither – Legendary Node
- Wither – Glyph Slot
 Essence
 - Cult-Leader Glyph Slot Warrior
It is imperative to level up all Glyphs to level 15 first to increase activation radius and then to level 46 to unlock the secondary damage multiplier. More about paragon glyphs and how to level them, here.
Some paragon points are locked behind the Season Rank System. The remaining Paragon points are used to take all Intelligence nodes you can reach and any Magic nodes you may find useful.
Season 13 Mechanics
Season 13 does not offer specific seasonal mechanics due to the release of the Lord of Hatred expansion. Many new features are available to explore, including War Plans, Talismans, Horadric Cube, and Echoing Hatred. Additionally, several buildcrafting systems were overhauled, such as Skill Trees, Tempering, Aspects and Uniques.
For a complete overview of the current Season, its mechanics and theme, new leveling activities, and other changes, please take a look at our comprehensive season hub here.
Talismans
The Lord of Hatred expansion introduces Talismans as a new character progression and itemization layer. Find, equip, and fill a suitable Horadric Seal with a variety of Charms. These grant everything from plain stats similar to any gear piece to powerful set effects, doubling down on and elevating Necromancer archetypes to new heights.
This builds Talisman goalposts would be:
 Red Blessing is to be equipped, but Red Blessing can serve as a temporary fix till you have it!
- Bloodless Scream or Banished Lord’s Talisman are the second most potent Unique Charm for the build.
- Legendary Seal with +1 Charm Slot affix, to unlock 6 Charm slots asap.
- Full
 Black Shroud Charm Set of any quality. 5-set takes priority over any other Charms except Red Blessing if it is still used.
 - Charms replacements with better versions of themselves, including affixes like:
- + to Darkness Skills
- + to Minion Skills
- +% Critical Strike Damage (Seal)
- +% Movement Speed
Mercenaries
During the Vessel of Hatred campaign, you will unlock Mercenaries to assist you. While you can choose freely early on, we recommend Varyana as your main merc:
For the reinforcement, stick with Raheir, utilizing ![]() Bastion when you are hit with a Control Impairing effect.
Bastion when you are hit with a Control Impairing effect.
Rotation and Build Mechanics
This builds purpose is just to stay alive and group up enemies with ![]() Whirlpool as tightly as possible for more efficient Golem leap attacks and pulverize hits!
Whirlpool as tightly as possible for more efficient Golem leap attacks and pulverize hits!
Rotation and Playstyle
- Initiate the fight with
 Blood Runs Cold
  Hemorrhage to freeze enemies, and send
  Ceh Spirit Wolves to do the same! This also generates Essence.
 - Use
 Blood Wave to cap Overpower stacks. You don’t need to hit anything with this, merely casting it will be enough! This skill should be recast ONCE every 5-6 seconds to maintain your damage multiplier as high as possible.
 - Use Golem active ability on cooldown for optimal damage output. Prio targeting harder rares or high density packs of enemies. This can also be used to stop enemies chasing you if needed.
- Can use
 Whirlpool to group enemies together tighter.
 - Keep evading danger and recasting
 Sever to create more corpses for
  Litany of Death. Continue using Blood Runs Cold to freeze enemies and restore Essence.
- Repeat. The rest of the build mechanics are completely automated.
Season Updates
Due to the release of the Lord of Hatred expansion and the resulting overhaul of class buildcrafting, the build concept was re-created from scratch.
Noteworthy changes:
- Slightly altered
 Blood Moon Breeches, which retained the main function, but became slightly more generic.
 - New toolkit for Crowd Control and active damage mitigation
- Mobility issues resolved
For a complete overview of the current Season, its mechanics and theme, new leveling activities, and other changes, please take a look at our comprehensive season hub here.
Changelog
- May 15th, 2026: Glynn’s Anvil Resolve stacking added to the build.
- May 9th, 2026: Major changes for better performance.
- March 28th, 2026: Guide remade for Lord of Hatred expansion.
- March 7th, 2026: Guide updated for Season 12.
- December 17th, 2025: Moved Sacrificial Aspect for
 Hulking Monstrosity + 4 ranks
  Memento Mori case and extra Critical Strike Chance; fixed wasted skill point; offhand switched to shield for extra Damage Reduction and potential Aspect of Layered Wards
 - December 6th, 2025: Guide rewritten for Season 11, Divine Intervention.
