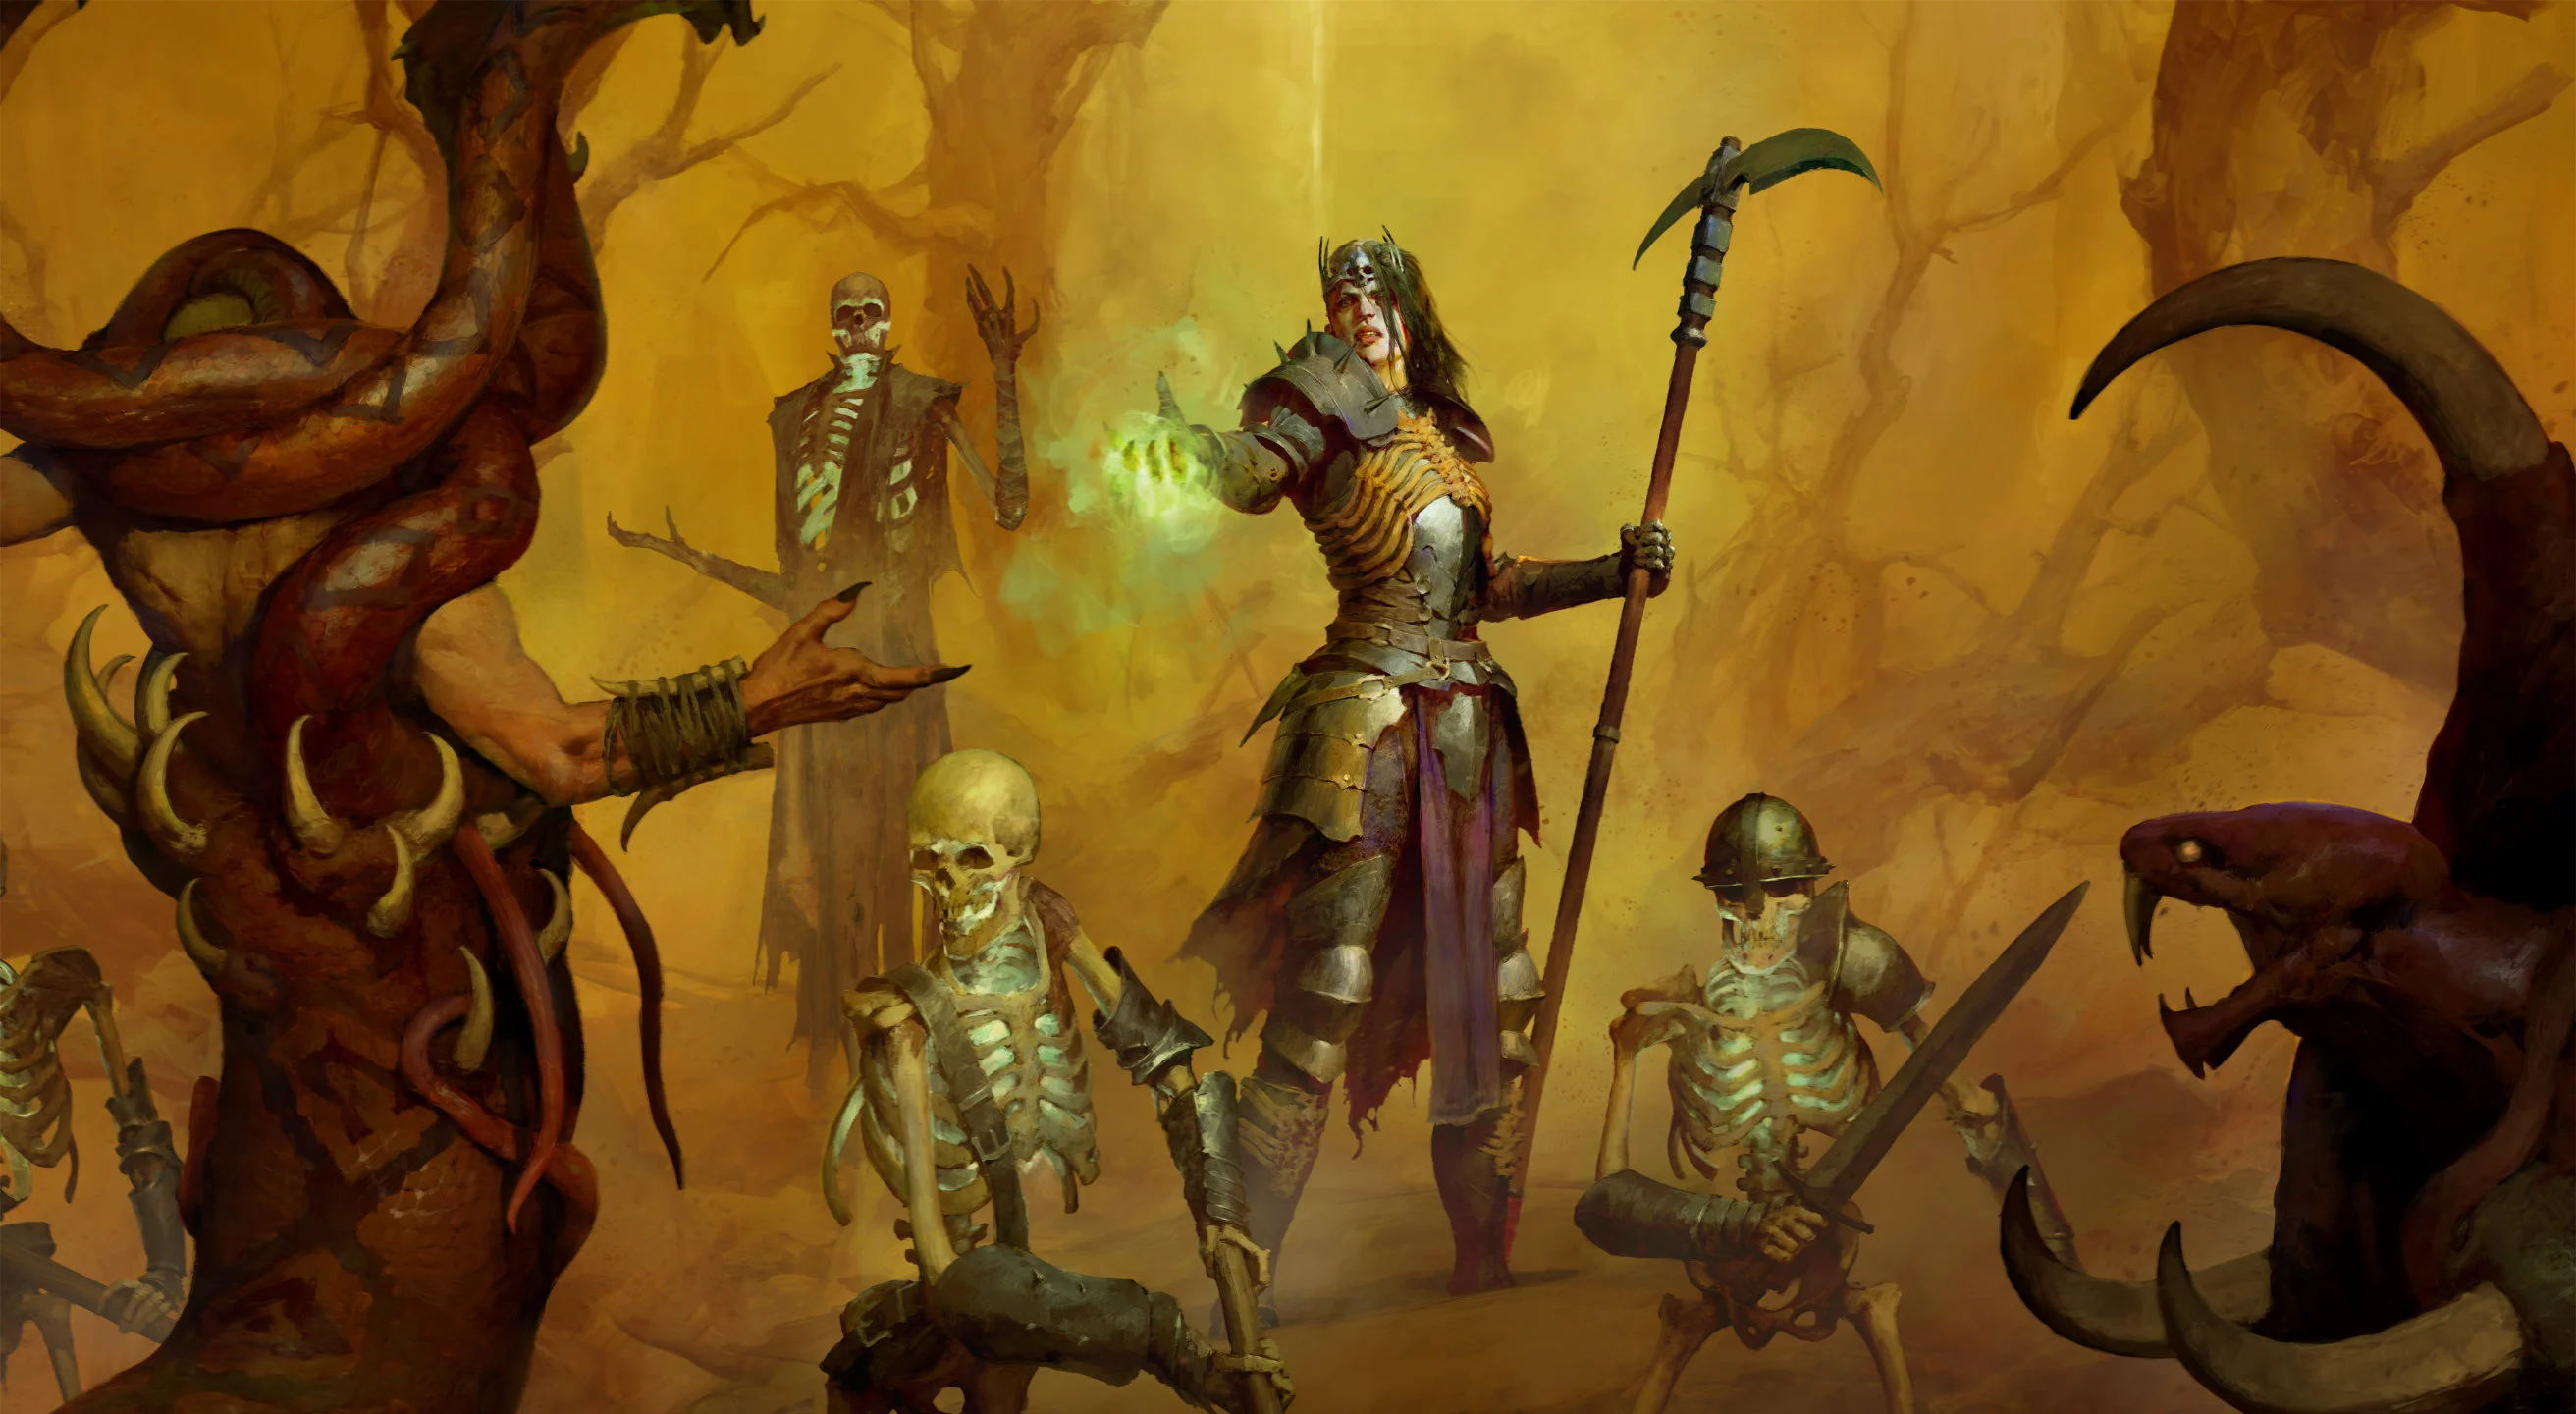


Build Introduction
This guide is a collaboration between GhazzyTV and community member Garm Z. As of Season 9, Overpower damage was significantly nerfed, putting this build down in our Tier-listing. The build will still be good to use for speed clearing, but will 100% struggle in the higher difficulties for end-game content.
This build is entirely designed around  Blood Surge, both for clearing packs of enemies and single-target. Our defensive layers come in the form of Fortifying our massive Life pool, stealing health from enemies, and having access to Blood Orbs, which will heal us. Enemies should be cursed by
  Decrepify to lower their damage dealt thanks to our Cursed Aura Aspect.
You are able to level with this build; however, we would strongly recommend checking out the Necromancer Leveling guide for the smoothest experience going through the campaign before switching to this build.
Strengths and Weaknesses
- Great speed clearing build
- Consistent performance
- Struggles with end-game Pit tiers and T4 bosses due to lack of damage
Build Requirements
Quick Navigation
Want to skip ahead? Use the table below to jump to the sections you are looking for.
Skill Bar and Skill Tree Points
Follow the points allocated in the Skill Tree above for the complete 71-point build. The additional skill points are completed using the Renown system.
Necromancer Class Mechanic – Book of the Dead
The Blood Surge Necromancer is designed to be able to take hits from enemies consistently. Using minions with this playstyle is a waste and can cause problems when you want to use Blood Surge if enemies are scattered across your screen, hitting your minions rather than moving towards you. Therefore, we will be sacrificing all of them.
- Melee Skeletons: Skirmisher [Sacrifice] – Increased Critical Strike Chance.
- Mage Skeletons: Bone [Sacrifice] – Increased Overpower damage.
- Golem: Iron [Sacrifice] – Increased Critical Strike Damage.
Gear, Stats, Gems, and Runes
The following sections cover the important systems that are essential to improving the power of your character in the endgame of Diablo 4.
Legendary Aspects
Each aspect is listed with its matching gear slot. Do your best to keep each aspect in the assigned slot. Additionally, if you are trying to farm a specific item, we recommend using your Obols to target farm them! Other recommendations for Legendary Aspect farming would be to do the Seasonal mechanic, and to some extent, you can farm them in Helltides as well.
| Gear Slot | Gems | Aspect / Unique | Legendary Aspect / Unique Power |
|---|---|---|---|
| Helm |  Aspect of the Embalmer Aspect of the Embalmer | Consuming a Corpse has a 15-35% to spawn a Blood Orb. | |
| Chest | Aspect of Hardened Bones | You gain 15-20% increased Damage Reduction. | |
| Gloves | N/A | Pushes the whole focus of the build to the Blood Surge efficiency. Priority would be the Drain Count on these gloves. | |
| Pants | You deal x20-50% increased Critical Strike Damage to enemies affected by your Curses. | ||
| Boots | N/A |  Aspect of the Cursed Aura Aspect of the Cursed Aura | You automatically Curse enemies around you with Decrepify and Iron Maiden. Curses inflicted this way spread to surrounding targets every x seconds and last 4 seconds outside of the aura. |
| Weapon 1H (Mace) |  Cadaverous Aspect Cadaverous Aspect | Consuming a Corpse increases the damage of your Core and Ultimate Skills by #% for 5 seconds, up to x35%. | |
| Off-hand (Focus) | Blood-bathed Aspect | Blood Surge’s nova echoes again after a short delay, dealing x% less damage. | |
| Amulet (50% Scaling) | Aspect of the Great Feast | Each minion drains 1 Essence per second but deals x% bonus damage. With no minions, this bonus applies to you and drains 5 Essence per second. | |
| Ring | Sacrificial Aspect | Your Sacrifice bonuses are increased by 10-25% | |
| Ring | Willbreaker | Aspect of Rathma’s Chosen | Whenever your Blood Skills Overpower you gain 35-55% Attack Speed for 4 seconds. |
Curious how this build compares to other endgame options? Take a look at our Endgame Build Tier List.
Stat Priority and Tempering Affixes
Below are the affixes to prioritize on gear. Each line of affixes is listed in order of importance. Tempering Manuals and their recommended affixes are provided in the second column, and the bolded affixes are the most important targets for Masterworking upgrades. The main priority for Greater Affixes are marked with a “*”, secondary would be anything providing Intelligence or Life. Be sure to check our Tempering guide, and our Masterworking guide, for more details about these topics.
| Slot | Targeted Gear Affixes | Tempering Affixes |
|---|---|---|
| Helm | 1. Maximum Life 2. Essence per second * 3. Intelligence | |
| Chest | * 1. Maximum Life 2. Essence per Second 3. All Resist | |
| Gloves | * 1. Blood Surge Drains + X Times from Elites | n/a |
| Pants | * 1. Critical Strike Chance | n/a |
| Boots | * 1. Armor 2. Essence per Second 3. Movement Speed | |
| Amulet | * 1. Ranks to Tides of Blood 2. % Intelligence 3. Attack Speed Note: With higher end gear you should replace Attack Speed with + Ranks to Coalesced Blood. | |
| Rings (2x) | * 1. Attack Speed 2. Maximum Life 3. Overpower Damage | |
| 1H-Weapon (Mace) | 1. Maximum Life * 2. Intelligence 3. Lucky Hit: #% Chance to Restore Primary Resource | |
| Off-hand (Focus) | 1. Maximum Life * 2. Critical Strike Chance 3. Intelligence |
Keep in mind that the maximum Resistance is 70% by default for each element and can be increased to 85% by various sources. Furthermore, Unique items cannot be tempered, only masterworked!
Make sure to achieve and maintain armor cap of 1,000 as soon as possible! For that purpose, helm or chest temporary tempering can be Total Armor %.
Uniques and Mythic Uniques
Below you will find information on Uniques and Mythic Uniques that are useful for this build. Moreover, if you are interested in target farming Mythic Uniques, check out our How to Farm Mythic Uniques guide.
Uniques
 Blood Moon Breeches (Required): Scales your critical strike damage and crit chance. This item can be target farmed from all Lair bosses.
 Cruor’s Embrace (Required): Makes your Blood Surge consume nearby Corpses to cause mini novas for extra damage output. This can be target farmed by hunting down Lord Zir himself!
Mythic Uniques
The following Mythic Uniques provide great power scaling to the build.
 Heir of Perdition: This directly replaces your helmet but you’ll want Greater affixes and/or Masterwork on the + ranks modifier! You might need to replace your Movement Speed temper on your boots to fit this by adding % Total Armor instead.
 Ring of Starless Skies: This will replace Aspect of Rathma’s Chosen. It more or less covers your sustain lowering the requirement of this on your gear and scales your damage very well. Greater Affix and Masterworking priority on this item will be Attack Speed.
 Shroud of False Death: Directly replaces your current body armor and brings crazy damage scaling for you. Greater Affix and Masterworking priority on this item will be All Stats and/or Maximum Life.
Gems and Runewords
See below for a more detailed explanation of the best Gems to socket into your gear for each category.
| Weapon Gems | Armor Gems | Jewelry Gems |
|---|---|---|
For increased Overpower Damage. | Recommended Runewords then For increased Intelligence. | Horadric Jewels as listed further below. |
Runewords
The following Runewords are recommended to be used for this build.
| Runeword Combination | Effect |
| Gain: 200 Offering. Deal damage after not taking any within 2 seconds. Requires: 300 Offering (Overflow. Increase Duration). Cooldown: 1 second. Your next attack will cause your hits to be guaranteed Critical Strike and Overpower for 0.35 seconds. | |
| Gain: 25 Offering every 0.3 seconds and you gain all that offering when you cast a non-Basic Skill. Requires: 300 Offering (Overflow: Increased Size) Cooldown: 1 second. Invoker the Sorcerer’s Mystical Frost Nova, inflicting Freeze and Vulnerable onto enemies. |
![]() Cir +
Cir + ![]() Lum is a temporary Runeword that can help with Essence till you’re good without it, normally when you equip
Lum is a temporary Runeword that can help with Essence till you’re good without it, normally when you equip ![]() Ring of Starless Skies as an example and upgraded the Drain modifier on
Ring of Starless Skies as an example and upgraded the Drain modifier on ![]() Cruor’s Embrace! This will be replacing your
Cruor’s Embrace! This will be replacing your ![]() Igni +
Igni + ![]() Xal Runeword.
Xal Runeword.
Paragon Board
Below you’ll find the entire end-game paragon board set-up for this build in detail!
Horadric Spells and Jewels (Season 9)
In Season 9, we will have access to Horadric Jewels and Horadric Spells, granting some absolutely crazy abilities that we’ll utilize to enhance our build’s power. Below, you’ll find a list of the recommended powers we use for this build.
Horadric Spell
| Type | Power | Description |
| Catalyst | Cooldown: 7 seconds. Lucky Hit Chance: 15%. Shape an Ethereal Column that Taunts for x seconds. Piercing waves flow from it and deal x damage, until you create another one or move too far away. The Taunted enemies become Vulnerable and move faster. | |
| Infusion | Your Spell Catalyst now deals Shadow and or Corrupting damage. Enemies hit by it deal x% reduced damage for 7 seconds. While equipped, your Shadow Damage Bonus is equal to that of your highest Damage Type Bonus. At Rank 5 it will deactivate enemy monster summoner effects for 5 seconds. | |
| Arcana | Your Catalyst gains a specialized Execute effect for non-Boss enemies with 20% or less Life. Bloody Charm will also execute non-boss enemies with Cosmic Anomaly implosions. Successful executions increase your Attack Speed by 20% for 8 seconds. | |
| Arcana | Invoking your Catalyst grants Unstoppable for 5 seconds whenever it activates. | |
| Arcana | Your Catalyst deactivates monster Damage Resistance Aura effects for 5 seconds, but you take 15% more stacking damage for the same time. |
Horadric Jewels
Use these Jewels over regular gems in your jewelry slots to further enhance the build:
 Idol From Below
- Willbreaker
 Horadric Crest
Mercenaries
During the Vessel of Hatred campaign, you will unlock Mercenaries to assist you. While you can choose freely early on, we recommend Raheir as your main merc, and Aldkin as a Reinforcement once you reach endgame.
For the reinforcement, stick with Aldkin, utilizing his Flame Surge skill being cast when the player casts Blood Surge.
Build Mechanics
Rotation and Playstyle
This build offers a very straight forward and simple rotation. Start by casting ![]() Blight then
Blight then ![]() Blood Surge till there is a corpse on the ground which allows us to use
Blood Surge till there is a corpse on the ground which allows us to use ![]() Corpse Tendrils, do note that you need to spam this a bit as
Corpse Tendrils, do note that you need to spam this a bit as ![]() Cruor’s Embrace will be consuming corpses consistently so make sure you spam Tendrils to get it off. You can avoid the spam requirement for Tendrils by opening a fight with your
Cruor’s Embrace will be consuming corpses consistently so make sure you spam Tendrils to get it off. You can avoid the spam requirement for Tendrils by opening a fight with your ![]() Blood Mist which will drop corpses for about 1 second then use
Blood Mist which will drop corpses for about 1 second then use ![]() Corpse Tendrils, followed by
Corpse Tendrils, followed by ![]() Blight before you cast your
Blight before you cast your ![]() Blood Surge! Outside of this you’ll want to keep
Blood Surge! Outside of this you’ll want to keep ![]() Soulrift up and running at all times. Once enemies are grouped together you can utilize
Soulrift up and running at all times. Once enemies are grouped together you can utilize ![]() Bone Prison for even more damage output.
Bone Prison for even more damage output.
This will generate a corpse on the ground so you can follow it up with a ![]() Corpse Tendrils to regain control over the situation!
Corpse Tendrils to regain control over the situation!
Which Elixirs Should You Use?
Visit the Alchemist and craft an Elixir providing any Resistance you need most, or the ![]() Elixir of Advantage II, or
Elixir of Advantage II, or ![]() Elixir of Resourcefulness. Some Elixirs cannot be crafted and only drop from things like Helltides or Nightmare Dungeons. Additionally, make sure to keep your health potion upgraded!
Elixir of Resourcefulness. Some Elixirs cannot be crafted and only drop from things like Helltides or Nightmare Dungeons. Additionally, make sure to keep your health potion upgraded!
Season 9 Updates
For a full overview of what is new in Season 9, please take a look at our comprehensive season hub. Additionally, Season 9 isn’t changing anything notably for the build outside of providing the new Horadric powers.
- Significant nerfs to Overpower damage output de-throning the build from a top contender.
Obol Gambling
Obol gambling is a great way to potentially find item upgrades or items missing from your build. Check out the new tool guide from Icy Veins for gambling Obols in the link below:
Obol Gambling Optimization Tool GuideChangelog
- June 29th, 2025: Guide updated for Season 9.
- May 5th, 2025: Optimized and updated post launch for Season 8.
- April 25th, 2025: Guide updated for Season 8.
- January 24, 2025: Clarified why Indira’s Memory unique is used in the build.
- January 19th, 2025: Guide updated for Season 7.
- October 12th, 2024: New Paragon tool added.
- October 7th, 2024: Paragon board added.
- October 2nd, 2024: Guide updated for Season 6.
- August 6th, 2024: Guide updated for Season 5, Infernal Hordes.
- May 12th, 2024: Guide updated for Season 4 Loot Reborn.
- January 22nd, 2024: Guide updated for Season 3 Season of the Construct.
- November 3rd, 2023: Optimized Paragon Board and added end-game version.
- October 15th, 2023: Guide updated for Season 2 Season of Blood, Patch 1.2.
- August 7th, 2023: Minor updates for Patch 1.1.1.
- August 5th, 2023: Guide updated for Patch 1.1.1 (launches August 8th, 2023)
- July 26th, 2023: Optimized Paragon board pathing and Glyph choices.
- July 19th, 2023: Guide updated for Season 1 including Malignant Hearts.
