Mirror Puzzles Guide for the Puzzle Lab
Mirror Puzzles are a unique type of puzzle and do not reflect any kind of situation you will normally encounter. The aim of these Puzzles it to make both players' boards look exactly the same. This involves having the exact same minions on the board in the same position with the same Attack and Health values.
Hints and Solutions for each of the Mirror Puzzles can be found below.
- 1. Mirror Puzzles Overview
- 2. Test Subject 362's Mirror Puzzle #1
- 3. Test Subject 362's Mirror Puzzle #2
- 4. Test Subject 362's Mirror Puzzle #3
- 5. Test Subject 362's Mirror Puzzle #4
- 6. Test Subject 362's Mirror Puzzle #5
- 7. Test Subject 362's Mirror Puzzle #6
- 8. Test Subject 362's Mirror Puzzle #7
- 9. Test Subject 362's Mirror Puzzle #8
- 10. Astromancer Arwyn's Mirror Puzzle #1
- 11. Astromancer Arwyn's Mirror Puzzle #2
- 12. Astromancer Arwyn's Mirror Puzzle #3
- 13. Astromancer Arwyn's Mirror Puzzle #4
- 14. Astromancer Arwyn's Mirror Puzzle #5
- 15. Astromancer Arwyn's Mirror Puzzle #6
- 16. Astromancer Arwyn's Mirror Puzzle #7
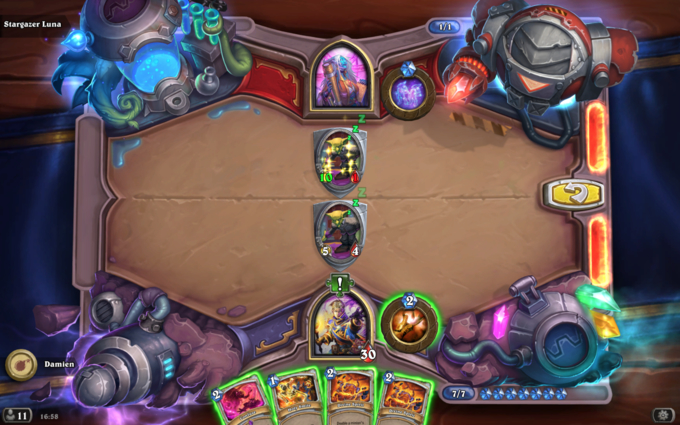
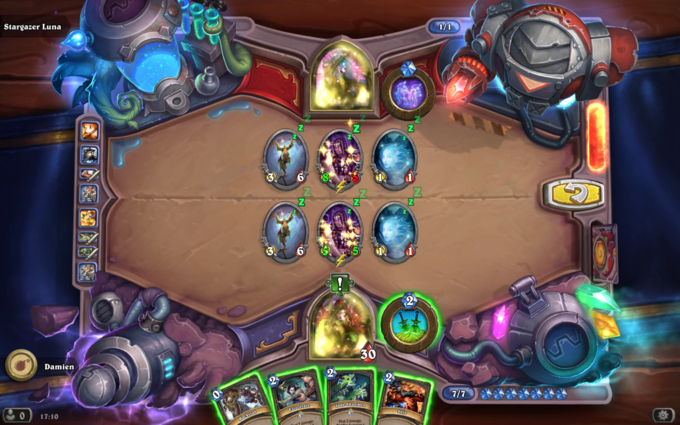
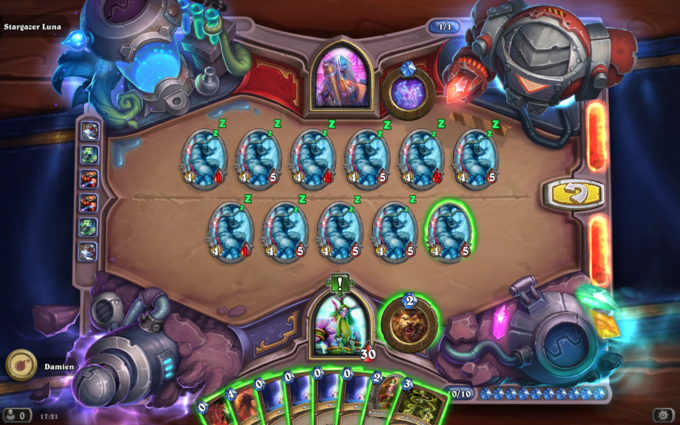
- 17. Stargazer Luna's Mirror Puzzle #1
- 18. Stargazer Luna's Mirror Puzzle #2
- 19. Stargazer Luna's Mirror Puzzle #3
- 20. Stargazer Luna's Mirror Puzzle #4
- 21. Stargazer Luna's Mirror Puzzle #5
- 22. Stargazer Luna's Mirror Puzzle #6
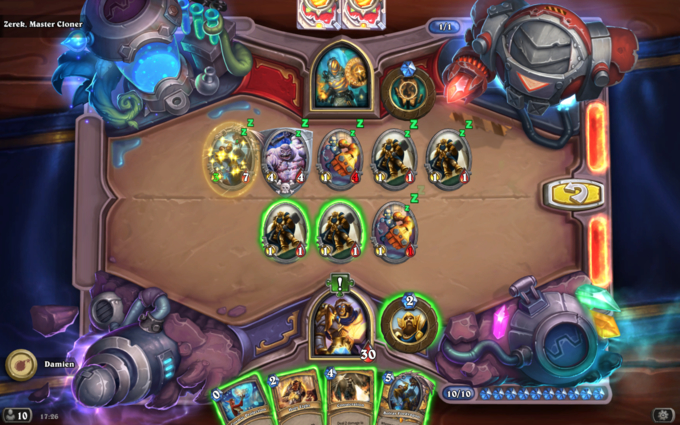
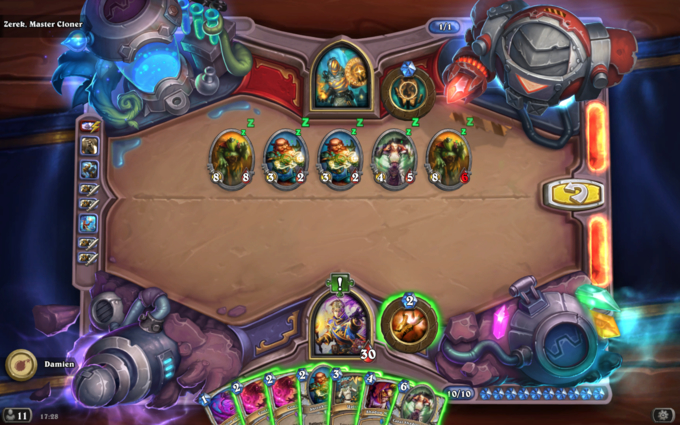
- 23. Zerek, Master Cloner's Mirror Puzzle #1
- 24. Zerek, Master Cloner's Mirror Puzzle #2
- 25. Zerek, Master Cloner's Mirror Puzzle #3
- 26. Zerek, Master Cloner's Mirror Puzzle #4
- 27. Zerek, Master Cloner's Mirror Puzzle #5
- 28. Dr. Boom's Final Mirror Puzzles
Mirror Puzzles Overview
Test Subject Block
- Test Subject 362's Mirror Puzzle 1
- Test Subject 362's Mirror Puzzle 2
- Test Subject 362's Mirror Puzzle 3
- Test Subject 362's Mirror Puzzle 4
- Test Subject 362's Mirror Puzzle 5
- Test Subject 362's Mirror Puzzle 6
- Test Subject 362's Mirror Puzzle 7
- Test Subject 362's Mirror Puzzle 8
Astromancer Arwyn Block
- Astromancer Arwyn's Mirror Puzzle 1
- Astromancer Arwyn's Mirror Puzzle 2
- Astromancer Arwyn's Mirror Puzzle 3
- Astromancer Arwyn's Mirror Puzzle 4
- Astromancer Arwyn's Mirror Puzzle 5
- Astromancer Arwyn's Mirror Puzzle 6
- Astromancer Arwyn's Mirror Puzzle 7
Stargazer Luna Block
- Stargazer Luna's Mirror Puzzle 1
- Stargazer Luna's Mirror Puzzle 2
- Stargazer Luna's Mirror Puzzle 3
- Stargazer Luna's Mirror Puzzle 4
- Stargazer Luna's Mirror Puzzle 5
- Stargazer Luna's Mirror Puzzle 6
Zerek, Master Cloner Block
- Zerek, Master Cloner's Mirror Puzzle 1
- Zerek, Master Cloner's Mirror Puzzle 2
- Zerek, Master Cloner's Mirror Puzzle 3
- Zerek, Master Cloner's Mirror Puzzle 4
- Zerek, Master Cloner's Mirror Puzzle 5
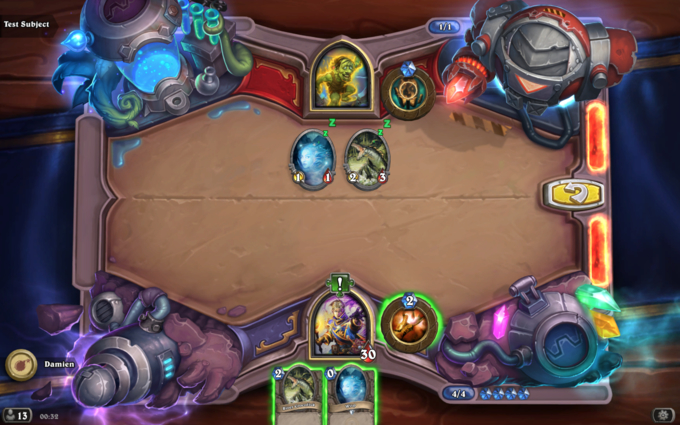
Test Subject 362's Mirror Puzzle #1
Hints
- Remember the positioning of your minions is very important in Mirror puzzles.
Solution
- Play Wisp.
- Play River Crocolisk to the right-hand side of your Wisp.
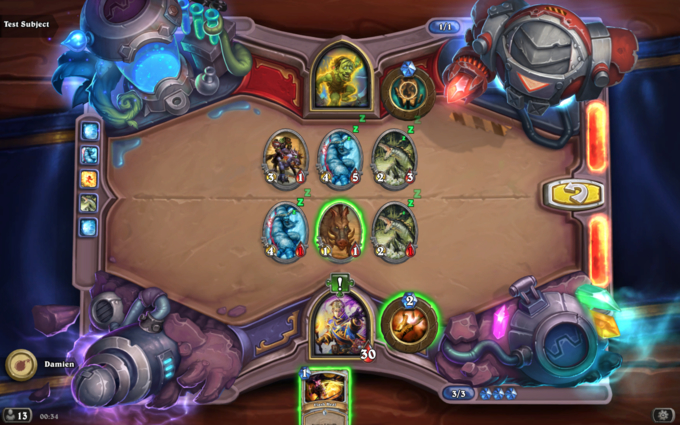
Test Subject 362's Mirror Puzzle #2

Hints
- Make sure you use your Fireball to remove the minion you cannot mirror.
Solution
- Use your Fireball on the Sen'jin Shieldmasta.
- Play Chillwind Yeti to the right-hand side of your River Crocolisk.
- Play Wisp to the left-hand side of your River Crocolisk.
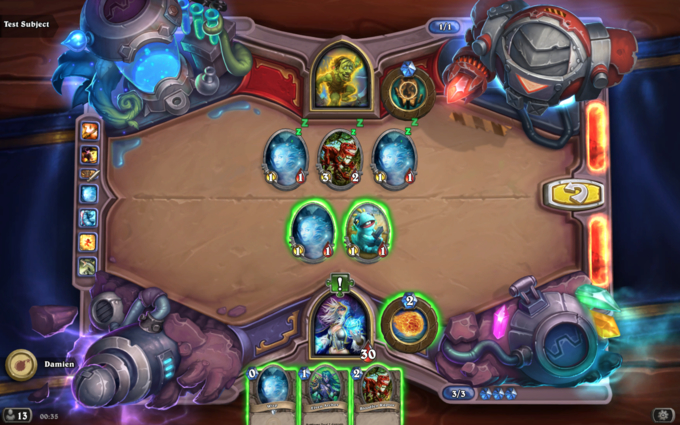
Test Subject 362's Mirror Puzzle #3
Hints
- Remember the Health of the minions matter as well as their position.
Solution
- Trade your Stonetusk Boar into the Wolfrider.
- Heal your Chillwind Yeti with Flash Heal.
- Heal your River Crocolisk with your Hero Power.
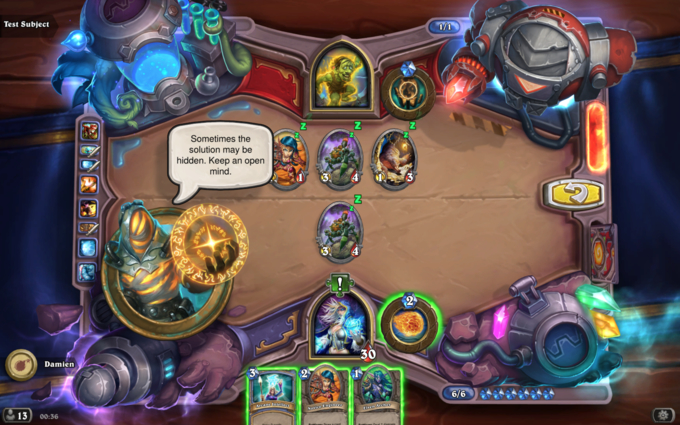
Test Subject 362's Mirror Puzzle #4
Hints
- Make sure you have the Mana available to do everything you need to.
Solution
- Trade your Murloc Tinyfin into the Wisp on the right.
- Play Bloodfen Raptor to the right of your remaining Wisp.
Test Subject 362's Mirror Puzzle #5
Hints
- Cards remaining in your deck may help with the solution.
Solution
- Play Arcane Intellect to draw Frostbolt and Dire Mole.
- Kill the opposing Novice Engineer with your Hero Power.
- Play Dire Mole to the right of your Spider Tank.
Test Subject 362's Mirror Puzzle #6
Hints
- Using your cards inefficiently can help find an unorthodox solution.
Solution
- Remove one of your opponent's Stonetusk Boars with your Fireball.
- Kill the other Stonetusk boar with your Hero Power.
- Trade the remaining 2 Stonetusk Boars into your opponent's Chillwind Yeti.
Test Subject 362's Mirror Puzzle #7
Hints
- Take care with your Defender of Argus placement.
- Make sure you trade with the correct Stonetusk Boar.
Solution
- Place Stonetusk Boar on the left-hand side of the board.
- Place Defender of Argus between your two Stonetusk Boars.
- Trade the right-most Stonetusk Boar into your opponent's Frostwolf Grunt.
Test Subject 362's Mirror Puzzle #8
Hints
- You can use your damage and healing effects on either player's minions.
Solution
- Trade your left-most River Crocolisk into your opponent's 4/5 Chillwind Yeti.
- Use Lesser Heal on your opponent's River Crocolisk.
- Use Holy Smite on your 4/5 Chillwind Yeti.
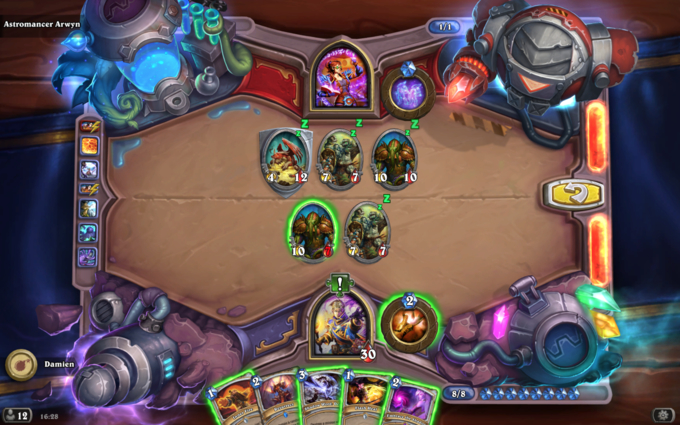
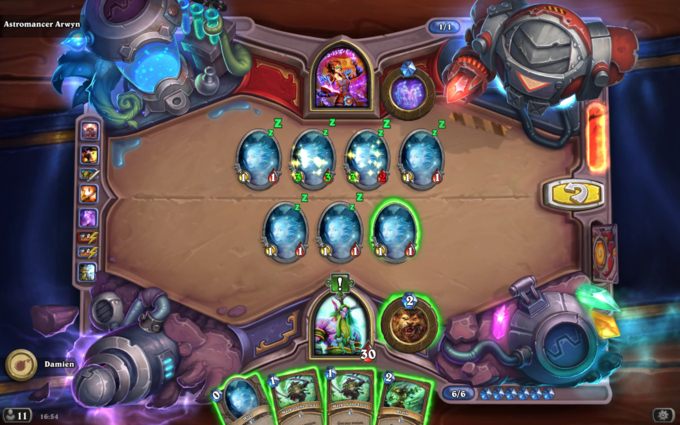
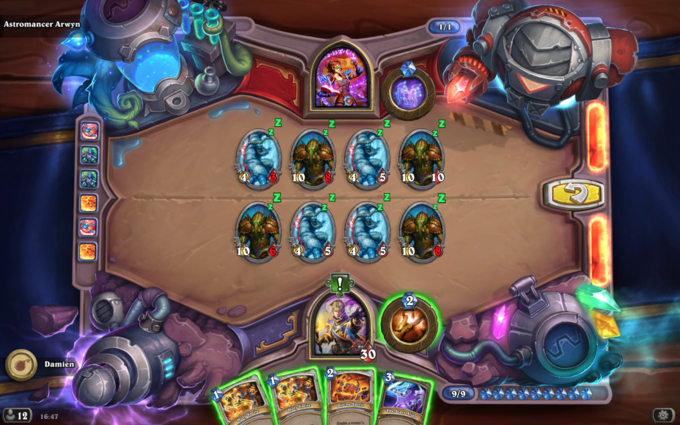
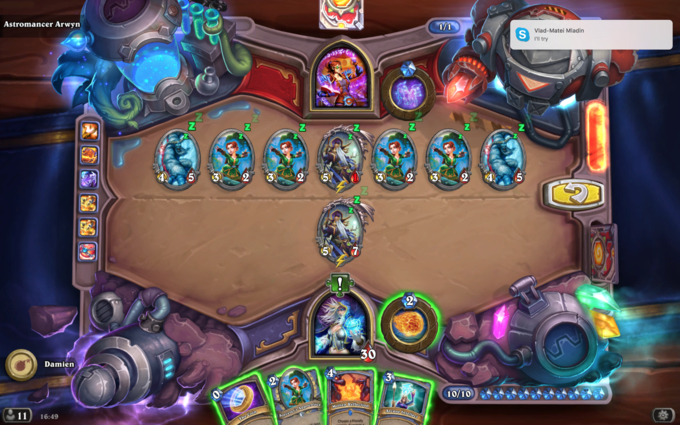
Astromancer Arwyn's Mirror Puzzle #1

Hints
- Your Hero Power can be used to draw into the cards you need or simply waste Mana to help utilise your other cards.
Solution
- Use your Life Tap Hero Power.
- Cast Drain Life on one of you opponent's Icky Tentacles.
- Cast Forbidden Ritual.
Astromancer Arwyn's Mirror Puzzle #2
Hints
- Take care when calculating multiple AoE effects that can affect either one side of the board or the whole board.
Solution
- Attack your opponent's Unstable Ghoul with your own Unstable Ghoul.
- Cast Frostbolt on your opponent's Unstable Ghoul.
- Use Fireblast on your own Unstable Ghoul.
- Play Arcane Explosion.
Astromancer Arwyn's Mirror Puzzle #3
Hints
- Inner Fire can be worth playing on both player's minions.
- You can often mirror your opponent's board by adding or removing minions, but you should focus on the targets that are unique to one player.
- There are many solutions to this puzzle.
Solution
- Cast Inner Fire on your opponent's Sleepy Dragon.
- Trade your Faceless Behemoth into the Sleepy Dragon.
- Play Embrace the Shadow.
- Use Flash Heal to kill your opponent's Sleepy Dragon.
- Cast Shadow Word: Death on your opponent's Faceless Behemoth.
Astromancer Arwyn's Mirror Puzzle #4
Hints
- Much like other Mirror puzzles, you can find a solution by either adding or subtracting from the board.
Solution
- Trade your one active Wisp into your opponent's 3/2 Wisp.
- Finish off your opponent's 3/1 Wisp with your Hero Power.
- Kill your opponent's 3/3 Wisp with Wrath.
Astromancer Arwyn's Mirror Puzzle #5

Hints
- Make sure you do the right amount of damage to each Gurubashi Berserker with each attack as well as the right number of attacks to get matching Attack and Health values.
Solution
- Use Elven Archer on your opponent's left-most Gurubashi Berserker.
- Use Elven Archer on your right-most Gurubashi Berserker.
- Use your Fireblast Hero Power on your right-most Gurubashi Berserker.
- Play Volcanic Potion to remove your Elven Archers from the board.
Astromancer Arwyn's Mirror Puzzle #6
Hints
- You have enough Mana to play your entire hand, but make sure to calculate the order of your spells carefully.
Solution
- Play Holy Smite on one of your Chillwind Yetis.
- Play Holy Smite on your 10/6 Faceless Behemoth.
- Cast The Stars Align.
- Cast Divine Spirit on your 10/4 Faceless Behemoth.
- Heal your right-most 10/8 Faceless Behemoth.
Astromancer Arwyn's Mirror Puzzle #7
Hints
- You will have access to a large number of Fireballs, but take care when choosing which minions to remove.
- Make sure to maximise the Mana-Cost reduction of Sorcerer's Apprentice.
Solution
- Play Sorcerer's Apprentice to the left of your Archmage Antonidas.
- Play Molten Reflection on your Sorcerer's Apprentice.
- Play Arcane Intellect.
- Play a freshly drawn Sorcerer's Apprentice to the right of your Archmage Antonidas.
- Play your second copy of Arcane Intellect.
- Play your two copies of The Coin.
- Play two Fireballs to remove your opponent's Chillwind Yetis.
- Use one Fireball to remove a Sorcerer's Apprentice to the right of your opponent's Archmage Antonidas.
- Use one final Fireball on your own Archmage Antonidas.
Stargazer Luna's Mirror Puzzle #1
Hints
- Divine Spirit can work both before and after Confuse.
- Using Holy Smite before Confuse effectively lowers the Attack of a minion.
Solution
- Cast Divine Spirit on your opponent's Booty Bay Bodyguard.
- Cast Holy Smite on your own Booty Bay Bodyguard.
- Play Confuse.
- Play your second copy of Divine Spirit on your Booty Bay Bodyguard.
Stargazer Luna's Mirror Puzzle #2
Hints
- Focus on getting your minion's Health correct for The Stars Align.
- Circle of Healing is a great tool for fixing Health discrepancies.
Solution
- Play Spirit Lash.
- Cast Holy Smite on your own Wargear.
- Cast Holy Smite on your own Rusty Recycler.
- Use your Hero Power on your Spider Tank.
- Play The Stars Align.
- Play Circle of Healing.
Stargazer Luna's Mirror Puzzle #3
Hints
- The remaining card in your deck is Devilsaur Egg.
- Unwilling Sacrifice pairs excellently with your Devilsaur Egg.
Solution
- Use Ironbeak Owl on one of the Devilsaur Eggs.
- Play Hellfire.
- Play Unwilling Sacrifice on your own Devilsaur Egg that is pulled from your deck via Meat Wagon.
Stargazer Luna's Mirror Puzzle #4
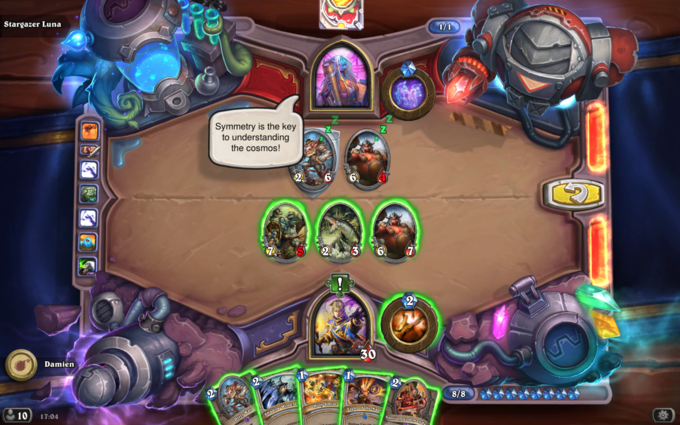
Hints
- Your opponent has a copy of War Golem in their hand.
- Light of the Naaru will not summon a Lightwarden if the target is fully healed.
- Shadow Word: Pain can be used on friendly minions.
Solution
- Trade your War Golem into your opponent's Dirty Rat.
- Play your own Dirty Rat.
- Cast Shadow Word: Pain on your Dirty Rat.
- Trade your Boulderfist Ogre into your opponent's War Golem.
- Trade your River Crocolisk into your opponent's Boulderfist Ogre.
- Kill off the Boulderfist Ogre with Holy Smite.
- Heal your opponent's War Golem with your Hero Power
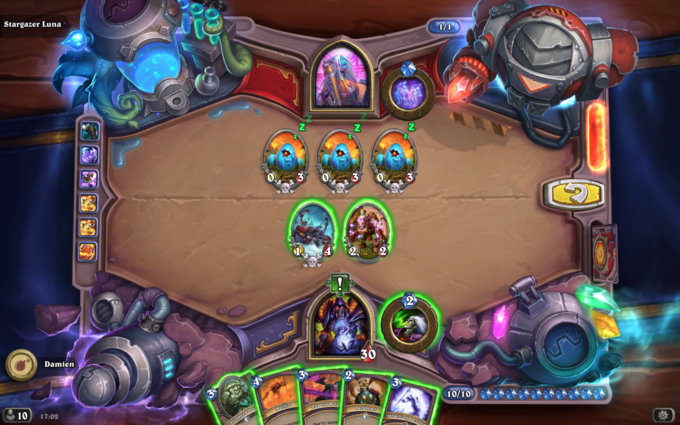
Stargazer Luna's Mirror Puzzle #5
Hints
- The board starts relatively symmetrical other than the Attack values of the two Questing Adventurers.
- You must keep your Questing Adventurer's Health in check while not allowing its attack to exceed 8.
- The remaining card in your deck is Eviscerate.
Solution
- Cast Shiv on your Questing Adventurer.
- Cast Jade Shuriken on your Questing Adventurer.
- Use Backstab or Eviscerate to kill off your freshly spawned Jade Golem.
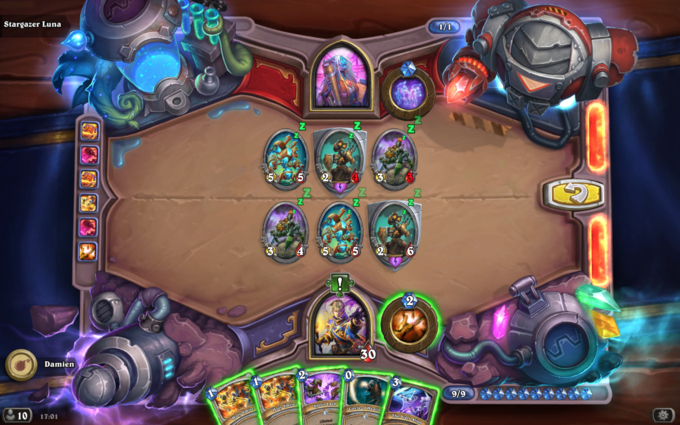
Stargazer Luna's Mirror Puzzle #6
Hints
- Think carefully about the collateral damage of Swipe.
- The solution can be achieved entirely with Moonfires and Spell Damage.
- There are many solutions available.
Solution
- Cast Moonfire on your middle Chillwind Yeti.
- Play Kobold Geomancer.
- Cast Moonfire on your opponent's right-most 4/2 Chillwind Yeti to kill it.
- Cast Moonfire on your previously damaged 4/4 Chillwind Yeti.
- Use a final Moonfire to kill off your Kobold Geomancer.
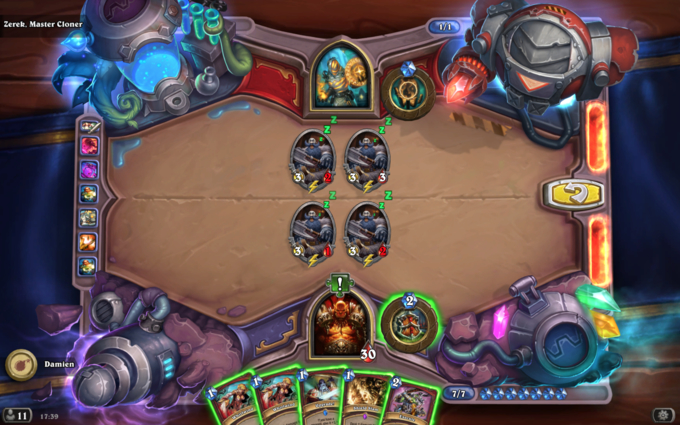
Zerek, Master Cloner's Mirror Puzzle #1
Hints
- Your opponent's entire board will take 4 damage through the combination of Abomination and Consecration.
- Choose your time to play Bolvar Fordragon wisely.
- Your opponent has a copy of The Coin and Cosmic Projection in their hand.
Solution
- Trade in your two Silver Hand Recruits into your opponent's Abomination.
- Play Bolvar Fordragon.
- Play Consecration.
Zerek, Master Cloner's Mirror Puzzle #2
Hints
- Minions stolen from your opponent will always move to the right-hand side of your board.
- With so many cards in hand, Cabal Shadow Priest is a huge Mana investment.
Solution
- Use Lesser Heal on your opponent's damaged Sea Giant.
- Use Shrinkmeister on your opponent's Cabal Shadow Priest.
- Steal your opponent's Cabal Shadow Priest with Potion of Madness.
- Play Confuse
- Trade the stolen Cabal Shadow Priest into one of your opponent's Shrinkmeisters.
- Use Uplink on your opponent's left-most Sea Giant.
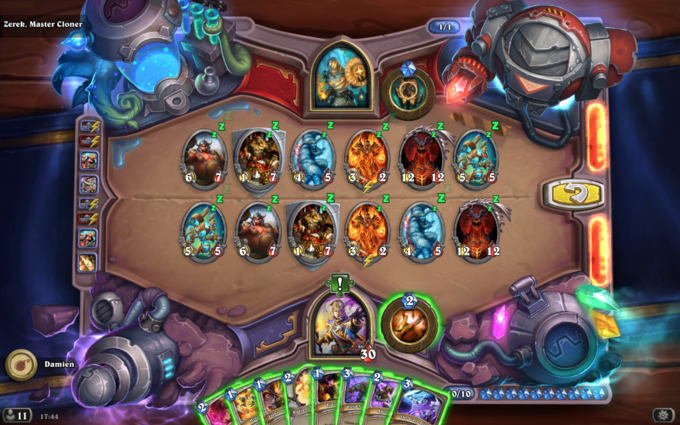
Zerek, Master Cloner's Mirror Puzzle #3
Hints
- You have no way to remove a 3-Health minion so focus on matching your opponent in that regard.
- You have many removal tools available for Grim Patrons with less than 3 Health.
Solution
- Use your Hero Power.
- Use Shield Slam on your opponent's 3/2 Grim Patron.
- Play Whirlwind.
- Execute your opponent's 3/2 Grim Patron.
- Play Whirlwind again.
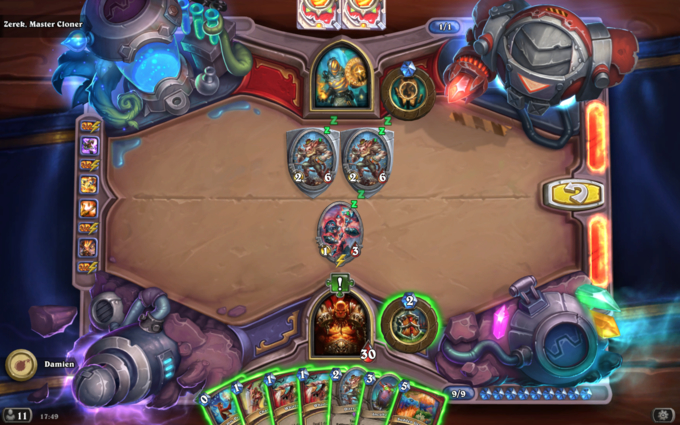
Zerek, Master Cloner's Mirror Puzzle #4
Hints
- With so many minions on the board, do not get caught up trying to use The Stars Align.
- Wild Pyromancer is great for reducing the size of the board.
- There are many solutions available.
Solution
- Play Confuse.
- Play Light of the Naaru on your Wild Pyromancer.
- Play Holy Smite on any target but your Wild Pyromancer or either Deathwing.
- Play Flash Heal on your Wild Pyromancer.
- Play Spirit Lash.
Zerek, Master Cloner's Mirror Puzzle #5
Hints
- Your opponent has two copies of Dirty Rat in their hand.
- You do not have enough damage in hand to remove your Animated Berserker directly.
Solution
- Play Whirlwind.
- Play Dirty Rat.
- Use your Incubator on your Dirty Rat.
- Play Charge on your Animated Berserker.
- Swap hands with your opponent.
- Play the copy of Dirty Rat from your new hand.
- Trade your Animated Berserker into your opponent's 2/6 Dirty Rat.
Dr. Boom's Final Mirror Puzzles
Once you have completed all 26 standard Mirror Puzzles, you will unlock the Mirror section of Dr. Boom's final challenge. Hints and solutions to these puzzles can be found in the Dr. Boom's Puzzles Guide.
Changelog
- 24 Aug. 2018: Added puzzle images.
- 22 Aug. 2018: Guide added
This guide is presented to you by Kat, a professional Hearthstone player competing at the highest level since closed beta. She is a consistent legend player in both Wild and Standard with multiple high-rank finishes.
- No BlizzCon in 2024
- Blizzard Games Return to China: New Agreement Signed With NetEase
- Blizzard Reportedly Reuniting with NetEase to Bring Back WoW in China
- Ex-Activision Blizzard CEO Bobby Kotick Shows Interest in Buying TikTok
- Timeline of Blizzard Presidents
- Johanna Faires Appointed Blizzard Entertainment President
- Will Microsoft Outsource Customer Support to External Companies?
- Blizzard Survival Game, Codenamed Odyssey, Was Cancelled Due to Engine Problems