
Hypogeum Enigma Event Guide for Honkai: Star Rail
Hypogeum Enigma is a Version 3.0 Conventional Memoir Event. Follow our guide to learn more about Hypogeum Enigma Event, how to complete it, and the rewards you can obtain from it!
Hypogeum Enigma Event Guide for Honkai: Star Rail
This event is permanently available after the Version 3.0 update. The Limited-Time Event period was from January 22nd to February 24th, 2025 at 03:59:00 (Server Time).
Hypogeum Enigma is part of the Conventional Memoir. This means players can continue to play the event after the limited-time event period is over. However, only the permanent rewards are currently available.

Hypogeum Enigma Event Calendar for Honkai: Star Rail
What is Hypogeum Enigma Event about?
Hypogeum Enigma is a variety puzzle event, where you play through four different puzzle game modes featured in Amphoreus. The explorer Damionis from Okhema is going on an adventure for ancient city ruin treasures... maybe he will share the profits with you?
This event has four puzzle games, and twenty stages across two difficulty modes to clear. The following game modes from Amphoreus are featured:
- Prophecy Tablet
- Golden Scapegoat
- Hand of Zagreus
- Oronyx's Miracle
How do you Participate in Hypogeum Enigma Event?
In order to participate in the Hypogeum Enigma event, you need to reach Trailblaze Level 21 and complete the Trailblaze Mission: Hero, Bear Thy Coreflame located in Amphoreus.
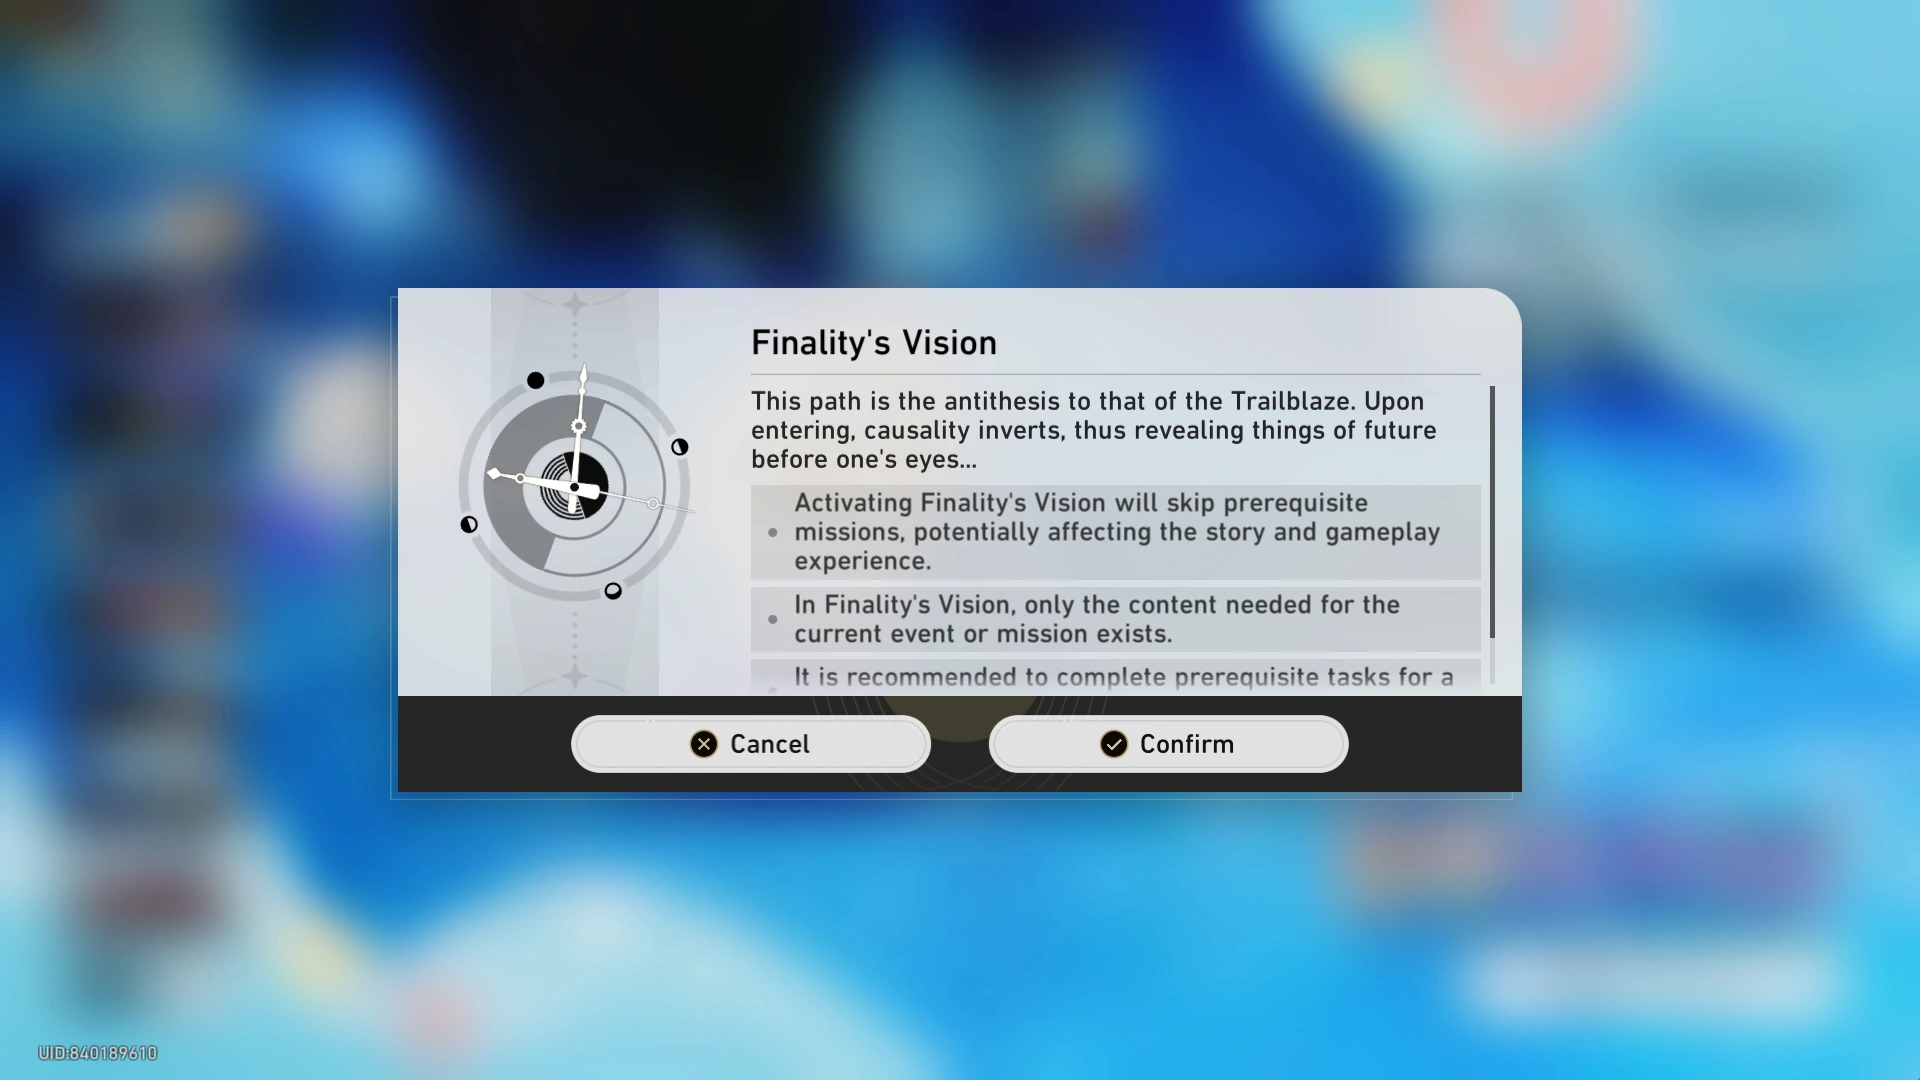
If you are at least Trailblaze Level 21, players may activate Finality's Vision in order to play the event early. However, you may encounter story spoilers, so it is highly recommended to only do so if you want the rewards. Finality's Vision will be disabled after the player has completed the pre-requisite requirements.

To get started, teleport directly to Amphoreus via the Hypogeum Enigma quest, or navigate to the "Eternal Holy City" Okhema's Marmoreal Palace Space Anchor on F1. From there, speak with the nearby NPC, Damionis, to begin the Event.

If you need to pause at any point, return to Damionis to resume the Event later. See each game mode section under Shallow Hypogeum to learn how to play Hypogeum Enigma.
Hypogeum Enigma Guide
Gameplay Overview
To solve the Prophecy Tablet puzzles, you have to combine the fragments to create the pattern on the left side of the screen. If any fragments overlap with each other, the overlapping area will disappear. However, overlaying another fragment can cause the area to re-appear.
If you take too long to solve the puzzle, the game mode will allow you to view a hint by clicking the hint button, then selecting one of the fragments.
In the solutions below, place the fragments according to their respective colour outline.
Prophecy Tablet: Room I

First, overlay the pattern with the square (outlined in white).

Next, fill in the empty spaces with the triangles.
Prophecy Tablet: Room II

Overlay the pattern with the large triangles first.

After overlaying the second large triangle, it will cause the overlapping area to disappear.

Finish the rest of the pattern with the remaining triangles.
Prophecy Tablet: Room III

Overlap the two large triangles with the pattern first.

Then overlay the remaining triangles accordingly.

Gameplay Overview
To solve the Golden Scapegoat puzzles, you have to record your steps to direct your past self to the platform controller. As long as the controller is pressed, it will cause the corresponding platform to disappear (or re-appear).
Your goal is to light the altar without crossing paths with your past self. If you two collide, you will have to restart from the beginning.
Your past self will only execute the recorded steps after the counter reaches zero. After the movement is fully replicated, it will stop moving for the remainder of the puzzle.
In the solutions below, follow the past self movement on top of the screen. It is also transcribed in text below.
Golden Scapegoat: Room I

Input the following steps for your past self:
- Right
- Right
- Right

Next, continue towards the altar. If the past self is on the platform controller at Step 3, you can drop down on Step 4.
- Right
- Right
- Right
- Right
- Left
Golden Scapegoat: Room II

Input the following steps for your past self:
- Right
- Right
- Right
- Left

Next, continue towards the altar. If the past self is on the platform controller at Step 4, you can proceed onto the platform at Step 4.
- Right
- Left
- Left
- Left
- Left
- Left
- Left
Golden Scapegoat: Room III

Input the following steps for your past self:
- Left
- Left
- Left
- Left

Next, continue towards the altar. You can climb the entire ladder in one step.
- Right
- Up
- Right
- Right
- Right
- Right
- Right
Gameplay Overview
To solve the Hand of Zagreus puzzles, you have to collect Coins of Whimsy by controlling a Hand of Zagreus. This device can move around, ascend, as well as descend, allowing you to grab Coins at various levels of height. The Hand of Zagreus can also destroy certain objects via punching.
You can control the Hand of Zagreus by interacting with the stone control platform nearby. If you disengage, the Hand of Zagreus will remain in place.
The solutions below will cover where to find all Coins of Whimsy in the Rooms. In some puzzles, they will give you more Coins than necessary.
Hand of Zagreus: Room I

Proceed through the corridor. There will be four Coins of Whimsy floating up and down. As long as you are near them, the Coins of Whimsy will be automatically collected.

The last Coin will be waiting at the end of the corridor, in front of the door. You will need to Disengage to end the trial.
Hand of Zagreus: Room II

There are six Coins of Whimsy floating up and down in a line right where the Hand of Zagreus spawns.

There are six Coins of Whimsy circling around the door right beside the stone control platform. You can just wait for them to pass by the door to collect them. You should have twelve Coins of Whimsy after collecting.

There are another six Coins of Whimsy circling along the wall opposite of the stone control platform. You should have eighteen Coins of Whimsy after collecting.

By the adjacent wall, there will be rows of six Coins of Whimsy each, twenty-four Coins in total. Make the Hand of Zagreus ascend and descend as needed. After collecting a total of fourty-two Coins of Whimsy so far, ascend to the top of the room.

The remaining twelve Coins of Whimsy will be circling the pillars in pairs. You only need to collect three more Coins of Whimsy to finish the trial. There are a total of fifty-four Coins of Whimsy in this trial.
Gameplay Overview
The last game mode, Oronyx's Miracle, introduces you to the Tome of Miracles which allows you to time-travel between the past and present at will. For the purposes of this guide, each space-time will be based on the time of day, such as Day and Night.
Whenever you perform a "miracle", certain objects in the area may appear or disappear. This can grant you passage (presented as Golden Memory Dust), or access to "Miracle Orbs" which can invert the illuminated area to the opposite space-time.
The solutions below covers the steps needed to complete the trial.
Oronyx's Miracle: Room I
You will begin the trial at Night. Interact with the Tome of Miracles to switch to Day.

This will remove the broken pillar, allowing you to pass through. Interact with the next Tome of Miracles you see to remove the obstruction.

The space-time will change to Night, and you will have to temporarily restore the unstable bridge to cross over. You can rewind the state by holding the function key given.

Once you have restored the unstable bridge, continue progressing to the door, ending the trial.
Oronyx's Miracle: Room II
You will begin the trial at Night. Interact with the Tome of Miracles to switch to Day.

This will restore the passage you need to access the Miracle Orb located in the middle of the room. Turn it on.

Return to the Tome of Miracles and switch to Night. The Miracle Orb will remain on.

During the Night, the illuminated area will remove the obstacles and create a passage through the middle area for you.

Walk past the Miracle Orb and interact with the Treasure Chest to end the trial.

After completing the final Shallow Hypogeum room, you will have access to all of the game modes in the next difficulty level, Deep Hypogeum.
Refer to the Shallow Hypogeum: Prophecy Tablet section to review how to solve the following puzzles.
Prophecy Tablet: Room IV

Overlay the large diamond (outlined in white) over the middle of the pattern (outlined in red). It should cover the pattern entirely.

Next, place the remaining diamonds on the left and right of the pattern. They should overlap entirely with the large diamond and each other, causing the middle part to appear from overlapping fragments three times.
Prophecy Tablet: Room V

Overlay the pattern with the two large triangles first. They should make a square in the middle.

Then overlay the diamond with the left side of the square.

Finish the rest of the pattern with the remaining triangles.
Prophecy Tablet: Room VI

Overlay the large diamond (outlined in white) over the pattern first. The edges should line up with the left and right parts of the pattern respectively (outlined in red).

Then overlay one of the diamonds at the middle of the pattern. This will create a blank space in the middle.

Finally, place the remaining two diamonds on the top and bottom of the large diamond.
Refer to the Shallow Hypogeum: Golden Scapegoat section to review how to solve the following puzzles.
Golden Scapegoat: Room IV

Input the following steps for your past self:
- Left
- Left
- Right
- Right
- Right

Next, wait for the past self before continuing to the altar. The past self should be on the platform controller at Step 5, so be on the left side (Where Steps 3 and 5 are) to finish the trial.
- Right
- Left
- Left
- Right
- Left
- Left
- Left
Golden Scapegoat: Room V

Input the following steps for your past self:
- Left
- Right
- Right
- Left
- Right
- Right
Steps 3 and 4 can be reversed (Left then Right), as long as the other steps are correct.

Next, wait for the past self to be on the platform controller before continuing to the altar. Wait on the right side to avoid colliding. You can jump down the platform on Step 7.
- Right
- Right
- Left
- Right
- Left
- Right
- Left
- Left
- Left
- Left
- Left
Golden Scapegoat: Room VI

Input the following steps for your past self:
- Right
- Right
- Down
- Left
- Left
- Left
- Left

Next, wait for the past self to be on the platform controller before continuing to the altar. You will have to move around the past self using the ladders. You can jump down the platform on Step 8.
- Right
- Up
- Right
- Right
- Right
- Right
- Right
Refer to the Shallow Hypogeum: Hand of Zagreus section to review how to solve the following puzzles.
The solutions below will cover where to find all Coins of Whimsy in the Rooms. In some puzzles, they will give you more Coins than necessary.
Hand of Zagreus: Room III

There are six Coins of Whimsy circling around the north wall.

Head back to where the Hand of Zagreus spawned, and hover over the platform with Coins of Whimsy all going up. There are five coins here.

Do the same to the other platform with Coins of Whimsy all going up. There are four Coins here, totalling fifteen so far.

Time to collect the bullet train of Coins of Whimsy. They will circle around the room, so just wait to intercept. You may have to ascend or descend appropriately. There are eight Coins, adding up to twenty-three collected.

On the last circular platform, there are five jumping Coins of Whimsy. After collecting, you should have twenty-eight Coins.

There are three things going on in this picture:
- Six rotating Coins of Whimsy along the wall
- Five moving Coins of Whimsy through the passageway
- Five stationary Coins of Whimsy by the adjacent wall, close to the stone control platform
You cannot collect the Coins if they are moving through the passage, so wait for them to appear outside in the open. You need at least thirty-five Coins to finish the trial, and there are a total of forty-four Coins of Whimsy.
Hand of Zagreus: Room IV
First, break the boxes in the middle of the room to release the Coins of Whimsy. If you have never done it before on the Hand of Zagreus, you will be given a tutorial.

There are twelve Coins of Whimsy floating around the nearby statue, and three that are circling along the wall. This makes up fifteen Coins to start with.

Pick up the four Coins by the statue close to the stone control platform, then move onto the other four to the south of it. You should have collected at least twenty-three Coins so far.

There are another four Coins of Whimsy circling along the wall, and twelve by the last statue. You should have thirty-nine Coins of Whimsy after collecting.

If you descend far enough, you can collect three Coins of Whimsy that are racing around the room. There are also another three Coins circling around the giant statue's sword in the middle of the room. You should have collected forty-five Coins of Whimsy in total, ending the trial.
Refer to the Shallow Hypogeum: Oronyx's Miracle section to review how to solve the following puzzles.
Oronyx's Miracle: Room III
You will begin the trial at Night. Interact with the Tome of Miracles to switch to Day.

This will fix the broken platform, allowing you access to the Miracle Orb that is currently illuminating an area. Change its facing to the left yellow round mark, away from the Treasure Chest.

Do not swap back to Night. The illuminated area removes the boxes that were blocking your way, so you can now access the Treasure Chest by just walking over in the Day.

Oronyx's Miracle: Room IV
You will begin the trial at Night. Interact with the Tome of Miracles to switch to Day.

Head back to where you spawned, and keep following the path. You will reach an open door into a room where the first Treasure Chest will be. You need to collect three Treasure Chests in this trial.

After collecting the Treasure Chest, pass by the Tome of Miracles and interact with the first Miracle Orb nearby. Turn it on so it illuminates the obstacle, temporarily removing it from the space-time. Do not change the Miracle Orb's facing and enter the new path. There will be another Miracle Orb by the door.

Turn the second Miracle Orb on, and change its facing towards the right yellow round mark. This should remove the blockage on the upper level, giving you access to the missing Treasure Chest.

Return back to the first Miracle Orb, and change its facing to the right yellow round mark. This will disable the passage you just walked through, and add the missing Treasure Chest into the current space-time. Head up the stairs to get the second Treasure Chest.

After heading up the stairs, grab the second Treasure Chest and keep going to the third Miracle Orb on this level. This needs to be turned on so the third and final Treasure Chest will be present in this space-time.

There are now two additional things you need to change before obtaining the last Treasure Chest:
- Return to the first Miracle Orb, and change its facing back to the left, opening up the path to the second Miracle Orb
- At the second Miracle Orb by the door, change its facing to the left, opening up the path to the last Treasure Chest

Once you have obtained the last Treasure Chest, that will signal the end of the Event.
What are the Hypogeum Enigma Rewards?
After completing all of the game modes, you will earn the following permanent rewards:
- 200 Stellar Jades
- 22 Traveler's Guides
- 30 Condensed Aethers
- 20 Lost Gold Fragments
- 200,000 Credits
You will obtain rewards progressively as you complete each stage in the Event.
Changelog
- 14 Jul. 2025: Page added.