

Fracture Chambers is one of the Cell Blocks of Torghast. It is one of the easiest, as enemies are plentiful but weak, and their abilities are either low impact or easy to avoid. Some of the bosses present in this Cell Block are tough to deal with, but with our tips you will be taking them down in no time!
In this guide, we will explain the mechanics of Fracture Chambers,
its enemies and torments, detail which special Anima Powers you can get from
![]() Ravenous Anima Cell here and finish by explaining the bosses you can find
on this Cell Block.
Ravenous Anima Cell here and finish by explaining the bosses you can find
on this Cell Block.
Fracture Chambers
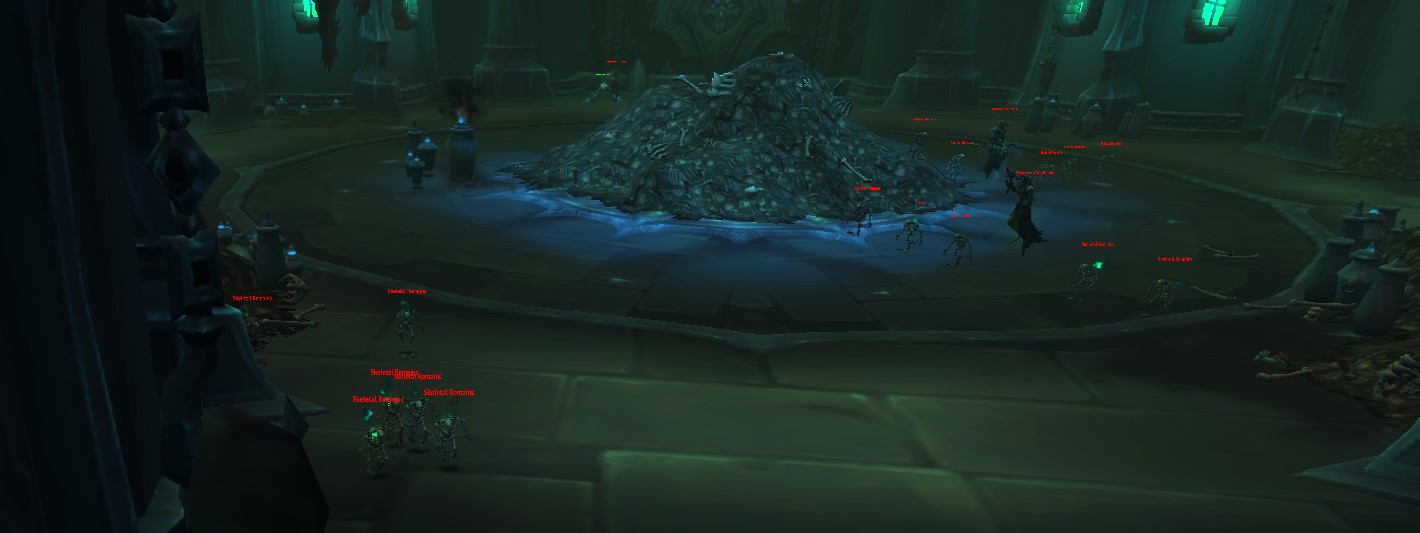
This cell block is populated by fewer elites than most other blocks, but also tends to have longer layouts and a greater amount of regular enemies (especially exploding skeletons), overall.
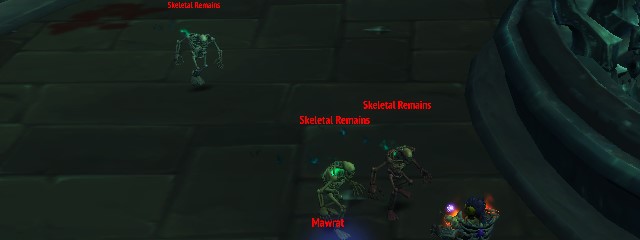
Speaking of exploding skeletons, Skeletal Remains are plentiful everywhere and will try to swarm you. While they are individually weak, when killed they cause a green swirly on the ground which will increase your physical damage taken and stacks. Taking too many explosions can easily lead to dying, but they are easy to avoid, so make sure to do that.
Layout wise, Fracture Chambers floors are usually long and filled with enemies, and also often contain multiple side areas. Expect to have to fight your way through both enemies and the serpentine layouts of this Cell Block to make it to the final boss.
Fracture Chambers Notable Enemies
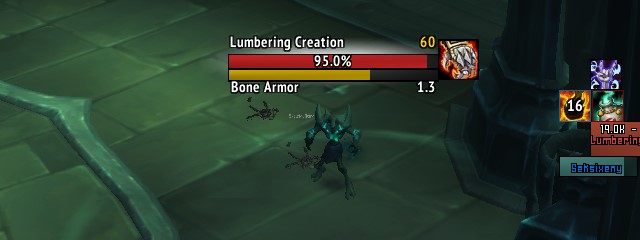
Lumbering Creations are powerful melee elites, which can shield themselves and explode on death, just like the regular skeletons. Try to interrupt or purge their shield and make sure to be away from the swirly they leave on death, as getting hit will cause physical damage and apply a stacking physical damage taken increased debuff.
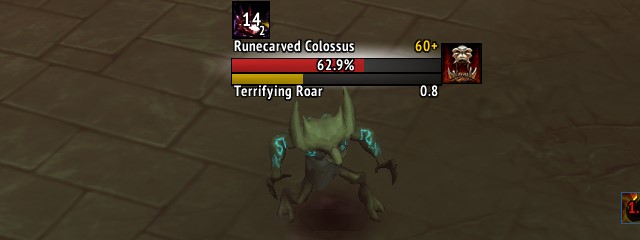
The Runecarved Colossus is a very powerful elite enemy that has powerful melee attacks, especially Ravage. He will also use Terrifying Roar to try and fear you into nearby packs. Fortunately, all of his abilities have low cast ranges, so kiting or moving away whenever he is about to finish a cast will make him waste the ability. The roar can also be interrupted.
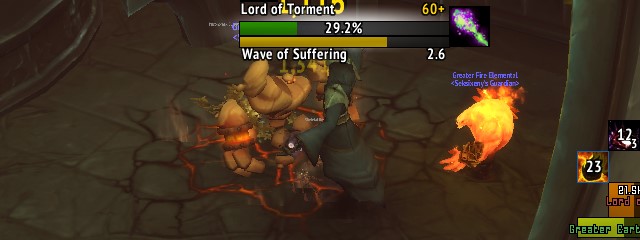
The Lord of Torment is a caster elite that needs to be interrupted as much as possible. Be especially aware of his Wave of Suffering cast, as he will spam it multiple times in a row and each cast hits every player nearby for massive damage, quickly wiping your party if you let several casts go through.
Using Ravenous Anima Cell in Fracture Chambers
Using the ![]() Ravenous Anima Cell wisely is one of the keys to leaving
alive with your Soul Ash. Different Cell Block archetypes have different
threats and enemies you can convert into useful powers. You can find the following
powers from transforming enemies in Fracture Chambers:
Ravenous Anima Cell wisely is one of the keys to leaving
alive with your Soul Ash. Different Cell Block archetypes have different
threats and enemies you can convert into useful powers. You can find the following
powers from transforming enemies in Fracture Chambers:
| Enemy | Power | Explanation |
|---|---|---|
| Mawsworn Soulbinder / Endbringer / Disciple / Acolyte | Because of the short nature of the regular Cell Blocks, this power tends
to not be profitable enough off the two floors you can do it with. The outcome
is about the same as just getting |
|
| Broker Vendor | By using the Anima Cell on the Broker vendor, you will gain a significant amount of Phantasma, which more than covers its cost, but you will also be missing out on extra powers until the final boss, which is a significant downside. | |
| Lost Dredger | Treasure Room | By waiting until the Lost Dredger starts casting his escape portal to use
the |
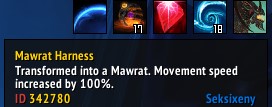
| Mawrats | Using this item allows you to turn into a Mawrat, increasing your speed by 100%. Taking or dealing any damage removes the buff, but you can reuse it after leaving combat. Due to its lack of combat effectiveness, this power is not recommended. | |
| Skeletal Remains | The summoned ally is way too weak to be of much use and can pull unwanted enemies, so avoid getting this power. |
While ![]() Marrow Scooper can be a great Twisting Corridors power,
the short nature of the Cell Blocks makes the run finish before you really start
getting rich on Phantasma from it. Take it if you are worried about the
last boss, or just go with normal Anima Orbs and powers if you want their immediate
benefit.
Marrow Scooper can be a great Twisting Corridors power,
the short nature of the Cell Blocks makes the run finish before you really start
getting rich on Phantasma from it. Take it if you are worried about the
last boss, or just go with normal Anima Orbs and powers if you want their immediate
benefit.
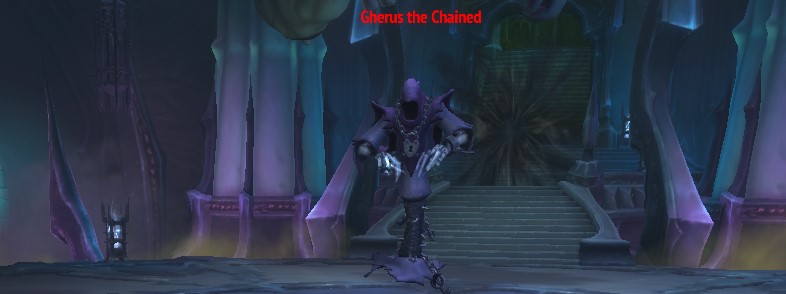
Fracture Chambers Bosses
The final boss of your run will be the hardest challenge and the most likely spot at which you can actually get stuck and have to reset. Knowing the boss abilities and reading some of our tips on how to deal with them before pulling can easily be the difference between victory and defeat!
Learn more about the bosses of Torghast on our specialized guide below:
Changelog
- 26 Jun. 2021: Removed mention to the Cell Block Torment, as it has been removed with 9.1.
- 03 Feb. 2021: Guide added.