Copperbell Mines Dungeon Guide and Loot List
Welcome to our guide to Copperbell Mines, Final Fantasy XIV's level 17 dungeon. This guide aims to prepare players so they will know what to expect, with simple mechanic instructions and notes on how to progress through the dungeon.
Copperbell Mines Overview
Abandoned once purged of ore, Copperbell Mines lay untouched for nigh on three centuries until Amajina & Sons Mineral Concern reclaimed the shafts- the guild's sights set on expanding the mines downward in an attempt to tap yet undiscovered veins of valuable metal. Unfortunately, it was not riches the powder kegs uncovered, but sheer terror, for when the smoke cleared, out poured an army of raging giants from the darkest recesses of the mines. The hecatoncheires- thralls of the lost Thorne Dynasty- were, at last, free from their lightless prison, three hundread years of the hate fueling their madness.
Dungeon Information:
- Minimum level required: 17
- Party size: 4
- Prerequisite quest: "Into a Copper Hell"
- Entrance: Western Thanalan (x27, y17)
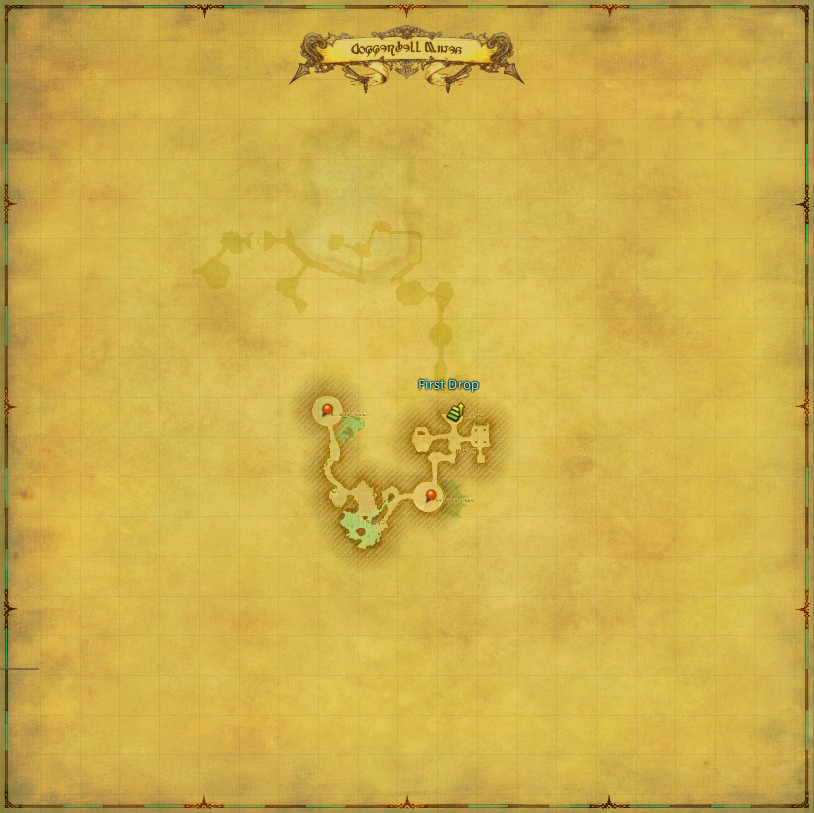
Dungeon Mechanics
There will be two ways of proceeding through this map. The first will be through a series of Tiny Key drops from mobs. These are the only way to open certain doors in the dungeon. The other thing you will need to pay attention to is the Firesand, which is needed to blast your way through the dungeon passageways. Simply pick up the Firesand, load it into the Powder Chambers, and utilize the Blasting Device located nearby to open the way forward.
Kottos
This dungeon will be the first time the game introduces you to specific markers the game uses to identify specific mechanics happening. The main one, which will be reoccurring, is the tank buster icon. Kottos will begin casting the skill Grand Slam, identified by the large red circle around the tank. As a healer, ensure the tank is healed up prior to this, while the tank should be using mitigative actions to reduce the total damage dealt. Kottos will also perform the move Lumbering Leap, which has him jump to a location, indicated by the yellow marker on the floor. After the jump has gone off, several other AoE puddles will go off, erupting in random places around the arena. Kottos will then randomly target a player with Colossal Slam, a conal AoE. Walk out of this to avoid the damage.
Ichorous Ire
Ichorous Ire has one main mechanic it will repeat until defeated called Divide. The boss will begin casting and, once finished, split its body into several smaller versions of itself. These small blobs will land in a random location and, after a short period of time, explode, dealing damage to anyone caught in the AoE radius. Avoid these to minimize damage taken.
Gyges the Great
Gyges shares several of its attacks with the previous boss, Kottos, except this time the boss will add in one more AoE pattern to the mix. Gyges the Great has two moves, Gigantic Swing and Gigantic Smash. Swing is a donut shaped AoE where the safe spot is directly under the boss. Gyges follows this up with the Smash variant, which is the opposite, and requires you you get away from him in order to avoid the damage. Gyges comes equipped with the tank buster, Grand Slam, and the conal AoE, Colossal Slam, which we already saw earlier in the dungeon and should be handled the same way.
Changelog
- 21 Apr. 2022: Guide added.
More FFXIV Content

Hana tends to split their gaming time between FFXIV and Genshin Impact. In FFXIV, they have been playing since the relaunch of A Realm Reborn, but finally made the jump from WoW Heroic to FFXIV Savage Raiding in Shadowbringers, with a focus on playing Caster Jobs. In Genshin Impact they focus on Abyss and exploration content with Main DPS Characters being Yoimiya, Raiden Shogun, and Klee. You can find them occasionally streaming raid or playing games on Twitch.
- Last Chance For THE PRIMALS x Download Festival T-Shirt!
- Team DN Claims #WorldFirst in FFXIV’s Dancing Mad!
- FFXIV Players Blown Away By Store Updates!
- Support #WorldFirst in FFXIV Dancing Mad Ultimate — Now Available!
- Calling FFXIV Fishers To Catch The Rainbow For Charity!
- Last Chance To Enter FFXIV x Jollibee Sweepstakes!
- The Senor Otters Make Their Grand Debut in FFXIV
- Don’t Miss the FFXIV x FFXI Collab Event Ending Soon!