Dzemael Darkhold Dungeon Guide and Loot List
Welcome to our guide to Dzemael Darkhold, Final Fantasy XIV's level 44 dungeon. This guide aims to prepare players so they will know what to expect, with simple mechanic instructions and notes on how to progress through the dungeon.
Overview
Seeking to utilize an existing labyrinth of natural caves, the Ishgardian house of Dzemael began construction of their eponymous Darkhold near the end of the Sixth Astral Era, intending it to serve as a refuge for those fleeing the flames of the Dravanian Horde. When the house's digging uncovered an entrance to the void, allowing an army of voidsent into this realm, however, they immediately abandoned their plans and withdrew from the subterrane, sealing it off so that they might contain the otherworldly invaders within. Despite all this, the house is unwilling to relinquish its claim to the caves, and believes that if they can be cleared of voidsent, they might still be able to see their original plan brought to fruition.
Information
- Minimum level required: 44
- Party size: 4
- Prerequisite quest: "Fort of Fear"
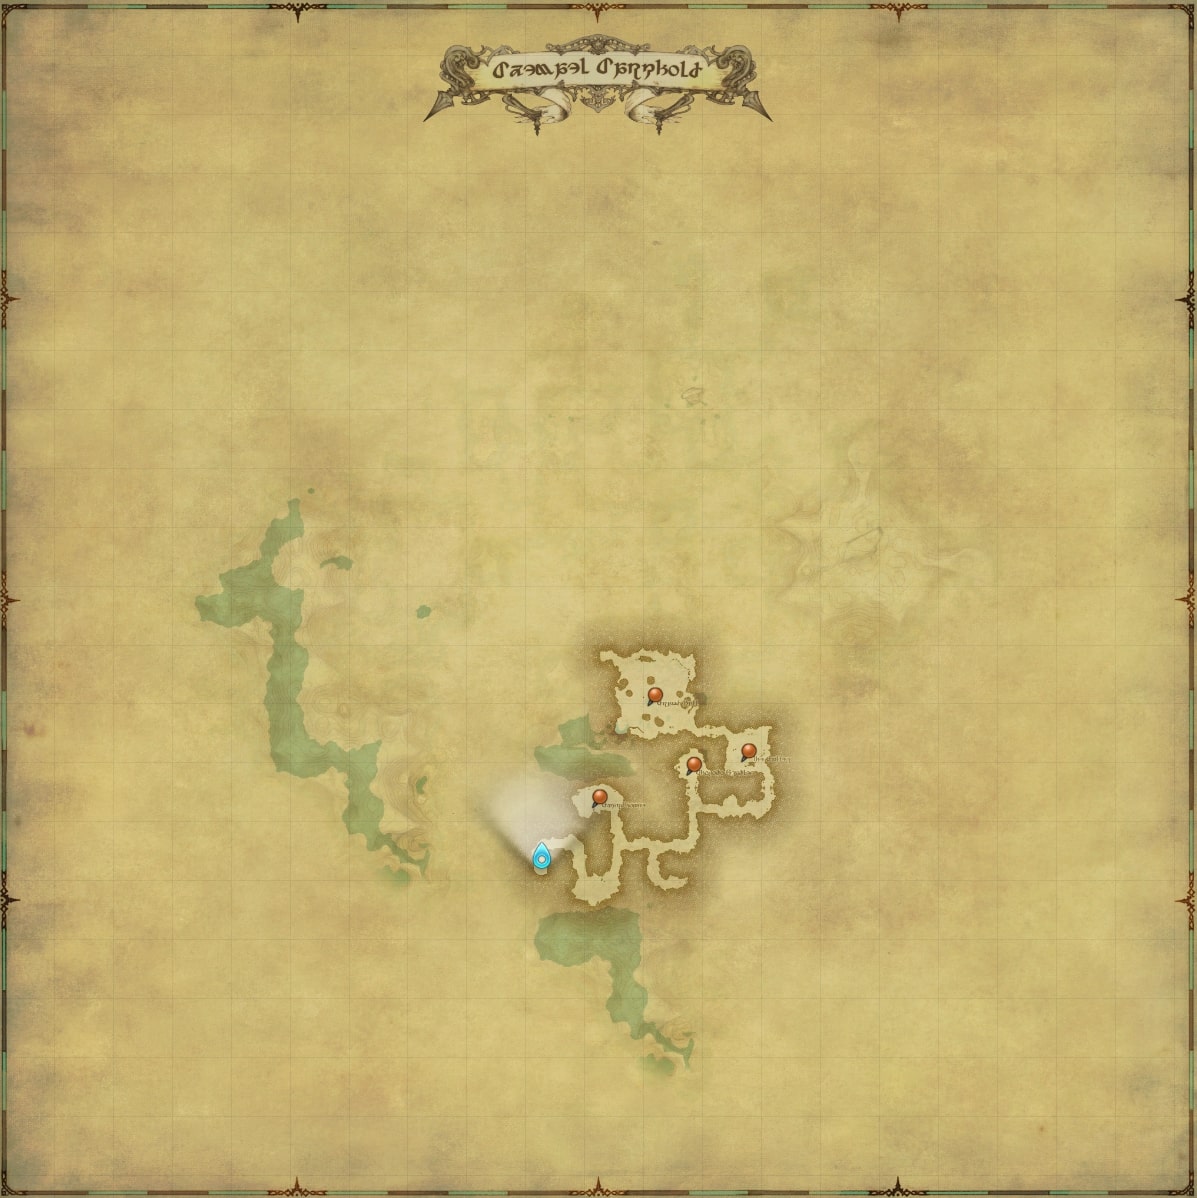
- Entrance: Coerthas Central Highlands (x20, y28)
Dungeon Guide
Throughout the dungeon there are small blue circular projections on the floor, these are Magitek Terminals. Activating these terminals open doors to progress or reveal additional treasure coffers. To activate these, one or more players must stand in the circle until the circle countdown completes and the circle disappears. There must be a player in the circle from start to finish or else the countdown will reset. The more players that are in the terminal, the faster the terminal will activate.
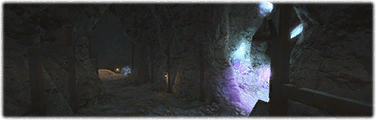
On the path to the first boss encounter is a patrolling monster, The All-seeing Eye. This monster is invulnerable and will not attack the players directly. The monster will occasionally cast Eyes on Me, dealing damage to anyone near the boss. In this area are also large purple circles that, when you step in them, will give a buff called Crystal Veil. While you have this buff, you do not take damage from the monster's Eyes on Me skill.
Optional: On the way to the first boss arena you will come across Magitek Terminal I. Activating this will open a room containing additional monsters and Treasure Coffer 1.
In the final area before the boss are Magitek Terminals III and IV, as well as patrolling monster circling around the room. Pull the monsters in the room to Magitek Terminal IV, located in the Crystal Veil. This let's you begin the countdown on this terminal and clear out monsters, while avoiding the patrolling monster's AoE spell. After this terminal is cleared, the monsters should be cleared as well, leaving the party to activate Magitek Terminal III in the middle of the room.
All-seeing Eye
This boss is invulnerable to damage unless under the effect of the Crystal Veil. Pull the boss into the purple light to make them vulnerable. Keep in mind that party member's should stay in this light as well to avoid taking damage from the boss's skill, Eyes on Me. Occasionally, the light will disappear and the party will need to move to the next light area to keep the boss vulnerable to damage.
Throughout the encounter, the boss will summon monsters in pairs for the party to dispatch. These are:
- Mouche Volante: Casts Thunderstrike, dealing damage to a random player.
- Amanuensis: Casts Condemnation, a telegraphed conal AoE. Avoid this.
The boss also casts Dread Gaze and Cursed Gaze. Both are telegraphed conal AoEs targeted on the tank. These are "line of sight" AoEs, meaning that you can look away to avoid them. However, it is easier to just move out of the conal AoE.
Interact with the Magitek Transporter to continue.
On the path to the next boss are a set of branching paths, stick to the right-most path to proceed. You will encounter Treasure Coffer 2 and 3 on the way there.
Taulurd
In the arena, there is no boss to start. Entering the arena will cause the boss to spawn in the upper path and move down into the pit. Soon after, untargetable Deepvoid Slaves will surrounding the arena, hitting random players with the unavoidable skill Boulderdash, as well as targeting players with the telegraphed AoE Firewater.
The boss will cast Double Smash: A casted, telegraphed conal AoE on the tank. Move out to avoid. When the boss reaches low HP, they will cast Hot Hands on themselves, increasing damage done.
Interact with the Magitek Transporter to continue.
In the next room are Magitek Terminal VIII and IX right next to a crystal that casts a point blank AoE around it. There is no avoiding this damage, so just take the AoE damage while activating the terminal to avoid resetting the countdown.
Batraal
The boss will occasionally tether to a Corrupted Crystal and become invulnerable. During this time, the boss will cast Desolation, a telegraphed line AoE that targets a random player. The crystal will also cast Aetherial Surge. Avoid both AoEs while destroying the crystal to make the boss vulnerable again. This phase will repeat two more times.
Aside from this mechanic, the boss will cast:
- Grim Cleaver: Minor damage targeting a random party member.
- Grim Halo: A point blank instant AoE hitting all nearby party members.
After all three crystals are destroyed, the boss will start spawning Void Pitch under players, damaging those who stay in it. The boss will also now freely cast Desolation.
Loot
This is a table of all unique dungeon drops.
Changelog
- 30 Jul. 2022: Guide added.
More FFXIV Content

Hana tends to split their gaming time between FFXIV and Genshin Impact. In FFXIV, they have been playing since the relaunch of A Realm Reborn, but finally made the jump from WoW Heroic to FFXIV Savage Raiding in Shadowbringers, with a focus on playing Caster Jobs. In Genshin Impact they focus on Abyss and exploration content with Main DPS Characters being Yoimiya, Raiden Shogun, and Klee. You can find them occasionally streaming raid or playing games on Twitch.
- How Auto Content Balancing Will Change How You Play Evercold
- This Rare FFXIV Minion Secretly Became Sellable in Patch 7.55
- The Yo-kai Watch Event Returns Again to Eorzea
- Best Crafting Rotations for 7.55 Phantom Occultum Relics
- FFXIV Hits the Switch 2 Soon! Here’s What We Know About the Release Date
- Hear, Feel, Think: What Eorzea Immersion Sounds Like
- New Character Creation Updates With FFXIV’s Patch 8.1
- Yoshi-P Answers More Questions About Evercold at Berlin Press Conference