Legion Raid Guide for Vykas Gate 3
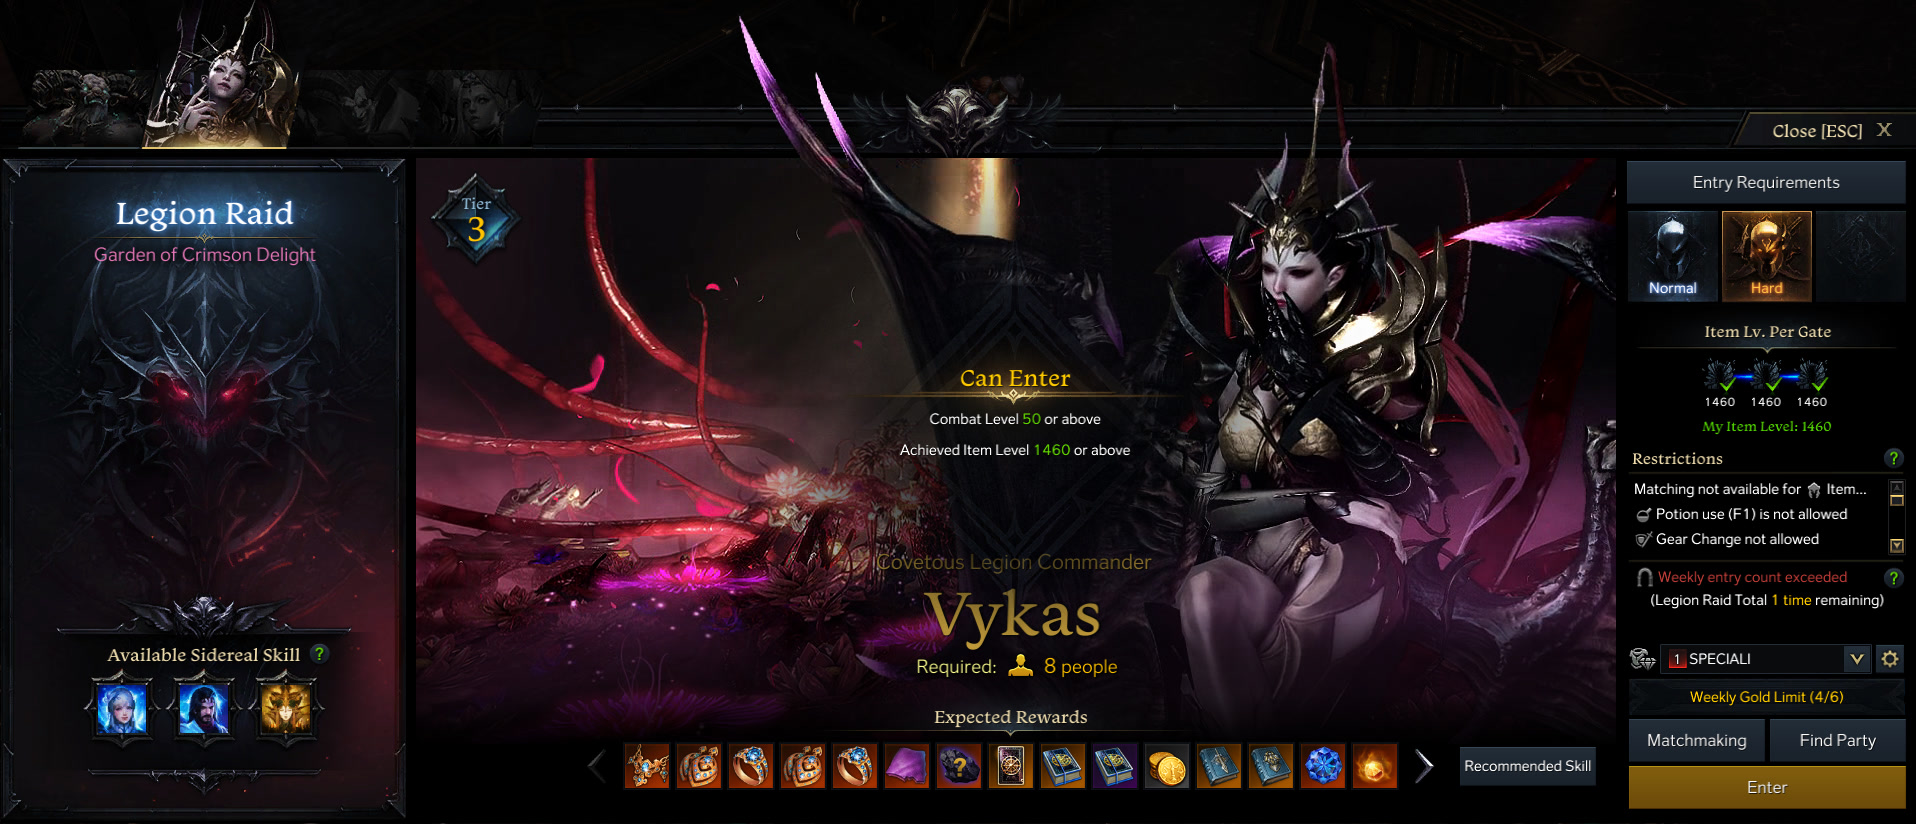
Vykas Gate 3 is the third and final encounter players face as part of an eight man Legion Raid. Vykas comes in two difficulties, Normal and Hard, which can be accessed upon achieving ilevel 1430 and 1460, respectively.
Vykas Raid Structure
Vykas has three gates, each of them requiring eight players and an item level of 1430 for normal mode, or 1460 for hard mode. This is a weekly cooldown content and the entry count resets every Wednesday.
As with all other Legion Raids, your progress is saved after completing a gate, so you can stop the run and re-enter at a later time, continuing from the gate you were left off at.
Assuming you have the item level required, you can also mix and match the difficulty of the gates, as you can choose to do one in hard mode and the other two in normal mode, or vice versa.
Party Setup
As with all other harder difficulty content, having a Bard or a Paladin makes things smoother.
For normal mode, you do not need any support classes as long as the group performs each mechanic perfectly.
For hard mode, a support class in each group is a great addition, especially during Gate 3 where there is a higher chance that a few mechanics, such as the typing test, can have mistakes where a support can carry through use of their Awakening skills.
As for DPS synergies, anything goes. Crit synergies are always great (Gunslinger, Deadeye, Arcanist), but my recommendation is to get at least one class with a Stagger buff such as Scrapper, Artillerist, or Destroyer, as it might prove to be useful during Gate 1 and Gate 3.
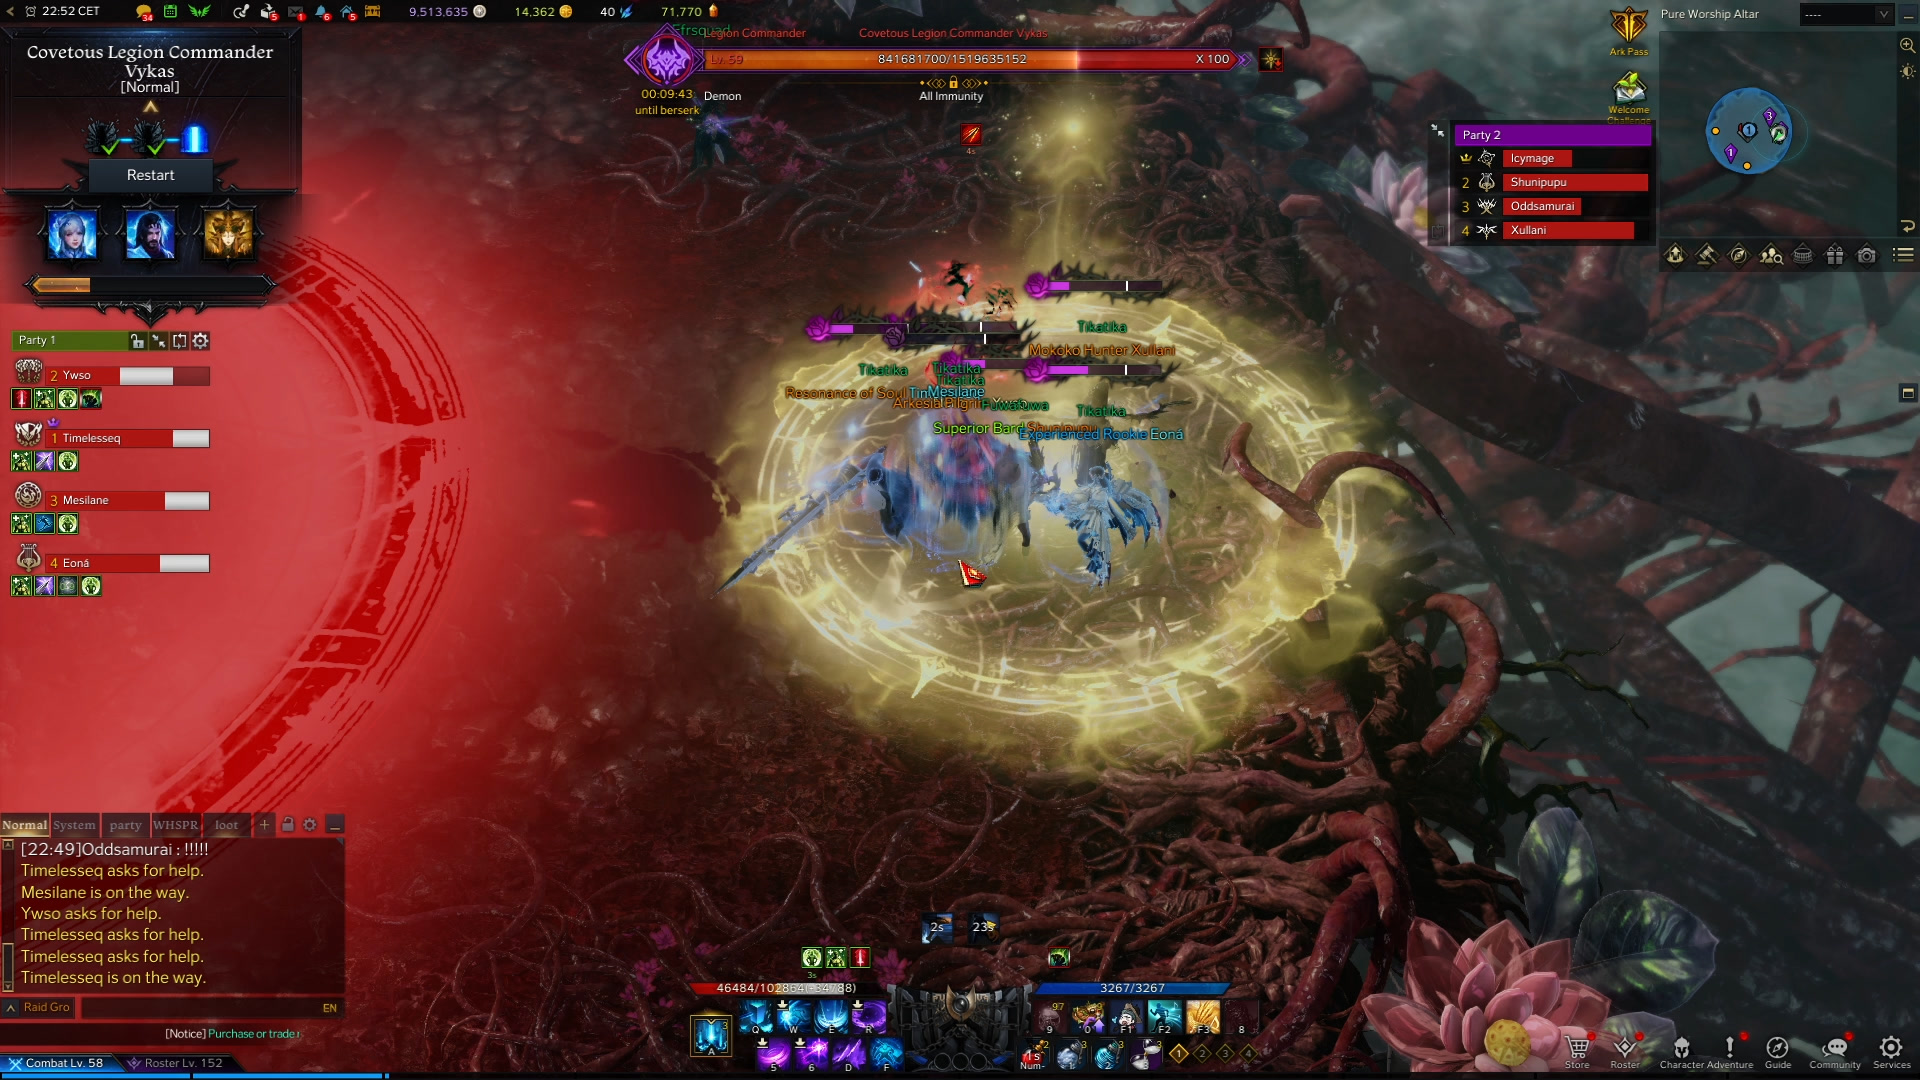
Vykas Gate 3 Overview
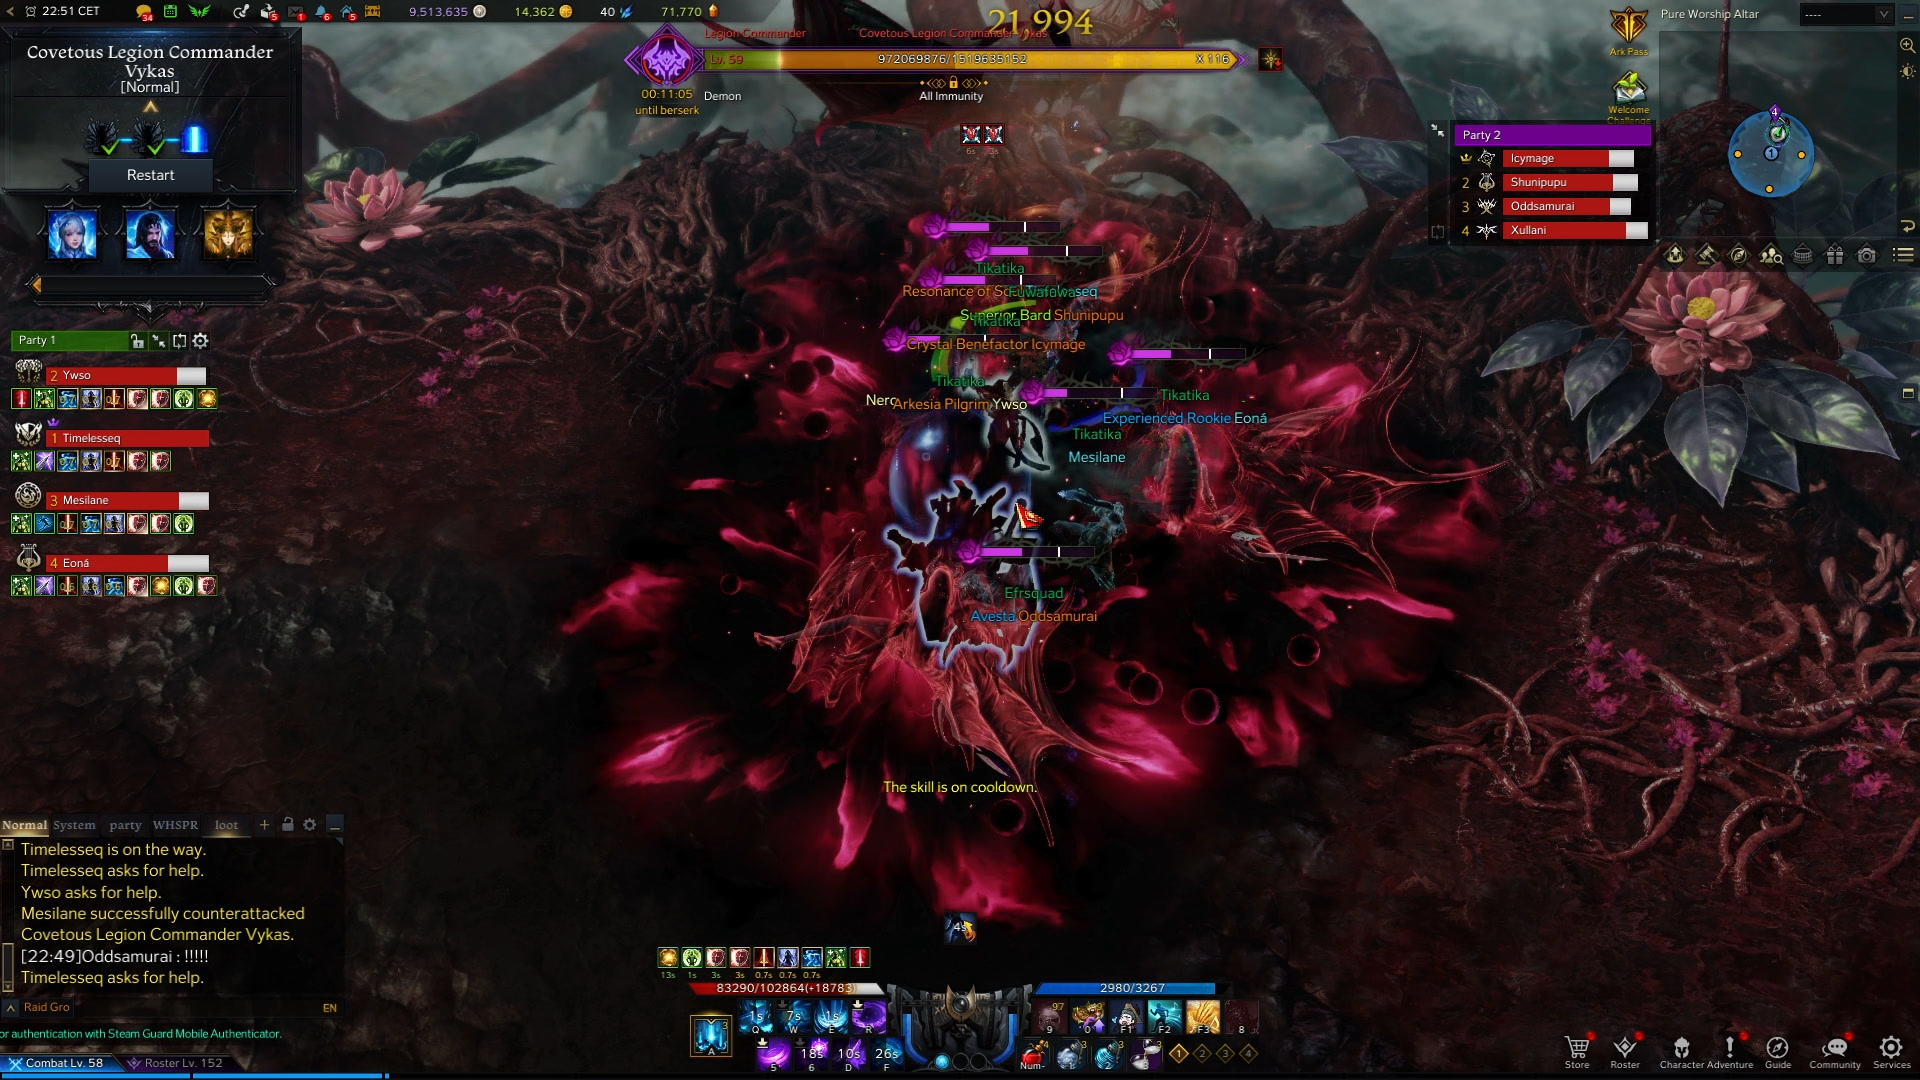
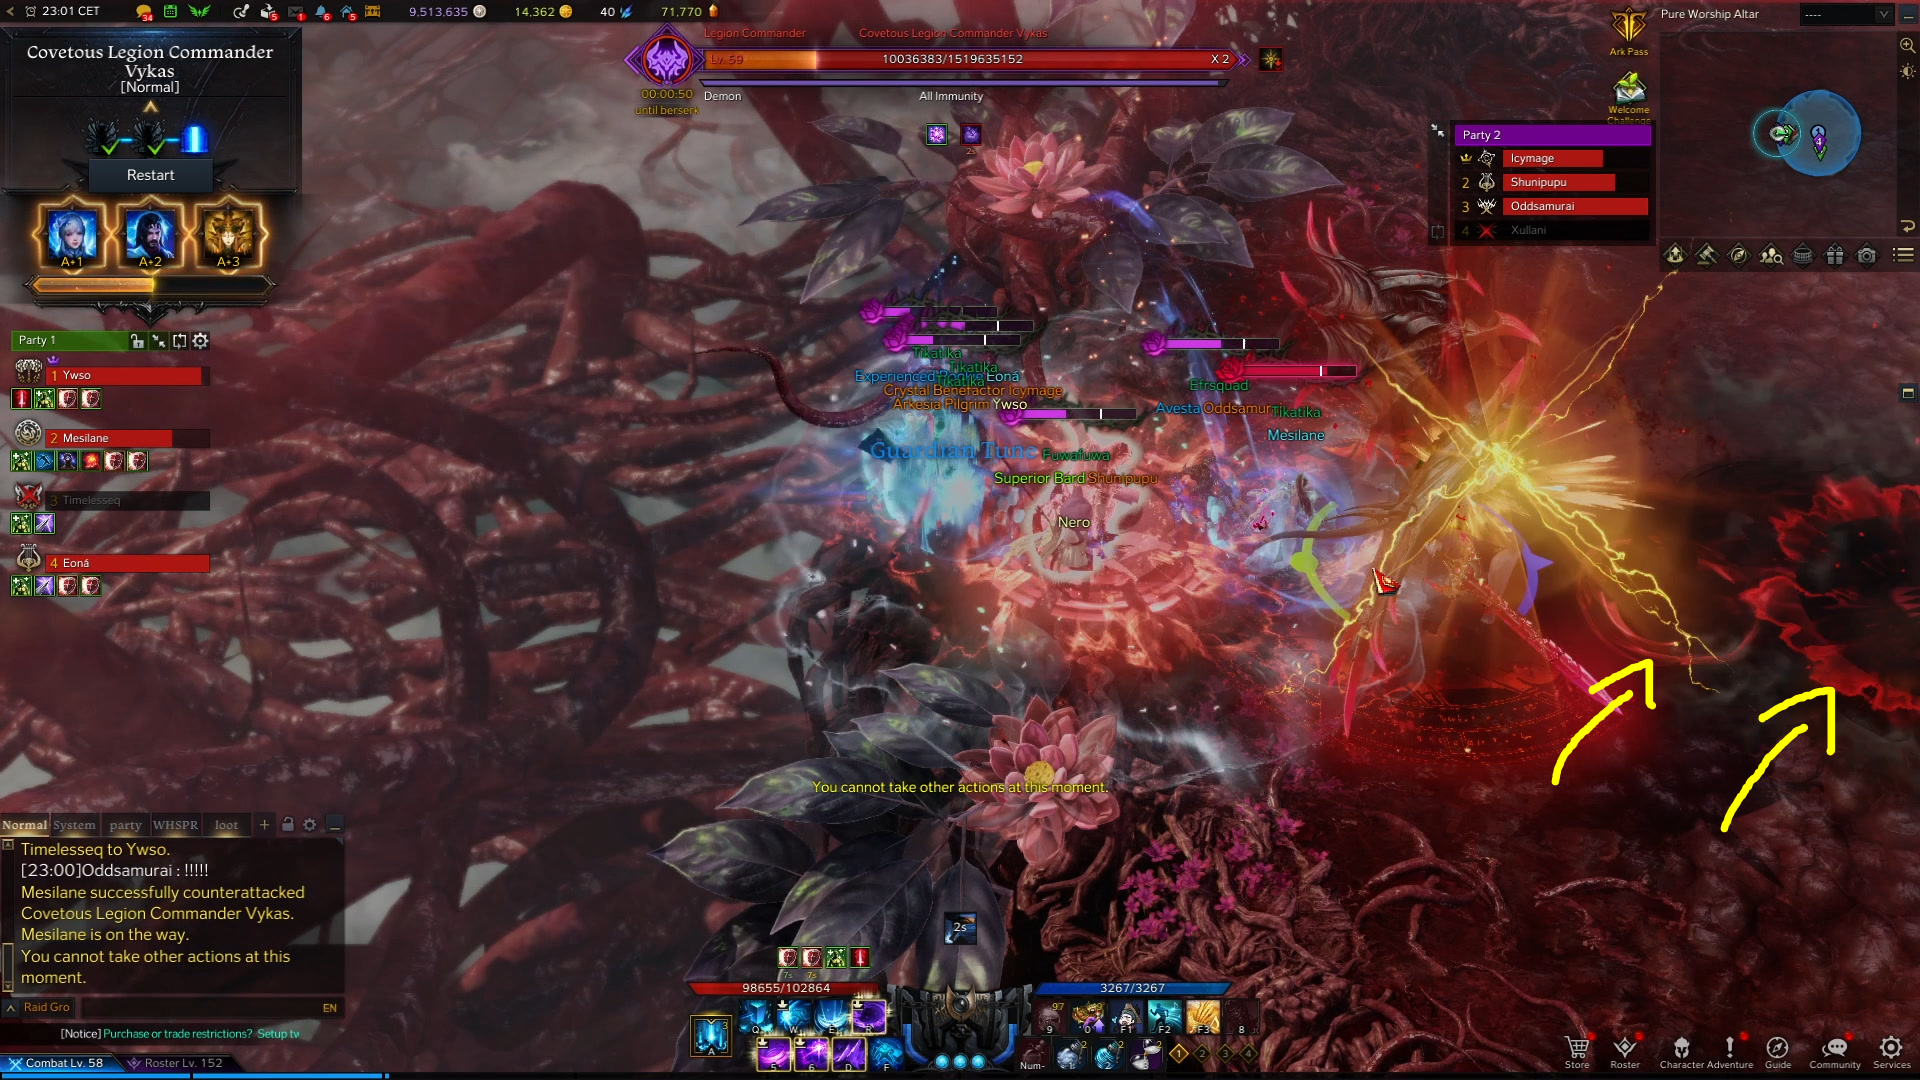
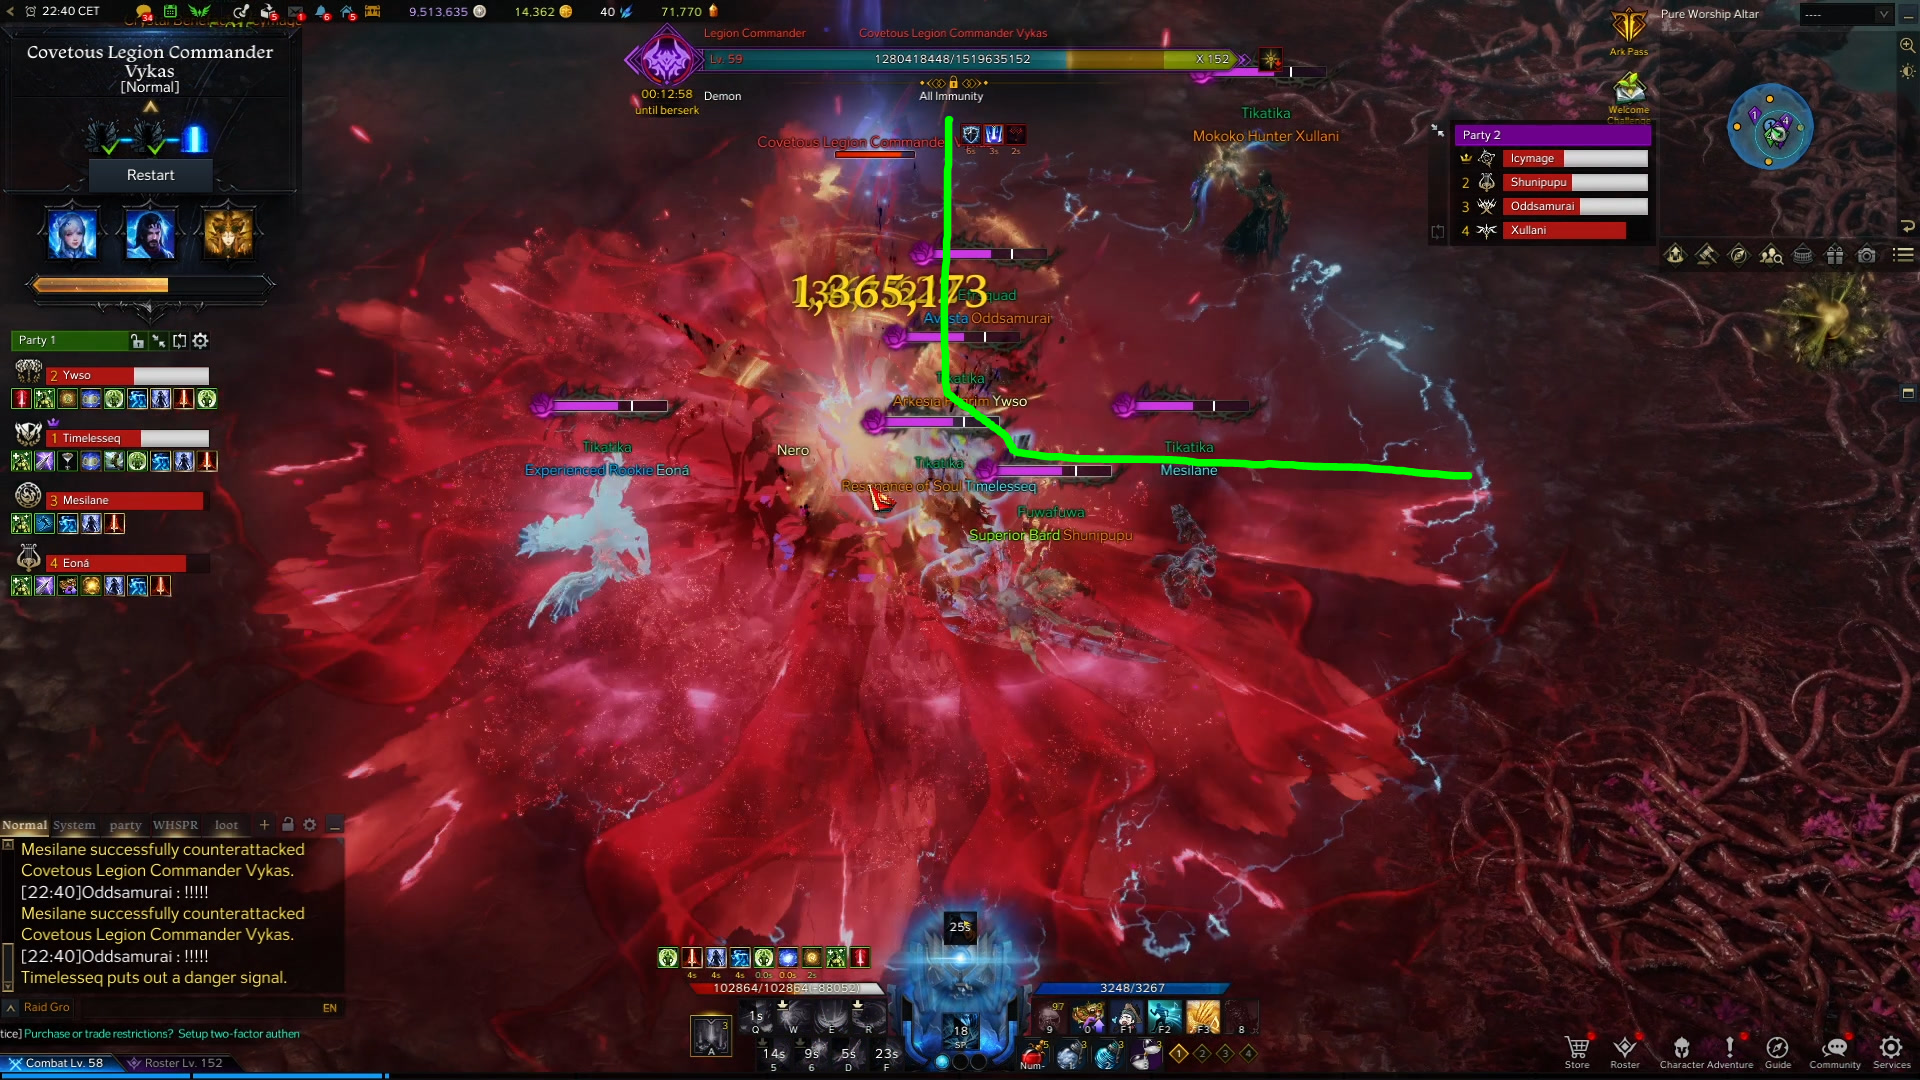
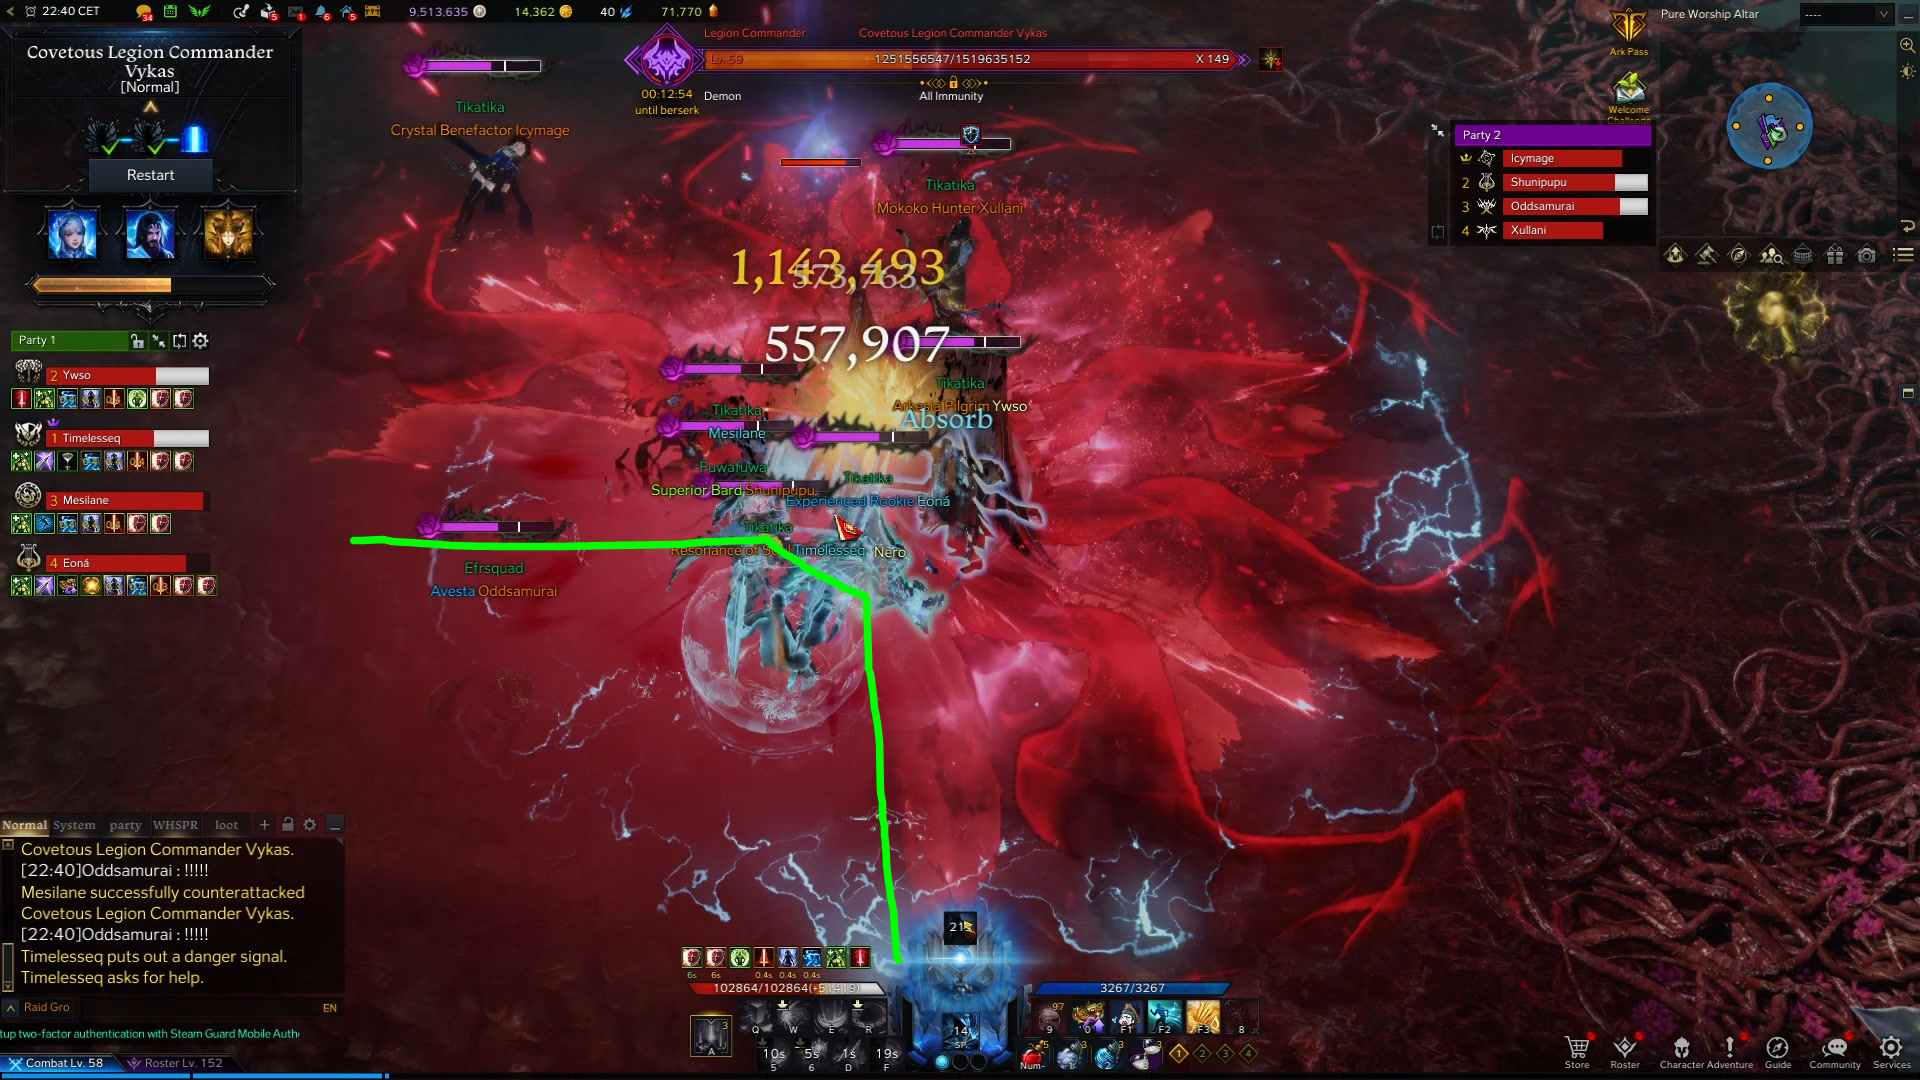
At Gate 3, we meet Vykas once again. Both parties are together for the whole fight.
The suggested battle items for Vykas Gate 3 are listed below:
Useful battle items are Whirlwind Bombs, Sleep Bombs and, on occasion, Time Stop Potions.
Upon completing Gate 3, you will be presented with specific loot depending on whether you have done the fight on normal or hard mode:
- Normal Mode Gate 3 rewards
- Two Relic Accessories
- One Relic Stone
- 10 Fused Leapstones
- Two Covetous Fangs (Legendary Material)
- One Covetous Wing (Relic Material)
- 2,200 Gold
- Hard Mode Gate 3 rewards
- Three Relic Accessories
- One Relic Stone
- 22 Fused Leapstones
- One Stone of Chaos
- Two Covetous Wings (Relic Material)
- 2,500 Gold
The bonus chests from each difficulty are listed below:
- Normal Mode Gate 3 Bonus Chest (Costs 800 Gold)
- Two Relic Accessories
- One Relic Stone
- Six Fused Leapstones
- Two Covetous Fangs (Legendary Material)
- One Covetous Wing (Relic Material)
- 600 Guardian Stone Crystals
- 300 Destruction Stone Crystals
- 900 Honor Shards
- Seven Great Honor Leapstones
- Hard Mode Gate 3 Bonus Chest (Costs 1,200 Gold)
- Three Relic Accessories
- One Relic Stone
- 10 Fused Leapstones
- Two Covetous Wings (Relic Material)
- 960 Guardian Stone Crystals
- 480 Destruction Stone Crystals
- 1,500 Honor Shards
- 10 Great Honor Leapstones
Upon clearing Gate 3 you will also be presented with the ability to roll on items with the group you cleared with. Those items are listed below:
- Vykas Normal Mode Completion Bidding Items
- One Gear-crafting Material Chest containing three Covetous Fangs (Legendary Material)
- One Honing Book
- Vykas Hard Mode Completion Bidding Items
- One Gear-crafting Material Chest containing five Covetous Wings (Relic Material)
- One Stone of Chaos
- One random Engraving Recipe
- Two Honing Books
Note: If a mechanic is scripted to happen at specific health thresholds, it will be listed under the description of that mechanic. Depending on the damage of the group, it is possible to push Vykas lower before the mechanic happens.
Pre-fight Preparation / Positioning
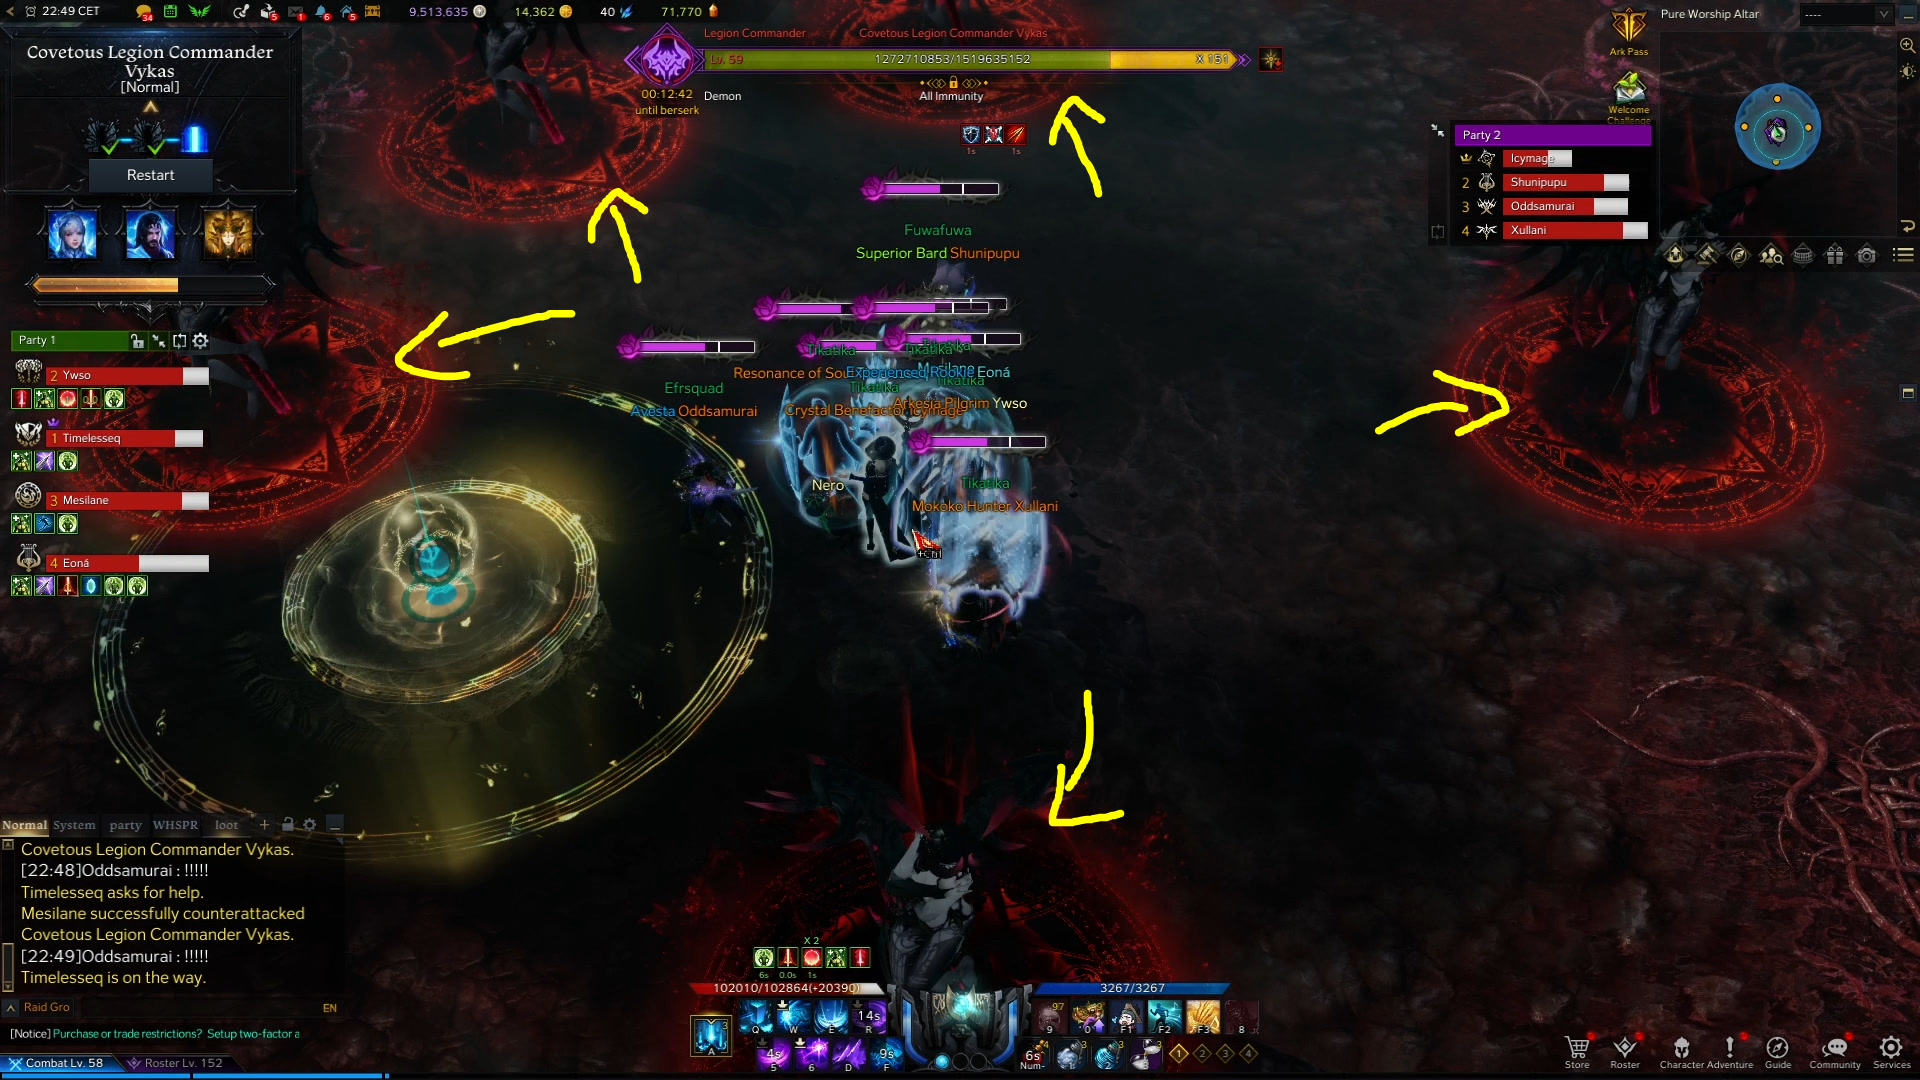
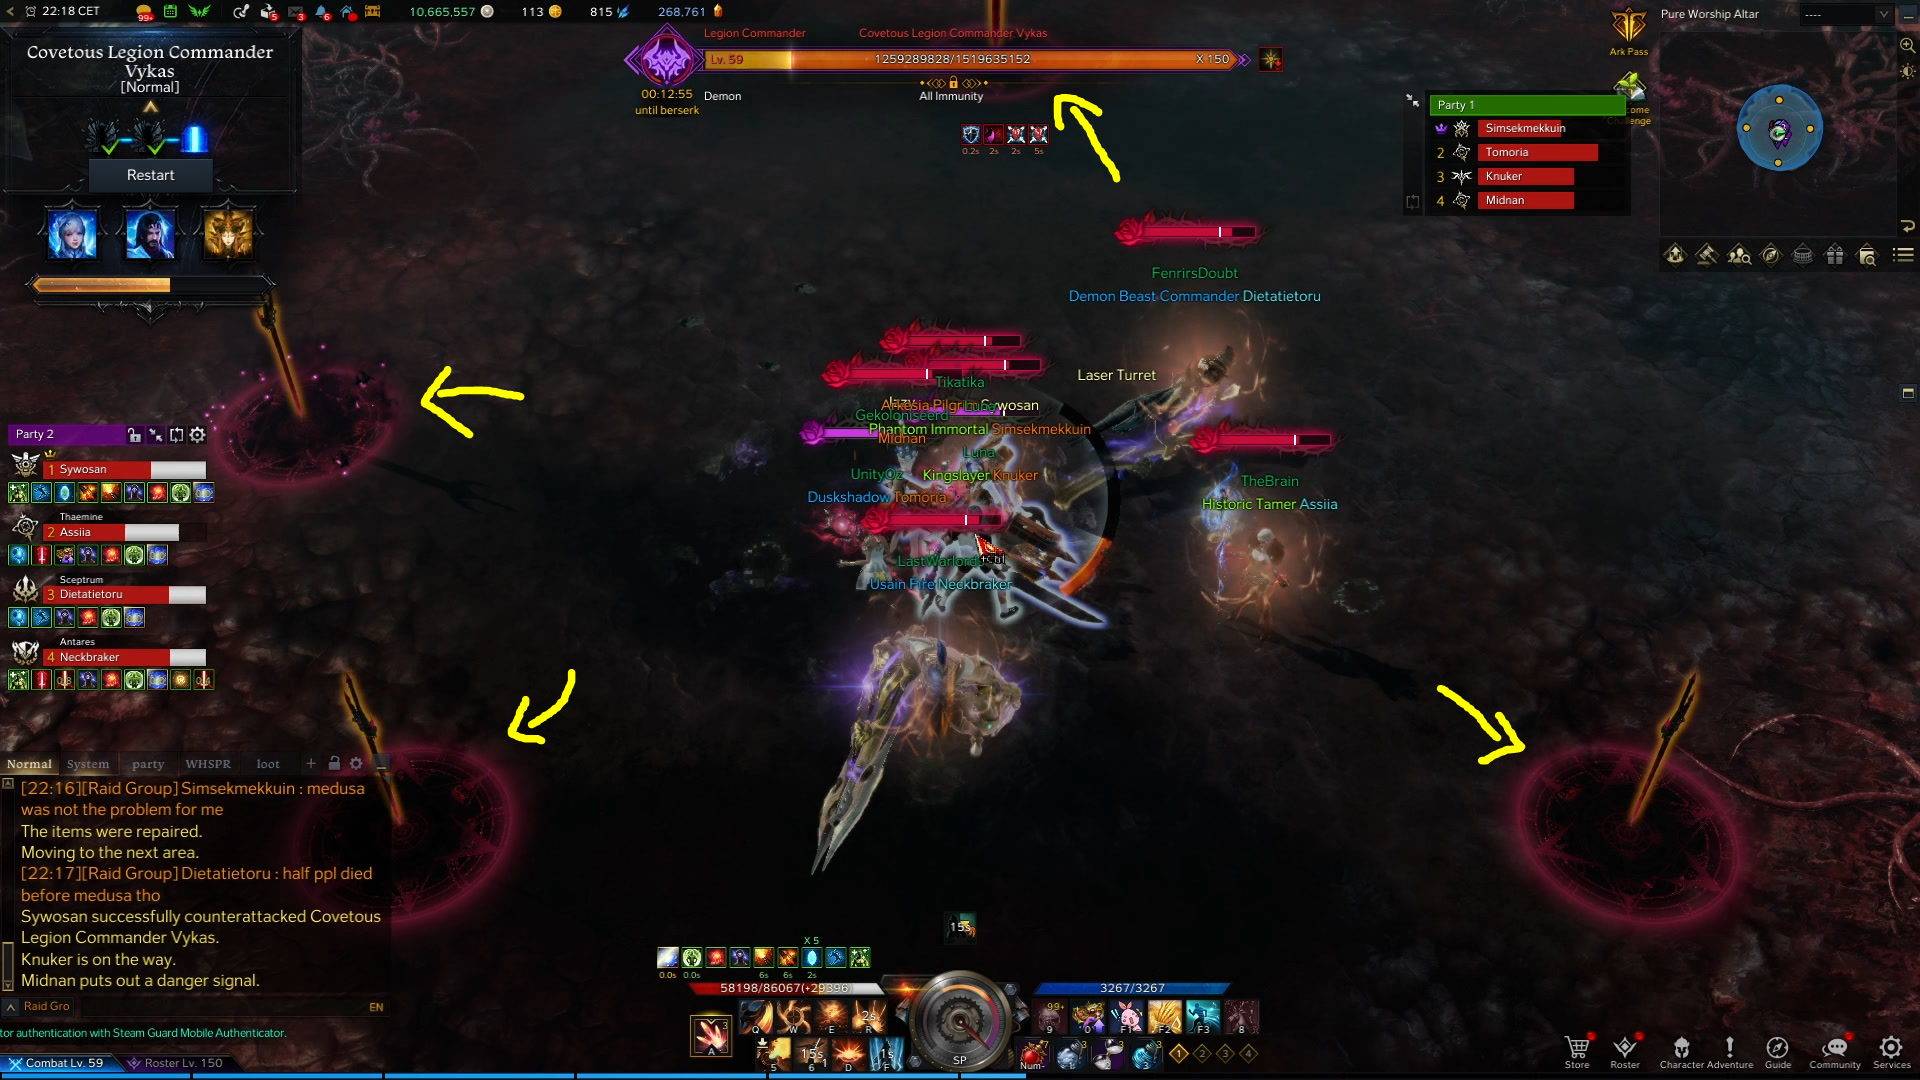
This fight is more about communication on the spot and sticking together rather than pre-set locations, but there are two events that should have some players assigned to a location.
At 105 bars, the stagger and frogs mechanic should have one DPS player assigned to 1 o’clock and a second assigned to 7 o’clock.
At 55 bars, one party of four should kill worms on the right side of the room, while the other should cover the left side.
Major Vykas Gate 3 Mechanics
The Charm Bar
A very important part of this fight is managing your Charm bar:
Every player gets it upon entering the room, and it is individual to each. Depending on the level of your Charm it will affect your character in different ways:
- Charm meter at 0 means you do less damage to Vykas.
- Charm meter in between 1 and 69% means you do normal damage to Vykas.
- Charm meter in between 70 and 99% means you do more damage to Vykas and receive more as well.
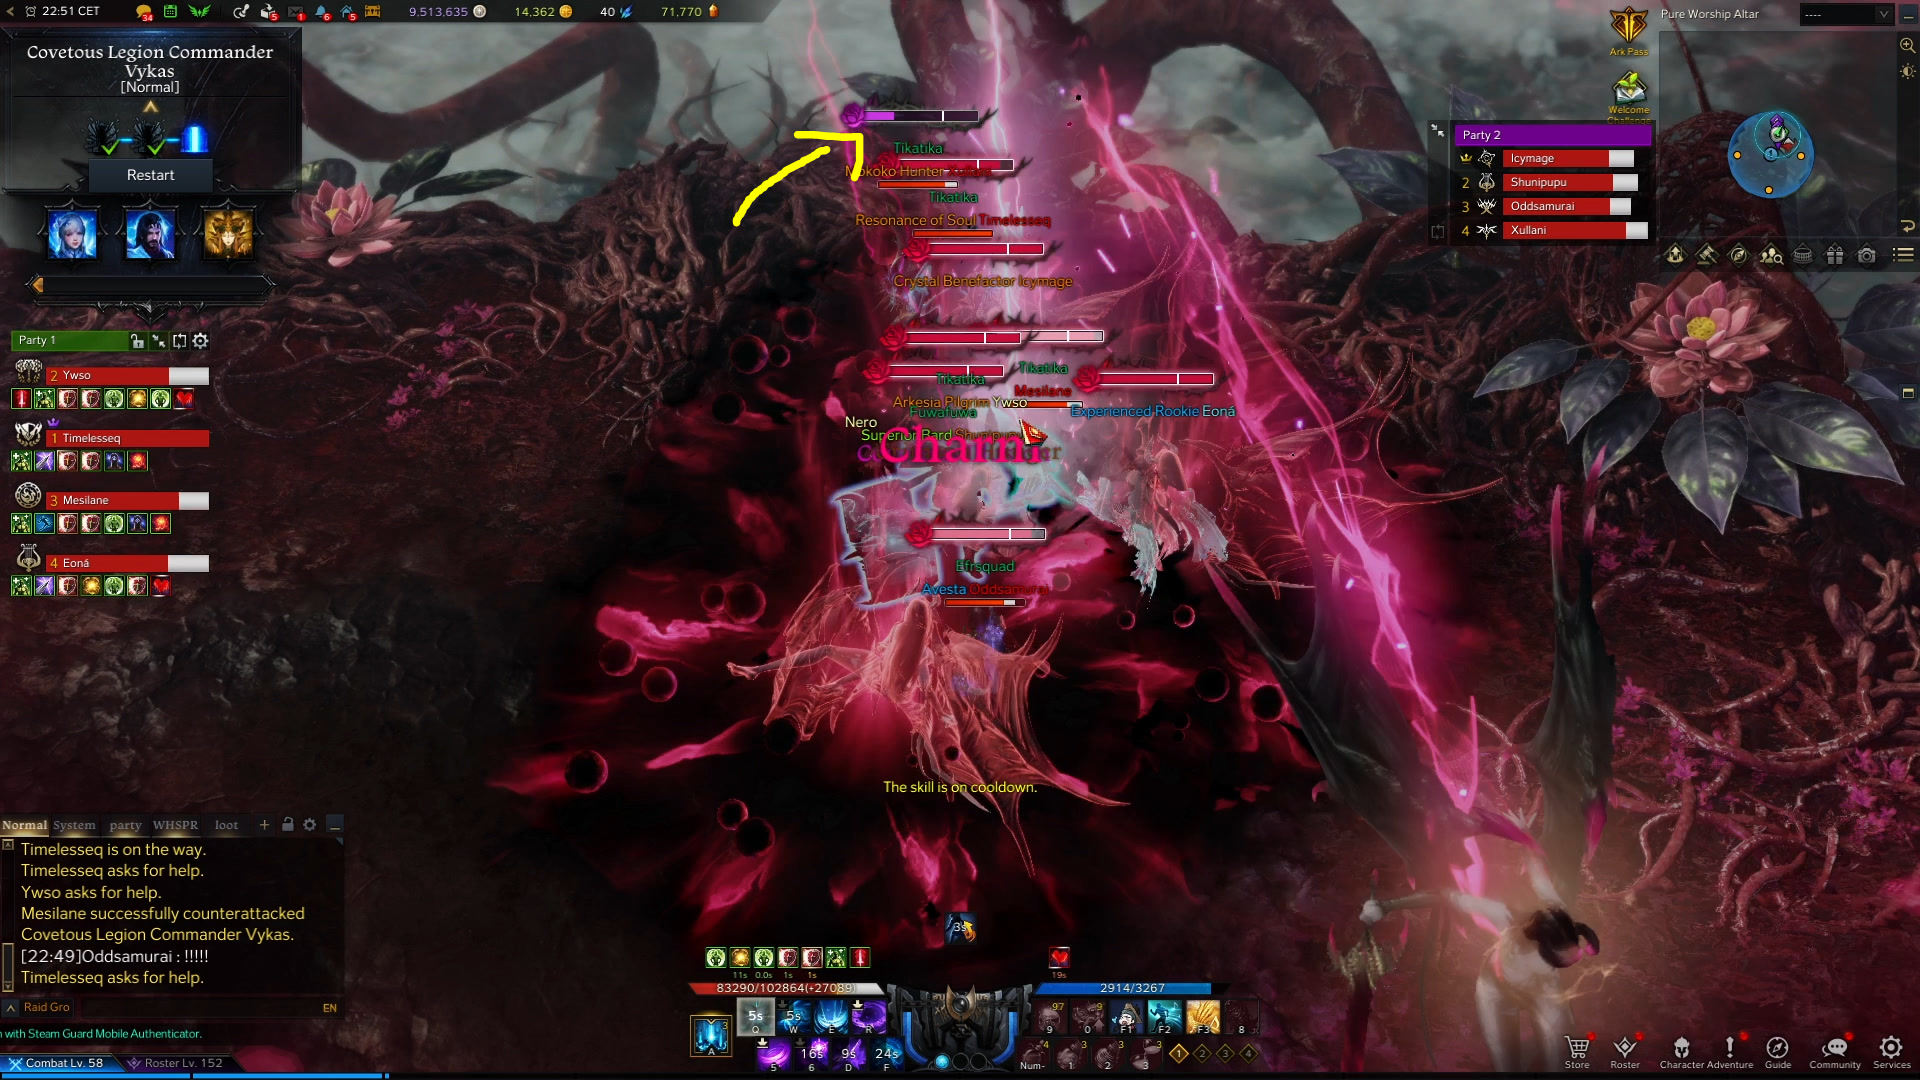
- Charm meter at 100% means you lose control over your character and become friendly to Vykas and an enemy to everyone that has a Charm meter under 100% - which are all of your raid members. This means they can kill you with their attacks and vice versa.
If you do become hostile, one of your party members can throw a Sleep Bomb on you to remove some of the Charm gauge meter and return you to normal Charm. The Charm meter fills up as you take damage from Vykas and her mechanics. Some mechanics fill it up very fast, like the dark red puddles, while others just add a small amount to it.
Ways of removing Charm:
- Activating a golden orb located at North East South and West.
- Using the Sidereal skill Inanna.
- Getting grabbed by Vykas' chain.
- Getting to 100% Charm and having another player throw a Sleep Bomb on you.
Let us get into the mechanics, in the order of appearance:
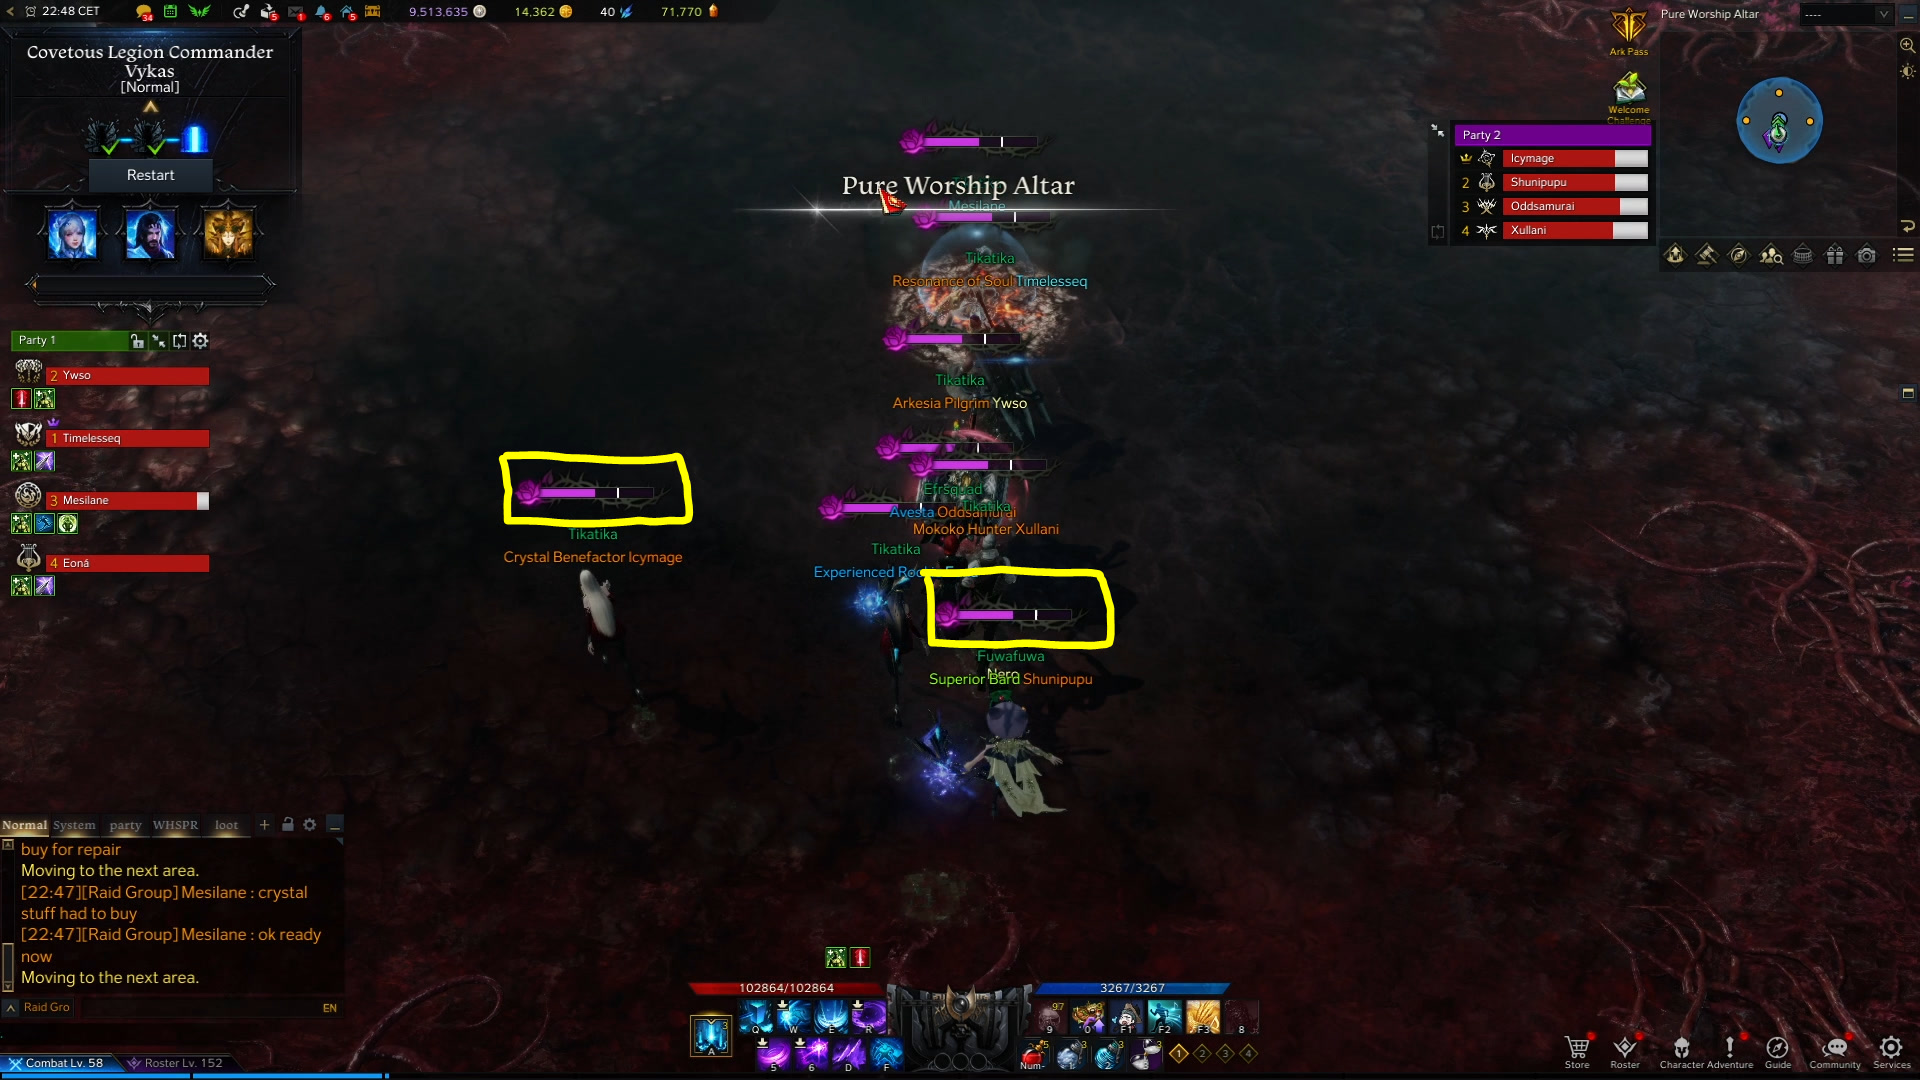
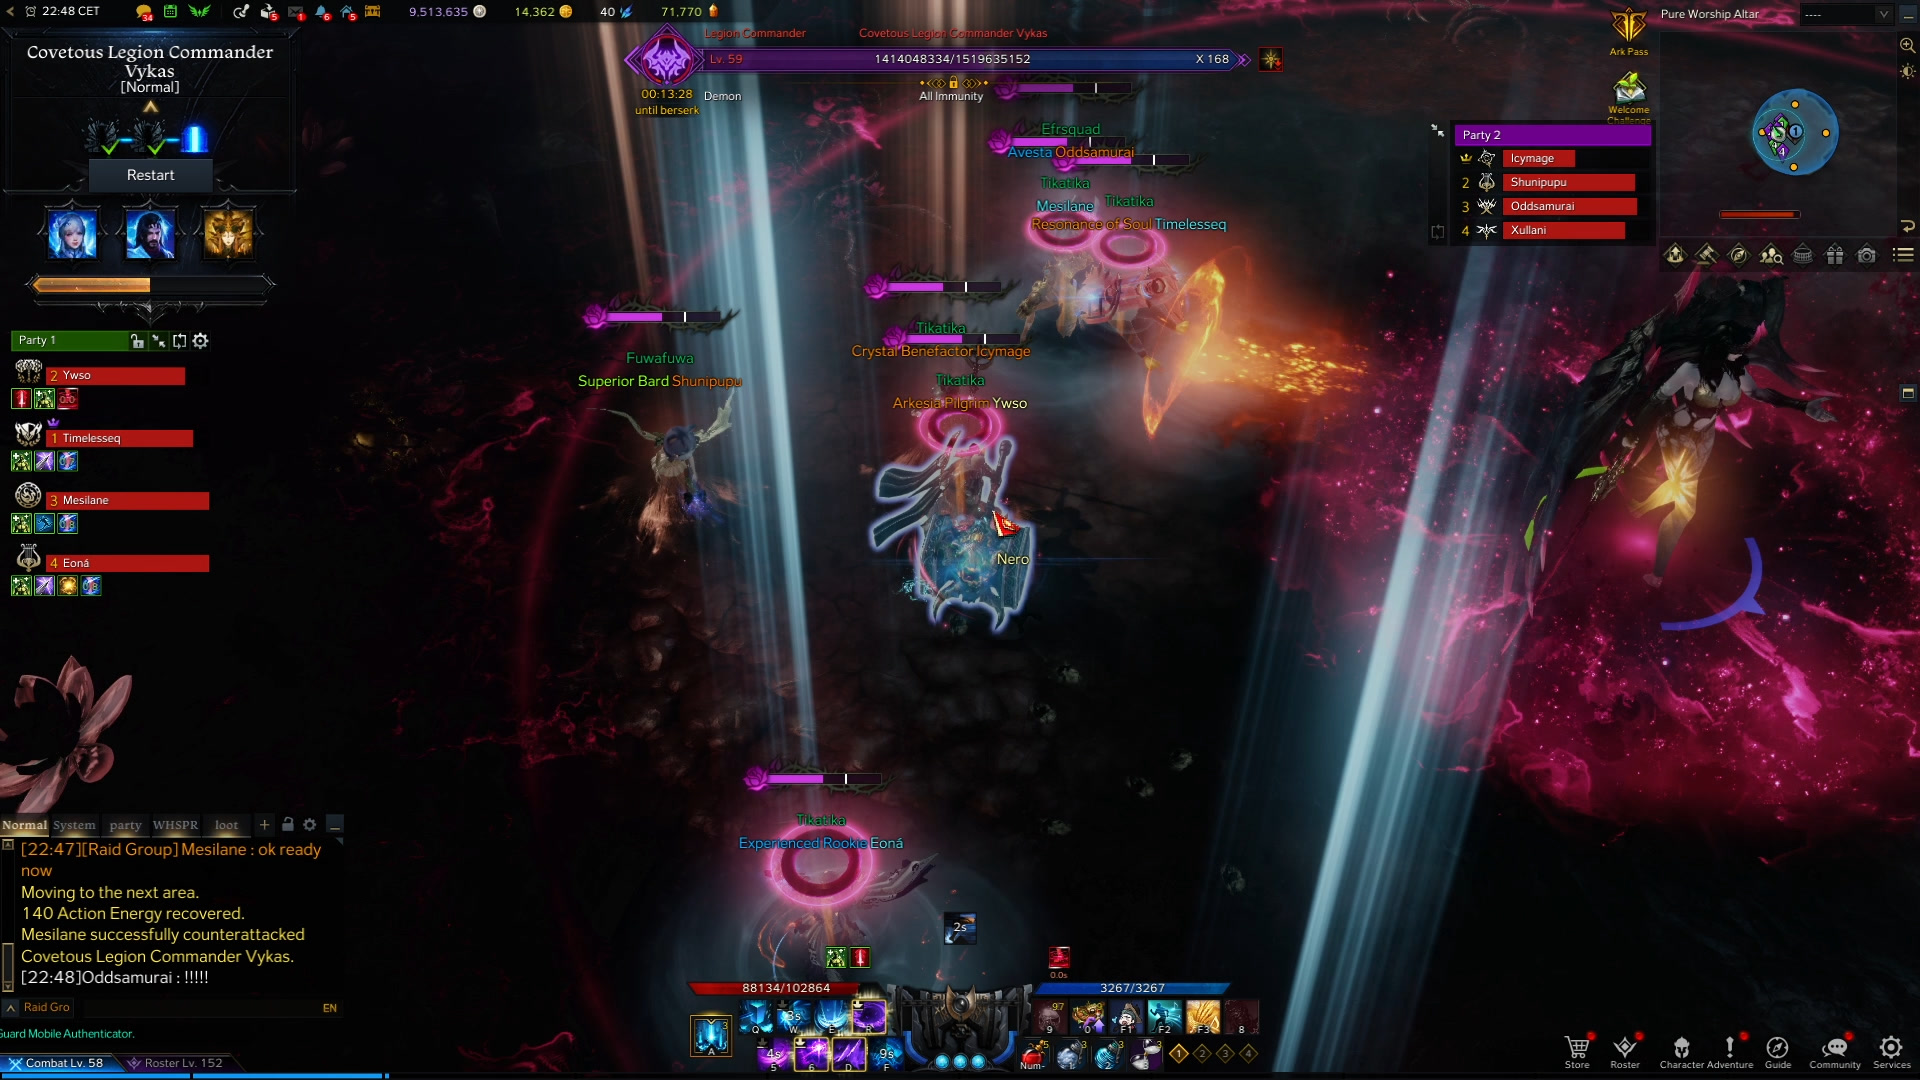
Swamp
At 170 bars and 74 bars, Vykas goes to the middle of the room and five players receive a blue debuff, while the other three receive a brown one.
This is marked visually with a cone of blue or brown light above your head like so:
It is sometimes difficult to notice the brown light as the room turns dark, too. If you are having trouble with the visual cue, you also get a notification via text like so:

After a few seconds, players with blue debuffs leave a light blue speed telegraph underneath their feet, while players with brown debuffs will leave a brown slowing telegraph:
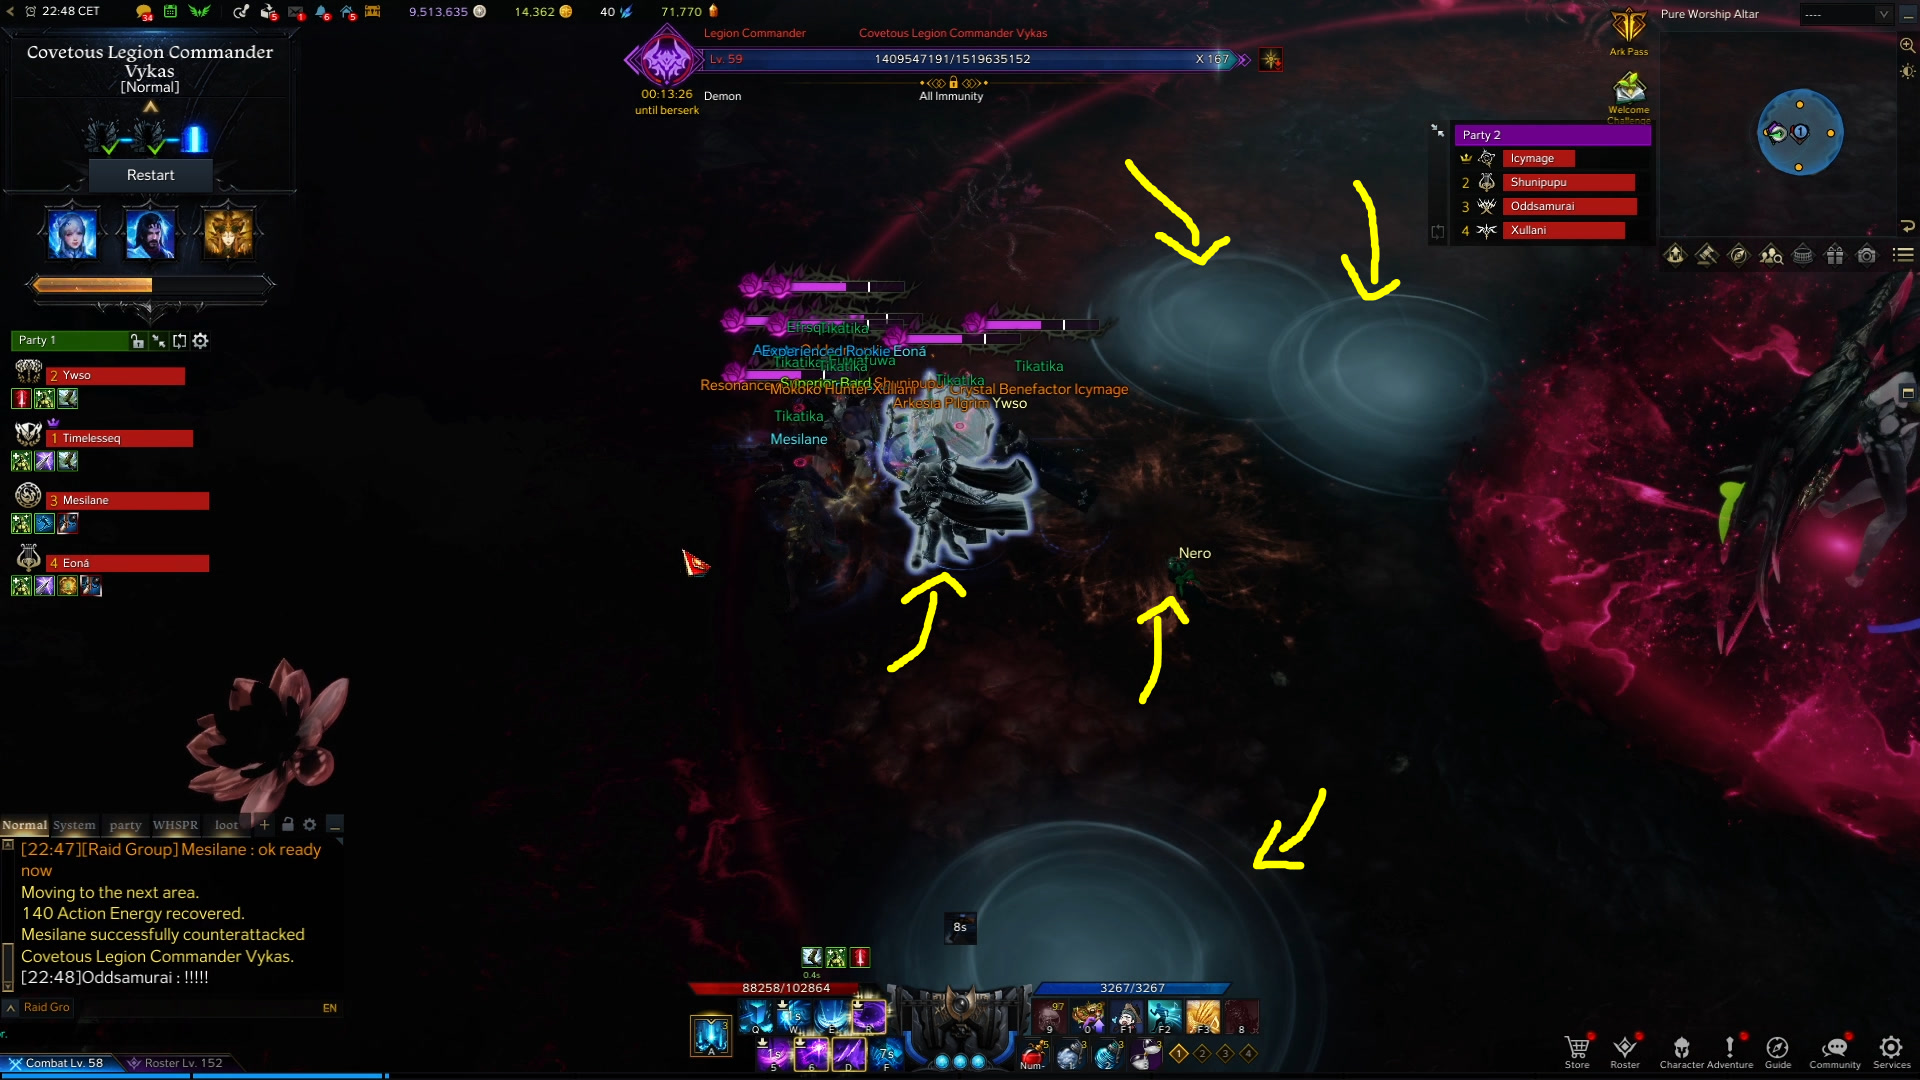
After a few seconds, everyone will be pulled towards her, and reaching the center spot kills you. The goal is to create a bridge of slowing telegraphs in a line towards the boss.
Here is a full video example of this mechanic:
Generally, players create the slow bridge at 9 o’clock while placing the speed puddles away from this spot. Do not step under Vykas during this time as the pink center part of the room will kill you.
Statue and Sword
At 151 bars Vykas disappears and several statues of her spawn in the room. The spawn pattern is random, but there are only a limited number of patterns that repeat. Here is one example:
Everyone with a Charm gauge under 70% will see these statues while everyone with a Charm gauge above 70% will see the swords, like so:
The swords also spawn in a random pattern out of a limited number of available patterns.
The goal during this mechanic is that everyone would stack up on the correct safe spot and avoid the raid wipe explosion. The safe spot is where there is a statue and a sword together.
It is recommend that one member of your group would have either memorized or look at a picture with the preset statue patterns, then call out the safe location. Here are the patterns in a picture made by a fan that I found memorable:
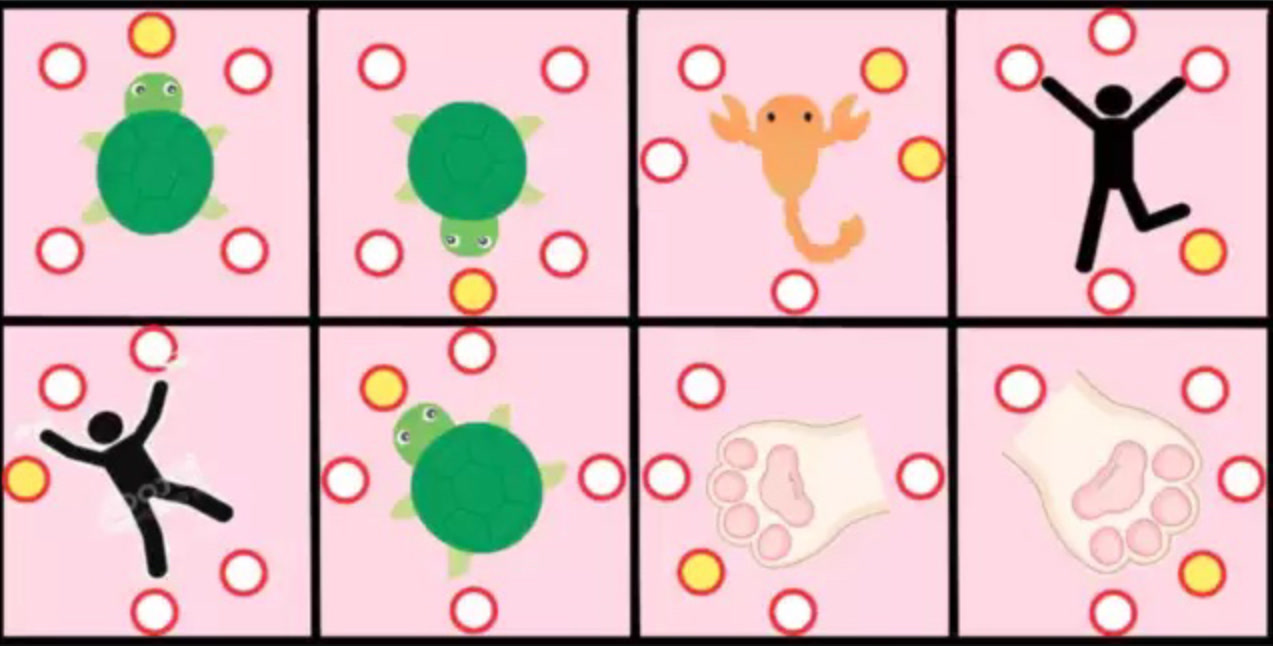
The yellow dots are the safe place in every statue pattern, and it does not require you to see the swords to decide. The safe spot is always the same in each statue pattern. The only time you would need to see the swords is for the scorpion pattern, where one of the two right side statues is safe, at random.
Alternatively, you can have a few people with Charm over 70% pinging the location of swords while someone with Charm under 70% picks a final destination based on the sword pings and the statues that he sees.
Typing Test
At 135 bars, Vykas goes to the middle of the room, and after a few seconds she stuns everyone as a typing test mechanic begins.
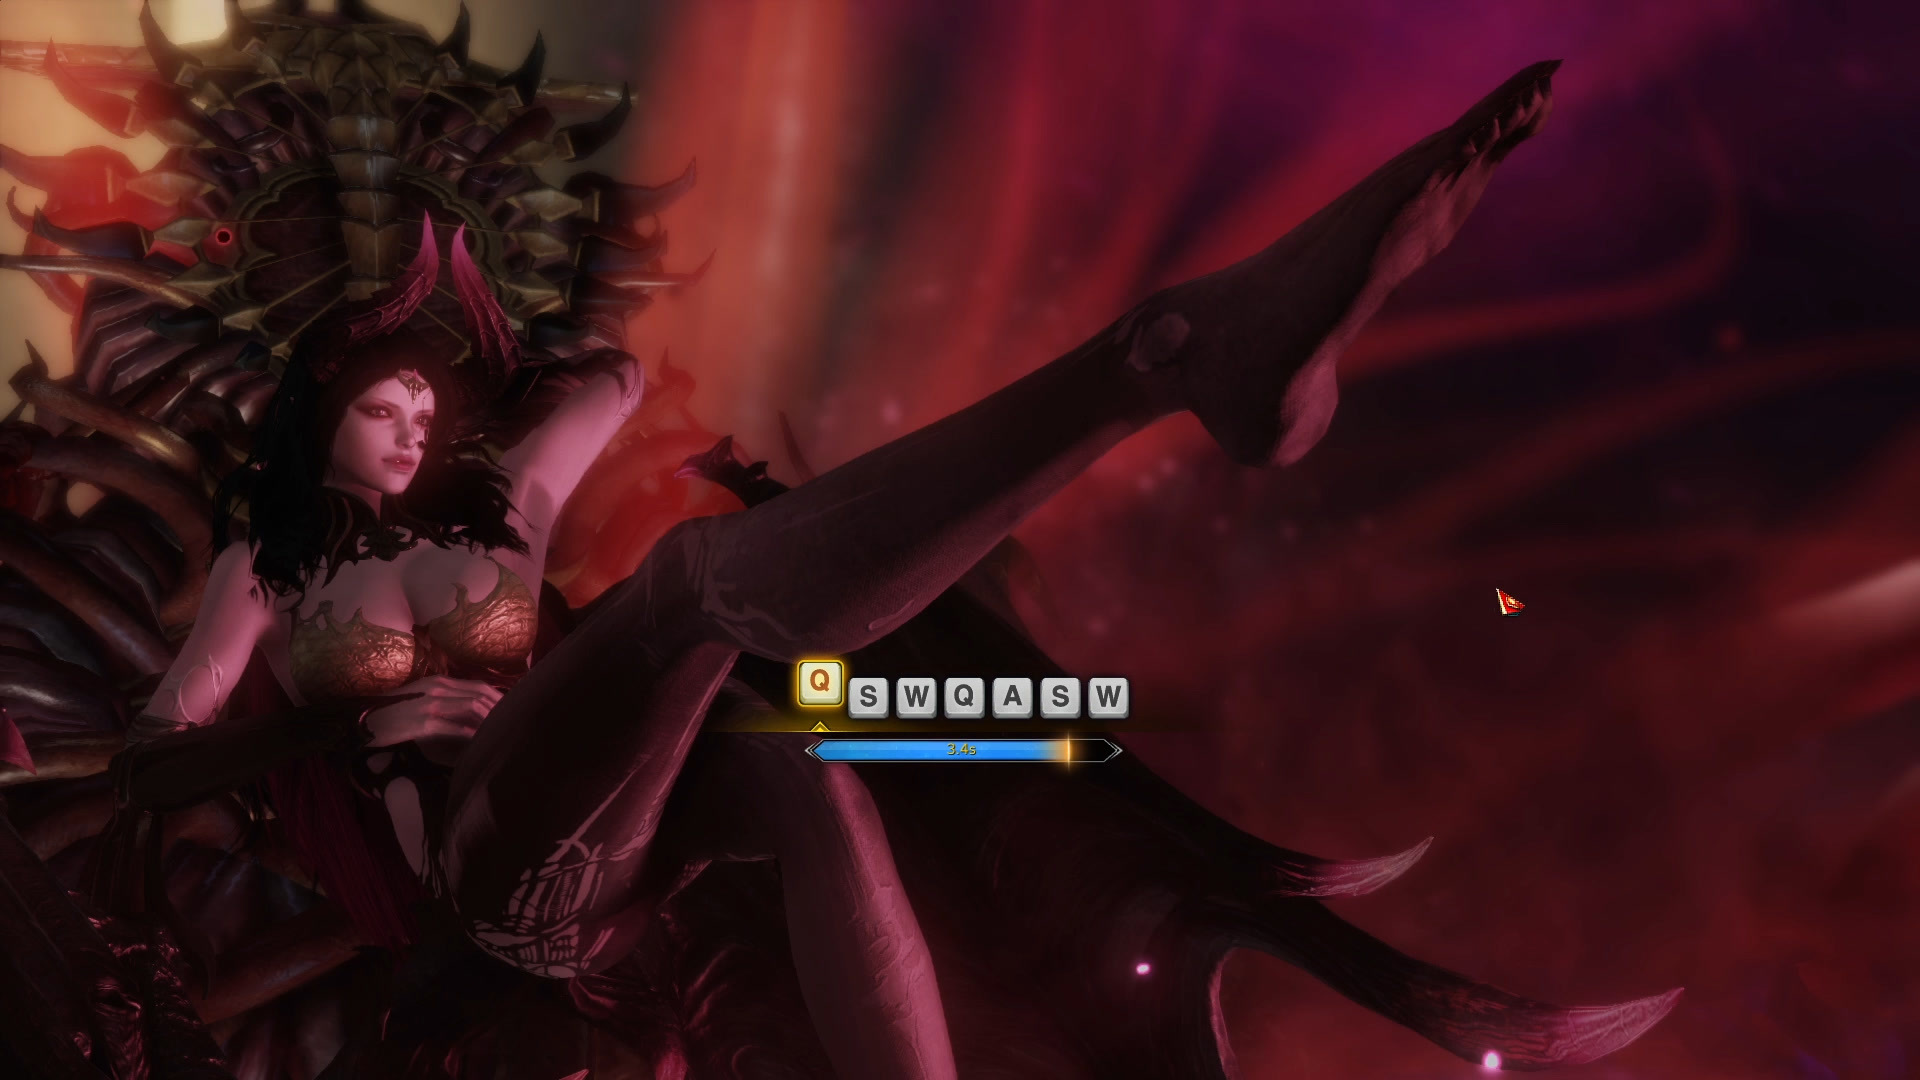
Every player receives two consecutive typing challenges during this one mechanic. If you press a wrong key, the test resets with the full seven keys, but the time you get to complete it is the same as you had left at the moment of the wrong key press. So a second chance is given, but realistically it only works if you have mistyped the first or second key from your original attempt.
In normal difficulty, you can survive the wipe explosion that follows if up to three players have failed their test. In hard difficulty, only one player is allowed to fail. More then that and the explosion kills you instantly regardless of consumables or skills used.
This is how you can tell how many fails your raid had, so you can prepare Awakening skills from support classes in case you need them:
An important thing to note is that the more Charm you have, the shorter the time you get to type. At a base of 0 Charm meter, the timer is four seconds. At 135 bars, all group members have to activate one of the golden balls on the sides of the room, and everyone should be ready to step in immediately to remove all Charm before the beginning of this mechanic:
In the above example we went North, but you can choose any other cardinal point if North is unavailable or unreachable.
You have four golden cleansing orbs in normal difficulty and three orbs in hard difficulty.
It is possible for players to get chased by the red plums and bring some Charm into the golden zone - feel free to avoid these while inside the zone as you can move.
Here is a video example of this mechanic:
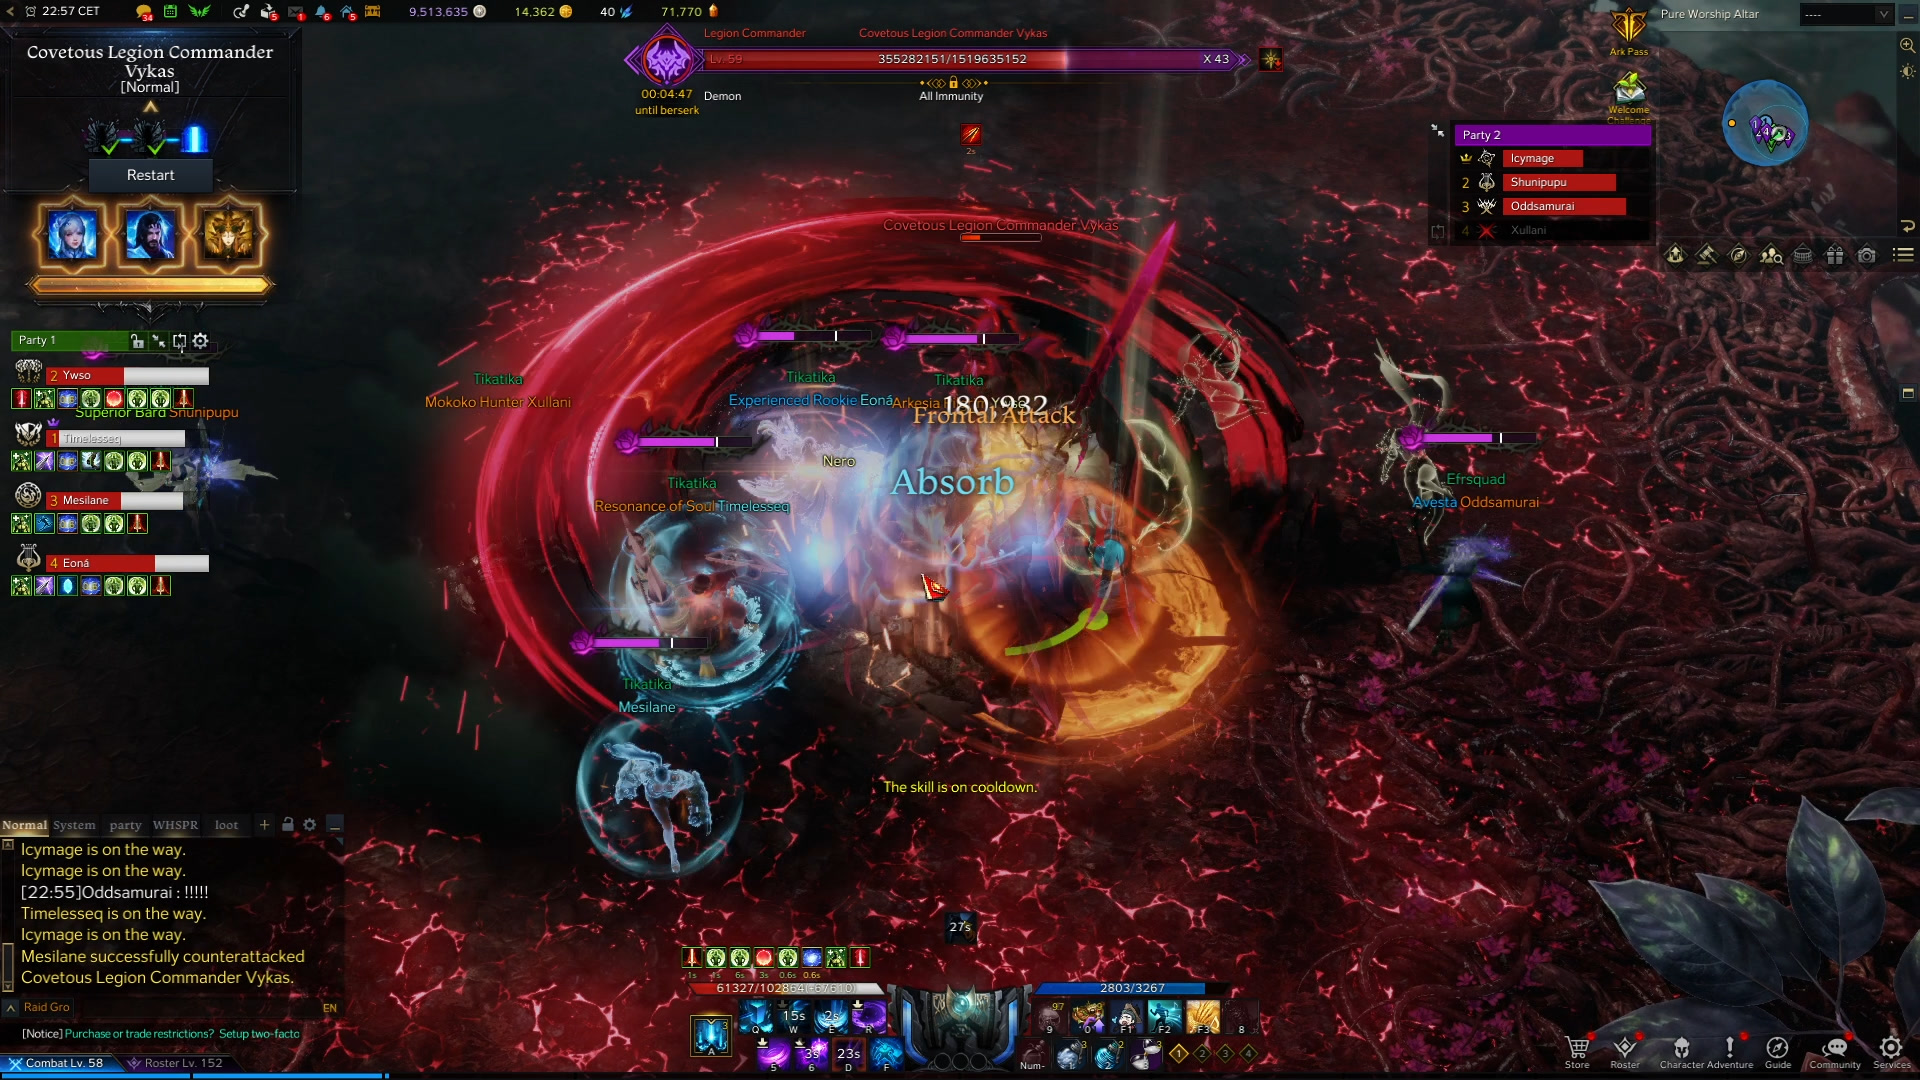
Right after the typing test is over, and assuming the explosion does not kill you, Vykas comes rushing at your group in a series of two patterns.
- Cutting the ground with her sword:

This means there will be an explosion where the sword cut is made, so the safe area is anywhere else (commonly referred to as “out”).
- Like a spinning bullet:
This means that an explosion will be created on both sides, while the safe zone is where her body has passed through. So a common call for this is “safe in” or “in.”
These two mechanics always happen after a typing test, and it is always both of them but the order is at random.
Lastly, as part of the post-typing events, the landing damage Vykas does after the in and out phase is also marked with a red telegraph which is commonly called out as another “out,” followed by an explosion in a large AoE on the whole room except the spot she landed on, commonly called out as an “in.”
To sum it up, you will have the typing test, followed by both her sword cut and bullet spin in a random order, and then safe outside, followed by safe inside, all in quick succession.
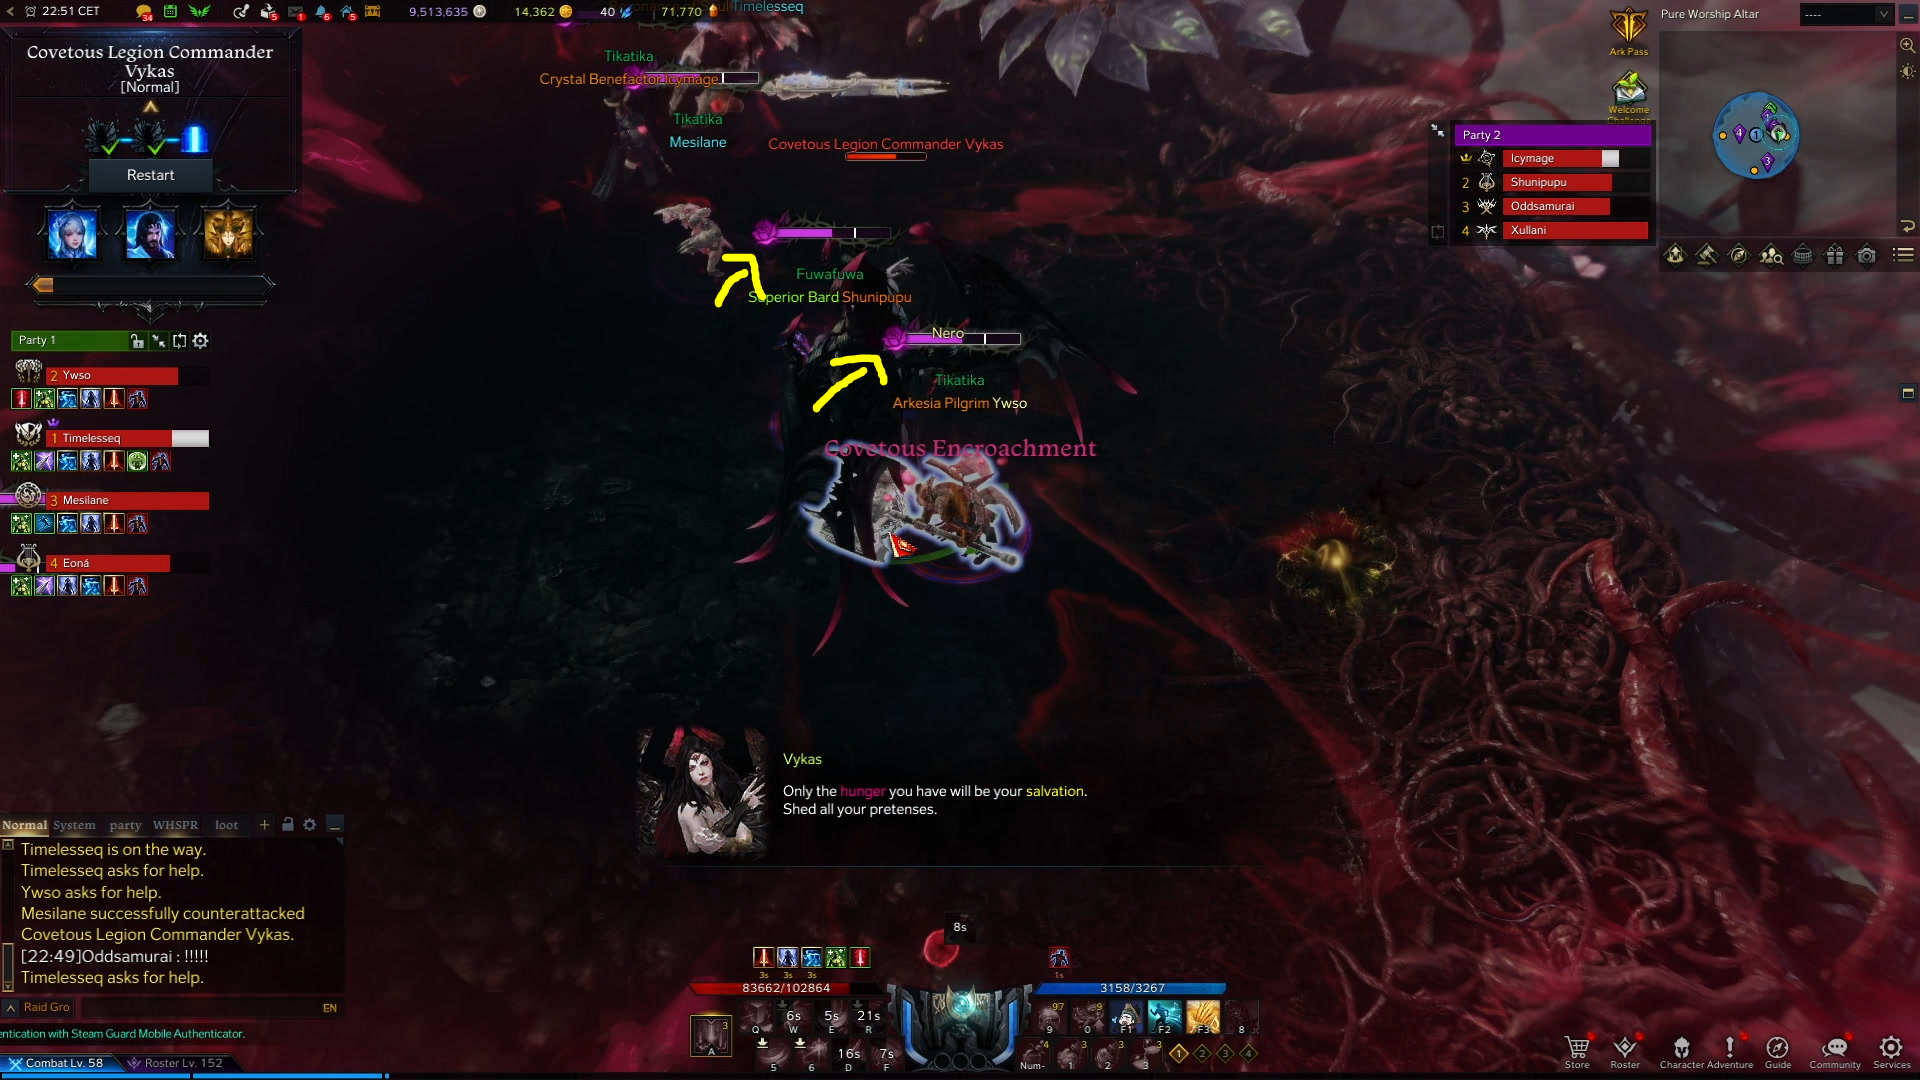
Hunger
At 115 bars, Vykas starts to sit on her throne, which symbolizes the start of the hunger mechanic.

The goal is that even before you see the above animation, every player would fill up their Charm meter to 100% in order to avoid the one shot explosion.
So what is commonly done, is the next Charm puddles after the typing test are stacked together underneath the players, which should also be stacked at that time to quickly fill up your Charm meter.
In this example, we did not do the best job of stacking the puddles, but it worked out fine as we were all aware and at roughly the same Charm meter before the puddles:
As you may notice below, one member did not get Charmed as fast as the others, and that is very dangerous as everyone else becomes an enemy to that one player and they can easily get killed:
After the explosion, everyone’s Charm meter gets reduced to normal levels:
Here is a video example of this mechanic:
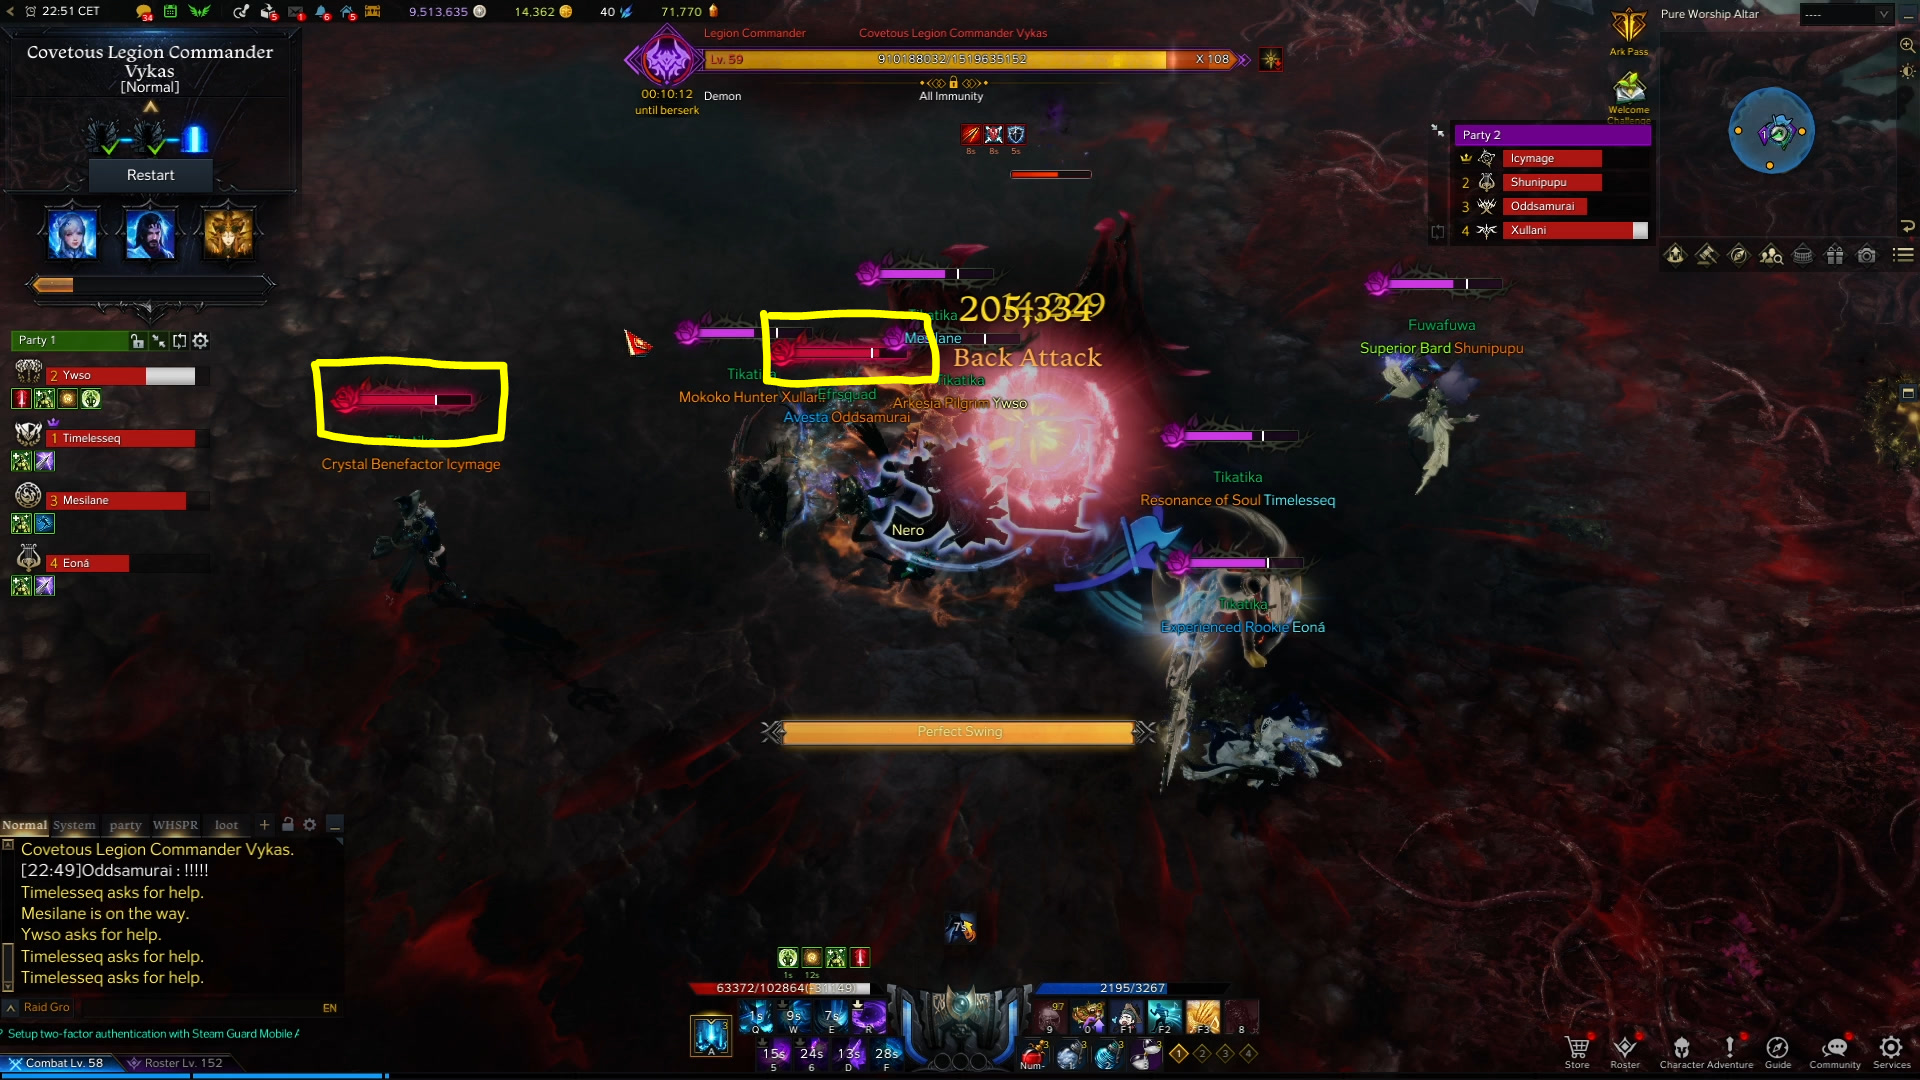
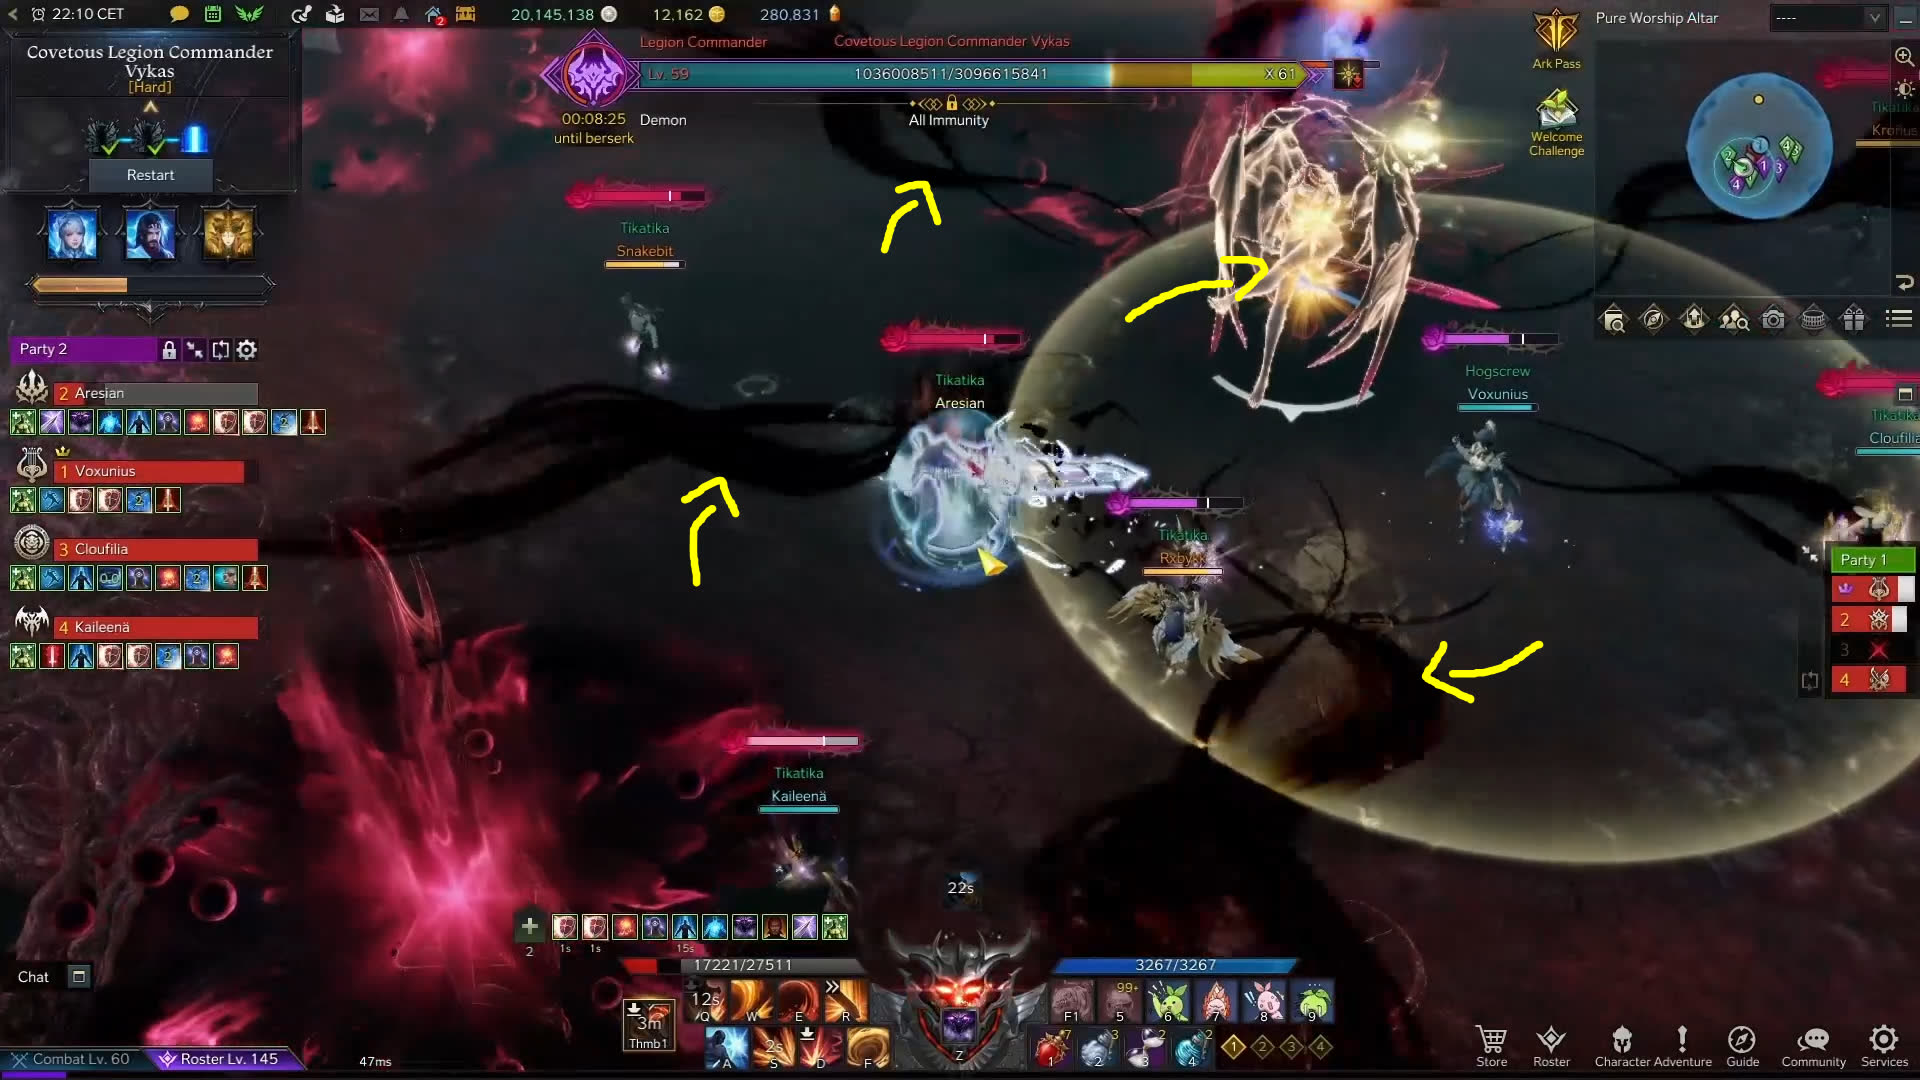
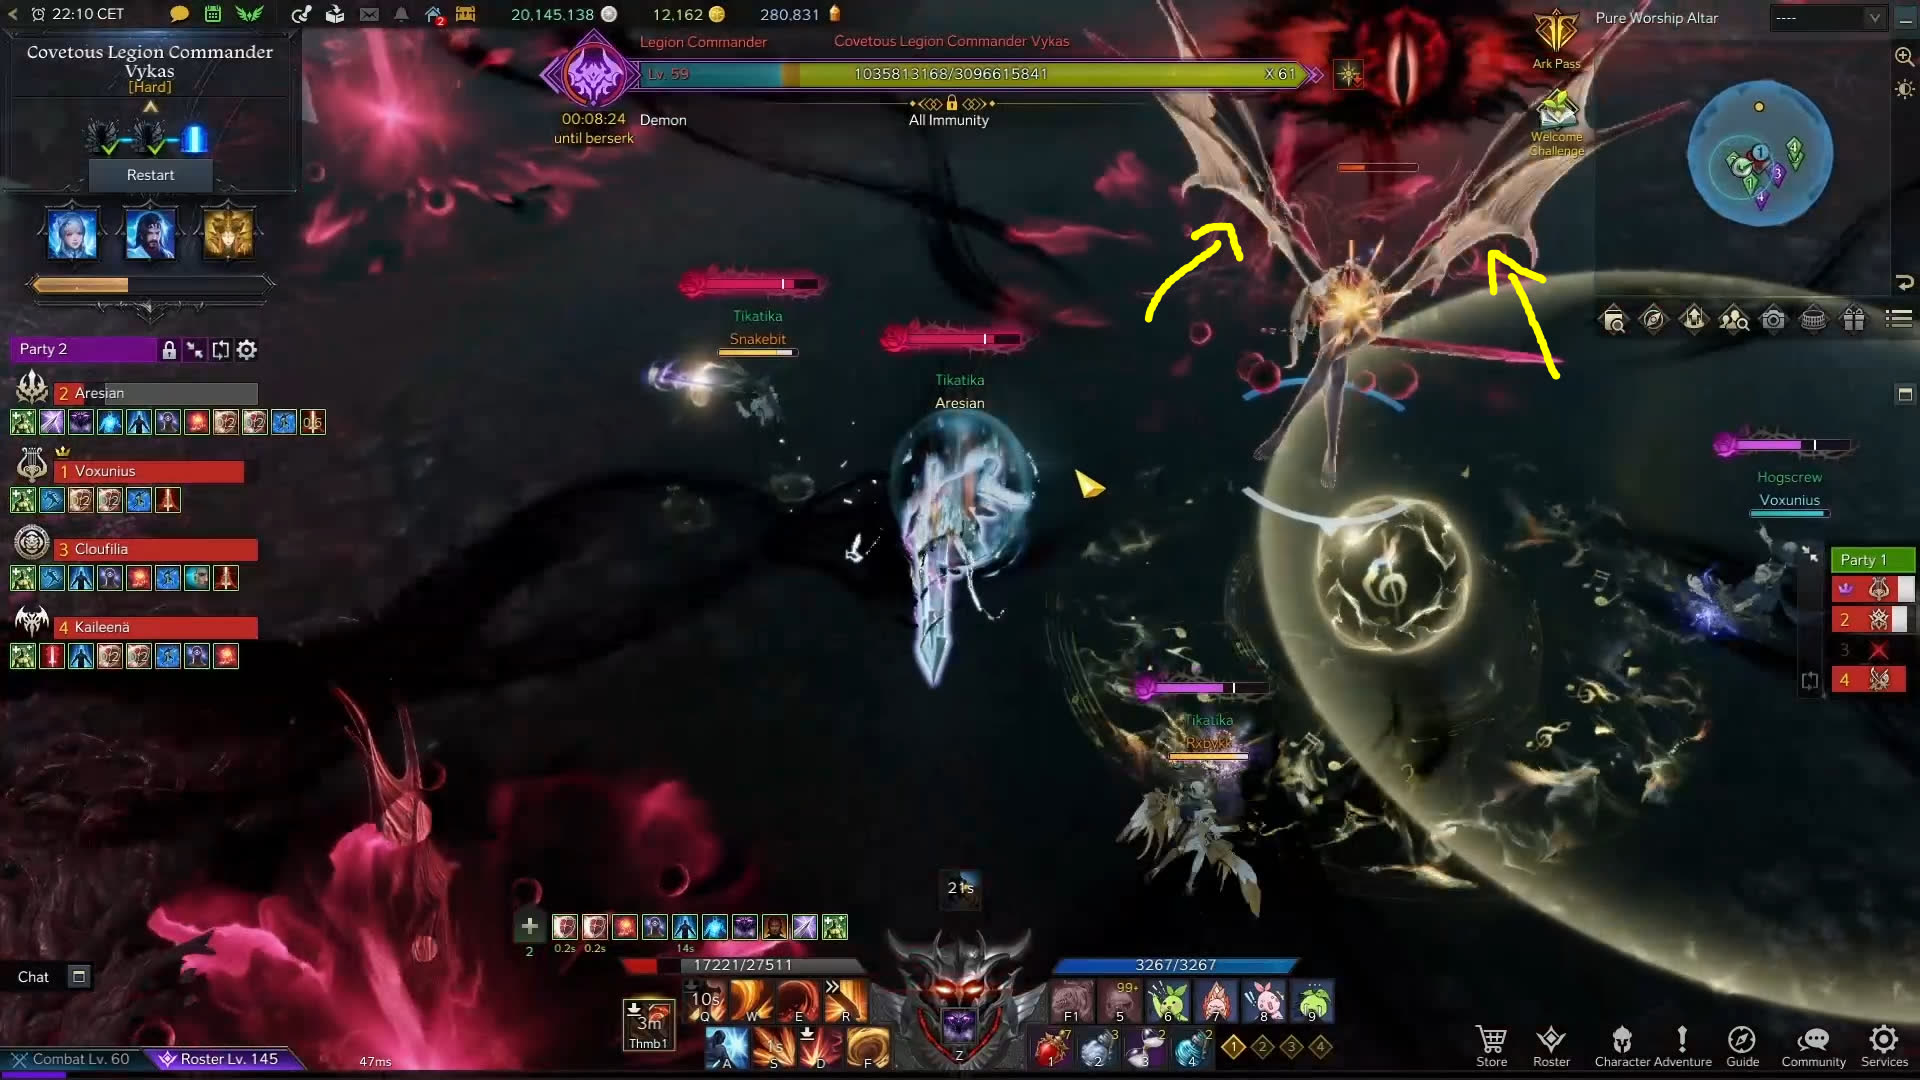
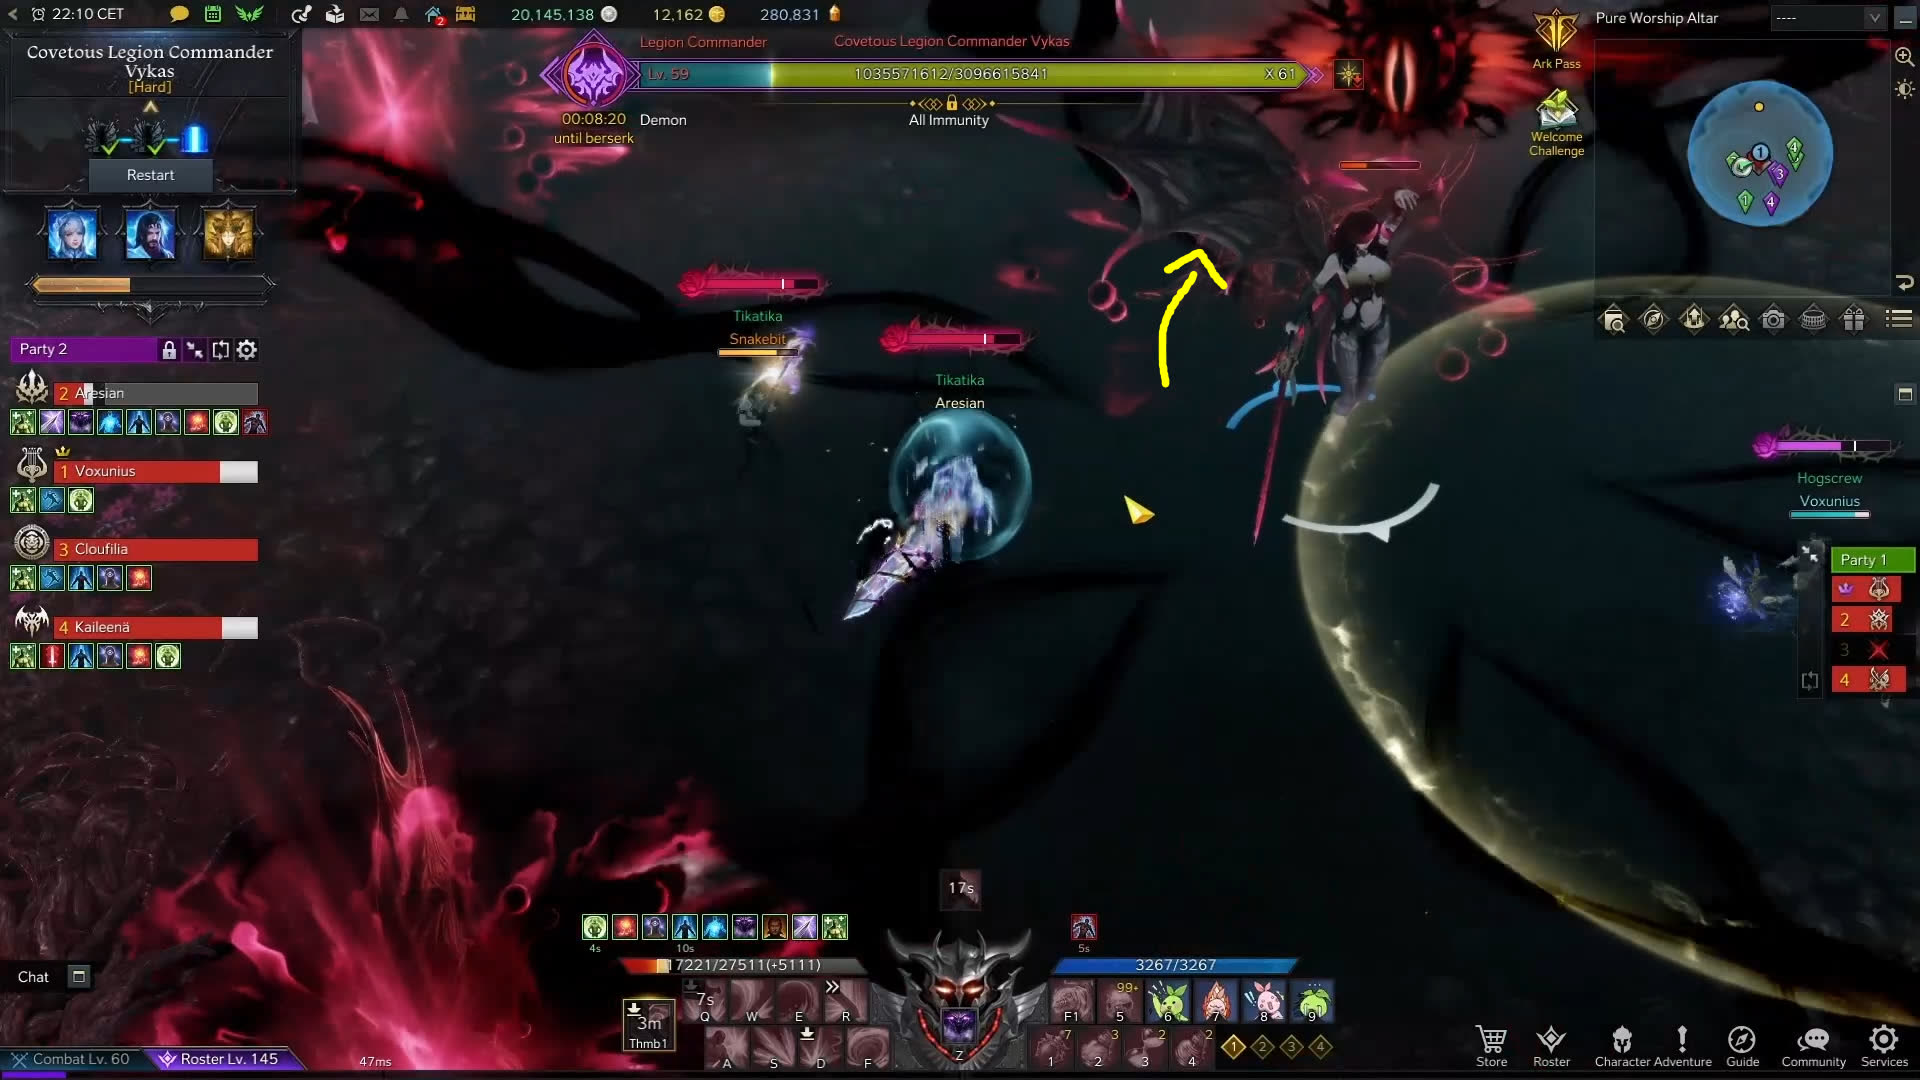
Frogs and Stagger
At 105 bars, Vykas goes to the middle of the room and casts a red telegraph that needs to be avoided, then proceeds to spawning one “frog” at 1 o’clock and one at 7 o’clock, while surrounding herself with a Charm-generating AoE as a stagger bar appears:

The goal here is to kill the frogs while depleting the stagger bar. Important to note is that you can only do damage to the frogs if your Charm meter is above 70%, and the red area under Vykas fills up your Charm gauge relatively fast.
To properly handle this mechanic, you need a bit of preparation. Two players assigned to kill the “frogs” should be prepared with a Charm meter just above 70% right before we begin this mechanic:
You can also have your meter right under 70% because stepping in the middle will give you the extra for you to start hitting the frog quickly. Everyone else groups up on one golden ball to cleanse their Charm bar right as the mechanic starts:
This allows you to safely remove the stagger bar without getting to 100% Charm and potentially causing problems to the group.
Here is a video example:
Medusa
This is a mechanic that can happen randomly throughout the fight. In normal mode, there is the normal version of this mechanic, where Vykas shoots out dark energy in a swirled line, and crosses her legs as she sits in the air while an eye briefly appears above her head:
Everyone must face away from her and the mechanic is solved.
In hard mode above 105 bars, you can only get the normal version of the Medusa mechanic described above, but under 105 bars, the mechanic will be enhanced. The starting signs are the same, but there are a couple of differences.
If Vykas has both wings folded, everyone must look away (same as normal mode).
If Vykas has both wings spread, 2 players must look at her while everyone else looks away:
If Vykas has one wing spread, 1 player must look at her while everyone else looks away:
Two of these patterns happen one after another, at random during a medusa mechanic in hard mode.
Assigning 4 players for this mechanic is important. The first 2 will take care of part one, and the other two will do part 2.
Here is a video example of how this mechanic looks in Hard Mode:
Failing this mechanic results in an AOE dot damage and charm gauge increase
which will either kill you or get you to, or close to 100% charm. You can use
a ![]() Time Stop Potion to avoid the 2nd mechanic in caste you do not have
4 players assigned to this.
Time Stop Potion to avoid the 2nd mechanic in caste you do not have
4 players assigned to this.
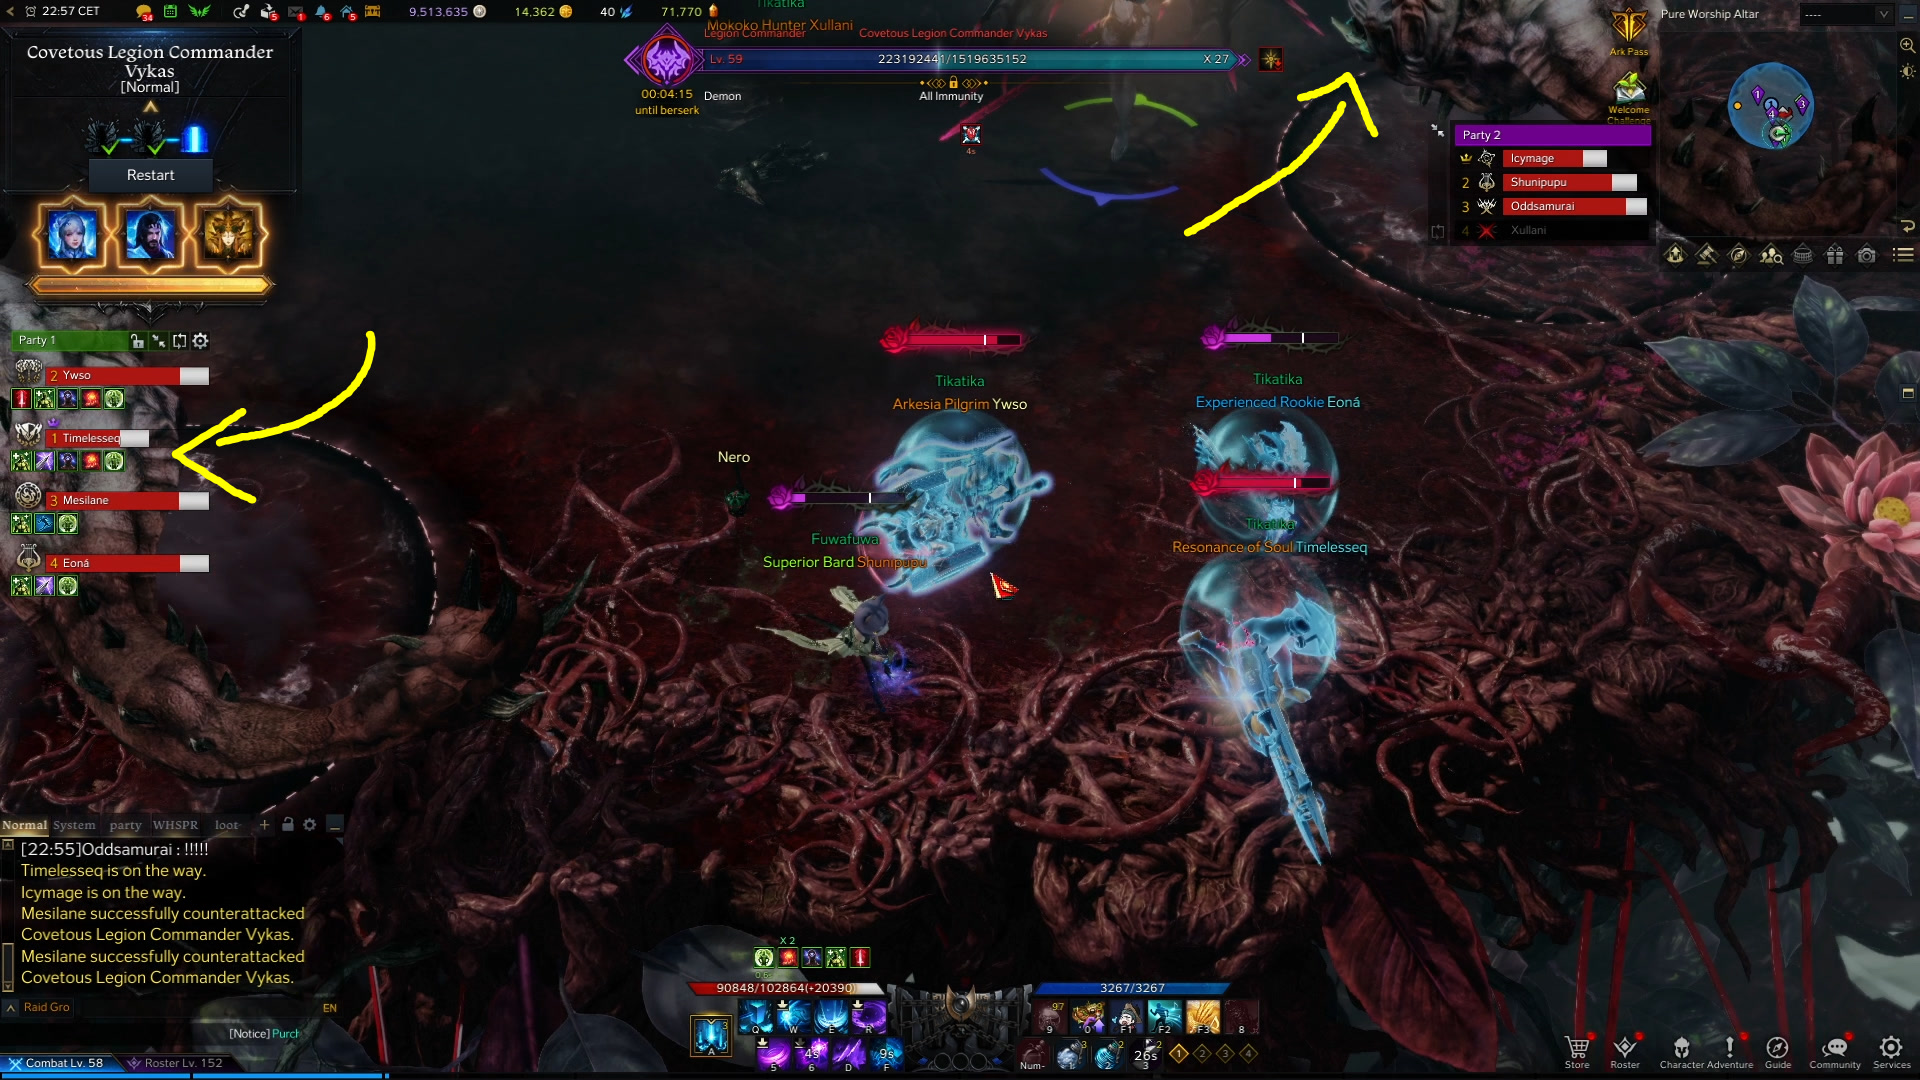
Tentacles
At 55 bars, Vykas teleports to the middle of the room and spawns tentacles at predetermined locations around the room:

At the same time, balls of Charm shoot out from the center of the room in a fan shape pattern:
The goal is to kill all the tentacles in the given timeframe. Tentacles can only be hit if your Charm meter is above 70%, and the Charm balls help fill it up.
During this mechanic, you regularly lose Charm. The goal is to grab enough balls to keep you over 70% and under 100% while at the same time killing your assigned tentacle and possibly helping with others around you.
Tentacles are not very hard to kill in both normal and hard mode, but there are more of them in hard mode.
This mechanic is one where you would need some positions assigned. Not necessarily to each player, but to groups. For example group two covers the right side of the round room, and group one covers the left side. There are more tentacles on the right side, so higher DPS groups should go there.
Here is a video example from normal mode:
Assigning one DPS per tentacle is also a good tactic.
If you are still alive after the cutscene, it means you have killed all tentacles. If you die, it means one or more has been left alive.
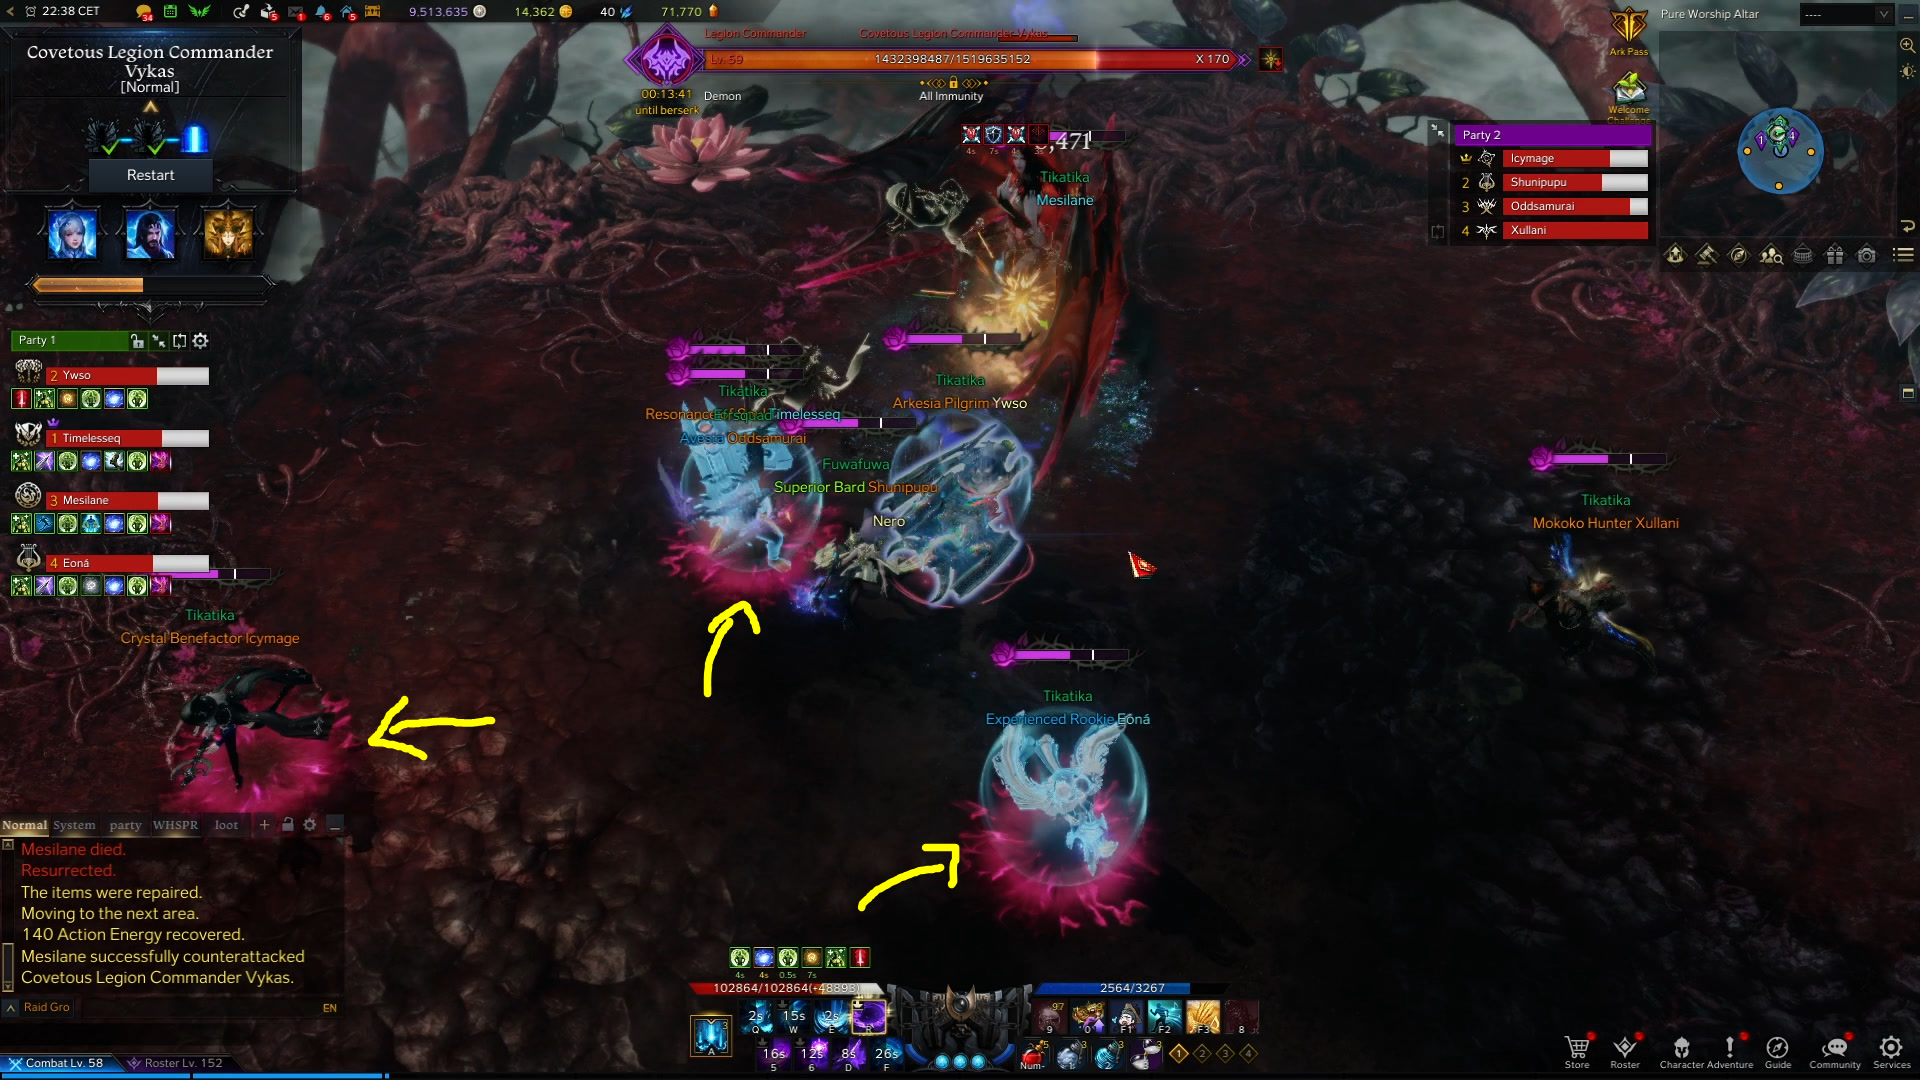
Clone and Final Stagger
At 2 bars, Vykas disappears and several clones of her appear in the room:
Your group needs to look at the minimap and go to the location of the real one:
Getting behind the boss is important because she will do a frontal AoE. The goal is to deplete the clone’s CC bar. Feel free to use the Sidereal skill Wei during this phase, especially in hard mode:
During this mechanic, your Charm gauge fills up automatically, but at the beginning of this stage, Vykas targets one group member and sends a series of dark red telegraphs after them.
Stepping in these removes Charm, so if the player that is being targeted is also behind the clone, you can easily get two or three ticks of this which is helpful. If you need more, feel free to follow the AoE’s pattern (straight line towards the outside of the room) and cleanse even more.
You need to be fast here since the fight gets harder the longer it takes. One example being the Charm puddles that so far only three people got and they were small in size. During this phase, everyone gets them and they grow larger after you place them down, so perfect awareness and placement is important:
Upon breaking the CC bar, the fight is over.
Here is a video example for normal mode:
Hard Mode: After the initial CC bar break attempt, Vykas travels to the middle of the room and spawns the red telegraph pattern with safe spots that you need to stay in. While at the same time, she is giving you another random mechanic from the ones she normally does. For example, you could have the Medusa mechanic at the same time as the telegraphs on the ground.
The red telegraph pattern is a repeating mechanic during the CC bar break phase, so the faster you are, the cleaner the fight stays.
General Vykas Gate 3 Mechanics
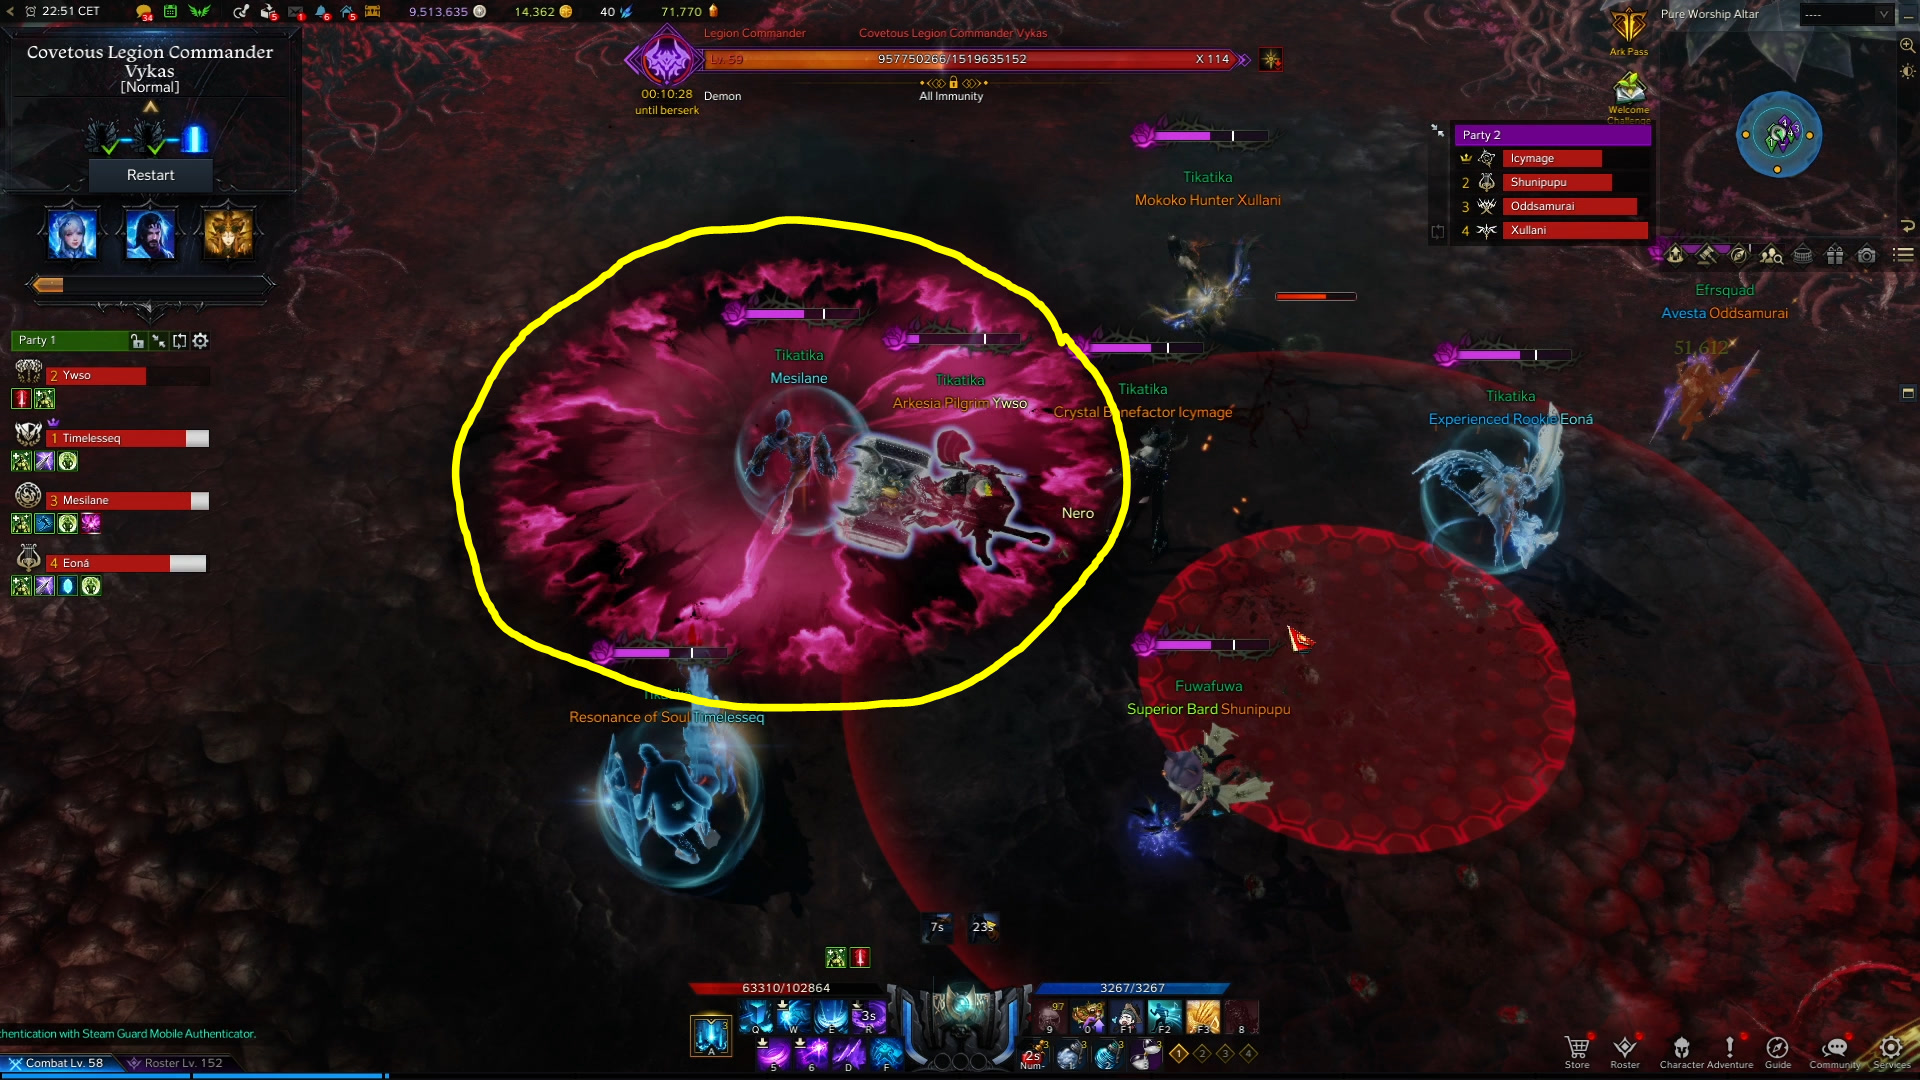
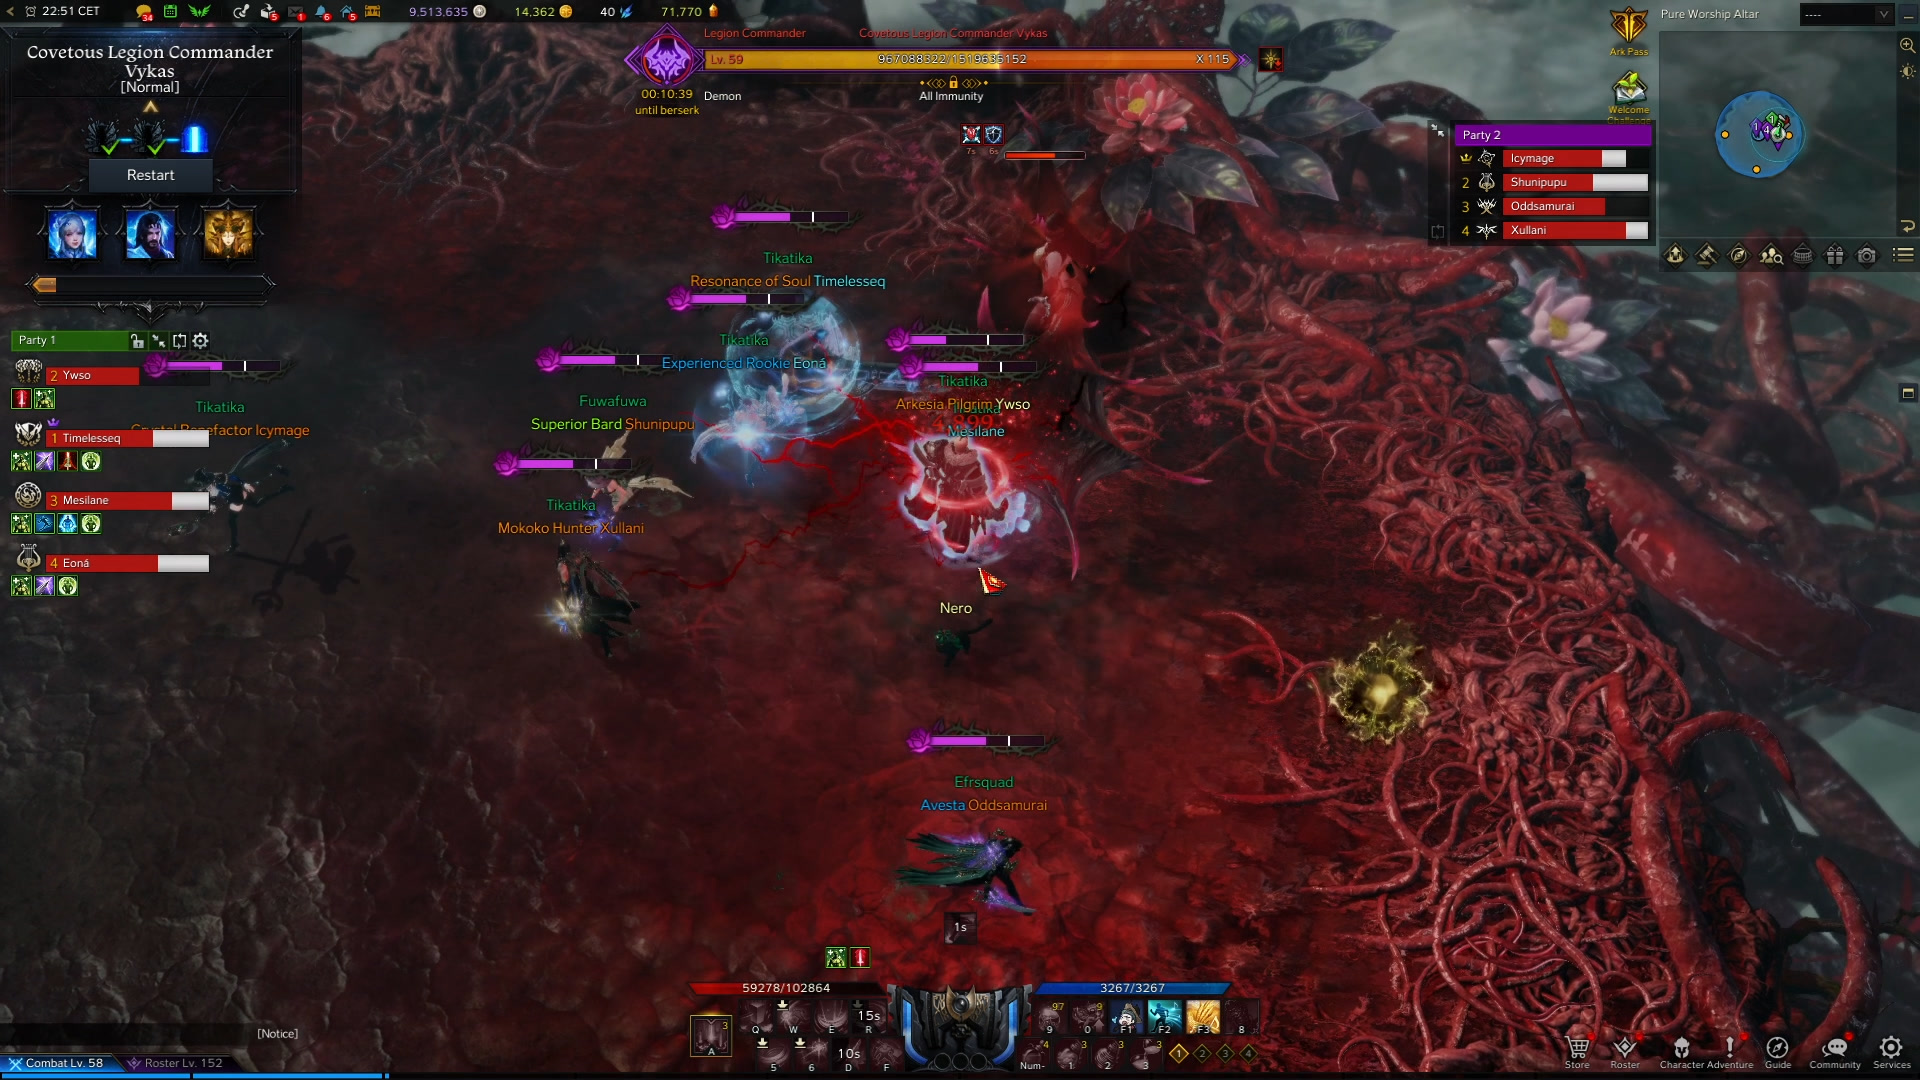
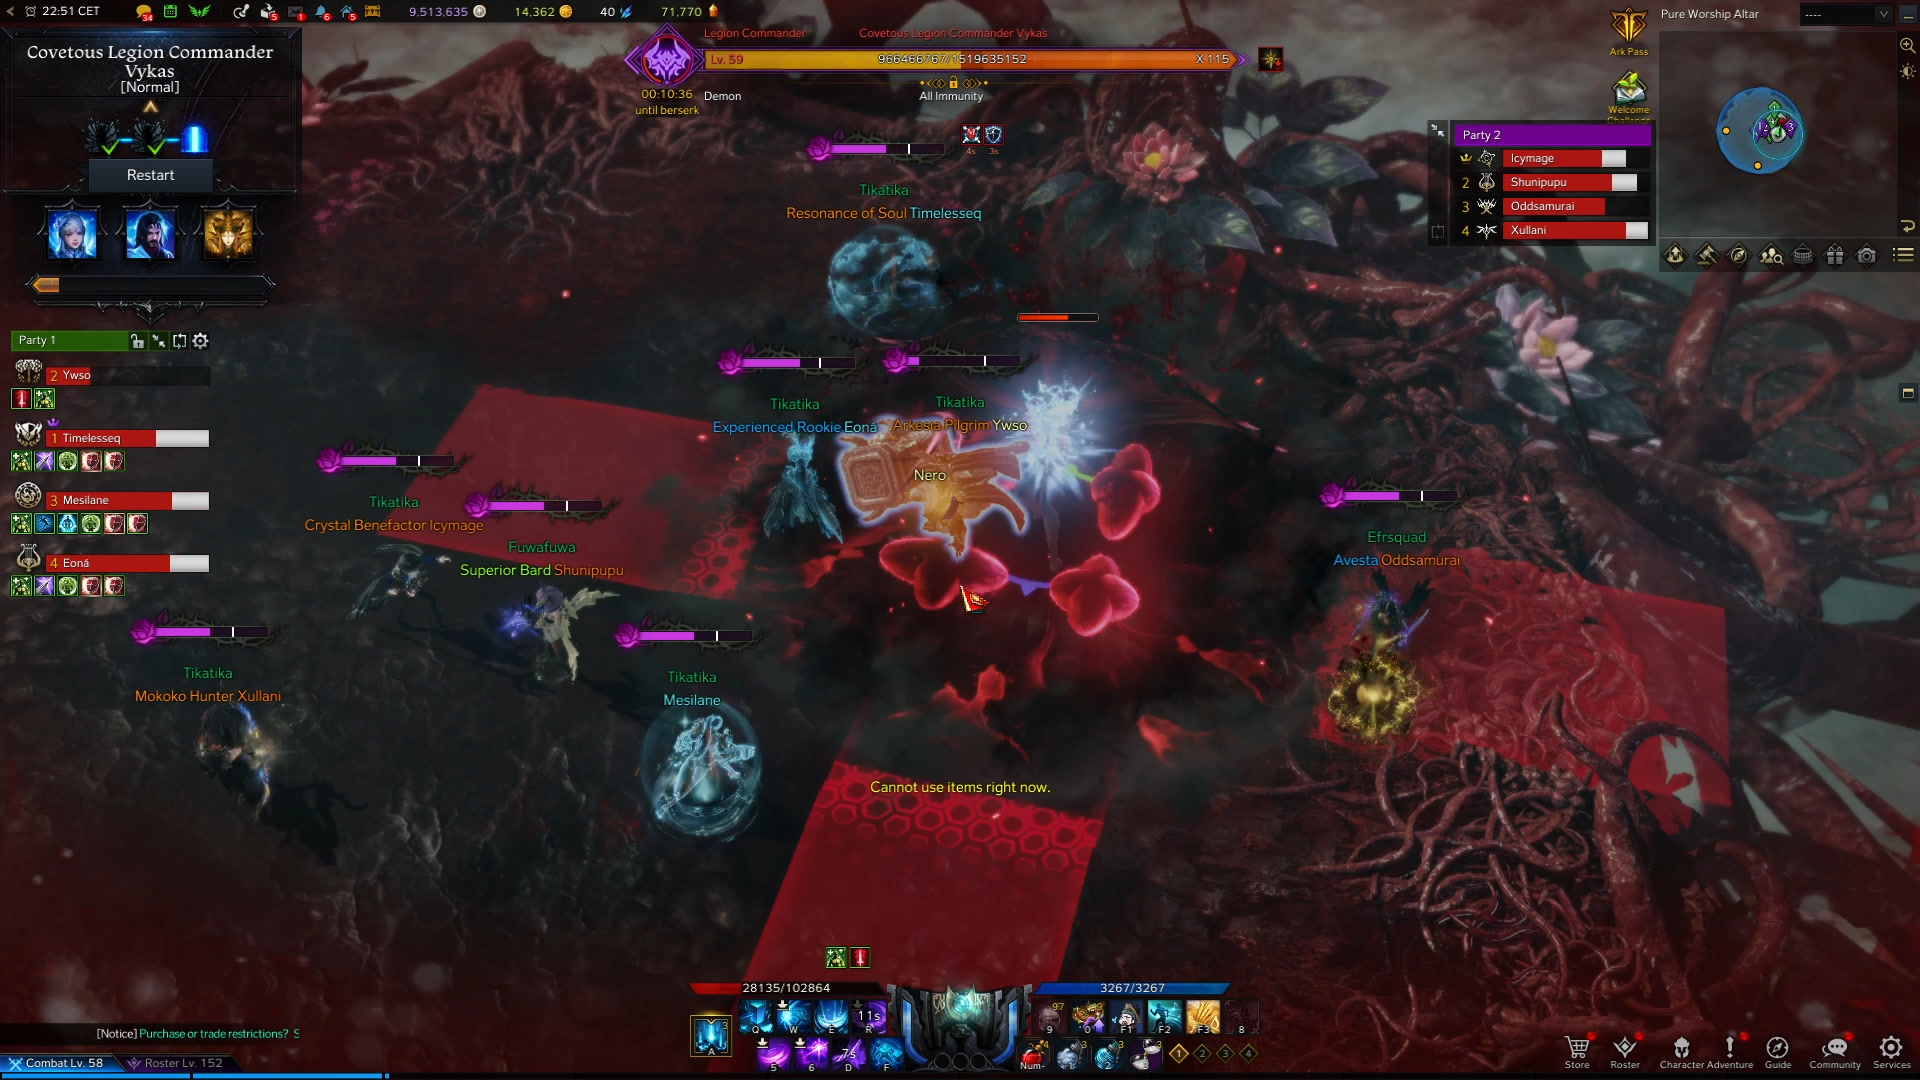
Charm Puddles
Several players get a glowing pink telegraph under their feet, which after a few seconds leaves a puddle on the ground. This puddle increases your Charm gauge if you stay on top of it.
Try to place these away from upcoming mechanics or preset locations.
Spin Attack
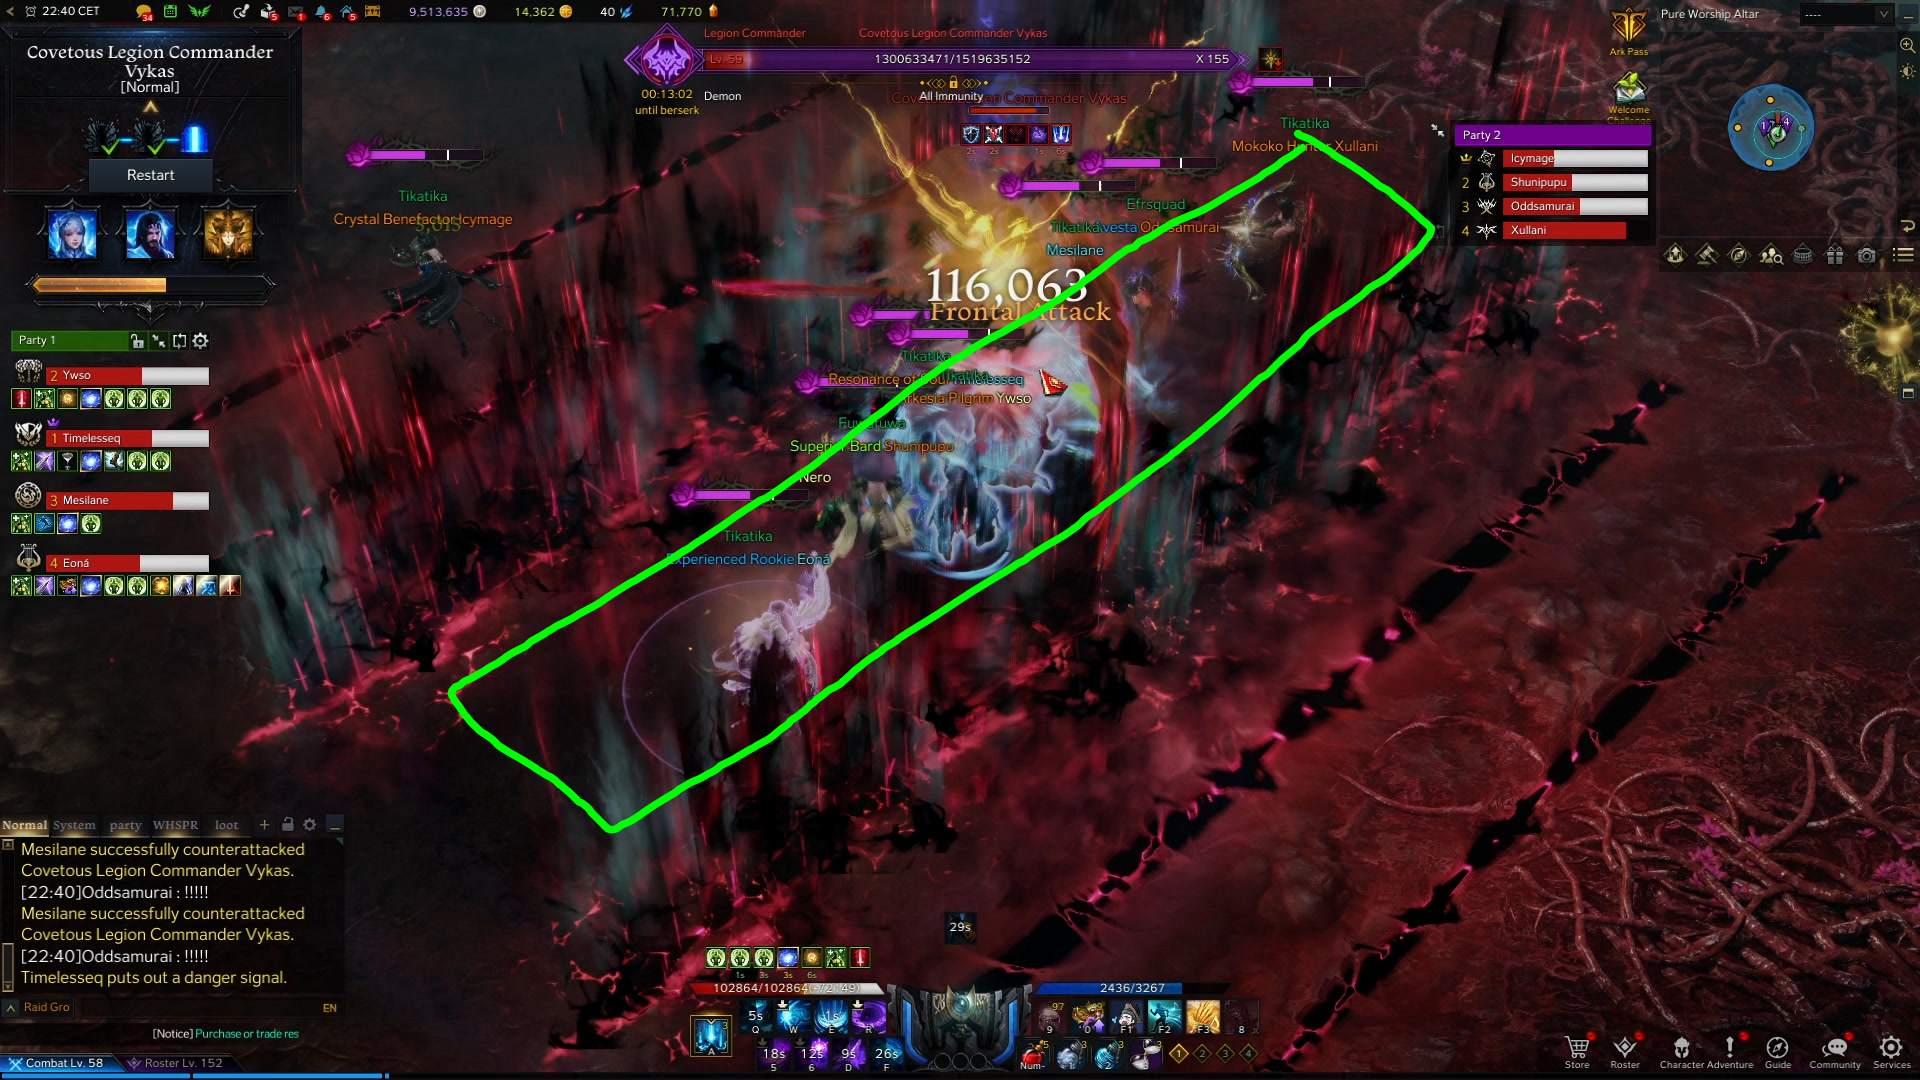
Vykas spins in the air and attacks the ground in a line stretching from behind to her front:

This does damage and a knock down, but after a moment, the same harmful line becomes a safe spot so step in the line after she does it.
Back and Front Cone AoE
Vykas swings her sword once, then jumps in the air and lands for an AoE attack:
There is always a safe zone behind her marked with green in the picture above.
When she swings once, she always does two of these AoE attacks in succession, each facing the opposite direction. The next one would look like this:
This is how her initial swing looks like, which precedes this mechanic:
Invisible Worms
Vykas spawns monsters that only players with a Charm gauge of over 70% can see.
These monsters move very slowly from one side of the room to the other but hit very hard, so players who see them need to guide everyone else on a path to avoid these monsters. You can do this by pinging the ground where it is safe.
Egg Throw
Vykas swings to a location in the room and shoots several egg-shaped pink orbs in a fan pattern.
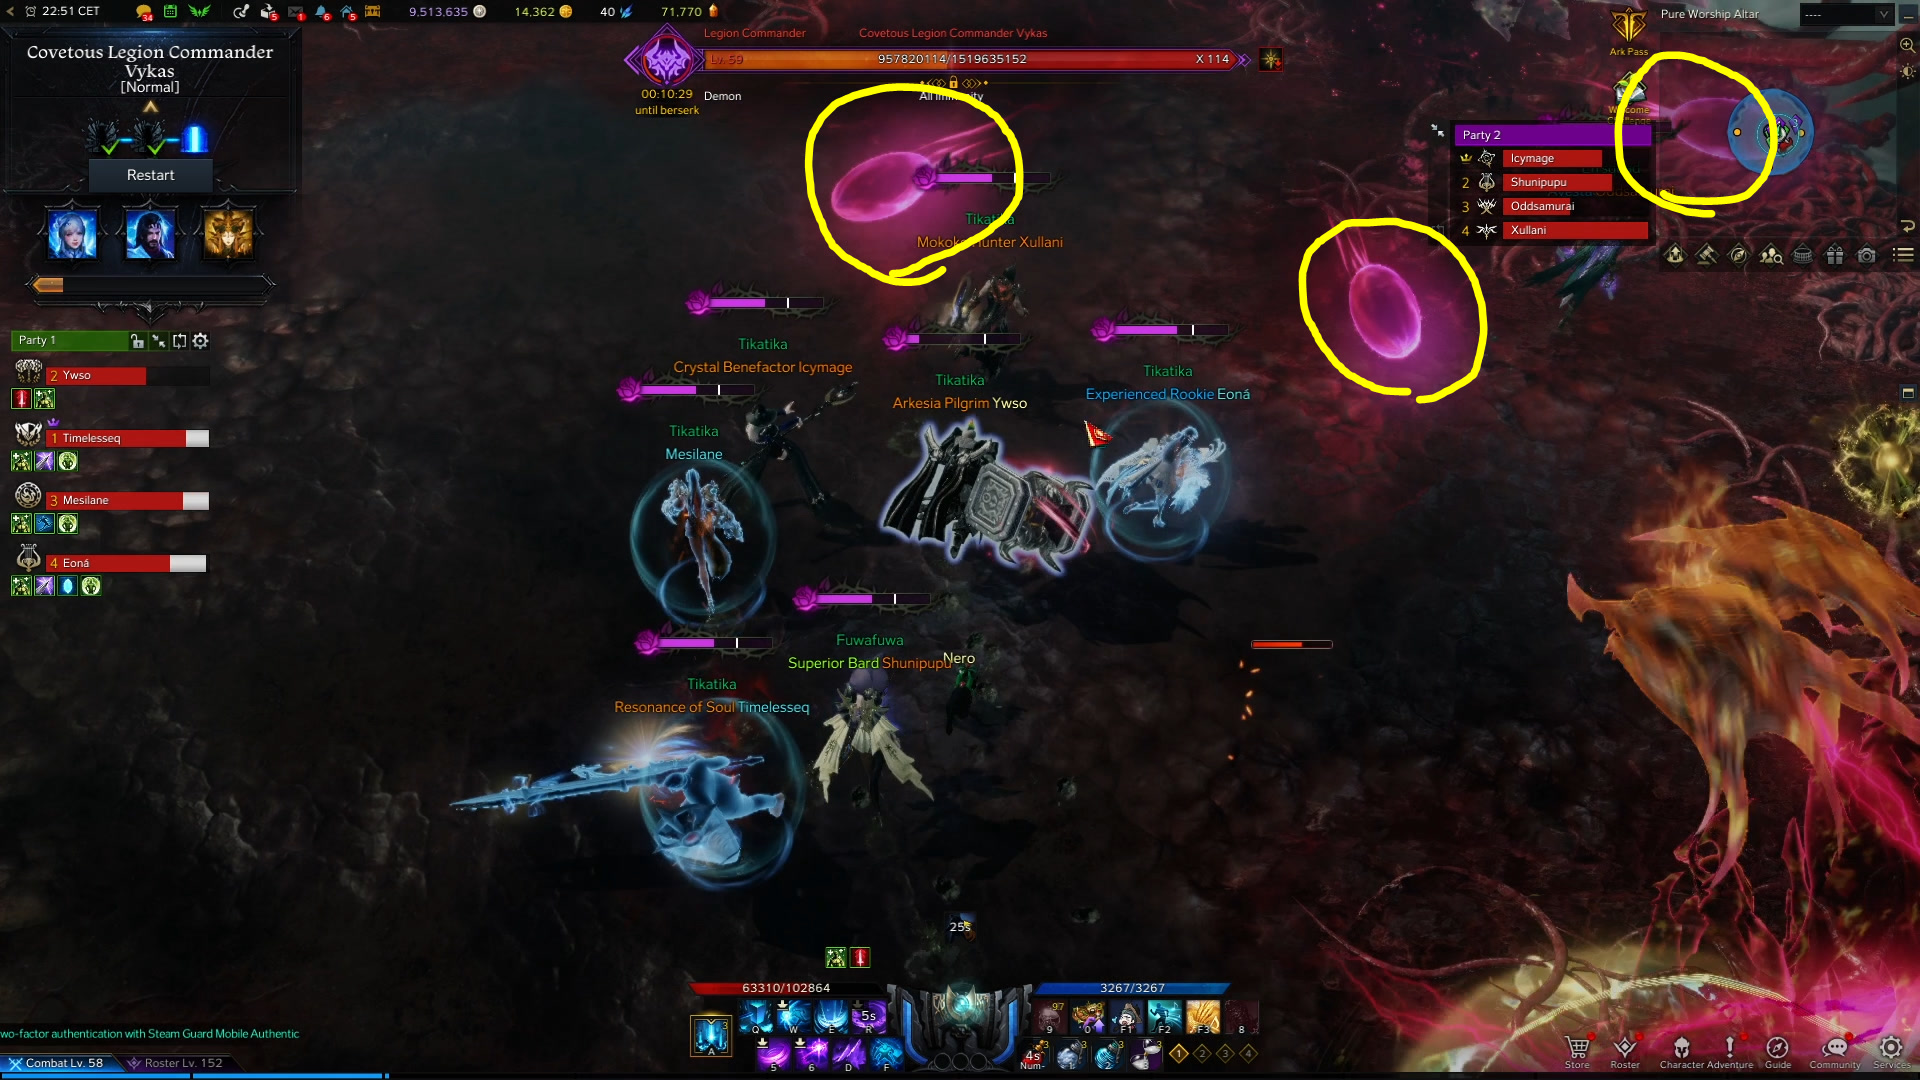
Players that get hit by an egg start carrying a Charm telegraph underneath their feet and need to step away from the group at a comfortable range.
The hit player does not gain Charm, but everyone else that steps inside it does. This can be strategically used to gain some Charm if you need it during the Sword and Statue or the Frogs and Stagger mechanics.
Chain Grab
Vykas throws a chain and grabs one player, dealing damage and reducing their Charm meter.
Shortly after, she throws the grabbed player away and casts a cross telegraph that needs to be avoided.
Space Bar Spam
At 35 bars, Vykas teleports to the middle of the room and four red orbs appear at 11 o’clock, 1 o’clock, 5 o’clock, and 7 o’clock. This mechanic will only happen on hard mode. One player needs to take these orbs and quickly spam press space bar on your keyboard to complete the task. Each of these players should have a backup that can sleep them with a bomb in case they fail. This always happens after a safe out - safe in pattern. Failing to intercept the orbs causes large damage to everyone and your Charm gauge increase by 50%.
Changelog
- 16 Jul. 2022: Guide Added