Empyrean Forge Guide for New World
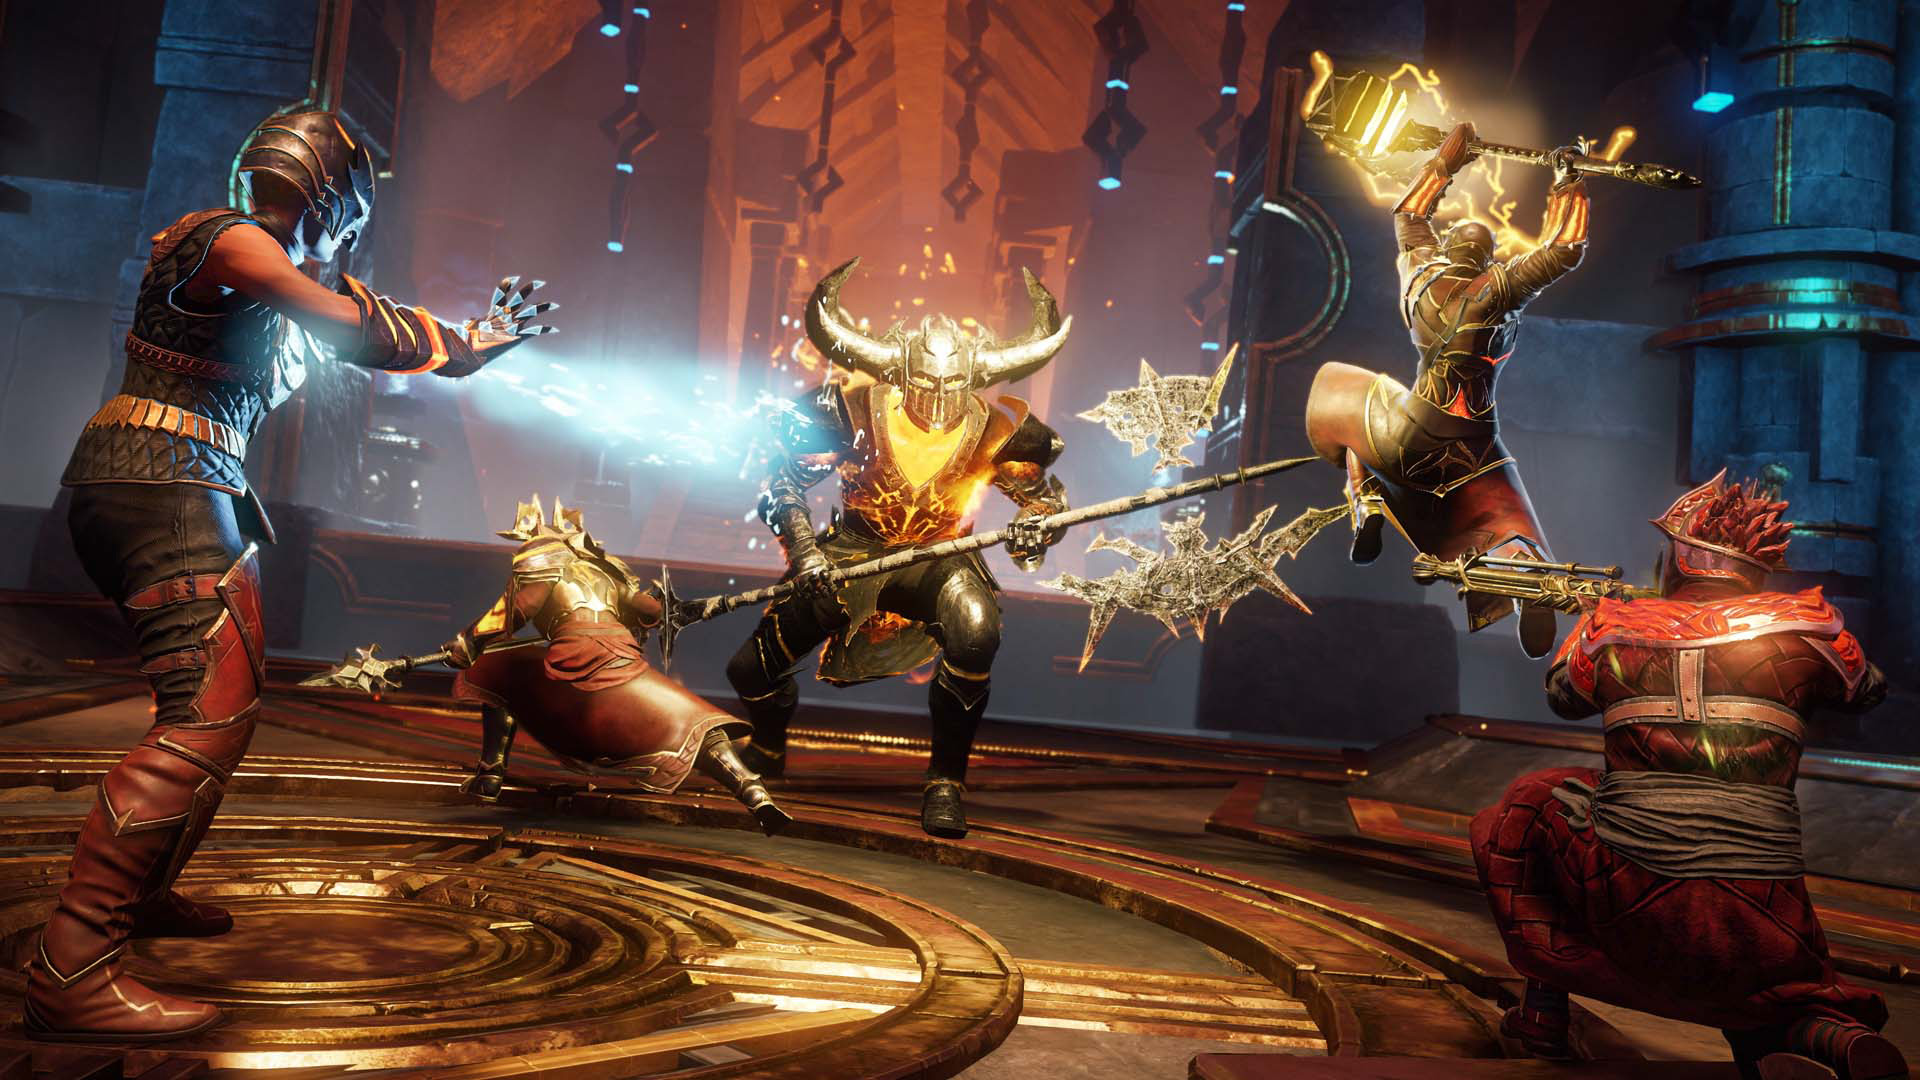
Welcome to the ultimate guide for mastering the Empyrean Forge expedition in New World: Aeternum. This fiery end-game expedition takes you deep into the heart of a volcanic stronghold, where molten lava and Ancient guardians threaten your every move. In this guide, we'll share in-depth strategies for every encounter, crucial tips for surviving the volcanic hazards, and expert advice on how you can maximize your damage output.
Location and General Information
This Expedition is located in West Great Cleave. Its in-game recommended level is 60, signaling that this is an endgame Expedition designed for characters who have solid gear and a grasp of their role in an expedition. It is recommended to have a gear score of at least 560 before entering this expedition.
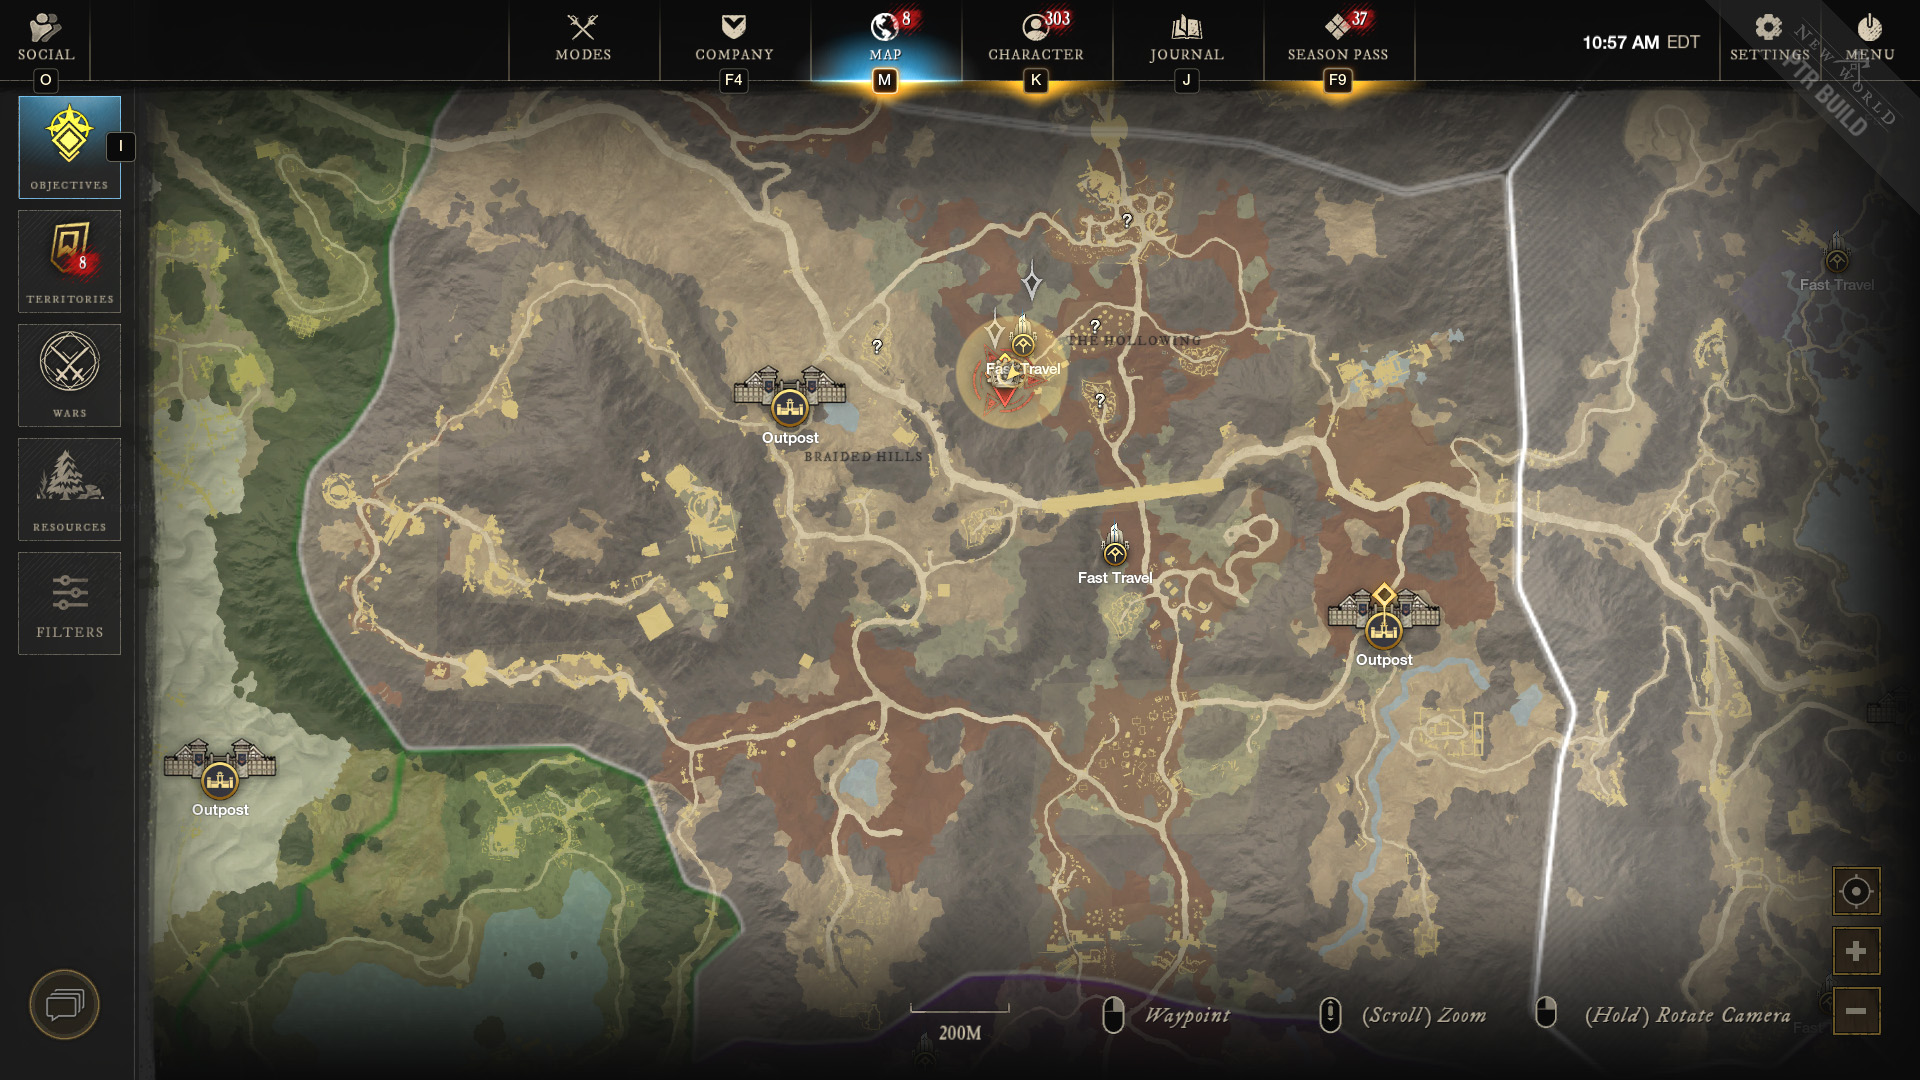
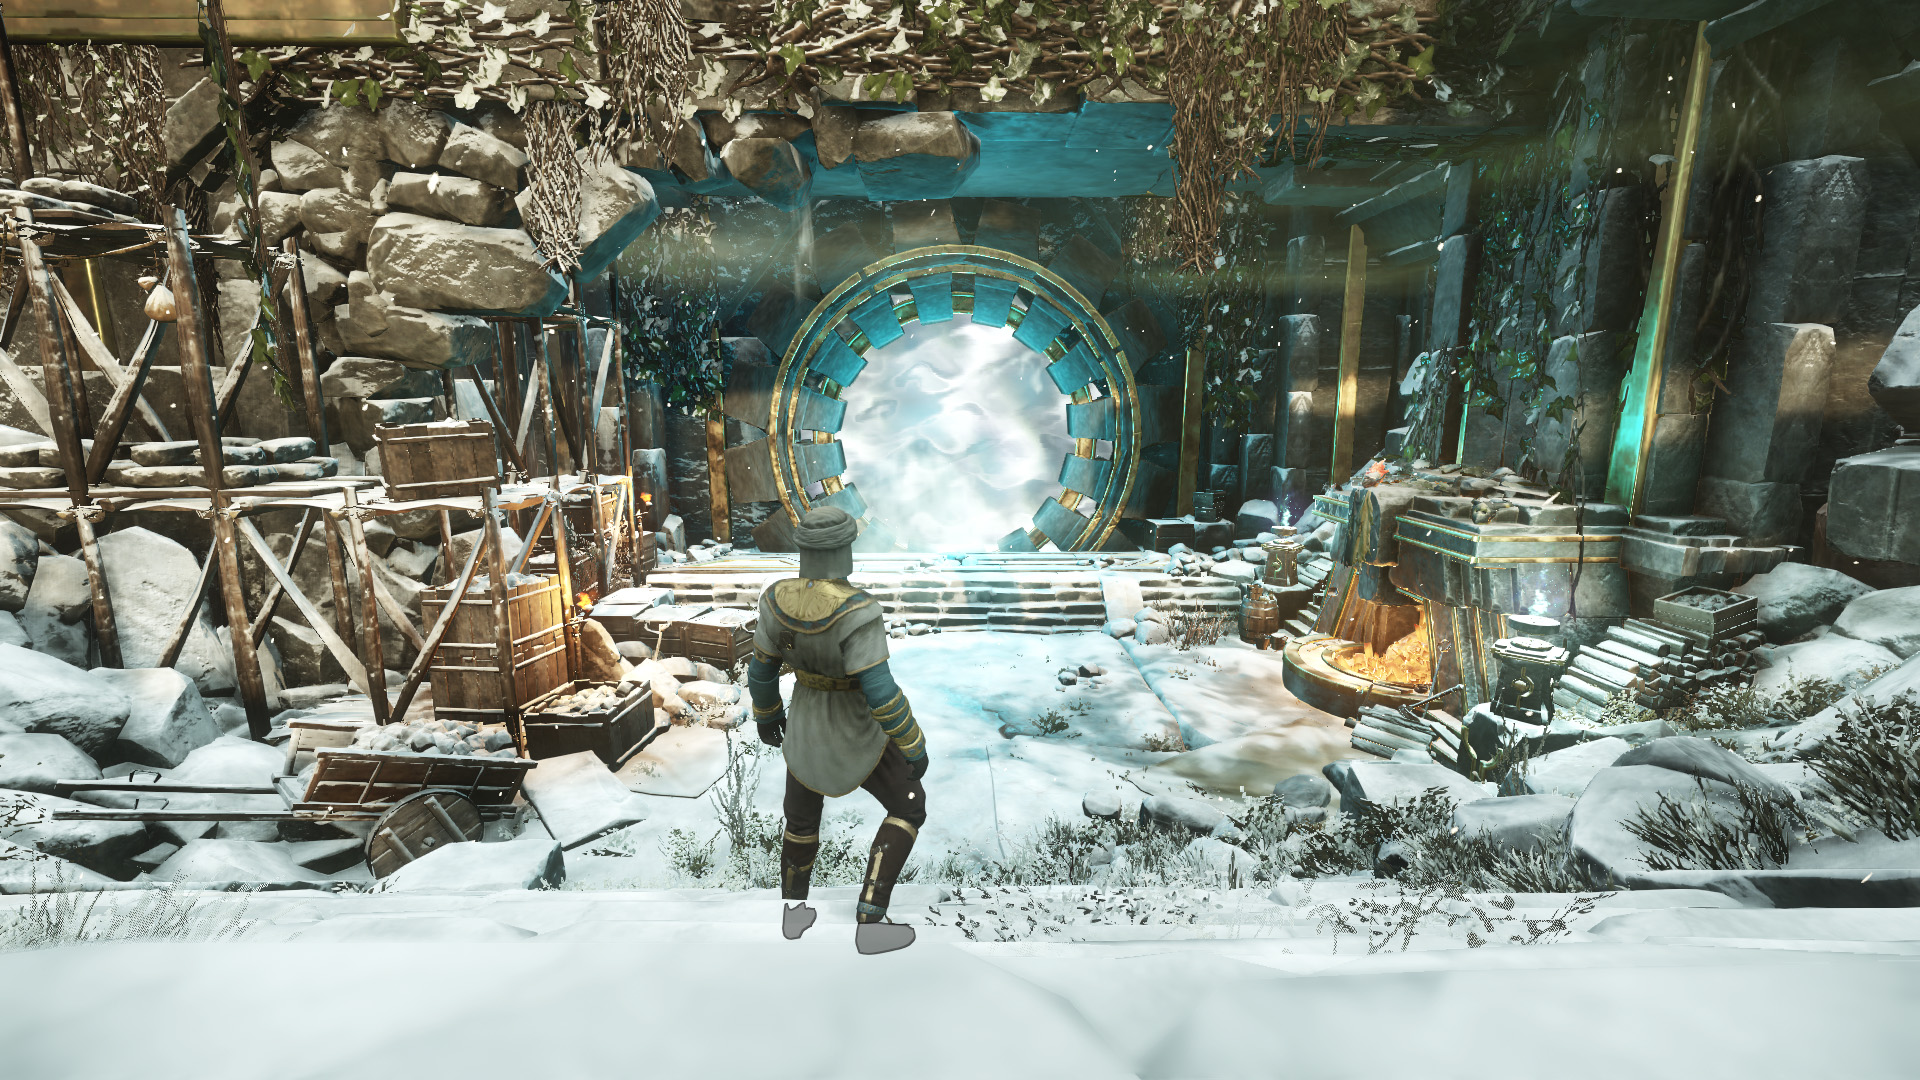
The entrance to the expedition is located here.
Mob Types
The Empyrean Forge introduces one of the newest mob types added to the game: Human. This mob type is more vulnerable to Slash damage, making Great Axe, Hatchet, Greatsword builds great options for this expedition.
You should also make sure that you have ![]() Infused Human Coatings and three
Infused Human Coatings and three ![]() Major Human Combat Trophys (one in each house) to
deal maximize your damage output towards these types of mobs.
Major Human Combat Trophys (one in each house) to
deal maximize your damage output towards these types of mobs.
Please note: There is also a good amount of fire damage included within this dungeon, so it is recommended to embed ![]() Pristine Ruby within
your gear for additional fire protection if needed.
Pristine Ruby within
your gear for additional fire protection if needed.
Repeatable Quests
"A Toymaker's Request" is a repeatable quest found just outside of Empyrean Forge. It is available from Otmar Winkler, and it's highly recommended that you accept this quest before you enter each time to pick up a few extra rewards.
Layout
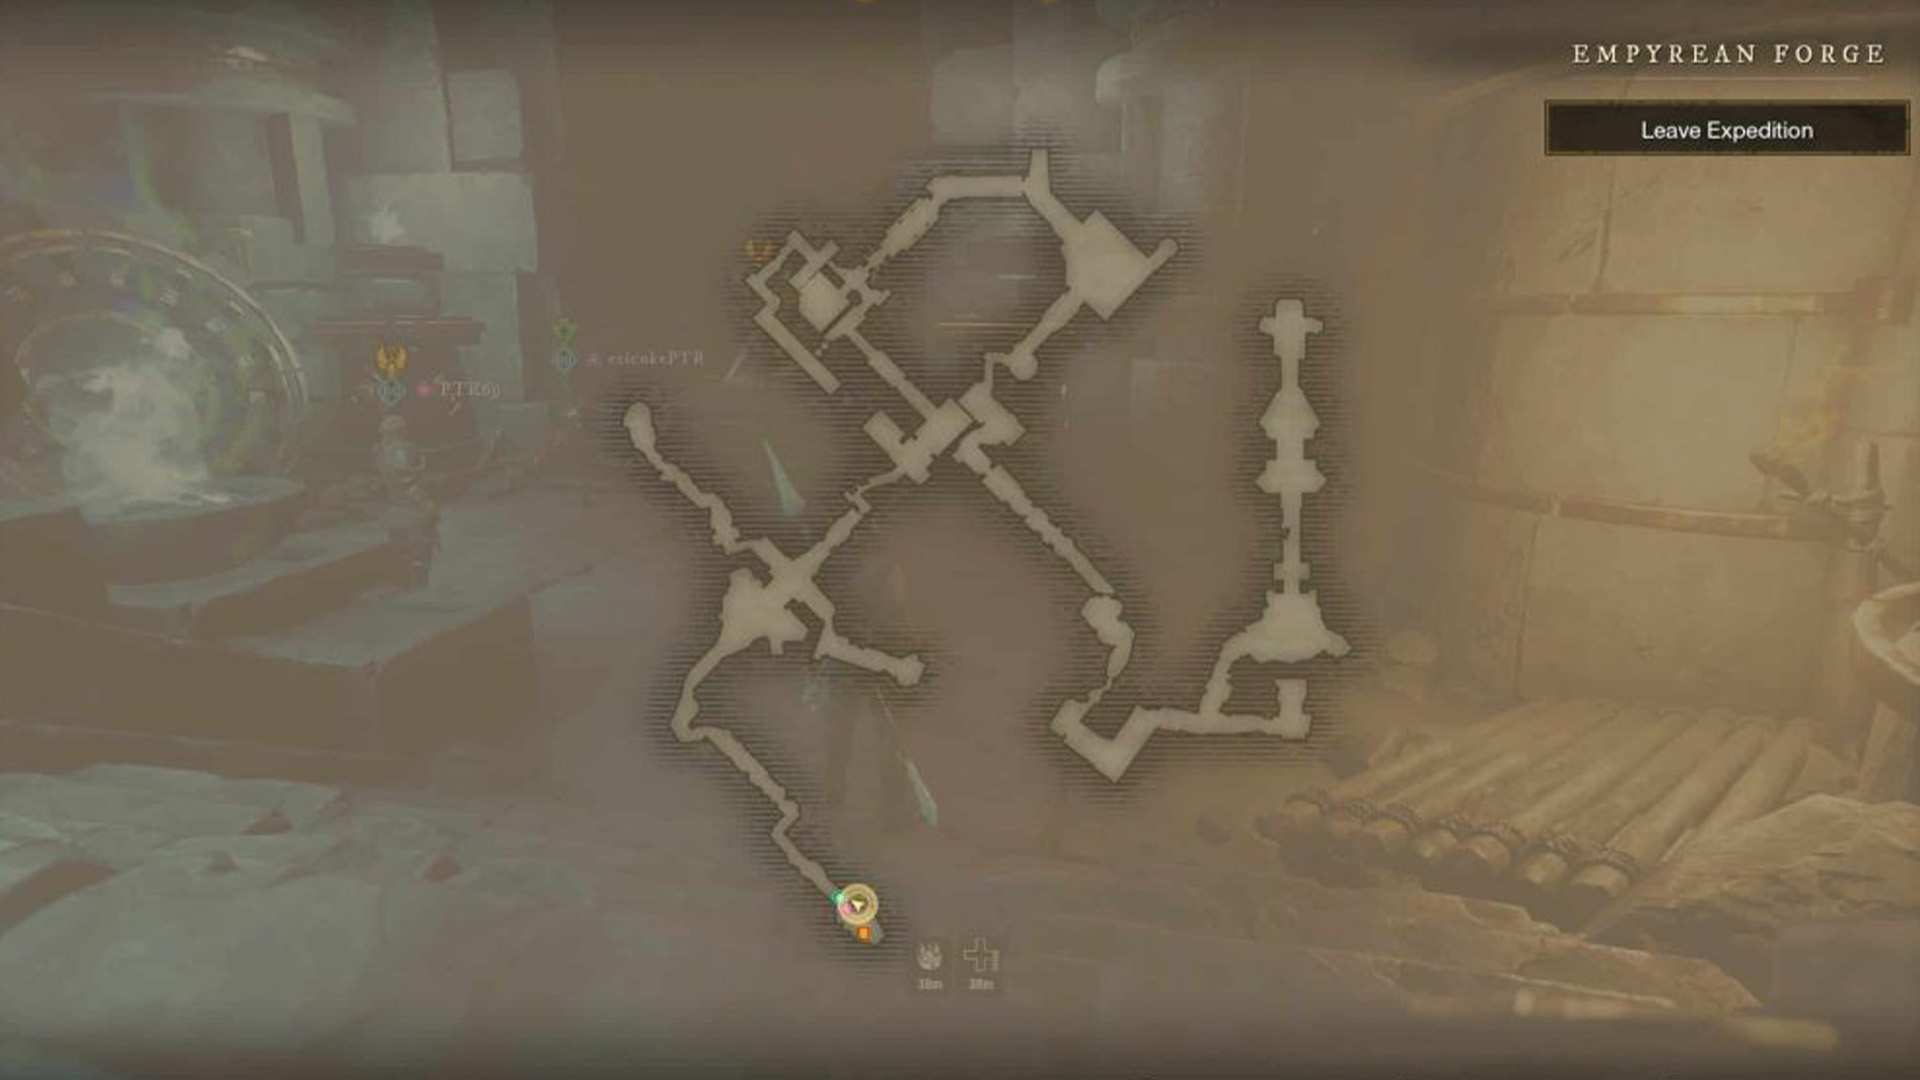
This expedition's layout is rather straight-forward but there are a few puzzles along the way.
Vestibule and The Forge
This will be the first major area you will encounter. You can access after defeating enemies in the Vestibule and using your Azoth Staff to gain entry.
In this room, you will meet your first named enemy - Executioner Freyr. This boss will function similarly to a player with a War Hammer. Watch out for any CC abilities, and you'll do just fine in this battle.
Once the room is cleared, you will notice a locking mechanism and a platform with blank images - this is the first puzzle.
The Lock
To clear this puzzle and gain access to the next room (The Reliquary) you need to walk forward up the small set of stairs and go left. There will be an open hallway. Follow this hallway to the top and you will find Sir Eld--another named enemy. Once Sir Eld is killed and the room is clear, a player needs to step on the platform.
Return back to the Forge and you will need a party member to stand on the platform with the blank images. Three symbols will appear and these symbols are the code for the locking mechanism. Have one player go to the lock while one stands on the platform. Once the proper code is in, the next room will open.
Reliquary and Foundry
In the Reliquary room (the one just after opening the lock) you will meet your next named enemy - The Heel. Avoid any AoE fire attacks, and this fight should be easy.
After defeating The Heel, you will walk into the Foundry. This is a large room with a few movement-related puzzles. Be mindful of any lava in the room, and walk through the piston gauntlet without being crushed. If hit, you will die.
After climbing up the wall, jump down into the arena below and take on the enemies, you will also see a second version of The Heel. Clear these enemies, follow the path, and you will meet your first boss - Ifrit.
Reliquary and Bellows
Once defeating Ifrit you will be in the Reliquary again. Dodge the pistons and clear the trash packs. You will fight your next named enemy - Ser Bishop. He will function similarly to a player with a Greatsword, so there are no difficult mechanics to deal with.
In the Bellows there is another piston gauntlet. Go through and follow the path, clearing any trash packs on your way. You will then encounter two named enemies - Ser Newlon and Lady Bridget. Just like the other named enemies you have faced, they will not have any difficult mechanics. Once you clear them, move up the ramp and you will encounter Ser Skarin.
Control Room
This room is adjacent to what you have seen in the The Forge. It will have another puzzle at the top of the room and a platform down below that someone will need to stand on. Take your group and clear the enemies and Ser Ducas. Once the room is clear, have a player stand on the platform. A few enemies will spawn, so make sure these are taken care of. The symbols that are displayed after standing on the platform will be the code to the locking mechanism at the top of the room.
Once getting through this area, you will meet the final boss - Commander Marius.
Ifrit
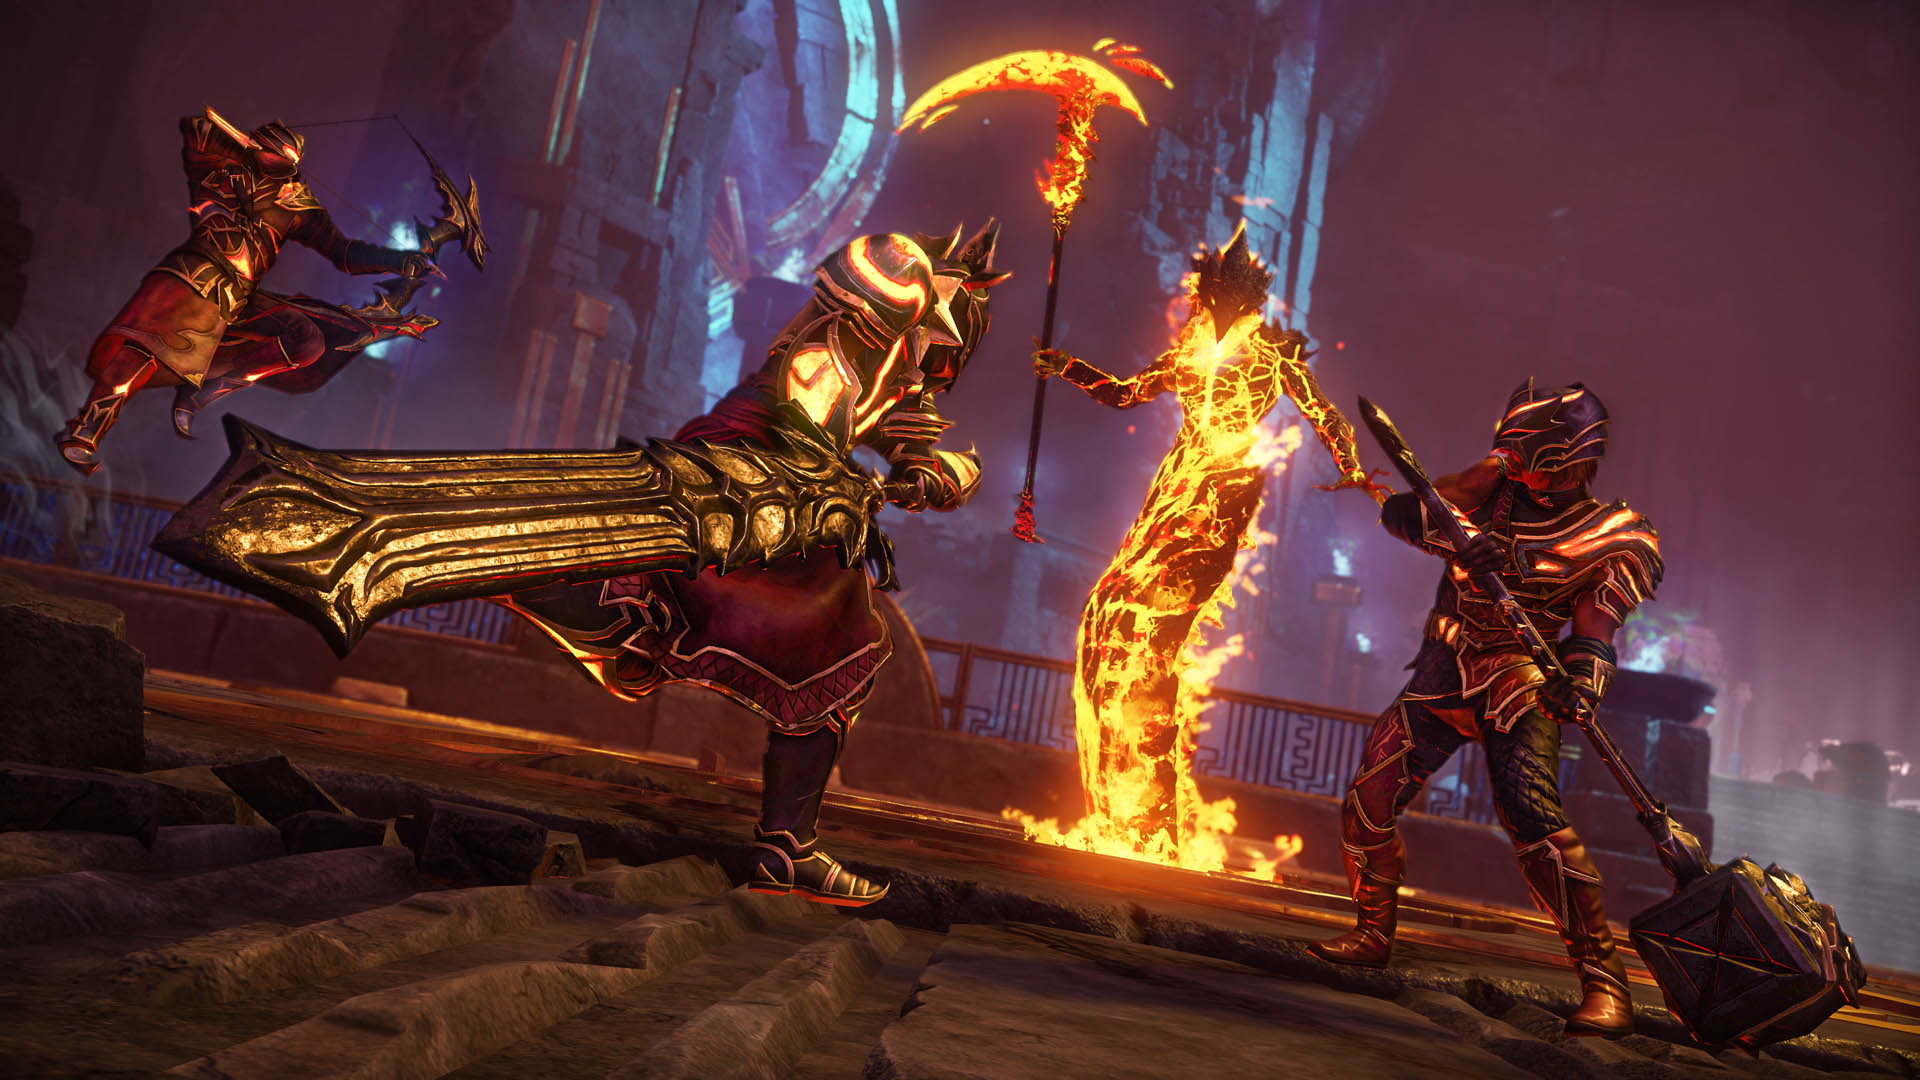
Abilities
- Fireball (One) — Ifrit will drop Fireballs throughout the fight. These will either be randomly placed AoE circles that will crash a Fireball down from above, leaving a Lava Pool on the floor for a significant duration. The Fireballs will deal burst damage and a stacking Fire DoT. If you step in any Lava Pool it will apply another stack of the DoT, which hits very hard.
- Lava Waves (One) — Throughout the fight, Ifrit will call waves of lava from the top of the room. These will come in several patterns, either grouped or spread. Find a safe spot and avoid these at all costs. If you are hit, or if you even try to dodge through the waves, you will receive a DoT effect that deals significant damage.
- Flamethrower (One) — Ifrit will summon a single Fire Clone from behind. You will see a telegraphed line on the floor. This will shorty turn into a Flamethrower that comes from both sides. Ifrit will then rotate around the room in a clockwise direction. If you are hit, you will die almost instantly. It is best to get as close as you can during this phase so you can continue to hit Ifrit and you have to cover less ground.
- Flame Smash — Ifrit will occasionally summon Fire Clones that swings in an "X" formation. Each one will slam the ground with an AoE explosion in melee range.
- Fireball (Two) — In Phase 2 of the fight, Ifrit will continue to summon Fireballs. But now, there will be more. This pattern will be similar to that of a Chess board with alternating Fireballs being placed across the entirety of the room. Additionally, you will be targeted, once targeted you will drop a Fireball on your location after the debuff has expired. It is best to try and drop your Fireball within the space of another Fireball to ensure more safe spots to stand.
- Lava Waves (Two) — Ifrit will continue to launch Lava Waves across the room. In Phase 2, these will overlap with Fireballs. There will be very few safe locations to stand, so be aware of your positioning.
- Flamethrower (Two) — In Phase 2, Ifrit will now have 3 Clones, all of which will use the Flamethrower ability. This will rotate clockwise in an "X" formation. Be close to Ifrit so you do not have to cover as much distance.
Strategy
This fight is like nothing else that has been seen before in the game. It is incredibly hectic with many telegraphed abilities and AoE damage. The main thing that you need to be aware of in this fight is positioning. If you can learn how to commit to minimal movement, bait telegraphed abilities, and find safe spots, you will get through this fight with ease.
In phase 1, the tank will just need to block incoming melee attacks, and be aware of the Flame Smash. For everyone else, it is best to not spread out too much and simply avoid the incoming Fireballs and Lava Waves as a group. Dedicate one player to follow to find clear spots. It is important to note that you cannot I-Frame, or dodge, many of the abilities. While you may avoid the burst damage, the Lava Waves and Lava Pools will still give you a stack of the large DoT effect.
During the Flamethrower attack, in either phase, it is best to step toward Ifrit so that you can continue attacking the boss, and you will then have less ground to cover. Try and play as close as possible and minimize unnecessary movement.
In phase 2, you will see the same mechanics, but amplified. When Ifrit does the Fireball ability, the entire room will be covered. They will come out more slowly because you will also be targeted with a debuff. When this debuff expires, you will drop another Fireball where you are standing. It is best to "bait" this Fireball and drop your debuff within the circle of a pre-determined Fireball location so that both drop in the same spot and you can keep the floor clear. It is best if you are stacked in a group and all of you do so together. Additionally, you will have to make sure that you dodge incoming Lava Waves during this phase--which will typically be grouped together and have a safe spot that you can stand in and not have to move at all.
The Flamethrower will continue and instead there will be four seperate Flamethrowers. You will take this on the same way as you did in the previous phase. Simply walk toward Ifrit and rotate clockwise.
Commander Marius
Abilities
Strategy
Although there are many things going on in this fight, it is rather simple. It is best to take Marius onto a platform right away and keep him there for the entirety of the fight. This will allow you to be ready to dodge the Lava Pool right away. Position yourselves to either the far left or right of an elevated platform. All you really need to do is avoid incoming Volcanoes, melee attacks, and Ground Pounds. The Boulders are easily avoided by your positioning. If you stay to the far left or right of a platform you will completely avoid the incoming damage whether or not a Boulder is coming at you, or falling on your platform. They will telegraph an AoE circle, so you can use this to make sure you are in a safe location.
You can either split players across the platforms, or commit your healer and one DPS to a single platform, and your other DPS and tank to another platform. Be cautious of when Marius drops boulders. Late in the fight he will begin to drop two at a time. At this point it may be advantageous to rotate to whatever platform is safe and out of any boulder paths. When two boulders are dropping this will always occur in a counter-clockwise format (If your perspective is the same as when you enter the room). Whatever platform has the first boulder, the one that is immediately to its right will have the second one. On the next rotation, the second platform will become the first, and the previously safe platform will have the second boulder.
Loot Drops
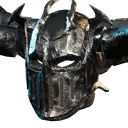
The loot in the Empyrean Forge is designed for endgame players and therefore can be some of the best found in the game. There are different drops depending on whether you are in the mutated or regular version of the expedition. Here are examples of some of the loot you will encounter in the regular version of this expedition.
 Heart of Fire
 Embers of Change
 Wandering Expedience
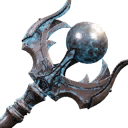 Cleric's Walking Staff
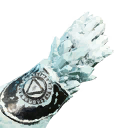 Handwarmer
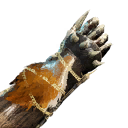 Daemongrasp
 Sulfurous Shrapnel
 Firestarter
 Allegro
 Heavy Knocker
 Broad Buckler
 Fire of Battle
 Heatshot
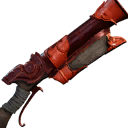 Sparkpowder
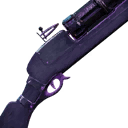 Brash Opener
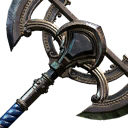 Mauler's Axe
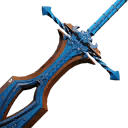 Hunting Blade
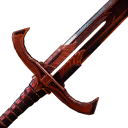 Firelash
 Scholar's Wear
 Well-trodden Shoes
 Withering Gloves
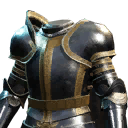 Warrior's Respite
 Ranger's Focus
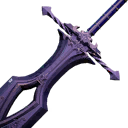 Tough Times
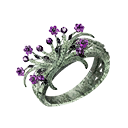 First Spring Token Band
 Warden's Guise
 Sinful Glare
 Sticky Vines
 Putrid Bark
Heartrune
To acquire Heartrunes you must complete an expedition. The final boss will have a high chance to drop the Minor version which can be upgraded into a legendary variant.
Mutated Drops
Some items can only drop on certain difficulty levels of the mutated version within some expeditions. The list below showcases some of the most sought-after items that can drop from this mutated expedition.
 Fire Lord's Great Horned Helm
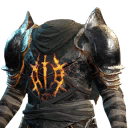 Fire Lord's Cuirass
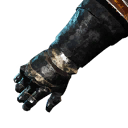 Fire Lord's Vambraces
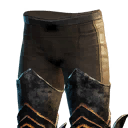 Fire Lord's Cuisses
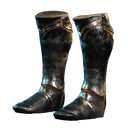 Fire Lord's Greaves
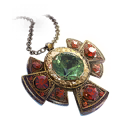 Magick Empowerment
 Brawlers Memento
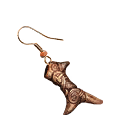 Silencing Step
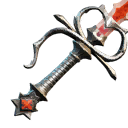 Dicer
Dicer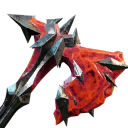 Rough-houser
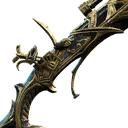 Damascan Shot
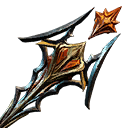 Forging Staff
- Frosthearth
Artifacts
Once your character reaches max level, you will be given the opportunity to retake this
expedition at a more difficult level (the mutated version, as mentioned above). When taking down Commanger Marius in this mutated
expedition (at least M1), you will have a chance of obtaining a rare fire staff artifact known as ![]() Inferno, which
has a unique perk that allows you to scale your fire staff's base weapon damage off of Strength, opening players up to the opportunity
to explore a range of new builds utilizing the fire staff with a melee weapon, such as the Great Axe or Greatsword. This artifact also has the
"Hellfire's Fury" ability, granting you a 20% damage bonus when you hit a target within 15 meters, making it great for close-combat, burst builds.
Inferno, which
has a unique perk that allows you to scale your fire staff's base weapon damage off of Strength, opening players up to the opportunity
to explore a range of new builds utilizing the fire staff with a melee weapon, such as the Great Axe or Greatsword. This artifact also has the
"Hellfire's Fury" ability, granting you a 20% damage bonus when you hit a target within 15 meters, making it great for close-combat, burst builds.
Changelog
- 03 Sep. 2024: Guide updated with current patch. New tips and tricks added to maximize damage output. New Artifact ("Inferno") info added.
- 20 Apr. 2023: Guide created.
Savvvo is a full-blown MMORPG try-hard who overthinks every build, min-maxes every stat, and theorycrafts like his life depends on it. If there’s a meta, he’s dissecting it. If there isn’t, he’s creating one.
You can take a closer look at his guides and content on YouTube.
- AMA Session with New World’s Former Lead World Designer
- New World Aeternum 2026 Roadmap Revealed
- Can New World Be Saved? Offers Are Starting to Pop Up.
- The Last Day of New World: Aeternum
- New World Server Mergers (Again)
- What Else Was Planned for New World: Aeternum?
- Global Storage Search is Now Live in New World: Aeternum
- Daggers Are Officially Live in New World: Aeternum