The Depths Expedition Guide for New World
Welcome to the ultimate guide for conquering The Depths expedition in New World: Aeternum. As one of the most intense and lore-filled expeditions in the game, The Depths plunges you into a dark and dangerous underworld filled with unique foes and challenges. Whether you're looking for strategies on how to take down Commander Thorpe, navigate through the dark tunnels, or unlock hidden secrets, this guide is the key to your success.
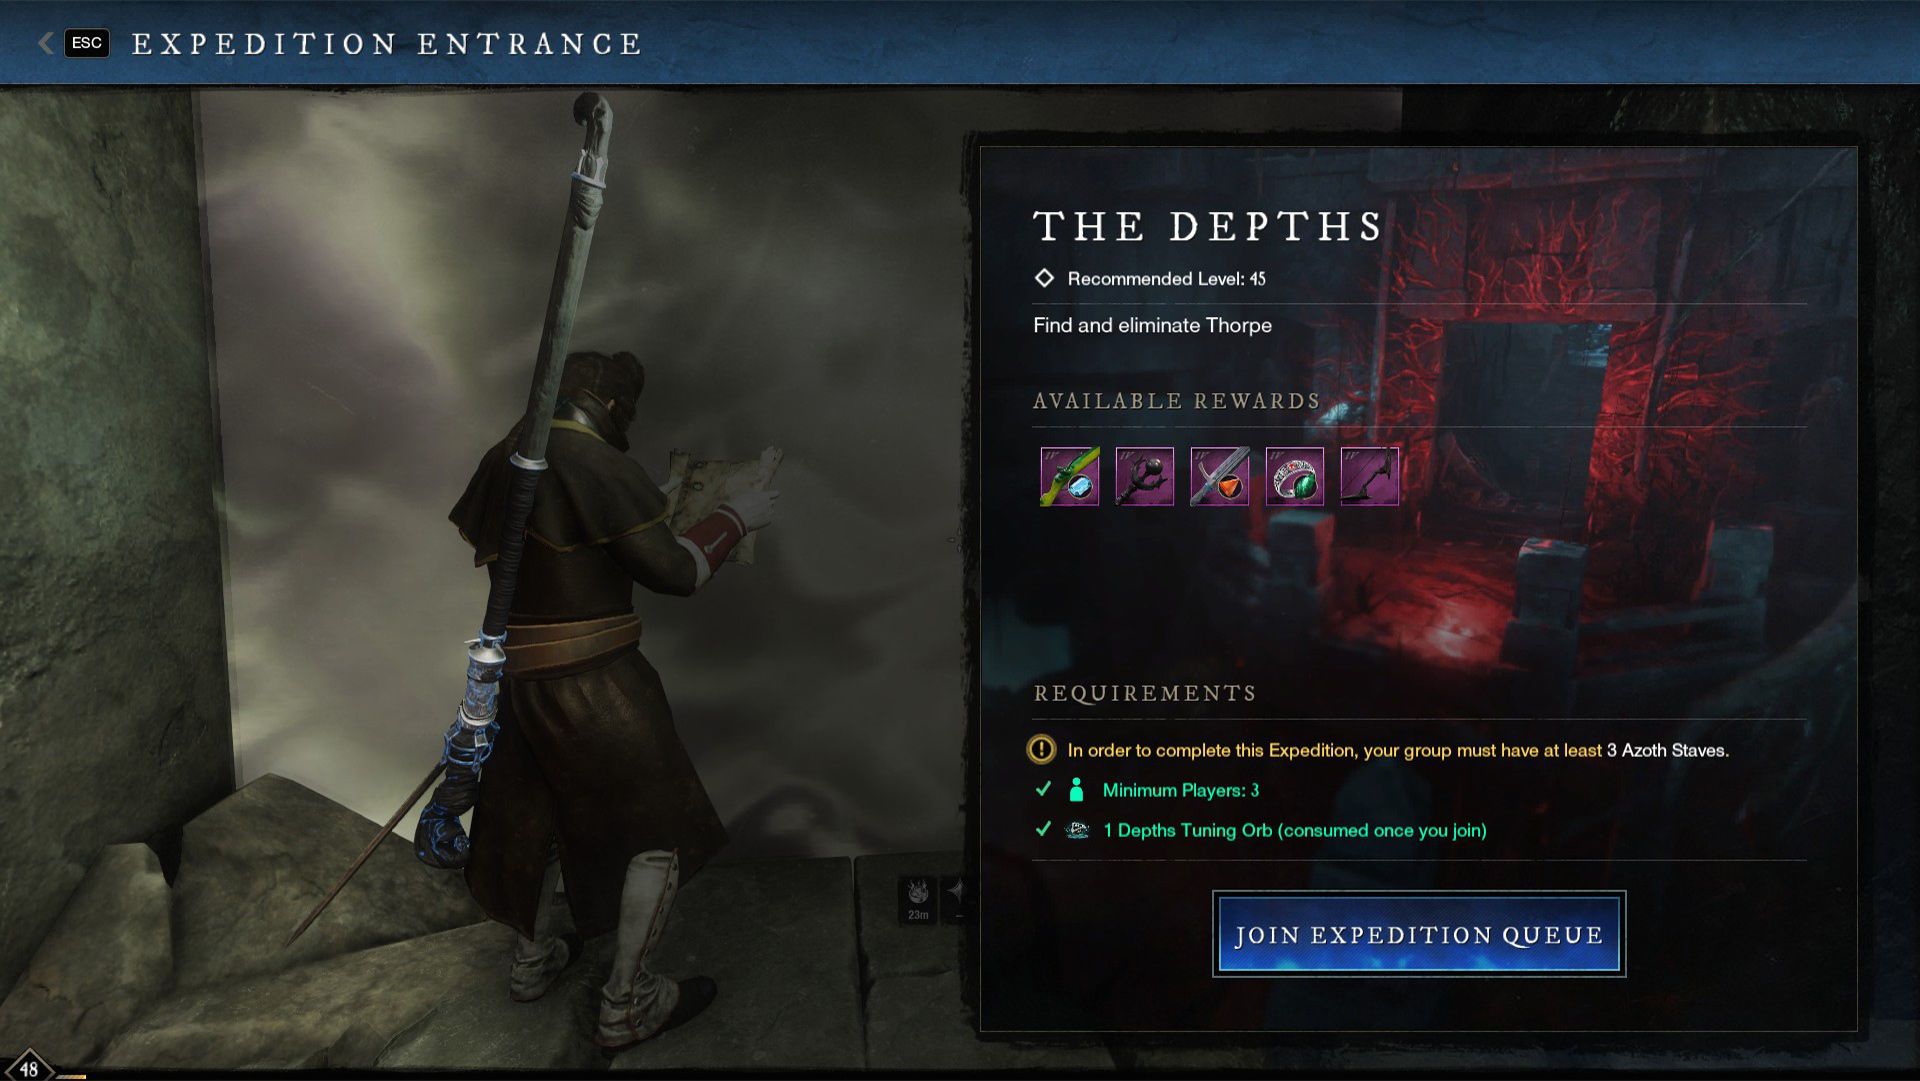
Location and General Information
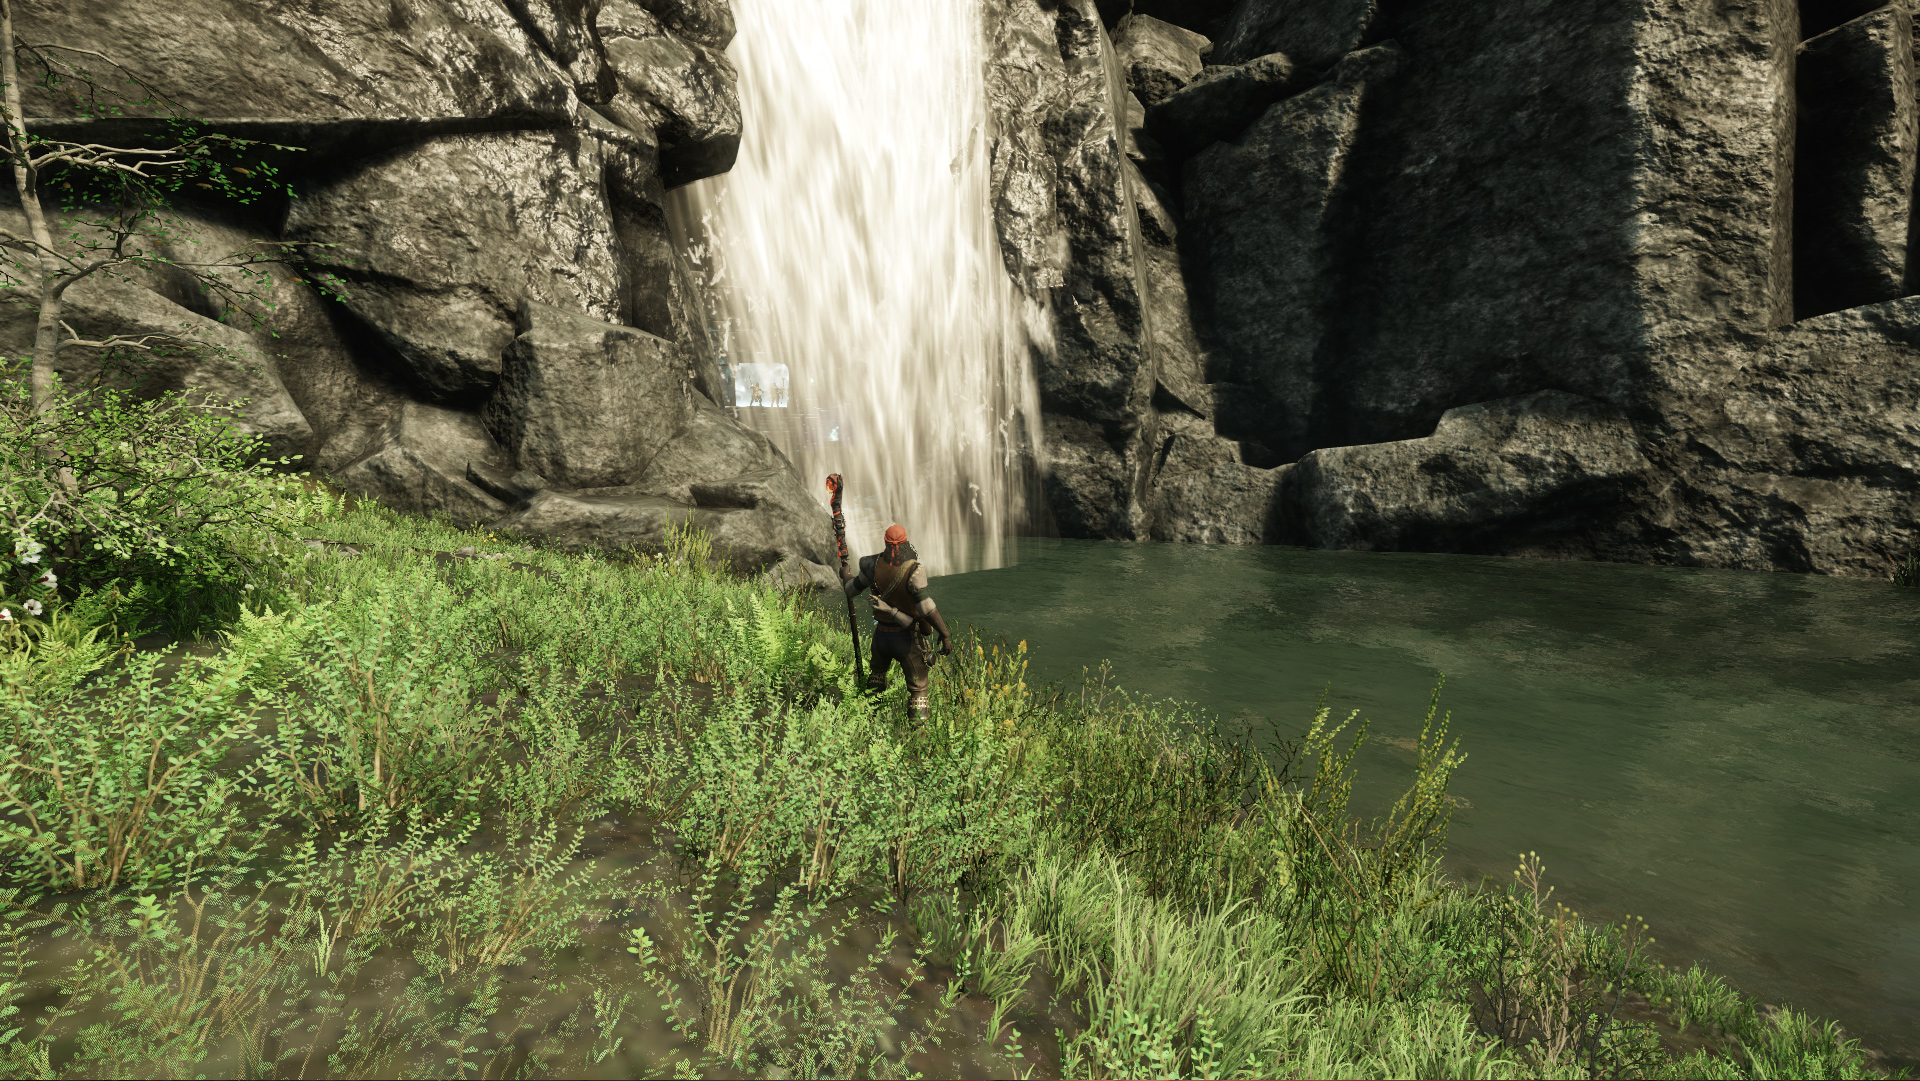
The Depths expedition is located Northeast of Restless Shore. While its in-game recommended level is 45, we suggest going in as early as level 43, because that is when you can start to receive repeatable quests for the expedition.
The entrance to the expedition is located behind this waterfall pictured below.
Mob Types
The Depths contains solely Corrupted mobs, which are more vulnerable to Thrust, Nature, and Arcane damage. Builds that use the Spear, Rapier, Blunderbuss, Bow, or Musket are good options for this expedition.
Repeatable Quests

At level 43, you can receive the  Meat For Nekumanesh (Expedition) quest which is
repeatable. Each time you complete the expedition, you should encounter three
mini-bosses that each drop meat; loot them all to be awarded 8,600 XP upon
completing the quest with Nekumanesh.
Meat For Nekumanesh (Expedition) quest which is
repeatable. Each time you complete the expedition, you should encounter three
mini-bosses that each drop meat; loot them all to be awarded 8,600 XP upon
completing the quest with Nekumanesh.
This repeatable is great, because the pick-up and hand-in for this quest is directly outside the door for the expedition. You can also start to receive expedition faction missions from Restless Shore once you reach level 43.
Layout
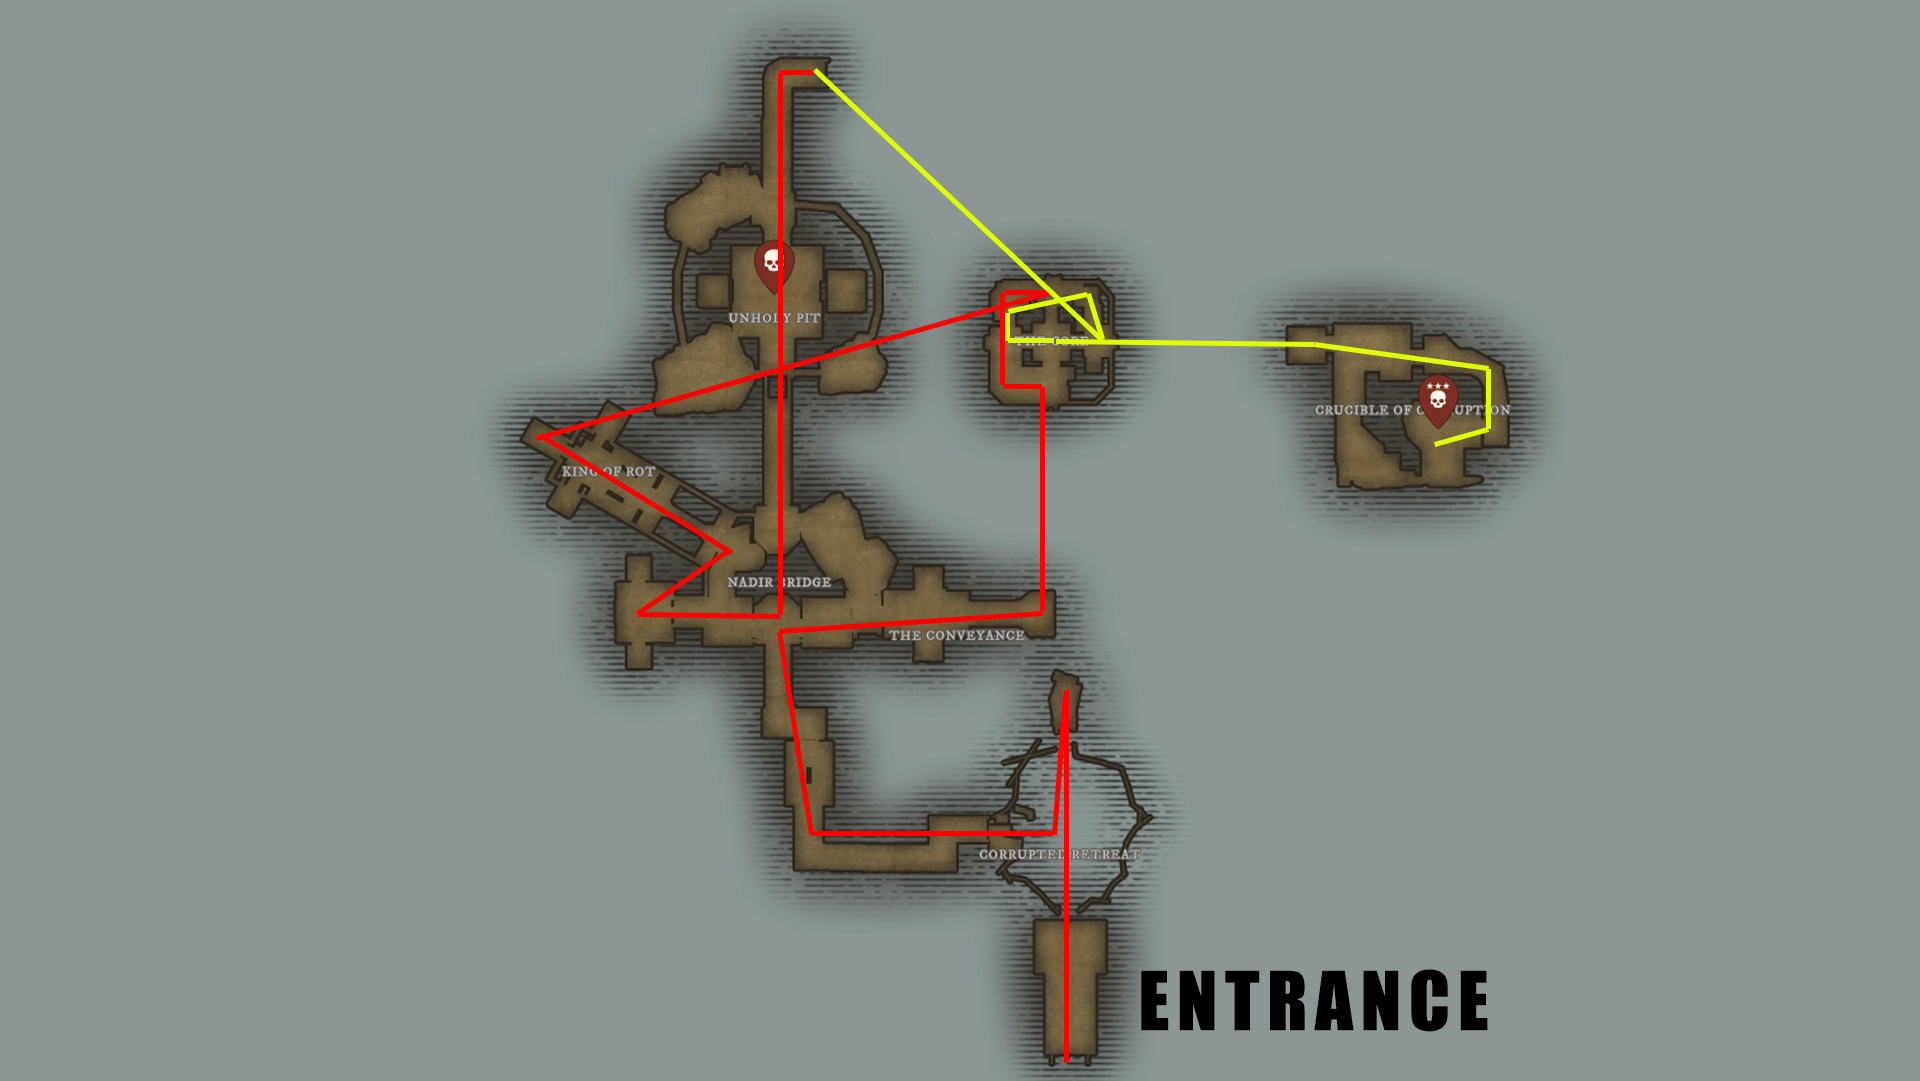
This expedition is relatively straightforward, but does have one area where you can go the wrong direction. As you enter the Nadir Bridge area, there will be a deactivated bridge in front of you and stairs to the left and right.
Take the stairs down to the right as you will pass through the left side later in the expedition.
This expedition will also take you through the core area twice, you just have to use the active teleporter to leave the first time and then use the key that you loot from the boxes after the first boss to unlock the center. Enemies will respawn in the core area, so you do not have to worry about clearing them all out on the first pass through. If you get lost, reference your map for your next quest objective.
Bosses
This expedition has two bosses, Archdeacon Azamela and Commander Thorpe. In expeditions, you can only be picked up from being downed one time before you are forced to respawn, and most boss rooms seal off the entrance once the boss is engaged. This effectively gives you two lives in a boss fight, assuming that your teammates can pick you up when you get knocked down.
Archdeacon Azamela
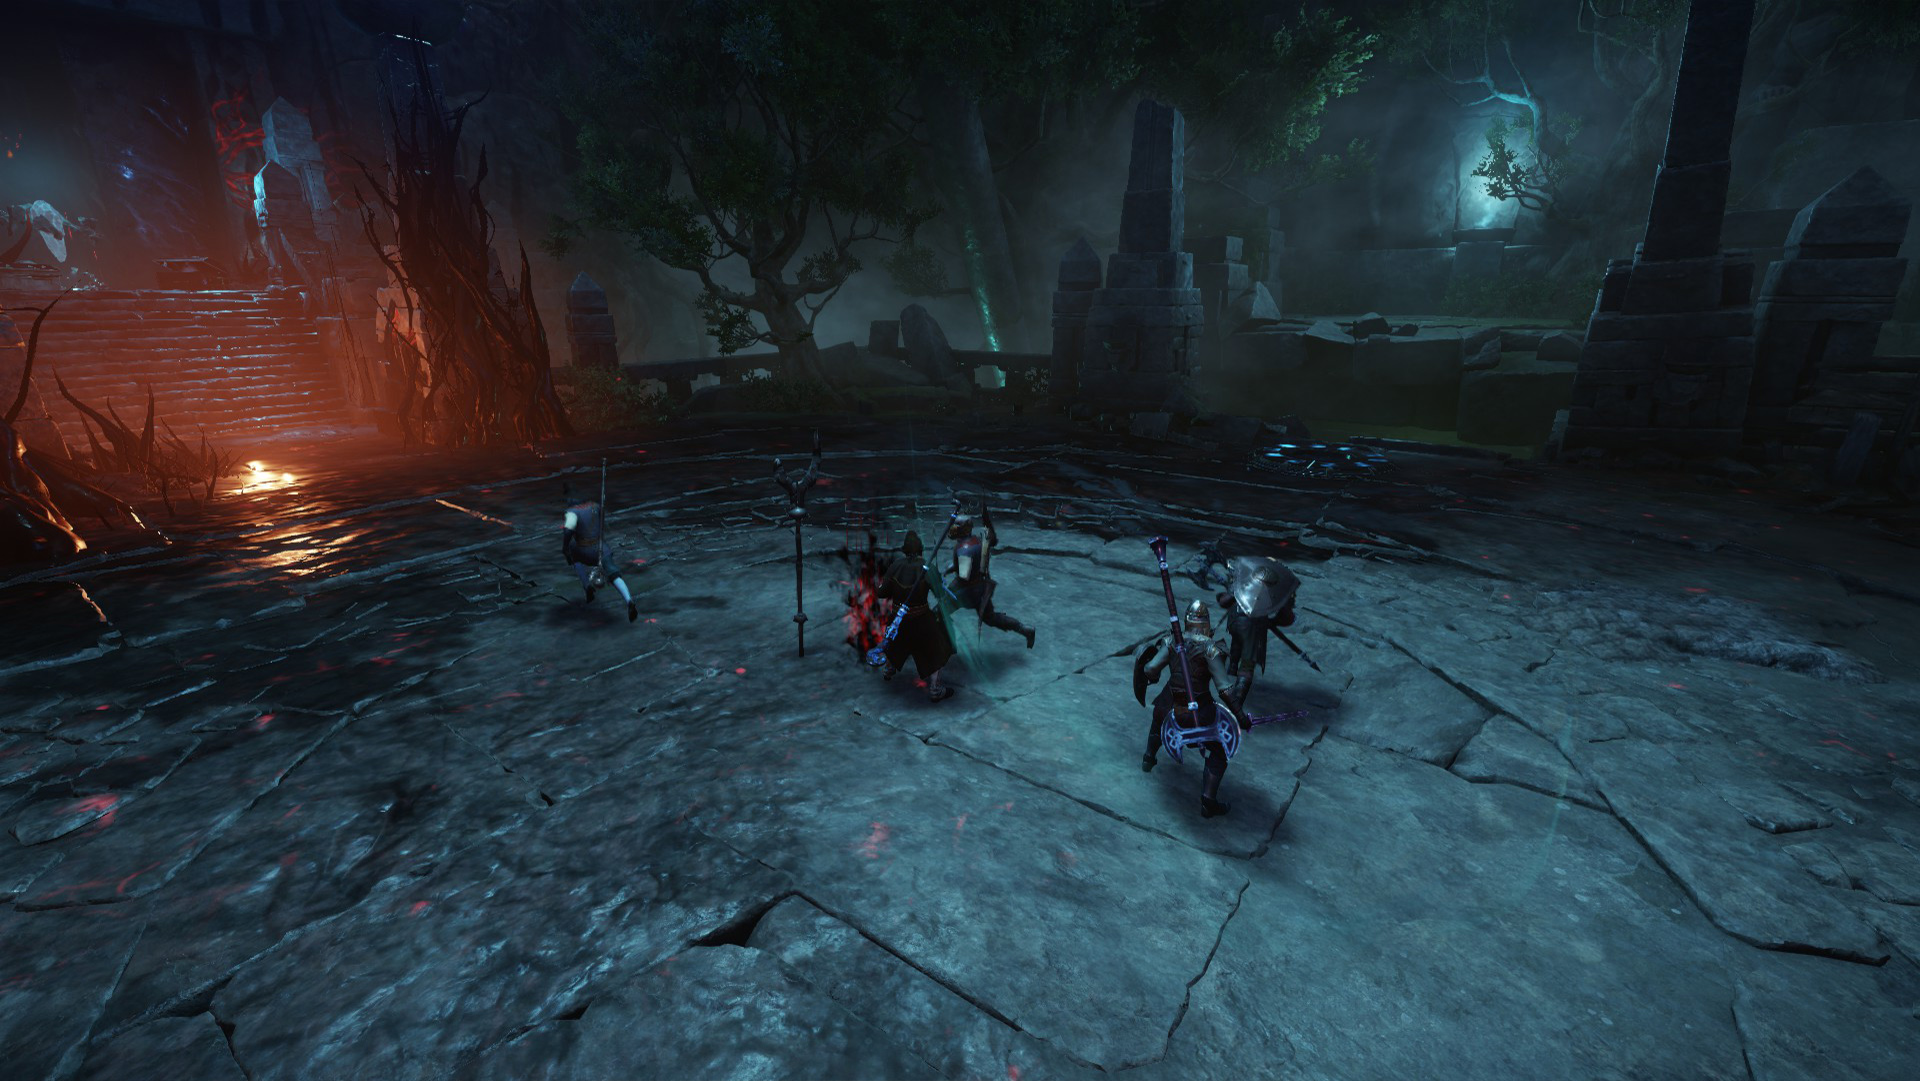
This boss is a corrupted priest that is fought in a medium-sized circular room that has two small square platforms off to the left and right sides.
Abilities
- Summon Hounds — Azamela will occasionally summon a pair of non-elite hounds to attack the players.
- Corrupted Eruption — Azamela will raise his staff in the air and a small patch of ground will turn black. After a short delay a skull will erupt from the ground dealing damage to any player nearby.
- Corrupted Wave — Azamela will shoot out a red wave attack in front of himself.
- Corrupted Ritual — At 55% and 15% health Azamela will move to the middle of the room, become invulnerable, and begin channeling their mines ability. This ritual will not end until the active corrupted pillars are dealt with.
- Mines — Azamela will spawn these mines in increasing amounts while he is channeling his ritual. These mines have a small amount of health but will explode for a decent amount of damage. These act as a soft enrage for the fight as they can hit the entire room.
Strategy
This boss can be tanked anywhere in the room, but it is the best to tank them off to one side. When Azamela hits 55% or 15% health, they will rush to the middle of the room to channel their ritual ability. By tanking them off the center it is more apparent when the ritual begins. The tank should attempt to keep Azamela facing away from the middle of the room to avoid hitting allies with the wave ability. Watch out for Azamela's Eruption ability by watching out for dark patches to form on the ground, if one appears beneath you then quickly move away.
Once the ritual begins, the right side teleport pad will become active and two DPS players should rush to take it and then defeat the two servants on the platform. After defeating them, one player should channel on corrupted monolith on the platform. Any ranged DPS on the side platform can attempt to help their team by attacking active mines on the main platform. The first time the ritual begins, only the right side platform will be active but the second time the left side will be active as well.
While the ritual is in progress, the tank, healer, and one DPS should be focusing on killing the mines that will spawn on the main platform. These can take a few hits and will explode after a short time so it is imperative that you attempt to get these mines down as soon as possible. The healer should also keep an eye on the DPS clearing the side platform and be ready to throw them some heals because they will be taking damage from the servants on the platform and from any stray mines that explode. Anyone standing on a side platform will be automatically teleported back to the main platform once that platform's monolith is destroyed.
After ending the second ritual the boss should die shortly thereafter.
For the mutated version of this expedition, this strategy may slightly change depending on your group's composition. In some situation, the group dives into two, with each group entering a different portion, completely avoiding the explosive mines in order to focus entirely on closing the two monoliths.
Commander Thorpe
The final boss of the expedition, a familiar face from the tutorial, is found shortly after a respawn point. This boss has two phases and will only use his full ability kit once he reaches 15% health for the first time, after which he will heal to full health and Summon Behemoths.
Abilities
- Flame Charge — Thorpe will point at a player then drag his sword in an arc on the ground in front of him and then charge towards the player and slash at them. He will leave a damaging fire trail behind him as he moves. Sometimes, Thorpe will leap into the air and smash his sword against the ground doing damage in a small area instead of a slash.
- Corrupted Pull — Thorpe will turn and face a player at range and raise his sword and off hand. After a short delay players in front of him will be pulled within his melee range.
- Flame Circle — Thorpe will raise his sword to the air and yell "I will crush you beneath my heel, ant!" and summon a persistent fiery ring on the ground. Any player within the ring will take sustained fire damage.
- Summon Behemoths — Once Thorpe's health reaches 15% for the first time and then periodically after that he will become immune to damage, raise up into the air, and summon two player sized Behemoths. These demon-like foes have a decent amount of health and can cause havoc if left alone.
- Soul Beam — After summoning behemoths and then periodically after that, Thorpe will shout "Prepare to have you soul crushed!" and then will thrust his left hand forward with an extremely damaging laser beam. This beam will do fatal or near fatal damage to every player it hits and will rotate counter clockwise around the room.
- Corrupted Steel — Thorpe will yell "Time to taste Corrupted Steel" and a red ring will appear around him. After a short delay an explosion will occur on him damaging all players inside the circle.
Strategy
This boss hits incredibly hard and has a wide swing that can hit players
standing near him. For this reason, melee DPS should attempt to stand directly
behind him as much as possible to avoid getting hit. The tank should also try
to avoid getting hit by Thorpe's basic attacks, as they will quickly drain
their stamina. We recommend having the Healer spec into ![]() Splash of Light
and
Splash of Light
and ![]() Purify to remove debuffs from the entire party at once as
several of Thorpe's fire abilities can leave strong damage over time effects on
players.
Purify to remove debuffs from the entire party at once as
several of Thorpe's fire abilities can leave strong damage over time effects on
players.
Once Thorpe is reduced to 15% health, he will heal to full and summon Behemoths. These need to be killed quickly and they have stagger bars, so melee DPS should prioritize heavy attacks to help stagger them. Since these adds do decent damage, it might not be feasible for your Tank to survive damage from both them and Thorpe so they need to die as soon as possible. Immediately after summoning the Behemoths, Thorpe will use his soul beam in whatever direction he is facing. It is really important that your tank attempts to get him to face towards the outside of the room before he uses this skill, to make avoiding the beam more feasible for the Healer and DPS. You are able to crouch or craw beneath the beam but be careful because getting staggered by a Behemoth will cause you to stand up.
Once you have gotten a hang of his basic abilities it becomes a matter of execution. Avoid taking damage, kill the adds when they spawn, and do not let the beam touch you. Note that the beam can be a bit odd if he casts it while on the platform or stairs, so we recommend tanking him away from the stairs on the outside of the room.
If you are a DPS build for this fight and find yourself struggling, consider picking up a Blunderbuss and utilizing that for this fight to give yourself a little more range between you and Thorpe.
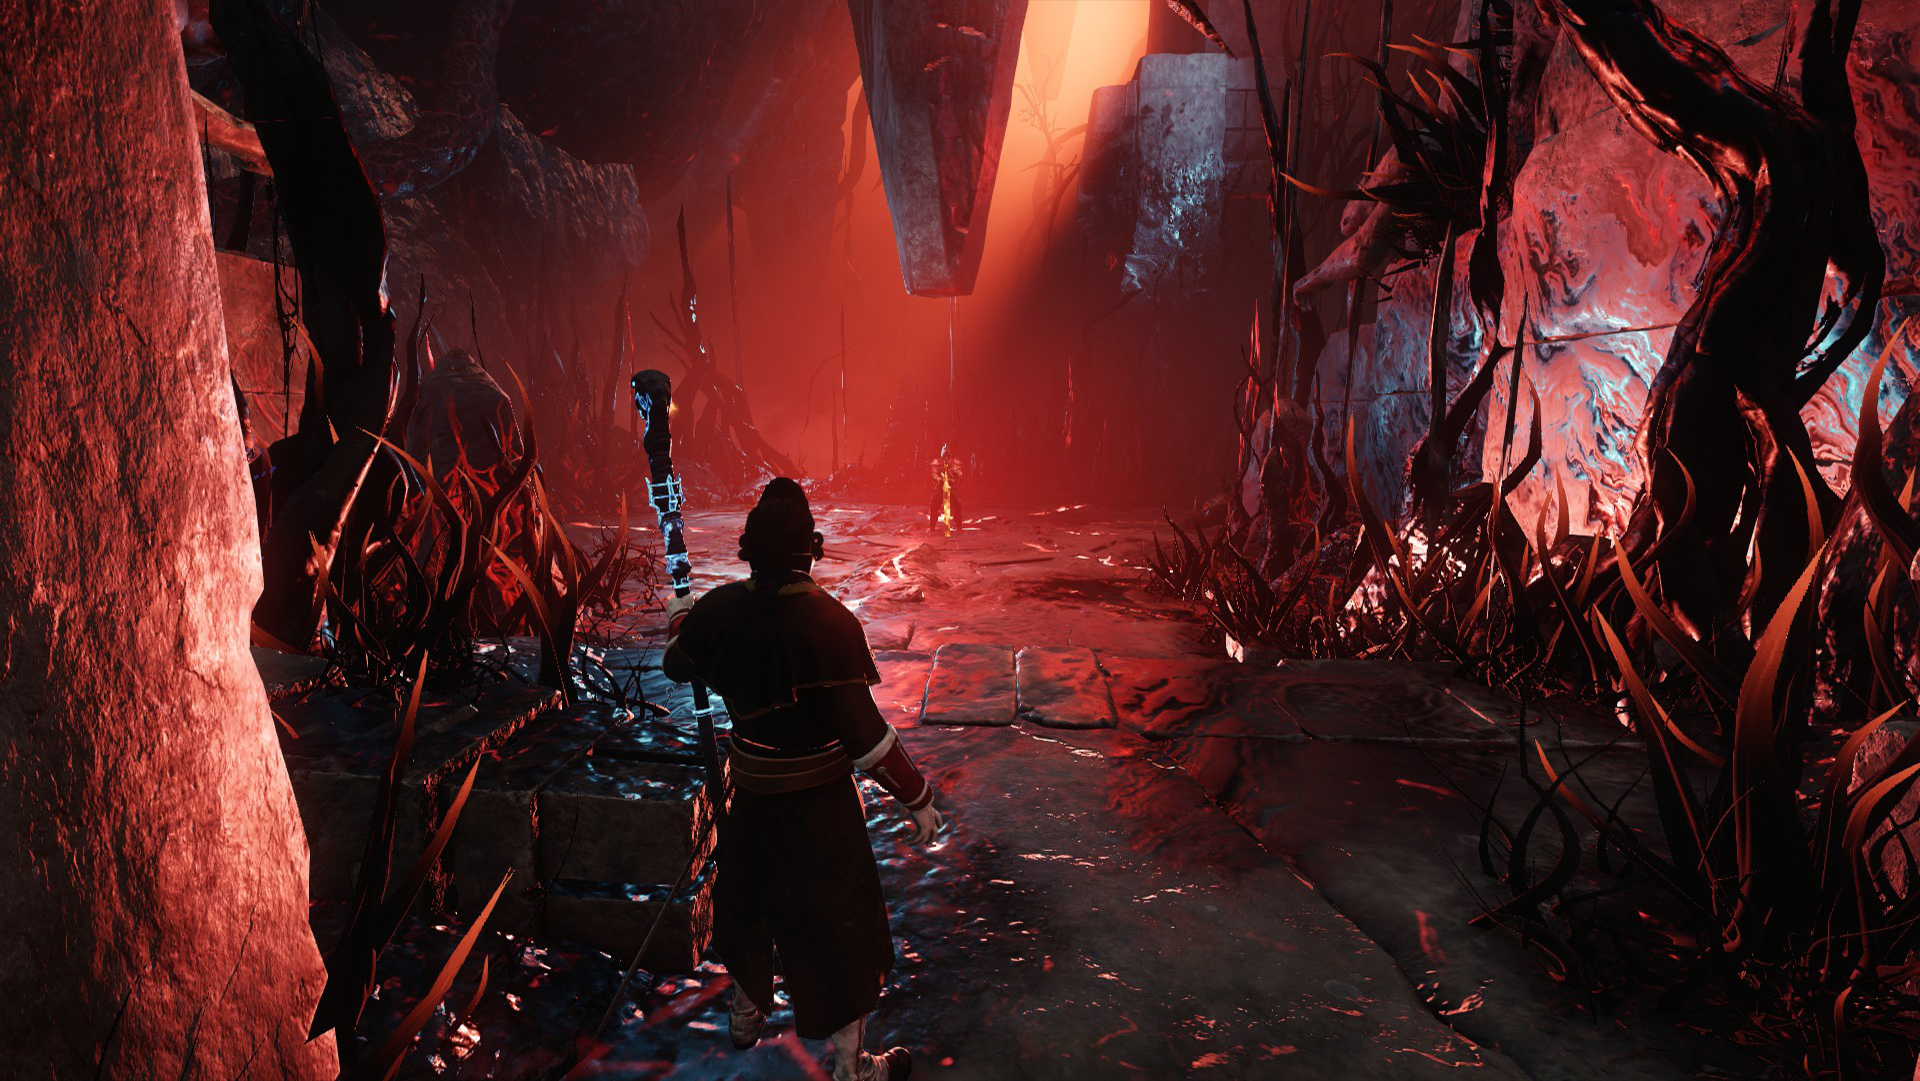
Secrets
In some expeditions, there are hidden resources or treasure chests that can be easily missed if you are not investigating every corner. In the first room of The Depths, there is a chest up on a tree branch that you can leap to.
Loot Drops
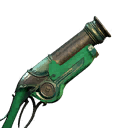
 Tundra Warden's Rifle
 Duplicitous Intent
 Willing Sacrifice
 Thorpe's Helmet
 Holy Pledger's Band
 Corruption Infused Longbow
 Heart's Tendril Trinket
Mutated Drops
Some items can only drop on certain difficulty levels of the mutated version within some expeditions. Below is a list of some named items that you can obtain by fighting your way through this expedition.
 Expedition Captain's Helm
 Expedition Captain's Breastplate
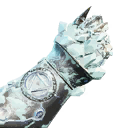
 Expedition Captain's Gauntlets
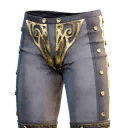 Expedition Captain's Greaves
 Expedition Captain's Sabatons
- Willing Sacrifice
- Duplicitous Intent
 Rejected Sacrifice
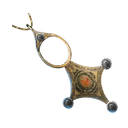 Blessing of Forefathers
 Ethereal Visage
 Corruption's Resurgence
 Voidsong
- Holy Pledger's Band
- Corruption Infused Longbow
- Thorpe's Helmet
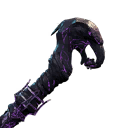 Dark Pyromancer's Spellstaff
 Abyssal Strike
 Frostwall
- Heart's Tendril Trinket
- Tundra Warden's Rifle
 Cave Crawler
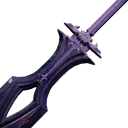 Bloodblade
 Righteous Heart
 Mystic Sting
 Plaguehunt
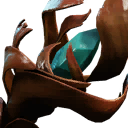 Nimble Heart
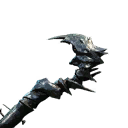 Stormscorcher
 Crosshack
 Grimsand
 Spelldancer
 Sparking Ring
Artifacts
Once your character reaches level 65, you will be given the opportunity to retake this
expedition at a more difficult level (a "mutated" form). When taking down Commander Thorpe in this mutated
expedition, you will have a chance of obtaining a rare amulet artifact known as ![]() Lost Stopwatch, which
has a very rare perk that generates 300% more taunt, and exhanging 10% base damage for extending all stuns by an additional
1 second, making it a great addition to stun-focused and tank builds.
Lost Stopwatch, which
has a very rare perk that generates 300% more taunt, and exhanging 10% base damage for extending all stuns by an additional
1 second, making it a great addition to stun-focused and tank builds.
Limited Mount Drop
Once you perfect this expedition, you'll be prepared to take it on at it's highest mutation level (level three), which introduces you
to a new unqiue item that can be dropped - a lion mount skin! The lion mount skin is called ![]() Godfrey. This lion mount looks great, and is a
fun way to show off how succesful you were within this expedition.
Godfrey. This lion mount looks great, and is a
fun way to show off how succesful you were within this expedition.
Changelog
- 02 Sep. 2024: Guide is updated from last patches, and includes additional strategies and information on new loot (artifact and mount skin).
- 07 Mar. 2023: Drop list updated, Tuning Orbs removed.
- 05 Nov. 2021: Guide added.
Savvvo is a full-blown MMORPG try-hard who overthinks every build, min-maxes every stat, and theorycrafts like his life depends on it. If there’s a meta, he’s dissecting it. If there isn’t, he’s creating one.
You can take a closer look at his guides and content on YouTube.
- AMA Session with New World’s Former Lead World Designer
- New World Aeternum 2026 Roadmap Revealed
- Can New World Be Saved? Offers Are Starting to Pop Up.
- The Last Day of New World: Aeternum
- New World Server Mergers (Again)
- What Else Was Planned for New World: Aeternum?
- Global Storage Search is Now Live in New World: Aeternum
- Daggers Are Officially Live in New World: Aeternum