Garden of Genesis Expedition Guide for New World
Welcome to the ultimate guide for mastering the Garden of Genesis expedition in New World: Aeternum. This ancient, overgrown sanctuary is home to the powerful Angry Earth, and every step you take should be taken with caution. Packed with expert strategies, essential gear tips, and important tips and tricks, this guide will have everything you need to take on this expedition.
Location and General Information
This Expedition is located in northwest Edengrove. Its in-game recommended level is 60, signaling that this is an endgame expedition designed for characters who have solid gear and a grasp of their role in expeditions.
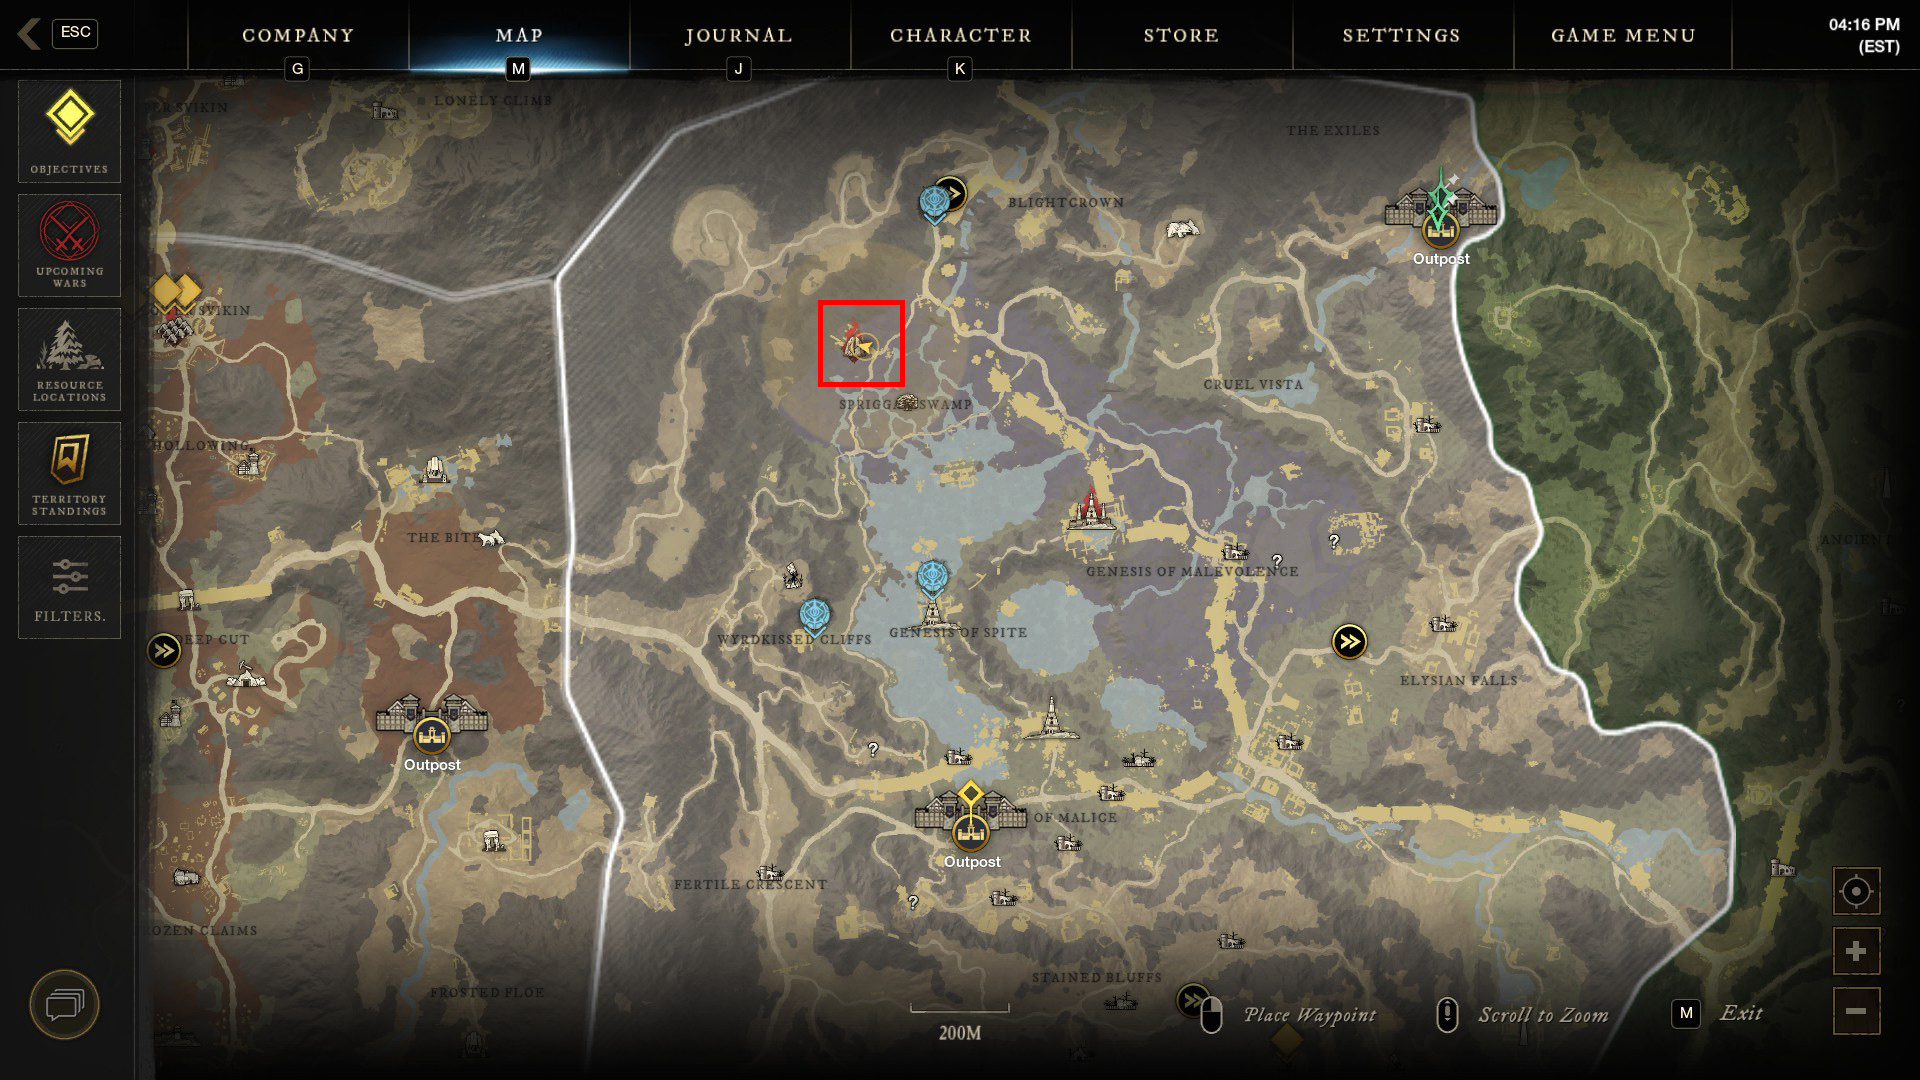
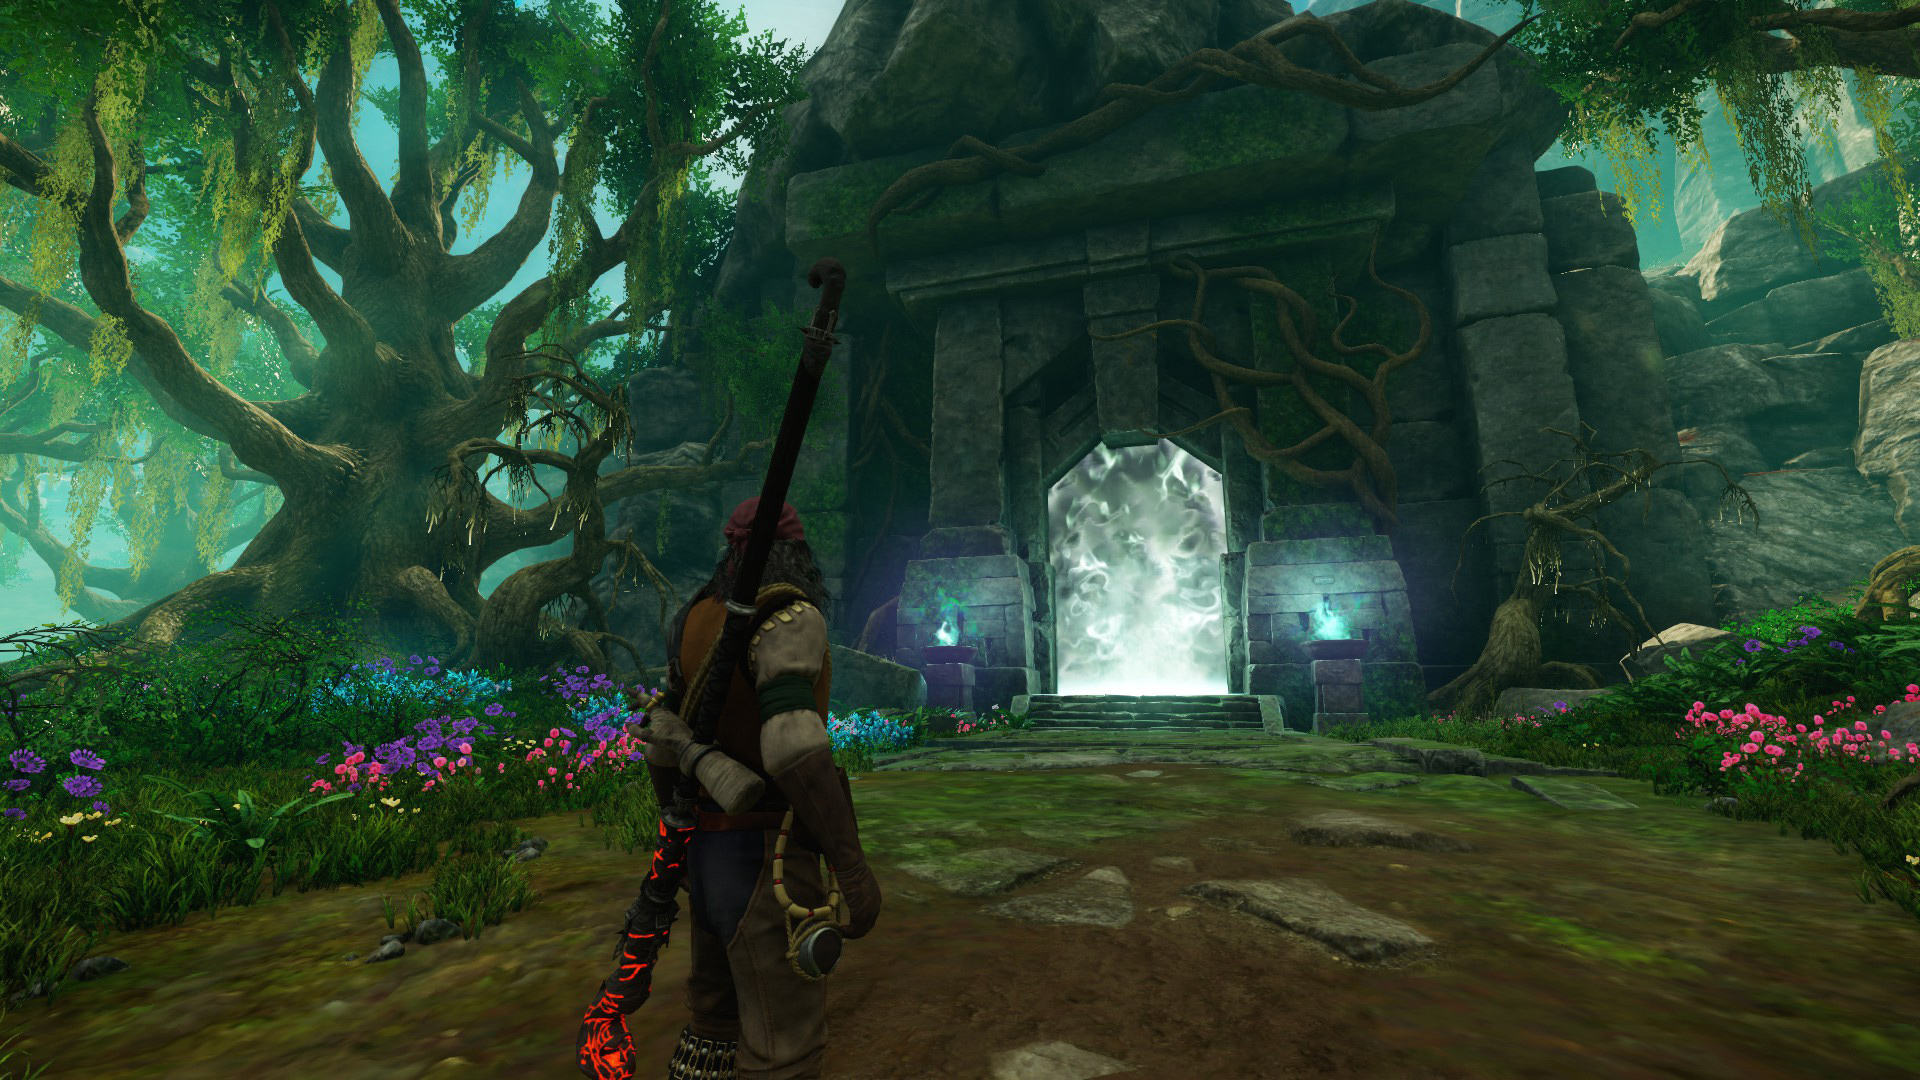
The entrance to the expedition is located inside this arch here.
Mob Types
The Garden of Genesis contains primarily Angry Earth mobs, which are more vulnerable to Slash and Fire damage, making Great Axe, Hatchet, Greatsword, and Fire Staff builds great options.
Pro tip - Be sure to also use ![]() Infused Angry Earth Coatings to increase your damage in this expedition.
Infused Angry Earth Coatings to increase your damage in this expedition.
Repeatable Quests
You can start to receive expedition faction missions from the Valor Hold outpost once you reach level 58. There are no other repeatable quests for this expedition at this time.
Layout
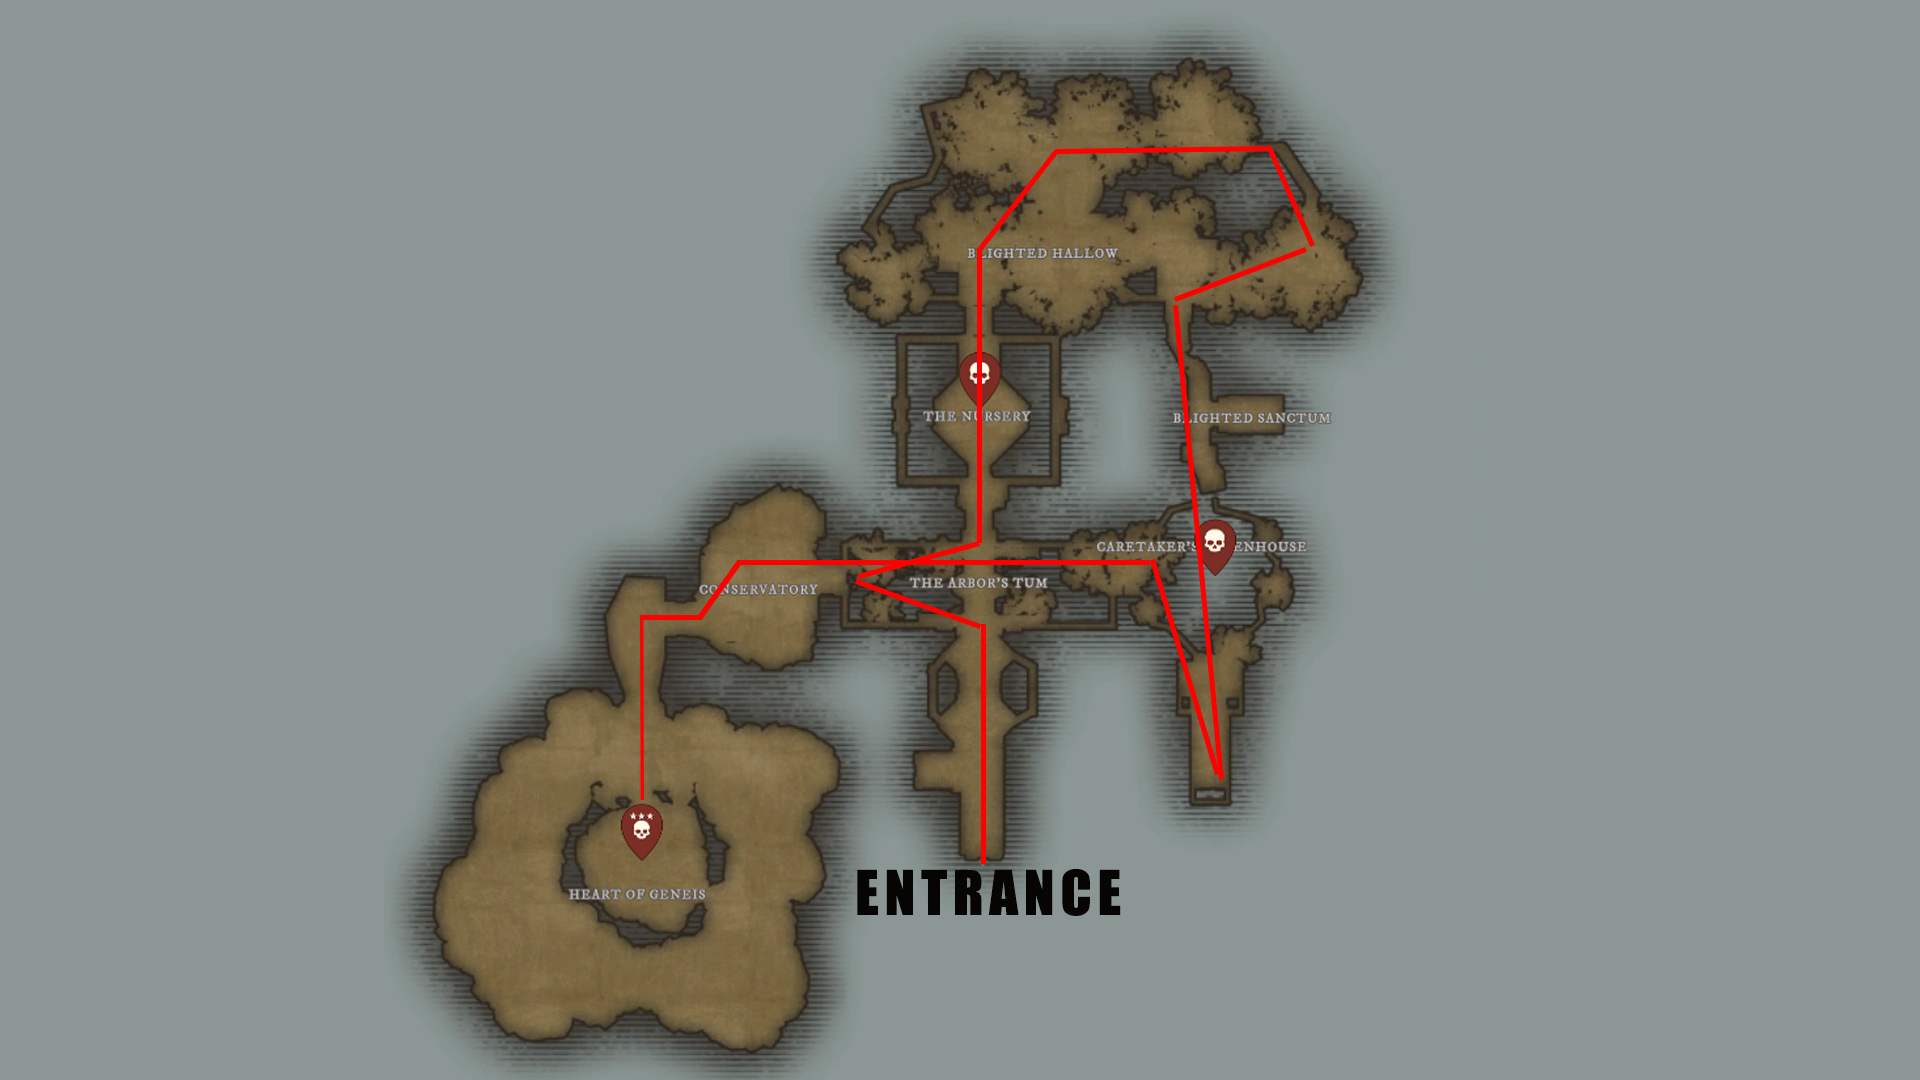
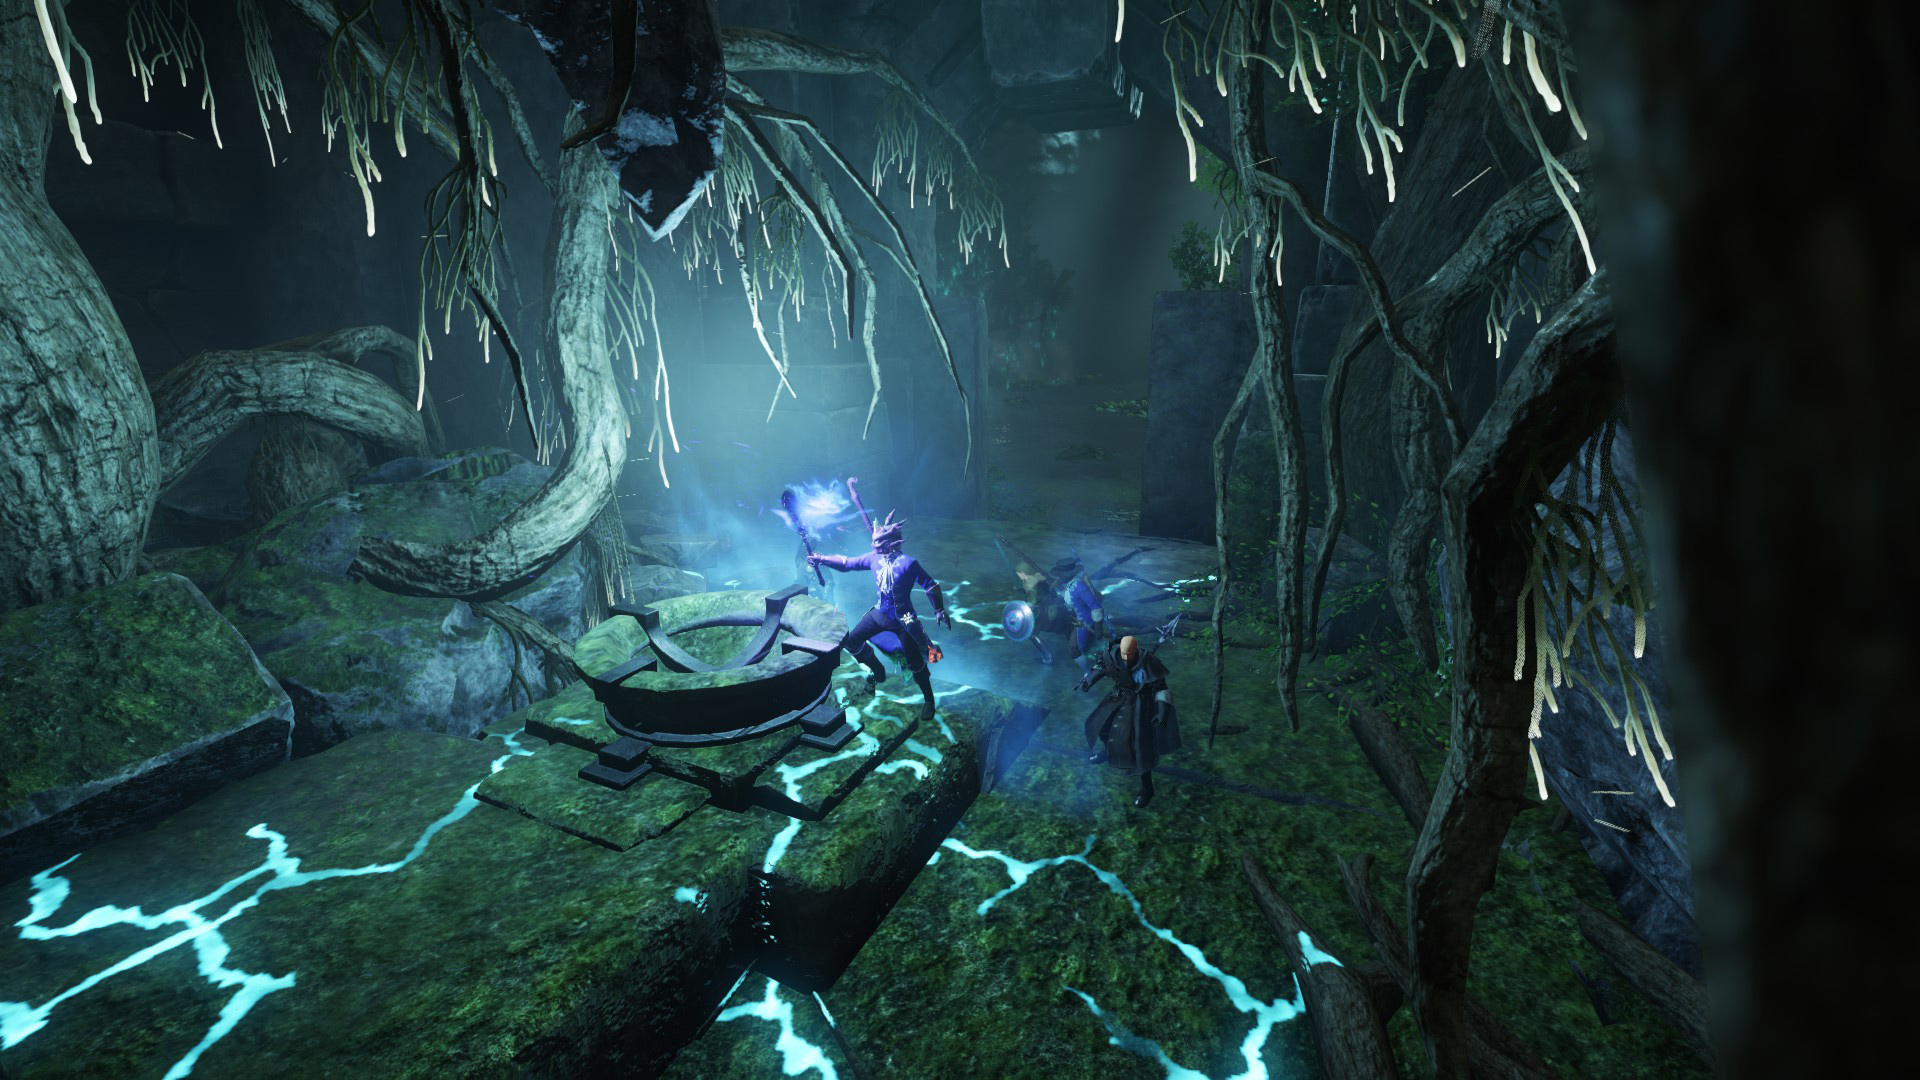
This expedition's layout is rather straight-forward without any major puzzles or twists. The first major room you enter, The Arbor's Tum, is one that you will cross through twice after you defeat the second boss of the expedition and gain the ability to burn through the blockages in front of the west and east doors to this room. Upon first entering this room you will have to go down the left stairs and approach the blockage. On the ground is a Concentrated Blight node that can be mined. Once it is mined, the door in the middle of the bridge will open up and grant access to the first boss: Taxodius.
Navigation from this point is rather straight-forward until after the second boss. After defeating Aluvium Marl, you will be able to activate the Purifying Flame and then carry it with your Azoth staff.
This flame can burn through blockages found in the expedition with the first one being directly next to the Flame. While carrying the flame you cannot take any action without losing the Flame and having to return to reignite your Azoth Staff. You will have to carry this Flame to the blockage in the Caretaker's room and then cross The Arbor's Tum, the first major room in the expedition, to destroy the Western blockage. There will be several foes who have respawned along the way and a mini-boss guarding the blockage. Depending on your group's strength you may need to abandon the flame, clear out the foes, and then return to reignite your Azoth Staff. Once the blockage is destroyed you must place the Flame in the brazier in order to continue. If at any time you get lost check your map and location quest objectives for assistance.
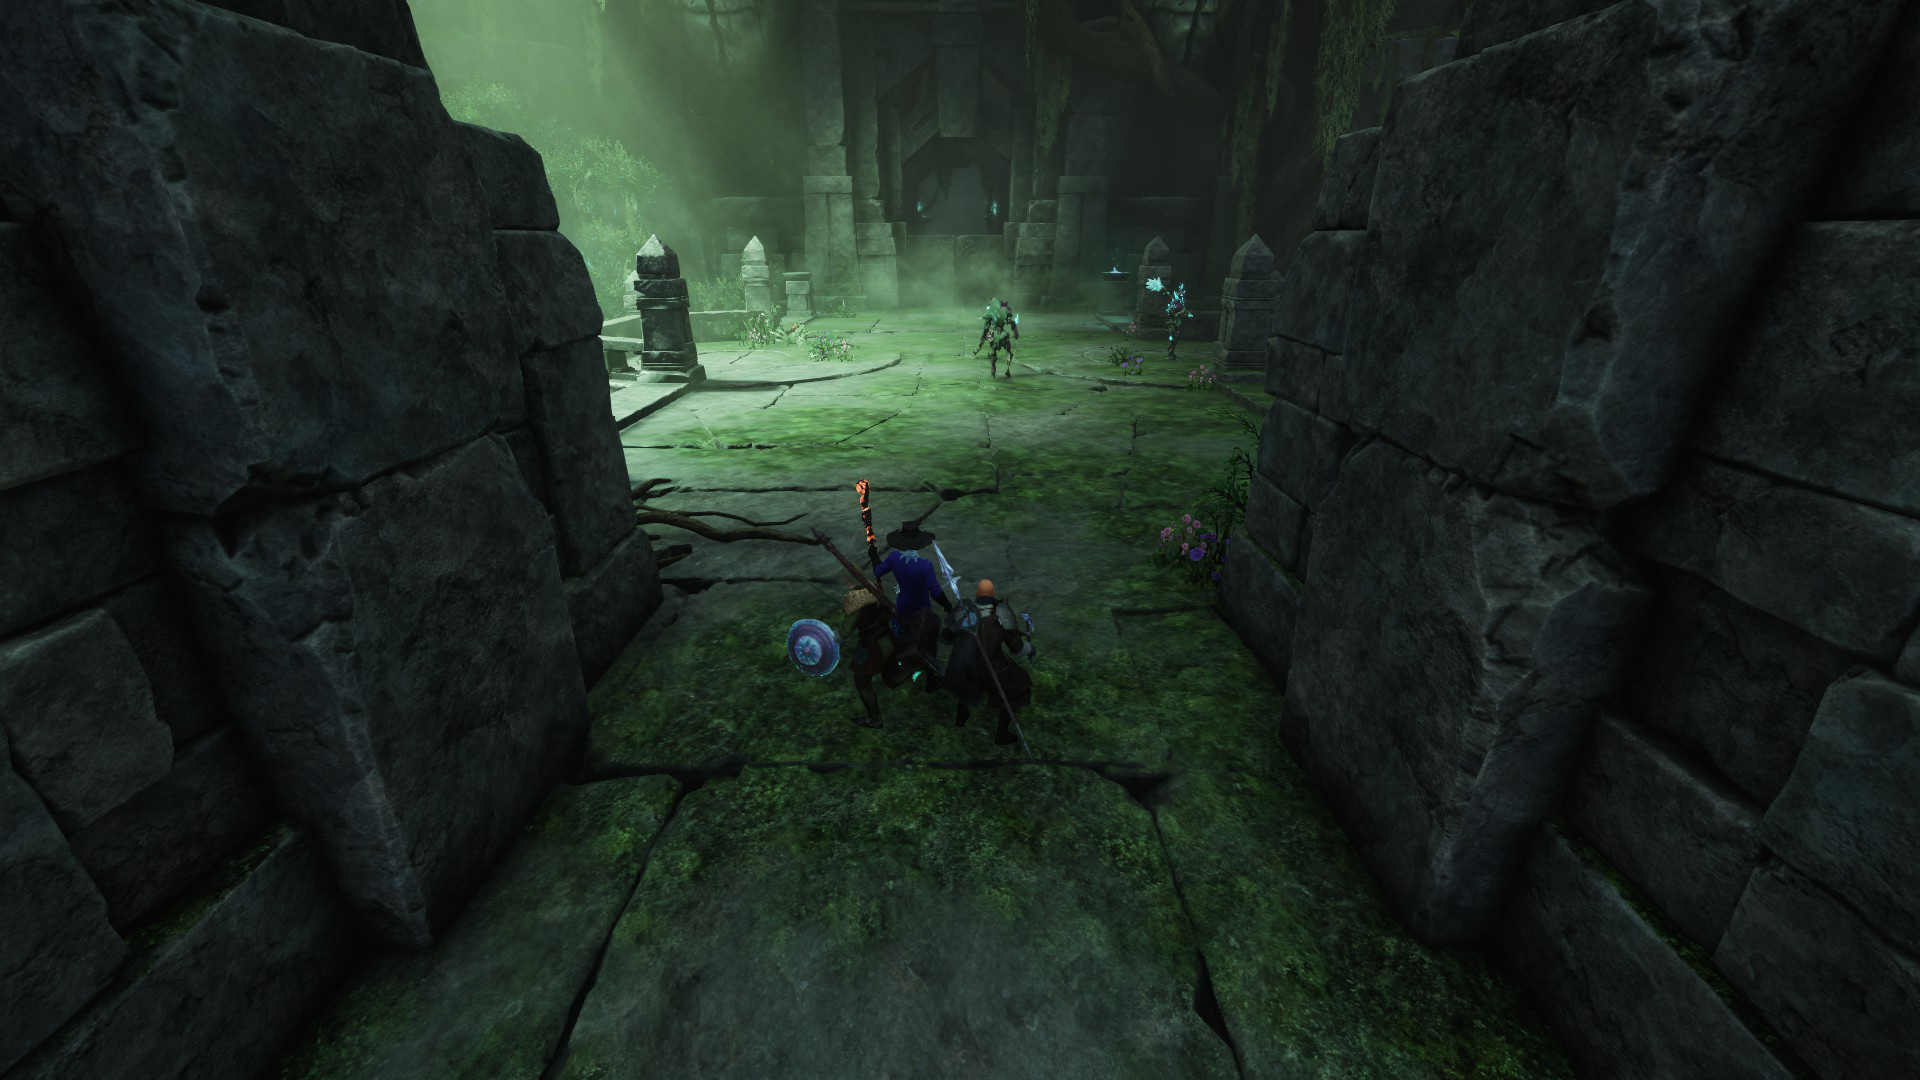
Trash Mobs
The Garden of Genesis has several different Angry Earth mobs that are similar to those you would find in the rest of the game with some differences.
Archers
These foes fire powerful single target arrows, area-of-effect rain of arrows, and leave slowing bombs on the ground. They are also incredibly mobile and are difficult to tank making them priority targets for DPS to burn down before the Archer can kill your Healer. Be wary of the small plant-like bombs they leave on the ground, they can be destroyed with a range attack but walking near them will cause a slowing field to appear.
Soldiers
Wielding a beefy two-handed weapon the Soldier hits exceptionally hard and should be the priority for the Tank to maintain aggro. This foe can easily kill non-tanks in the party but is easily handled by a tank. If there are no Archers then this is the next priority target.
Shamans
These magic wielding foes can cast several nature damage spells and summon Muddy Minions to help them in battle. The Muddy Minions can hit rather hard but have practically no health and can be killed in one-shot. The Shamans are low priority but their minions should be dealt with quickly to avoid extra damage.
Fiends
These foes are the cannon fodder of the expedition. They do not do much damage but they generally appear in groups and accompany other harder hitting foes. The tank should try to hold the aggro of as many of these as possible. Unlike their non-expedition counterparts these foes do not explode on death.
Hives
Appearing as a mound of plant matter, hives will occasionally spawn Fiends and should be dealt with once the harder hitting foes are dealt with. Generally it is a good idea for the Tank to try and hold the Soldiers and Fiends next to the Hive so that any area-of-effect damage hits all of these foes at the same time. Note that shortly after their death Hives will release an explosion so do not be within melee range of them at this time.
Bosses
This expedition has three bosses: Taxodius, Aluvium Marl, and The Blighted Greenskeeper. In expeditions you can only be picked up from being downed one time before you are forced to respawn and most boss rooms seal off the entrance once the boss is engaged. This effectively gives you two lives in a boss fight, assuming that your teammates can pick you up when you get knocked down.
Taxodius
This boss is fought in a medium-sized circle room, fairly simple, and has a stagger bar.
Abilities
- Summon Fiends — Taxodius will touch the ground and summon a Fiend to attack the players.
- Plant Spear — Taxodius will cause a spear to burst from the ground next to him which they will grab and throw at a player at range. This spear can do a large amount of damage to players in Light Armor.
- Tendrils — Taxodius will launch forth a large line of black plant tendrils at a player at range.
Strategy
This boss is relatively simple, the Tank should be able to hold aggro on them and tank them on one side of the room. This boss hits hard so the DPS should use their Abilities and Heavy attacks to break the stagger bar to force them to stop moving and attacking for a short time. Summoned Fiends should be picked up by the tank with area-of-effect taunts and the DPS should burn them down quickly. Before using either of their ranged attacks, the boss will turn to face the player they intend to attack, for this reason the tank should face the boss towards outside of the room. If Taxodius targets you with their spear or tendrils, stop attacking and wait to dodge out of the way of the ability.
Aluvium Marl, The Caretaker
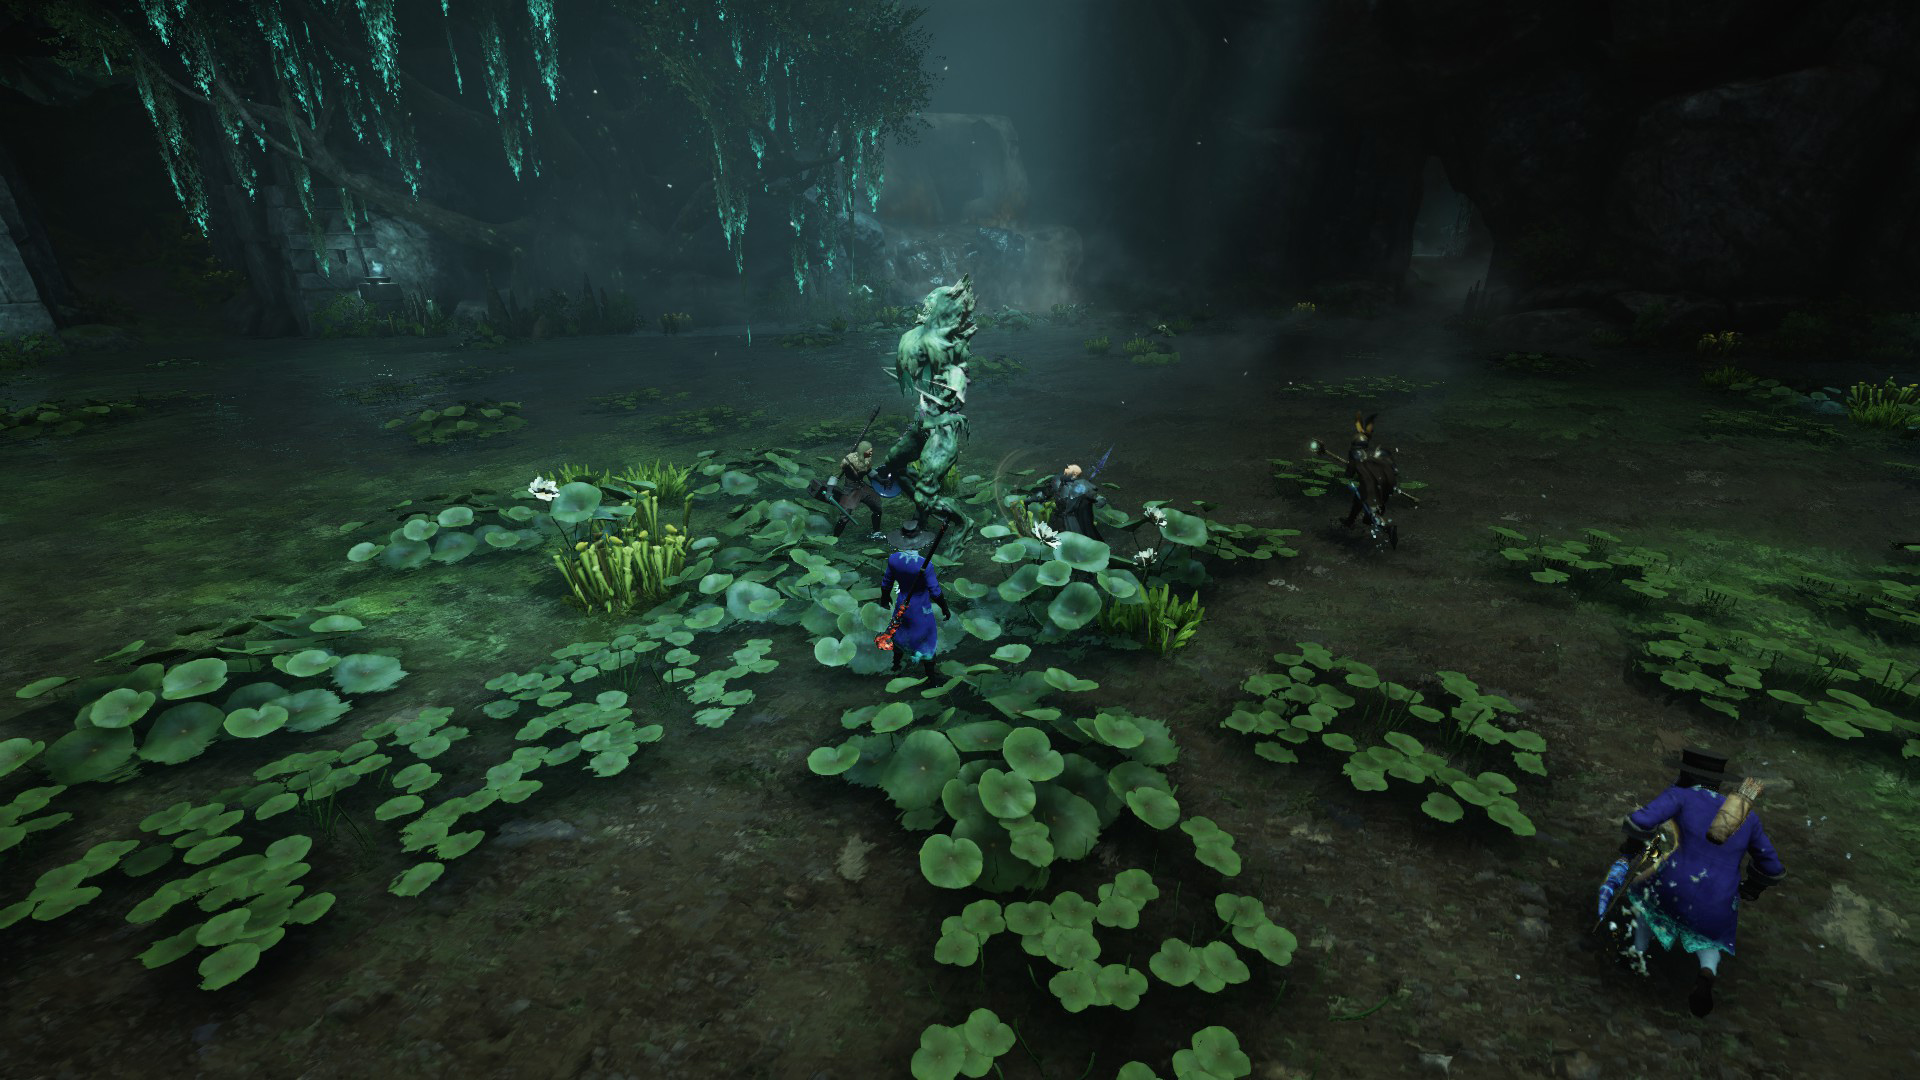
This boss is fought in a large-sized circle room and has two phases.
Abilities
- Vine Lash — Aluvium will turn and face a player at range and then reach forth shooting an extremly fast vine at them. This does a large amount of damage to those hit.
- Vine Arena — At 66% and 33% health, Aluvium will go to the center of the room and summon a small ring of vines around themselves that impede player movement. Shortly after summoning the ring they will use the End of Life ability.
- End of Life — Aluvium will gain a stagger bar and will begin to channel this ability. If the stagger bar is not broken within a few seconds then they will instantly kill all players in the Expedition.
- Vile Mushroom — Aluvium will occasionally summon a small mushroom that will explode causing damage over time. You can destroy it by using a ranged attack.
- Summon Assistance — While within the Vine Arena, Aluvium will summon several sets of trash monsters around the outside of the ring. A beam of light will appear where the next set of monsters will appear. These spawn locations rotate clockwise around the arena. These trash monsters are lower level than the rest of the foes in the expedition and can be dealt with quickly.
- Blight Dive — Aluvium will burrow underground and leap at a target, leaving a trail of Blighted water behind him.
- Vile Wave — Aluvium will reach down and throw forward a slow moving wave of black water that will travel the length of the room. This ability does extreme amounts of damage.
- Locust Swarm — Aluvium will create a green swarm of bugs that will move around the room dealing damage to any player within them.
Strategy
Aluvium should be tanked in the middle of the room facing away from the ranged players. When they turn to face a ranged player, the player should stop attacking and prepare to dodge the incoming Vine Lash. Once the boss reaches 66% they will raise the Vine Arena and begin to cast End of Life - an ability that will INSTANTLY KILL you and your whole team, so be sure to pay attention to this next step. It is imperative that all players within the arena hit the boss to break the stagger bar and interrupt the cast.
Depending on your group's damage, you may handle the Vine Arena in one of two ways, either everyone gets inside the arena to help break the stagger bar, or you leave one or two players outside the arena to deal with the trash monsters. If you intend to leave someone outside, then they should be able to do good area-of-effect damage and be able to survive taking a few hits. We recommend using either a Great Axe or Fire Staff user for this role. If you do not leave anyone outside the arena then you want to make sure that you do not drop the boss below 33% while inside the arena. If you do, then you will likely have two sets of adds once the walls drop or get adds within the arena. Once the walls go down the tank should use their area-of-effect taunt and the DPS should burn down the adds while trying to keep the Healer alive.
After completing the first arena, Aluvium will begin to use his Vile Wave, Locust Swarm, and Blight Dive abilities. Make sure you do not get hit by the Vile Wave, as it can easily kill a player in light armor. Blight Dive will leave behind Blighted water, which will quickly inflict the blight affliction on anyone who stands inside it. This affliction drastically reduces incoming healing and deals damage over time and should be avoided by not stepping in the bright colored water that is left behind by the dive. The Locust Swarm is easy enough to move out of, just make sure to not attempt to revive any player within the swarm because they will likely be downed as soon as they stand up.
Once you can handle interrupting the End of Life ability and handle the adds spawned during the arena phase this fight is mostly about avoiding taking damage.
All-In Strategy
To defeat this boss the fastest it is best to have everyone dealing damage,
even the healer with something like ![]() Void Blade. When the first set of
walls come up you should all continue dealing damage. Damage should be the main
priority until Aluvium submerges and begins his diving blight phase. These damaging
dives can be avoided through dodging, or they can be blocked. Be aware of your positioning
wherever Alvium travels there will be a path of blight left on the ground.
Void Blade. When the first set of
walls come up you should all continue dealing damage. Damage should be the main
priority until Aluvium submerges and begins his diving blight phase. These damaging
dives can be avoided through dodging, or they can be blocked. Be aware of your positioning
wherever Alvium travels there will be a path of blight left on the ground.
Once Alvium re-emerges the walls will fall down and all of the enemies that spawned will begin running toward your group. Your group needs to immediately begin attacking Alvium as soon as possible. The goal is to deal enough damage to defeat them before the adds reach you. Once defeated, all enemies will despawn. In some circumstances, it can be advantageous to have one player stun the adds as they come in if Alvium will not be finished fast enough. No matter what, as soon as Alvium comes out of the diving phase the next wall phase will begin. As such, it is possible the some adds will simply be closed within the wall, and you are forced to kill them.
In all, this method should only be done if your group has ample damage. The goal is to never focus any adds and dedicate all possible damage to Alvium.
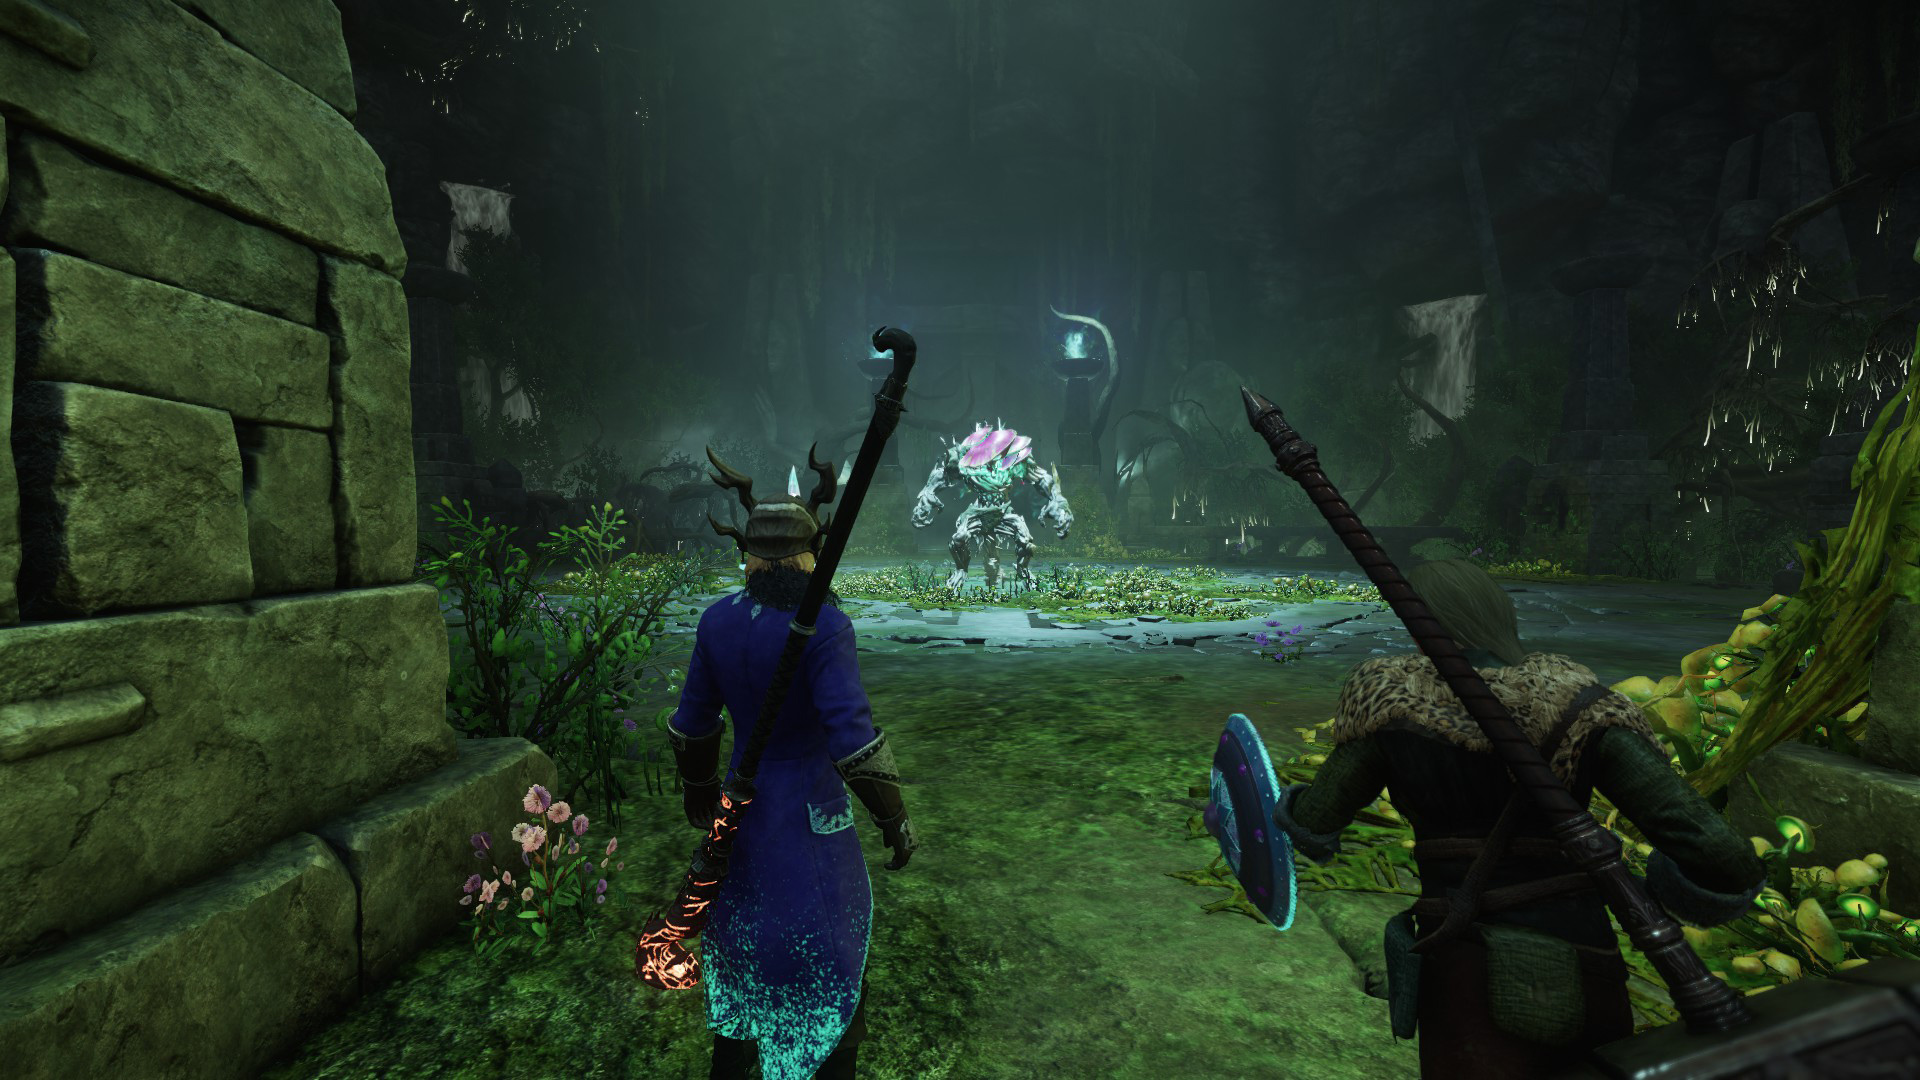
The Blighted Greenskeeper

This is the final boss of the Expedition and it is not visible until players enter the medium-sized circle room. Once the fight begins, the Greenskeeper will crawl out of the ground in the center of the room.
Abilities
- Vile Infection — The Greenskeeper will channel a green beam at a player at range that deals no damage. Once the channel is complete the player will leave behind a medium-sized circle of vile ground that will persist for awhile. This vile ground deals a large amount of damage.
- Mighty Slam — The Greenskeeper will raise their arms and slam the ground in front of themselves dealing extremely heavy damage.
- Brutal Screech — The Greenskeeper leans forward and screams dealing damage in frontal cone.
- Vile Globes — Two small green orbs will spawn on the ground and slowly rotate around the arena dealing damage to any player they hit.
- Tunnel — The Greenskeeper will submerge into the ground and move around the arena chasing down players at range. Upon arriving at a player their tail will burst from the ground and attempt to damage the player. This tail is also able to take damage so ranged players can continue to DPS.
- Summon Assistance — Trash mobs will occasionally join the fight and unlike the previous boss these are Level 66 but are not elite.
- Drop Boulder — Occasionally a small green ring will appear around a player. After a short delay a large boulder will drop from the sky dealing extreme amounts of damage. These boulders will persist and break line of sight with the boss.
- Vile Blast — The Greenskeeper will begin to channel a room annihilating attack over eight seconds. At the end of the cast all players who are within line of sight of the boss will take fatal damage. All dropped boulders will also be destroyed by this ability.
Strategy
This boss can hit incredibly hard, so it is important that the tank does a good job of positioning the boss in such a way that the boss is never facing another player. Likewise, it is the DPS and Healers job to make sure they reposition themselves to avoid being in front of the boss. The Mighty Slam and Brutal Screech abilities can do a large amount of damage to non-Tank players so avoiding the front of the boss is extremely important.
Ranged players should make sure to try and drop the vile ground away from teammates and boulders. It is also important to try and save a mobility skill or at least dodge rolls to escape the ground effect once it spawns. You also want to stay spread apart from other players to avoid hitting them with boulders, but stay close to the boss so that your melee teammates can get behind the boulder to avoid the Vile Blast. Try to avoid standing next to a boulder, because you do not want to drop a second boulder next to it or a vile ground as this will make that boulder much more difficult to use for line of sighting the Vile Blast. It is important to note that the boulders will also break line of sight for your Healer so they should position themselves in such a way that they can still see every player.
When the boss goes into their submerged phase they will deal devasting bursts of damage to any player that does not avoid their Tunnel ability. To properly handle this phase, have all party members move toward the middle of the room and hold a block with their weapons. The boss will quickly switch from one player to the next, as they would normally, but because you are stacked there is less travel time required. When blocking, you will not be affected by the Tunnel ability as long as it does not hit you in the back.
Defending the Tree Event
While not a boss, there is an event between the first and second boss where you must defending a growing Azoth Tree. After planting the seed for the tree, the players will have to defend against waves of trash monsters while the tree quickly grows. It is important to note that the tree can take damage from enemy attacks so you should avoid fighting directly on top of it. Eventually the waves will cease and you will be able to take a branch from the tree and continue forward in the Expedition.
Loot Drops
The loot in the Garden of Genesis is designed for endgame players and therefore can be some of the best found in the game. There are different drops depending on whether you are in the mutated or regular version of the expedition.
 Angry Earth Exterminator
 Subzero Spear
- Javelin of Dryadic Empowerment
 Heir's Domain
 Entlimb
- Liveliness
 Higher Purpose
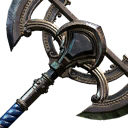 Blightbone Battleaxe
 Infamy
 The Land
 Misty Kismet Charm
 Winter Wish
 Woodswarden
 Creeping Recurve
 Doom's Chance Earring
 Primordial Edge
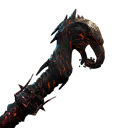 Firebinder
 Firevine Battlestaff
 Sacred Woodsabre
 Edenil
 The Settler's Friend
 Oracle's Amulet
 Amulet of Seven Seasons
 Tough Times
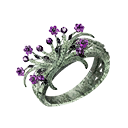 First Spring Token Band
 Warden's Guise
 Sinful Glare
 Sticky Vines
 Putrid Bark
Heartrune
To acquire Heartrunes you must complete an expedition. The final boss will have a high chance to drop the Minor version which can be upgraded into a legendary variant.
Mutated Drops
Some items can only drop on certain difficulty levels of the mutated version within some expeditions. Below is a list of a few items that can collect throughout this expedition.
 Blighted Growth's Flaming Headdress
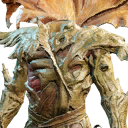 Blighted Growth's Chestwrap
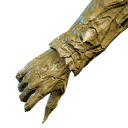 Blighted Growth's Gloves
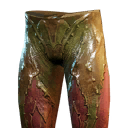 Blighted Growth's Pants
 Blighted Growth's Flaming Shoes
 Forest Stalker's Earring
 Culling Burn
 Thunder's Roar
 Frostsurge
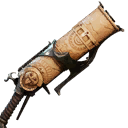 Blazeclaw
 Razortrick
 Meteor's Impact
 Timberleech
 Bushfire
Artifacts
Once your character reaches max level, you will be given the opportunity to retake this
expedition at a more difficult level (mutated). When taking down the Blighted Greenskeepr boss in this mutated
expedition, you will have a chance of obtaining a rare hatchet artifact known as ![]() Freya's Francisca, which
has a very rare perk that makes all thrown axe projectiles reduce all skill cooldowns by 25%, making it a great addition
for any throwing-hatchet builds.
Freya's Francisca, which
has a very rare perk that makes all thrown axe projectiles reduce all skill cooldowns by 25%, making it a great addition
for any throwing-hatchet builds.
Changelog
- 02 Sep. 2024: Additional tips and tricks added. Updated for latest patch. Included artifact information.
- 01 Mar. 2023: Drop list updated, Watermarks information removed, Tuning Orbs removed, Heartrune info added.
- 22 Oct. 2021: Guide added.
Savvvo is a full-blown MMORPG try-hard who overthinks every build, min-maxes every stat, and theorycrafts like his life depends on it. If there’s a meta, he’s dissecting it. If there isn’t, he’s creating one.
You can take a closer look at his guides and content on YouTube.
- AMA Session with New World’s Former Lead World Designer
- New World Aeternum 2026 Roadmap Revealed
- Can New World Be Saved? Offers Are Starting to Pop Up.
- The Last Day of New World: Aeternum
- New World Server Mergers (Again)
- What Else Was Planned for New World: Aeternum?
- Global Storage Search is Now Live in New World: Aeternum
- Daggers Are Officially Live in New World: Aeternum