Lazarus Instrumentality Expedition Guide for New World
Welcome to the ultimate guide for conquering the Lazarus Instrumentality expedition in New World: Aeternum. As one of the end-game expeditions, this will be one of the most challenging dungeons you face, but also one of the most rewarding.
With detailed boss strategies, critical tips for each encounter, and insights on best practices, this guide has everything you need to complete the Lazarus Instrumentality expedition.
Location and General Information
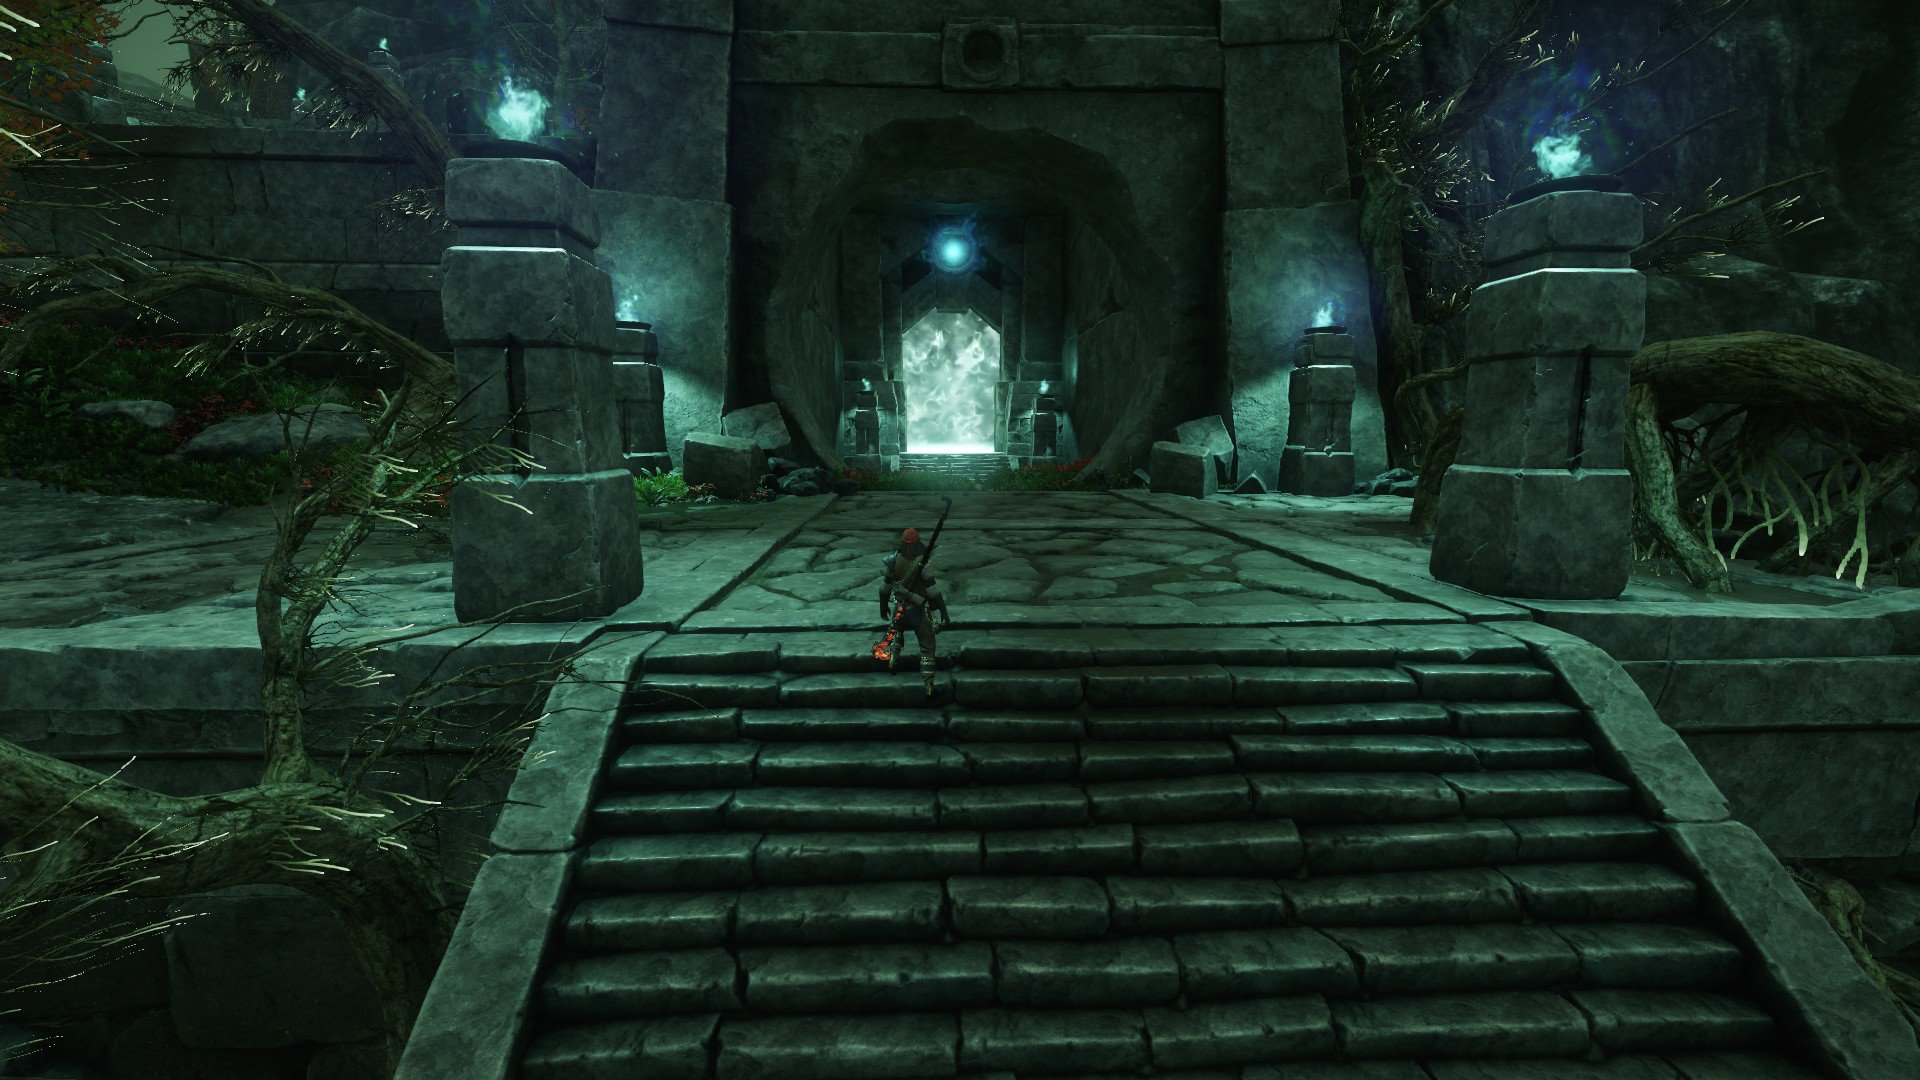
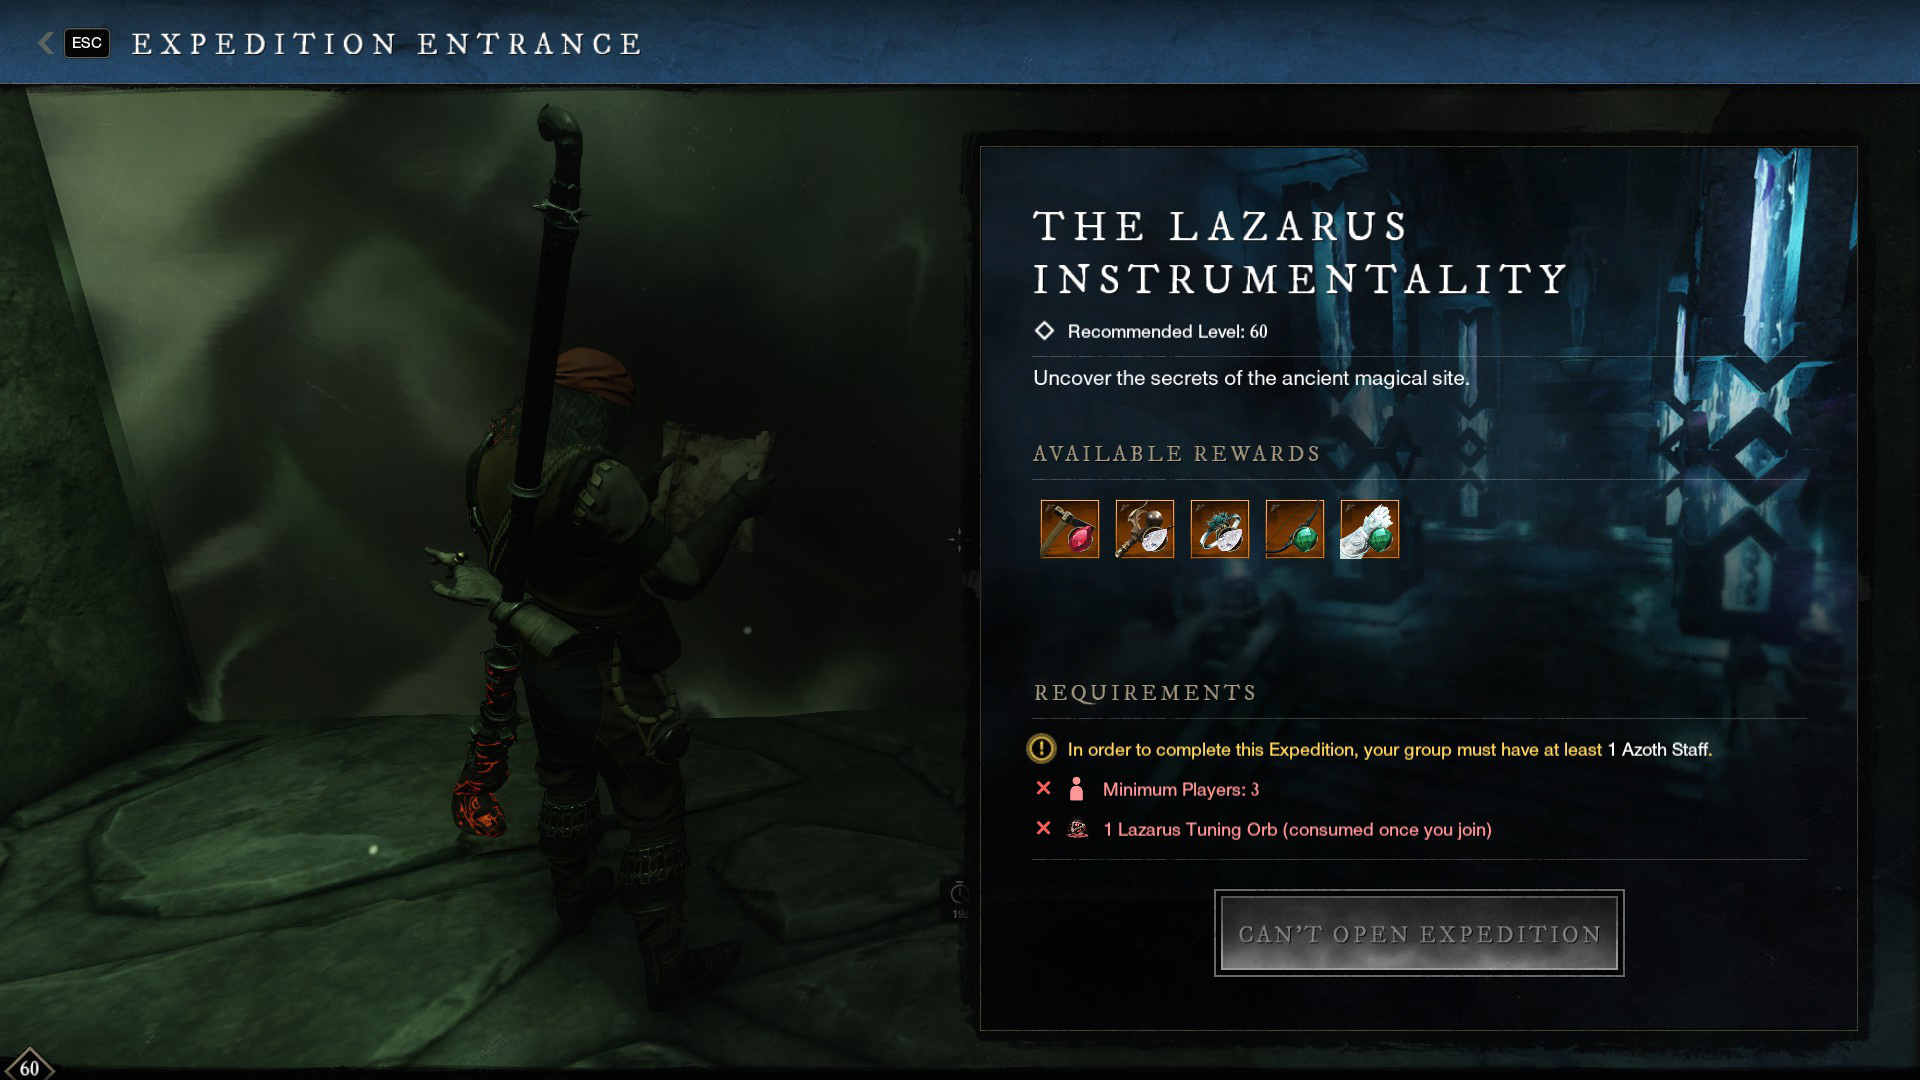
This expedition is located directly North of Reekwater. Its in-game recommended level is 60, signaling that this is an end-game expedition designed for characters who have a strong understanding of in-game mechanics.
The entrance to the expedition is located inside the arch pictured below.
Mob Type
The Lazarus Instrumentality contains primarily Ancient foes who are more vulnerable to Strike, Lightning, and Void damage. With that being said, builds that include the War Hammer or the Void Gauntlet tend to do very well in this expedition.
You can also use
![]() Infused Ancient Coatings to increase your damage output against these mob types, or utilizing a
Infused Ancient Coatings to increase your damage output against these mob types, or utilizing a
![]() Topaz to add lightning damage to your weapon of choice.
Topaz to add lightning damage to your weapon of choice.
Please note: The last boss in this expedition is uniquely untyped, and will not take additional damage from any damage type. It is best to use your preferred weapon choice, or a weapon that can dish off a great amount of debuffs, such as the spear.
Repeatable Quests
You can start to receive expedition faction missions from Reekwater once you reach level 58. There are no other repeatable quests for this expedition at this time.
Layout
This expedition's layout is rather straight-forward but does have a puzzle in the first major room you enter (check out our Puzzle section for more information). From there, navigation is rather easy but eventually you will come across Cilla, an NPC that does not aggro onto you, who asks you to go 'cleanse' yourself. Speaking with Cilla will cause two packs of monsters to spawn on the path leading up to Cilla, so make sure your group is together before you talk to her. One of those packs contains a mage-type mini-boss that hits rather hard with an area-of-effect shockwave ability. Clear these two packs and continue North into the Bath Chambers, here you must click the Purified Azoth Pool to cleanse yourself and then kill all of the newly spawned enemies in the room. Go back and talk with Cilla and get ready for your first boss fight.
After defeating Cilla, take the teleporter pad on her platform to the next part of the expedition. You will come across a long room with three ground buttons that can be activated by standing on them. Once all three buttons are activated at the same time, dividers will fill the gaps between the rooms the three buttons are in and the gauntlet will begin. Monsters will begin to spawn from portals in the three sections and you will have to survive for two minutes. After the time expires the gates will evaporate and you will be able to help your allies in the other sections. We recommend pairing the Tank and the Healer with a DPS player and to have one solo DPS player handle the far section. Leaving this room you will pass back into the Bathe Chambers and there will be two new elites for you to kill and you will be able to unlock the door at the top of the room. Proceed until you get to the teleporter and you will be sent to the final boss arena.
Trash Monsters
The Lazarus Instrumentality has several different Ancient enemies that are similar to those you would find in the rest of the game with some differences.
Archers
These ranged foes are rather predictable but heavy hitting and should be the focus for the DPS. Tanks should attempt to pull the other foes ontop of the Archers to help with area-of-effect damage. If these are not picked up by the tank, they will likely pose a serious threat to the Healer who should attempt to break line of sight with these foes.
Avengers
These sword wielding foes can do decent damage and should be picked up by the tank. These are not high priority for the DPS as they do not do much damage.
Defenders
These ground crawlers do not appear that intimidating but they can do serious damage if left unattended. The tank should pick these up and area-of-effect damage should be able to clear them up.
Javelineers
These spear wielding foes are extremely annoying. They do a large amount of damage and are extremely mobile and can attack from both melee and ranged. These can wreck havoc if they are not picked up by the tank and need to be focused down by the DPS. If they leap away from you, you could potentially hide behind a pillar to line-of-sight them back into melee but generally you will have to chase these foes around.
Taskmasters
These spear and shield users are incredibly tanky and can still deal decent damage. The Tank should pick these up but since they are so tanky they have low priority to be killed.
Reavers
Dual wielding swords, these monsters are incredibly mobile and will charge around the room doing a lot of damage. These foes can do a lot of damage if not dealt with. For this reason these foes have extremely high priority for the Tank to pickup and the DPS to kill.
Bosses
This expedition has two bosses, Cilla and Chardis. In expeditions you can only be picked up from being downed one time before you are forced to respawn and most boss rooms seal off the entrance once the boss is engaged. This effectively gives you two lives in a boss fight, assuming that your teammates can pick you up when you get knocked down.
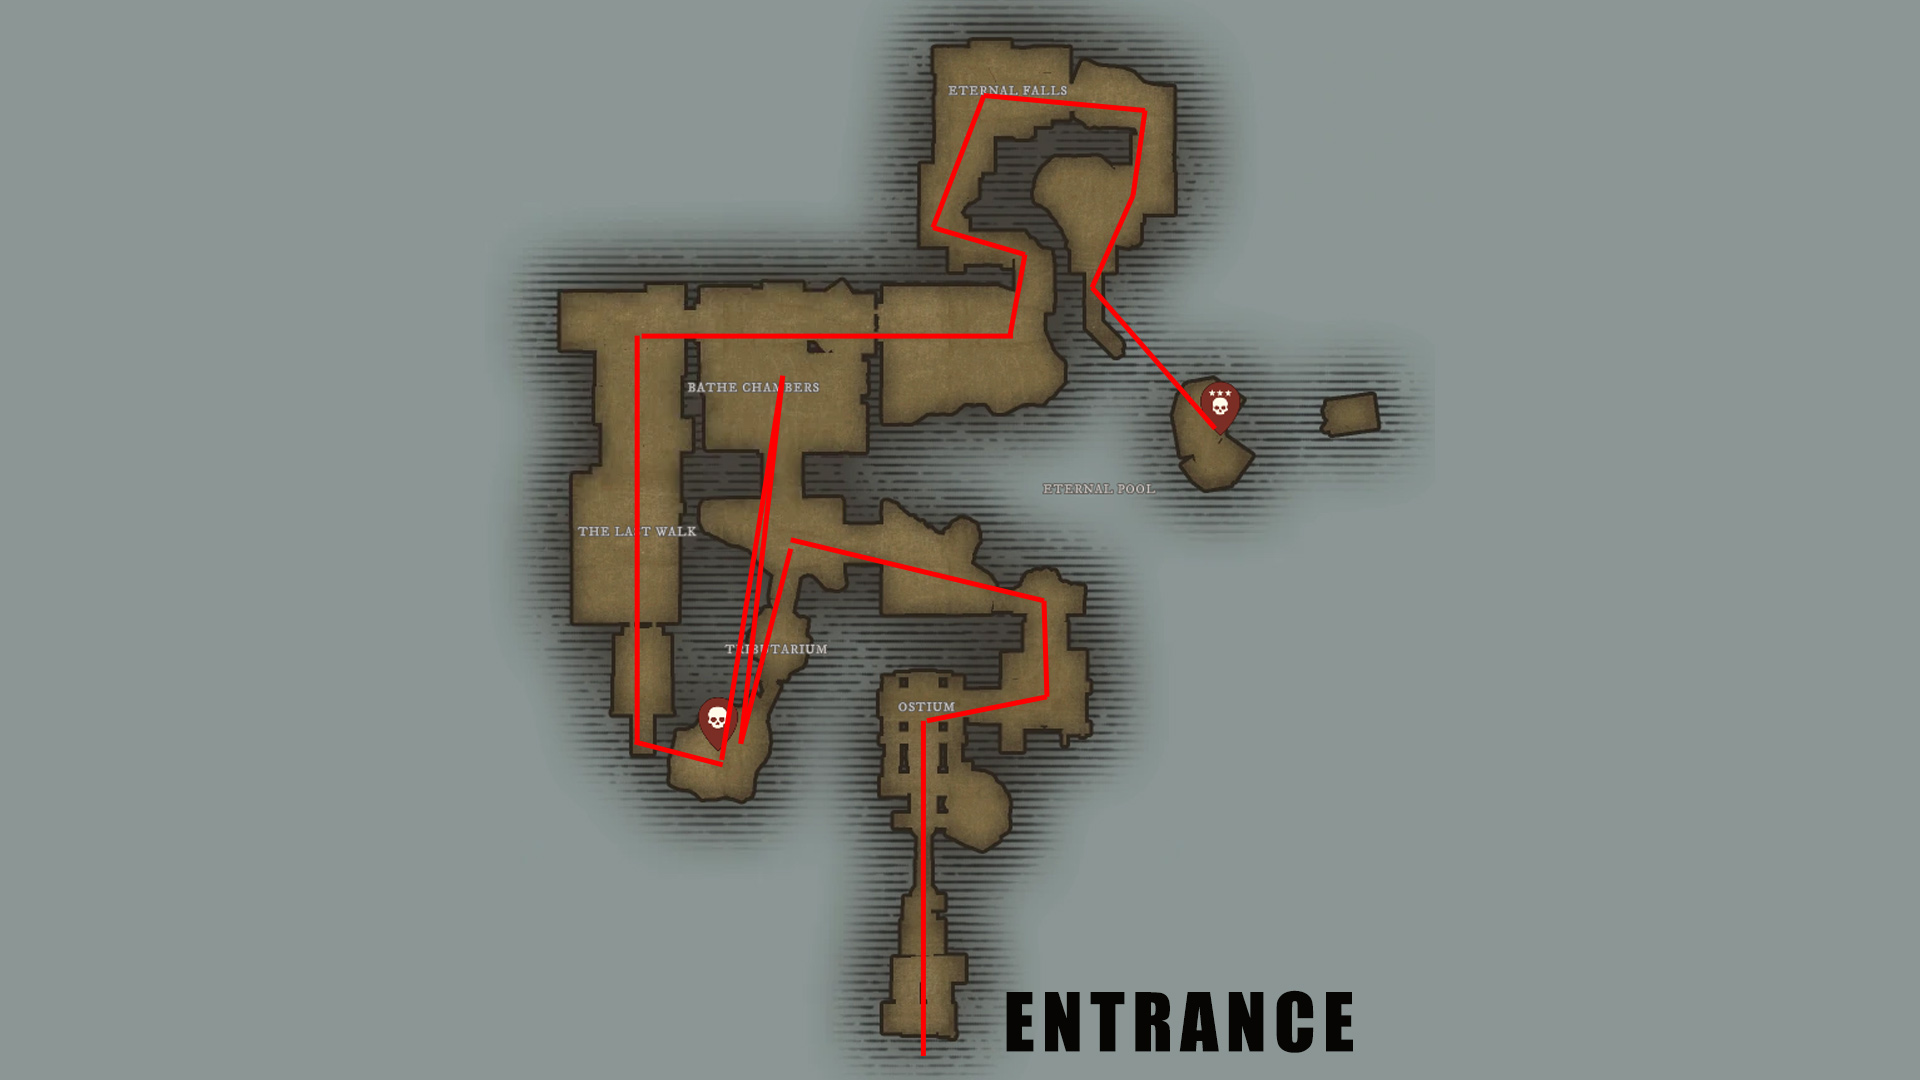
Cilla
This boss is fought in a small-sized oddly-shaped room. This boss alternates between two modes, physical and magical, and has different mechanics depending on the mode. This boss also has a weirdly shaped hitbox and can be notoriously difficult for melee to get consistent back-stab crits.
Abilities
- Physical Mode — Cilla starts off in this mode and will gain a
stacking buff that increases her damage over time. She will also use the
following abilities.
- Spear Throw — Cilla will face a player at range and throw her spear at them. This can deal extreme damage and knockback players. Make sure to avoid this attack and to not stand near the edges of the arena or you may be knocked down into the water and die.
- Magic Mode — Cilla will enter this mode when a player
activates one of the orbs that appears around the room. These orbs will only
appear one at a time and there is a delay between each spawn. After activating
the orb, Cilla will rush over to it, lose all her physical mode damage stacks,
gain one magic stack, and enter magic mode. Eventually magic mode will fade and
she will return to Physical Mode, while in Magic mode she will use the
following abilities that all deal Arcane damage.
- Arcane Rend — Activating an orb will apply a debuff on nearby players that causes them to take additional damage from Arcane damage.
- Staff Shot — Cilla will face a player at range and fire off a series of magical staff shots at them. Although each individual hit does not hit that hard, together they can do a lot of damage so you should attempt to dodge.
- Arcane Orbs — Small orbs will appear to float above the ground, these orbs deal damage on hit and root you if you run through them. Avoid these at all costs as combined with other abilities this will cause you to get killed easily.
- Arcane Bombs — There will be a loud noise and then Cilla will raise her spear above her head and then summon arcane bombs on each of the players. The area-of-effect for each bomb is shown by a circle around the bomb. After a five second delay the bombs will explode dealing massive damage.
- Arcane Wave — Cill will slash her spear sideways and release a rolling wave of arcane damage. This wave deals extreme damage but an be dodged through.
- Orb Charge — Cilla will charge forward and leave a line of Arcane Orbs in her wake.
Strategy
The Tank should start off right in front of Cilla and immediately grab her attention when she becomes active. Melee DPS should attack from behind and ranged DPS and the Healer should spread out near the small circles on the ground that mark where the orbs will spawn. Cilla will do increasingly large amounts of damage as she gains stacks and it is imperative that a DPS or the Healer activates the first orb as soon as possible when it spawns. Cilla will get up to around 10 physical stacks by the time the first orb spawns and will be hitting extremely hard, so the tank and healer should save cooldowns for when she has more stacks.
After activating the first orb Cilla may continue to attack for a bit but will rush over to the orb and switch to magic mode. During the first two magic modes, Cilla will only use her Staff Shot ability but from the third magic mode onwards she will use all her magical abilities. Once she starts using all of her abilities, it is important to group up on one side of the room. When the Arcane Bombs are cast, they will appear directly underneath each player so you must leave some safe spots in the room to avoid the bombs. Cilla will also frequently use her Arcane Wave ability immediately after the bombs detonate so be on the lookout to dodge or block. Once you have seen all the abilities this fight becomes about avoiding taking damage, activating orbs before her stacks go over ten, and putting out as much damage as possible.
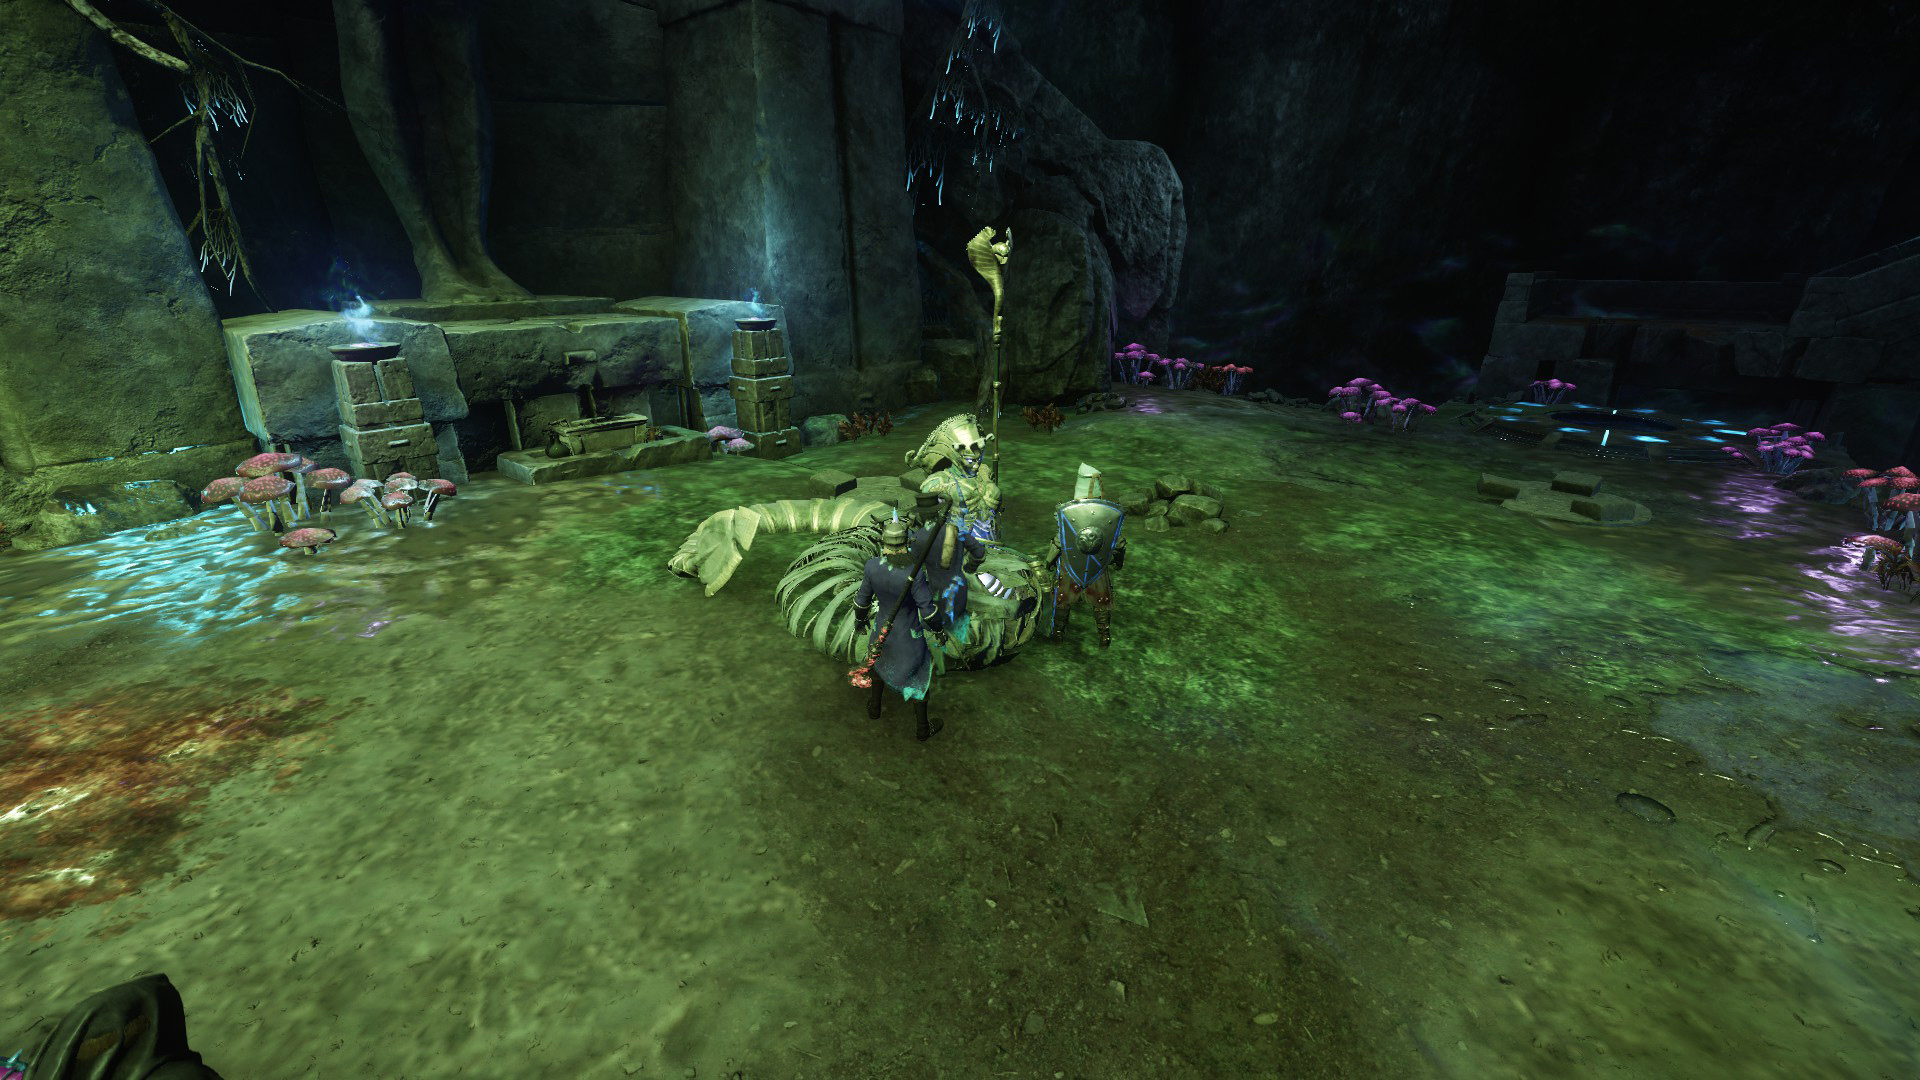
Chardis
Chardis is the final boss of the Expedition and is uniquely untyped, meaning that they are not strong or weak against any damage type. They appear to be a giant golem or statue that you will fight as they push up against a platform, effectively letting you hit their chest.
Abilities
Chardis is a relatively straight-forward but brutal boss. He will use the following abilities during the fight.
- Hand Attacks — Chardis will slam his hands down on the platform and sweep his arm across it in various ways.
- Purifying Laser — Chardis will rear back and fire a laser at a player. This laser will continue until the player drags the beam through a floating orb or die.
- Purification Field — Chardis will rear back and fire a laser at the platform disabling the use of one of the orb pillars and making that part of the platform filled with damage over time.
Strategy
This fight is a bit odd, because Chardis does not focus their attacks on a primary target and this is more of a DPS race than a traditional fight.
At the start of the fight there will be two orbs surrounded by energy shields on either side of Chardis. After destroying the shields you can pickup an orb by running through it and can deliver it to one of the two small circles on the ground. This will levitate the orb and prepares it for the laser attack. You really only ever need to use the right side orb and circle because the left side will be destroyed at 66%.
Eventually, Chardis will start firing a laser at a player who needs to quickly run beneath one of the prepared orbs. This causes Chardis to collapse and temporarily take significantly more damage for a short time. Once the boss reaches 66% they will destroy the left side orb circle with a laser and there will be a large area of damage which you want to avoid.
Continue to DPS the boss and avoid their hand attacks until they reach 33% where they will destroy the right side circle and leave behind even more area damage. From this point, it is a DPS race to finish the boss before he starts firing his laser again because you have no more orbs to interrupt the attack. Once the laser begins the afflicted player needs to do everything they can to stay alive, such as using potions and abilities, and pump out as much damage as possible. The Healer will likely need mana potions for this last section as they should be spamming their abilities on cooldown.
Due to the low amounts of damage coming from this boss, as long as your
group can dodge, it is best to have your healer focus on dealing damage
with something like ![]() Void Blade. At the start of the fight you should
destroy both orbs and have a party member grab each orb. One member will immediately
place a single orb on the left side of the room. Focus on dealing damage to
the boss until the laser phase. You should ALWAYS use the left side orb first
since the left side of the room will be destroyed at 66% health. Once the first
knock down phase is complete, and the left side has been destroyed, then place
the orb on the right side. Continue damaging the boss until the laser phase and
run to the right side orb. Once knocked down, continue focus on dealing damage
until the boss has died.
Void Blade. At the start of the fight you should
destroy both orbs and have a party member grab each orb. One member will immediately
place a single orb on the left side of the room. Focus on dealing damage to
the boss until the laser phase. You should ALWAYS use the left side orb first
since the left side of the room will be destroyed at 66% health. Once the first
knock down phase is complete, and the left side has been destroyed, then place
the orb on the right side. Continue damaging the boss until the laser phase and
run to the right side orb. Once knocked down, continue focus on dealing damage
until the boss has died.
Puzzles
There is only one major puzzle in this expedition and it is encountered in the first major room.
Portal Glyph Puzzle
As you approach the puzzle, you will see a pack of monsters just outside a portal door. Throughout this puzzle, foes will continue to spawn from this portal and the other, currently closed, portal on the left wall. You will also notice that there is a circle on the floor in the middle of the room with six smaller circles around it. These small circles will each have a randomly assigned glyph.

There are also circles that either have a glyph on them or that are blank, above the portal doors. Standing on these glyphs will attempt to lock in the glyph and both successfully matching the glyph above the gate or failing to match will spawn additional foes from the active gate. It is important that you do not unintentionally stand on glyphs until your group is ready to spawn more enemies.
Your tank should run up and aggro the pack and tank them against the portal wall. Melee DPS should also engage the monsters against the wall, attempting to keep them from moving away from the portal. Ranged DPS and the Healer should stay at range but need to be careful to not stand on the circular glyphs on the ground in the middle of the room. Quickly running across a Glyph is OK but standing on one for an extended period of time can be bad.
After the first group of enemies is dealt with have one person stand on the matching glyph. White rings should slowly form on the small circle until the glyph locks in and the next pack of monsters spawns. Once you lock in the third glyph on the right portal, the portal will close and the left portal will open and spawn the next set of monsters.
Loot Drops
The loot in the Lazarus Instrumentality is designed for endgame players, and
therefore can be some of the best found in the game. Additionally, you can obtain unique crafting
materials such as ![]() Spectral Dust and
Spectral Dust and ![]() Metallic Boneweave, which allows you to craft
powerful armor and weapons that have preset attributes.
Metallic Boneweave, which allows you to craft
powerful armor and weapons that have preset attributes.
 Will of the Ancients
 Divine Devotion
 Sol
Sol Final Respite
 Archaeologist's Armored Flintlock
 Ancient Intentions
 Cold Claw
 Parry
Parry- Voidsword
 Curiosity, Greed
 Smooth Bone Ring
 Frostgrasp
 Lazarus Bow
 Blackmetal Stud
 Weaponmaster's Chosen
 Featherweight Ring
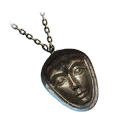
 The Chain of Zane
 Hoop of The Cursed Son
 Enchanted Earring
 Guardian's Ire
 Fury
Fury- Lazarus Bow
 Spectral Dust
 Metallic Boneweave
Heartrune
To acquire Heartrunes you must complete an expedition. The final boss will have a high chance to drop the Minor version which can be upgraded into a legendary variant.
Mutated Drops
Some items can only drop on certain difficulty levels of the mutated version within some expeditions. Below is a list of a few of the most sought-after drops within this expedition.
 Chardis' Headdress
 Chardis' Chestwrap
 Chardis' Handwraps
 Chardis' Legwraps
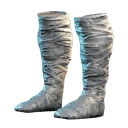 Chardis' Footwraps
- Sharp Static
 Ancestor's Blessing
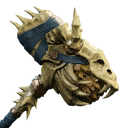 Swarmbuster
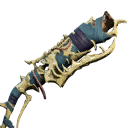 Cornerstorm
 Frostsurge
 Bonewrecker
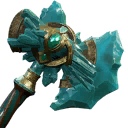 Static Shock
 Spirittrap
 Nimbolt
Artifacts
Once your character reaches max level, you will be given the opportunity to retake this
expedition at a more difficult level (mutated, as mentioned above). When taking down the Chardis boss in this mutated
expedition, you will have a chance of obtaining a rare war hammer artifact known as ![]() Spark of Mjölnir, which
has a very rare perk that converts 99% of hamer damage to lighning damage, and added a 20% damage buff to both
of your weapons.
Spark of Mjölnir, which
has a very rare perk that converts 99% of hamer damage to lighning damage, and added a 20% damage buff to both
of your weapons.
Changelog
- 02 Sep. 2024: Guide updated for current patch. Includes artifact information.
- 01 Mar. 2023: Drop list updated, Watermarks information removed, Tuning Orbs removed, Heartrune info added.
- 22 Oct. 2021: Guide added.
Savvvo is a full-blown MMORPG try-hard who overthinks every build, min-maxes every stat, and theorycrafts like his life depends on it. If there’s a meta, he’s dissecting it. If there isn’t, he’s creating one.
You can take a closer look at his guides and content on YouTube.
- AMA Session with New World’s Former Lead World Designer
- New World Aeternum 2026 Roadmap Revealed
- Can New World Be Saved? Offers Are Starting to Pop Up.
- The Last Day of New World: Aeternum
- New World Server Mergers (Again)
- What Else Was Planned for New World: Aeternum?
- Global Storage Search is Now Live in New World: Aeternum
- Daggers Are Officially Live in New World: Aeternum