Dynasty Shipyard Expedition Guide for New World
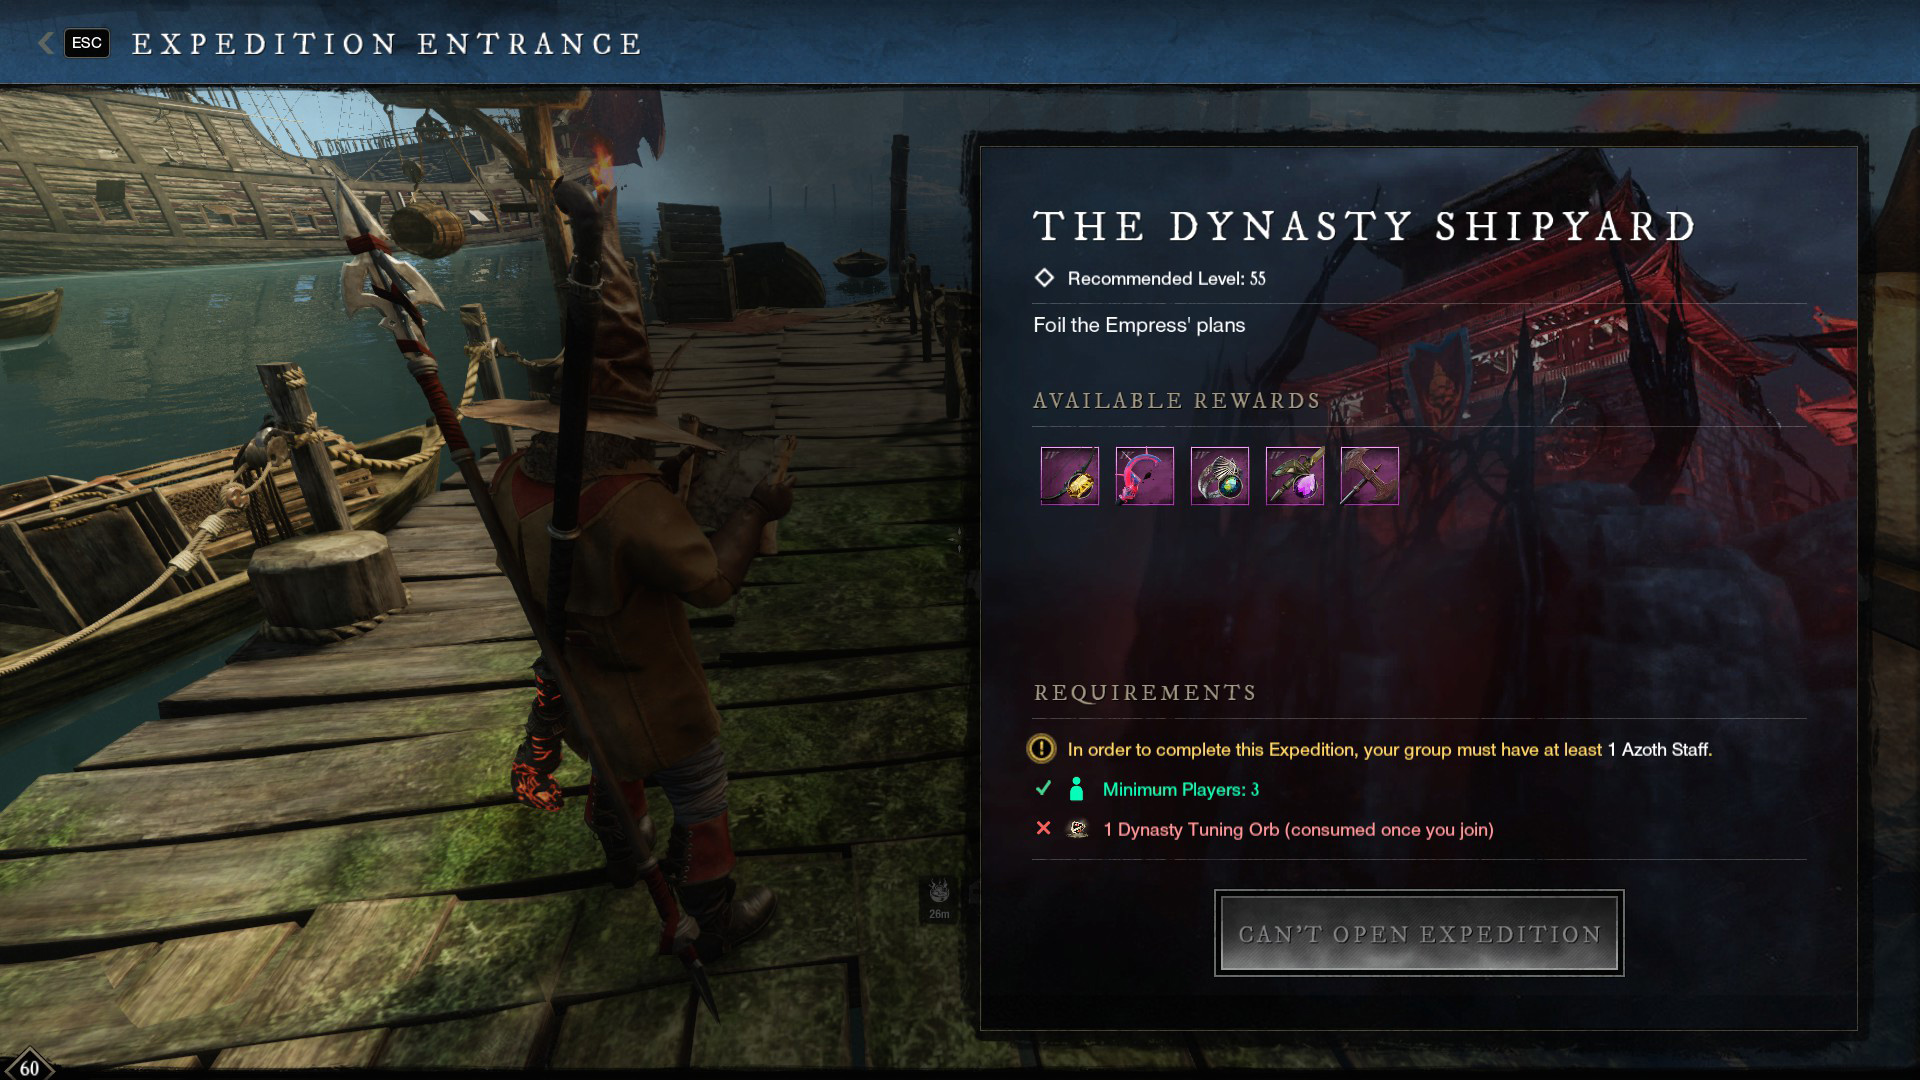
Welcome to the comprehensive guide for conquering the Dynasty Shipyard expedition in New World: Aeternum. This mid-game expedition offers a thrilling blend of intense combat, unique mechanics, and intense lore, set against the backdrop of an emperial shipyard. From detailed boss strategies to insider tips on navigating this expedition, this guide has everything you need to complete this expedition.
Location and General Information
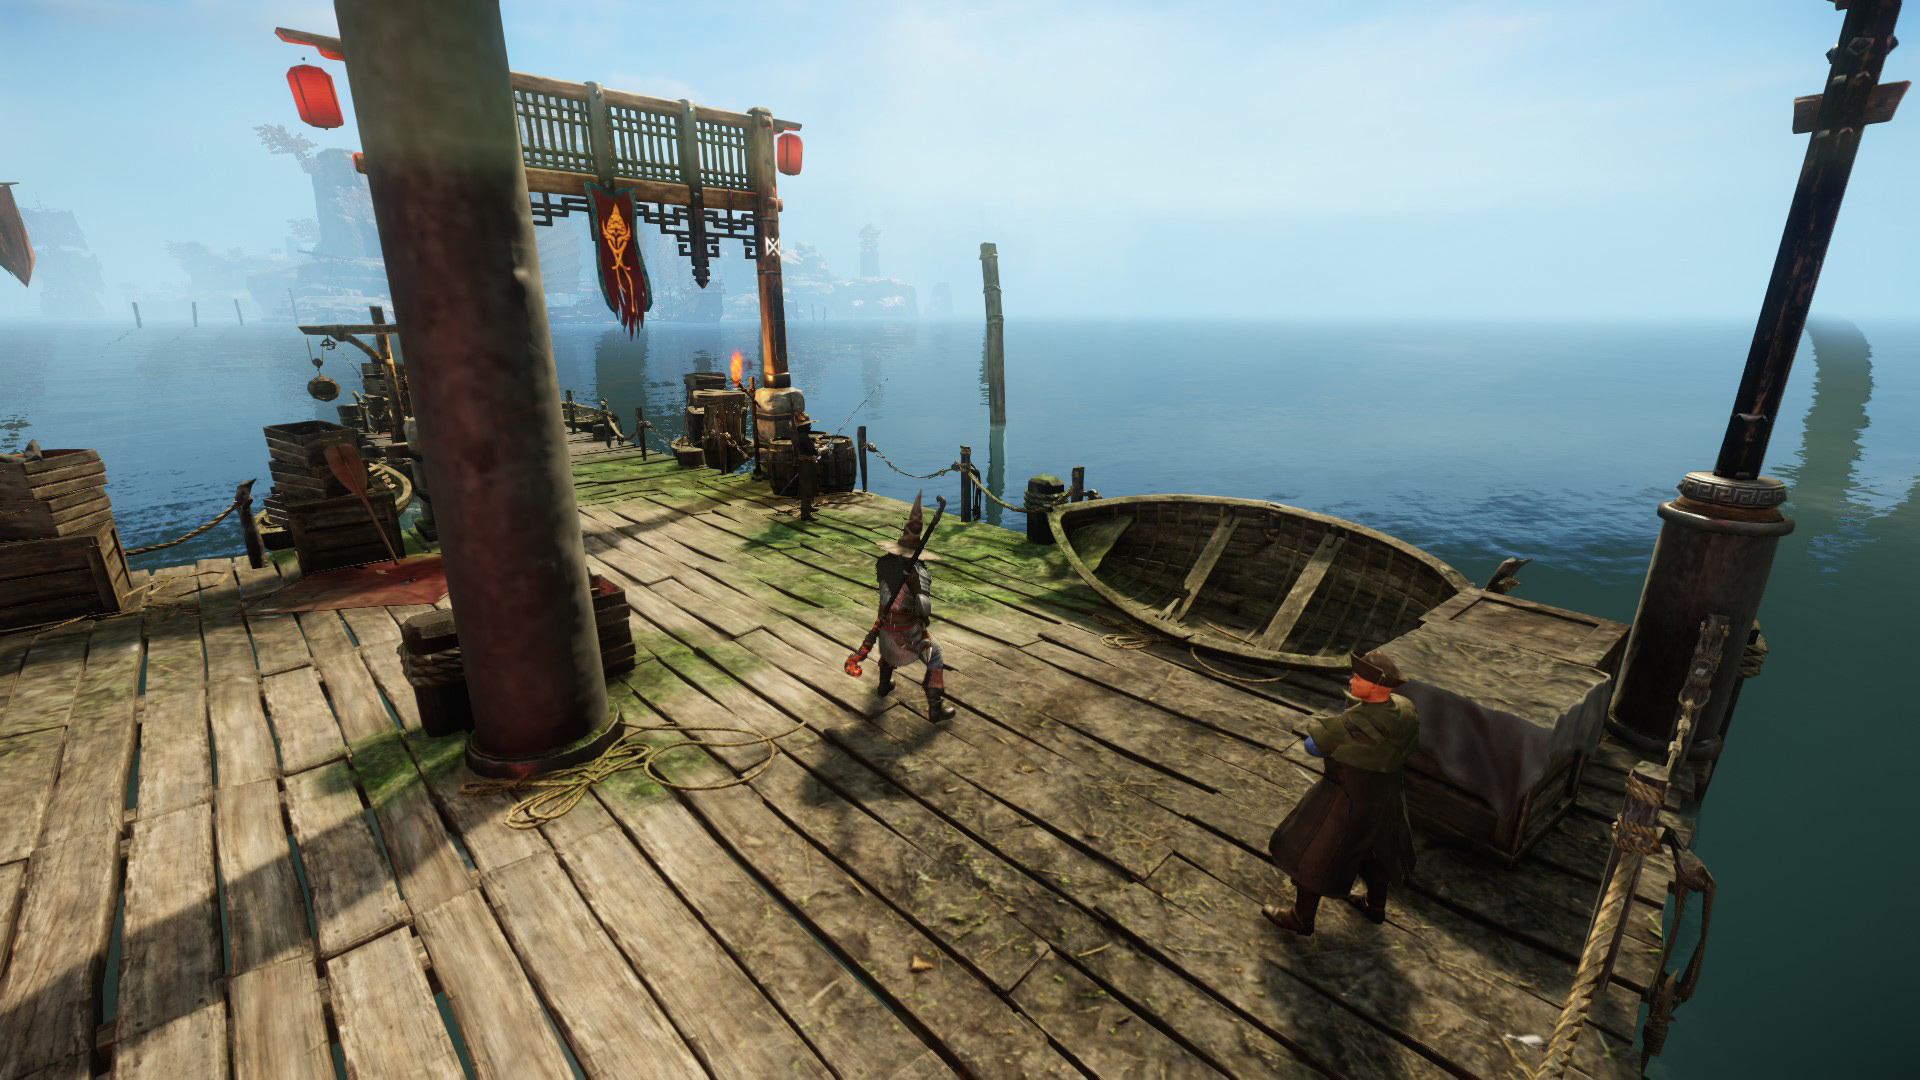
This expedition is located southwest of Ebonscale. While its in-game recommended level is 55, we suggest going in as early as level 53, because that is when you can start to receive repeatable quests for the expedition.
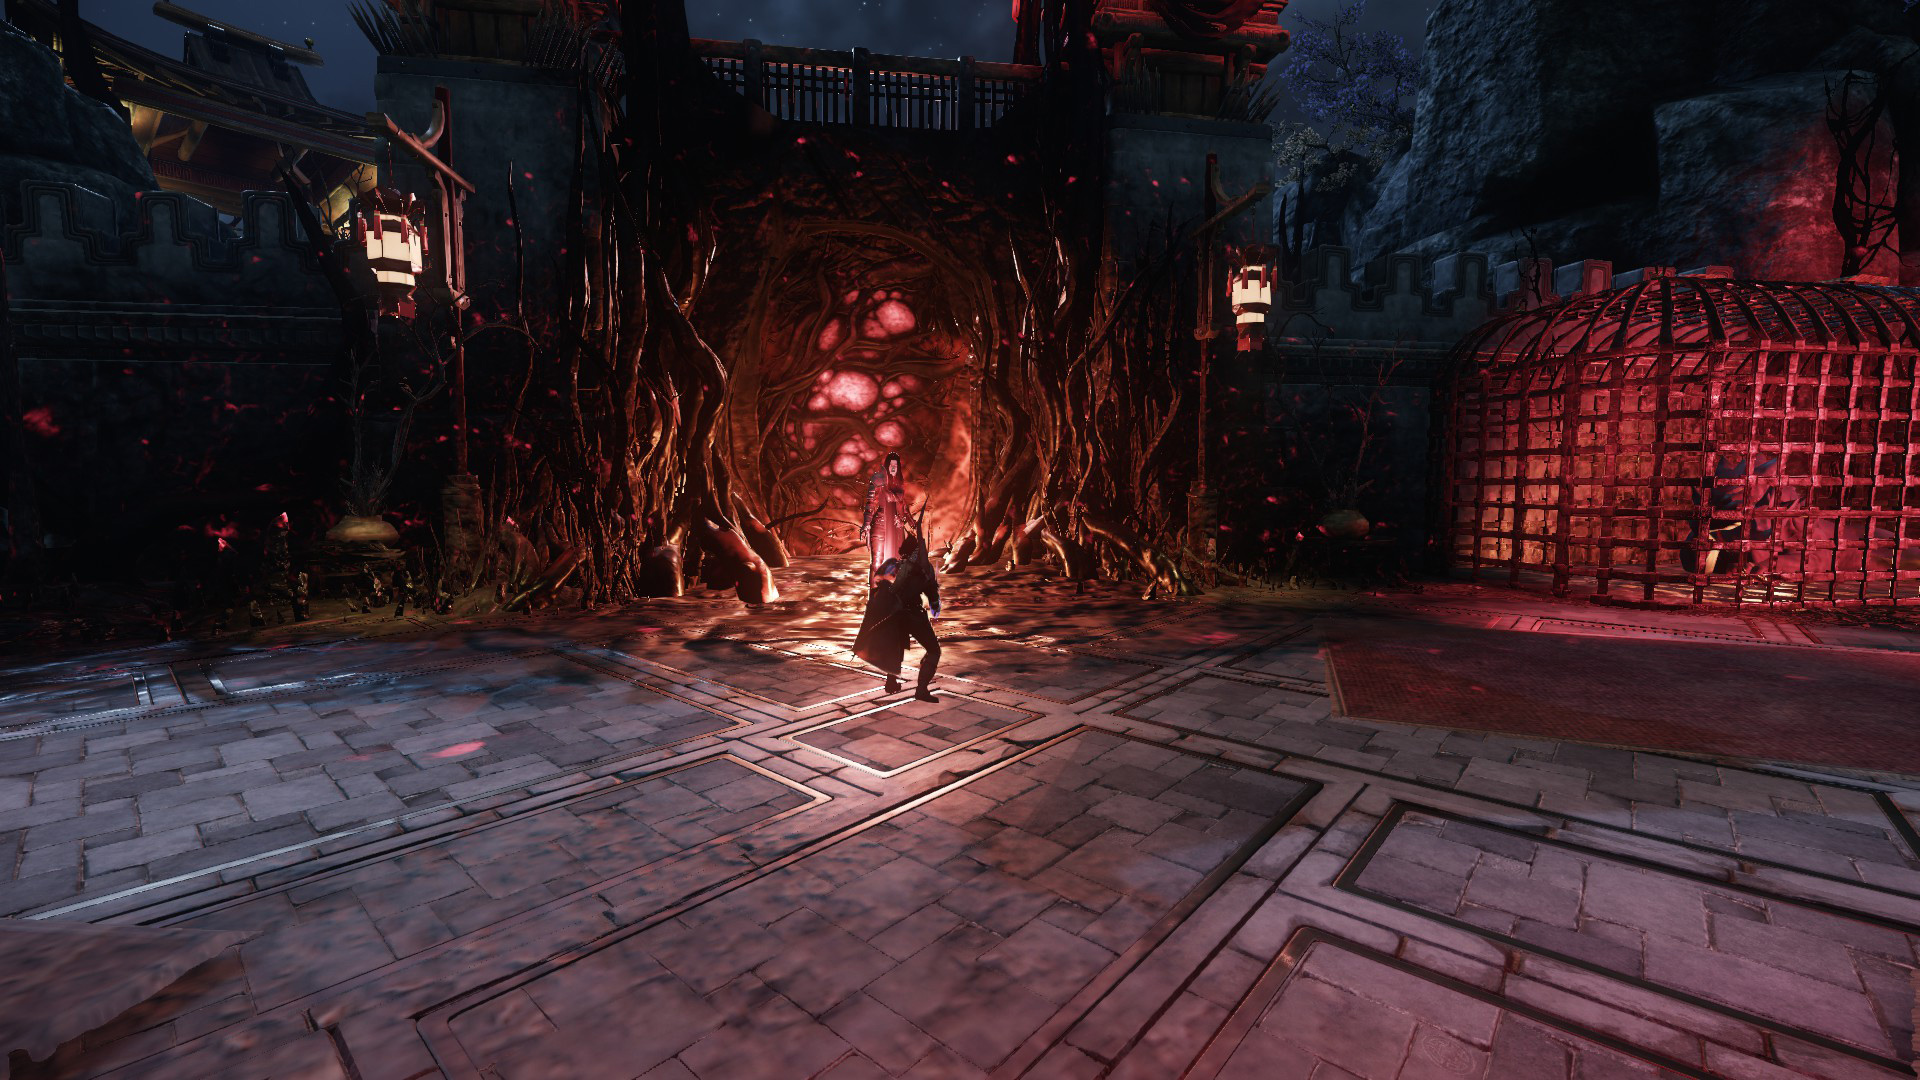
The entrance to the expedition is located inside this arch at the end of the dock.
Mob Types
Dynasty Shipyard contains primarily Corrupted mobs, which are weak to Thrust, Nature, and Arcane damage. Builds that use the Spear, Rapier, Blunderbuss, Bow, or Musket are good options for this expedition.
Additionally, it will be greatly beneficial to make sure you have ![]() Infused Corrupted Coatings and three
Infused Corrupted Coatings and three ![]() Major Corrupted Combat Trophys (one in each house)
to maximize your damage output towards these types of mobs.
Major Corrupted Combat Trophys (one in each house)
to maximize your damage output towards these types of mobs.
Repeatable Quests
At level 53 you can receive the  Justice For The Dynasty (Expedition) quest, which is
repeatable. Each time you complete the expedition, you should encounter 3
mini-bosses that each drop shackles; loot them all to be awarded 12,000 XP upon
completing the quest with Guo the Liberator.
Justice For The Dynasty (Expedition) quest, which is
repeatable. Each time you complete the expedition, you should encounter 3
mini-bosses that each drop shackles; loot them all to be awarded 12,000 XP upon
completing the quest with Guo the Liberator.
This repeatable is great, because the pick-up and hand-in for this quest is directly outside the door for the expedition. You can also start to receive expedition faction missions from Restless Shore once you reach level 53.
Layout
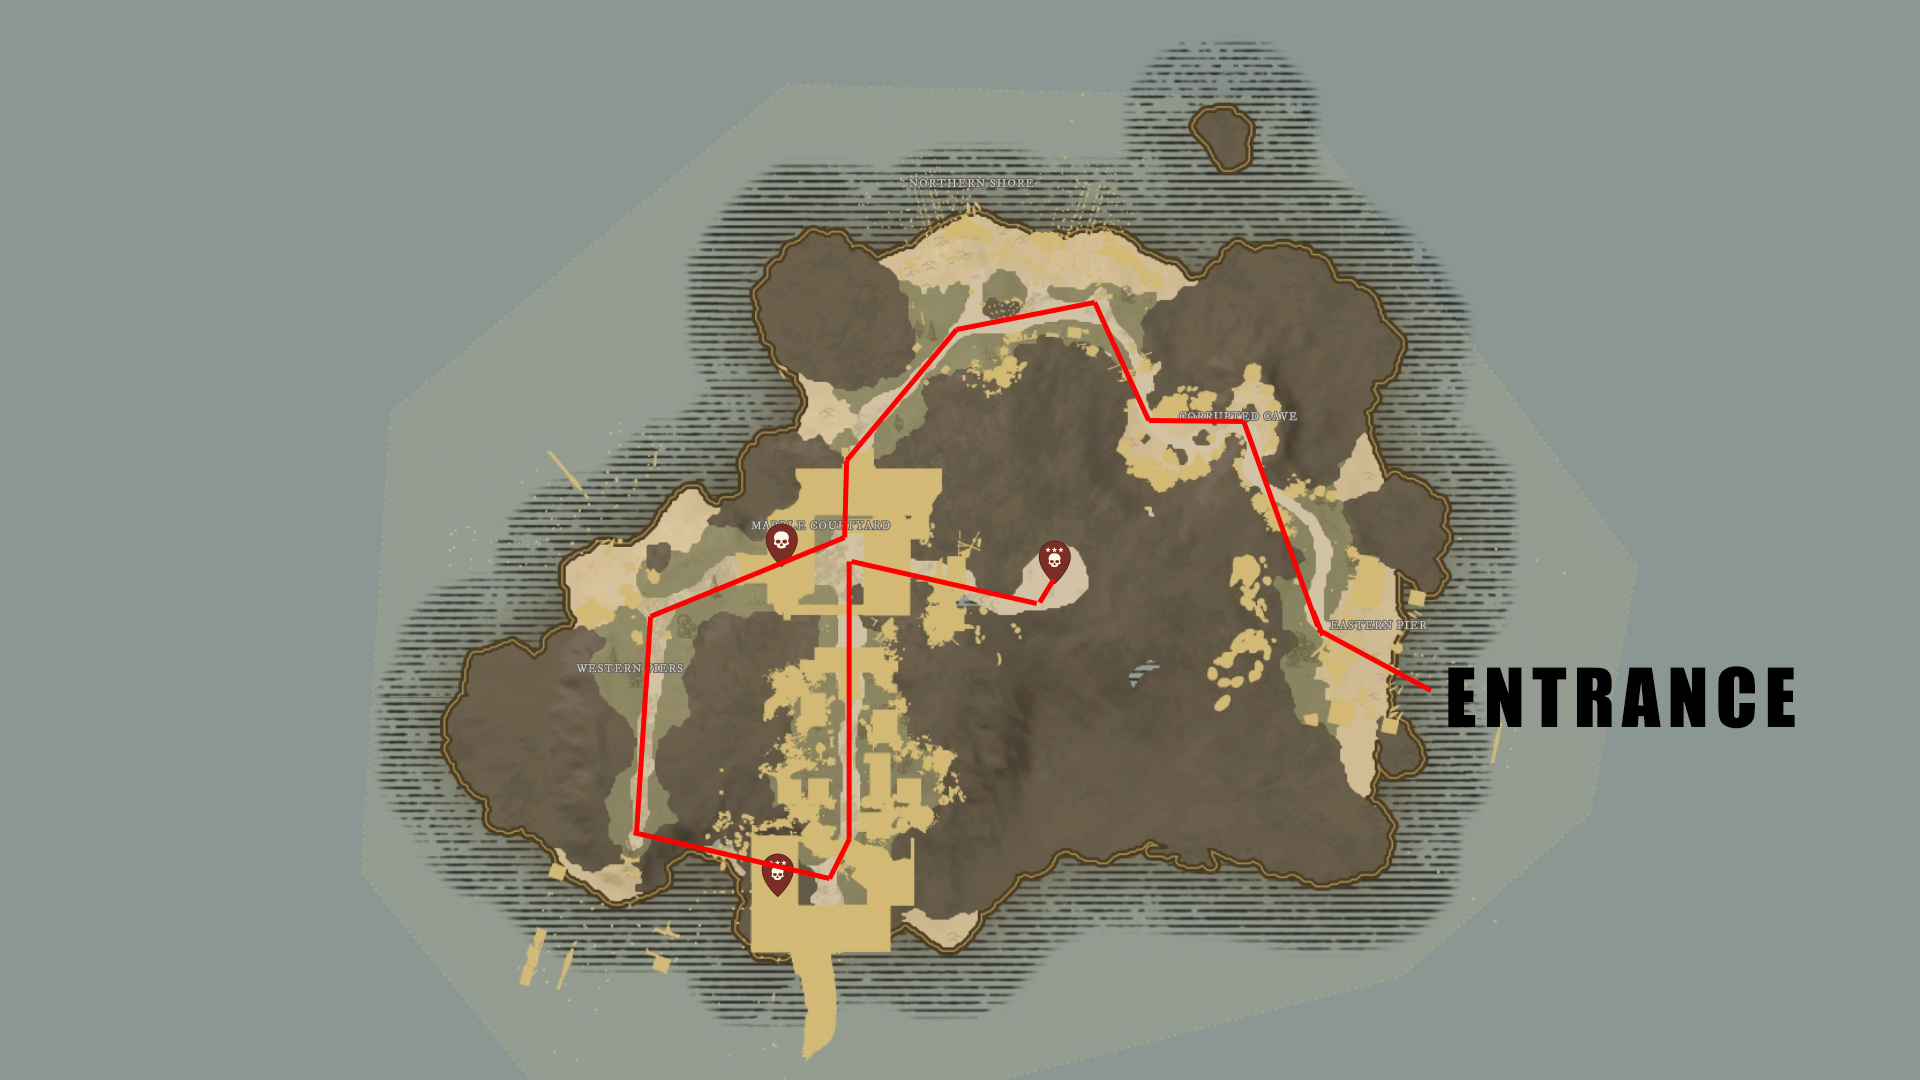
The layout for Dynasty Shipyard is extremely straightforward, with no major twists or turns to get lost in. If you are unsure about what the next objective on the expedition is, then check your map and it should guide you to the next part.
Bosses
This expedition has three bosses: Commander Chen, Isabella, and Zhou Taiying. In expeditions, you can only be picked up from being downed one time before you are forced to respawn, and most boss rooms seal off the entrance once the boss is engaged. This effectively gives you two lives in a boss fight, assuming that your teammates can pick you up when you get knocked down.
Commander Chen
This boss fight is with three enemies at the same time. Commander Chen is a large, two-handed Sword user and is flanked by two casters: Maiden Daiyu and Maiden Lanfen. This fight does not have a locking door, so those who die twice can run back from the nearest respawn point.
Abilities
- Dragon Beam — Maiden Daiyu will glow and release a short range blast around herself and a forward facing laser that both hit extremely hard.
- Dragon Breath — A dragon will spin around Maiden Lanfen and then release a short range breath in front of her that hits extremely hard.
- Dragon Blade — Commander Chen will spin around several times and then slam the ground with his sword.
Strategy
This trio boss fight is rather straightforward. The tank can aggro Commander Chen, while the DPS burn down Maiden Daiyu, the healer kites Maiden Lanfen.
Since Lanfen's ability only hits in a short range, it is rather easy for the healer to keep away from them; just make sure that you stay in range of the tank for healing. After Maiden Daiyu dies, the DPS can burn down Lanfen and then Commander Chen.
Melee DPS need to be careful to back up when Maiden Daiyu is using her ability to avoid taking massive damage.
Isabella
The Isabella boss fight has two major phases. First you will fight against Isabella, and then eventually she will leave and unleash her two pets on you.
Abilities
- Corrupt Slash — Isabella will take a large sidestep away from her aggro target and then launch a red wave attack at them.
- Corrupted Blast — Isabella will take a step back and release several damaging orbs in front of her in an arc pattern.
- Corrupt Pistol — Isabella will take a step backwards and fire a pistol shot directly in front of her.
- Corrupted Cleave — Isabella will shout "Beg on your knees for death!" and then unleash an extremely strong slash that can hit all targets around her.
- Summon Abominations — Isabella will shout "Worship me and despair!" and summon two non-elite Corrupted Abominations.
- Fire Artillery — Isabella will teleport across the room and shout "You will give into corruption, or you will be destroyed!" and then several cannon shots will go into the air targeting the ground where players were in that moment. Later in the fight, she will also shout "Hell hath no fury like me!" and more shots will fire. These shots deal a moderate amount of damage and leave behind burning ground for a limited time.
- Summon Crewmen — Isabella will summon gunmen onto the ship that is next to the boss arena. Ranged damage dealers can hit these foes.
- Release Pets — Once Isabella reaches 55% health, she will release her
two large corrupted tigers, Oro and Joven, and leave the fight.
- Oro Breath — Oro will frequently breath a deadly cone in front of him dealing a large amount of damage.
- Joven Pounce — Joven will jump backwards and flash and then pounce forward doing damage.
Strategy
The Isabella portion of the fight is mostly about not getting killed by her Corrupted Cleave, and keeping the number of mobs on the boat to a minimum.
The tank should attempt to position Isabella in such a way that she is only facing the tank, to avoid hitting the DPS or healer with her Corrupt Blast and Corrupt Pistol abilities. Melee DPS and the tank should move away from her as soon as she says "Beg...", because this ability can easily kill low-health players and does a lot of damage to the tank. When Isabella takes a large sidestep to perform her Corrupt Slash, players should be ready to block or dodge roll away or through the slash to avoid taking damage.
Whenever mobs appear either on the boat or next to her, the DPS should focus on them. The gunmen on the boat do not individually do much damage, but will eventually start hitting your healer for a combined large amount. It's helpful if at least one of the DPS players have a ranged weapon so that they can take care of the mobs that appear on the boat. Around the time when these mobs spawn on the boat, it's important to watch out for her Fire Artillery ability and be prepared to move a bit. The artillery shots rise up in the air from the opposite side of the arena from the entrance so keep an eye out over there.
Once she leaves the fight at 55% health, the tank should pick up Oro, and the DPS should burn down Joven while avoiding the pounces. Both Joven and Oro will flash white with grit before using their abilities to help players avoid or block them. After you kill the pets, the encounter is completed.
Zhou Taiying
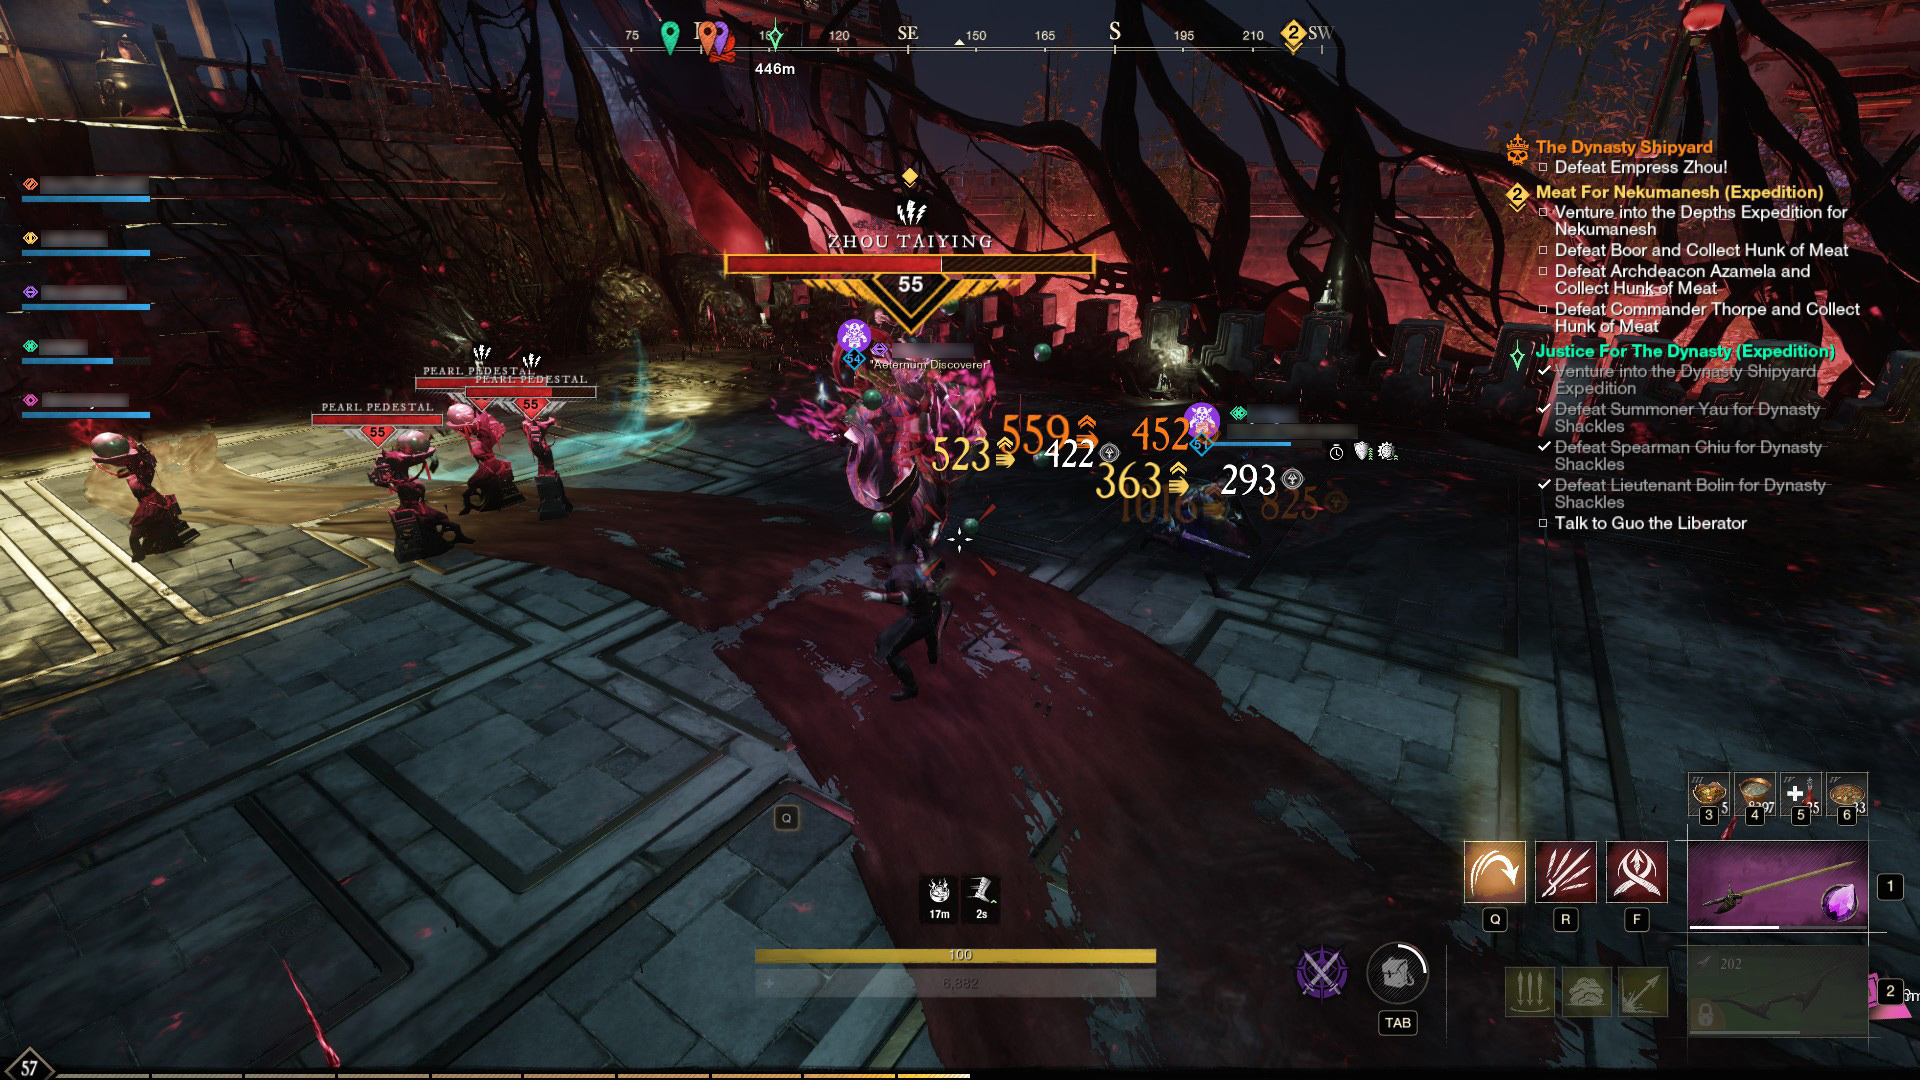
Zhou Taiying is the final boss of the expedition, and is a caster-type foe that has powerful Dragon-styled abilities.
Abilities
- Dragon Beam — Zhou will glow and release a short range blast around herself, and release a forward-facing dragon that will travel the length of the room. Both the short range blast and the dragon hit extremely hard.
- Dragon Breath — Pink particles will drift up from the ground in front of Zhou, and then dragon will spin around Zhou and then release a short range breath in front of her that hits extremely hard.
- Dragon Circle — Zhou will raise her hands and yell something that sounds like "Big big boom" and pink particles will begin to spin around her. After a delay, a giant dragon will spin around her knocking players back and dealing a large amount of damage.
- Punishing Wave — Zhou will face an enemy at range and release a pink wave along the ground towards them. This is only used against targets who are her primary aggro target.
- Corrupted Wave — Pink particles will raise out of the ground in expanding circles around Zhou, and then several damaging rings will rapidly fan out from her. It is possible to be hit by multiple rings from one ability use.
- Rise Up — At 66% health, Zhou will rise up into the air and
summon multiple foes. She will also continue to launch ranged attacks at
players while you deal with her allies.
- Pearl Pedestal — During her Rise Up phase, Zhou will occasionally summon pedestals which will cast weakened versions of her Dragon abilities. In the final phase, she will summon four pedestals near players which will each duplicate her Dragon abilities whenever she uses one.
Strategy
Phase One of the fight is rather simple: the tank should aggro the boss and face her to the left or right. Melee DPS should engage from behind and make sure that they are ready to move away when she uses Dragon Circle. When she uses Dragon Beam it is imperative that the tank and melee DPS step away from her to avoid the short range blast.
The player targeted by Dragon Beam should stand still until the ability launches so that it is easy for themselves and others to avoid the damaging dragon.
Once she reaches 66% health she will become immune to damage, head back to her spawn point, rise up into the air, and summon foes to fight you. These will be familiar enemies that you have faced in the dungeon and are not too difficult to put down.
The one new foe is Pearl Pedestal, a small immobile statue with a pearl on top which will cast weaker versions of her Dragon abilities. These pedestals have a shockingly large amount of health and should be priority targets. Once most of the adds are killed she will come down and start the final phase.
In the final phase, Zhou will periodically spawn Pearl Pedestals near players until four Pedestals are active. If a Pedestal is killed it will respawn, so no need to kill these. The entire group should start near her spawn point and once four pedestals are down everyone needs to move towards the door. You do this to give yourself plenty of space away from the pedestals so that only the Dragon Beam ability should be an issue. Continue to fight Zhou as you did in Phase One and make sure to avoid the long range Dragon Beams and she will eventually die.
Loot Drops
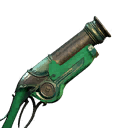
 Tempest's Call
 Madman's Headhunter
 Flamewake
 Band of Ocean's Oath
 Bow of the Enchantress
 Rapier of Forgotten Queens
 Inner Peace
 Keeper's Pendant
 Frostforged War Hammer
 Accursed End
Mutated Drops
Some items can only drop on certain difficulty levels of the mutated version within some expeditions. The items below are a few examples of what loot can be obtained from this expedition.
 Empress Zhou's Crown
 Empress Zhou's Embroidered Tunic
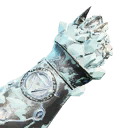
 Empress Zhou's Embroidered Claws
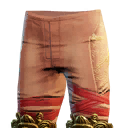 Empress Zhou's Embroidered Pants
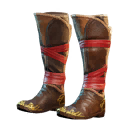 Empress Zhou's Embroidered Shoes
- Rapier of Forgotten Queens
 Shard of Lithomancy
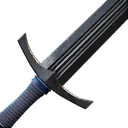 Promise of Power
 Farseer's Spear
- Band of Ocean's Oath
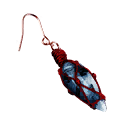
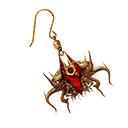 Bloodline's Curse Earring
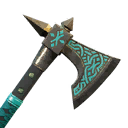 Dreadwake
 Glowing Lifecrystal Staff
- Flamewake
- Tempest's Call
 Taiyings Heart
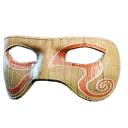 Zealous Embrace
- Accursed End
- Frostforged War Hammer
- Bow of the Enchantress
- Madman's Headhunter
- Keeper's Pendant
- Inner Peace
 Pirate's Piece
 Wodao
Wodao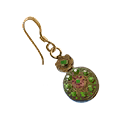 Energizing Charm
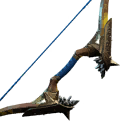 Purefire
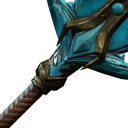 Illwhisper
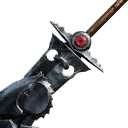 Dusktear
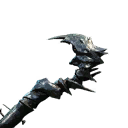 Swiftspark
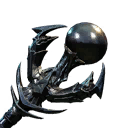 Soulflare
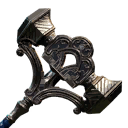 Ribshatter
 Lithespear
 Dreadscream
Limited Mount Drop
Once you perfect this expedition, you'll be prepared to take it on at it's highest mutation level (level three), which introduces you
to a new unqiue item that can be dropped - a horse mount skin! The horse mount skin is called ![]() Golda. This horse mount looks great and
has a beautiful gold coat, making it a fun way to show off how succesful you were within this expedition.
Golda. This horse mount looks great and
has a beautiful gold coat, making it a fun way to show off how succesful you were within this expedition.
Changelog
- 03 Sep. 2024: Added additional tips and tricks.
- 02 Sep. 2024: Updated guide from last patch. Included additioanl recommendations on useful builds. Included requirements on how to obtain unique mount skin.
- 07 Mar. 2023: Drop list updated, Tuning Orbs removed.
- 23 Nov. 2021: Guide added.
Savvvo is a full-blown MMORPG try-hard who overthinks every build, min-maxes every stat, and theorycrafts like his life depends on it. If there’s a meta, he’s dissecting it. If there isn’t, he’s creating one.
You can take a closer look at his guides and content on YouTube.
- AMA Session with New World’s Former Lead World Designer
- New World Aeternum 2026 Roadmap Revealed
- Can New World Be Saved? Offers Are Starting to Pop Up.
- The Last Day of New World: Aeternum
- New World Server Mergers (Again)
- What Else Was Planned for New World: Aeternum?
- Global Storage Search is Now Live in New World: Aeternum
- Daggers Are Officially Live in New World: Aeternum