The Mechanar Dungeon Guide
The recommended level range to run this dungeon on Normal is 68-70. Heroic
mode will require Level 70 and the ![]() Warpforged Key to enter. Entering this
dungeon will require a flying mount to fly up to the dungeon.
Warpforged Key to enter. Entering this
dungeon will require a flying mount to fly up to the dungeon.
The Mechanar will take approximately 20-30 minutes to complete with an average group. This dungeon is commonly abbreviated as "mech".
In this guide, we will cover dungeon quests, the layout of the dungeon, an overview of trash mobs, tactics for each boss, loot that can be obtained, and ideal group compositions.
The Mechanar Quests
Before heading into The Mechanar, we advise you to get all the dungeon quests related to it. To make this process easier, we have written a separate guide for the quests and their chains.
The Mechanar Entrance Location
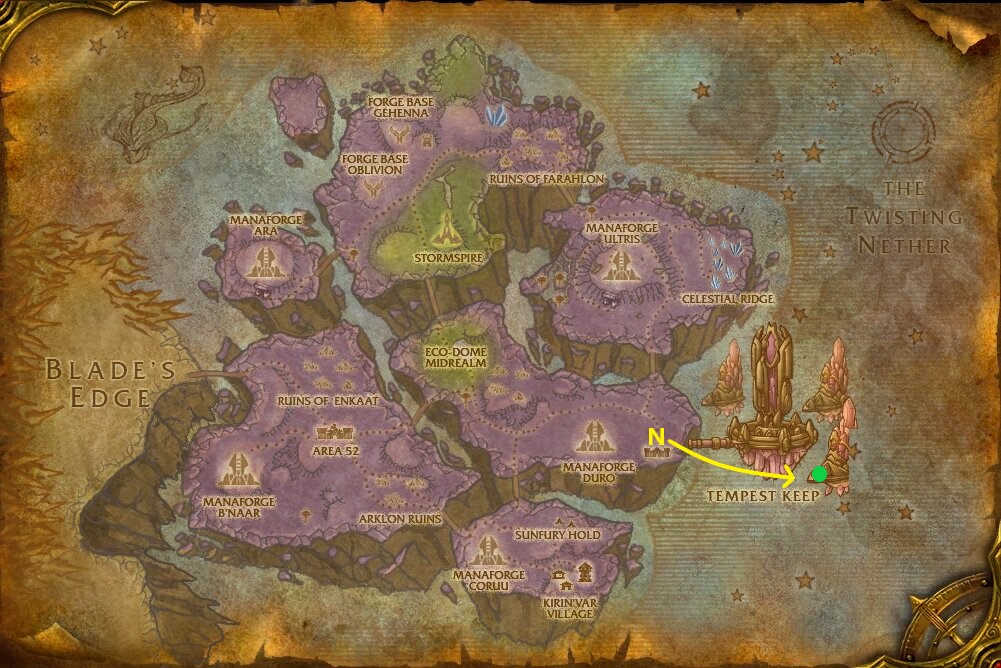
Reaching The Mechanar requires a flying mount to reach the platform where Mechanar is located. Out of the four flying platforms, The Mechanar is located on the far right side.
Layout of The Mechanar
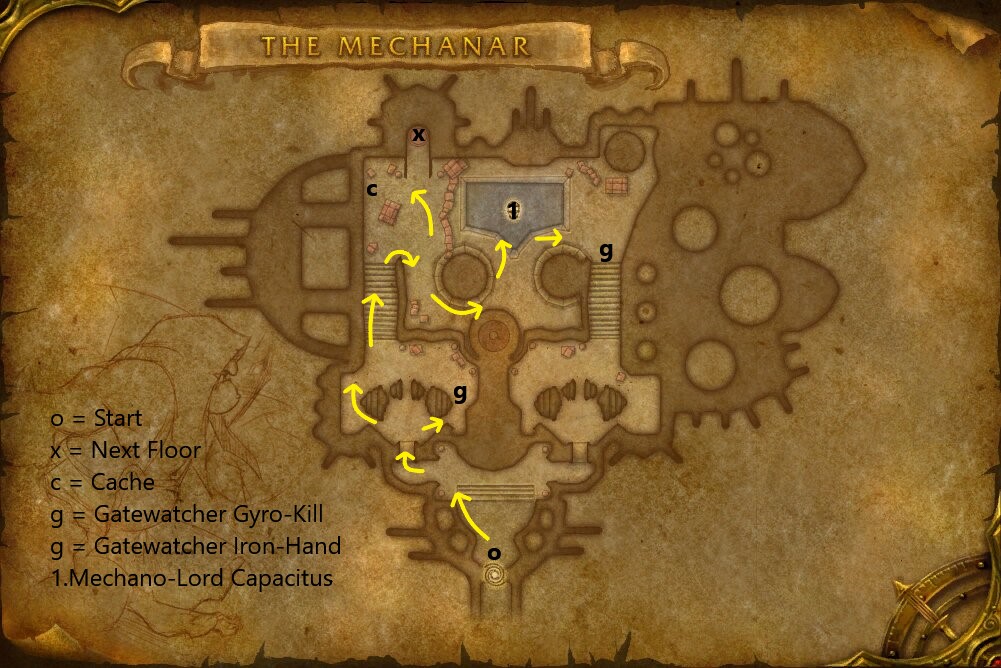
The picture above shows the first floor of The Mechanar, where you will find Gatewatcher Gyro-Kill and Gatewatcher Iron-Hand, both of which must be slain to unlock the elevator to the next floor. You will also find Mechano-Lord Capacitus toward the end of this floor. Follow the arrows shown for the quickest route in this dungeon.
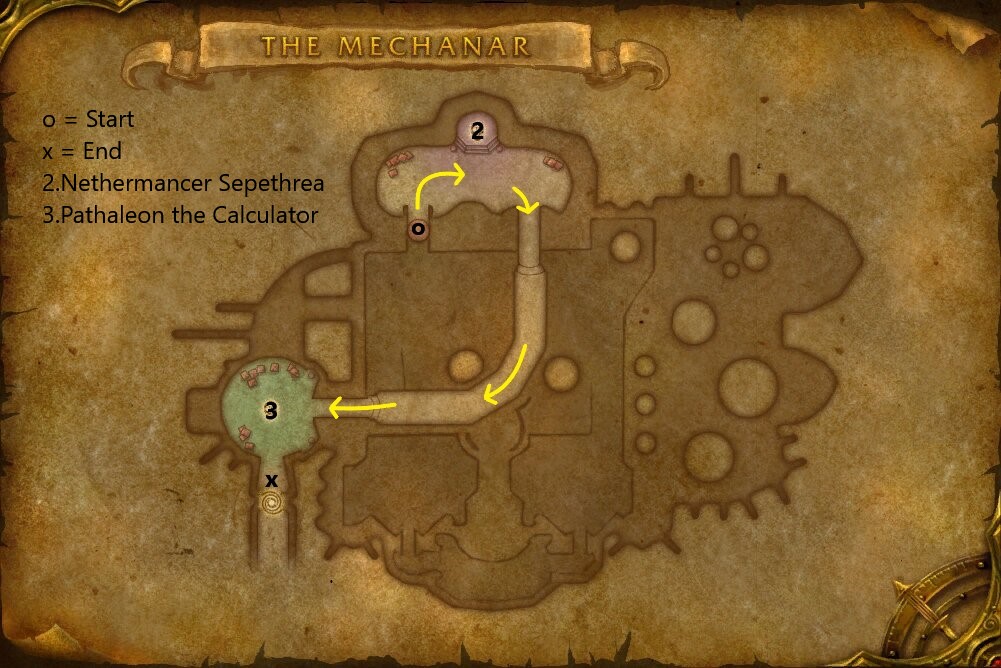
Here we have the much smaller, second floor of The Mechanar. Be aware that advancing on the bridge after fighting Nethermancer Sepethrea will start a gauntlet-style event where you will need to fight three waves of trash in a row. After defeating the final boss, Pathaleon the Calculator, you can use the portal behind him to quickly exit the dungeon.
Reputation From The Mechanar
Killing mobs in this instance grants The Sha'tar reputation.
Normal Difficulty
- Most monsters grant 12 reputation each.
- Each Gatekeeper grants 90 reputation.
- Each boss grants 120 reputation.
- A Normal run of The Mechanar will give around 1,150 reputation.
- Reputation gains in Normal go all the way up until Exalted.
Heroic Difficulty
- Most monsters grant 15 reputation each.
- Tempest-Forge Destroyers grant 30 reputation each.
- Each Gatekeeper grants 250 reputation.
- Each boss grants 250 reputation.
- A Heroic run of The Mechanar will give around 2,100 reputation.
Notable Trash in The Mechanar
In this section, we will briefly go over each of the trash mobs that pose a threat to you in this dungeon.
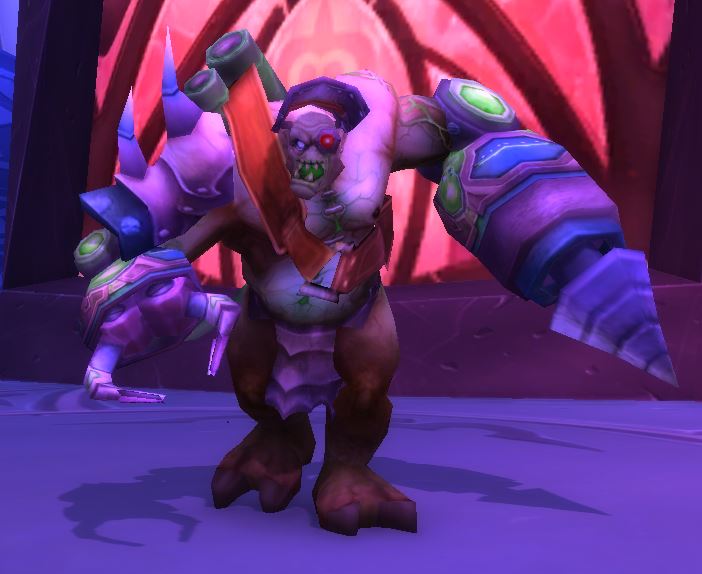
Gatewatcher Gyro-Kill
This is the one of the two Gatekeepers that will need to be killed to open
the Cache of the Legion. He drops the ![]() Jagged Blue Crystal which
is needed to make the
Jagged Blue Crystal which
is needed to make the ![]() Cache of the Legion Key.
Cache of the Legion Key.
Simply face him away from the group, remove ![]() Shadow Power and
Shadow Power and
![]() Stream of Machine Fluid if possible, and heal up anyone hit by
Stream of Machine Fluid if possible, and heal up anyone hit by
![]() Saw Blade.
Saw Blade.
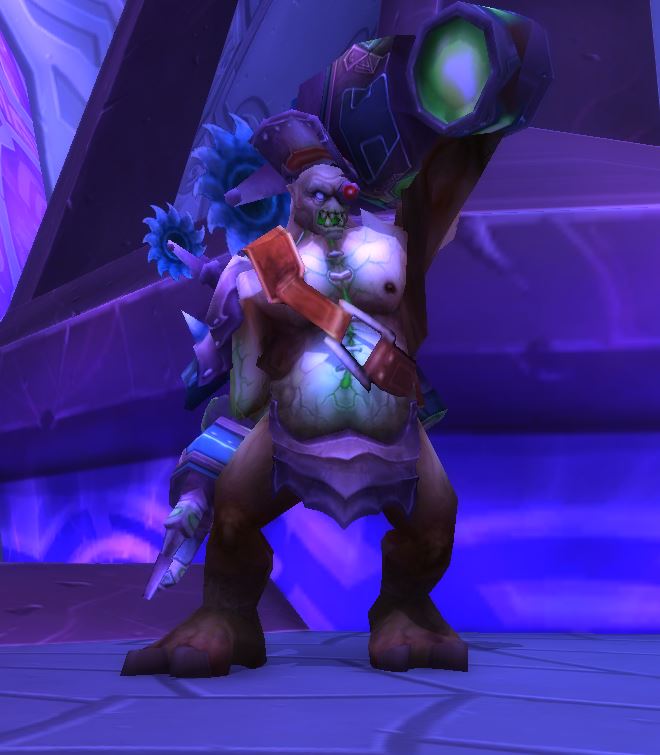
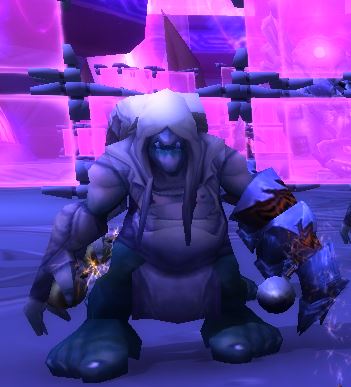
Gatewatcher Iron-Hand
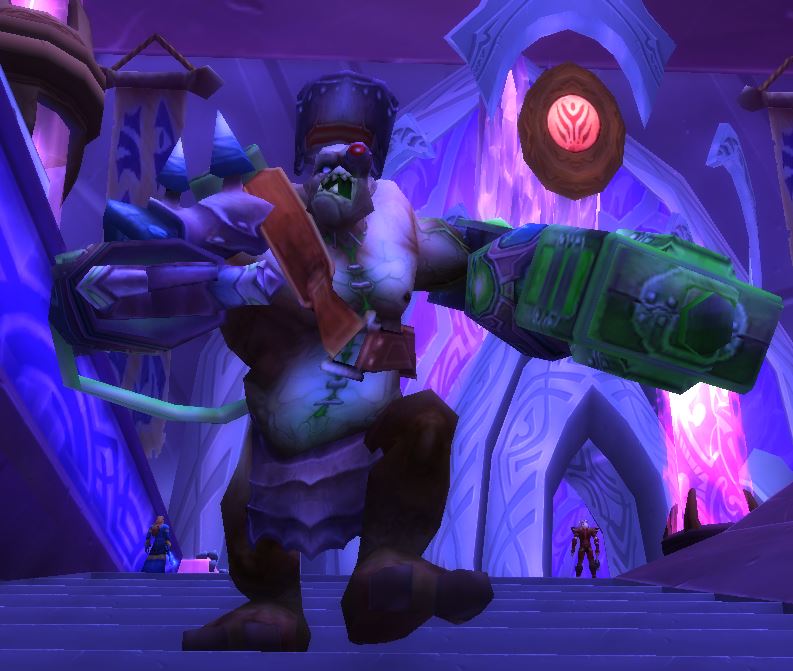
This is the other Gatekeeper that will need to be killed to open
the Cache of the Legion. He Drops the ![]() Jagged Red Crystal which
is needed to make the
Jagged Red Crystal which
is needed to make the ![]() Cache of the Legion Key.
Cache of the Legion Key.
Be mindful of your threat if the tank is stunned by
![]() Hammer Punch. Remove the
Hammer Punch. Remove the ![]() Shadow Power
and
Shadow Power
and ![]() Stream of Machine Fluid if possible. When he starts doing
Stream of Machine Fluid if possible. When he starts doing
![]() Jackhammer everyone must move away from him to avoid the high AoE
damage, including the tank.
Jackhammer everyone must move away from him to avoid the high AoE
damage, including the tank.
Bloodwarder Physician
These enemies can be somewhat dangerous because of their ![]() Anesthetic.
The sleep can be dispelled by spells such as
Anesthetic.
The sleep can be dispelled by spells such as ![]() Cleanse or
Cleanse or
![]() Tremor Totem. Try to interrupt these mobs as much as possible.
Tremor Totem. Try to interrupt these mobs as much as possible.
Sunseeker Netherbinder

Aim to either crowd control these or kill these first. They do moderate damage and summon in Arcane Servant, which should be focused down quickly as they have low health and deal AoE damage.
Bloodwarder Slayer
These hit somewhat hard, so keep your tank at full health and dispelled if possible.
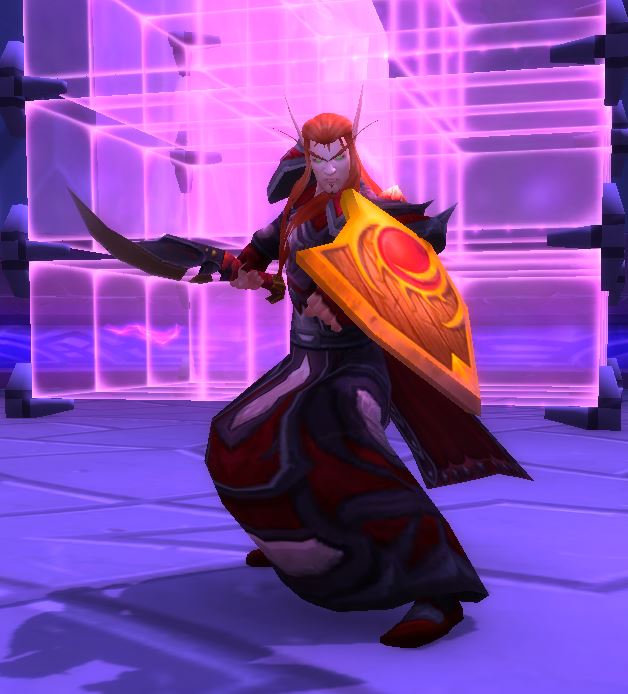
Sunseeker Engineer

These can be quite dangerous as they buff their allies and deal decent damage themselves. Try to kill these early or crowd control them. Use any nearby line-of-sight spots to avoid taking casts in the open.
Sunseeker Astromage

You will want to use line-of-sight as much as possible with these. Make sure
to interrupt whenever possible with any available kicks or stuns. Aim to remove
the ![]() Fire Shield with some sort of ability such as
Fire Shield with some sort of ability such as
![]() Purge or
Purge or ![]() Spellsteal, especially if your group is
melee-heavy.
Spellsteal, especially if your group is
melee-heavy.
Mechanar Driller
These can be crowd controlled with abilities such as ![]() Banish or
Banish or
![]() Fear. The
Fear. The ![]() Pound can cause issues if it hits the
tank early on in the fight.
Pound can cause issues if it hits the
tank early on in the fight.
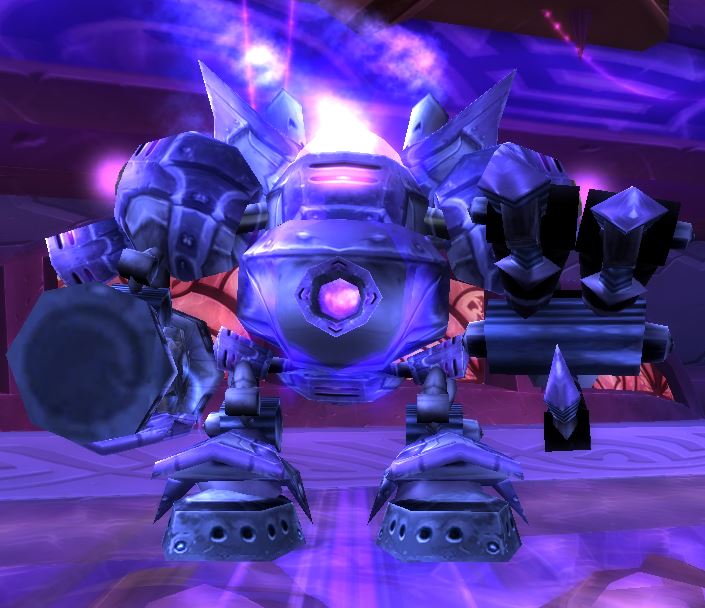
Mechanar Tinkerer
These deal high damage to all nearby enemies constantly. Spread out to avoid the high AoE damage; they will also charge to a random enemy when low on health.
Tempest-Forge Destroyer
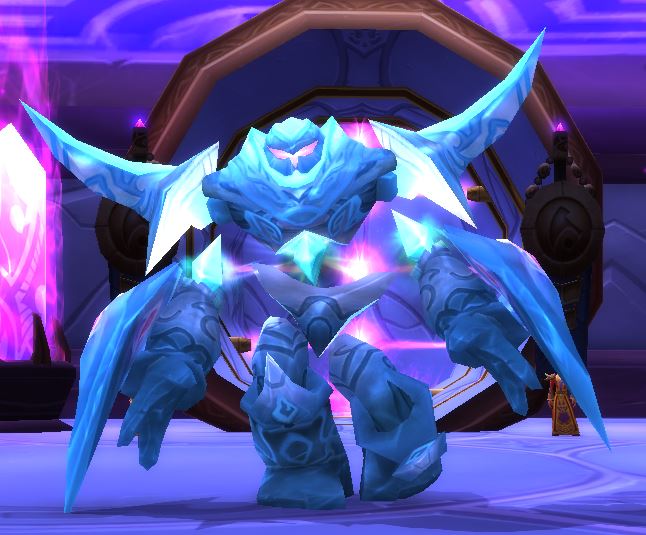
These hit fairly hard, especially when buffed with ![]() Charged Fist.
Interrupt it whenever possible.
Charged Fist.
Interrupt it whenever possible.
Overview of Bosses in The Mechanar
Here we will give you a full rundown of what you can expect from each of the bosses found here on both Normal and Heroic difficulties as well as the items they drop.
Mechano-Lord Capacitus
 Netherbomb
 Reflective Damage Shield
 Reflective Magic Shield
 Head Crack
 Polarity Shift — This ability is used on Heroic difficulty
instead of the reflective shields. All players will be randomly debuffed with
either a
Polarity Shift — This ability is used on Heroic difficulty
instead of the reflective shields. All players will be randomly debuffed with
either a  Positive Charge or a
  Negative Charge.
The group should make sure to stay slightly spread out and pay attention to the
![]() Netherbombs' positions nearby. On Normal difficulty
players need to pay attention to which reflective shield is up. Melee need to
make sure to not die to the reflective damage from
Netherbombs' positions nearby. On Normal difficulty
players need to pay attention to which reflective shield is up. Melee need to
make sure to not die to the reflective damage from
![]() Reflective Damage Shield and casters need to stop
their casts during the
Reflective Damage Shield and casters need to stop
their casts during the ![]() Reflective Magic Shield.
Reflective Magic Shield.
On heroic difficulty, the reflective shields are replaced with
![]() Polarity Shift, which will mark all players with
either a
Polarity Shift, which will mark all players with
either a ![]() Positive Charge or a
Positive Charge or a ![]() Negative Charge.
Players will need to avoid those with a different charge than they have, as
the charges deal 2,000 damage to any nearby players with a different buff.
Those with the same buff will want to group together, as every nearby player
with the same charge increases damage dealt by 100%.
Negative Charge.
Players will need to avoid those with a different charge than they have, as
the charges deal 2,000 damage to any nearby players with a different buff.
Those with the same buff will want to group together, as every nearby player
with the same charge increases damage dealt by 100%.
Make sure to avoid the ![]() Netherbombs as much as possible. Pay
attention to which charge you get from the
Netherbombs as much as possible. Pay
attention to which charge you get from the ![]() Polarity Shift. Be aware
as well that your charge can change multiple times throughout the fight, so be
ready to move away from players you were previously stacking with. Tanks may
also have a difficult time holding threat on this boss depending on how many
stacks they have.
Polarity Shift. Be aware
as well that your charge can change multiple times throughout the fight, so be
ready to move away from players you were previously stacking with. Tanks may
also have a difficult time holding threat on this boss depending on how many
stacks they have.
Loot from Normal
| Item | Required Level | Item Type | Slot |
|---|---|---|---|
| 70 | Accessory | Neck | |
| 70 | Leather | Shoulder | |
| 70 | Cloak | Back | |
| 70 | One-Handed Mace | Main-Hand | |
| 70 | Polearm | Weapon | |
| 355 | Engineering Pattern | Misc |
Loot from Heroic
As with most end game Level 68+ dungeons, Rare drops are the same between Normal and Heroic difficulties. In this section, we will list the items specific to Heroic mode only.
| Item | Required Level | Item Type | Slot |
|---|---|---|---|
| BoP | Gem | Misc | |
| BoP | Gem | Misc | |
| BoP | Gem | Misc |
Nethermancer Sepethrea

As soon as Nethermancer Sepethrea is engaged in combat, she will
summon 2 Raging Flames, or 3 on Heroic mode. These will fixate on a
random target for a short period of time, following them wherever they go.
Wherever the Raging Flames walk, they leave a long trail of fire
behind them, dealing damage to anyone who touches it. Periodically they will
stop moving and start to cast ![]() Inferno, dealing high fire damage to
anyone near them. Players will need to kite these around while avoiding getting
trapped by the blazing path and not get cut off from the rest of their party.
Inferno, dealing high fire damage to
anyone near them. Players will need to kite these around while avoiding getting
trapped by the blazing path and not get cut off from the rest of their party.
The tank will need to be moving the boss constantly as the Raging Flames will be running all over the place and the entire group will need to be moving almost non-stop. Try to find safe areas where you can stand without nearby fires, but still be aware of your escape path should you be targeted by the Flames.
![]() Dragon's Breath will cause Nethermancer Sepethrea to
temporarily ignore the tank until they are free from the disorient effect. Either
dispel the Dragon's Breath debuff or stay near the tank so they can taunt
afterwards. Avoid getting knocked back into the fire or any nearby
Raging Flames by
Dragon's Breath will cause Nethermancer Sepethrea to
temporarily ignore the tank until they are free from the disorient effect. Either
dispel the Dragon's Breath debuff or stay near the tank so they can taunt
afterwards. Avoid getting knocked back into the fire or any nearby
Raging Flames by ![]() Arcane Blast.
Arcane Blast.
Loot from Normal
| Item | Required Level | Item Type | Slot |
|---|---|---|---|
| 70 | Plate | Chest | |
| 70 | Accessory | Finger | |
| 70 | One-Handed Axe | Weapon | |
| 70 | Off-Hand Weapon | Off-Hand | |
| 70 | Thrown | Ranged Weapon | |
| 360 | Alchemy Recipe | Misc |
Loot from Heroic
As with most end game Level 68+ dungeons, Rare drops are the same between Normal and Heroic difficulties. In this section, we will list the items specific to Heroic mode only.
| Item | Required Level | Item Type | Slot |
|---|---|---|---|
| BoP | Gem | Misc | |
| BoP | Gem | Misc | |
| BoP | Gem | Misc |
Pathaleon the Calculator
Casters should make sure they stay at max range to avoid being silenced by
the ![]() Arcane Torrent. Tanks will need to pick up Nether Wraiths
whenever they are spawned. Your group may want to kill these or, if your damage
is high, they may choose to ignore them and focus on
Pathaleon the Calculator. When Pathaleon
Arcane Torrent. Tanks will need to pick up Nether Wraiths
whenever they are spawned. Your group may want to kill these or, if your damage
is high, they may choose to ignore them and focus on
Pathaleon the Calculator. When Pathaleon ![]() Enrages, he
will destroy all remaining Nether Wraiths.
Enrages, he
will destroy all remaining Nether Wraiths.
The hardest part of this fight might be players having low Mana or resources after dealing with the gauntlet. Make sure to drink up as much as possible before Pathaleon engages your group.
![]() Domination can be a big problem if used on a
melee DPS as it grants 150% increased attack speed. Make sure to use any stuns,
disarms or crowd control available to you on any mind-controlled players.
Domination can be a big problem if used on a
melee DPS as it grants 150% increased attack speed. Make sure to use any stuns,
disarms or crowd control available to you on any mind-controlled players.
Loot from Normal
| Item | Required Level | Item Type | Slot |
|---|---|---|---|
| 70 | Cloth | Head | |
| 70 | Head | ||
| 70 | Plate | Head | |
| 70 | Cloak | Back | |
| 70 | Leather | Chest | |
| 70 | Leather | Chest | |
| 70 | Legs | ||
| 70 | Accessory | Finger | |
| 70 | Accessory | Trinket | |
| 70 | One-Handed Sword | Weapon | |
| 70 | One-Handed Sword | Main-Hand | |
| 70 | Gun | Ranged Weapon | |
| 370 | Tailoring Pattern | Misc |
Loot from Heroic
As with most end game Level 68+ dungeons, Rare drops are the same between Normal and Heroic difficulties. In this section, we will list the items specific to Heroic mode only.
| Item | Required Level | Item Type | Slot |
|---|---|---|---|
| 70 | Hands | ||
| 70 | Plate | Legs | |
| 70 | Cloth | Feet | |
| 70 | One-Handed Sword | Weapon | |
| BoP | Gem | Misc | |
| BoP | Gem | Misc | |
| BoP | Gem | Misc |
Recommended Group Composition for The Mechanar
The pulls in The Mechanar are generally small, so no significant amount of AoE is
needed. No crowd control is required, but having a Warlock in your
group will make the run significantly easier as both ![]() Fear and
Fear and
![]() Banish will get a high amount of use in this dungeon.
Banish will get a high amount of use in this dungeon.
Changelog
- 25 Jul. 2021: Added images for mobs.
- 26 May 2021: Guide added.
This guide has been written by Abide, TBC veteran for nearly a decade. Abide is a Warrior tank and multi-class expert currently playing on Faerlina as Horde. You can find him in the the Icy Veins Discord. You can also see him live on Twitch.