The Steamvault Dungeon Guide
The recommended level range to run this dungeon on Normal is 68-70. Heroic
mode will require Level 70 and the ![]() Reservoir Key to enter.
Reservoir Key to enter.
This dungeon will take approximately 15-25 minutes to complete with an average group. This dungeon is commonly abbreviated as "SV".
In this guide, we will cover dungeon quests, the layout of the dungeon, an overview of trash mobs, tactics for each boss, loot that can be obtained, and ideal group compositions.
The Steamvault Quests
Before heading into The Steamvault, we advise you to get all the dungeon quests related to it. To make this process easier, we have written a separate guide for the quests and their chains.
The Steamvault Entrance Location
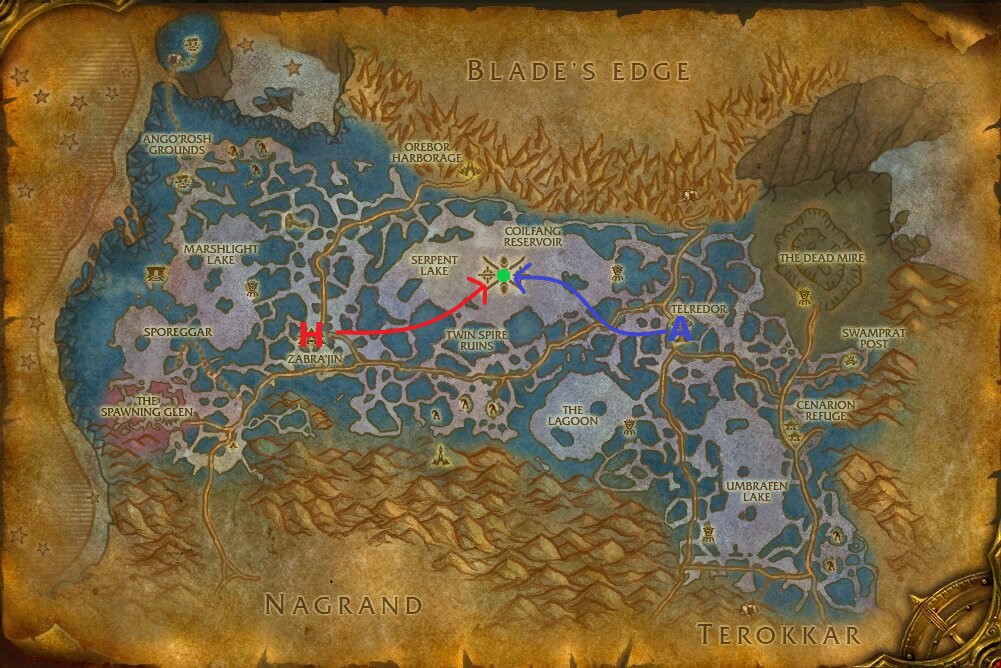
Conveniently, all dungeons in Zangarmarsh are located in one centralized location: Coilfang Reservoir. This area is in the middle of the map on the Northern side in the water.
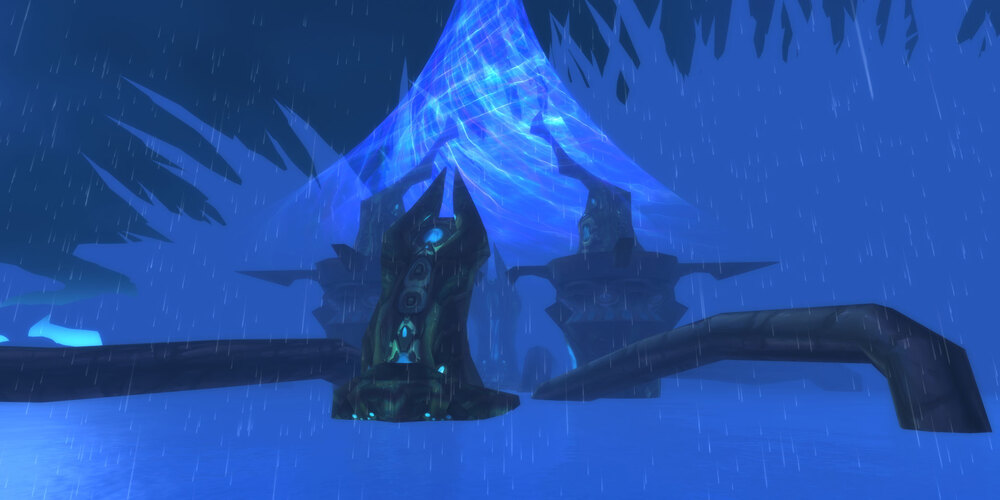
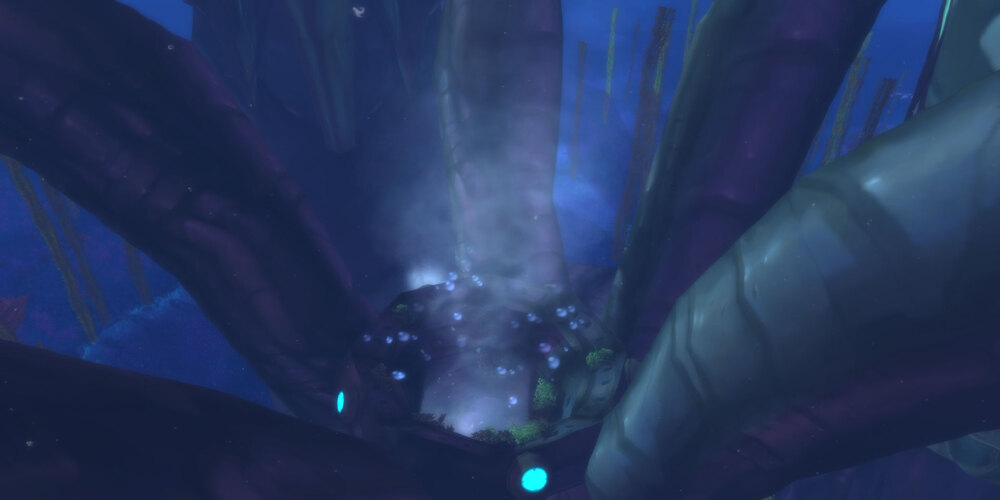
You will need to swim toward the middle of the lake until you come across the structure in the picture above. After that swim down and you will see a pipe opening, shown below, to swim through. Swim through to the other side to emerge with the summoning stone in front of you and all three Coilfang dungeons before you. The Steamvault is the dungeon portal located in the middle, between both The Underbog and The Slave Pens.
Layout of The Steamvault

The layout of The Steamvault is open, having many side areas and trash packs that can be avoided. Players can choose to kill either Hydromancer Thespia or Mekgineer Steamrigger first, but you must kill both to unlock the gate before Warlord Kalithresh.
Behind both Hydromancer Thespia and Mekgineer Steamrigger is a clickable object, both of which need to be used after defeating the boss to open the way to Warlord Kalithresh.
Reputation from The Steamvault
Killing mobs in this instance grants Cenarion Expedition reputation.
Normal Difficulty
- Most monsters grant 12 reputation each.
- Each boss grants 120 reputation.
- A Normal run of The Steamvault run will give around 1,100 reputation.
- Reputation gains in Normal go all the way up through Exalted.
Heroic Difficulty
- Most monsters grant 15 reputation each.
- Each boss grants 250 reputation.
- A Heroic run of The Steamvault run will give around 1,650 reputation.
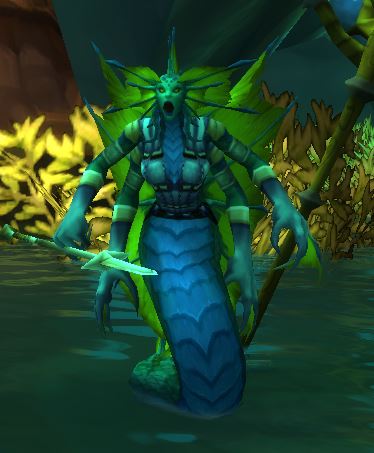
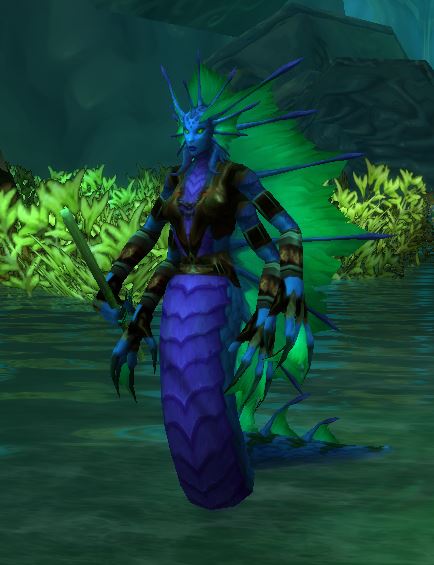
Overview of The Steamvault Trash Mobs
In this section, we will briefly go over each of the trash mobs that pose a threat to you in this dungeon.
Bog Overlord
These hit hard and can deal high AoE damage to players around them. Ranged players should make sure to stay at maximum distance and melee need to be aware if they need to run away from the enemy or not.
Coilfang Engineer
These can be rather annoying with their constant ![]() Net casts
and heavy AoE damage from
Net casts
and heavy AoE damage from ![]() Bomb. Spread out and kill them early.
Bomb. Spread out and kill them early.
Coilfang Oracle
Casters should keep their distance to avoid the silence from ![]() Sonic Burst.
Make sure to kill these quickly or prevent their
Sonic Burst.
Make sure to kill these quickly or prevent their ![]() Heal from being cast.
Heal from being cast.
Coilfang Siren
Try to position these in a way to prevent party members or pets from being
![]() Feared into additional trash.
Feared into additional trash.
Coilfang Sorceress
Try to interrupt the ![]() Blizzard or move out of it.
Blizzard or move out of it.
Coilfang Myrmidon
These hit fairly hard and have a cleave. Melee should be aware of their positioning around these, especially on the pull as the tank will most likely be utilizing line-of-sight when entering combat with these mobs.
Coilfang Slavemaster
When engaged in combat, these will aggro any nearby Wastewalker Slave and Wastewalker Worker. If you focus-fire the Slavemaster first, these will stop attacking you and thank you for freeing them.
Overview of Bosses in The Steamvault
Here we will give you a full rundown of what you can expect from each of the bosses found here on both Normal and Heroic difficulties as well as the items they drop.
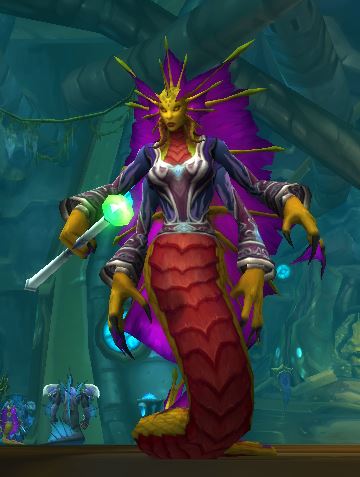
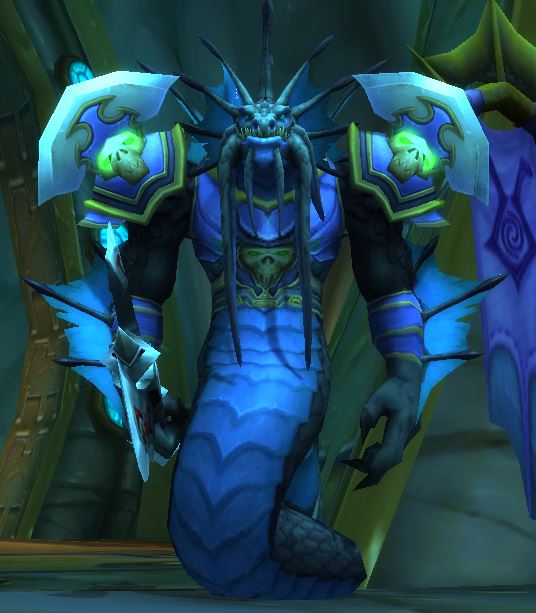
Hydromancer Thespia
This fight can be rather hard considering the heavy amounts of AoE damage
from the elementals and the boss herself. ![]() Enveloping Winds
stuns can be deadly if on a healer, tank, or anyone standing in a
Enveloping Winds
stuns can be deadly if on a healer, tank, or anyone standing in a
![]() Lightning Cloud. If you have any way to remove
magical effects such as
Lightning Cloud. If you have any way to remove
magical effects such as ![]() Dispel Magic or
Dispel Magic or ![]() Cleanse,
this should be your top priority as both
Cleanse,
this should be your top priority as both ![]() Enveloping Winds and
Enveloping Winds and
![]() Lung Burst can be dispelled.
Lung Burst can be dispelled.
The Coilfang Water Elemental deal very heavy damage and should be dealt
with first and foremost. Focus-fire one down at a time and use any form of
crowd control such as ![]() Banish on the secondary target.
Banish on the secondary target.
Loot from Normal
| Item | Required Level | Item Type | Slot |
|---|---|---|---|
| 68 | Cloak | Back | |
| 68 | Leather | Chest | |
| 70 | Cloth | Hands | |
| 68 | Leather | Waist | |
| 68 | Accessory | Finger | |
| 340 | Leatherworking Pattern | Misc |
Loot from Heroic
As with most end game Level 68+ dungeons, Rare drops are the same between Normal and Heroic difficulties. In this section, we will list the items specific to Heroic mode only.
| Item | Required Level | Item Type | Slot |
|---|---|---|---|
| BoP | Gem | Misc | |
| BoP | Gem | Misc | |
| BoP | Gem | Misc |
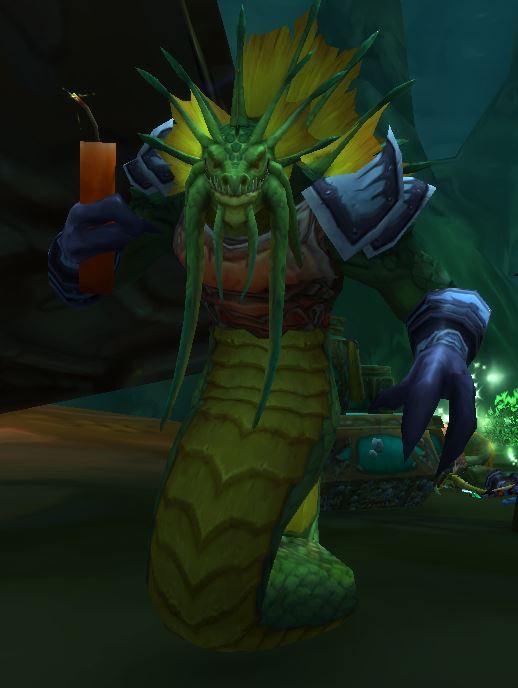
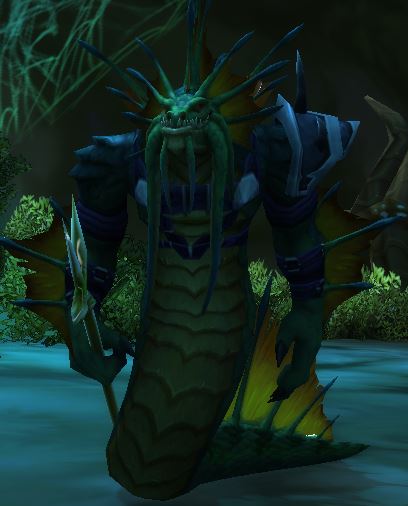
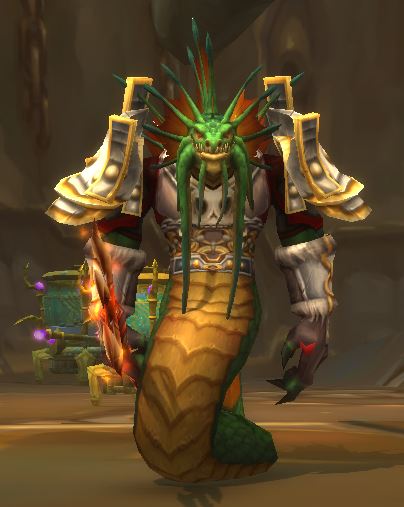
Mekgineer Steamrigger
Depending on your group, you may choose to try and focus on killing
Mekgineer Steamrigger only and ignoring any
Steamrigger Mechanics that spawn during the encounter. If you choose to
do this, keep up any form of healing reduction available to you, such as
![]() Aimed Shot or
Aimed Shot or ![]() Mortal Strike.
Mortal Strike.
The ![]() Repair can by interrupted by dealing any damage to the
caster. If you do not have enough damage to ignore the adds, simply kill them
one at a time or group them up for AoE to prevent them from healing too
much.
Repair can by interrupted by dealing any damage to the
caster. If you do not have enough damage to ignore the adds, simply kill them
one at a time or group them up for AoE to prevent them from healing too
much.
Loot from Normal
| Item | Required Level | Item Type | Slot |
|---|---|---|---|
| 68 | Plate | Head | |
| 68 | Accessory | Neck | |
| 68 | Hands | ||
| 68 | Staff | Weapon | |
| 68 | Gun | Ranged Weapon | |
| 355 | Engineering Schematic | Misc |
Loot from Heroic
As with most end game Level 68+ dungeons, Rare drops are the same between Normal and Heroic difficulties. In this section, we will list the items specific to Heroic mode only.
| Item | Required Level | Item Type | Slot |
|---|---|---|---|
| BoP | Gem | Misc | |
| BoP | Gem | Misc | |
| BoP | Gem | Misc |
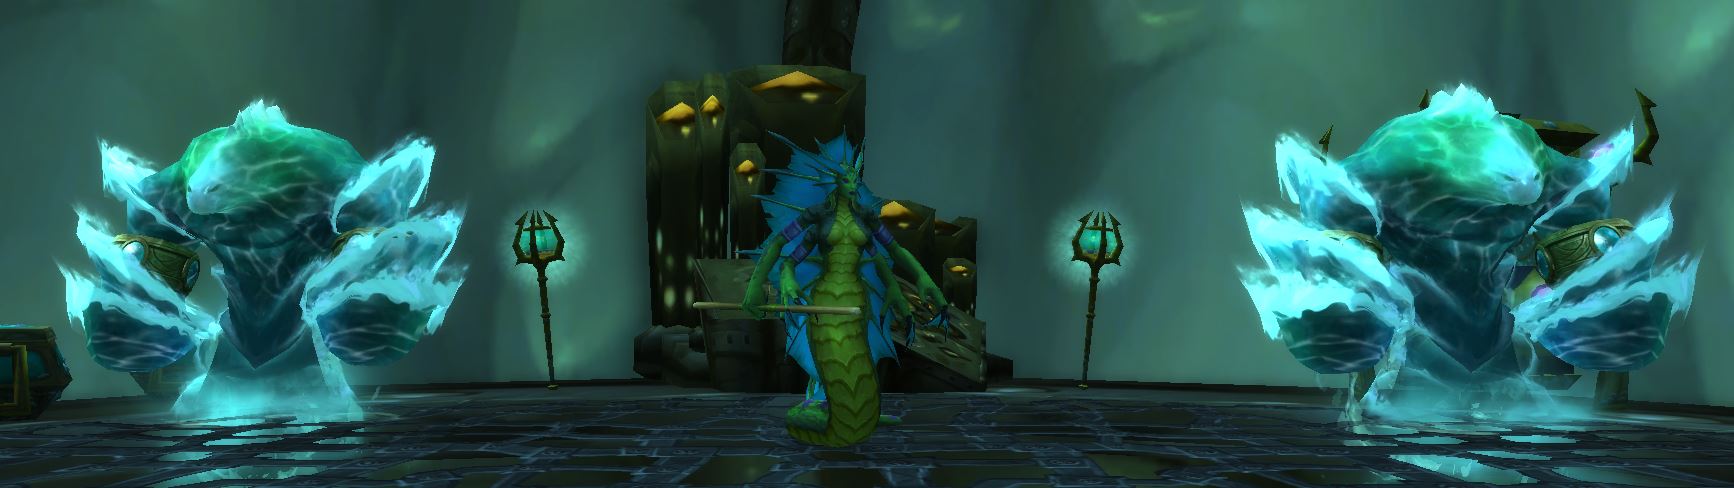
Warlord Kalithresh
This fight is fairly easy. Try tanking the boss near a
Naga Distiller to prevent him from moving around too much. Make sure to
DPS swap over to it when it spawns and kill it quickly, as the
![]() Warlord's Rage stacks and can quickly lead to a wipe. Casters need to be
aware of the
Warlord's Rage stacks and can quickly lead to a wipe. Casters need to be
aware of the ![]() Spell Reflection and avoid casting into it.
Spell Reflection and avoid casting into it.
Loot from Normal
| Item | Required Level | Item Type | Slot |
|---|---|---|---|
| 70 | Shoulder | ||
| 70 | Cloth | Shoulder | |
| 70 | Leather | Shoulder | |
| 70 | Cloak | Back | |
| 70 | Plate | Chest | |
| 70 | Cloth | Chest | |
| 70 | Hands | ||
| 70 | Plate | Hands | |
| 70 | Hands | ||
| 70 | Cloth | Waist | |
| 70 | Legs | ||
| 70 | Accessory | Finger |
Loot from Heroic
As with most end game Level 68+ dungeons, Rare drops are the same between Normal and Heroic difficulties. In this section, we will list the items specific to Heroic mode only.
| Item | Required Level | Item Type | Slot |
|---|---|---|---|
| 70 | Wrist | ||
| 70 | Plate | Wrist | |
| 70 | Cloth | Legs | |
| 70 | Bow | Ranged Weapon | |
| BoP | Gem | Misc | |
| BoP | Gem | Misc | |
| BoP | Gem | Misc | |
| 375 | Tailoring Pattern | Misc |
Recommended Group Composition for The Steamvault
The Steamvault is a fairly easy dungeon. There are no large pulls that require
AoE. One form of crowd control is advised for this dungeon since there are
quite a few monsters that have abilities that are hard to deal with, such as
![]() Fear or
Fear or ![]() Sonic Burst.
Sonic Burst.
A Warlock is a great pickup for The Steamvault, offering both
![]() Fear and
Fear and ![]() Banish as forms of crowd control. It
is also highly advised to bring at least one class that can remove magic
debuffs, such as a Paladin with
Banish as forms of crowd control. It
is also highly advised to bring at least one class that can remove magic
debuffs, such as a Paladin with ![]() Cleanse, or
a Priest with
Cleanse, or
a Priest with ![]() Dispel Magic. This will greatly help
during the fight with Hydromancer Thespia.
Dispel Magic. This will greatly help
during the fight with Hydromancer Thespia.
Changelog
- 30 Jun. 2021: Pictures added for mobs.
- 26 May 2021: Guide added.
This guide has been written by Abide, TBC veteran for nearly a decade. Abide is a Warrior tank and multi-class expert currently playing on Faerlina as Horde. You can find him in the the Icy Veins Discord. You can also see him live on Twitch.