The Botanica Dungeon Guide
The recommended level range to run this dungeon on Normal is 68-70. Heroic
mode will require Level 70 and the ![]() Warpforged Key to enter. Entering this
dungeon will require a flying mount to fly up to the dungeon.
Warpforged Key to enter. Entering this
dungeon will require a flying mount to fly up to the dungeon.
The Botanica will take approximately 25-35 minutes to complete with an average group. This dungeon is commonly abbreviated as "bot" or "bota".
In this guide, we will cover dungeon quests, the layout of the dungeon, an overview of trash mobs, tactics for each boss, loot that can be obtained, and ideal group compositions.
The Botanica Quests
Before heading into The Botanica, we advise you to get all the dungeon quests related to it. To make this process easier, we have written a separate guide for the quests and their chains.
The Botanica Entrance Location
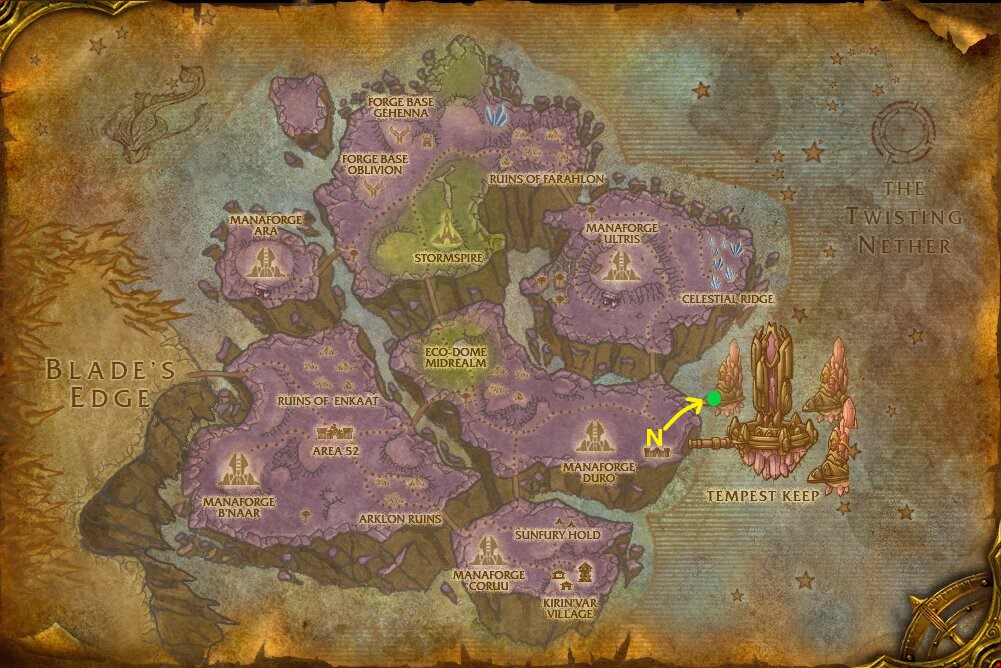
Reaching The Botanica requires a flying mount to reach the platform where Botanica is located. Out of the four flying platforms, The Botanica is on the far left.
Layout of The Botanica
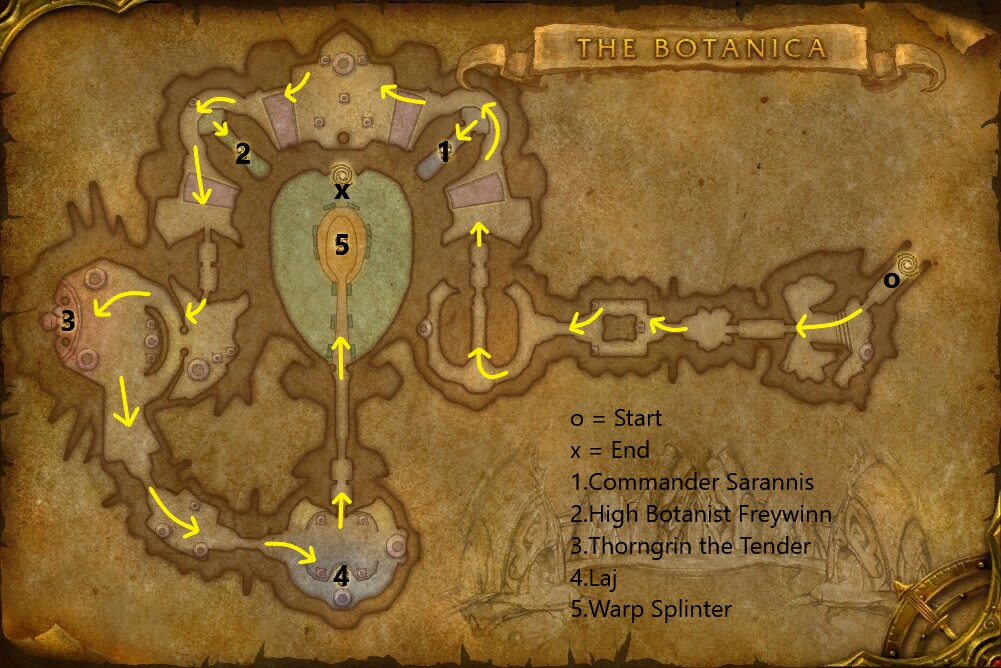
The Botanica is a massive dungeon, holding five bosses and a large assortment of trash. Following the arrows will give you the fastest route through the dungeon. At the end of the dungeon, you have the option of running through the dungeon portal to return you to the outside.
Reputation From The Botanica
Killing mobs in this instance grants The Sha'tar reputation.
Normal Difficulty
- Most monsters grant 12 reputation each.
- Each boss grants 120 reputation.
- A Normal run of The Botanica will give around 1,950 reputation.
- Reputation gains in Normal go all the way up through Exalted.
Heroic Difficulty
- Most monsters grant 15 reputation each.
- Each boss grants 250 reputation.
- A Heroic run of The Botanica will give around 2,950 reputation.
Notable Trash in The Botanica
In this section, we will briefly go over each of the trash mobs that pose a threat to you in this dungeon.
Bloodwarder Protector

Try to burst these down quickly before they put their ![]() Spell Reflection
up, or stun them to prevent them from doing so.
Spell Reflection
up, or stun them to prevent them from doing so.
Bloodwarder Mender
This caster-type mob will often try to buff and heal nearby allies with
![]() Holy Fury and
Holy Fury and ![]() Greater Heal, respectively. Either
focus them down quickly, or make sure to interrupt their heals rather than their
Greater Heal, respectively. Either
focus them down quickly, or make sure to interrupt their heals rather than their
![]() Mind Blast.
Mind Blast.
Bloodwarder Greenkeeper

These enemies can deal high burst damage since you will be facing them in
pairs at a time. Remove the ![]() Impending Coma if your party can
remove poisons, as the sleep on a tank can cause problems. Otherwise, try to
interrupt, stun, and line-of-sight them if possible.
Impending Coma if your party can
remove poisons, as the sleep on a tank can cause problems. Otherwise, try to
interrupt, stun, and line-of-sight them if possible.
Tempest-Forge Peacekeeper

These enemies deal moderate amounts of AoE damage while draining the Mana of anyone nearby. Try to kill these quickly and use any interrupts and stuns available to the party.
Bloodwarder Steward
![]() Arcane Flurry causes the Bloodwarder Steward to spin in
place, dealing heavy Arcane damage to any enemy in their melee range. You will
either need to stun these to stop the Flurry or run away from them until the
attack ends.
Arcane Flurry causes the Bloodwarder Steward to spin in
place, dealing heavy Arcane damage to any enemy in their melee range. You will
either need to stun these to stop the Flurry or run away from them until the
attack ends.
Bloodwarder Falconer

 Call of the Falcon
- Bloodfalcons are with the Falconer and can cast:
The Bloodwarder Falconer itself is not much of a threat, but the
Bloodfalcons with it, however, can be very dangerous.
![]() Call of the Falcon can be placed on anyone, causing the
Bloodfalcons to fixate that person and charge them if they are out of range while
ignoring any previous threat. With their multiple stuns and high damage, these
can easily kill anyone.
Call of the Falcon can be placed on anyone, causing the
Bloodfalcons to fixate that person and charge them if they are out of range while
ignoring any previous threat. With their multiple stuns and high damage, these
can easily kill anyone.
If your group has high single-target DPS you should stun and focus down the Bloodwarder Falconer; if you have strong AoE you can quickly dispatch the falcons instead to prevent them from killing squishier party members.
Sunseeker Chemist

These enemies have somewhat high area-damage capabilities. Keep them faced
away from the group and be ready to move out of any poison clouds you see on the
ground from ![]() Vial of Poison.
Vial of Poison.
Sunseeker Channeler

Alone, these enemies are not very dangerous as you can simply stun them or interrupt
their ![]() Soul Channel. However, when grouped with other
mobs, these can become quite dangerous as their
Soul Channel. However, when grouped with other
mobs, these can become quite dangerous as their ![]() Sunseeker Blessing
grants a large amount of increased damage. If a trash pack you want to pull has
this buff, it is best to wait a few seconds for it to fade off before engaging
them.
Sunseeker Blessing
grants a large amount of increased damage. If a trash pack you want to pull has
this buff, it is best to wait a few seconds for it to fade off before engaging
them.
Nethervine Reaper

These can be dangerous because the ![]() Pale Death will greatly
reduce your tank's Maximum Health. When fighting large packs this can be
deadly. Remove this curse as soon as possible if your party can.
Pale Death will greatly
reduce your tank's Maximum Health. When fighting large packs this can be
deadly. Remove this curse as soon as possible if your party can.
Nethervine Inciter
The ![]() Kidney Shot can be a problem when pulling larger
packs that these mobs are often found in. Try to kill these first as a well-timed
stun can be deadly for a tank.
Kidney Shot can be a problem when pulling larger
packs that these mobs are often found in. Try to kill these first as a well-timed
stun can be deadly for a tank.
Sunseeker Herbalist

These are worth mentioning as their ![]() Entangling Roots can cause
early issues for tanks trying to pick up loose mobs or players trying to move
away from danger. The Mutate Fleshlasher summons can also be a
problem as they will attack the healer unless attacked by the tank quickly.
Entangling Roots can cause
early issues for tanks trying to pick up loose mobs or players trying to move
away from danger. The Mutate Fleshlasher summons can also be a
problem as they will attack the healer unless attacked by the tank quickly.
Sunseeker Harvester

You will want to either kill these first or crowd control them as a well-placed
![]() Polymorph by them can be problematic.
Polymorph by them can be problematic.
Sunseeker Gene-Splicer

Make sure to move out of the ![]() Death & Decay as soon as possible.
This can be hard at times with the constant
Death & Decay as soon as possible.
This can be hard at times with the constant ![]() Entangling Roots casts
from nearby Sunseeker Herbalists.
Entangling Roots casts
from nearby Sunseeker Herbalists.
Mutate Fear-Shrieker

Ranged players should make sure to stay max range from these to avoid the
![]() Fear. Tanks will take high damage during the fear, make sure to keep
them at high health before it lands.
Fear. Tanks will take high damage during the fear, make sure to keep
them at high health before it lands.
Overview of Bosses in The Botanica
Here we will give you a full rundown of what you can expect from each of the bosses found here on both Normal and Heroic difficulties as well as the items they drop.
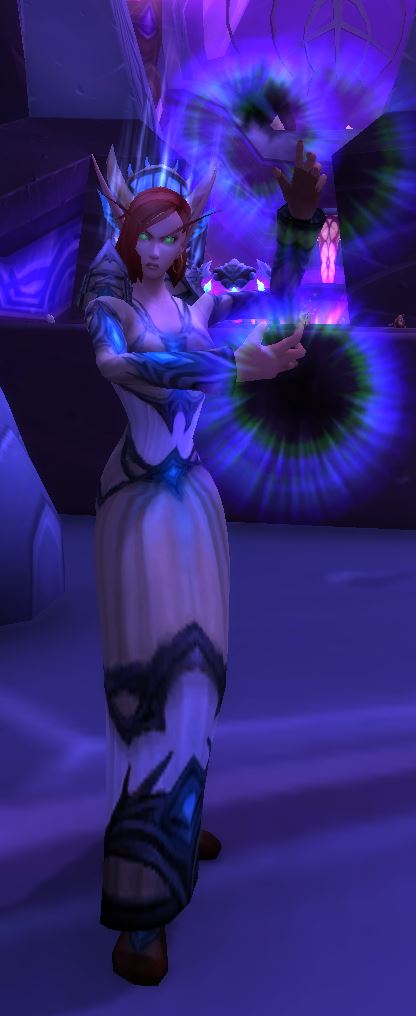
Commander Sarannis
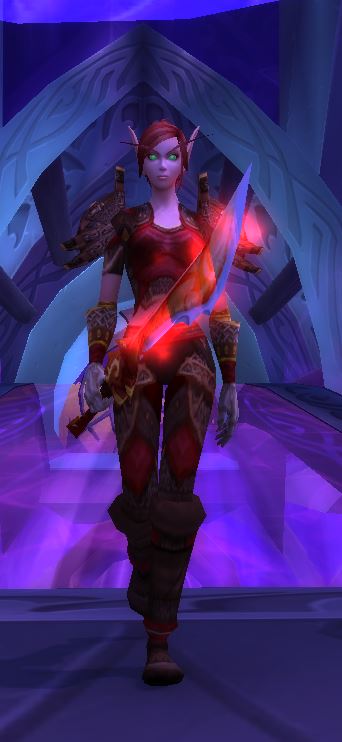
Try to keep ![]() Arcane Resonance removed from the tank if possible.
When the adds spawn, let the tank pick them up or use some form of crowd control
like
Arcane Resonance removed from the tank if possible.
When the adds spawn, let the tank pick them up or use some form of crowd control
like ![]() Psychic Scream or
Psychic Scream or ![]() Intimidating Shout. The
Bloodwarder Mender should be interrupted before it can get a heal off.
Intimidating Shout. The
Bloodwarder Mender should be interrupted before it can get a heal off.
Loot from Normal
| Item | Required Level | Item Type | Slot |
|---|---|---|---|
| 70 | Shoulder | ||
| 70 | Cloak | Back | |
| 70 | Cloth | Hands | |
| 70 | One-Handed Sword | Weapon | |
| 70 | Libram | Relic |
Loot from Heroic
As with most end game Level 68+ dungeons, Rare drops are the same between Normal and Heroic difficulties. In this section, we will list the items specific to Heroic mode only.
| Item | Required Level | Item Type | Slot |
|---|---|---|---|
| BoP | Gem | Misc | |
| BoP | Gem | Misc | |
| BoP | Gem | Misc |
High Botanist Freywinn
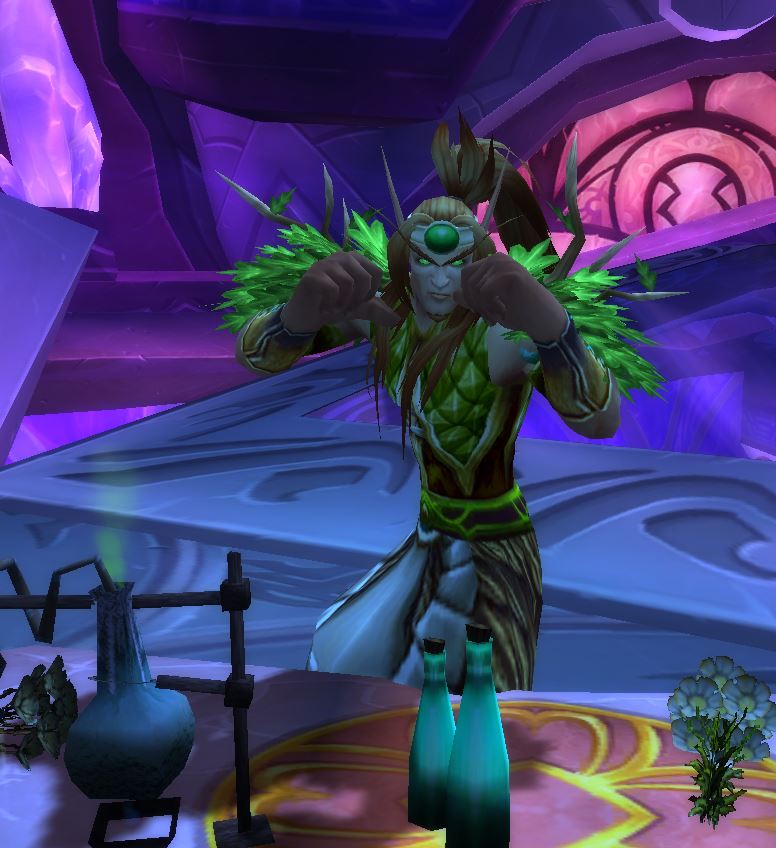
This is a very straightforward fight. Kill all the adds that the boss summons
and this fight becomes trivial. If he lives long enough to cast
![]() Tree Form, you must kill all 3 Frayer Protectors to make
him susceptible to damage again.
Tree Form, you must kill all 3 Frayer Protectors to make
him susceptible to damage again.
Loot from Normal
| Item | Required Level | Item Type | Slot |
|---|---|---|---|
| 70 | Accessory | Neck | |
| 70 | Cloth | Hands | |
| 70 | Plate | Feet | |
| 70 | Fist Weapon | Off-Hand | |
| 70 | Shield | Off-Hand | |
| 370 | Blacksmithing Plans | Misc |
Loot from Heroic
As with most end game Level 68+ dungeons, Rare drops are the same between Normal and Heroic difficulties. In this section, we will list the items specific to Heroic mode only.
| Item | Required Level | Item Type | Slot |
|---|---|---|---|
| BoP | Gem | Misc | |
| BoP | Gem | Misc | |
| BoP | Gem | Misc |
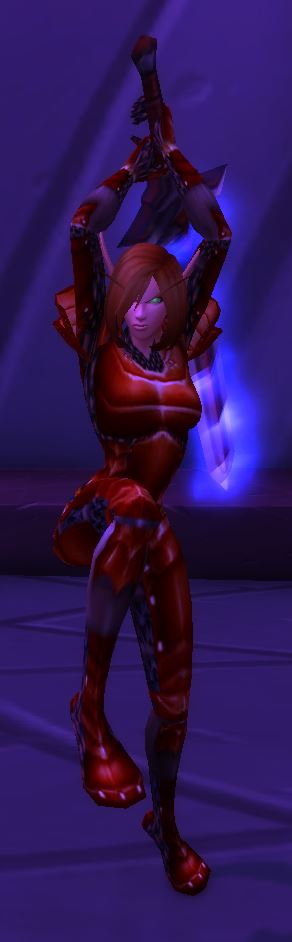
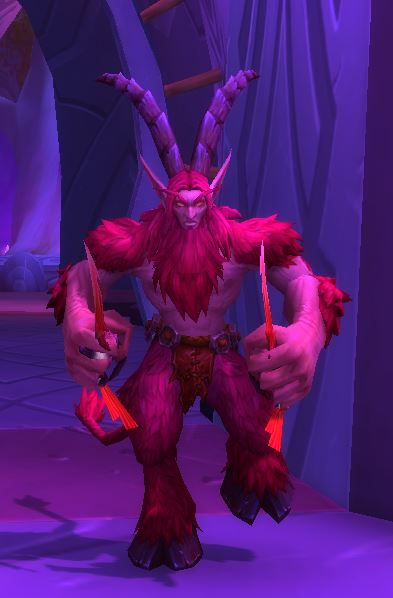
Thorngrin the Tender

While this boss is fairly simple, there is very high party-wide damage.
Melee players will need to move away from the boss during the
![]() Hellfire, and healers will need to heal up players
caught in the
Hellfire, and healers will need to heal up players
caught in the ![]() Sacrifice.
Sacrifice.
It is possible for a ![]() Hellfire and
Hellfire and ![]() Sacrifice to
overlap, so it is advised to pull the boss down from his starting platform to
prevent additional damage.
Sacrifice to
overlap, so it is advised to pull the boss down from his starting platform to
prevent additional damage.
Loot from Normal
| Item | Required Level | Item Type | Slot |
|---|---|---|---|
| 70 | Plate | Hands | |
| 70 | Accessory | Finger | |
| 70 | Accessory | Finger | |
| 70 | Dagger | Main-Hand | |
| 70 | Staff | Weapon | |
| 375 | Tailoring Pattern | Misc |
Loot from Heroic
As with most end game Level 68+ dungeons, Rare drops are the same between Normal and Heroic difficulties. In this section, we will list the items specific to Heroic mode only.
| Item | Required Level | Item Type | Slot |
|---|---|---|---|
| BoP | Gem | Misc | |
| BoP | Gem | Misc | |
| BoP | Gem | Misc |
Laj
 Allergic Reaction
- Elemental Shift — Periodically during the fight Laj will teleport
to his starting platform and change his element, shown by changing his color.
Each color of Laj takes reduced damage from one school of magic and increased
damage from another.
- Arcane Alignment (White) — Reduces damage taken by Arcane and increases damage taken from Shadow.
- Fire Alignment (Red) — Reduces damage taken by Fire and increases damage taken from Frost.
- Frost Alignment (Blue) — Reduces damage taken by Frost and increases damage taken from Fire.
- Nature Alignment (Green) — Reduces damage taken by Nature and increases damage taken from Shadow.
- Shadow Alignment (Black) — Reduces damage taken by Shadow and increases damage taken from Arcane.
- Summon Sprouts — When Laj teleports and changes his alignment, he will also summon a Thorn Flayer and a Thorn Lasher to fight for him.
The ![]() Allergic Reaction should be removed quickly if possible, as it
makes the tank take much higher damage and can be a large problem if it
spreads. Players dealing elemental damage should try to use appropriate spells
to counter Laj's current form.
Allergic Reaction should be removed quickly if possible, as it
makes the tank take much higher damage and can be a large problem if it
spreads. Players dealing elemental damage should try to use appropriate spells
to counter Laj's current form.
If your group is geared enough, it is possible to ignore the adds summoned. If not, it is recommended to at least kill the Thorn Flayers as the damage they deal is high.
Loot from Normal
| Item | Required Level | Item Type | Slot |
|---|---|---|---|
| 70 | Leather | Shoulder | |
| 70 | Plate | Shoulder | |
| 70 | Cloak | Back | |
| 70 | Cloth | Legs | |
| 70 | Leather | Feet |
Loot from Heroic
As with most end game Level 68+ dungeons, Rare drops are the same between Normal and Heroic difficulties. In this section, we will list the items specific to Heroic mode only.
| Item | Required Level | Item Type | Slot |
|---|---|---|---|
| BoP | Gem | Misc | |
| BoP | Gem | Misc | |
| BoP | Gem | Misc |
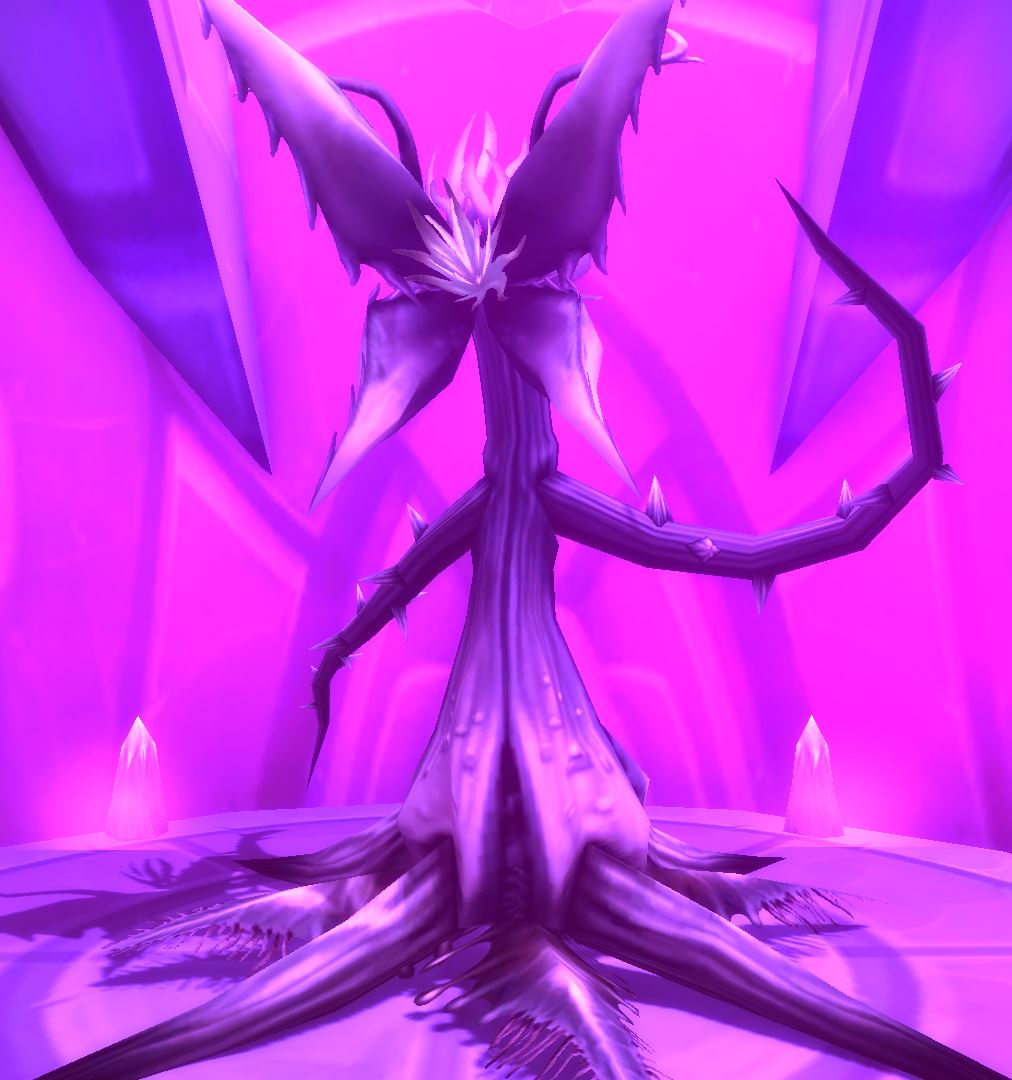
Warp Splinter
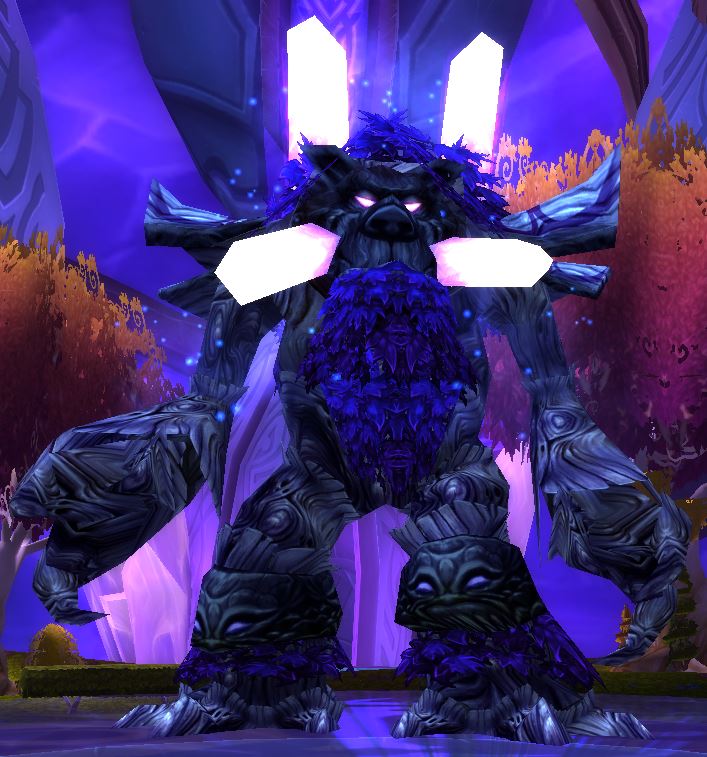
Ranged players will need to be sure to stay max range to avoid the
![]() Stomp. Keep the tank at full health and avoid pulling aggro
during the stun. Healers will have a hard time keeping the tank alive and the
group as the
Stomp. Keep the tank at full health and avoid pulling aggro
during the stun. Healers will have a hard time keeping the tank alive and the
group as the ![]() Arcane Volley occurs frequently.
Arcane Volley occurs frequently.
The Saplings summoned will slowly move toward whoever has threat,
most likely your healer. These adds do minor damage and have low health, but it
is still recommended to ignore them and focus on dealing with the boss. If you
have a form of healing reduction such as ![]() Wound Poison or
Wound Poison or
![]() Aimed Shot, keep these up on the boss as it will significantly reduce
the amount of healing he receives.
Aimed Shot, keep these up on the boss as it will significantly reduce
the amount of healing he receives.
Loot from Normal
| Item | Required Level | Item Type | Slot |
|---|---|---|---|
| 70 | Leather | Head | |
| 70 | Head | ||
| 70 | Plate | Head | |
| 70 | Accessory | Neck | |
| 70 | Cloak | Back | |
| 70 | Cloth | Chest | |
| 70 | Cloth | Chest | |
| 70 | Chest | ||
| 70 | Leather | Legs | |
| 70 | Accessory | Trinket | |
| 70 | One-Handed Dagger | Weapon | |
| 70 | Staff | Weapon | |
| 70 | Two-Handed Sword | Weapon | |
| 375 | Tailoring Pattern | Misc |
Loot from Heroic
As with most end game Level 68+ dungeons, Rare drops are the same between Normal and Heroic difficulties. In this section, we will list the items specific to Heroic mode only.
| Item | Required Level | Item Type | Slot |
|---|---|---|---|
| 70 | Plate | Hands | |
| 70 | Cloth | Feet | |
| 70 | Feet | ||
| 70 | Staff | Weapon | |
| BoP | Gem | Misc | |
| BoP | Gem | Misc | |
| BoP | Gem | Misc |
Recommended Group Composition for The Botanica
The pulls in The Botanica can be somewhat large at times, so AoE damage may be
desired. At least one form of reliable crowd control is recommended as the
larger packs in this dungeon can be quite deadly. Warlocks are strong for their
![]() Fear and
Fear and ![]() Banish, while a Mage is
always a good addition for their reliable
Banish, while a Mage is
always a good addition for their reliable ![]() Polymorph.
Polymorph.
Changelog
- 25 Jul. 2021: Added images for mobs.
- 26 May 2021: Guide added.
This guide has been written by Abide, TBC veteran for nearly a decade. Abide is a Warrior tank and multi-class expert currently playing on Faerlina as Horde. You can find him in the the Icy Veins Discord. You can also see him live on Twitch.