The Arcatraz Dungeon Guide
The recommended level range to run this dungeon on Normal is 68-70. Heroic
mode will require Level 70 and the ![]() Warpforged Key to enter. Entering this
dungeon will require a flying mount to fly up to the entrance.
Warpforged Key to enter. Entering this
dungeon will require a flying mount to fly up to the entrance.
The Arcatraz will take approximately 25-35 minutes to complete with an average group. This dungeon is commonly abbreviated as "arca".
The Arcatraz dungeon portal is found locked behind a gate which requires
![]() Key to the Arcatraz or
Key to the Arcatraz or ![]() Pick Lock to open. The key can be
obtained from a long quest chain found in Netherstorm.
Pick Lock to open. The key can be
obtained from a long quest chain found in Netherstorm.
In this guide, we will cover dungeon quests, the layout of the dungeon, an overview of trash mobs, tactics for each boss, loot that can be obtained, and ideal group compositions.
The Arcatraz Quests
Before heading into The Arcatraz, we advise you to get all the dungeon quests related to it. To make this process easier, we have written a separate guide for the quests and their chains.
The Arcatraz Entrance Location
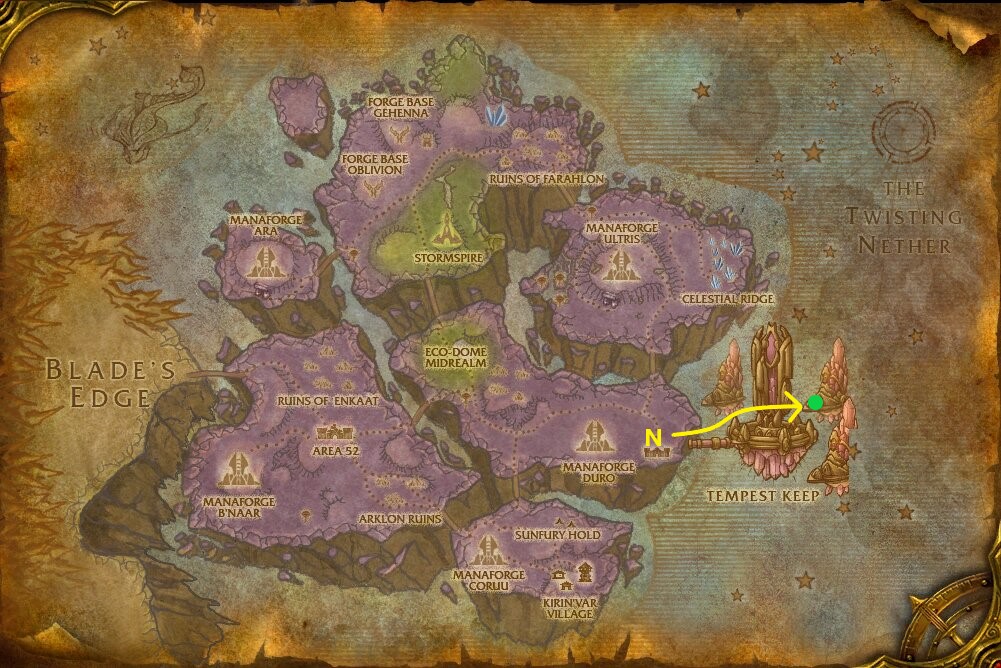
Entering The Arcatraz requires a flying mount to reach the platform where the entrance portal is located. Out of the four flying platforms, The Arcatraz is the second from the left — the platform that is the highest up.
Layout of The Arcatraz
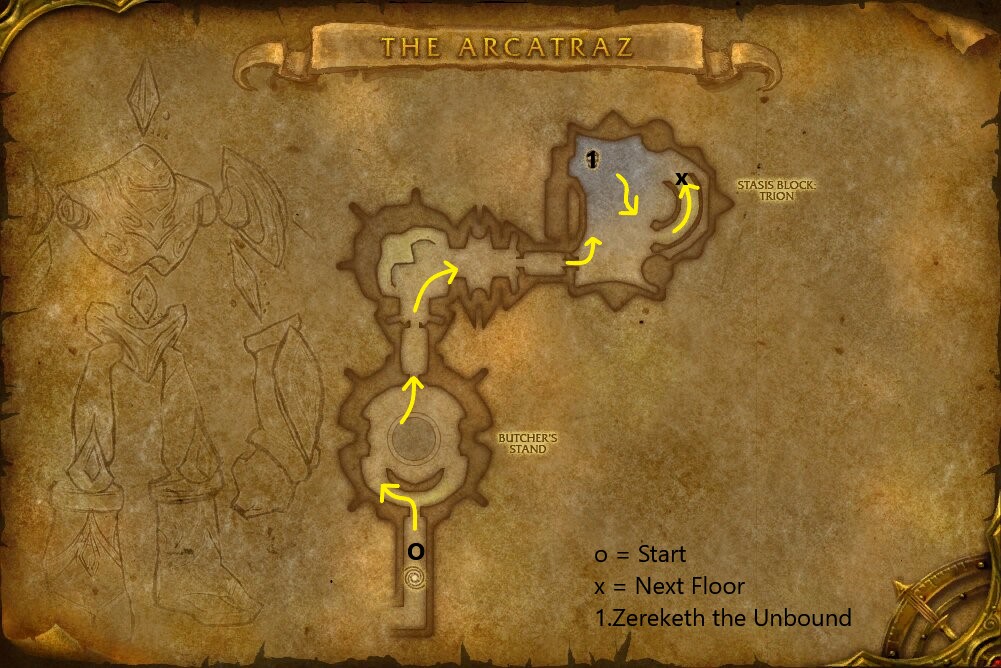
The picture above shows the first floor of The Arcatraz, where you will find Zereketh the Unbound. Follow the arrows shown to find your way to the next floor of the dungeon.
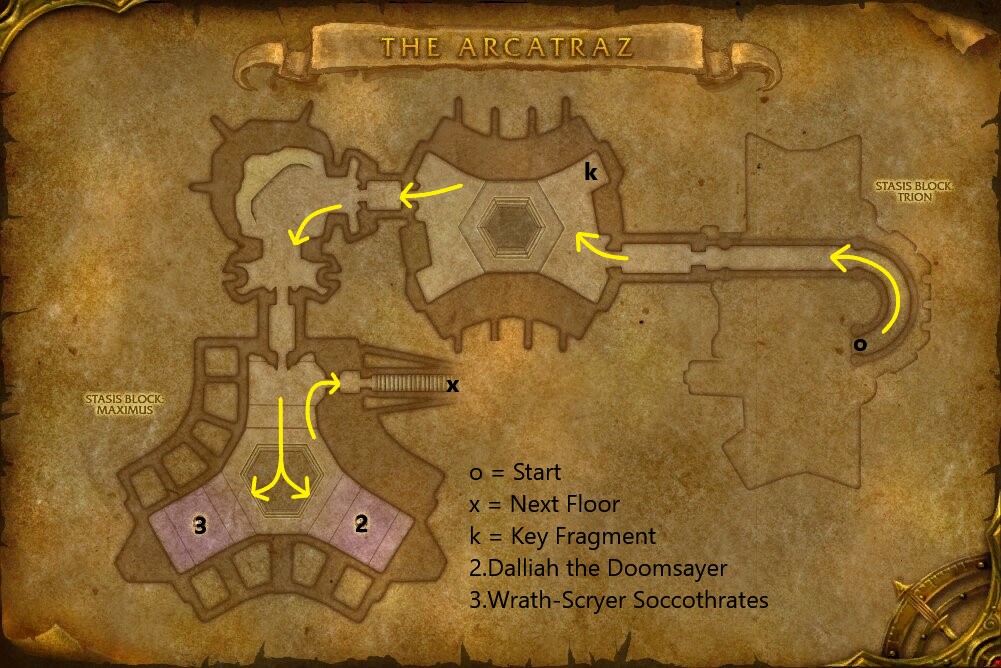
Here we have the second floor of The Arcatraz holding two more bosses, the key fragment for Karazhan attunement, and a staircase to the third floor of the dungeon. You have the option to kill either Dalliah the Doomsayer or Wrath-Scryer Soccothrates first, but we recommend killing Dalliah the Doomsayer first to open more space as Wrath Scryer Soccothrates tends to move around quite often.
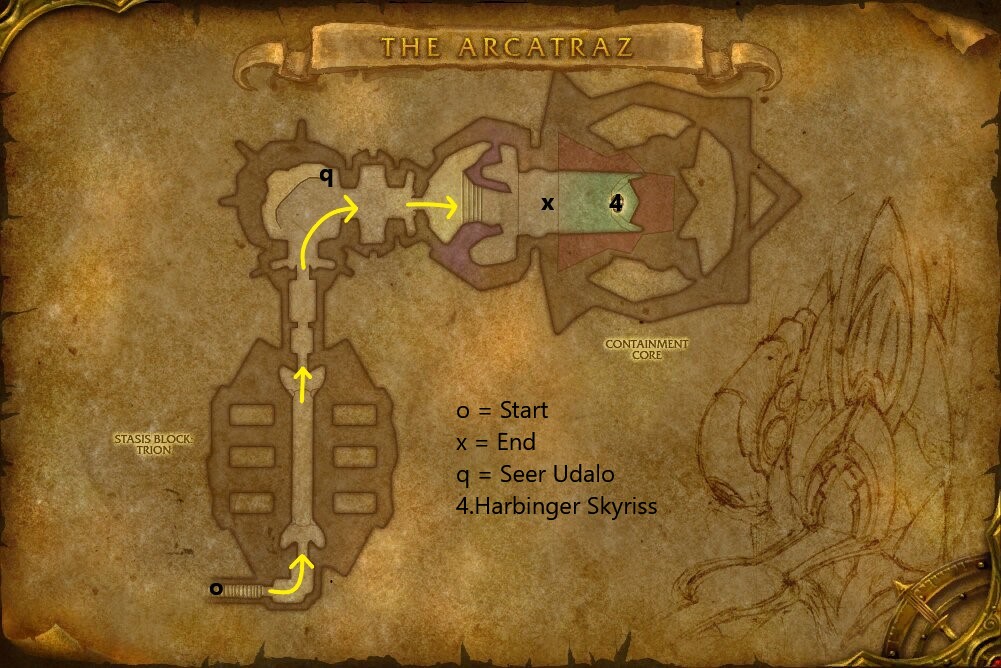
Finally, we have the third and last floor of the dungeon. After a long hallway, players will find a dead Seer Udalo before them, who is needed for multiple quests. Follow the arrows through to find Harbinger Skyriss waiting for you at the end of the dungeon after a short event.
Reputation From The Arcatraz
Killing mobs in this instance grants The Sha'tar reputation.
Normal Difficulty
- Most monsters grant 12 reputation each.
- Each boss grants 120 reputation.
- A normal run of The Arcatraz will give around 1,150 reputation.
- Reputation gains in Normal go all the way up to Exalted.
Heroic Difficulty
- Most monsters grant 15 reputation each.
- Arcatraz Sentinels grant 24 reputation each.
- Each boss grants 250 reputation.
- A Heroic run of The Arcatraz will give around 1,900 reputation.
Notable Trash in The Arcatraz
In this section, we will briefly go over each of the trash mobs that pose a threat to you in this dungeon.
Protean Nightmare
These hit somewhat hard and deal AoE damage to all enemies in their range. Make sure to keep these away from the group as much as possible. The tank will periodically be getting knocked down by this mob, so be mindful of your threat.
Death Watcher
The ![]() Death Count is a race against the clock. As soon as
the Death Watcher reaches 50% health, all players will get this debuff.
If your party can kill the Death Watcher before the timer goes off, the debuff
is removed and no damage is taken. If your group is lacking in damage, it is
possible to have the group line-of-sight this mob before 50% to prevent everyone
except the tank from getting this debuff. On Heroic difficulty this will deal nearly
10,000 damage if the timer cannot be met.
Death Count is a race against the clock. As soon as
the Death Watcher reaches 50% health, all players will get this debuff.
If your party can kill the Death Watcher before the timer goes off, the debuff
is removed and no damage is taken. If your group is lacking in damage, it is
possible to have the group line-of-sight this mob before 50% to prevent everyone
except the tank from getting this debuff. On Heroic difficulty this will deal nearly
10,000 damage if the timer cannot be met. ![]() Drain Life should simply
be dispelled if possible.
Drain Life should simply
be dispelled if possible.
Entropic Eye
The ![]() Chaos Breath will put a massive amount of debuffs on
any players hit. Use any abilities you have to remove curse, poison and magical
afflictions from the tank as these can be quite deadly when so many are applied
at once.
Chaos Breath will put a massive amount of debuffs on
any players hit. Use any abilities you have to remove curse, poison and magical
afflictions from the tank as these can be quite deadly when so many are applied
at once.
Negaton Screamer
These will constantly swap around which element they are "absorbing" with
![]() Elemental Response. Try to fake them out with an element that no one
in the party is using and burst them down quickly before they change their
element again. The volley attacks should be interrupted whenever possible.
Protection Paladins may have a hard time dealing with these as triggering 75%
reduced Holy damage taken can make it difficult to establish threat early on.
Try to wait for someone in your group to hit them with a different element first.
Elemental Response. Try to fake them out with an element that no one
in the party is using and burst them down quickly before they change their
element again. The volley attacks should be interrupted whenever possible.
Protection Paladins may have a hard time dealing with these as triggering 75%
reduced Holy damage taken can make it difficult to establish threat early on.
Try to wait for someone in your group to hit them with a different element first.
Eredar Deathbringer
These can be quite difficult with the constant AoE damage and knockback. Tank
these with your back against a wall to avoid being knocked into additional
mobs. Kill these quickly as the ![]() Diminish Soul will quickly cause you
to take significantly higher damage.
Diminish Soul will quickly cause you
to take significantly higher damage.
Eredar Soul-Eater
If possible, keep the ![]() Soul Steal dispelled from the tank at all
times.
Soul Steal dispelled from the tank at all
times.
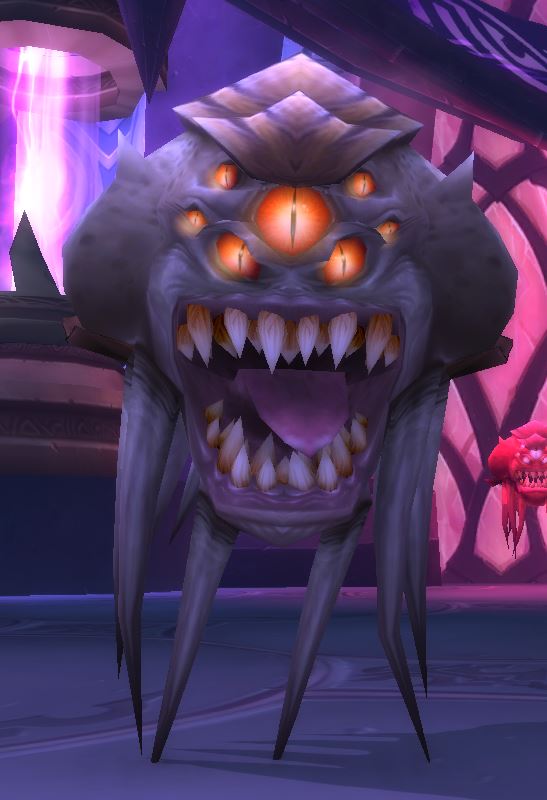
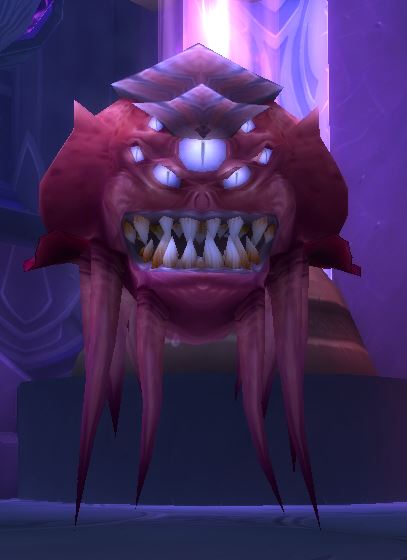
Arcatraz Sentinel
These will appear throughout the entire dungeon. They first appear to be
a corpse already, but upon entering their aggro range will activate and
start to attack. Keep these tanked at a max range to avoid the
![]() Energy Discharge from dealing more damage than necessary.
Energy Discharge from dealing more damage than necessary.
They will also constantly drop threat, so be ready with any taunt or stuns
available to keep them in place. When they are low health they will try to
![]() Explode to deal a burst of damage. Simply run away from them when
you see them gain this buff.
Explode to deal a burst of damage. Simply run away from them when
you see them gain this buff.
Skulking Witch
Be cautious to not pull additional mobs as there are a few of these invisible
throughout the room. They will ![]() Gouge the tank from time
to time and attack their second-on-threat target until the tank reestablishes
threat.
Gouge the tank from time
to time and attack their second-on-threat target until the tank reestablishes
threat.
Spiteful Temptress
These can be quite dangerous to deal with because of their
![]() Domination. Stun or CC anyone that gets hit by this
as they will also deal increased damage.
Domination. Stun or CC anyone that gets hit by this
as they will also deal increased damage.
Unbound Devastator
Tank these with your back against a wall to avoid getting knocked into
additional enemies from the ![]() Devastate. The
Devastate. The
![]() Deafening Roar will happen quite frequently, but it is
possible for ranged players and healers to line-of-sight this ability before it
goes off.
Deafening Roar will happen quite frequently, but it is
possible for ranged players and healers to line-of-sight this ability before it
goes off.
Sargeron Hellcaller
These alternate between casting and meleeing the tank. Move out of
the ![]() Hell Rain as soon as possible as it deals high damage.
Hell Rain as soon as possible as it deals high damage.
Sargeron Archer
These can be somewhat annoying with the constant ![]() Hooked Net casts
rooting the tank and a well-timed
Hooked Net casts
rooting the tank and a well-timed ![]() Scatter Shot may cause issues.
Scatter Shot may cause issues.
Gargantuan Abyssal
The group will need to be stacked to split the damage from ![]() Meteor.
This will kill almost anyone if they get hit by it solo. Try to position the
group in a spot where ranged players are not in range to take damage from
Meteor.
This will kill almost anyone if they get hit by it solo. Try to position the
group in a spot where ranged players are not in range to take damage from
![]() Fire Shield, but close enough that the melee players can converge
with the ranged group as soon as the Meteor cast begins.
Fire Shield, but close enough that the melee players can converge
with the ranged group as soon as the Meteor cast begins.
Unchained Doombringer
Mind your threat as the tank can be stunned for a very long time while
fighting these. A ![]() War Stomp in the group can cause a wipe if a DPS
pulls aggro before the stun goes off.
War Stomp in the group can cause a wipe if a DPS
pulls aggro before the stun goes off.
Overview of Bosses in The Arcatraz
Here we will give you a full rundown of what you can expect from each of the bosses found here on both Normal and Heroic difficulties as well as the items they drop.
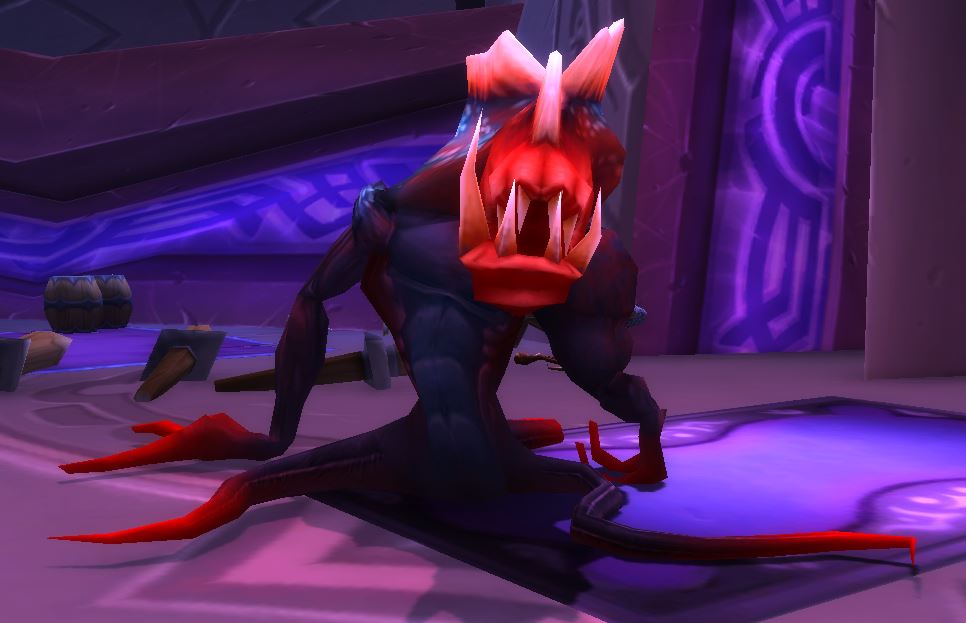
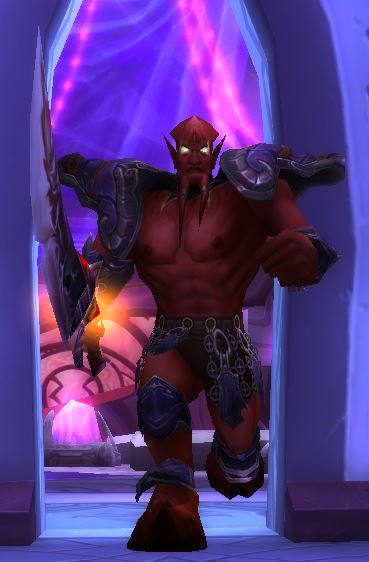
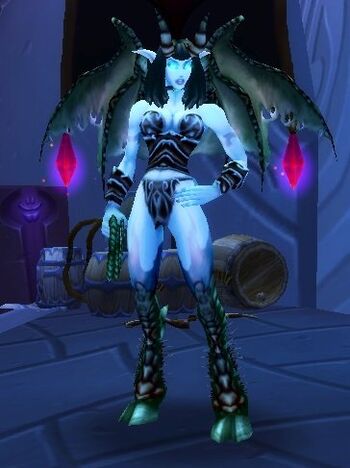
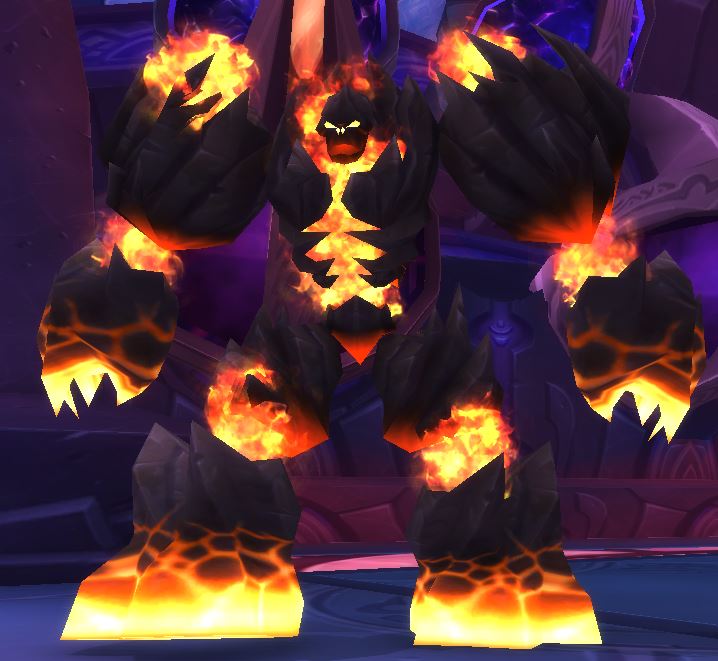
Zereketh the Unbound

Make sure to spread out to avoid as much damage as possible from the
![]() Seed of Corruption. Everyone must be ready to move out of the
Seed of Corruption. Everyone must be ready to move out of the
![]() Void Zones instantly, as they deal very high damage.
Void Zones instantly, as they deal very high damage.
The ![]() Shadow Nova can be out-ranged on Normal difficulty, but on
Heroic it has its range increased. Tanks will want to place their back against a
wall to avoid being knocked around the room. It is advised to clear most, if
not all, of the trash in this room to avoid a player being knocked back into
additional trash mobs.
Shadow Nova can be out-ranged on Normal difficulty, but on
Heroic it has its range increased. Tanks will want to place their back against a
wall to avoid being knocked around the room. It is advised to clear most, if
not all, of the trash in this room to avoid a player being knocked back into
additional trash mobs.
Overall this boss can be somewhat hard, especially early on in lower gear levels. This boss is optional, so if your group is struggling to meet the damage or healing requirements, you can always skip this boss until later.
Loot from Normal
| Item | Required Level | Item Type | Slot |
|---|---|---|---|
| 70 | Cloth | Shoulder | |
| 70 | Cloak | Back | |
| 70 | Plate | Waist | |
| 70 | Feet | ||
| 70 | Idol | Relic |
Loot from Heroic
As with most endgame Level 68+ dungeons, Rare drops are the same between Normal and Heroic difficulties. In this section, we will list the items specific to Heroic mode only.
| Item | Required Level | Item Type | Slot |
|---|---|---|---|
| BoP | Gem | Misc | |
| BoP | Gem | Misc | |
| BoP | Gem | Misc |
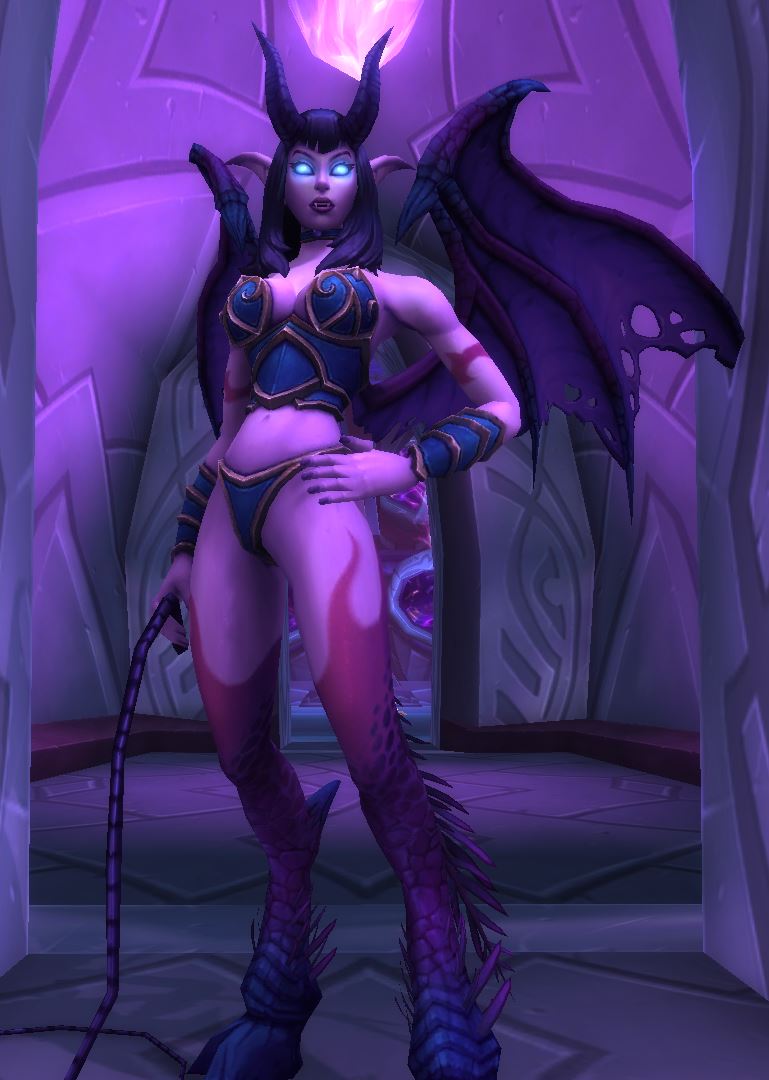
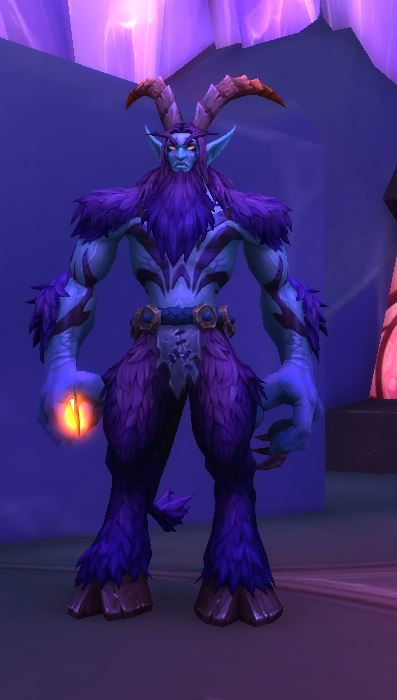
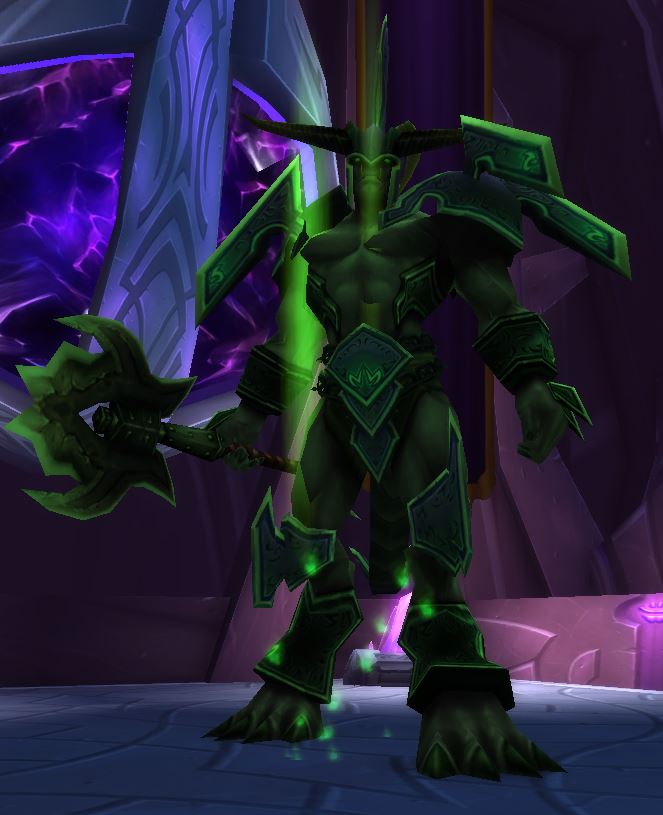
Dalliah the Doomsayer
 Heal
Heal Whirlwind
 Gift of the Doomsayer
 Shadow Wave — Heroic-only.
This is a fairly easy fight. Melee DPS, and even under-geared tanks, will
want to move away from ![]() Whirlwind whenever she casts it. After the
Whirlwind ends, she starts to cast
Whirlwind whenever she casts it. After the
Whirlwind ends, she starts to cast ![]() Heal, which should be interrupted
as it will heal her for a large amount otherwise.
Heal, which should be interrupted
as it will heal her for a large amount otherwise.
The healer will need to be mindful of who has ![]() Gift of the Doomsayer,
as healing anyone with this debuff will also heal Dalliah the Doomsayer
for a small amount. Classes that utilize heal-over-time spells will need to be
extra mindful and avoid using HoTs as much as possible. Try to keep the tank at
full health at all times in case they are the target of this curse.
Gift of the Doomsayer,
as healing anyone with this debuff will also heal Dalliah the Doomsayer
for a small amount. Classes that utilize heal-over-time spells will need to be
extra mindful and avoid using HoTs as much as possible. Try to keep the tank at
full health at all times in case they are the target of this curse.
Loot from Normal
| Item | Required Level | Item Type | Slot |
|---|---|---|---|
| 70 | Chest | ||
| 70 | Plate | Hands | |
| 70 | Fist Weapon | Main-Hand | |
| 70 | Off-Hand Weapon | Off-Hand | |
| 70 | Wand | Ranged Weapon | |
| 375 | Tailoring Pattern | Misc |
Loot from Heroic
As with most endgame Level 68+ dungeons, Rare drops are the same between Normal and Heroic difficulties. In this section, we will list the items specific to Heroic mode only.
| Item | Required Level | Item Type | Slot |
|---|---|---|---|
| BoP | Gem | Misc | |
| BoP | Gem | Misc | |
| BoP | Gem | Misc |
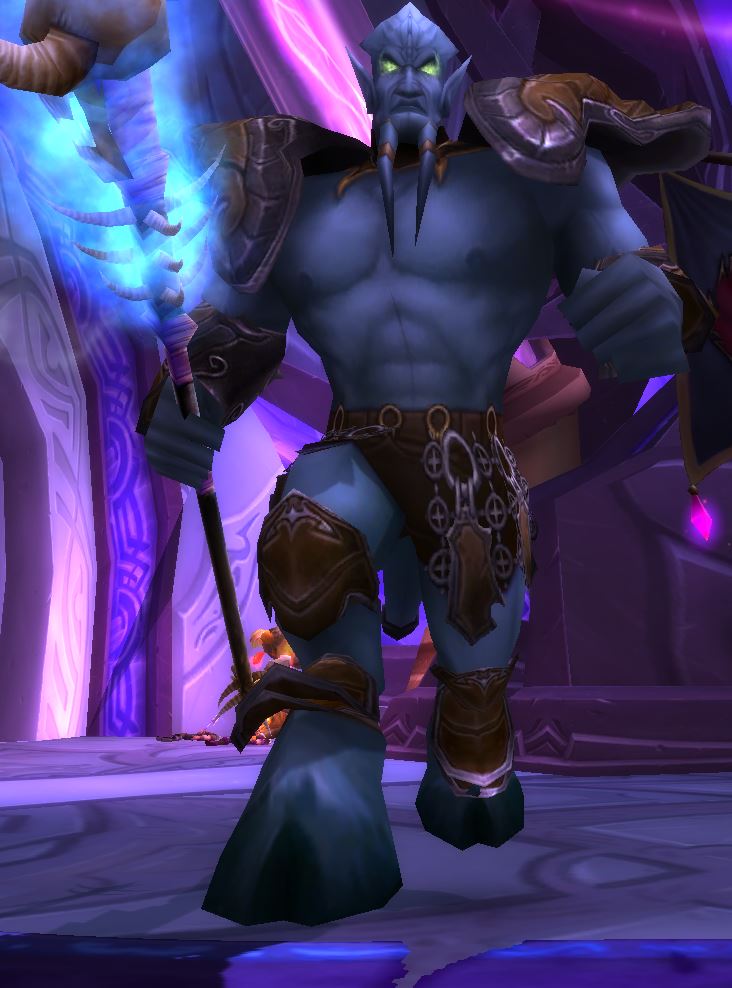
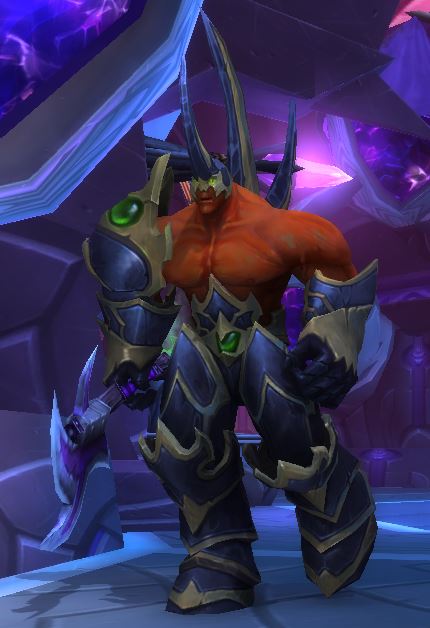
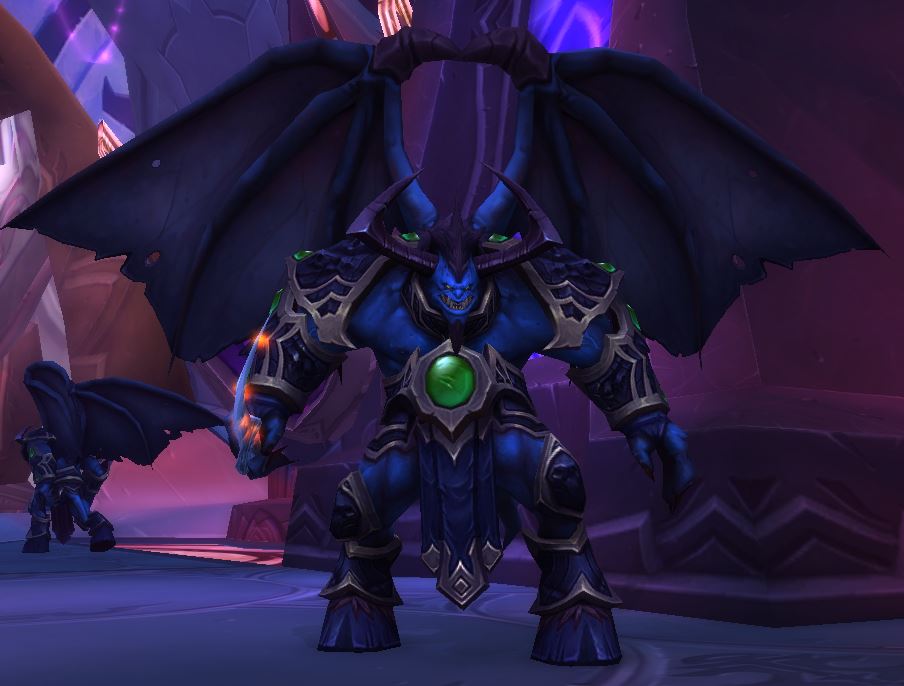
Wrath-Scryer Soccothrates
 Knock Away and Charge
 Felfire
 Felfire Shock
 Fel Immolation
Tanks will want to pull this boss away from the group and place their back
against a wall to avoid the knockback from ![]() Knock Away. After doing a
Knock Away, Wrath-Scryer Soccothrates will then randomly pick a target
and Charge to them, leaving a large trail of
Knock Away. After doing a
Knock Away, Wrath-Scryer Soccothrates will then randomly pick a target
and Charge to them, leaving a large trail of ![]() Felfire in his path.
Felfire in his path.
Ranged players should focus on spreading out to avoid additional damage from
the Charge after each ![]() Knock Away and the knockback it does. Avoid
any
Knock Away and the knockback it does. Avoid
any ![]() Felfire on the ground and let the tank pick the boss up after
the Charge goes off.
Felfire on the ground and let the tank pick the boss up after
the Charge goes off.
Loot from Normal
| Item | Required Level | Item Type | Slot |
|---|---|---|---|
| 70 | Leather | Hands | |
| 70 | Leather | Waist | |
| 70 | Accessory | Finger | |
| 70 | Two-Handed Mace | Weapon | |
| 70 | Crossbow | Ranged Weapon |
Loot from Heroic
As with most endgame Level 68+ dungeons, Rare drops are the same between Normal and Heroic difficulties. In this section, we will list the items specific to Heroic mode only.
| Item | Required Level | Item Type | Slot |
|---|---|---|---|
| BoP | Gem | Misc | |
| BoP | Gem | Misc | |
| BoP | Gem | Misc |
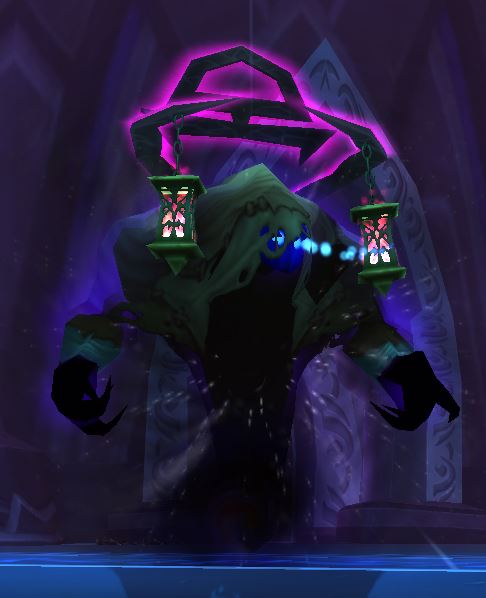
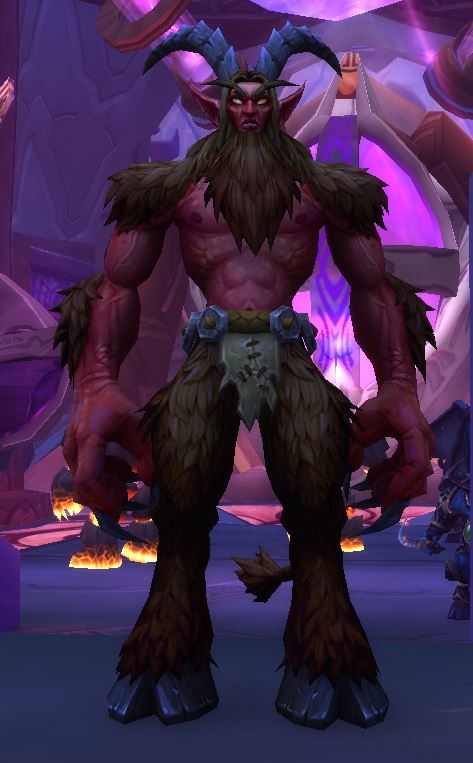
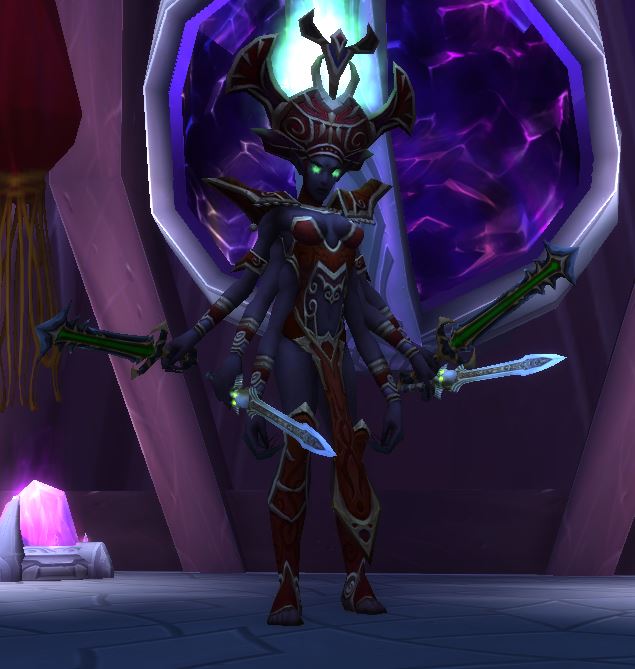
Harbinger Skyriss
Before facing the Harbinger himself, you will first need to complete a mini event where four prison cells are opened and you will fight one of the two monsters listed below at each cell.
First Prison Cell
Second Prison Cell
- Millhouse Manastorm — Aids you during the fight and is needed for quests found in Arcatraz.
Third Prison Cell
Fourth Prison Cell
After finishing the enemies in the four cells off, Harbinger Skyriss himself will attack the party with the following abilities:
The first thing you will want to do when engaging the boss is to mark him
with a raid marker. This will help you keep track of him when he summons the
illusions. Use any available stuns or crowd control on players hit by the
![]() Complete Domination.
Complete Domination.
Depending on your group's gear level, you may want to kill at least the first
illusion as a player getting targeted by ![]() Mind Rend twice
at the same time can easily kill them. If your gear is high enough, you can
save cooldowns and start hard-nuking the boss around 70% to kill him with both
illusions alive.
Mind Rend twice
at the same time can easily kill them. If your gear is high enough, you can
save cooldowns and start hard-nuking the boss around 70% to kill him with both
illusions alive.
Loot from Normal
| Item | Required Level | Item Type | Slot |
|---|---|---|---|
| 70 | Cloth | Head | |
| 70 | Cloth | Head | |
| 70 | Leather | Head | |
| 70 | Accessory | Neck | |
| 70 | Chest | ||
| 70 | Plate | Chest | |
| 70 | Plate | Chest | |
| 70 | Cloth | Feet | |
| 70 | Accessory | Finger | |
| 70 | Accessory | Trinket | |
| 70 | Dagger | Weapon | |
| 70 | Off-Hand Weapon | Off-Hand |
Loot from Heroic
As with most endgame Level 68+ dungeons, Rare drops are the same between Normal and Heroic difficulties. In this section, we will list the items specific to Heroic mode only.
| Item | Required Level | Item Type | Slot |
|---|---|---|---|
| 70 | Plate | Wrist | |
| 70 | Cloth | Waist | |
| 70 | Leather | Feet | |
| 70 | Dagger | Weapon | |
| BoP | Gem | Misc | |
| BoP | Gem | Misc | |
| BoP | Gem | Misc |
Recommended Group Composition for The Arcatraz
The pulls in The Arcatraz are generally small, so no significant amount of AoE is
needed. Hunters are very strong in this dungeon for their single-target Physical
damage and ![]() Misdirection helps significantly on both the larger packs
and on enemies that silence or disarm.
Misdirection helps significantly on both the larger packs
and on enemies that silence or disarm.
It is also strongly advised to bring a class that can res, as The Arcatraz is locked behind a gate. If someone dies who does not have the key to the gate, the group will need to wait for the keyholder to run back to the entrance and open it for them.
Changelog
- 25 Jul. 2021: Added images for mobs.
- 26 May 2021: Guide added.
This guide has been written by Abide, TBC veteran for nearly a decade. Abide is a Warrior tank and multi-class expert currently playing on Faerlina as Horde. You can find him in the the Icy Veins Discord. You can also see him live on Twitch.