Abyss Raid Guide for Argos
Argos is an 8 man Abyss Raid for players that have reached an item level of 1370 or higher. The fight is split between 3 gates and provides materials to increase your gear level beyond 1370.
Argos Raid Structure
Argos has three phases:
- Phase 1 - Required Item Level: 1370
- Phase 2 - Required Item Level: 1385
- Phase 3 - Required Item Level: 1400
After entering the raid and claiming rewards you cannot enter again, even if you have only completed the first phase. If you do not claim rewards, then you can enter again. Rewards are claimed at the time when you finish each phase.
Below are the rewards for each phase:
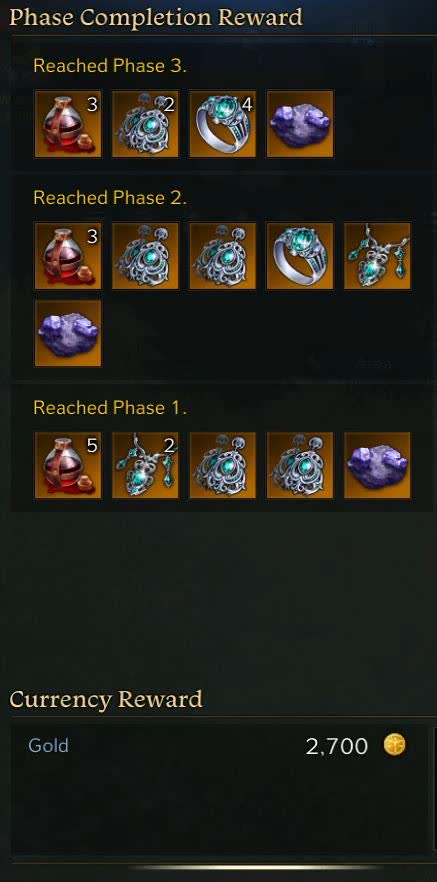
The Argos Blood allows you to craft a Legendary set of armor and weapon. You may also dismantle Argos Blood and get two Great Honor Leapstones for each.
As for the chests that you can purchase with gold, the decision to buy or not buy them is up to you, and it’s highly based on the price of Great Honor Leapstones, so knowing what they are worth can tell you if the chest is worth buying. Multiply each Argos Blood by two and then multiply that by the market value (server dependent) of each Great Honor Leapstone.
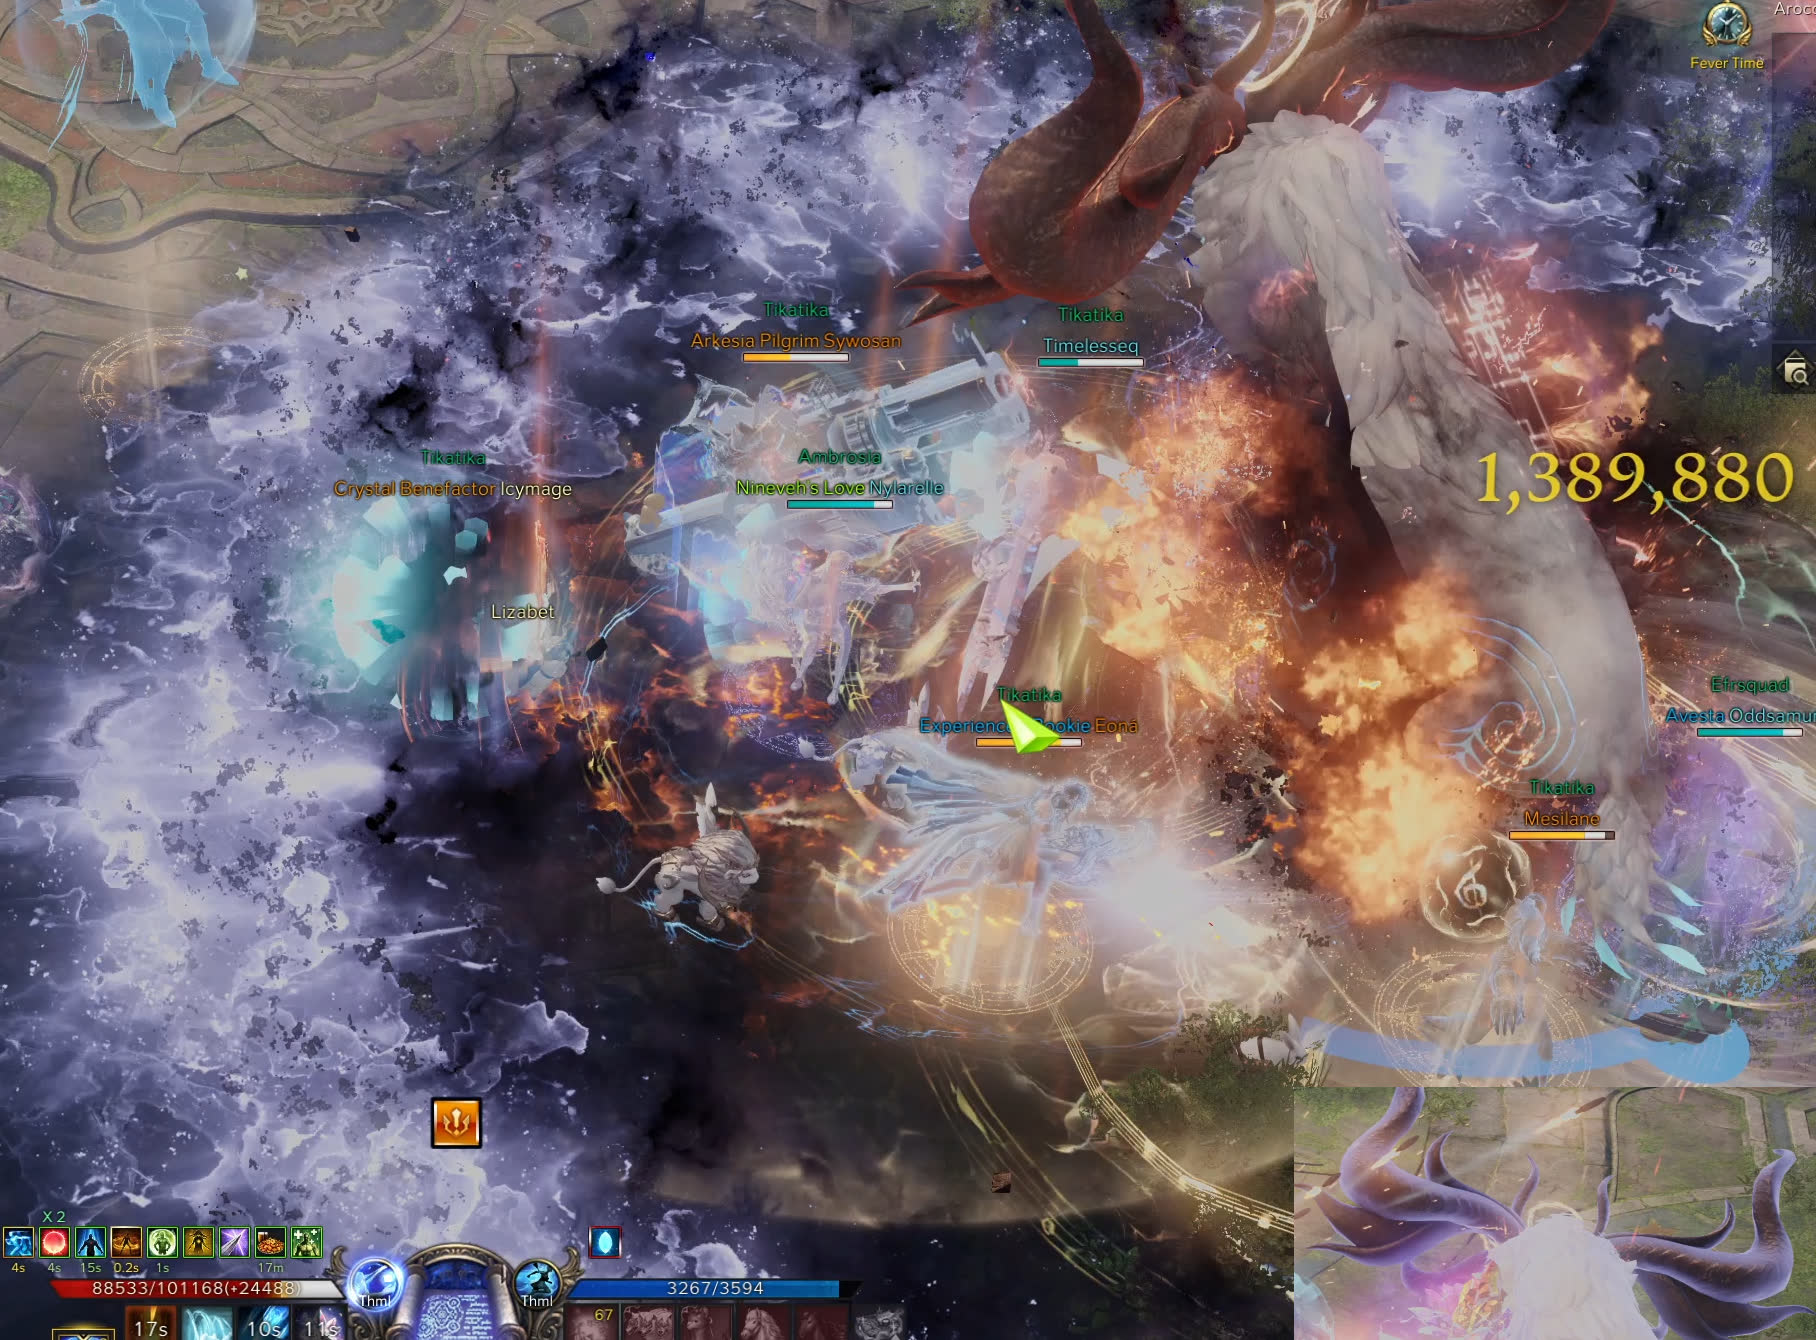
Argos Phase 1 Introduction
The Key mechanic in Phase 1 is based around two debuffs: Sun and Moon. At the start of the fight, half of the group will have the Sun debuff, while the other half has Moon. As the fight goes on, these will swap.
Argos Phase 1 Consumables
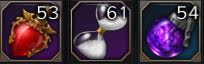
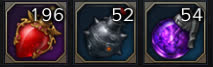
- HP Potions
- Time Stop Potions
- Dark Grenades
Argos Phase 1 Group Setup
I recommend not having two of the same class. Other than that, a support class such as Bard and Paladin is great to have as with any other content, but not mandatory.
Argos Phase 1 Major Mechanics
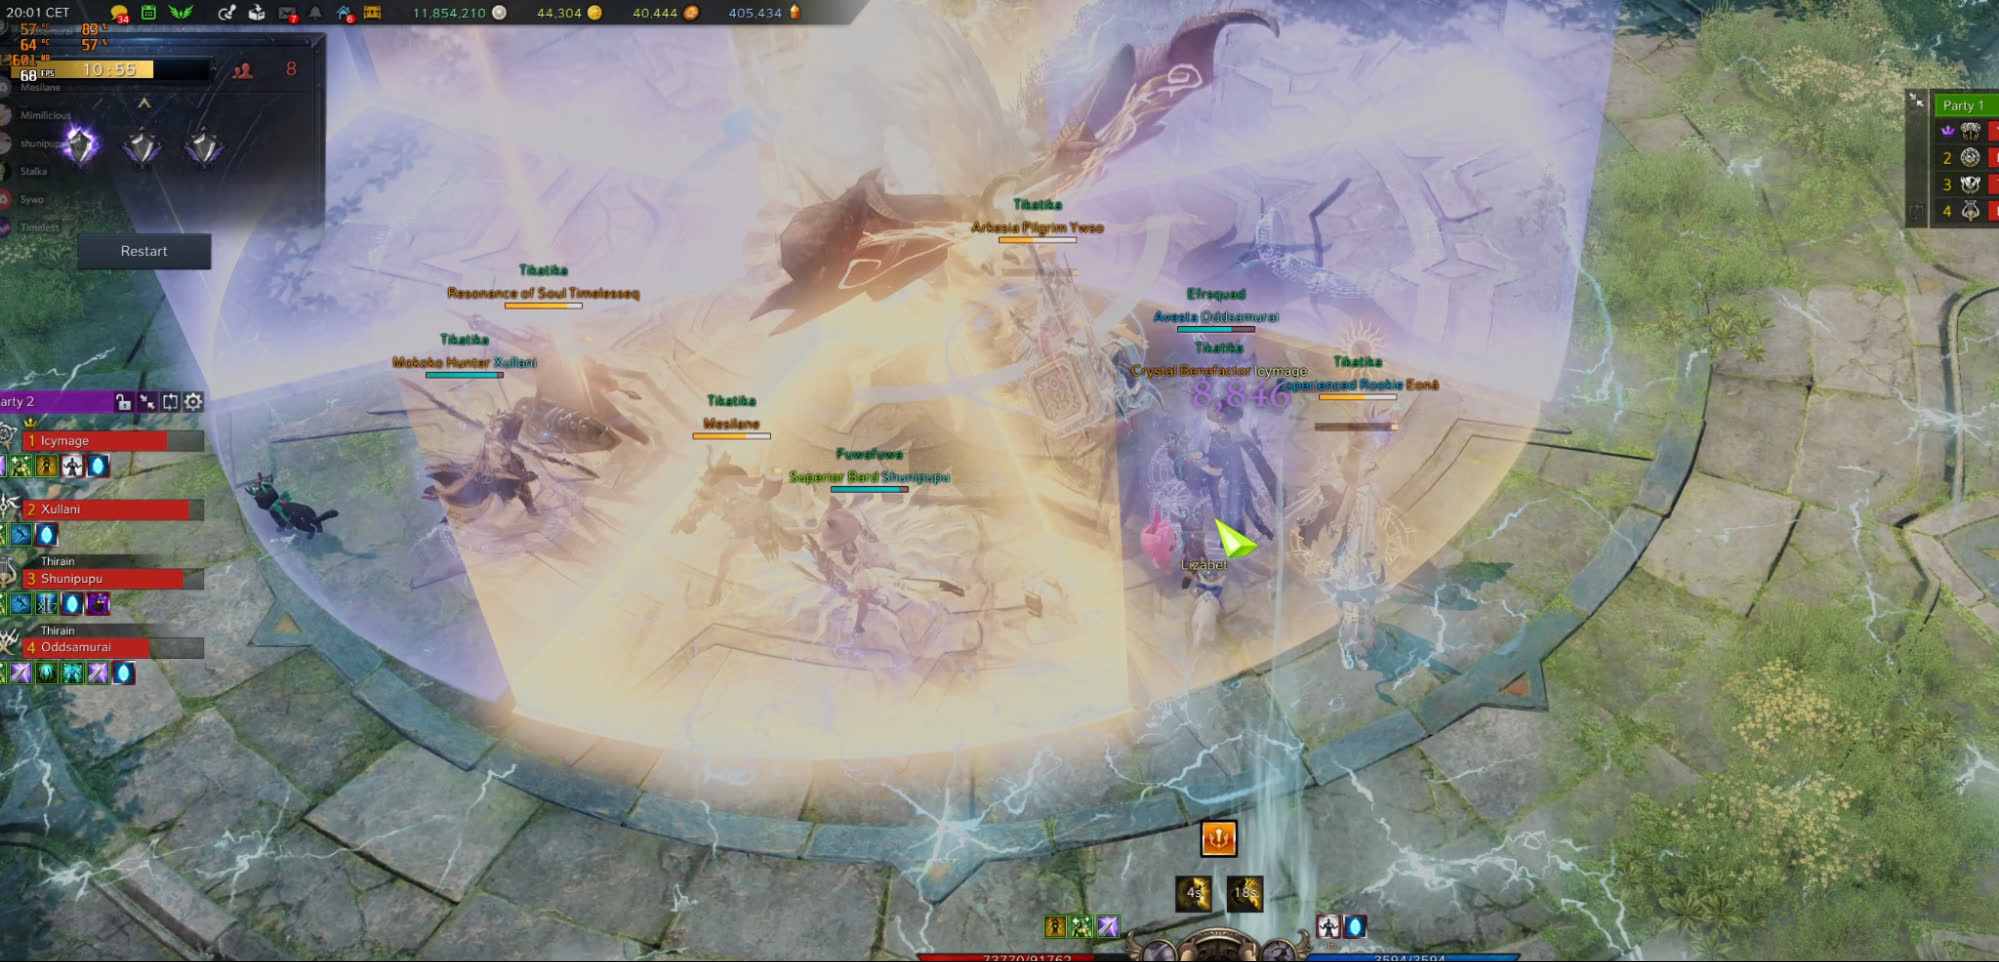
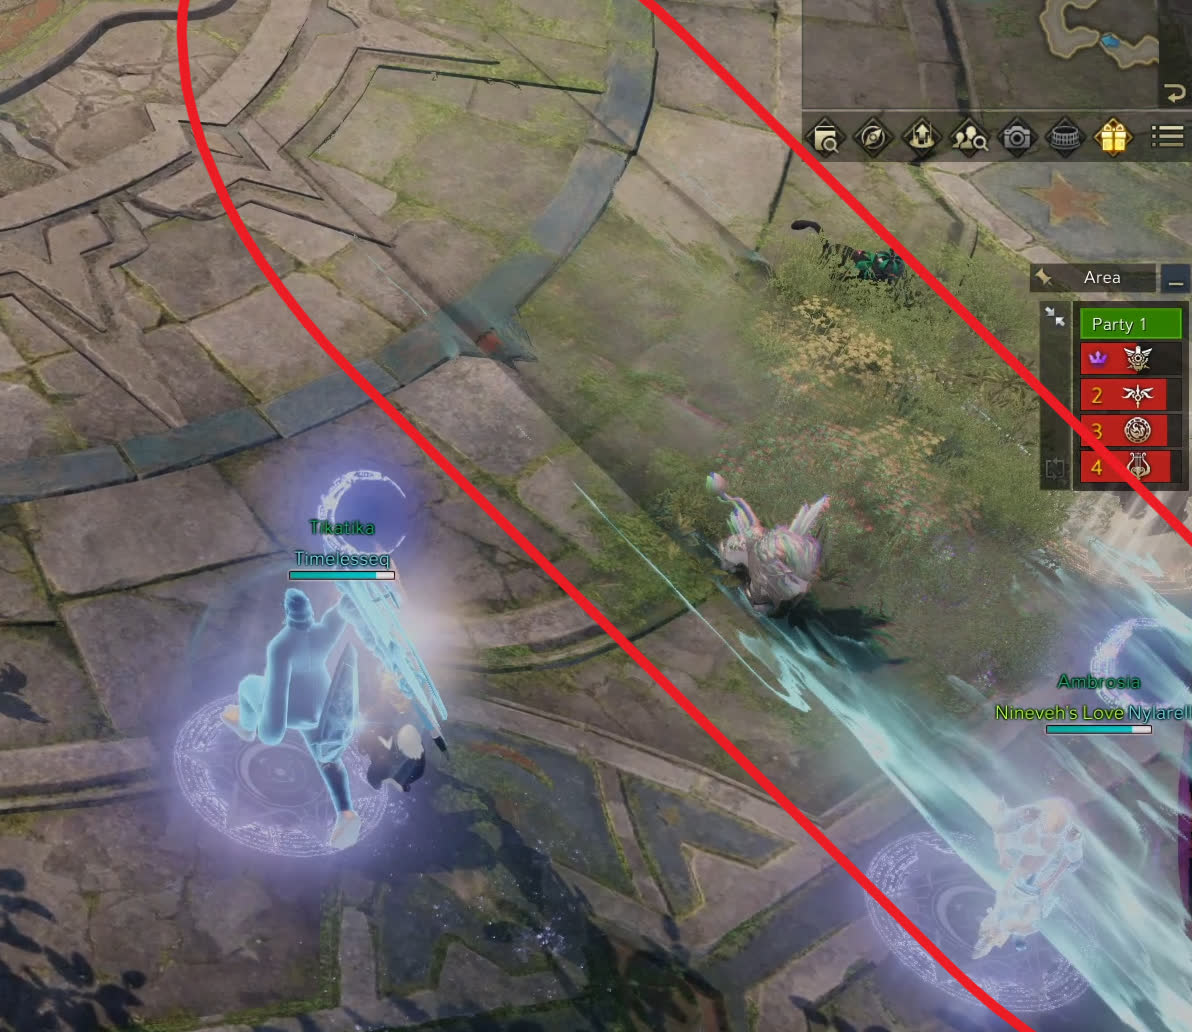
Before the boss fight, be sure to assign spots for safe spot mechanics. For example, an easy way to do it is utilizing the party list numbers, as seen below.
- Party 1
- Number 1 party member - North
- Number 2 party member - East
- Number 3 party member - South
- Number 4 party member - West
- Party 2
- 1 Member - North
- 2 Member - East
- 3 Member - South
- 4 Member - West
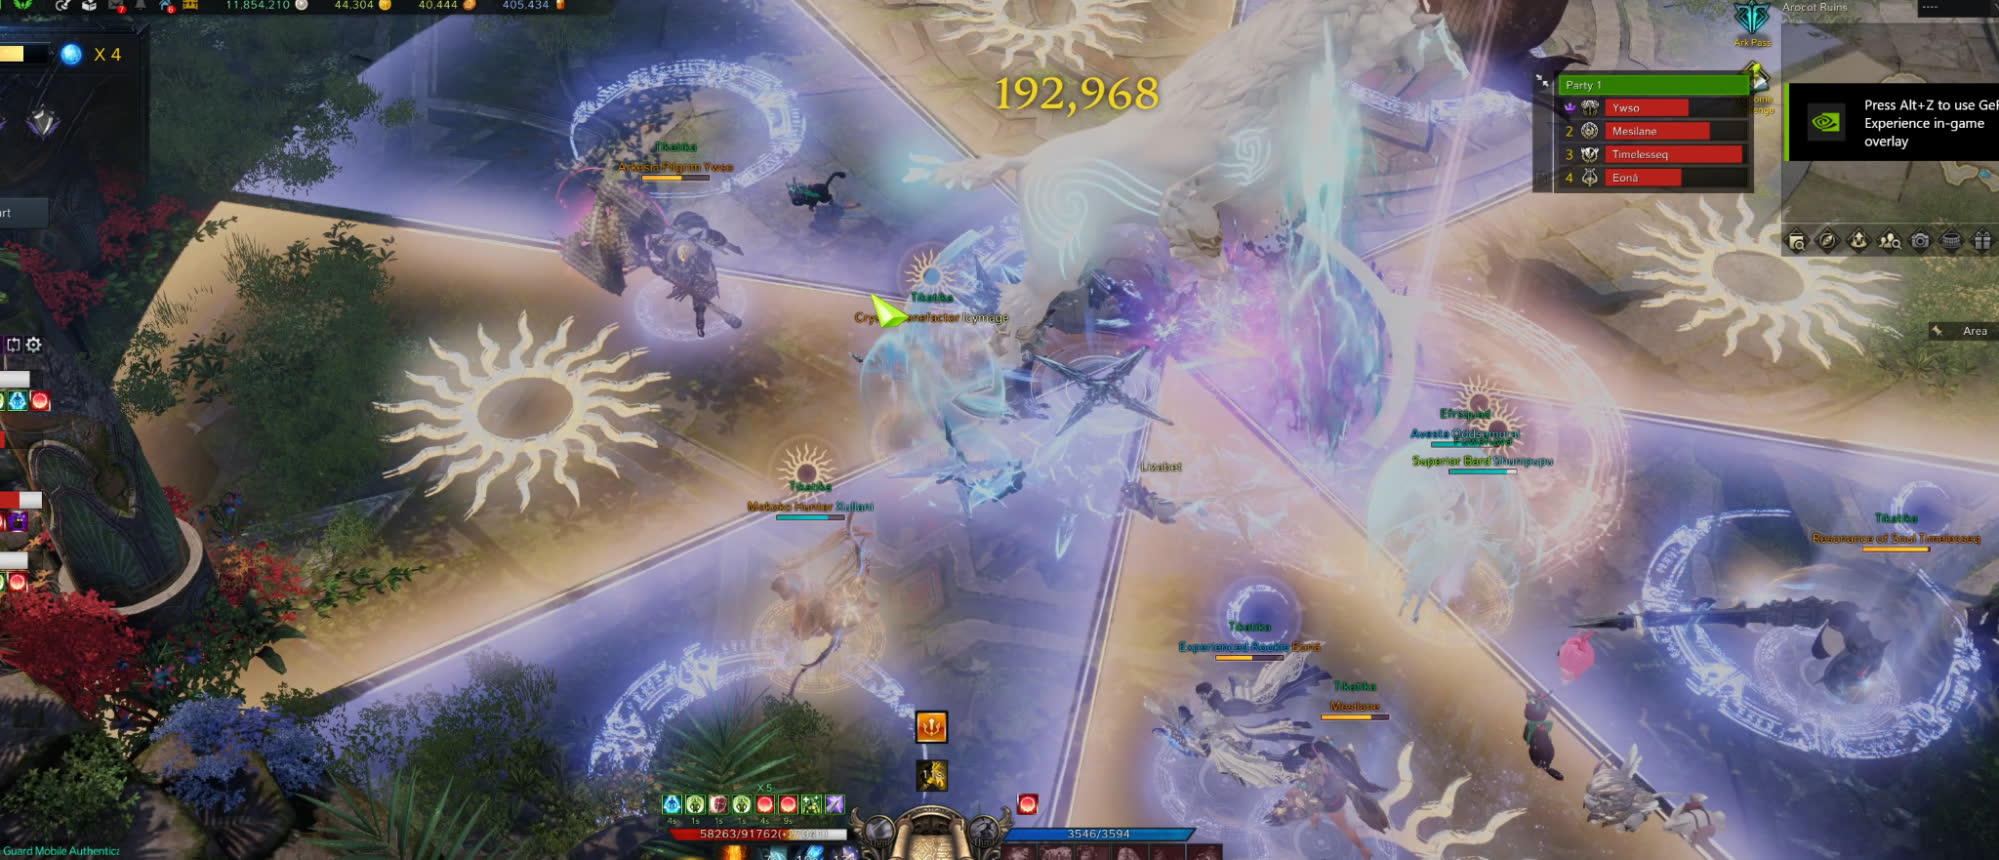
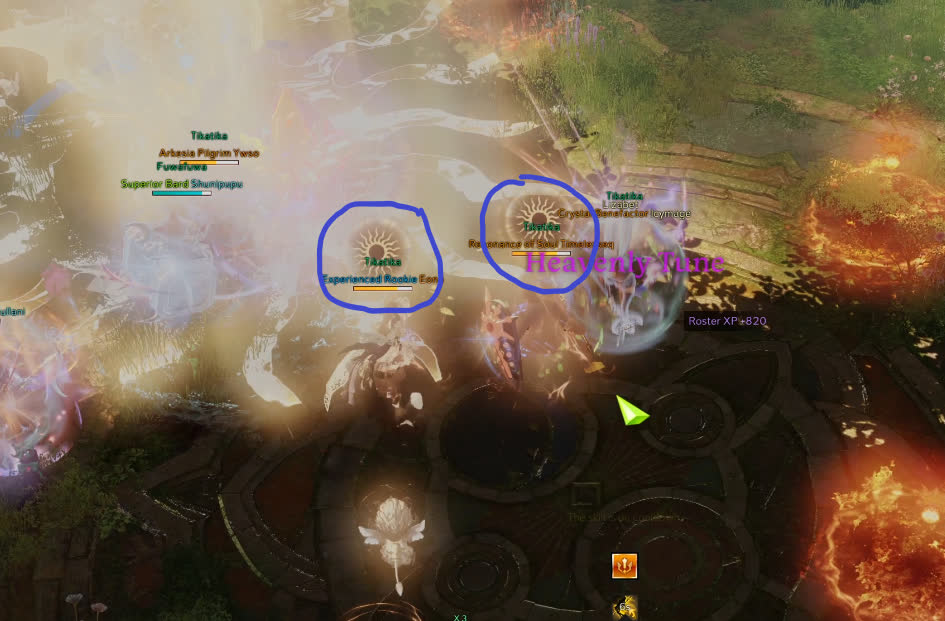
Safe Spots
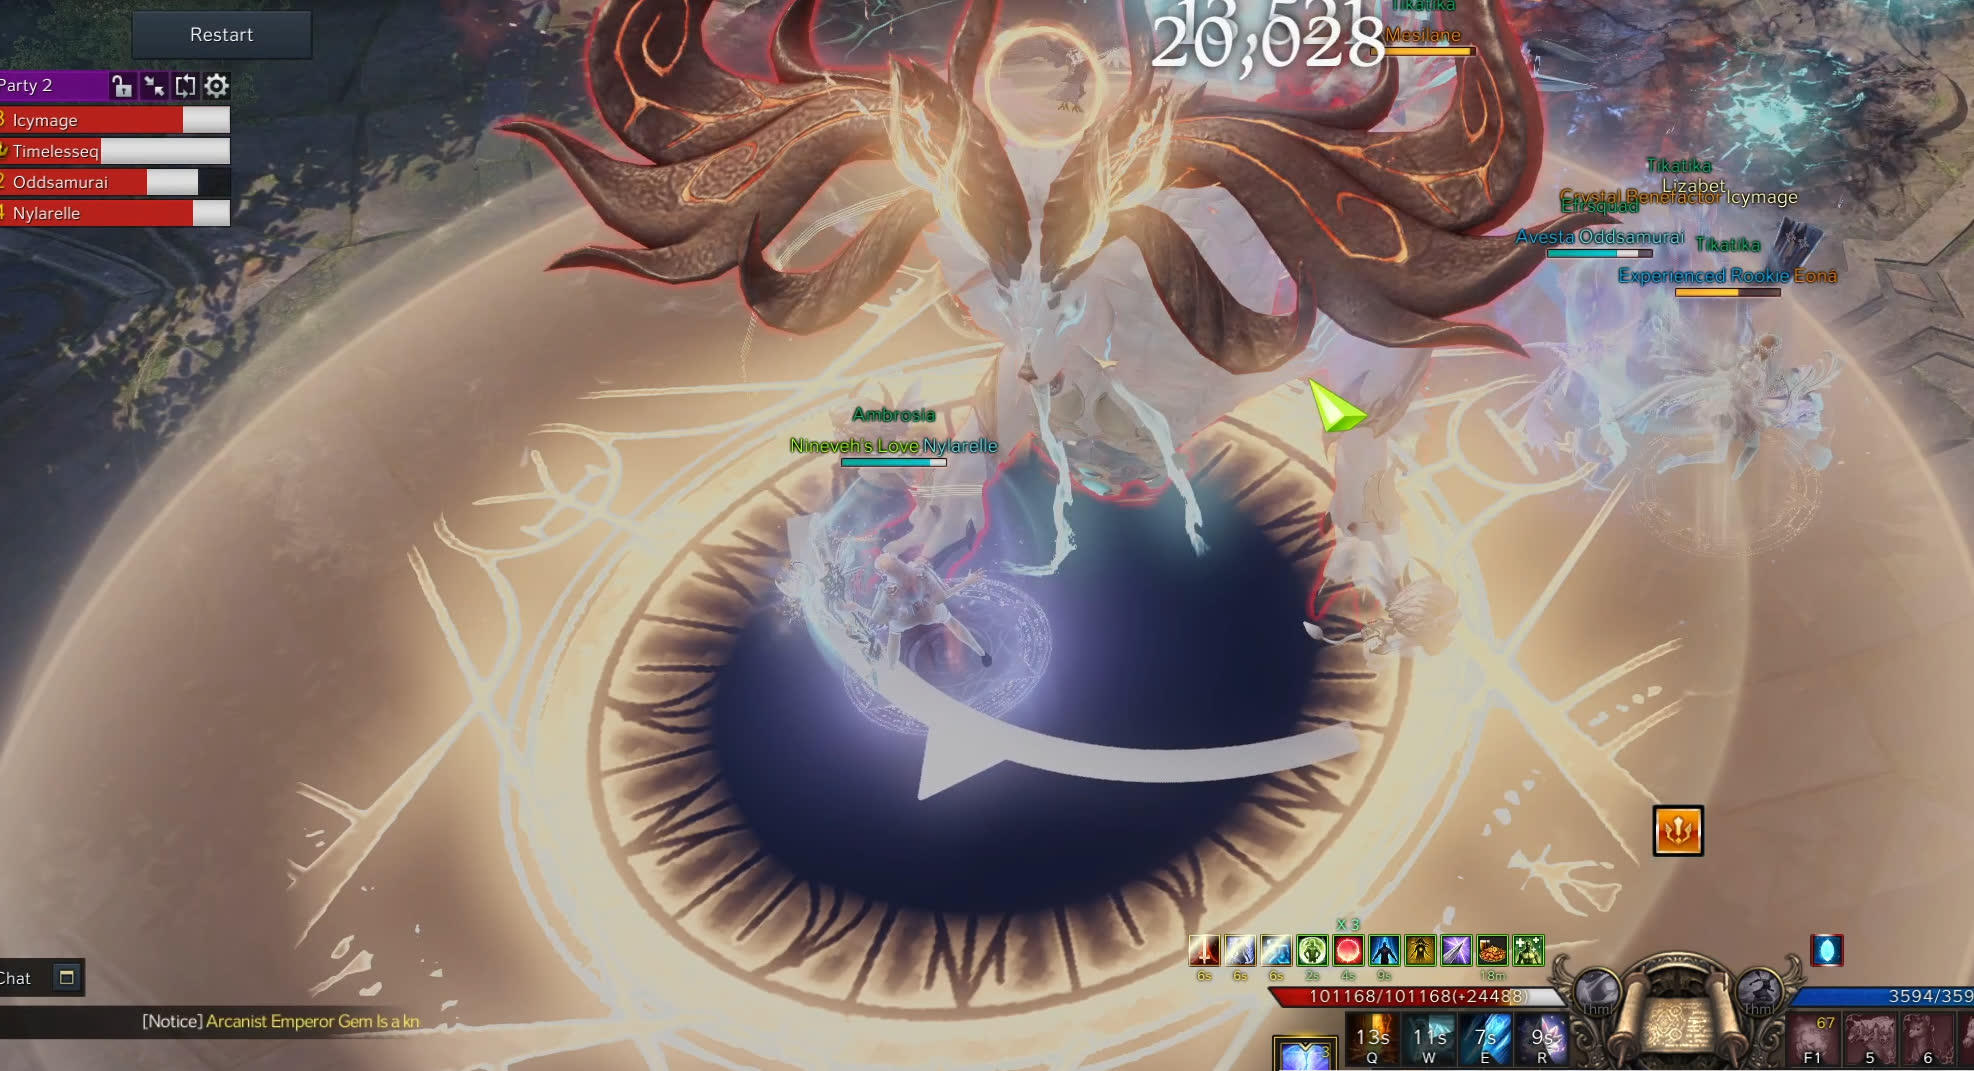
Argos teleports himself to the middle. Then safe spots appear in North, South, West, and East. In every direction, there are two circles - the moon and the sun. For example, if you are the second member of your party, then you go east and stay inside the same circle that you have under your feet. The moon circle is always closer to the boss.

After the explosion, the mechanic is over and the boss room is clear. Whoever was not in the circle at that time will die.
Peace Time
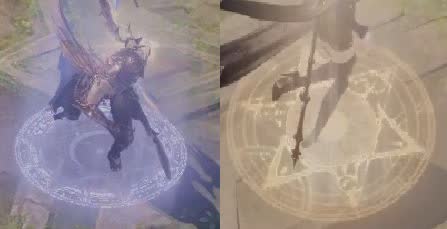
Right after the Safe Spot mechanic, Argos will have a dotted line in a circular shape under him, which marks a 40-second timer.
You have two options here:
- All of the Raid members just do not do damage at all during the 40 seconds
- Both the Sun and the Moon party need to DPS balanced. Every player needs to hit Argos 10 times. Every time Argos is hit, the player is going to get one stack. In total, you can have 10 stacks. If a member does not get all 10 stacks, or dies, then it is a party wipe. You can also communicate with each other. If one member of party 1 got only 5 stacks, then in the other party someone also needs to have only 5 stacks.
After this mechanic is over the Sun and Moon buff under everyone’s feet will swap. The party that had the Sun debuff will receive the Moon debuff, and vice versa.
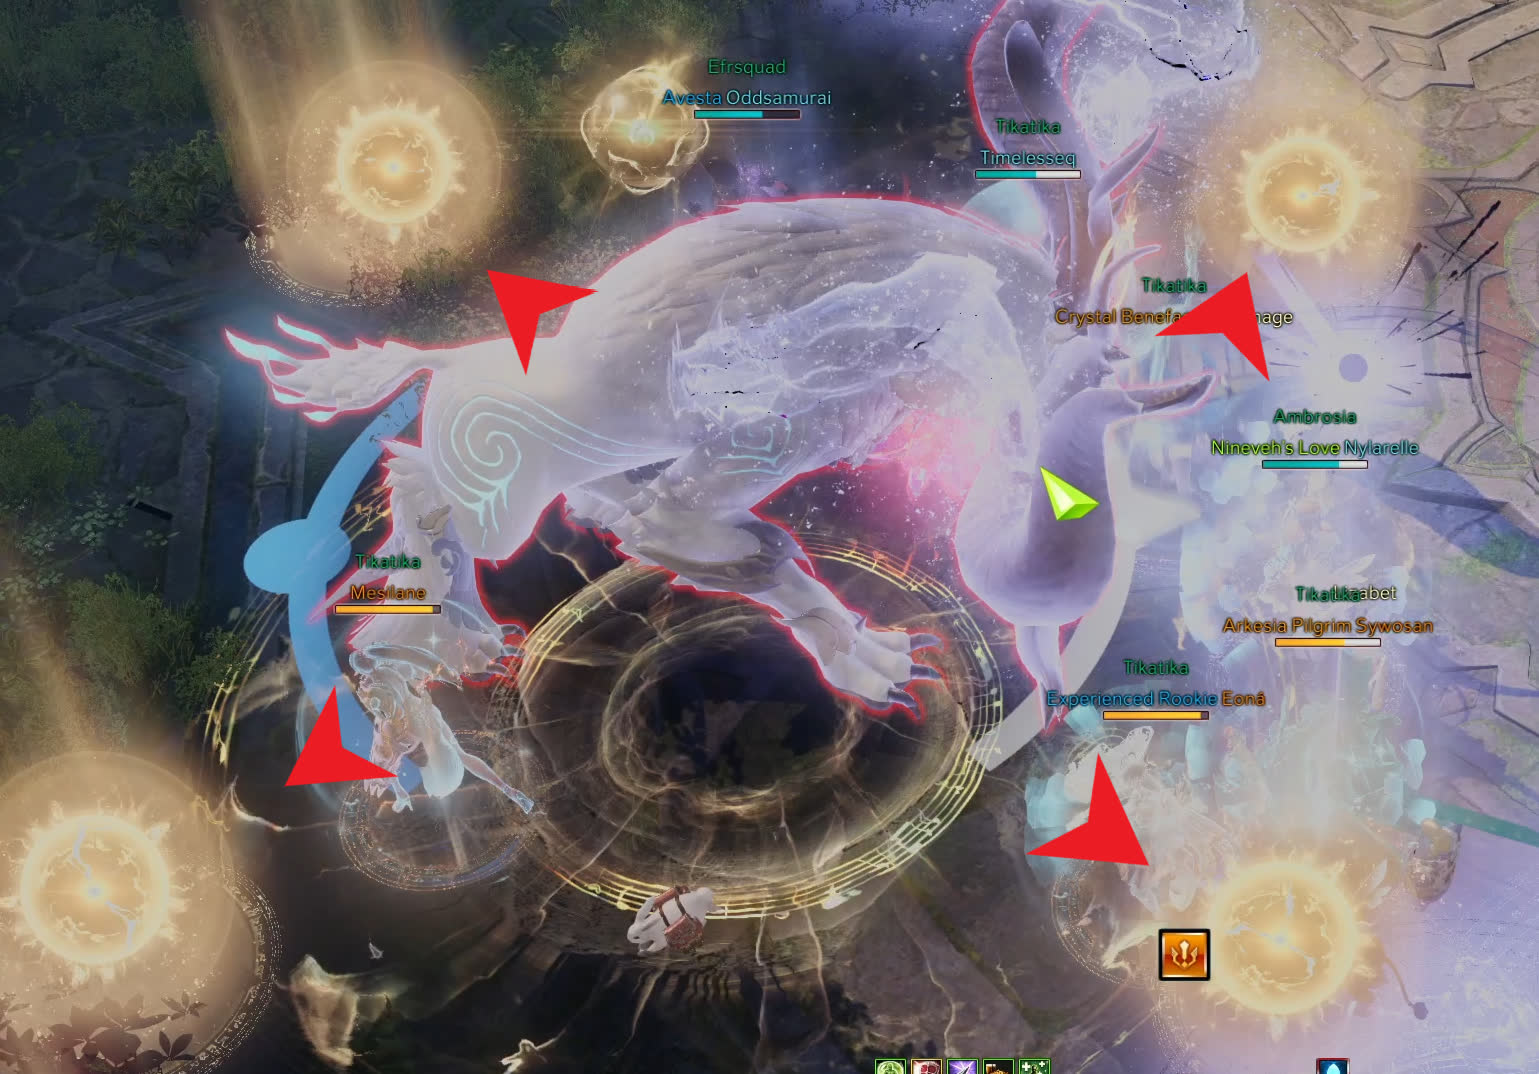
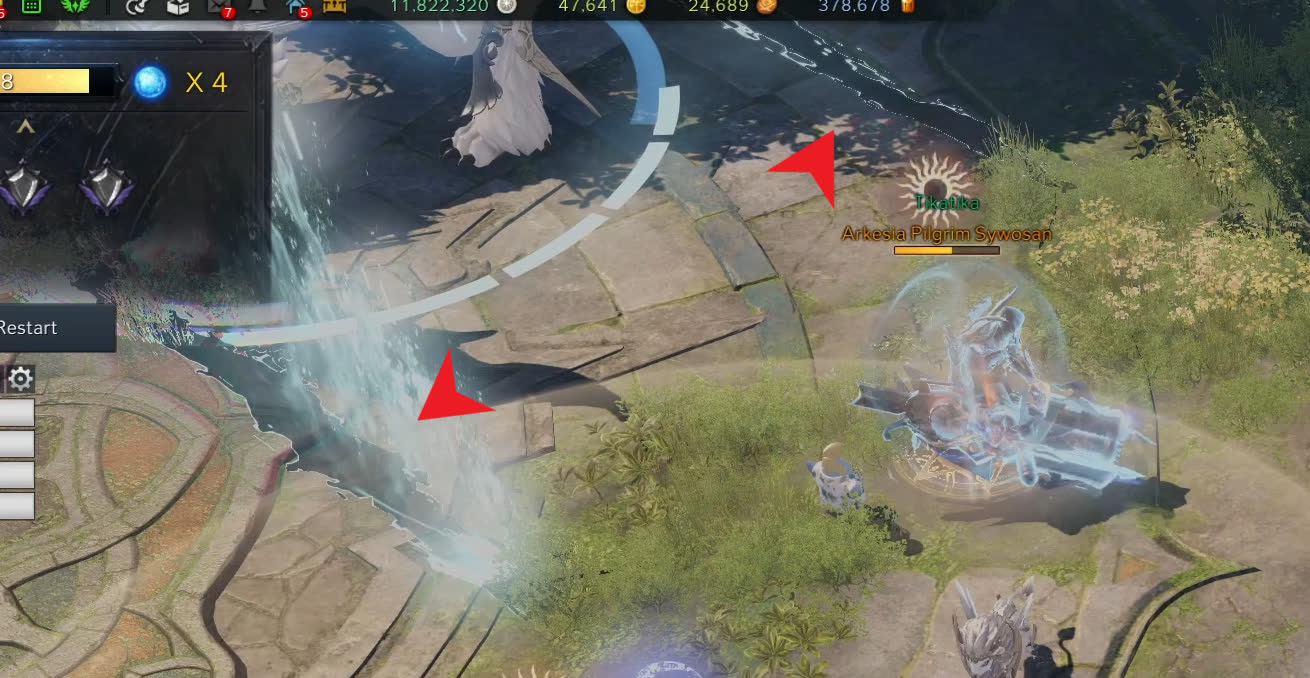
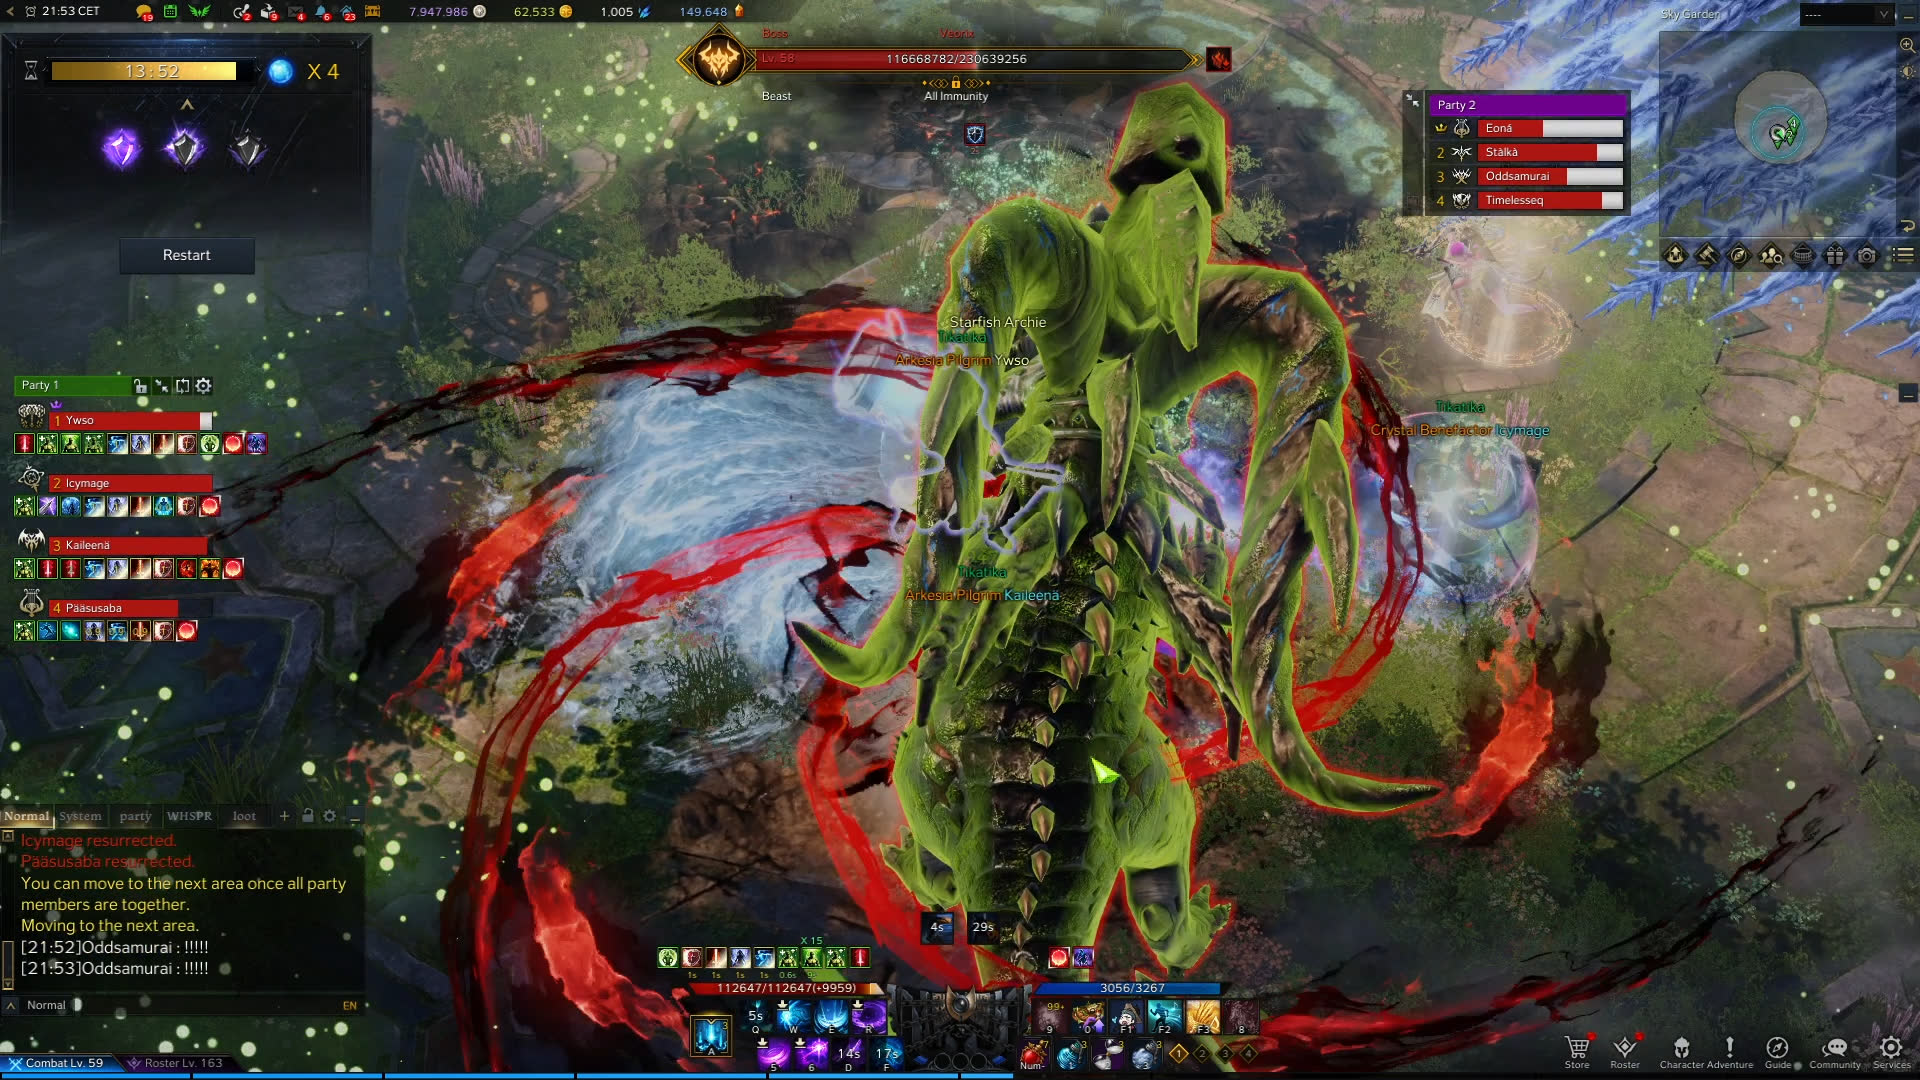
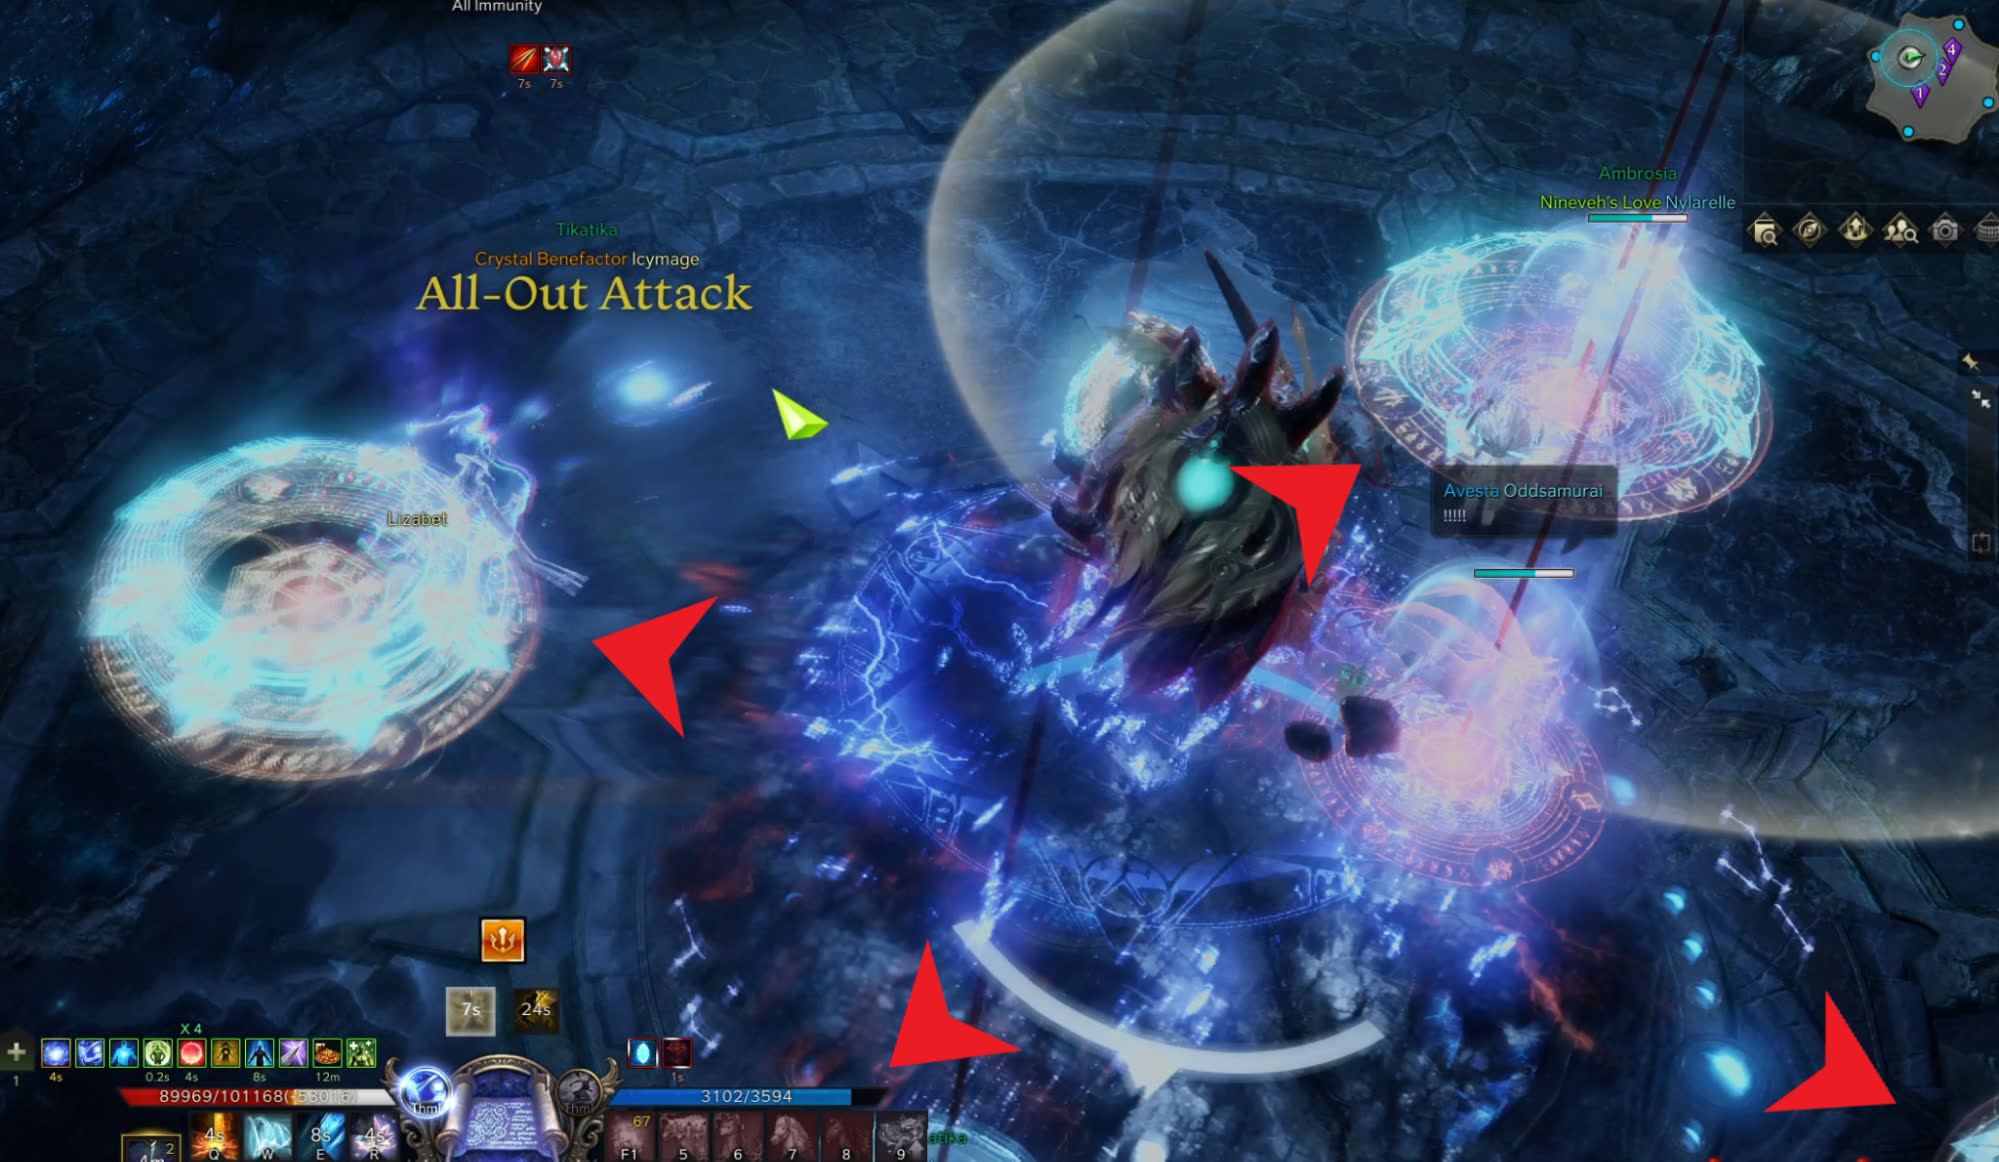
Following the Peace Time mechanic, pay attention to Argos' Horn.
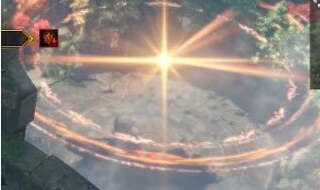
- If the horns glow blueish/purpleish, Argos will perform a donut shaped AoE around himself and it will be safe to stand close to the boss.
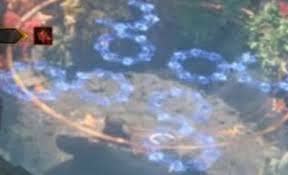
- If the horns glow golden, will perform a circular AoE close to him and the safe spot will be further away from his hitbox.
Argos Memory Pizza
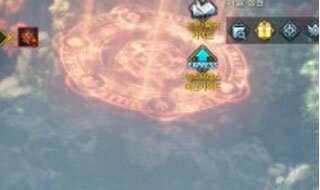
Argos teleports to the middle of the room. Moon and Sun colored pizza slices start appearing in various patterns around the boss, and the goal is to memorize one of the patterns that matches your current buff, then step on top of them as they appear.
You need to stop on five slices to satisfy the mechanics requirements. Memorizing them might not be that easy, as there are two colors flashing at the same time near each other, and that makes it more difficult to focus on just yours. The patterns are random, but will always be solvable from the starting position you choose so long as it's the proper color.
The second option is to ignore the pattern you need to walk on, and just stay at the place where the sun and moon patterns end. This is a partial safe zone, because you will get hit by some slices, but you won’t get one shot at the end. The safe spot for the moon party is at 5 o’clock, and for the sun party at 7 o’clock.
If you have any shield skills this is a good time to cast them. Alternatively, using a Time Stop Potion also works.
Argos Big Pizza
This mechanic happens randomly. Around the boss in a circular pattern, larger than the Memory Pizza.
These slices are also marked with Sun and Moon color and symbol. The goal is to be on the slice with the same color as you have under your feet, when the slice explodes.
Generally this pattern repeats twice in a row, but occasionally you will have three slices in a row.
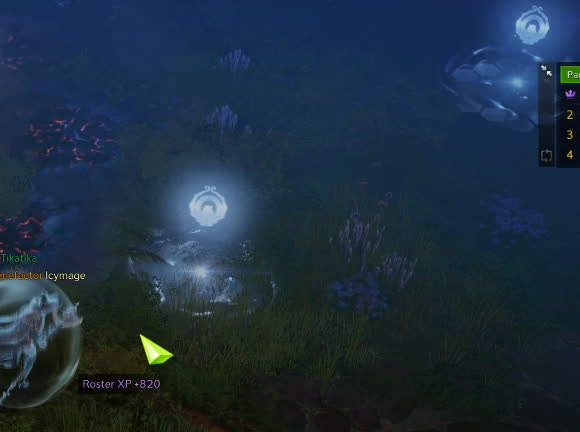
Argos Sun/Moon Orbs
Argos summons four Sun or Moon Orbs. Depending on the orbs that are summoned, the players in the corresponding party need to collect them. Everyone needs to take one. If some orbs are not going to be collected, they grow in a larger telegraph and explode dealing damage to the players with the opposite buff.
Other Phase 1 Mechanics
There are a lot of other mechanics that are less important and happen randomly:
- Big circles - Argos summons big moon or sun circles that explode, but if you have the same buff (Sun or Moon), then you do not take damage from that circle. If you are an opposite symbol, then you need to go out of it.
- Invisible Dash - Argos becomes invisible and dashes towards random players. The dash is marked with two silver lines on the ground.
- Dash - If Argos puts his horns down, then he starts to dash in that direction.
- Orbs shot - One of the raid members is going to be targeted and then Argos shoots orbs towards the player’s location. Argos will summon orbs behind him, then begins to shoot them at the targeted person. Simply keep running if you are the targeted player.
- Ground explosion - Argos stands still and two transparent lines start forming on the ground. One on his right side and one on the left. After a short time, these lines explode and further explosions towards the other sides left and right occur. A safe spot is in between the two original lines, either directly in front or behind Argos.
Argos Phase 2 Introduction
During phase 2, party 1 is going to be marked as Sun and party 2 is going to be marked as Moon for the whole duration of the fight.
Argos Phase 2 Consumables
Consumables will differ between parties. Party 1 should bring the following:
- HP Potions
- Destruction Bombs
- Dark Grenades
While party 2 should bring the items listed below:
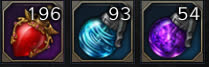
- HP Potions
- Whirlwind Grenade
- Dark Grenades
Argos Phase 2 Group Setup
Each group ideally has a support, as there are some mechanics where this is beneficial, but it is not a must. You can always use Time Stop Potions or health potions if needed. High stagger classes should be placed in party 1 and high burst classes in party 2
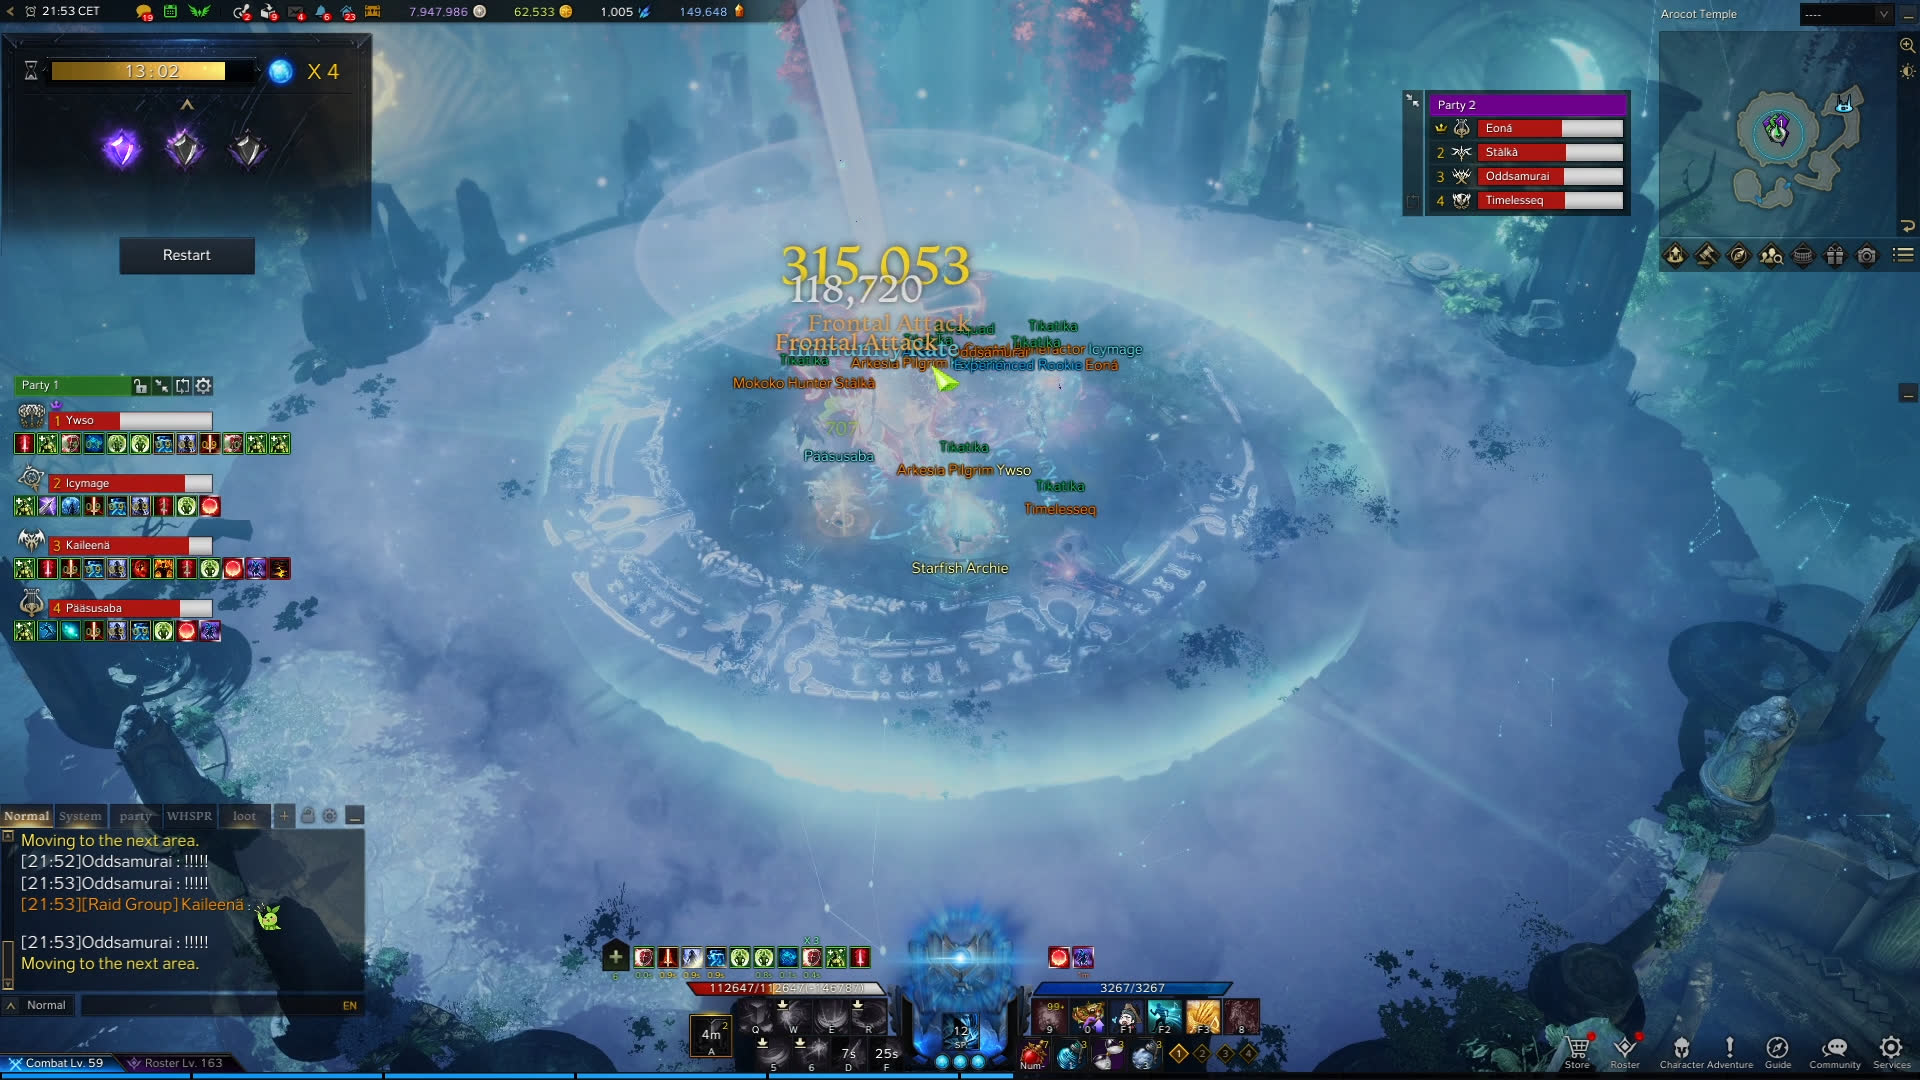
Argos Phase 2 Major Mechanics
At the start of the fight, both parties are together fighting Argos. Most of the phase one mechanics are present during this time.
After a while, Argos teleports to the middle of the room and party 1 is sent to fight a mini boss located above the room where you are fighting Argos.
Mini-boss Veorix
To quickly deal with Veorix, you need to stagger him. Once staggered, use Destruction Bombs and skills with destruction when you notice the green target symbol on its tail.
Other mechanics include green round telegraphs which leave a debuff on you that poisons, but more importantly, stuns you at two stacks:
It is best to avoid getting a second hit from one of these puddles until the first debuff has expired.
A tail swipe when the boss curls up, which stuns you:
The direction of the swipe is indicated by the arrow, so you can position yourself on the side, in between the tip of the tail and the head.
A charge skill that can be countered:
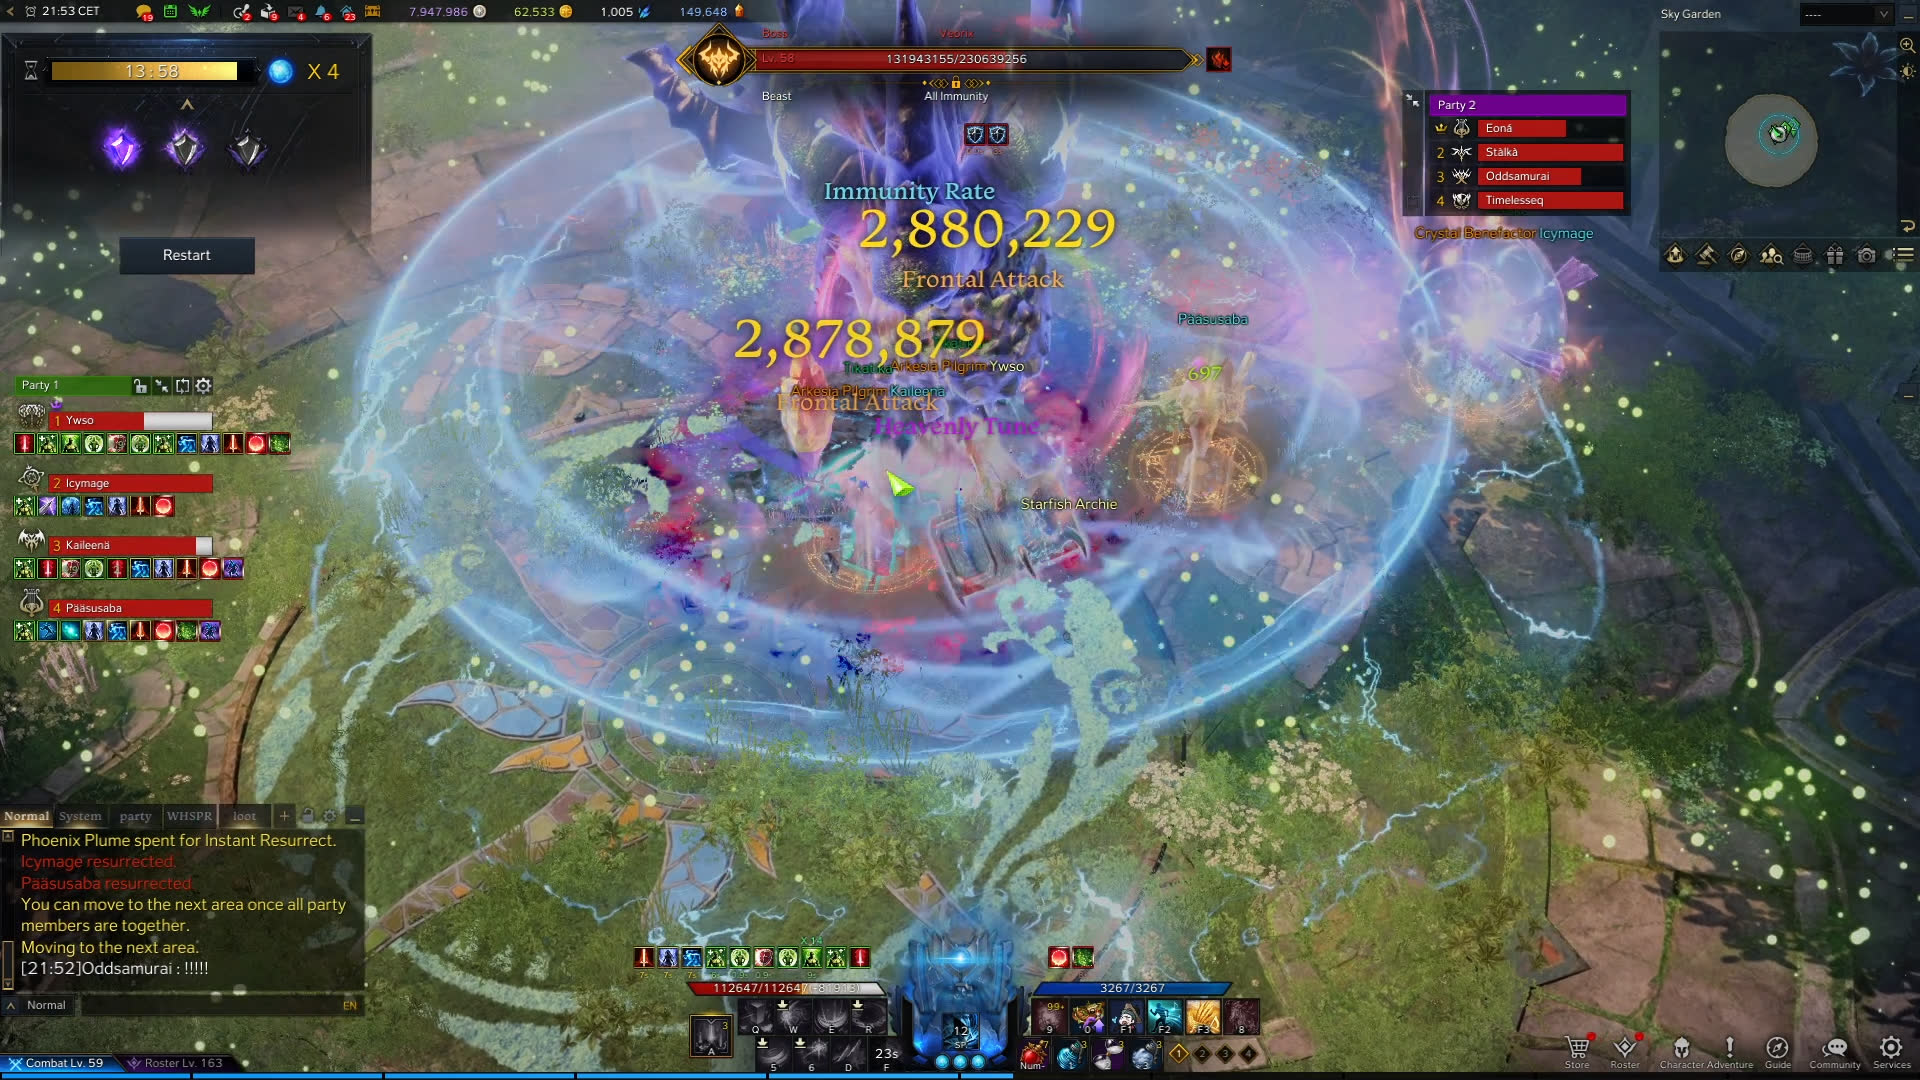
A frontal attack that does substantial damage when the boss turns green:
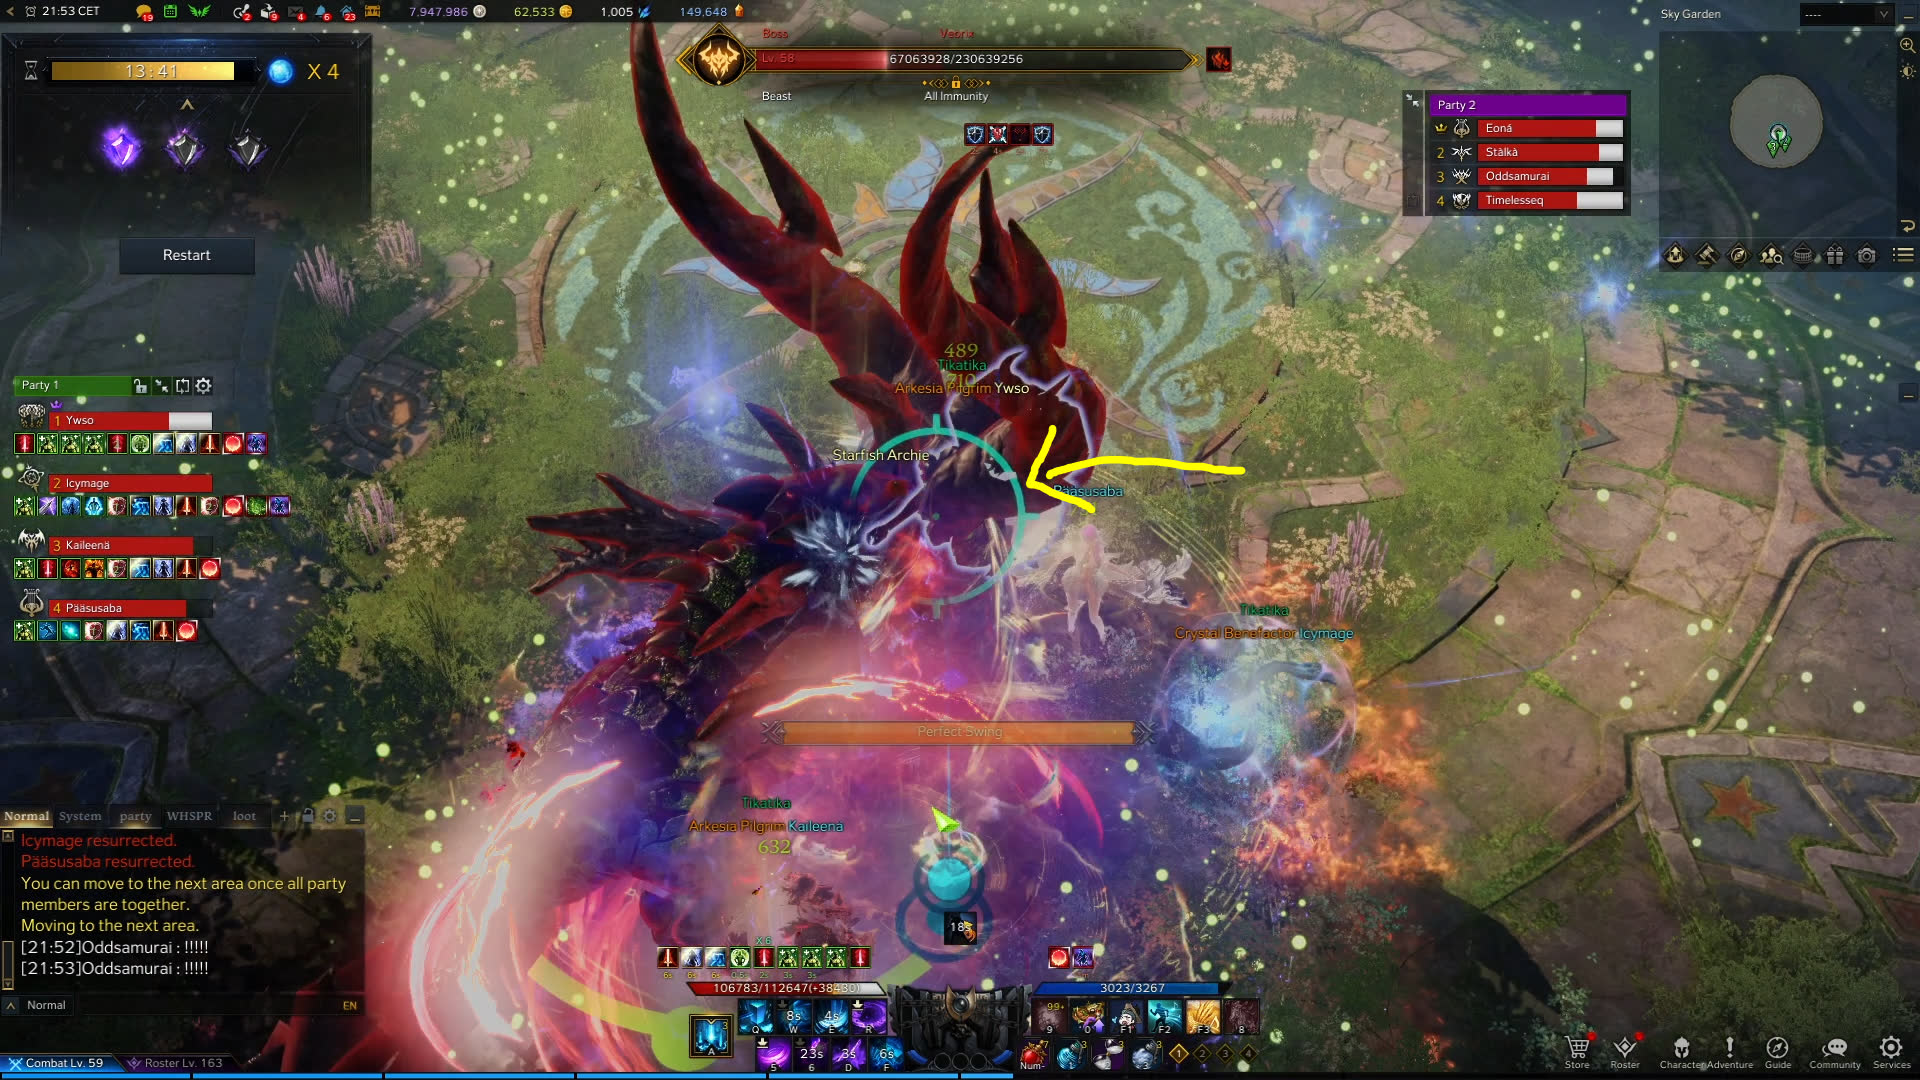
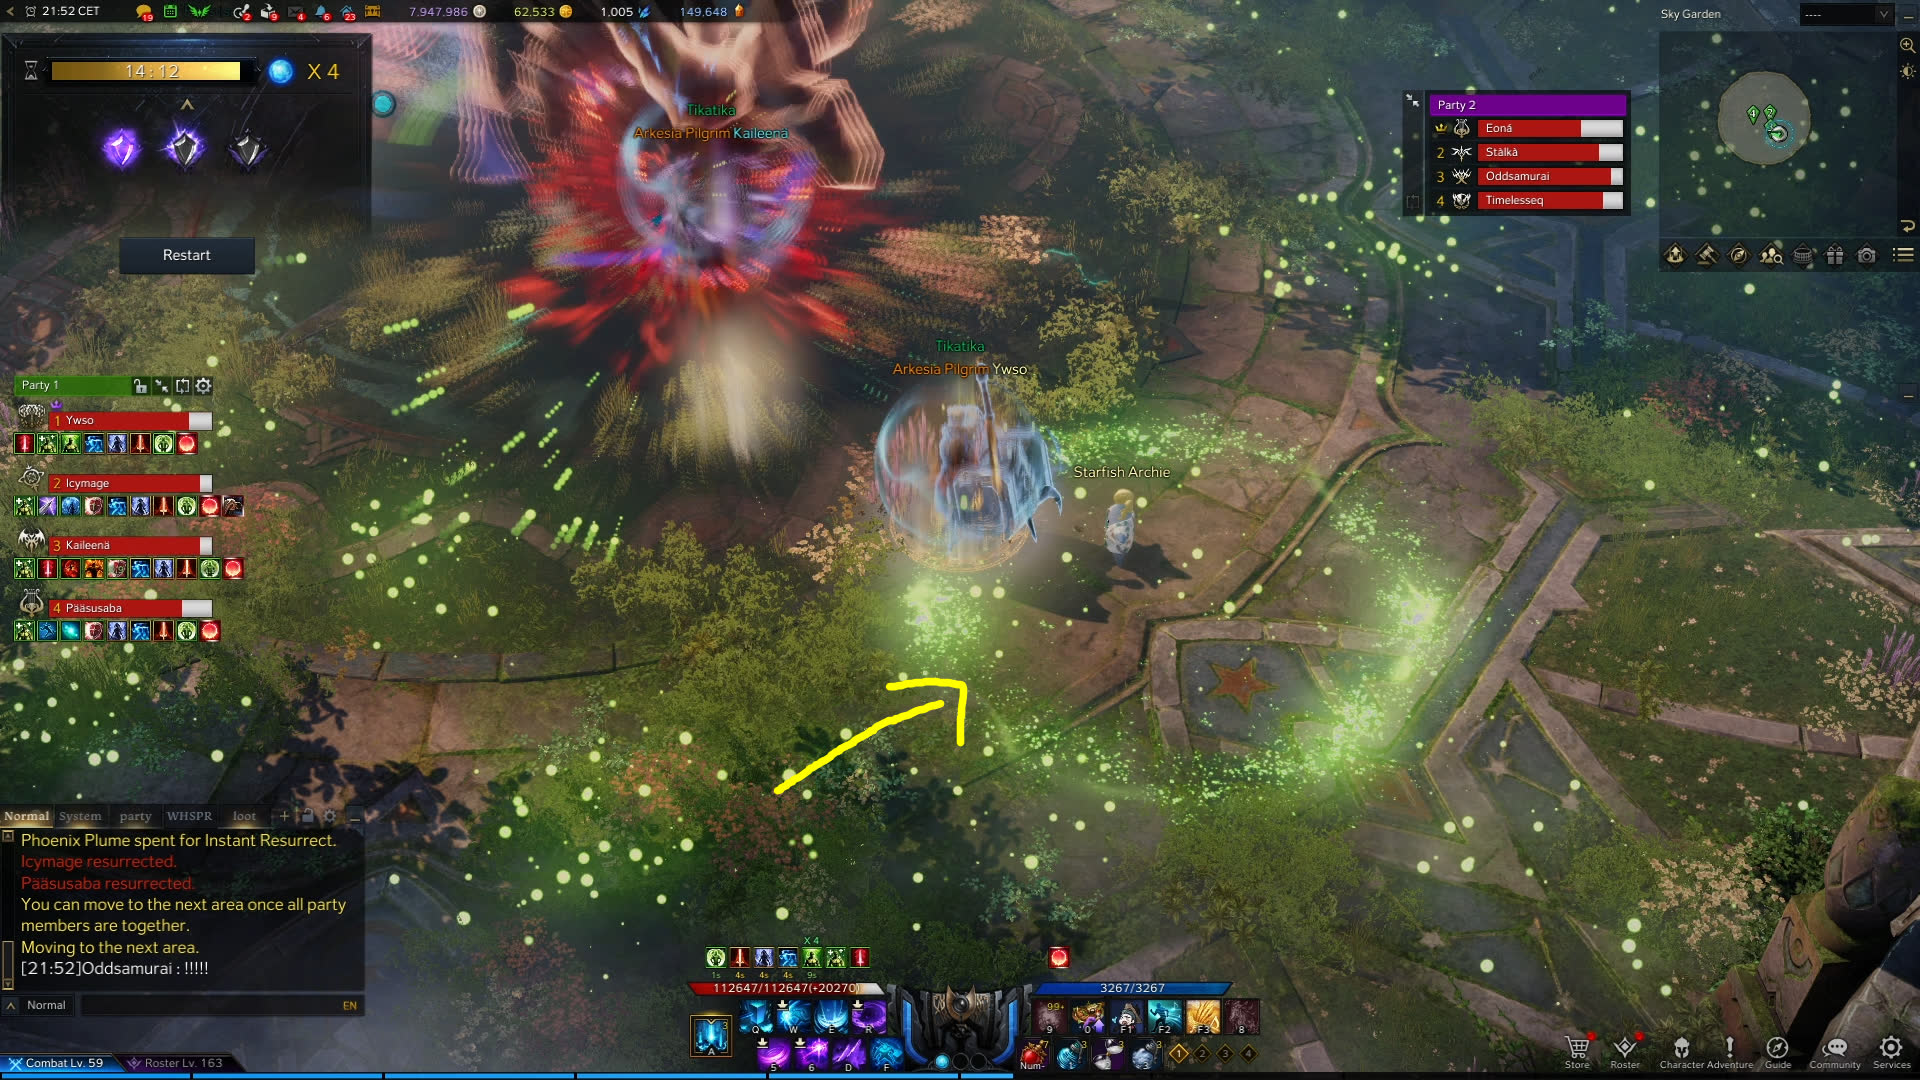
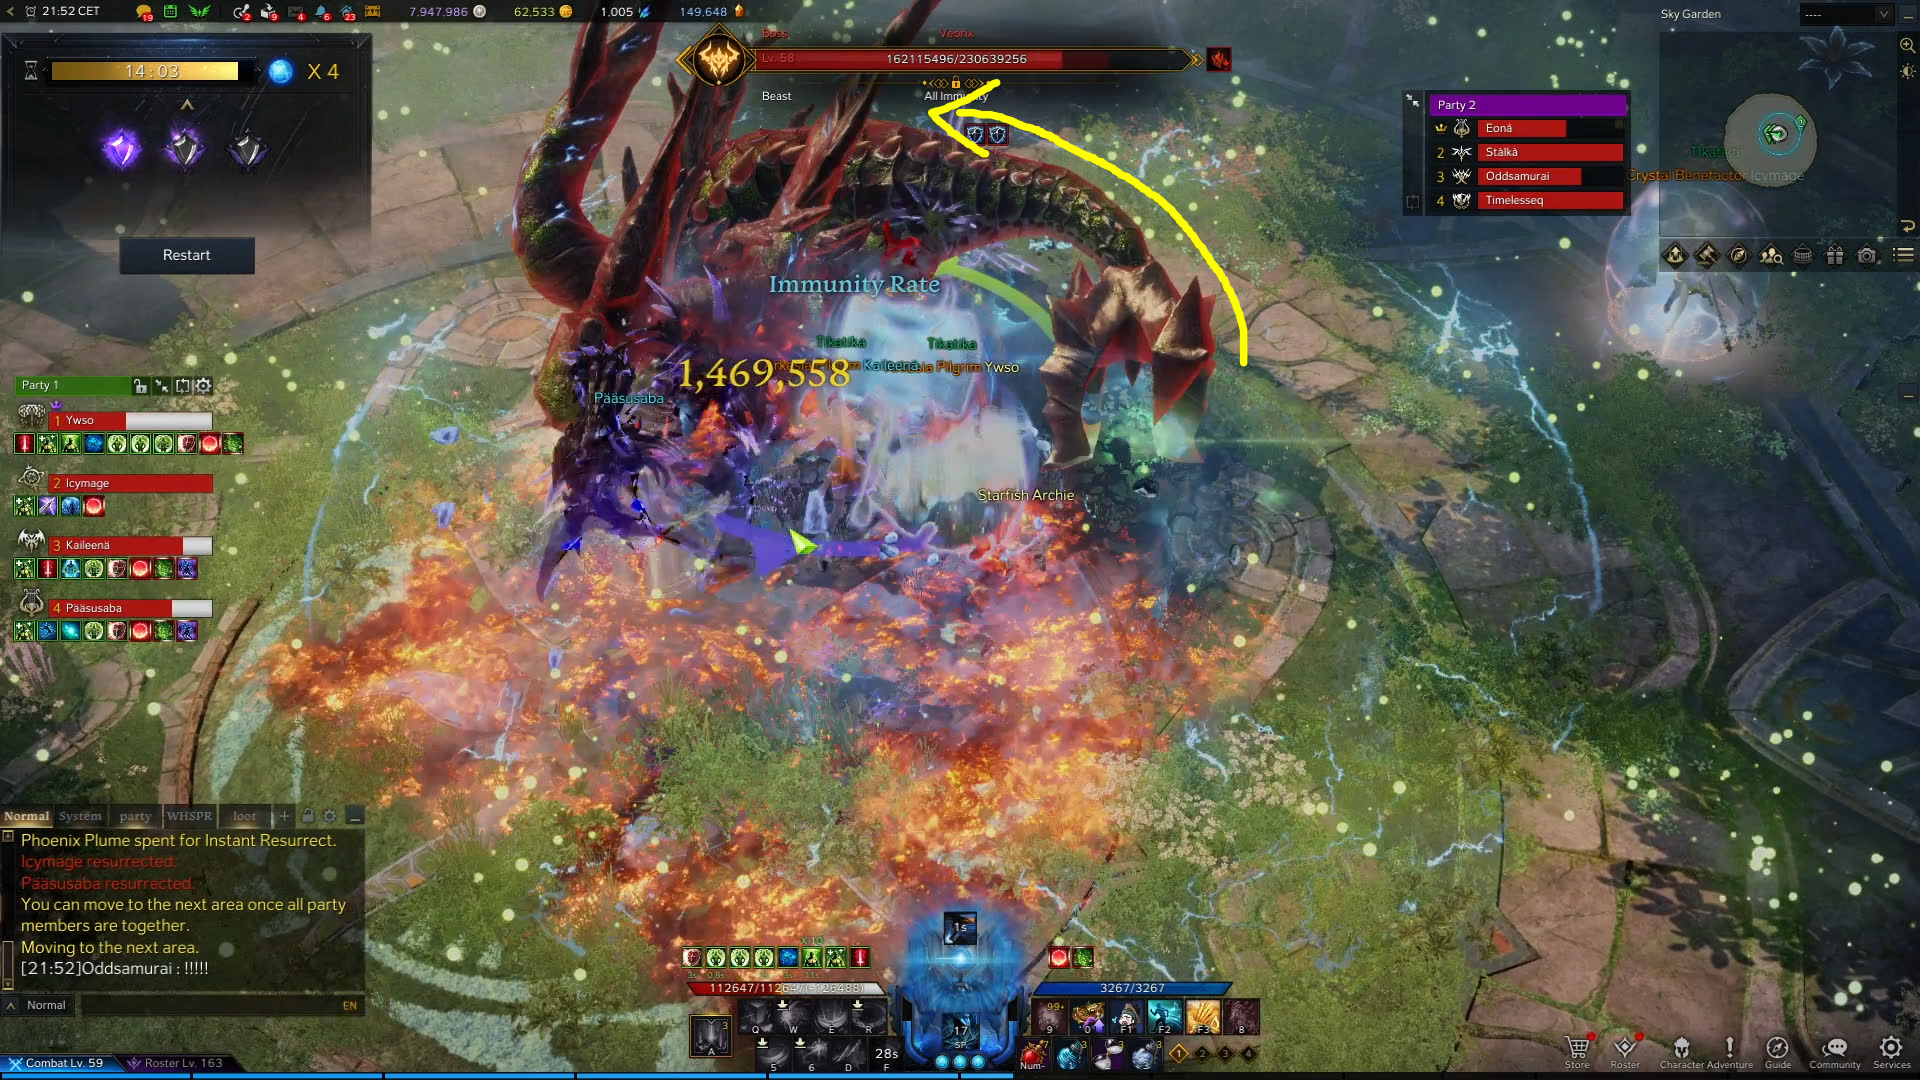
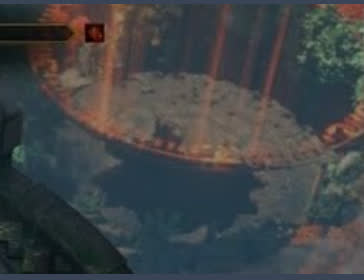
During this time, party 2 continues to fight Argos. Every so often Argos will teleport to the middle of the room and shoot a white beam upwards while getting a timer marked by a dotted line underneath him similar to phase one. This symbolizes that a wipe mechanic is incoming. One member from party 1, which is fighting the mini boss, needs to go to the edge of their room, and call out the patterns seen only from that place.
There are total of six patterns the Moon party can expect.
- The Arrow
- Collect Orbs
- Safe Spot
- Circle
- Edge of the room
- Middle of the room
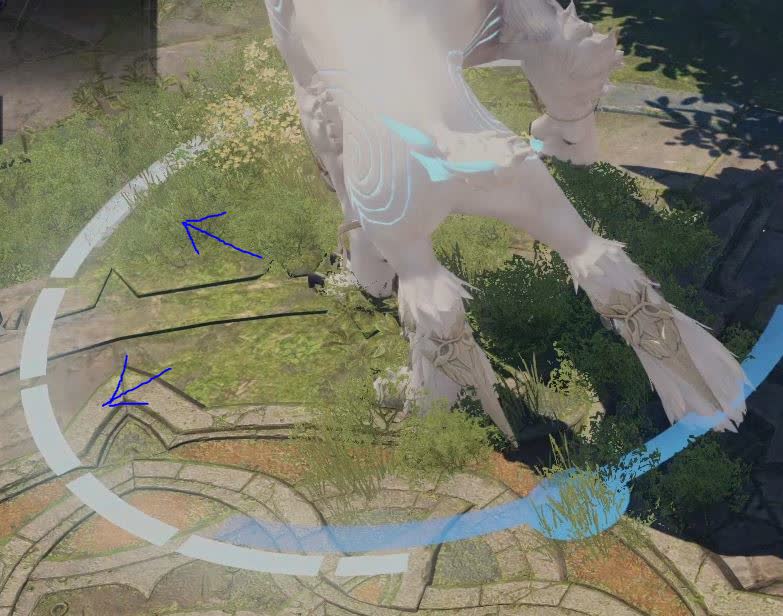
If the sun party looks over the cliff, and a blue arrow appears, then the Moon party fighting Argos below needs to go to the location towards which the arrow was pointing and stay there a few moments until the wipe mechanic happens.
If the sun party sees eight blue circles down in the room where Argos is, then the moon party needs to collect blue orbs, before the timer runs out. It is good to position Argos in the middle, as the orbs can spawn outside of the arena if Argos is positioned on the edge. The timer looks like the dotted bar underneath Argos from phase 1.
If you see a big sun circle, where inside is “the sun rays”, then the sun party needs to go to the middle of the room.
If you see one sun circle and one moon circle inside of another circle, then the moon party needs to find circles at the edges of the room and stay inside. When you collect 10 stacks in the circle then each player needs to hit Argos once.
If you see a big sun circle, that means the moon party needs to go to the edge of the room.
If you see a big empty circle inside, then the moon party needs to go to the middle of the room.
After party 1 defeats their boss, the two parties are reunited in Argos room, and shortly after, party 2 gets sent away for their mini boss fight.
After a certain amount of damage is dealt to Argos, it goes to the middle of the room, and party 2 is sent to their own miniboss.
Mini-boss Tarvos
At the start of the moon Boss fight, get him down fast to 75%. If your DPS is slow, after 1:30 into Tarvos, pillars will appear in the Argos room, which will need to be killed by the sun party.
At about 60% HP, Tarvos disappears and the Rift of Tarvos will take its place. Rift of Tarvos has a 90% damage reduction buff which is going to disappear when the stagger bar is depleted, so it is good to have whirlwind grenades.
After killing this spawn, you continue to fight with the original miniboss, Tarvos. At 30% HP it is going to summon another Rift of Tarvos. After killing the second mini-boss you will be able to defeat the original spawn.
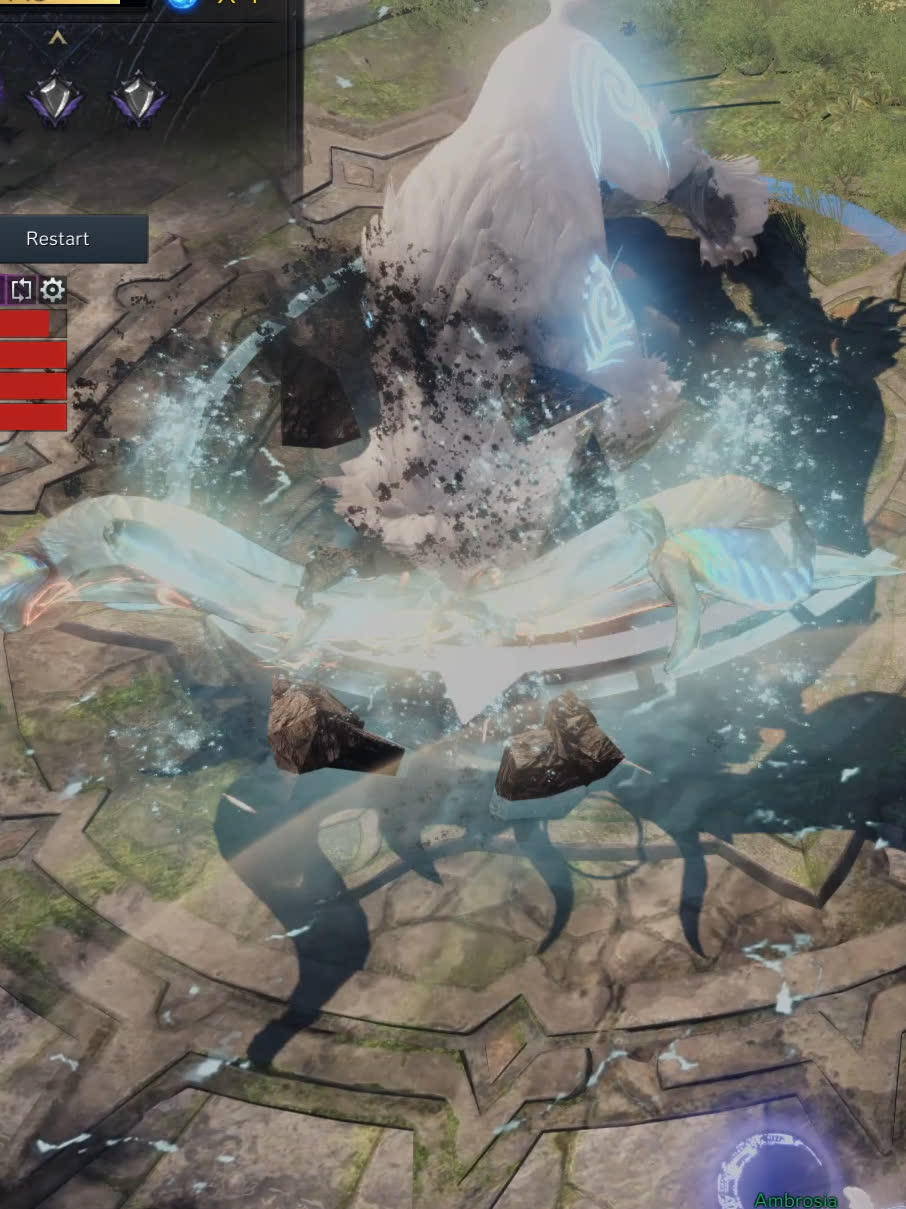
Tarvos sometimes spawns four safe spots, where each member in your party needs to stay inside and await the explosion. If all are inside, then you take minor damage. A red pillar on your character, followed by a rock falling on your head, symbolizes the start of this safe spot mechanic.
If you fail to do it then everyone else gets a large AoE damage. The damage scales with how many people miss their safe spot, so if enough people fail it will result in a wipe.
If moon party successfully kills their boss, both parties will be reunited to finish Argos. Most of the mechanics that Argos does are the same as in Phase 1. There are some new minor mechanics, for example, rocks falling from the sky. During this mechanic, you just need to run around.
Argos Phase 3 Introduction
Phase 3 removes the Sun and Moon debuffs and replaces them with a new mechanic, three different types of weather cycles:
- Sunny
- Night
- Rainy
At the beginning of the fight, you always start with a sunny cycle. Depending on your raid DPS and on RNG you can either go through one, two or all three weather cycles.
Argos Phase 3 Consumables
- HP Potions
- Dark Grenades
Phase 3 Group Setup
There are no special requirements here, besides the value that a support brings in each group. This fight is chaotic and there are a lot of little things that will hit you.
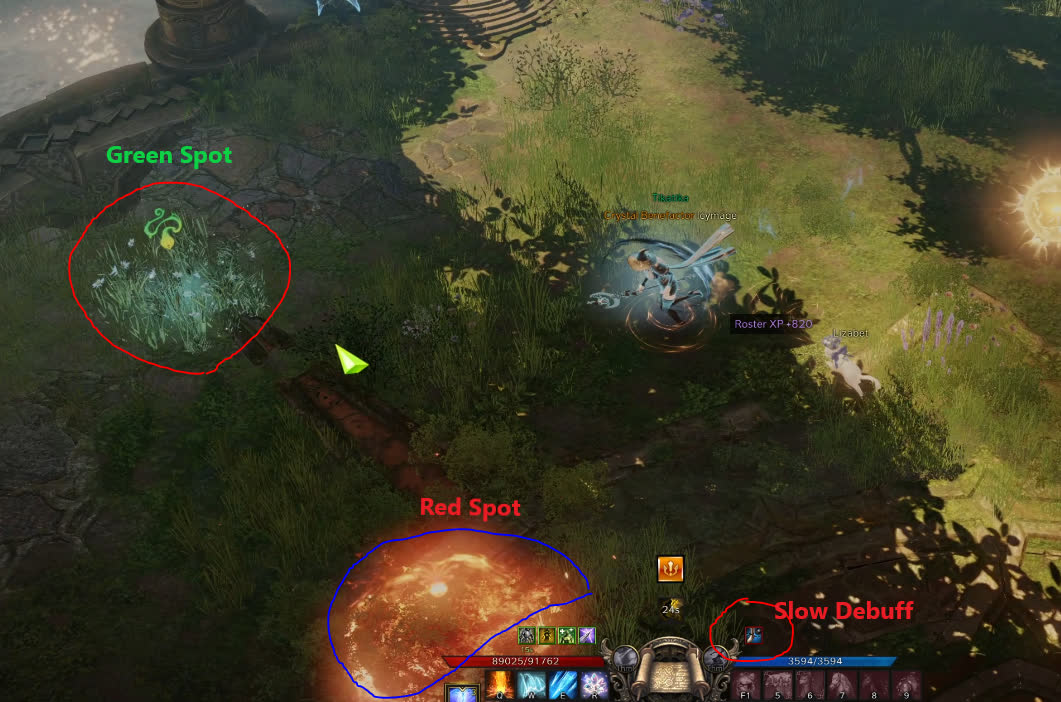
Sunny Cycle
During the Sunny cycle, all party members start with a slow debuff. To remove it, you need to find a green bean-looking symbol on the ground and stay on top of it for a moment. This is a raid-wide dispel so having multiple members in it brings more value. They respawn as the fight progresses.
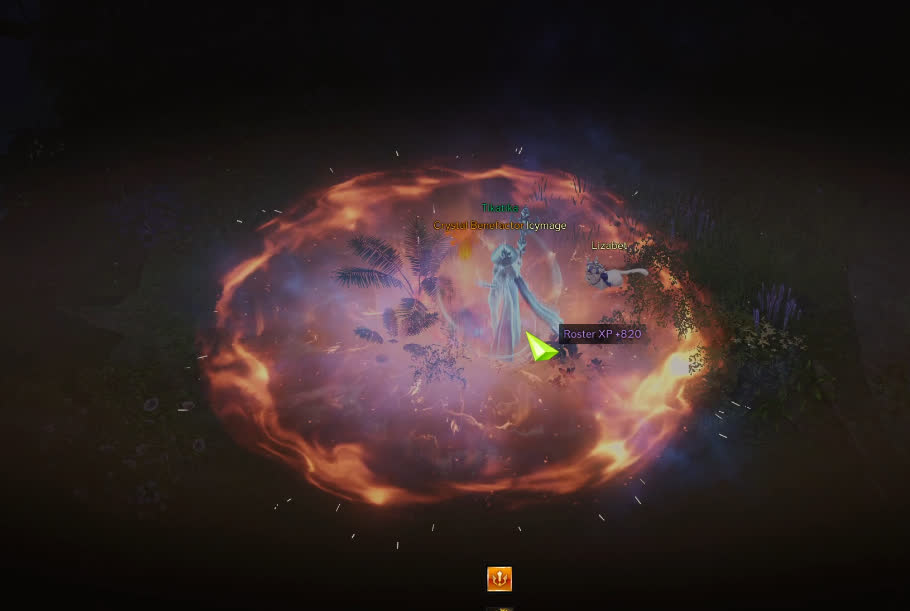
The red spots marked in the picture are harmful effects which trigger once someone steps over them, and explode in a large AoE.
Sunny Cycle Protective Group Spots
Two random players are going to get the Sun symbol on top of the head. Those players with symbols need to stand still and apart from each other while all other party members need to divide and step inside one of the circles. Only 4 players can receive the protective buff from each safe spot, so quick chemistry is needed here. If there are more than four players in a safe spot, the 5th, 6th etc to enter, dies during the following explosion.
Sunny Cycle Small Safe Spot
Before the mechanic starts, the boss goes to the middle of the room while it glows with sun “energy”. At that point, somewhere near the edge of the map a safe spot appears. Easy to spot this circle is just looking in the mini-map, where you can see a yellow dot.
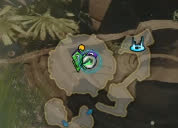
Stepping on top of the yellow dot provides a buff which makes you immune to the following one shot explosion.

If you get this buff, it is safe to move away from the yellow dot.
Night Cycle
You start fighting with a darkness debuff on you. If you wish to remove the debuff you can go inside the red seed that randomly spawn around the room.
There are limited spawns at one time, and if you want to cleanse more players at once, make sure you signal or communicate the fact that you found a circle and are about to activate it, allowing more people to be cleansed.
The blue orbs laying around during the night circle give you a poison debuff so do not interact with them.
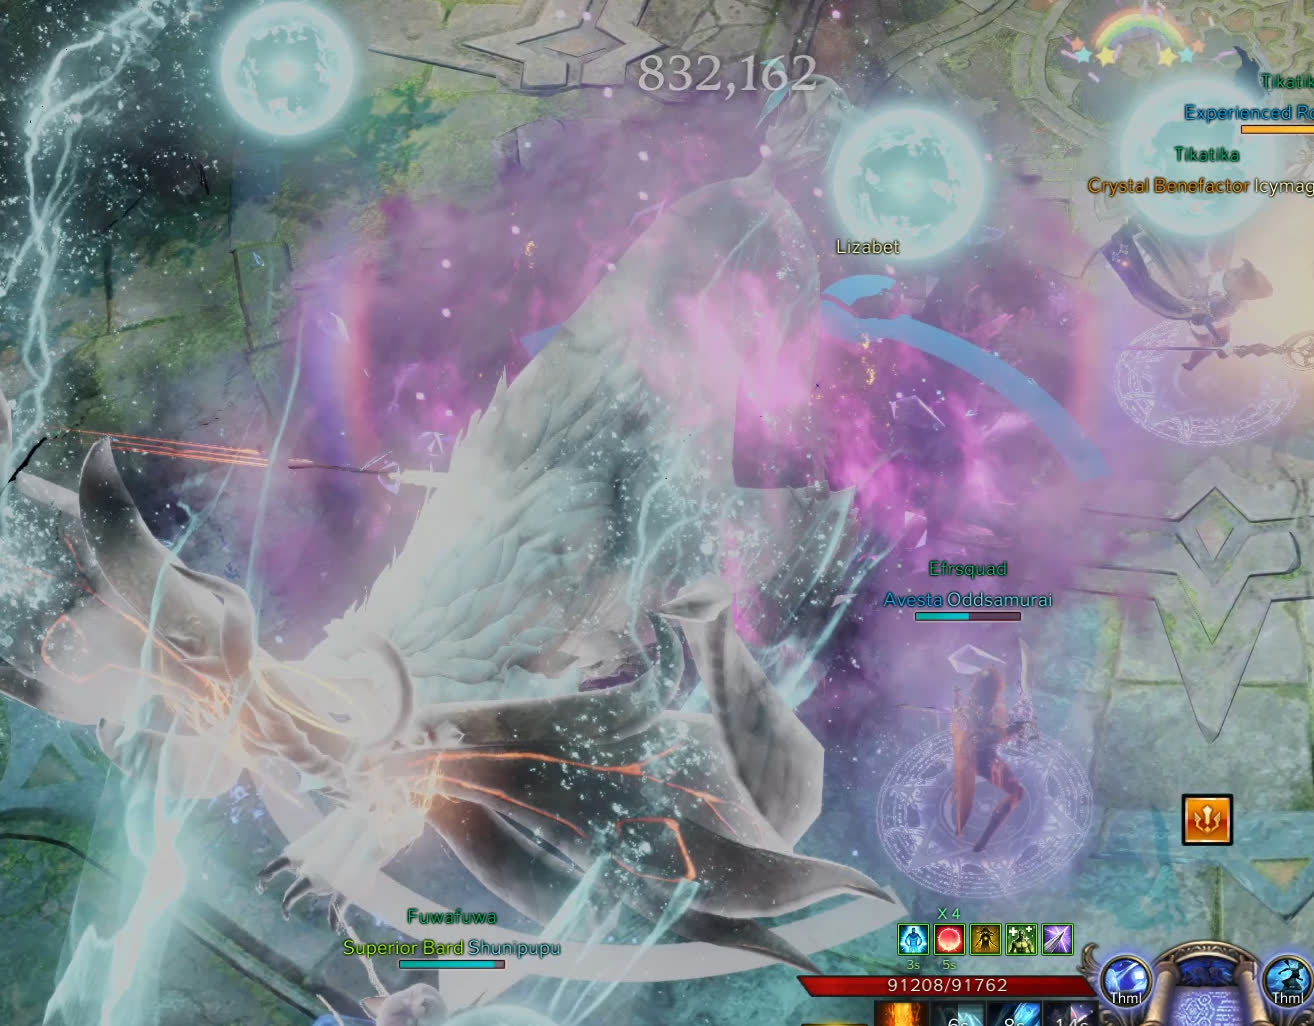
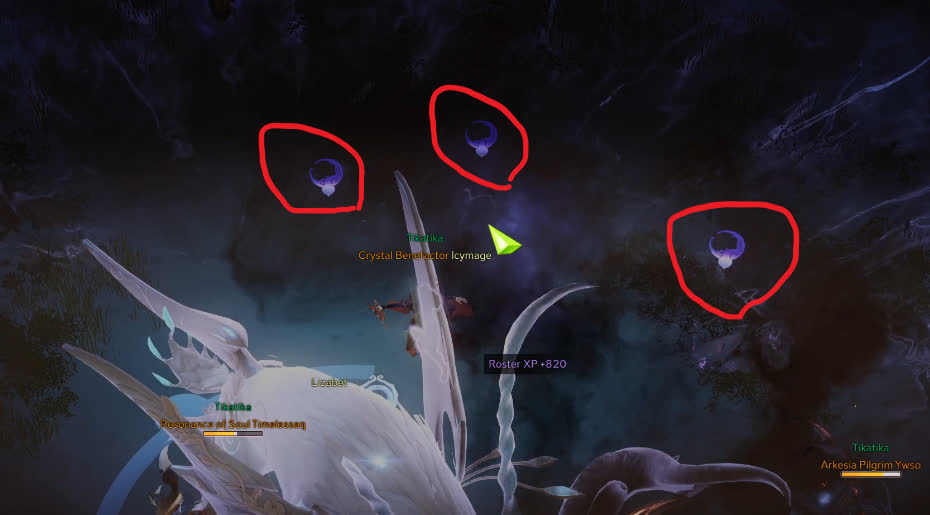
Night Cycle Purple Seeds
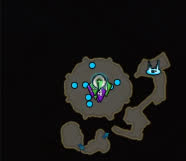
Argos will begin channeling a raid wipe attack, while purple seeds spawn all over the arena. Every single purple seed must be collected before this cast finishes, otherwise the raid will wipe. These seeds are shown on the mini map, so utilize it to ensure your group collects all of them.
Rainy Cycle Blue Seeds
During this phase, there are green and blue spots in the room. You should avoid the green spot because it imprisons you for a few seconds, while the blue spots give you a shield for some time. The shield prevents each player from taking the continuous rain damage that pours during this cycle.
Rainy Cycle Wipe Cast
Argos goes to the middle and then everyone needs to find a blue shield spot on the map before the explosion. Several players can stay inside the same blue shield and await the explosion, so make sure to ping it out for others as well.
I wish you good luck with loot and a lot of fun!
Changelog
- 05 Sep. 2022: Guide Added