Forgotten Tower Dungeon Guide
Forgotten Tower is one of eight dungeons available at launch in Diablo Immortal, and is located within Dark Wood. Entering this dungeon requires your character to be at least Level 20 and will see you and your party members facing off against two bosses — Blood Priestess Innaloth and The Countess — to receive valuable Set items; read on to learn how to tackle this dungeon's unique challenges.
Forgotten Tower Overview
The Forgotten Tower is located in Dark Wood. It is a single-floor dungeon that faces you off against a total of two bosses: Blood Priestess Innaloth and The Countess. The Forgotten Tower is an excellent source of experience and item farming, with trivial maintenance of the Massacre Bonuses for an experienced group.
Forgotten Tower Dungeon Statistics
- Average Dungeon Runtime: Up to 5 minutes
 Battle Points Reward: 15
- Required Level For Entry: 20
- Notable for: Amazing experience farming, trivial to maintain Massacre Bonuses.
Forgotten Tower Dungeon Loot
- Hell I+:
 Mountebank's Slyness (Untouchable Mountebank
Set Boots)
Mountebank's Slyness (Untouchable Mountebank
Set Boots) - Hell I+:
 Storm-Tack of Shal'baas (War Rags of Shal'baas
Set Belt)
Storm-Tack of Shal'baas (War Rags of Shal'baas
Set Belt) - Hell II+:
 Wisdom's Edge (Windloft Perfection Set
Neck)
Wisdom's Edge (Windloft Perfection Set
Neck) - Hell II+:
 Issatar's Open Hand (Issatar Imbued Set
Hands)
Issatar's Open Hand (Issatar Imbued Set
Hands) - Hell IV+:
 Shepherd and Father (Shepherd's Call to Wolves
Set Ring)
Shepherd and Father (Shepherd's Call to Wolves
Set Ring) - Hell IV+:
 The Prisoner (Feasting Baron's Pack Set
Ring)
The Prisoner (Feasting Baron's Pack Set
Ring)
Forgotten Tower Strategy Guide
The overall strategy for the Forgotten Tower is centered around fast, coordinated movement and upkeep of the Massacre bonuses — they are what makes this dungeon so appealing and efficient for Experience farming. As if that was not enough, the dungeon also has the potential to reward you with up to 5 bonus Treasure Chests at the end of each run, depending on how well you do with its built-in timer. Much like her Diablo 2 counterpart, The Countess is a staple to run in Diablo Immortal — so get to it! The dungeon can be roughly split into three sections: The Entrance, The Side Rooms, and the Countess.
Section 1: The Entrance
Solo players should simply slaughter everything in their way indiscriminately; run toward the vines that bar your way and make short work of the monsters that leash to your position. There is some variance in the monster composition, which can either be Blood Clan or corrupted wildlife, but it should not matter to you. Note that there are two Treasure Chests in the area; one is behind the altar at its start, and the other is near the end of the short, dead-end corridor to the left. Once you are done (either taking the detour for the extra treasure or skipping it altogether to optimize XP gain), break down the vine barrier and continue through down the corridor.
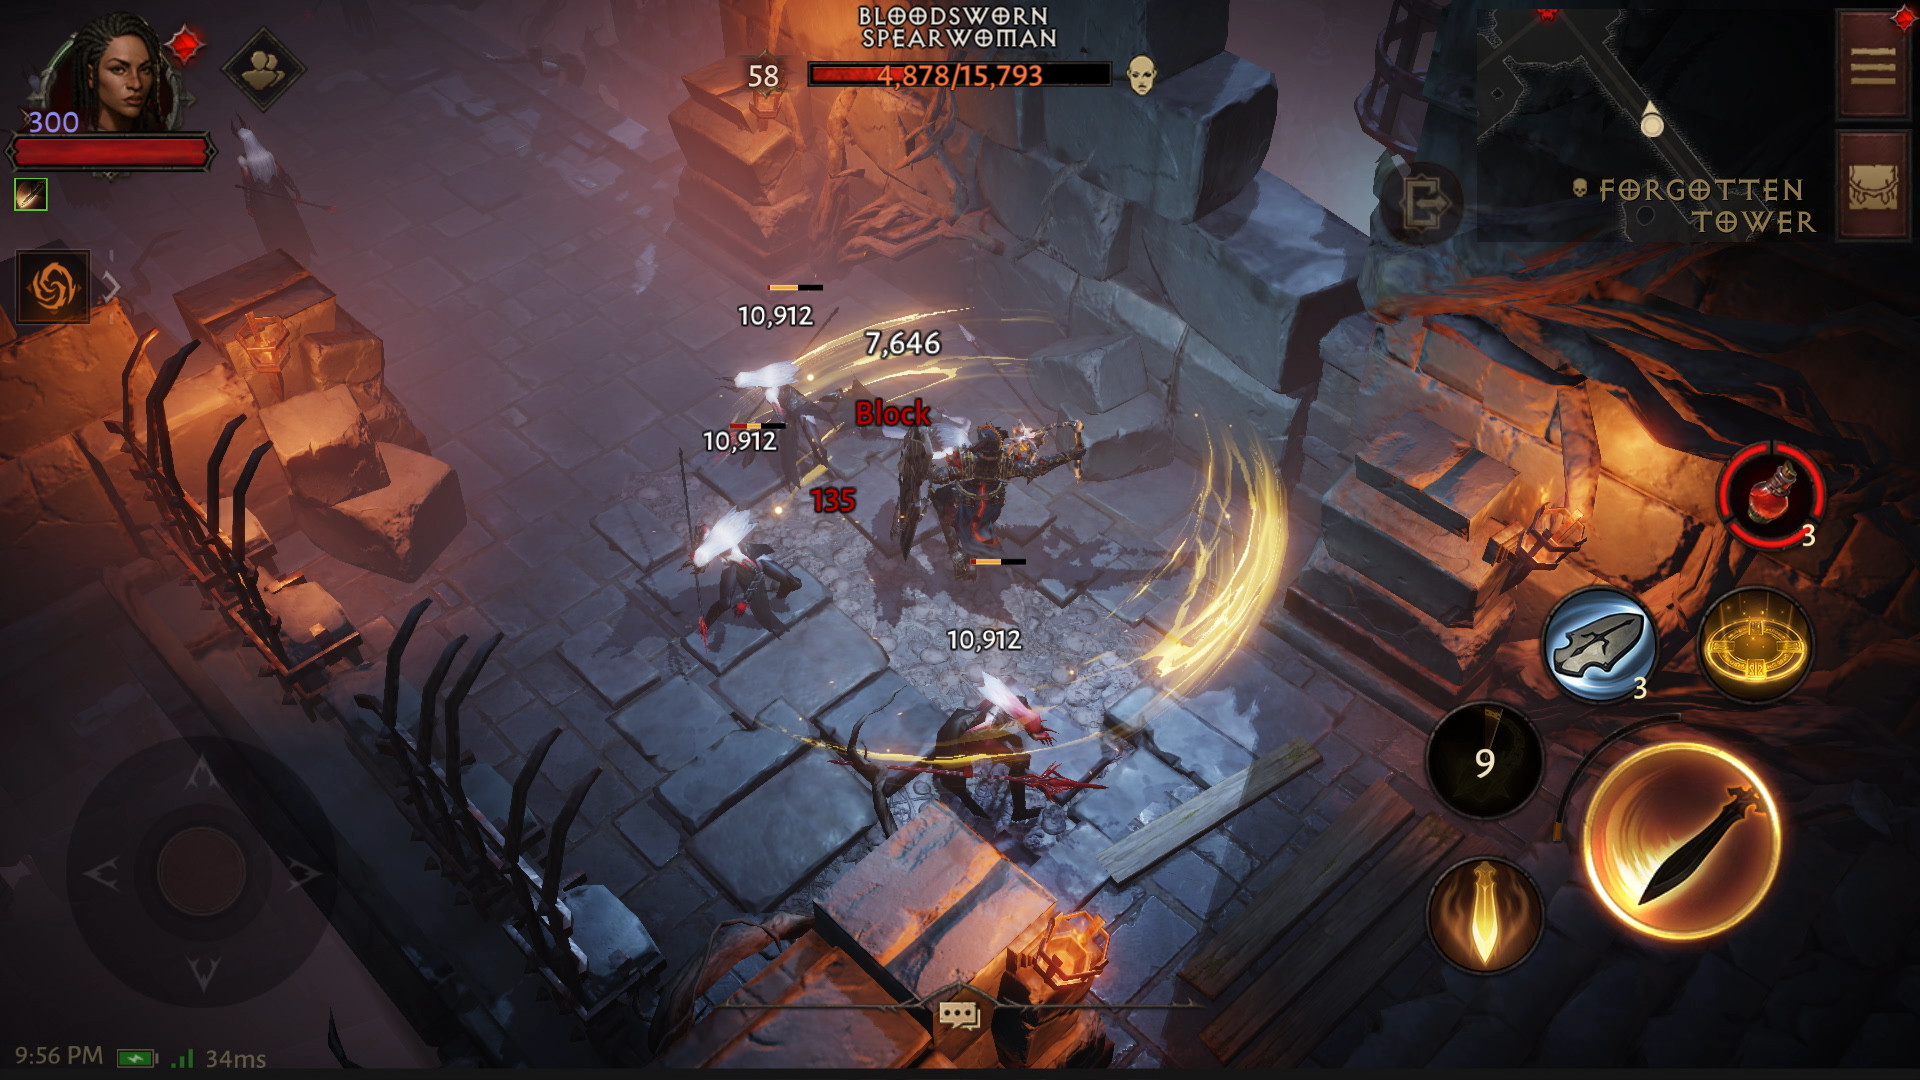
Make your way through the Bloodsworn Spearwomen and Archers, and leash them to the spectral wall that bars your way. You can kill them there, and immediately proceed to the chamber ahead, directly continuing the fight with the Boss's mobs and keeping the kill streak going. Slaughter the minions before moving on to the Boss.
Groups should coordinate for one party member to hang back, methodically cleaving enemies down at the entrance while the remaining party members beeline through the corridor, clearing the Bloodsworn and taking on the Boss as soon as possible.
Blood Priestess Innaloth is a Summoner and Waller. This is a surprisingly potent combination, and her crowd control-capable summons can be a great pain if you are caught within the confines of her walls. Try to stay behind her, and be ready to use your mobility skill if she walls you off. Make sure to clean up her summoned Bloodsworn regularly, as they can grow from an annoyance to a real threat if unattended.
Section 2: The Side Rooms
Once the Priestess is down, inspect the Dying Villager to open the way to your left.
In groups, the fastest running party member should dash to the door on the left immediately after the boss kill, so they can unlock it as soon as their companions inspect the villager.
What follows is a timed, 5-stage gauntlet of 80 seconds each, where you need to kill a progressively higher number of Bloodsworn enemies: 10, 15, 20, 25, and finally 30, for a total of 100 enemies. Successfully doing so within the timer rewards you with 5 bonus Treasure Chests at the end! Make your way across the chamber on the left, and then the one on the right, chaining fights together to keep Massacre Bonuses going. Make sure to evade the swinging blade traps placed around these rooms — giving them plenty of space, as their "generous" hitboxes might sweep you even if you seem in the clear.
Groups should try to spread out efficiently as they clear out both chambers. The most nimble characters should go to the farthest, uppermost corners of the rooms, while the remaining heroes clean up monsters near the entrance and the middle.
Section 3: The Countess
The Countess fights in melee and has a stronger, telegraphed melee swing that will inflict heavy damage if you do not move out of its area, clearly marked with a bright red conal shape. Either pop Ultimates and hard-hitting Cooldowns immediately as the fight starts so they recharge for Phase 2, or save them up for the second phase so you do not waste DPS during the boss's absence. At 2/3rds of her health, The Countess briefly disappears and summons Bloodsworn adds; make quick work of them while keeping an eye for the red, circular telegraph on the ground. This is where The Countess will reappear, dealing damage to anyone caught within.
The Countess will then draw a Pentagram on the ground, starting immediately from the direction she is facing. The lines of the Pentagram will deal damage to anyone standing on them, and will be active for the remainder of the fight. Be cognizant of the Bloodsworn Oppressor adds — they can knock you back right onto the Pentagram lines, or into one of the Countess's projectiles.
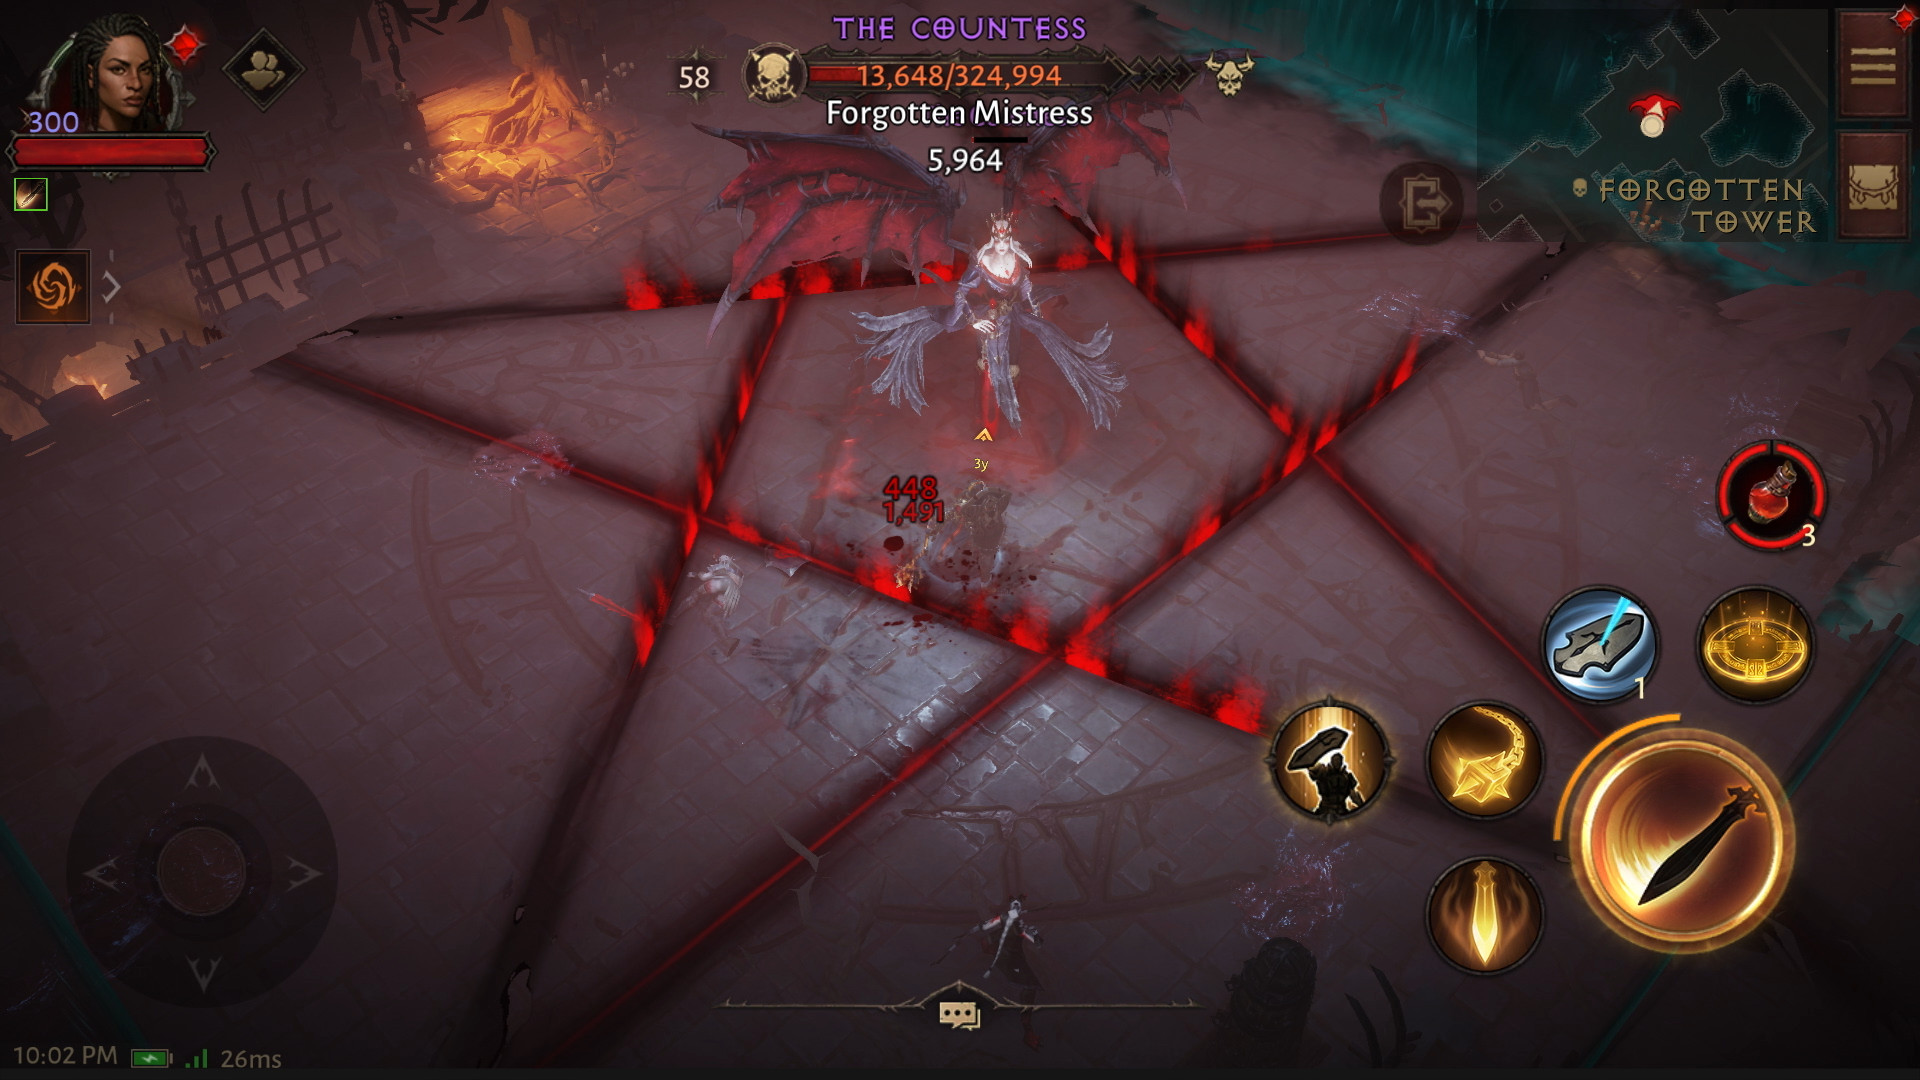
The Countess will then dash to the center of the chamber and start channeling a swarm of blood bats that spiral outward, quickly filling the room with projectiles. Do your best to avoid them, and be especially careful in melee range, where multiple bats can hit you for immense damage. Take her down and collect the 6-chest loot!
Dungeon Summary
Dungeons are an integral part of Diablo Immortal and are tied to
daily quests, Contracts, Bounties, and the very finalization of your
character's gear overall. Always make sure you have checked your Codex,
since certain Dungeons will have extra ![]() Battle Points rewarded for their
completion at any given time. Dungeons are also the only place to obtain Sets
— which, once completed, are a powerful addition to your endgame gear.
But no two Dungeons drop the same pieces! Make sure to target-farm specific
Dungeons for the set pieces you need.
Battle Points rewarded for their
completion at any given time. Dungeons are also the only place to obtain Sets
— which, once completed, are a powerful addition to your endgame gear.
But no two Dungeons drop the same pieces! Make sure to target-farm specific
Dungeons for the set pieces you need.
Changelog
- 01 Jun. 2022: Page added.
This build is presented to you by Deadset, one of the very few professional Diablo 3 players. Deadset regularly publishes video guides on Youtube and streams on Twitch, where you can see how this and other builds play out in practice.
- Diablo Immortal x WoW Crossover Event: Frostmourne in Sanctuary!
- Icy Veins Seeking Writers for Zenless Zone Zero: Apply Today!
- Icy Veins Launches Genshin Impact Guides Section
- Icy Veins Podcast About Path of Exile
- ARPG Vault Discord Giveaway
- Diablo Immortal Destruction's Wake Update Notes: June 13th
- Icy Veins is Getting a New Look
- Diablo Immortal: Age of Falling Towers Content Update Notes