Diablo Immortal Dungeons Overview
Dungeons are a feature of Diablo Immortal that can be accessed at varying character levels. They each offer a fairly quick experience of slaughtering numerous enemies and multiple bosses to receive valuable loot — including the all-important Set items at higher difficulties.
Dungeons Overview
Dungeons are story-based instances with specific locations in the various zones of Diablo Immortal. They feature static layouts, pre-determined monster compositions, and fixed bosses. Dungeons are a form of endlessly repeatable content, can be done solo or in groups, and are only limited by your current campaign completion (they are inaccessible until you reach and complete them as part of the storyline).
Dungeons are also frequently featured as a Quest activity in the
Codex and reward very decent ![]() Battle Points by default, making the
reward-to-effort ratio for Dungeons quite competitive — especially for
some of them, as graded below. Note that Dungeons have specific loot tables, and
you will need to target-farm them for the Set drops you require.
Battle Points by default, making the
reward-to-effort ratio for Dungeons quite competitive — especially for
some of them, as graded below. Note that Dungeons have specific loot tables, and
you will need to target-farm them for the Set drops you require.
Set Items
Set items represent the best-in-slot for your Secondary gear slots, and can (for the most part) only be found in Dungeons. Set items include Boots and Belts (dropped in Hell I+ difficulty dungeons), Hands and Amulets (dropped in Hell II+ difficulty dungeons), and the two Rings (dropped in Hell IV+ difficulty dungeons). Each Dungeon operates with its own set item loot table; consult the specific dungeon entries below to find the ones you require.
While the Dungeon loot tables guarantee where a certain Set item will drop, they certainly do not guarantee the when. Some amount of grinding will be required to get all the pieces of your desired set, but you can improve your chances by checking the Codex for the Dungeons with a doubled set drop chance for the day.
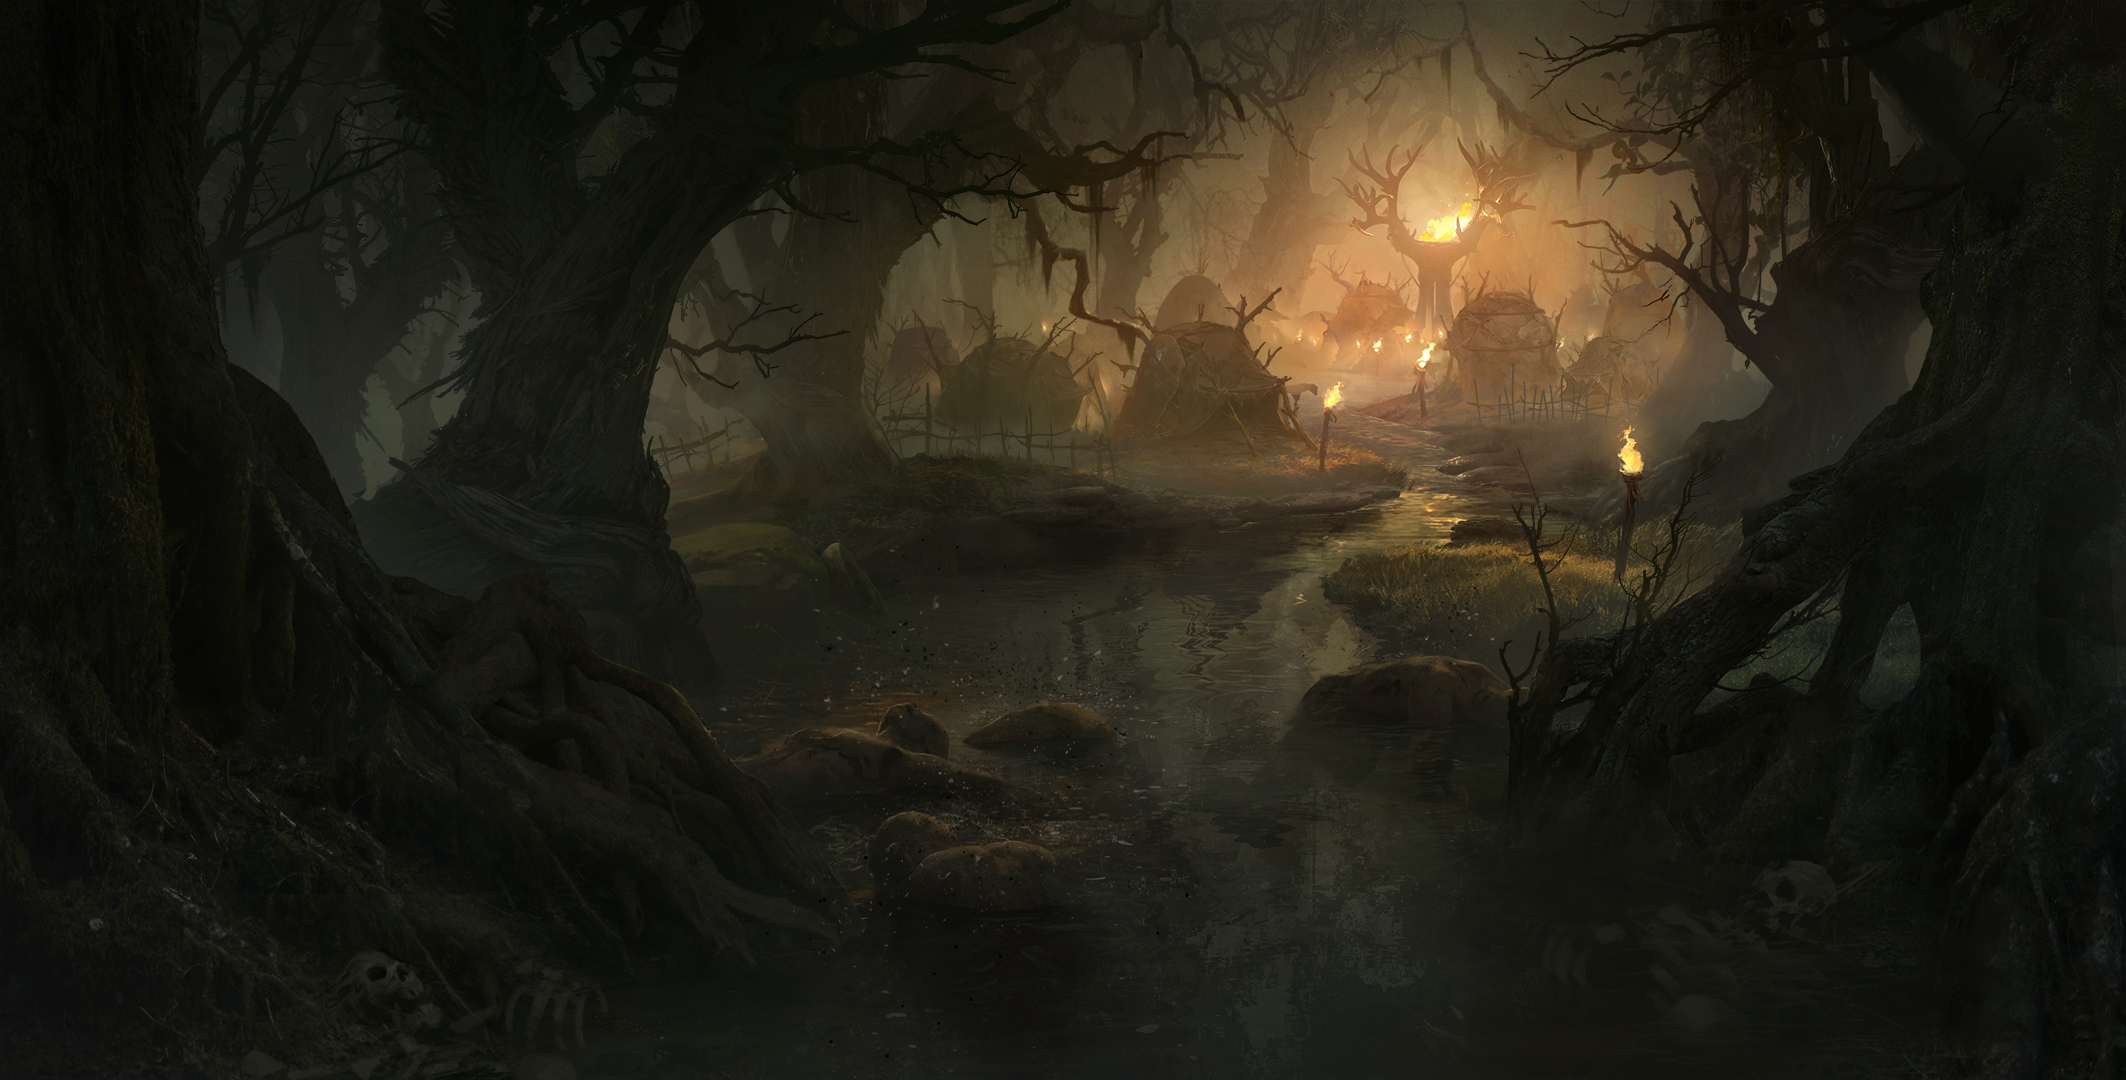
Mad King's Breach
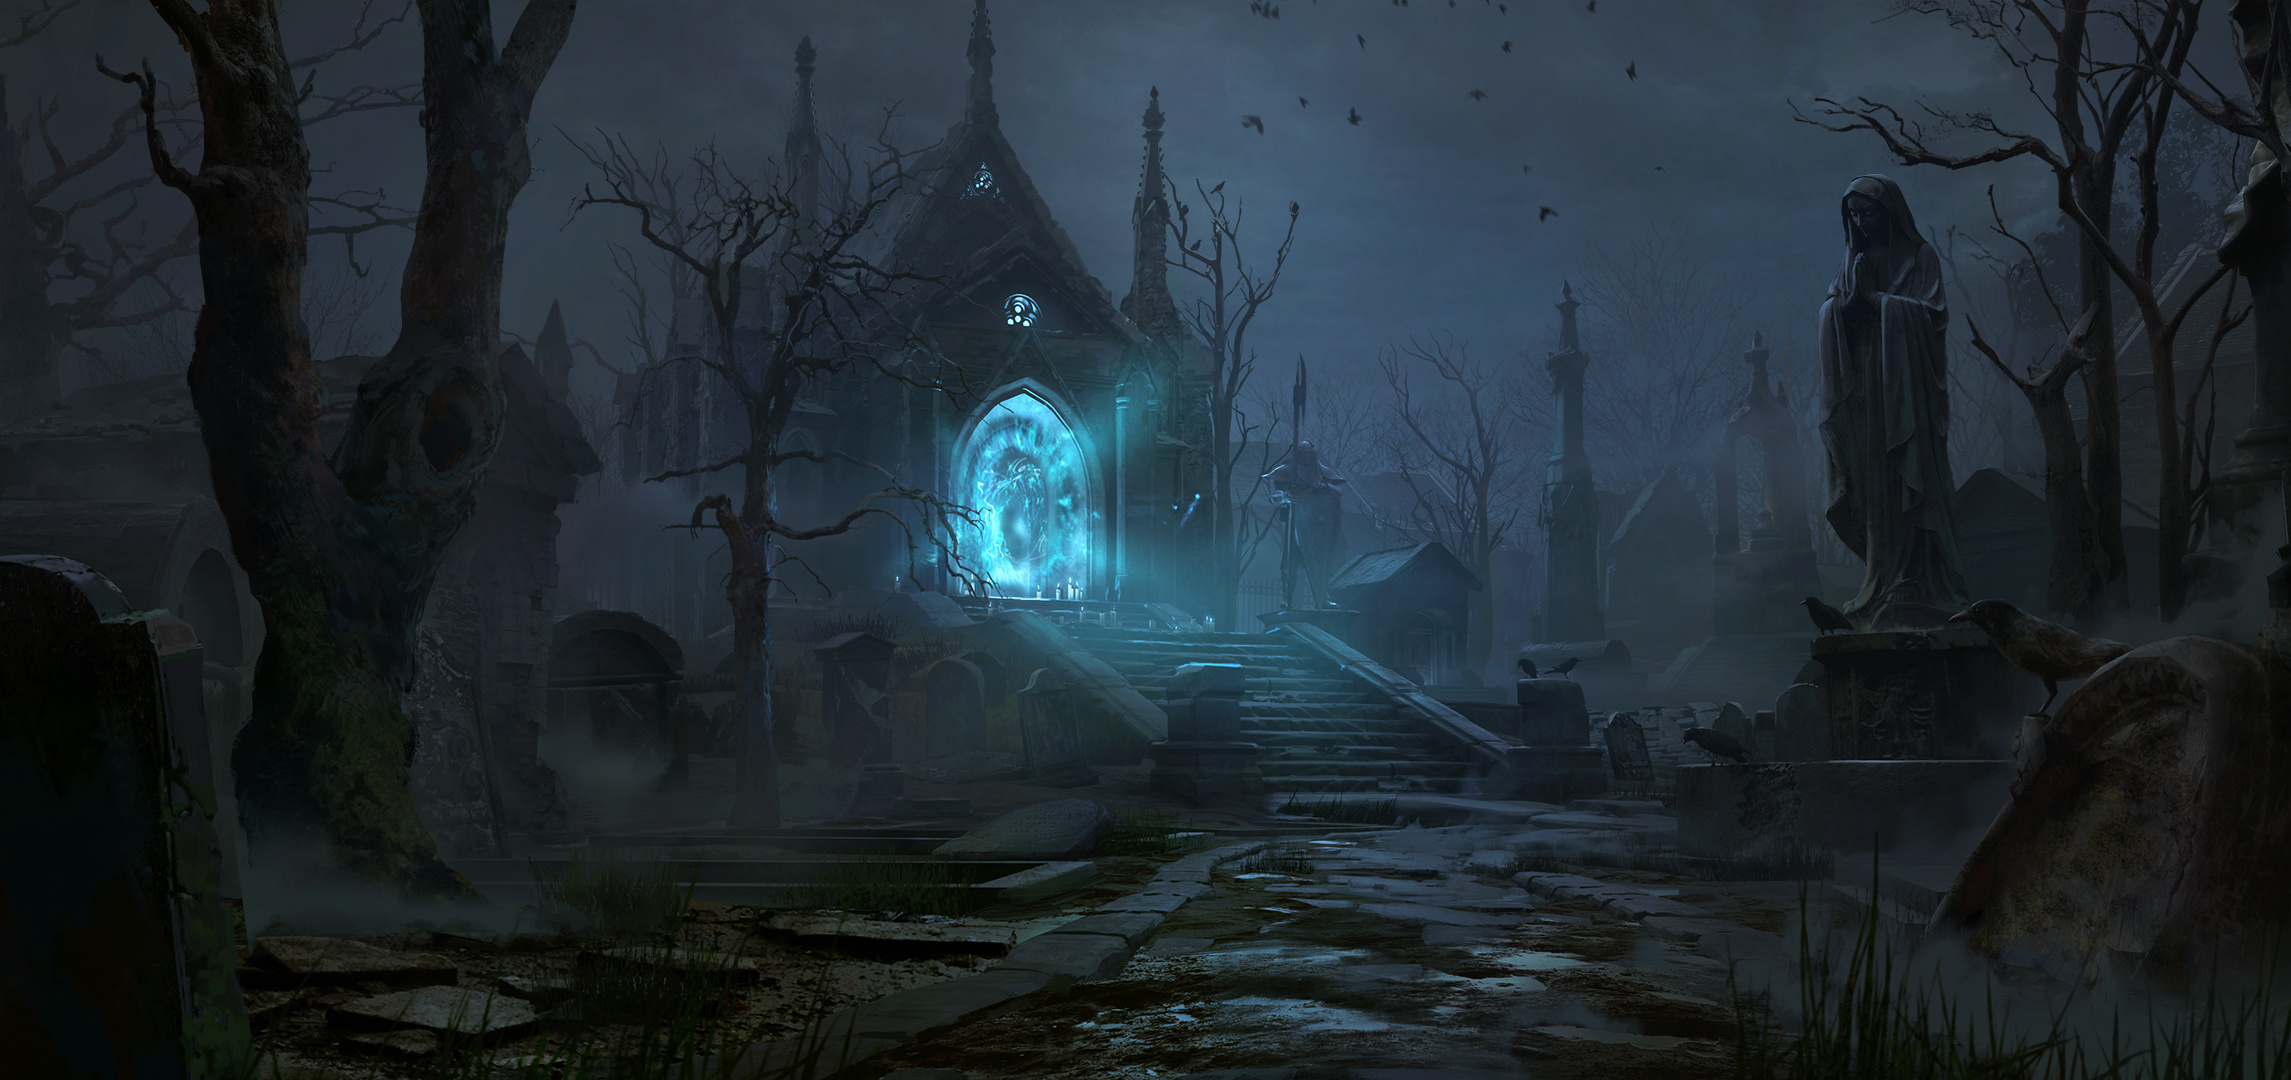
Overview
Mad King's Breach is located in Ashwold Cemetery. It is a three-floor dungeon that faces you off against a total of three bosses: Sir Gorash, Manoruk, and the Skeleton King. Mad King's Breach is an excellent source of experience and item farming, with trivial maintenance of the Massacre Bonuses for an experienced group.
Mad King's Breach Statistics
- Average Dungeon Runtime: Up to 5 minutes
 Battle Points Reward: 15
- Required Level For Entry: 10
- Notable for: Good experience farming, proximity to Haunted Carriage event.
Mad King's Breach Loot
- Hell I+:
 Torn Sole (Grace of the Flagellant
Set Boots)
Torn Sole (Grace of the Flagellant
Set Boots) - Hell I+:
 Mountebank's Bravado
(Untouchable Mountebank Set Belt)
Mountebank's Bravado
(Untouchable Mountebank Set Belt) - Hell II+:
 Issatar at Rest (Issatar Imbued
Set Neck)
Issatar at Rest (Issatar Imbued
Set Neck) - Hell II+:
 Dozen Strikes of Shal'baas
(War Rags of Shal'baas Set Hands)
Dozen Strikes of Shal'baas
(War Rags of Shal'baas Set Hands) - Hell IV+:
 Fairfleet (Windloft Perfection
Set Ring)
Fairfleet (Windloft Perfection
Set Ring) - Hell IV+:
 Shepherd and Mother
(Shepherd's Call to Wolves Set Ring)
Shepherd and Mother
(Shepherd's Call to Wolves Set Ring)
Forgotten Tower
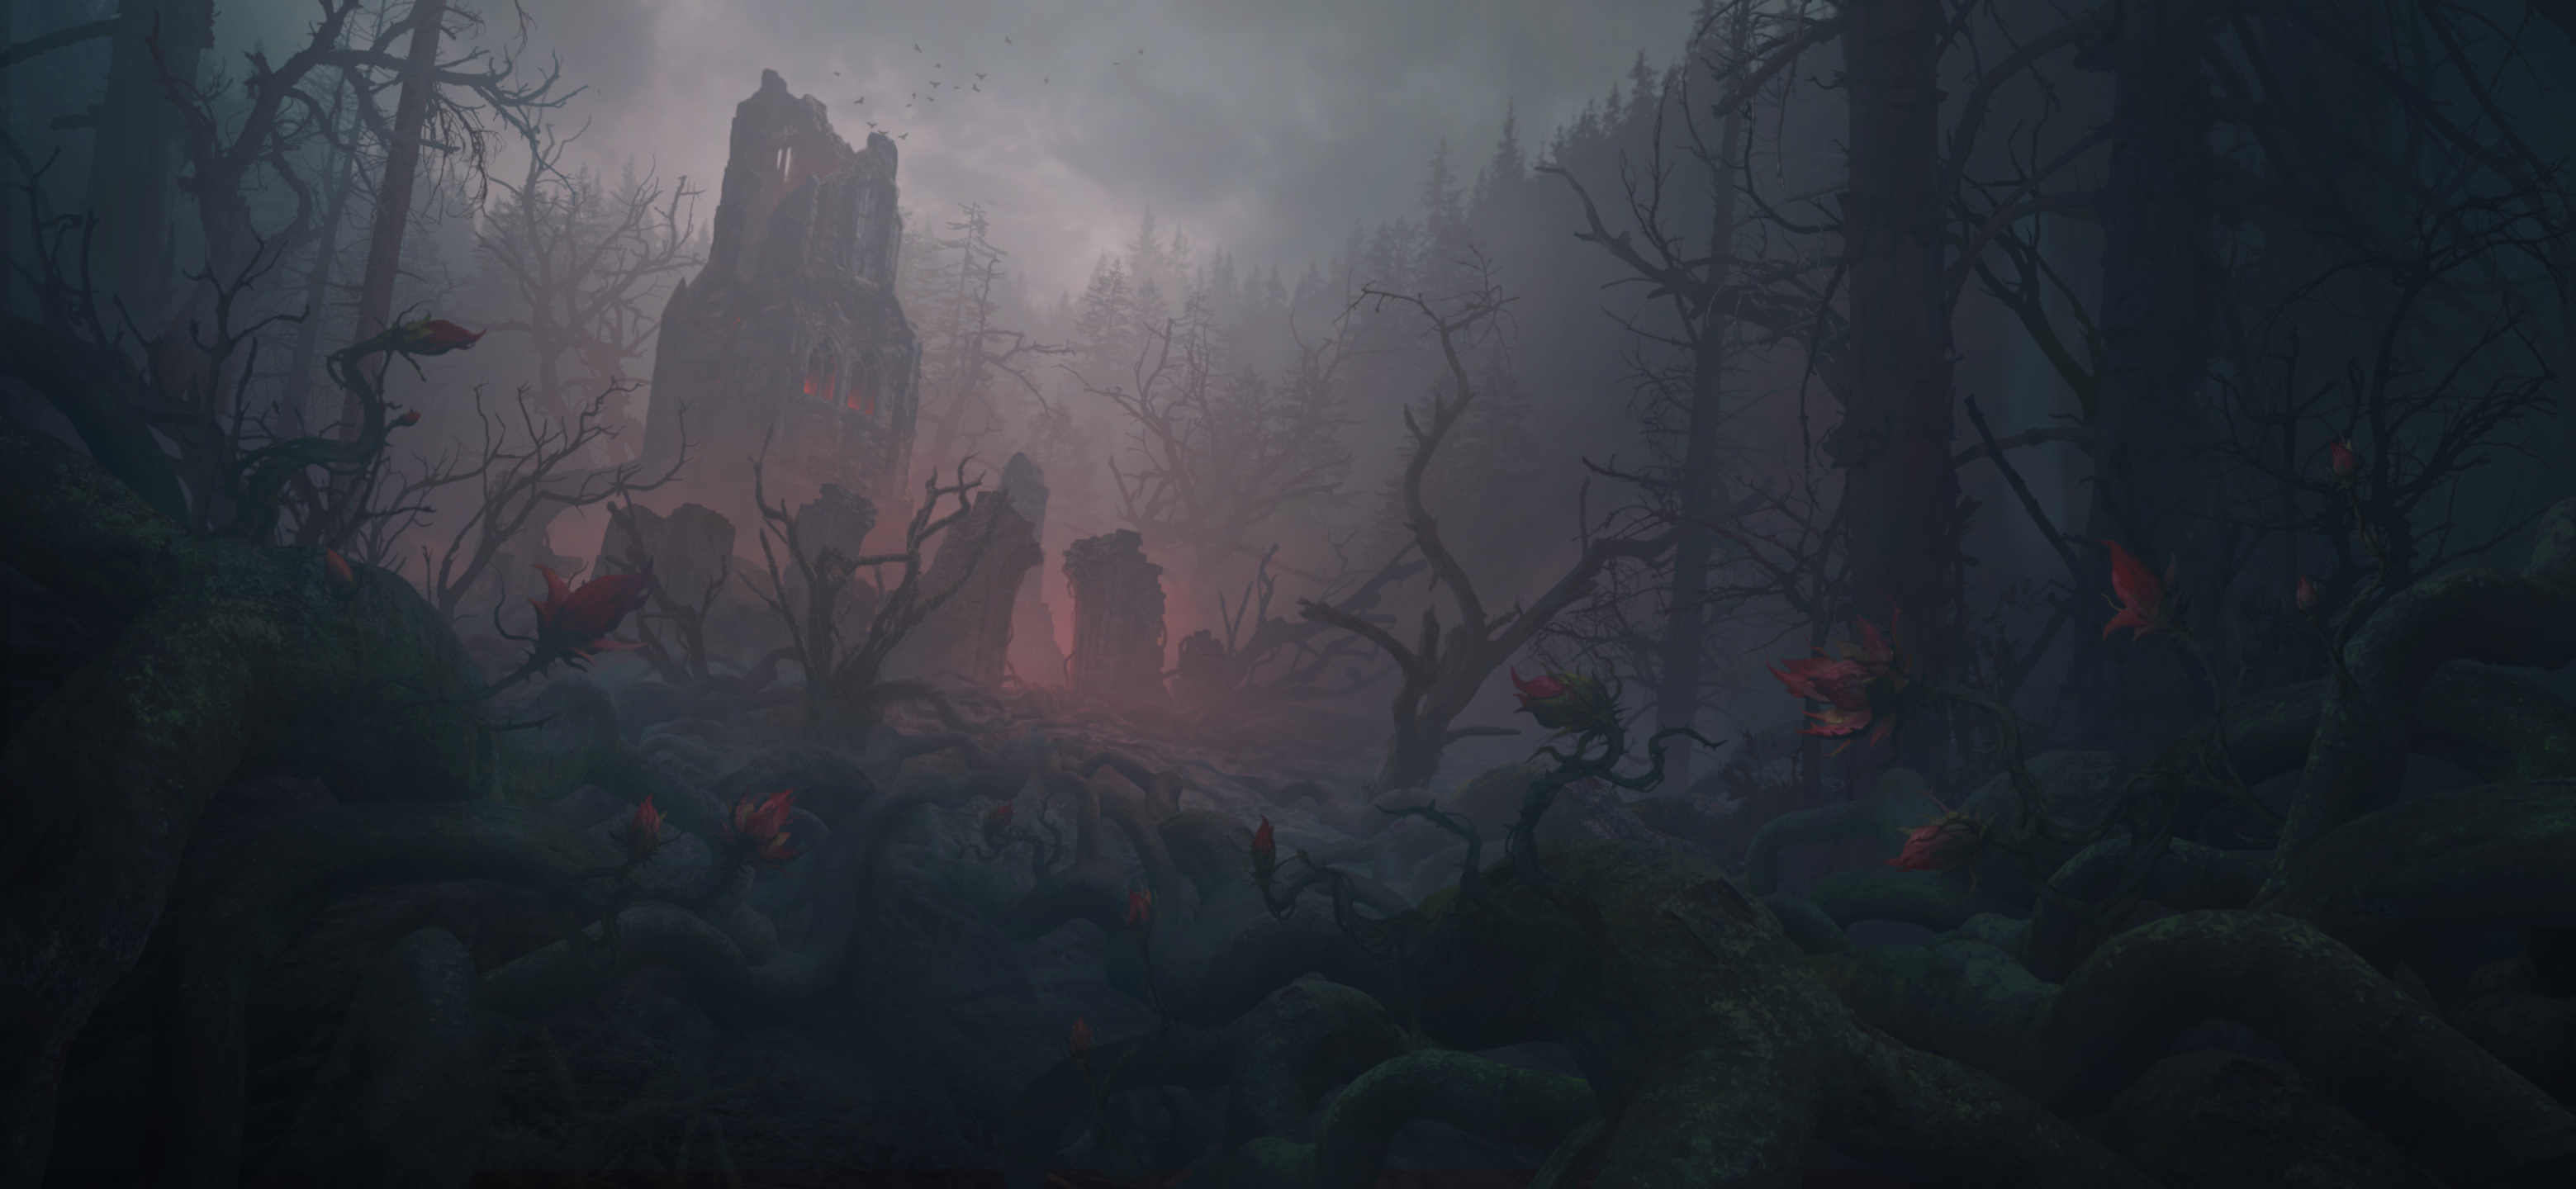
Overview
The Forgotten Tower is located in Dark Wood. It is a single-floor dungeon that faces you off against a total of two bosses: Blood Priestess Innaloth and The Countess. The Forgotten Tower is an excellent source of experience and item farming, with trivial maintenance of the Massacre Bonuses for an experienced group.
Forgotten Tower Statistics
- Average Dungeon Runtime: Up to 5 minutes
- Battle Points Reward: 15
- Required Level For Entry: 20
- Notable for: Amazing experience farming, trivial to maintain Massacre Bonuses.
Forgotten Tower Loot
- Hell I+:
 Mountebank's Slyness
(Untouchable Mountebank Set Boots)
Mountebank's Slyness
(Untouchable Mountebank Set Boots) - Hell I+:
 Storm-Tack of Shal'baas
(War Rags of Shal'baas Set Belt)
Storm-Tack of Shal'baas
(War Rags of Shal'baas Set Belt) - Hell II+:
 Wisdom's Edge
(Windloft Perfection Set Neck)
Wisdom's Edge
(Windloft Perfection Set Neck) - Hell II+:
 Issatar's Open Hand
(Issatar Imbued Set Hands)
Issatar's Open Hand
(Issatar Imbued Set Hands) - Hell IV+: Shepherd and Father
(Shepherd's Call to Wolves Set Ring)
- Hell IV+:
 The Prisoner
(Feasting Baron's Pack Set Ring)
The Prisoner
(Feasting Baron's Pack Set Ring)
Tomb of Fahir
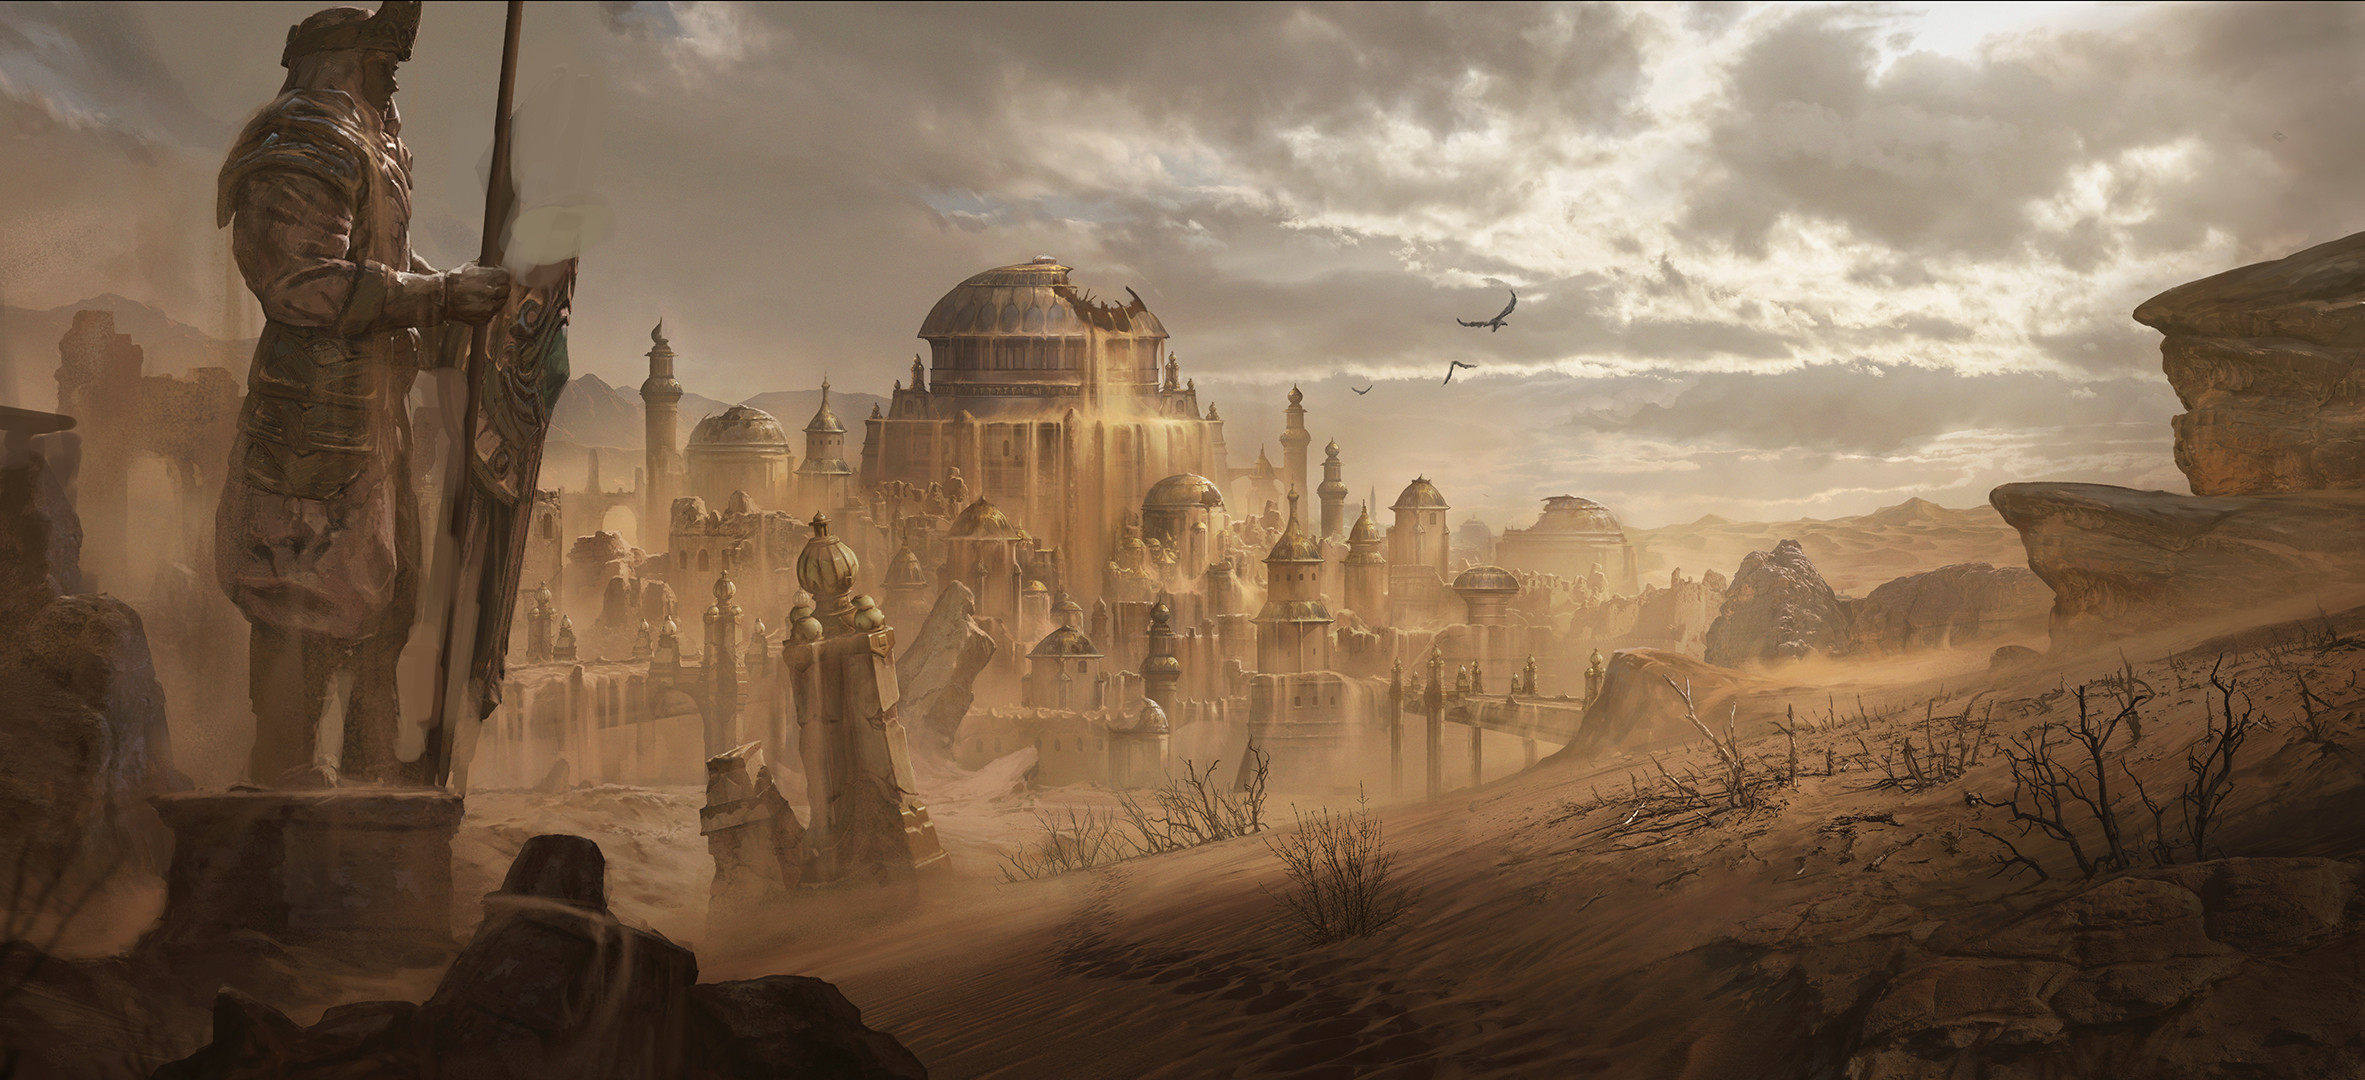
Overview
Tomb of Fahir is located in the Shassar Sea. It is a two-floor dungeon with a transitional phase that faces you off against a total of four bosses: Icon of Rebirth, Icon of Souls, King Fahir, and Segithis. Tomb of Fahir is notable for its inventive bosses and fight structure, as well as the plentiful Treasure Chests you can open along the way — just make sure you pack plenty of mobility.
Tomb of Fahir Statistics
- Average Dungeon Runtime: 5-7 minutes
- Battle Points Reward: 20
- Required Level For Entry: 28
- Notable for: Average experience farming and loot potential.
Tomb of Fahir Loot
- Hell I+:
 Wind-Trods of Shal'baas
(War Rags of Shal'baas Set Boots)
Wind-Trods of Shal'baas
(War Rags of Shal'baas Set Boots) - Hell I+:
 Issatar Contained (Issatar Imbued
Set Belt)
Issatar Contained (Issatar Imbued
Set Belt) - Hell II+:
 Shepherd and Architect
(Shepherd's Call to Wolves Set Neck)
Shepherd and Architect
(Shepherd's Call to Wolves Set Neck) - Hell II+:
 Hurtling Steel
(Windloft Perfection Set Hands)
Hurtling Steel
(Windloft Perfection Set Hands) - Hell IV+:
 Shameless Urge (Vithu's Urges
Set Ring)
Shameless Urge (Vithu's Urges
Set Ring) - Hell IV+: The Turnkey (Feasting Baron's Pack
Set Ring)
Destruction's End
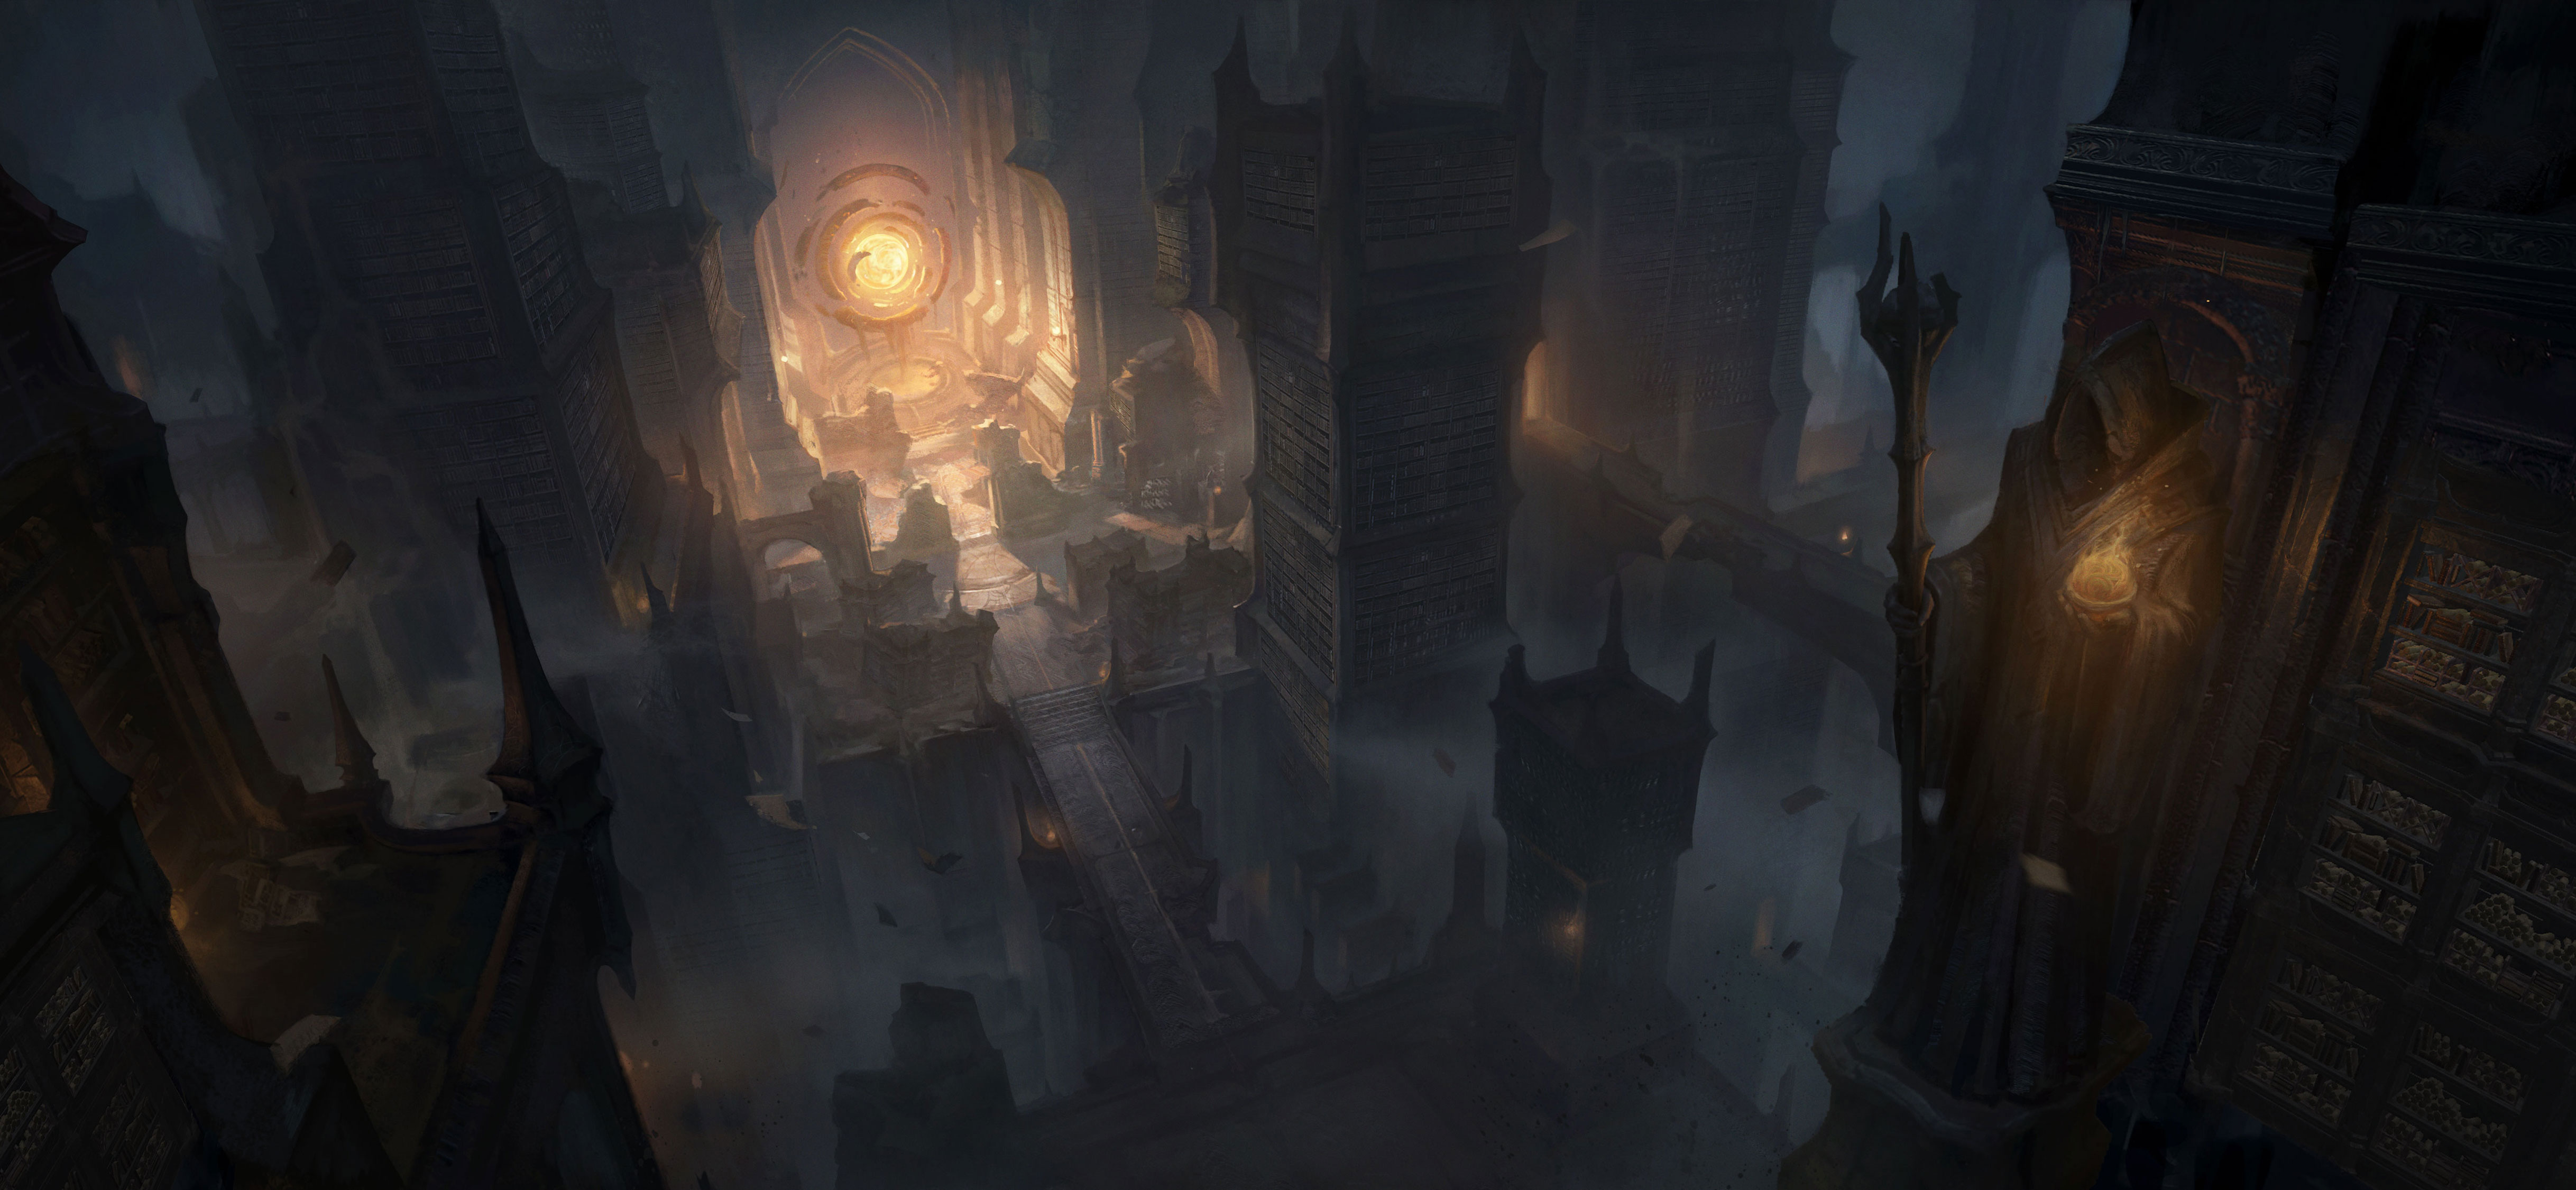
Overview
Destruction's End is located in Zoltun Kulle's Library. It is a two-phase dungeon that faces you off against a single boss, Baal, also split into two fight phases. Destruction's End is notable mostly for its encounter with one of the signature Prime Evils — Baal, The Lord of Destruction — as well as allying up with iconic characters like Tal Rasha and Zoltun Kulle. If you are not target farming specific Set pieces, the low experience of this dungeon makes it hard to recommend.
Destruction's End Statistics
- Average Dungeon Runtime: 5 minutes
- Battle Points Reward: 15
- Required Level For Entry: 35
- Notable for: Low experience farming and loot potential. Sentimental value.
Destruction's End Loot
- Hell I+:
 Issatar the Brute (Issatar Imbued
Set Boots)
Issatar the Brute (Issatar Imbued
Set Boots) - Hell I+:
 Whipcrack (Windloft Perfection
Set Belt)
Whipcrack (Windloft Perfection
Set Belt) - Hell II+:
 The Subjugator
(Feasting Baron's Pack Set Neck)
The Subjugator
(Feasting Baron's Pack Set Neck) - Hell II+:
 Shepherd and Beastmaster
(Shepherd's Call to Wolves Set Hands)
Shepherd and Beastmaster
(Shepherd's Call to Wolves Set Hands) - Hell IV+: Modest Urge (Vithu's Urges Set
Ring)
Kikuras Rapids
Overview
Kikuras Rapids is located in the Bilefen. It is a single-floor dungeon with three distinct phases, culminating in a single boss — Chieftain Ongori. Kikuras Rapids is notable for its visual variety and the sheer fun of its completion (you are on a raft half the time), with some decent loot to top things off.
Kikuras Rapids Statistics
- Average Dungeon Runtime: 5-7 minutes
- Battle Points Reward: 15
- Required Level For Entry: 40
- Notable for: Average experience farming and loot potential.
Kikuras Rapids Loot
- Hell I+:
 Stump-Stir (Windloft Perfection
Set Boots)
Stump-Stir (Windloft Perfection
Set Boots) - Hell I+:
 Shepherd and Begetter
(Shepherd's Call to Wolves Set Belt)
Shepherd and Begetter
(Shepherd's Call to Wolves Set Belt) - Hell II+:
 Awakener's Urge (Vithu's Urges
Set Neck)
Awakener's Urge (Vithu's Urges
Set Neck) - Hell II+:
 The Mailed Fist
(Feasting Baron's Pack Set Hands)
The Mailed Fist
(Feasting Baron's Pack Set Hands) - Hell IV+:
 Broken Palm
(Grace of the Flagellant Set Ring)
Broken Palm
(Grace of the Flagellant Set Ring) - Hell IV+:
 Mountebank's Marvel
(Untouchable Mountebank Set Ring)
Mountebank's Marvel
(Untouchable Mountebank Set Ring)
Temple of Namari
Overview
The Temple of Namari is located in the Bilefen. It is a single-floor dungeon, and is (arguably) the shortest dungeon in the game — with three rooms and a single boss, Sargoth, to its name. Temple of Namari is notable for its varying final boss encounter, as the mini-bosses prior to Sargoth are picked at random between several options, and Sargoth himself randomizes his abilities from a pool of available choices. The need to constantly change the tactics necessary to overcome him vary up this miniscule dungeon a great deal.
Temple of Namari Statistics
- Average Dungeon Runtime: 3-5 minutes
- Battle Points Reward: 15
- Required Level For Entry: 40
- Notable for: Quick completion time (can be helpful for Battle Pass progression). Good experience farming and loot potential.
Temple of Namari Loot
- Hell I+:
 Shepherd and Leader
(Shepherd's Call to Wolves Set Boots)
Shepherd and Leader
(Shepherd's Call to Wolves Set Boots) - Hell I+:
 The Gaoler (Feasting Baron's Pack
Set Belt)
The Gaoler (Feasting Baron's Pack
Set Belt) - Hell II+:
 Slit Throat
(Grace of the Flagellant Set Neck)
Slit Throat
(Grace of the Flagellant Set Neck) - Hell II+:
 Luminary's Urge (Vithu's Urges
Set Hands)
Luminary's Urge (Vithu's Urges
Set Hands) - Hell IV+: Mountebank's Misdirection
(Untouchable Mountebank Set Ring)
- Hell IV+:
 Resting Fangs of Shal'baas
(War Rags of Shal'baas Set Ring)
Resting Fangs of Shal'baas
(War Rags of Shal'baas Set Ring)
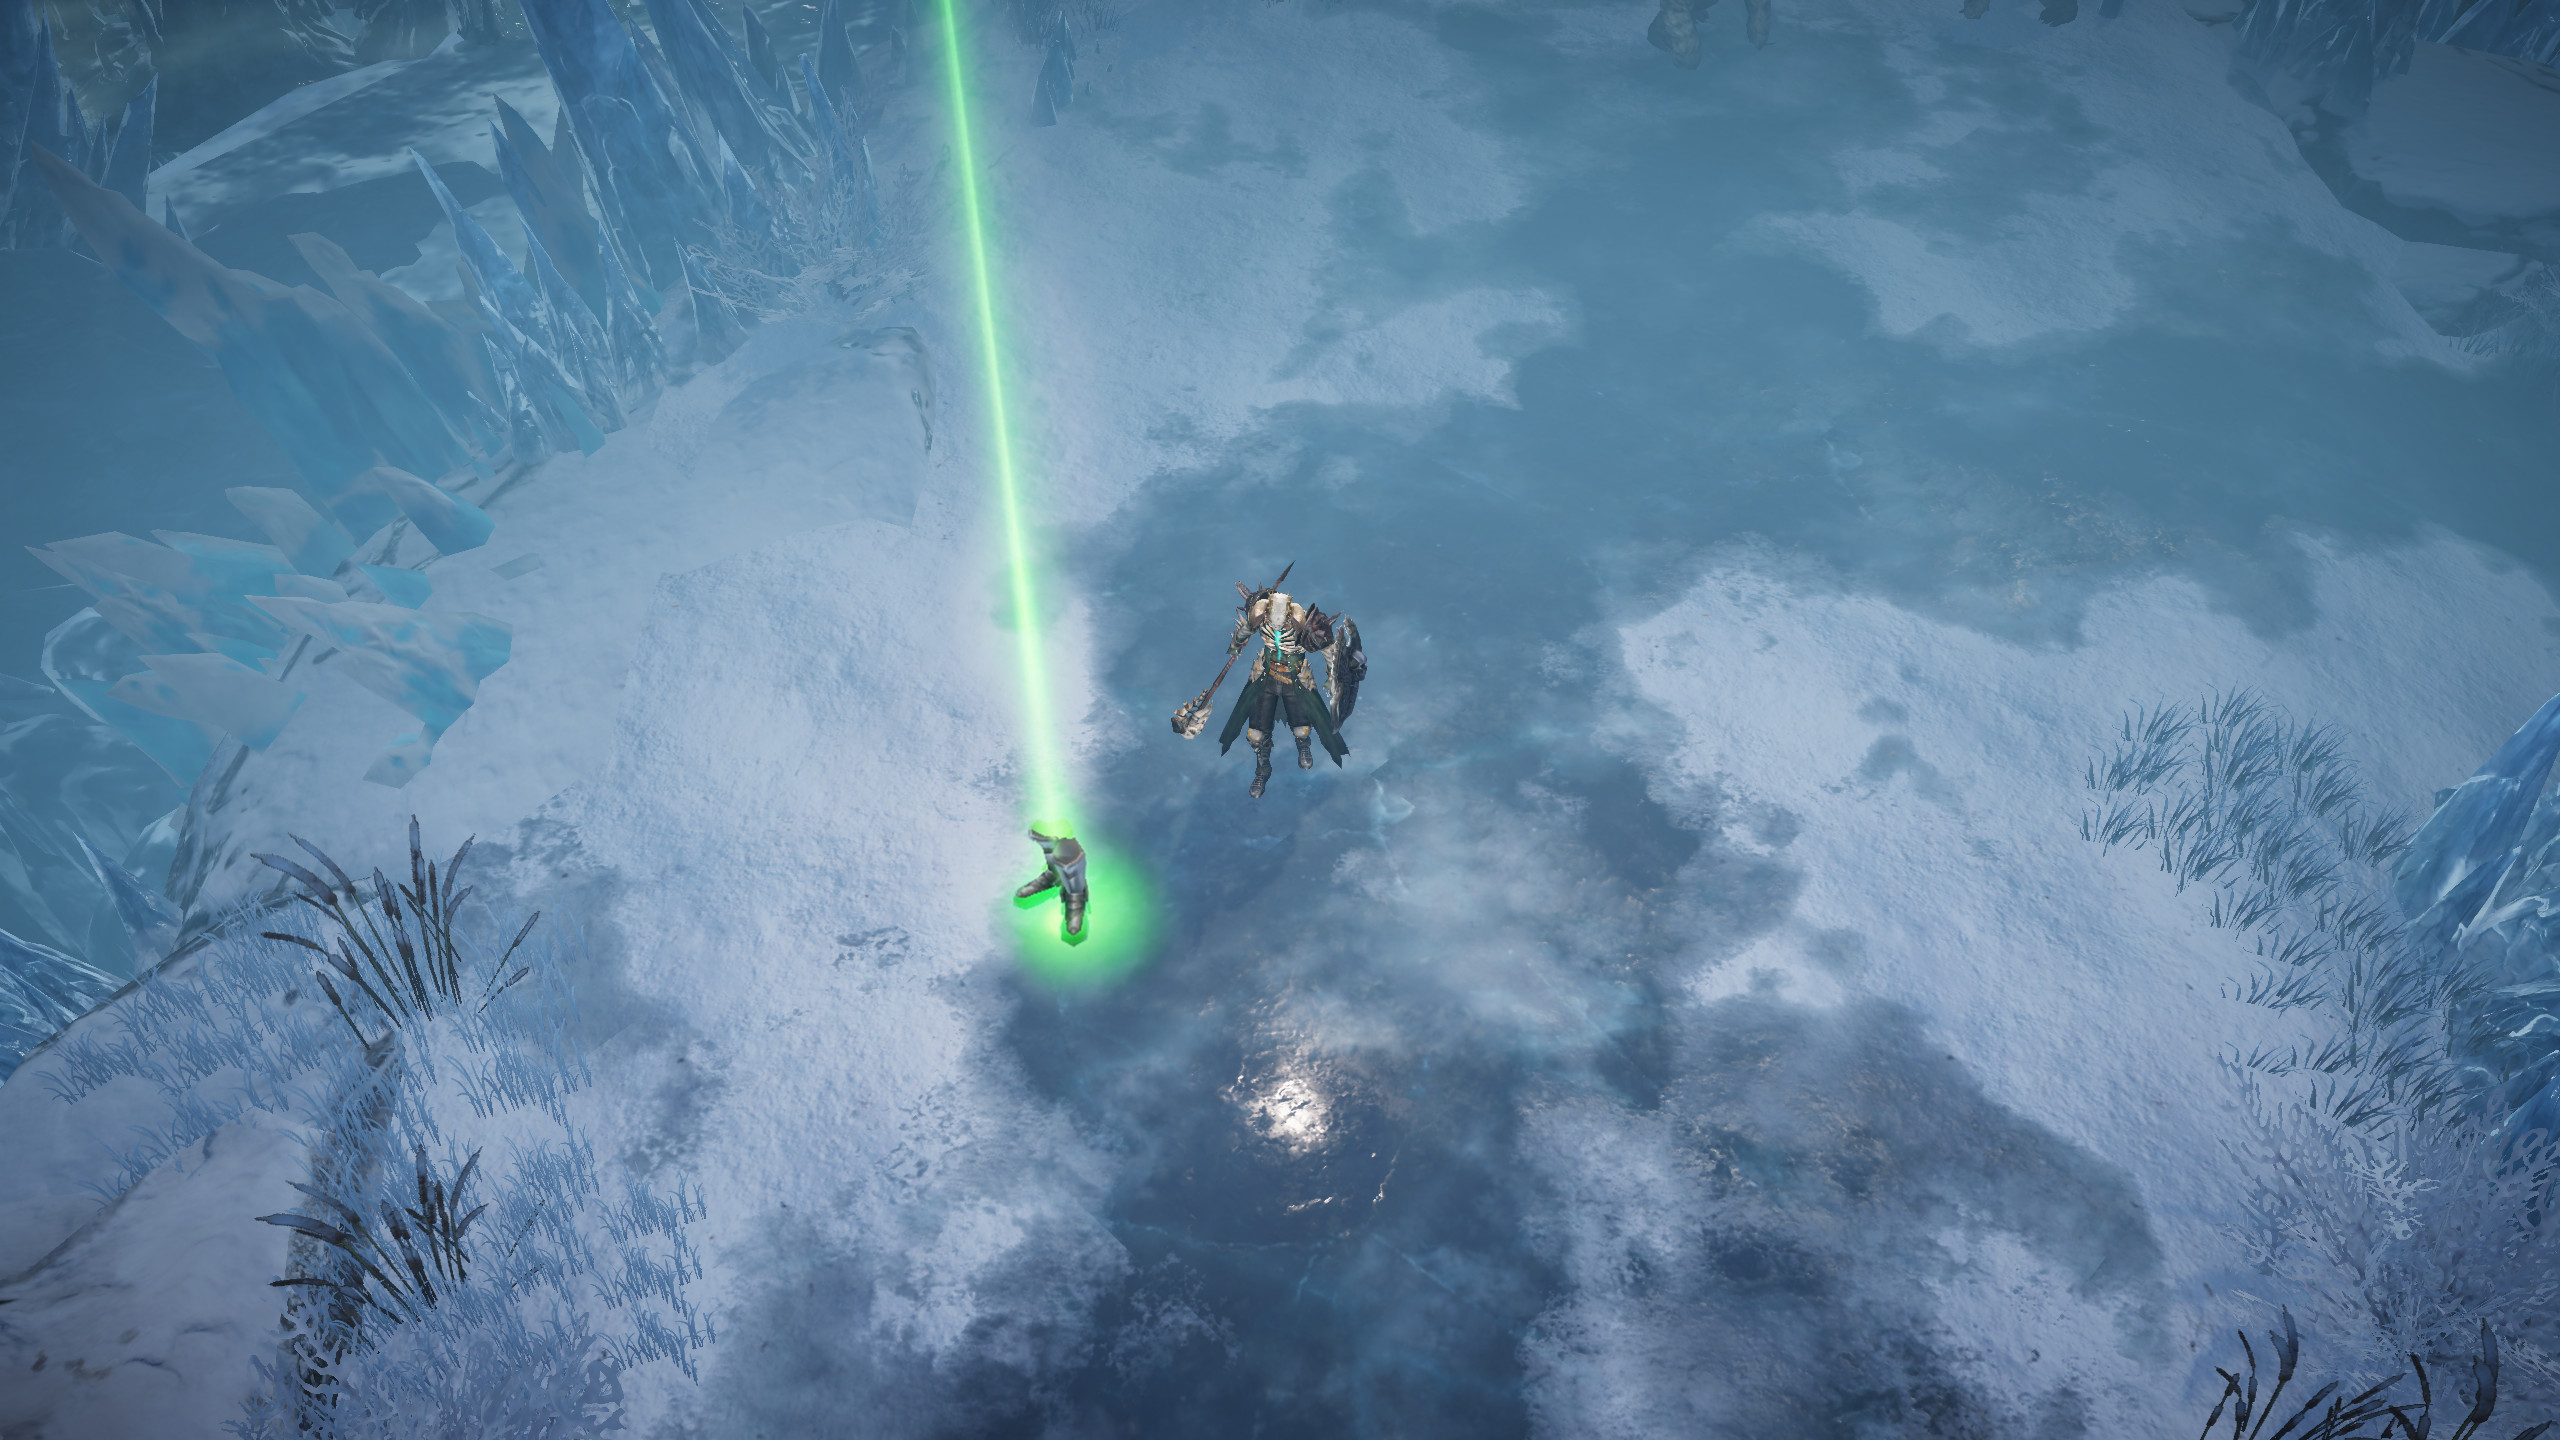
Cavern of Echoes
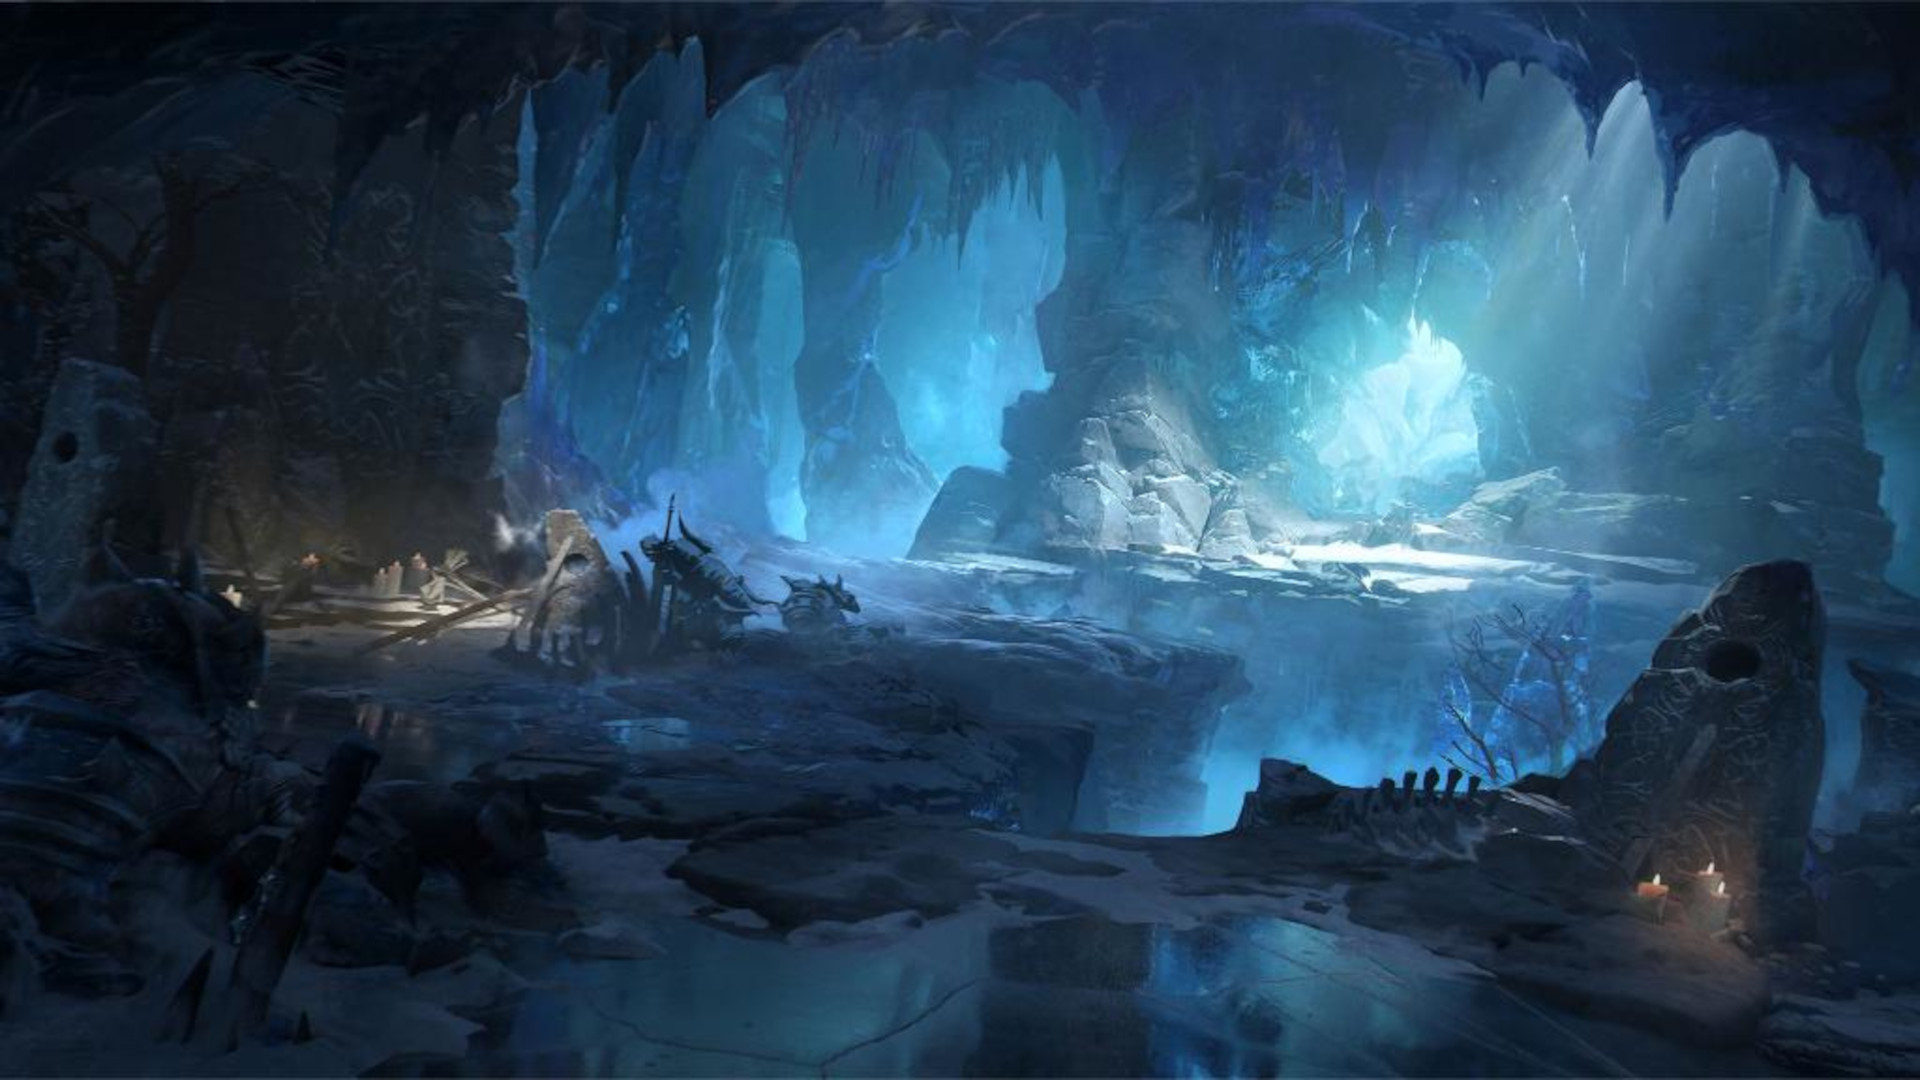
Overview
Cavern of Echoes is located in the Frozen Tundra. It is a single-floor dungeon roughly broken up into three sections, and faces you off against a total of two bosses: Bloodrime and the Glacial Colossus. Cavern of Echoes is notable for its deadly environmental threats as well as its slightly more demanding boss mechanics. The dungeon requires more attention than the average for the game, but rewards with excellent experience gain and decent loot potential.
Cavern of Echoes Statistics
- Average Dungeon Runtime: 3-5 minutes
- Battle Points Reward: 15
- Required Level For Entry: 50
- Notable for: Good experience farming, high risk-reward ratio.
Cavern of Echoes Loot
- Hell I+:
 The Tyrant (Feasting Baron's Pack
Set Boots)
The Tyrant (Feasting Baron's Pack
Set Boots) - Hell I+:
 Exemplar's Urge (Vithu's Urges
Set Belt)
Exemplar's Urge (Vithu's Urges
Set Belt) - Hell II+:
 Mountebank's Flourish
(Untouchable Mountebank Set Neck)
Mountebank's Flourish
(Untouchable Mountebank Set Neck) - Hell II+:
 Bloody Hand
(Grace of the Flagellant Set Hands)
Bloody Hand
(Grace of the Flagellant Set Hands) - Hell IV+: Braided Serpent of Shal'baas
(War Rags of Shal'baas Set Ring)
- Hell IV+:
 Issatar Undone (Issatar Imbued
Set Ring)
Issatar Undone (Issatar Imbued
Set Ring)
Pit of Anguish
Overview
The Pit of Anguish is located in the Realm of Damnation. It is a single-floor dungeon broken up into three sections, and faces you off against a total of three bosses: The Abyssal Tiller, Zolthrax, and Zaka. Pit of Anguish is notable for its boss rush strategy, as access to the walled-off arenas where its bosses reside is not limited by the preceding trash packs.
Pit of Anguish Statistics
- Average Dungeon Runtime: 5-6 minutes
- Battle Points Reward: 20
- Required Level For Entry: 56
- Notable for: Average experience farming and loot potential.
Pit of Anguish Loot
- Hell I+:
 Beacon's Urge
(Vithu's Urges Set Boots)
Beacon's Urge
(Vithu's Urges Set Boots) - Hell I+:
 Open Gut
(Grace of the Flagellant Set Belt)
Open Gut
(Grace of the Flagellant Set Belt) - Hell II+:
 Burning Heart of Shal'baas
(War Rags of Shal'baas Set Neck)
Burning Heart of Shal'baas
(War Rags of Shal'baas Set Neck) - Hell II+:
 Mountebank's Shirking
(Untouchable Mountebank Set Hands)
Mountebank's Shirking
(Untouchable Mountebank Set Hands) - Hell IV+: Foulfleet
(Windloft Perfection Set Ring)
- Hell IV+: Issatar Enraged
(Issatar Imbued Set Ring)
Dungeon Builds
The core difference between soloing builds and dungeon builds is found in the mandatory grouping aspect of Dungeons in Hell I+ difficulty. With enforced group play, the next logical step is party coordination; certain classes can fulfill the roles of single-target or AoE damage dealer better, others will have valuable party-wide buffs, and so on. All classes in Diablo Immortal can tackle Dungeon content at an excellent pace, but their combined power can bring out even more efficiency from a group. With those goals in mind, these are our recommended builds for Dungeon content in Diablo Immortal:
Summary
Dungeons are the main source of Set Items in Diablo Immortal, and they are the best-in-slot gear pieces for your Secondary gear slots. The combined effectiveness of Sets (2-piece, 4-piece, and 6-piece bonuses) cannot be understated, making Dungeon runs a vital part of your character progression.
Changelog
- 30 Jun. 2022: Guide added.
This build is presented to you by Deadset, one of the very few professional Diablo 3 players. Deadset regularly publishes video guides on Youtube and streams on Twitch, where you can see how this and other builds play out in practice.
- Diablo Immortal x WoW Crossover Event: Frostmourne in Sanctuary!
- Icy Veins Seeking Writers for Zenless Zone Zero: Apply Today!
- Icy Veins Launches Genshin Impact Guides Section
- Icy Veins Podcast About Path of Exile
- ARPG Vault Discord Giveaway
- Diablo Immortal Destruction's Wake Update Notes: June 13th
- Icy Veins is Getting a New Look
- Diablo Immortal: Age of Falling Towers Content Update Notes