Tomb of Fahir Dungeon Guide
The Tomb of Fahir is one of eight dungeons available at launch in Diablo Immortal, and is located within the Shassar Sea. Entering this dungeon requires your character to be at least Level 28 and will see you and your party members facing off against four bosses — Icon of Rebirth, Icon of Souls, King Fahir, and Segithis — to receive valuable Set items; read on to learn how to tackle this dungeon's unique challenges.
Tomb of Fahir Overview
Tomb of Fahir is located in the Shassar Sea. It is a two-floor dungeon with a transitional phase that faces you off against a total of four bosses: Icon of Rebirth, Icon of Souls, King Fahir, and Segithis. Tomb of Fahir is notable for its inventive bosses and fight structure, as well as the plentiful Treasure Chests you can open along the way — just make sure you pack plenty of mobility.
Tomb of Fahir Dungeon Statistics
- Average Dungeon Runtime: 5-7 minutes
 Battle Points Reward: 20
- Required Level For Entry: 28
- Notable for: Average experience farming and loot potential.
Tomb of Fahir Dungeon Loot
- Hell I+:
 Wind-Trods of Shal'baas (War Rags of Shal'baas
Set Boots)
Wind-Trods of Shal'baas (War Rags of Shal'baas
Set Boots) - Hell I+:
 Issatar Contained (Issatar Imbued Set
Belt)
Issatar Contained (Issatar Imbued Set
Belt) - Hell II+:
 Shepherd and Architect
(Shepherd's Call to Wolves Set Neck)
Shepherd and Architect
(Shepherd's Call to Wolves Set Neck) - Hell II+:
 Hurtling Steel (Windloft Perfection Set
Hands)
Hurtling Steel (Windloft Perfection Set
Hands) - Hell IV+:
 Shameless Urge (Vithu's Urges Set Ring)
 - Hell IV+:
 The Turnkey (Feasting Baron's Pack Set
Ring)
The Turnkey (Feasting Baron's Pack Set
Ring)
Tomb of Fahir Strategy Guide
Tomb of Fahir is a sprawling dungeon that requires a lot of mobility to get through, with two important 'Icon' mini-bosses on opposing sides of the labyrinth whose defeat is required to progress. Depending on your current power level, you can either take the Icons one by one (obviously required if you solo), or split the group up and send your strongest party members to tackle the Icons individually, while two others wait at King Fahir to dispatch him as soon as possible. Another option is to go two by two, and then meet back in the middle to tackle Fahir together.
First Floor
Solo players should head for the Icon of Rebirth in the western wing of the map first. On the way there you will fight Lacuni Slashers, there are two possible detours:
- The first corridor to the left will take you to a dead-end room with a Treasure Chest, guarded by a pack of Lacuni Huntresses.
- Afterwards, you will notice the room in the upper right corner of the west wing (directly preceding the Icon of Rebirth fight) is filled with five Treasure Chests. If you open any of them, you will be immediately attacked by Hollow One undead.
While fun distractions, it is important to note that these Treasure Chest detours are not really worth your time if you optimize for XP and loot.
The Icon of Rebirth is a quick and easy boss. It is an immobile Summoner, and the Hollow Ones it spawns can be easily leashed close to the Icon so you cleave them all down together. It occasionally marks the floor with a damaging rune, which is also quite clearly telegraphed and can be easily dodged with minor movement. After you are done with the Icon of Rebirth, head down to the eastern wing of the dungeon, where the Icon of Souls resides.
The Icon of Souls is another stationary Summoner, but it is also able to channel a beam of arcane energy that deals a substantial amount of damage. Thankfully, it is very easy to avoid; the Icon does an obvious telegraph by slamming its staff on the floor and then starts its channeling, turning slowly in a room-wide arc. The Icon of Souls will summon both melee and ranged minions; clear out the latter and lure the melee next to the Icon so you can cleave them down together. Watch out for the Petrified Mummies that the Icon occasionally summons; they explode after a brief period. After you are done with the Icon of Souls, head back to the central corridor of the dungeon; the door to the chamber of King Fahir will be open.
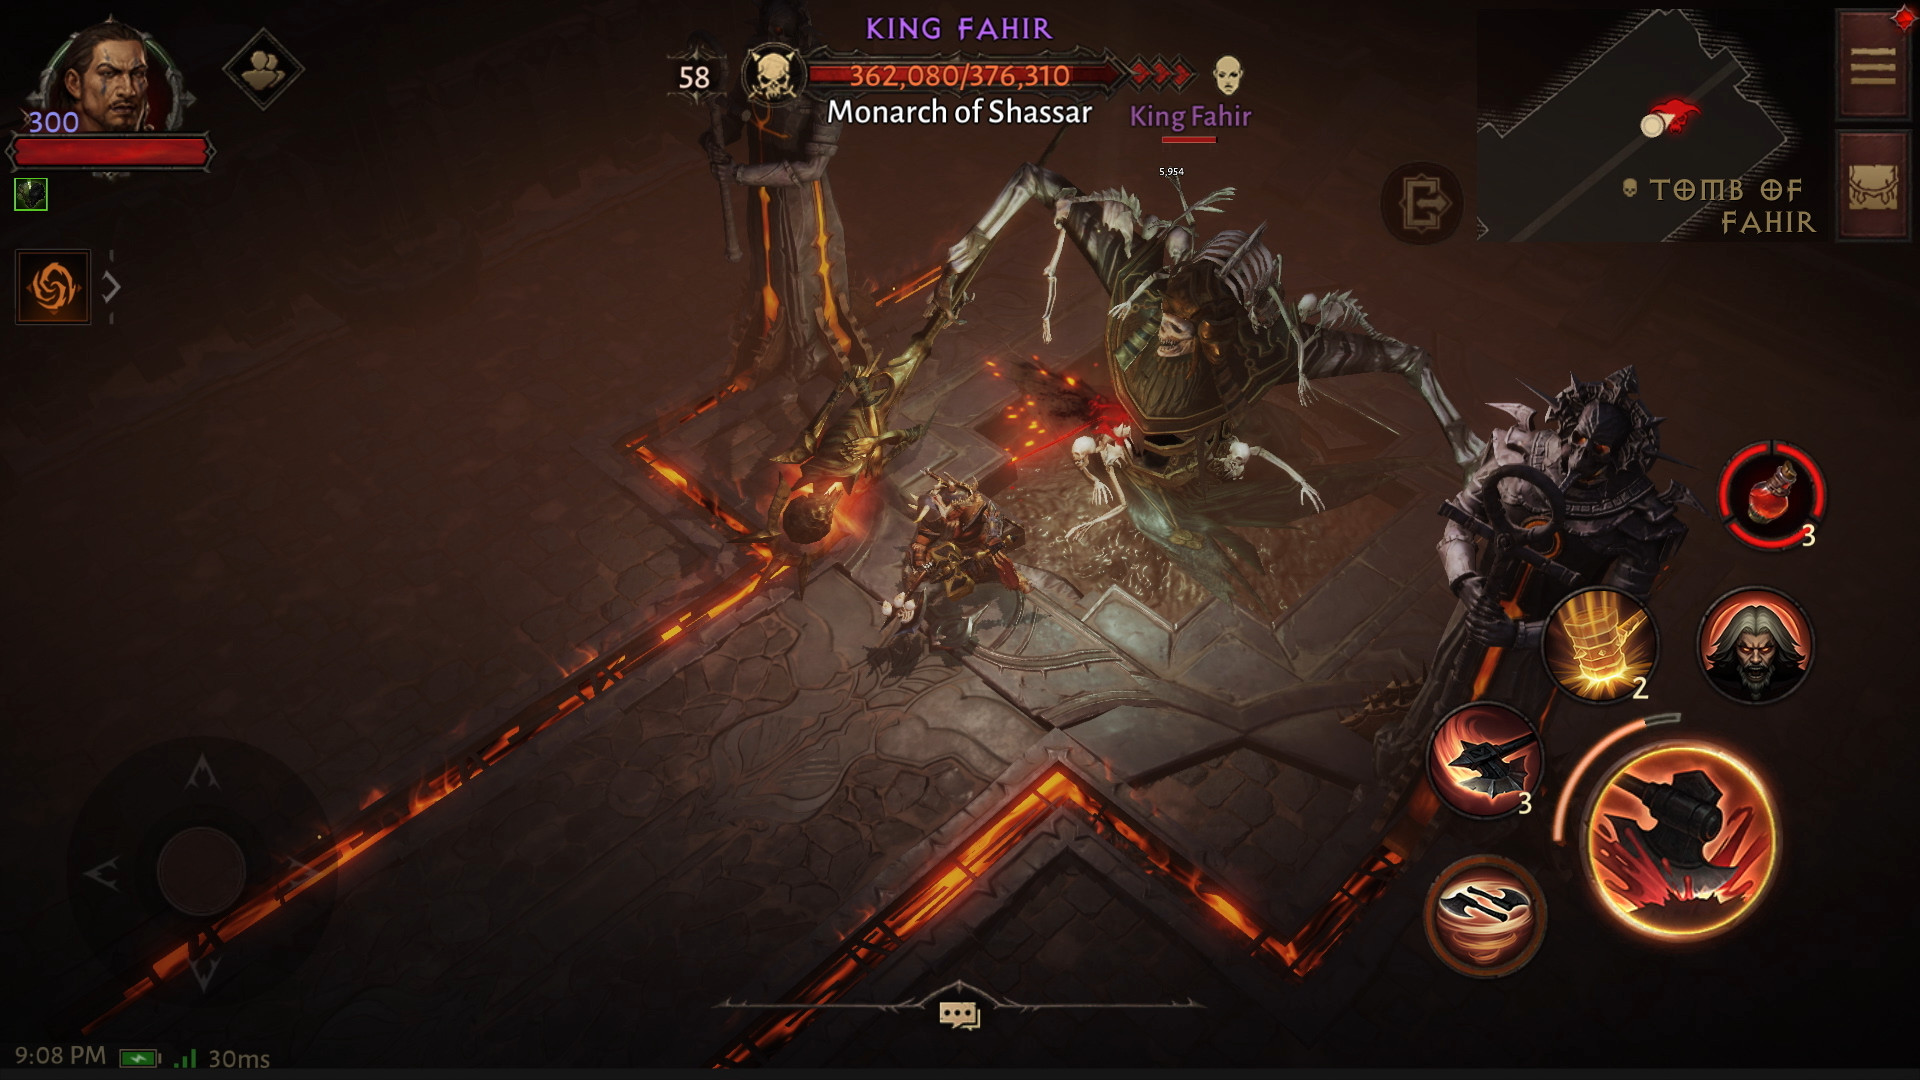
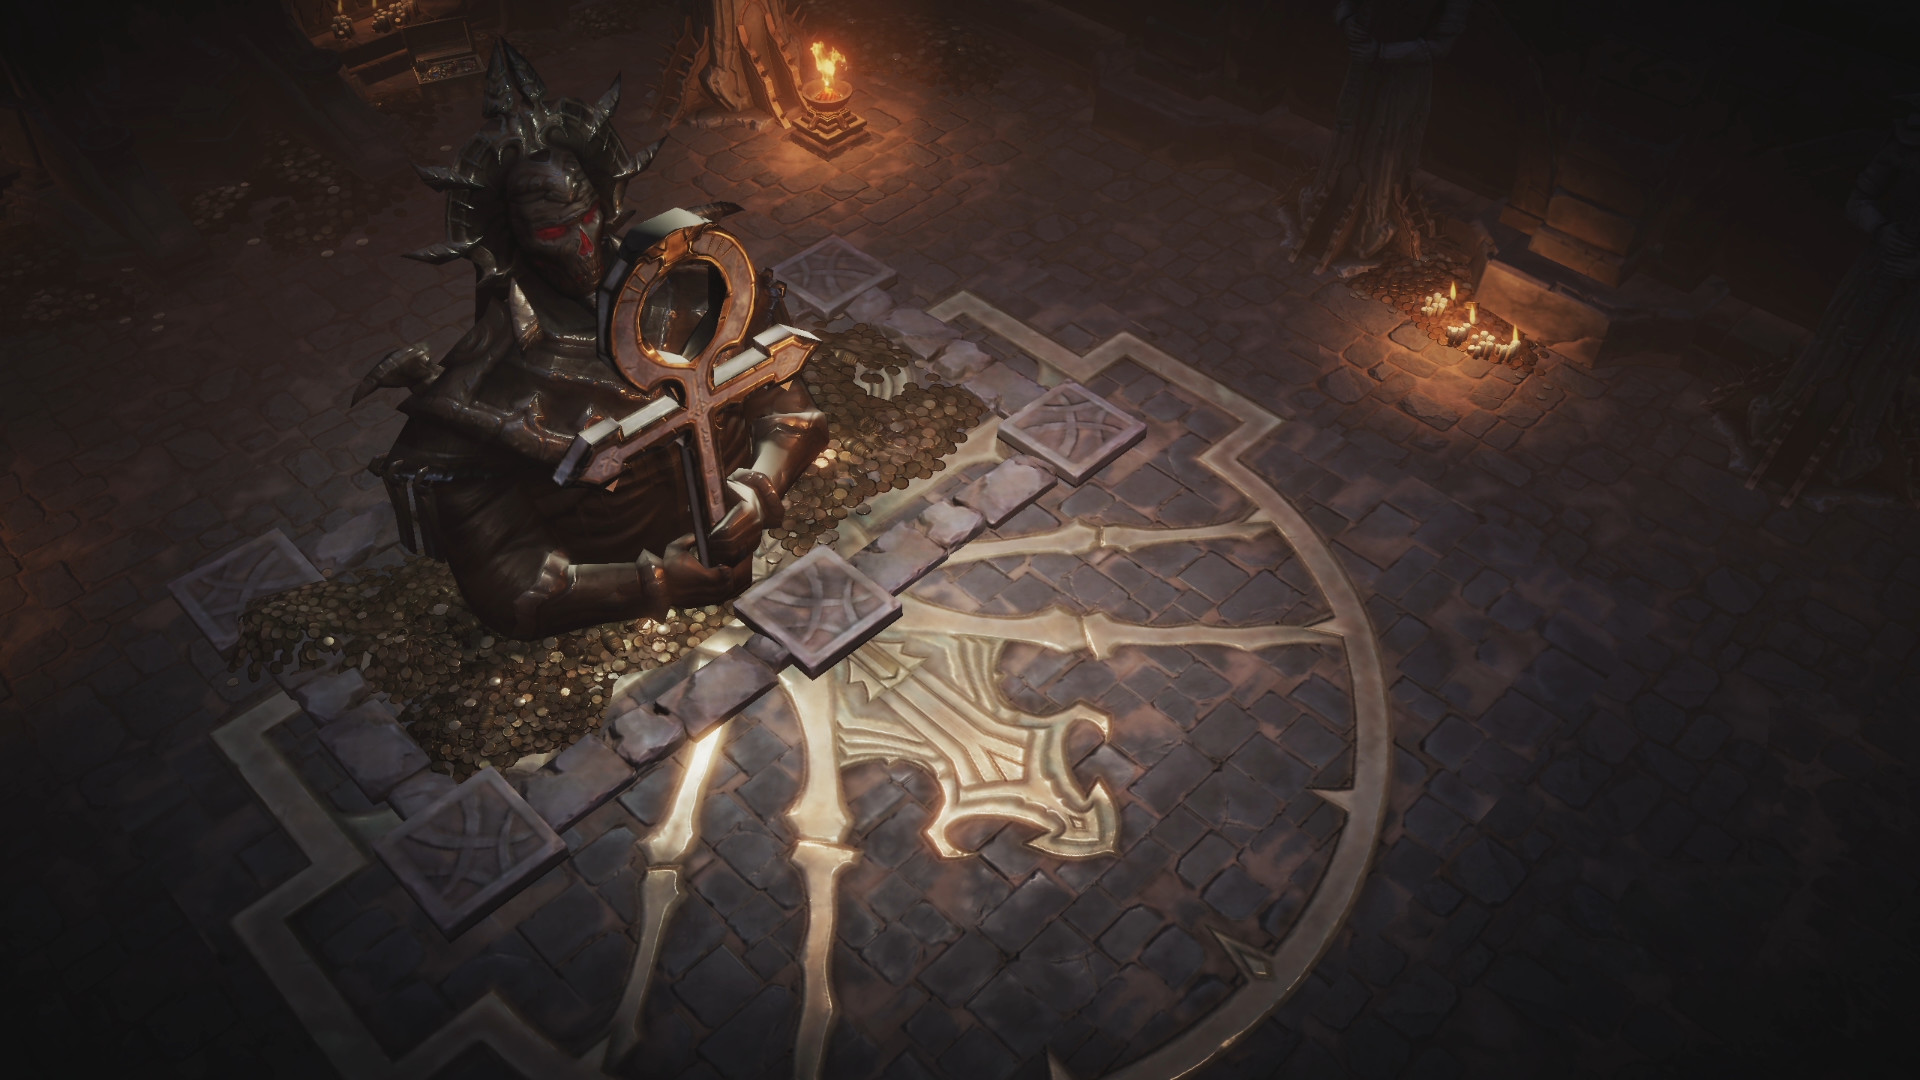
After dealing with a minor pack of Spiderlings and Toxic Lurkers, you will come to the central chamber with King Fahir. He is yet another pseudo-stationary boss, since he partially crawls out of his sarcophagus in the center of the room and stays there. Do not be fooled though, as he has several far-reaching attacks that can catch you wherever you stand. Most notably, he will do a long channeled, circular AoE attack that pulls players toward the center as it charges and then explodes, dealing heavy damage and knocking you away. If you manage to run (or use a mobility skill) outside the telegraphed circular area before it reaches maximum charge, you will dodge the attack. King Fahir also occasionally throws out a triple-beam attack that rotates and damages anyone caught within its rays, similarly to an Arcane elite affix — just three-pronged. Finally, he will spawn more of the Petrified Mummies that you saw at the Icon of Souls. Watch out for their explosion. Once you are done with King Fahir, an animation will play out and he will be dragged through the farthest door, opening the way beyond.
Transition
Once through the door, get to the elevator platform and pull the lever at its right corner. You will start descending, and — predictably — get some monsters on board along the way. First, you will have to deal with a pack of Hollow One undead; then, spiders (most annoyingly, Toxic Lurkers.
Finally, you will face off against the monster you saw at the start of the descent — the Colossal Tomb Borer. It spawns the menagerie of monsters you have been facing off so far, so focus it down to stop them from overwhelming you. This process of minions-then-borer will repeat once again, and then the elevator platform collapses — sending you tumbling down to the final chamber of the dungeon.
During this transition phase, groups should coordinate and spread around the elevator platform in order to take down the mobs as they spawn in an efficient manner. When the Borer boss appears, simply converge on him, and then spread out again for the second add phase.
Second Floor
Rush ahead to face off against Segithis, the final boss of the dungeon. The spider-shaped Segithis is unique with her targetable limbs, and the goal is to tear down her right and left Legs (first front, then back) to make her central body vulnerable for a brief period of time, before having to repeat the process. Groups can split in two and take care of both legs simulatenously. For her protection, Segithis will regularly spawn Spiderlings and Toxic Lurkers.
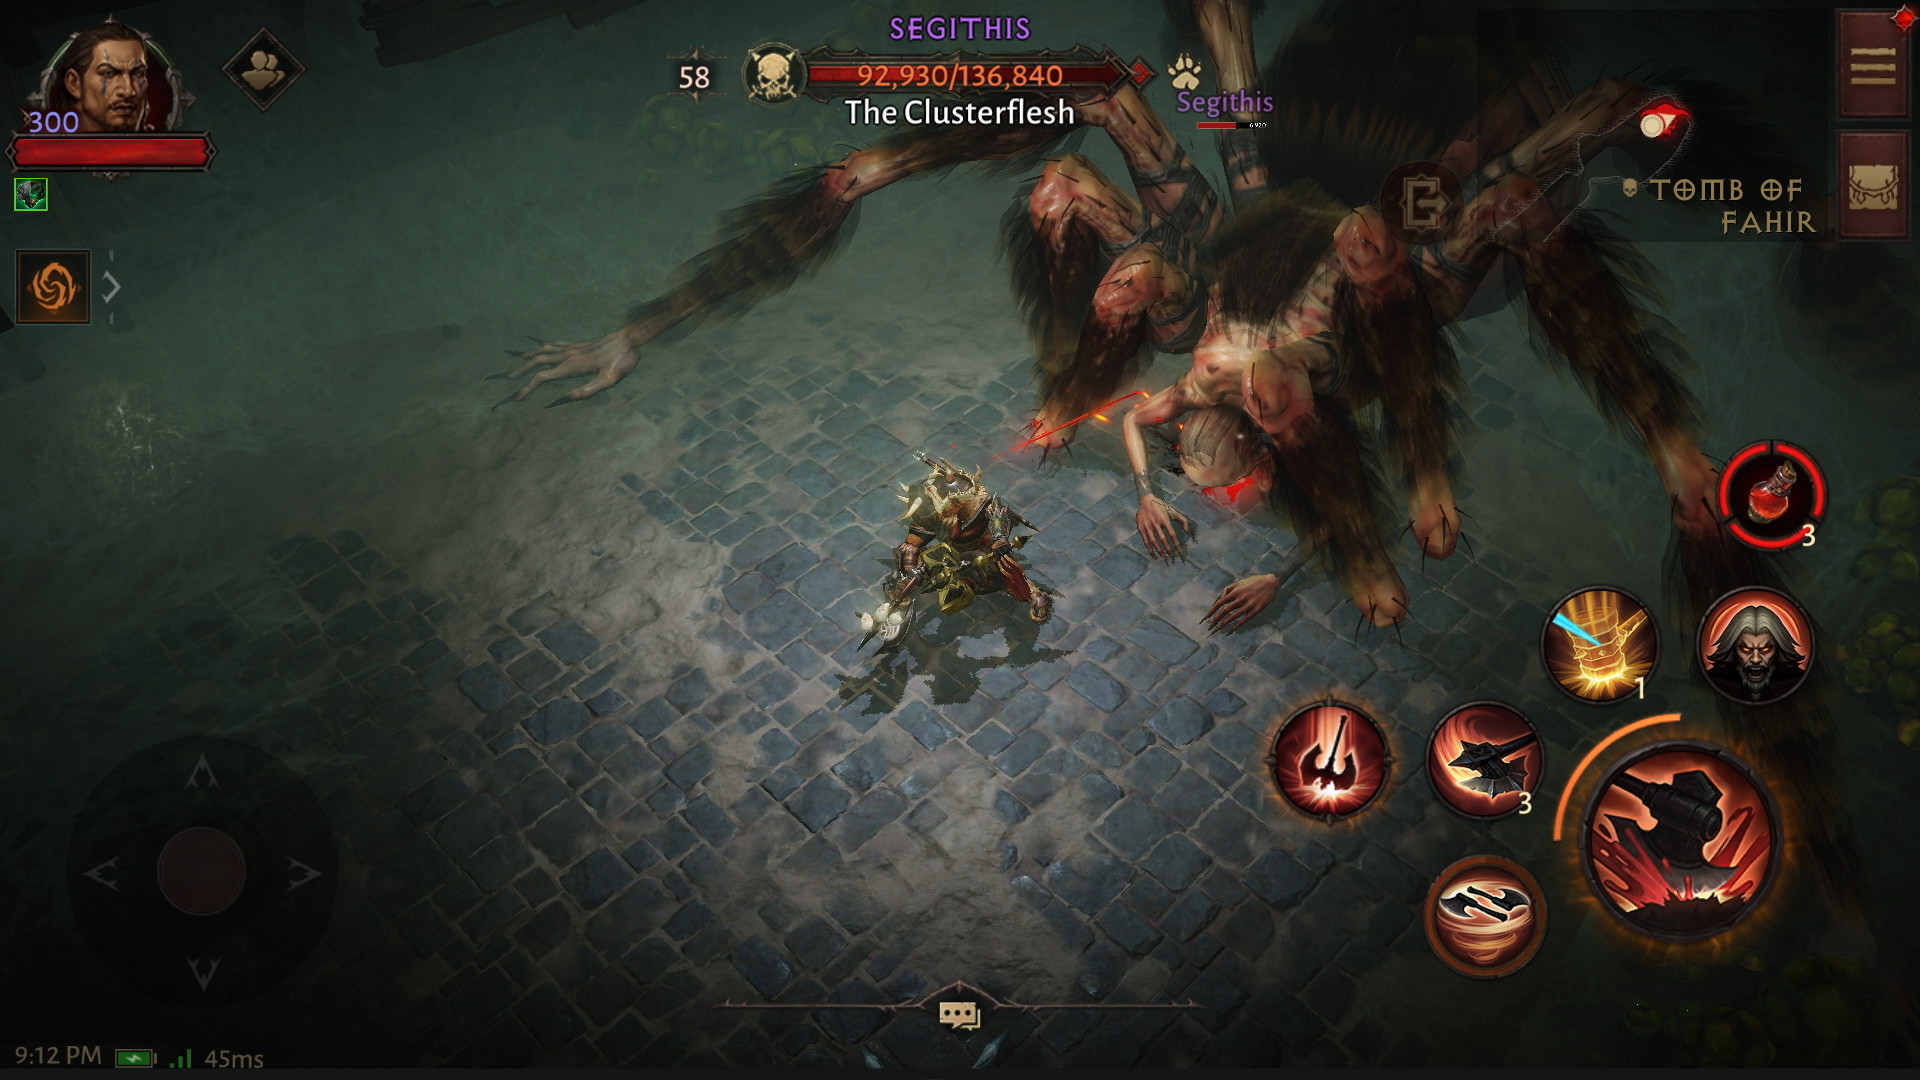
Segithis herself will counter your efforts by sweeping her legs in front of her, telegraphed via the red rectangle that is drawn in front of the spider boss as she winds up the attack. You can choose to move away or facetank this ability, as it is not the hardest hitter in her arsenal (you will, however, be knocked back). You should be much more careful about the triple Venom Orbs she spits in an outward cone; they deal heavy damage, and put a DoT on you for good measure.
About halfway through her health pool, Segithis has a second phase where she starts webbing careless players and entangling them close to her, doing serious damage over time. This attack is telegraphed with a large red circle on the ground, and you have a very short window of time to escape before you are affected. Burn the spider down as quickly as you can, and the dungeon is over.
Dungeon Summary
Dungeons are an integral part of Diablo Immortal and are tied to
daily quests, Contracts, Bounties, and the very finalization of your
character's gear overall. Always make sure you have checked your Codex,
since certain Dungeons will have extra ![]() Battle Points rewarded for their
completion at any given time. Dungeons are also the only place to obtain Sets
— which, once completed, are a powerful addition to your endgame gear.
But no two Dungeons drop the same pieces! Make sure to target-farm specific
Dungeons for the set pieces you need.
Battle Points rewarded for their
completion at any given time. Dungeons are also the only place to obtain Sets
— which, once completed, are a powerful addition to your endgame gear.
But no two Dungeons drop the same pieces! Make sure to target-farm specific
Dungeons for the set pieces you need.
Changelog
- 01 Jun. 2022: Page added.
This build is presented to you by Deadset, one of the very few professional Diablo 3 players. Deadset regularly publishes video guides on Youtube and streams on Twitch, where you can see how this and other builds play out in practice.
- Diablo Immortal x WoW Crossover Event: Frostmourne in Sanctuary!
- Icy Veins Seeking Writers for Zenless Zone Zero: Apply Today!
- Icy Veins Launches Genshin Impact Guides Section
- Icy Veins Podcast About Path of Exile
- ARPG Vault Discord Giveaway
- Diablo Immortal Destruction's Wake Update Notes: June 13th
- Icy Veins is Getting a New Look
- Diablo Immortal: Age of Falling Towers Content Update Notes