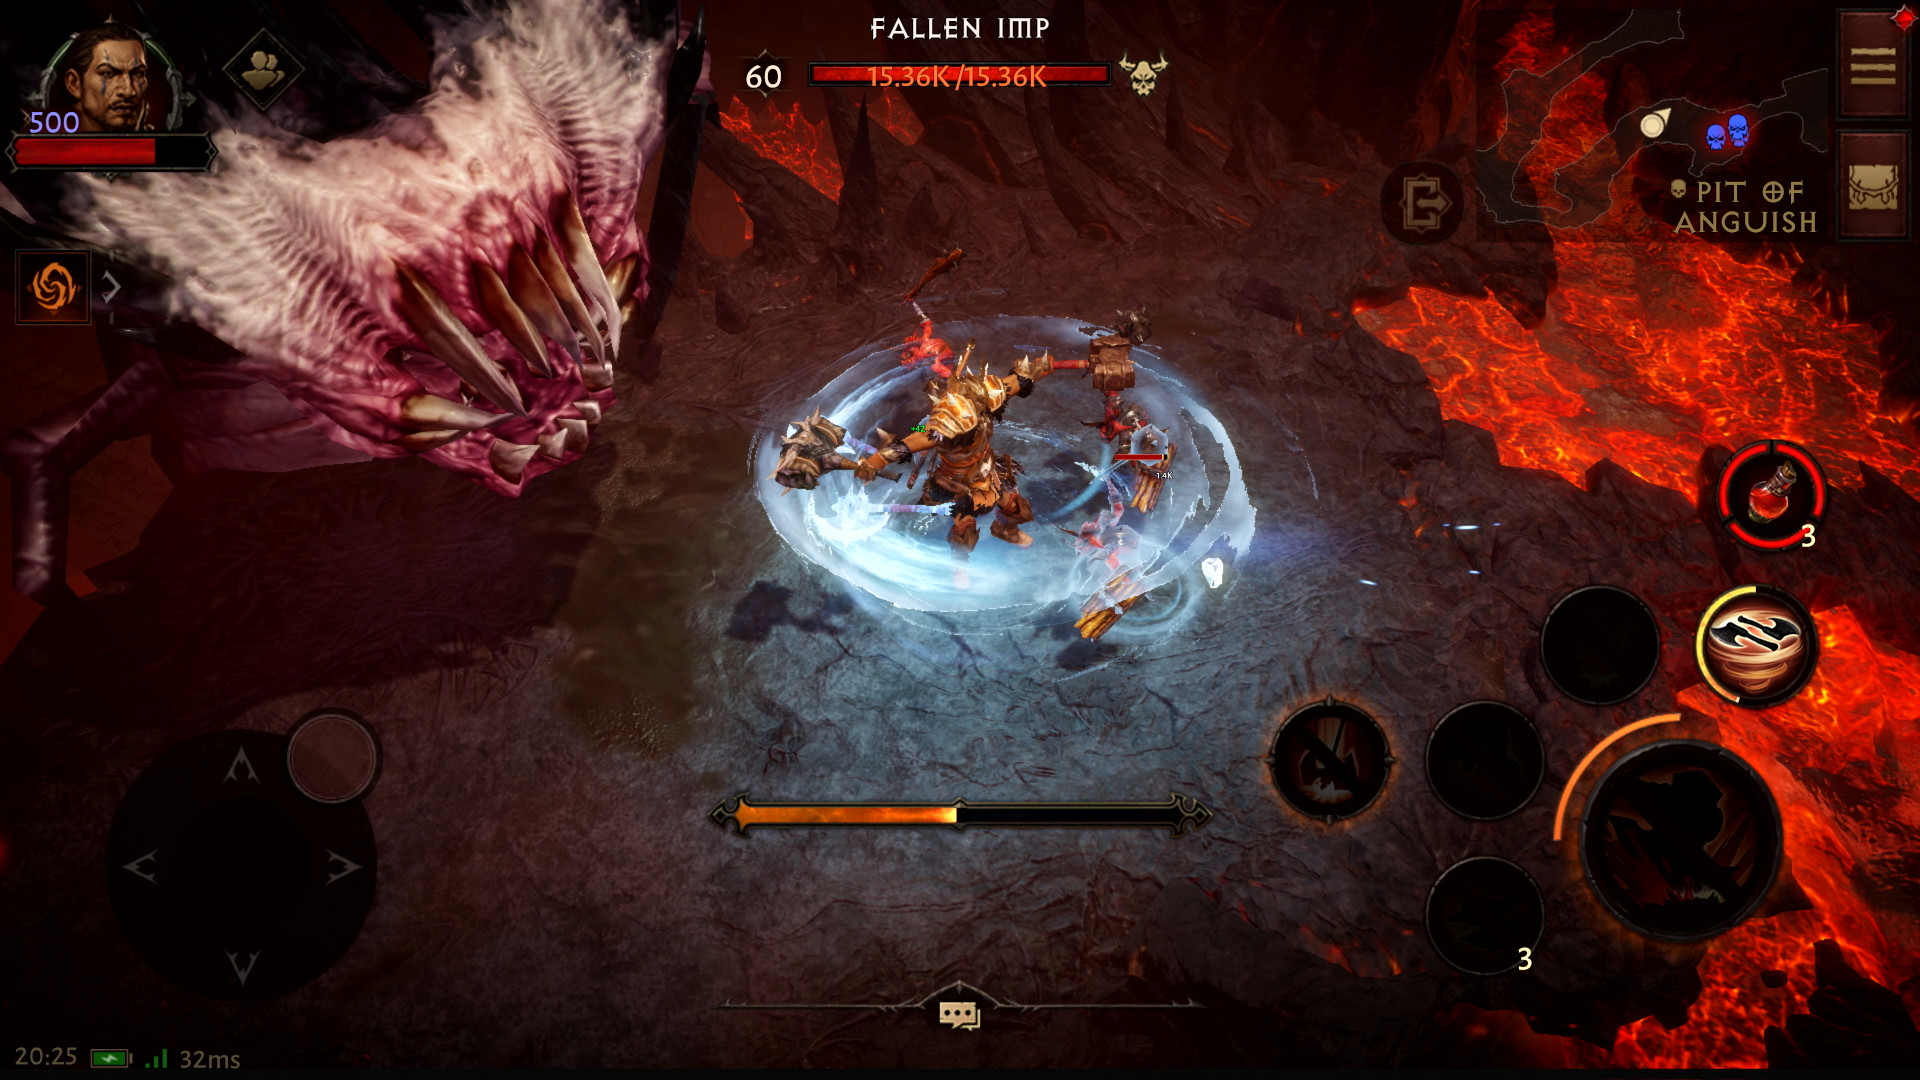
Pit of Anguish Dungeon Guide
The Pit of Anguish is one of eight dungeons available at launch in Diablo Immortal. Entering this dungeon requires your character to be at least Level 56 and will see your party facing off against three bosses — The Abyssal Tiller, Zolthrax, and Zaka — to earn valuable Set items. Read on to learn more about the unique challenges this dungeon has to offer.
Pit of Anguish Overview
The Pit of Anguish is located in the Realm of Damnation. It is a single-floor dungeon broken up into three sections, and faces you off against a total of three bosses: The Abyssal Tiller, Zolthrax, and Zaka. Pit of Anguish is notable for its boss rush strategy, as access to the walled-off arenas where its bosses reside is not limited by the preceding trash packs.
Pit of Anguish Dungeon Statistics
- Average Dungeon Runtime: 5-6 minutes
 Battle Points Reward: 20
- Required Level For Entry: 56
- Notable for: Average experience farming and loot potential.
Pit of Anguish Dungeon Loot
- Hell I+:
 Beacon's Urge
(Vithu's Urges Set Boots)
Beacon's Urge
(Vithu's Urges Set Boots) - Hell I+:
 Open Gut
(Grace of the Flagellant Set Belt)
Open Gut
(Grace of the Flagellant Set Belt) - Hell II+:
 Burning Heart of Shal'baas
(War Rags of Shal'baas Set Neck)
Burning Heart of Shal'baas
(War Rags of Shal'baas Set Neck) - Hell II+:
 Mountebank's Shirking
(Untouchable Mountebank Set Hands)
Mountebank's Shirking
(Untouchable Mountebank Set Hands) - Hell IV+:
 Foulfleet
(Windloft Perfection Set Ring)
Foulfleet
(Windloft Perfection Set Ring) - Hell IV+:
 Issatar Enraged
(Issatar Imbued Set Ring)
Issatar Enraged
(Issatar Imbued Set Ring)
Pit of Anguish Strategy Guide
Pit of Anguish seems deceptively long; it is actually a straightforward run from one end of a corridor to the other, with trash monsters that can be skipped altogether as they do not impede progress to the boss encounters. This dungeon features a lot of fire- and lava-based ground effects, both in the map layout and boss attacks; in case it is not obvious, they should be avoided at all times. A well-coordinated group can simply evade the swarming trash and harmful environments, as they beeline from one boss arena to another — finishing the dungeon well below the projected 5-minute run for a full clear. While mob packs are decently populated, the map is broken up into three distinct chunks, which makes Massacre bonus upkeep impossible.
Section 1: Upper Level
The dungeon only has one main path to follow, making it trivial to navigate for both solo players and parties. The first section of the map, henceforth referred to as the Upper Level, features two packs of monsters. The first one is encountered at the initial descent on the hellish "stairs". The second pack is encountered right around the first bend of the dungeon corridor. If you choose to engage trash at all (remember, this dungeon allows you to skip them altogether), you can merge the two packs near the location of the second.
As far as monster composition goes, you are fighting a bunch of low-threat targets: the filler melee Deceivers and the ranged, spell-slinging Succubi. You also face a slightly more dangerous mob type from the bulky, charging Ravager Lord.
Past those two monster packs you will find yourself in a slightly larger clearing, a barrier of fire will wall you off and you will be pitted against the first Boss of the dungeon.
The Abyssal Tiller unburrows itself and attacks the party. In its first phase, this worm-like maw has the following discernible attack patterns:
- Burrow: The Abyssal Tiller will occasionally burrow and change positioning, becoming untargetable for a few seconds and emerging at a new location.
- Molten Barrage: The Abyssal Tiller spits out a row of three molten projectiles that explode, dealing direct damage, and then leaving circular areas of molten lava that deal damage-over-time if stepped on. The boss always fires off this attack three times in sequence. The projectiles are telegraphed very clearly with red outlines; step away from them — ideally before they land.
- Zig-Zagging Beam: The Abyssal Tiller fires off a beam of molten fire in a zig-zagging pattern, leaving an on-ground effect that persists for a few seconds. It deals damage-over-time to anyone standing inside.
At 50% health the Zig-Zagging Beam triples, and the Abyssal Tiller starts to Summon Vicious Drubs around the battlefield to disrupt and distract its attackers. This phase is slightly more dangerous than the first one, so try to finish the boss off as quickly as you can.
Section 2: Middle Level
The wall behind the Abyssal Tiller's initial location will crumble, and you can progress past its corpse. After a short slide down a lava "waterfall", you begin the second section of the dungeon, or the so-called Middle Level.
This level pits you against several spread out packs, mostly consisting of enemies you have faced before. In the in the corridor past the lava "waterfall", you should draw the attention of the three Demon Warriors and the two Winged Moloks, and run up another set of hellish "stairs". This way, you merge two fights together, as you encounter another pack of three Demon Warriors, two Winged Moloks.
They are joined by slightly more dangerous foes, including a charging Demonic Shieldbearer and one Disgorger "tower", which holds and protects an annoying Fallen Firestarter. Form a clump on top of the static Disgorger "tower" and focus it down to prevent the Firestarter from raining projectiles on your heads, and cleave adjacent enemies with AoE.
When you finish them off, continue onward, running across the safe path in the middle of the two lava pools to reach the next fight. To your left, you will find yet another Disgorger "tower" holding a Fallen Firestarter, protected by a pack of six Demon Warriors. From your right, a bulky Overseer and two Winged Moloks will join the fray. Like the last pack, burn them all down near the tower.
Continue right, down a third set of hellish "stairs" and past two more pools of lava. Beware the Fallen Lunatics that spawn from the lava — they are easily one-shot, but if neglected they will charge you and detonate in your face for heavy damage. Past the lava pools, you will face two more packs consisting of the usual Demon Warriors, Winged Moloks and an Overseer. One of the packs also contains a (very obvious and in-your-face) Demonic Hell Bearer; treat its static presence as a place to take the fight to, and end it quickly before it spawns more warriors.
Eventually, you will reach a hellish "elevator", which takes you down to the third and final section of this dungeon.
Section 3: Lower Level
This is the longest section of the dungeon, but by now you have seen all the layout's trap and monster composition surprises. Navigate the pools of lava through the safe spots, beware the Fallen Lunatics, and fight monsters with priority targets in mind — such as the static Demonic Hell Bearers.
The more interesting parts of this section are its two bosses! Past a long, north-bound corridor, you will find another arena. Just like with the first boss, a barrier of fire will wall you off in a small arena. This time however, you face Zolthrax!
Zolthrax descends from above into the middle of the room and immediately begins attacking the nearest player. In its first phase, this sword-wielding demon has the following discernible attack patterns:
- Triple Slashes: Zolthrax makes a frontal slash with its right sword in a sweeping, near-180 degree arc. Then, the demon makes a front-facing, straight chop with its left sword, hurting anyone directly in front of it. Finally, Zolthrax crosses its swords and sweeps with both, covering an even wider area of effect.
- Charge: Zolthrax readies itself and charges shoulder-first in a direction, damaging and knocking back everything in its path. The attack is clearly telegraphed with a rectangular outline.
- Fiery Shockwaves: Zolthrax briefly charges its swords with fire, and then consecutively releases a total of 7 fiery shockwave projectiles (the final 2 overlap) that reach across the entire arena. The attack is clearly telegraphed with a rectangular outline.
At 50% health Zolthrax shouts, pushing back anyone in melee range away from it. It then moves to the center of the arena and thrusts a third, fiery sword into the ground. The sword will periodically radiate beams of damaging fire, and will remain an untargetable factor until the end of the fight. Zolthrax adds the following attacks to its existing arsenal:
- Summon: Zolthrax will periodically summon 6 Flesh Fiends to swarm, distract and disrupt the players.
- Leap Slam: Zolthrax channels a jumping attack, preemptively marked with a fiery circle on the ground. After 2 seconds, it lands on the designated position, dealing heavy damage to anyone caught within and knocking them upwards.
Once again, the wall behind Zolthrax's initial location will crumble, and you can progress past its corpse. Little remains of the dungeon itself — with several packs of easily dispatched Demon Warrior and Winged Molok trash, bloated Overseers, and slightly more threatening Demonic Shieldbearer chargers. At last, you come upon Zaka!
Zaka is a massive abyssal worm that bursts from the ground in a spectacular fashion, giving you a taste of what is to come in this multi-staged fight. Once again, you will be walled off by fire and have to face the worm in the limits of a confined arena space. In its first phase, Zaka has the following discernible attack patterns:
- Fireball: Zaka spits out a ball of molten lava, hurting anyone caught in its bursting location. There are two types of Fireballs: small and large. The large ones will also leave a continuous damaging effect on the ground. The attack is telegraphed with a red circular outline before it lands.
- Gobble: Zaka dives forward and gorges its massive maw with the anyone standing in front of its pit, dealing heavy damage to players in melee range and knocking back anyone caught within the attack. This ability is fast and unpredictable, so be cautious and topped off on health.
- Summon: Zaka will periodically summon a dozen Damned Infesters to swarm, distract and disrupt the players.
- Rearing Attack: Zaka will rear back (accompanied by an unmissable message on the screen and a flashing red telegraph). After a brief channeling period it will charge, destroying the entire marked area of the arena. Needless to say, you should not be caught in that area.
At 66% health, Zaka adds the following attacks to its existing arsenal:
- Molten Bombs: Zaka spits out four molten bombs that detonate after 3 seconds, clearly marked with a visible countdown and an area of effect circle. The bombs can overlap, potentially dealing fatal damage to unwary players. After detonation, the bombs leave a continuous damaging effect on the ground.
- Suction: Zaka sucks in the very air from the arena, dealing an unavoidable attack to anyone present in the fight.
- Vomit Lava: Zaka vomits a fiery substance that covers half of the battlefield (either the left side or the right side), dealing heavy continuous damage to anyone standing in the area.
For the last third of its health, Zaka will (unavoidably) swallow you whole, briefly transporting you to another "arena" — its guts. In this disgusting environment, you simply have to nuke down the (helpless) Heart of Zaka, which is periodically defended by the Parasitic Maw. Whenever the Parasitic Maw appears, it slams into players attacking the heart, knocking them back. It then envelops the heart, making it untargetable until the parasite is defeated. The Parasitic Maw has the following attacks:
- Radiating Spit: The Parasitic Maw spits out blood spears in a radiating pattern, dealing light damage. Players in direct melee range however can get hit by multiple projectiles at the point blank, resulting in a much higher burst of damage.
- Blood Vomit: The Parasitic Maw vomits a bloody substance in a straight line over a short channeling period, dealing damage to anyone caught in the blast. The attack is telegraphed with a clear red outline.
- Blood Clots: The Parasitic Maw unleashes balls of clotted blood, which rain down from above in groups of five. The blood clots burst as they hit the ground, dealing AoE damage to anyone close to their point of impact.
- Summon: The Parasitic Maw will periodically summon static Spawns of Anguish to distract and disrupt the players. These spawns fire off constant streams of projectiles that are hard to avoid, so nuke them down asap.
When you fend off The Parasitic Maw and burst Zaka's heart, the dungeon is over.
Dungeon Summary
Dungeons are an integral part of Diablo Immortal and are
tied to daily quests, Contracts, Bounties, and the
very finalization of your character's gear overall. Always make sure you have
checked your Codex, since certain Dungeons will have extra
![]() Battle Points rewarded for their completion at any given
time. Dungeons are also the only place to obtain Sets —
which, once completed, are a powerful addition to your endgame gear. But no
two Dungeons drop the same pieces! Make sure to target-farm specific Dungeons
for the set pieces you need.
Battle Points rewarded for their completion at any given
time. Dungeons are also the only place to obtain Sets —
which, once completed, are a powerful addition to your endgame gear. But no
two Dungeons drop the same pieces! Make sure to target-farm specific Dungeons
for the set pieces you need.
Changelog
- 24 Jun. 2022: Guide added.
This build is presented to you by Deadset, one of the very few professional Diablo 3 players. Deadset regularly publishes video guides on Youtube and streams on Twitch, where you can see how this and other builds play out in practice.
- Diablo Immortal x WoW Crossover Event: Frostmourne in Sanctuary!
- Icy Veins Seeking Writers for Zenless Zone Zero: Apply Today!
- Icy Veins Launches Genshin Impact Guides Section
- Icy Veins Podcast About Path of Exile
- ARPG Vault Discord Giveaway
- Diablo Immortal Destruction's Wake Update Notes: June 13th
- Icy Veins is Getting a New Look
- Diablo Immortal: Age of Falling Towers Content Update Notes