Legion Raid Guide for Kakul-Saydon Gate 3
Kakul-Saydon Gate 3 is the third encounter players face as part of an four man Legion Raid. Kakul-Saydon comes in two difficulties, Rehearsal and Normal, which can be accessed upon achieving ilevel 1385 and 1475, respectively.
Legion Raid Guide for Kakul-Saydon Gate 3
he fight here follows a simple idea - two big mechanics and four Mario-type minigame.
To summarize, each player in the group will get to play one Mario-type minigame, and there are two big mechanics that need to be resolved. One is the Showtime (at 90 HP bars) and the other is the Bingo Board (at 0 HP bars).
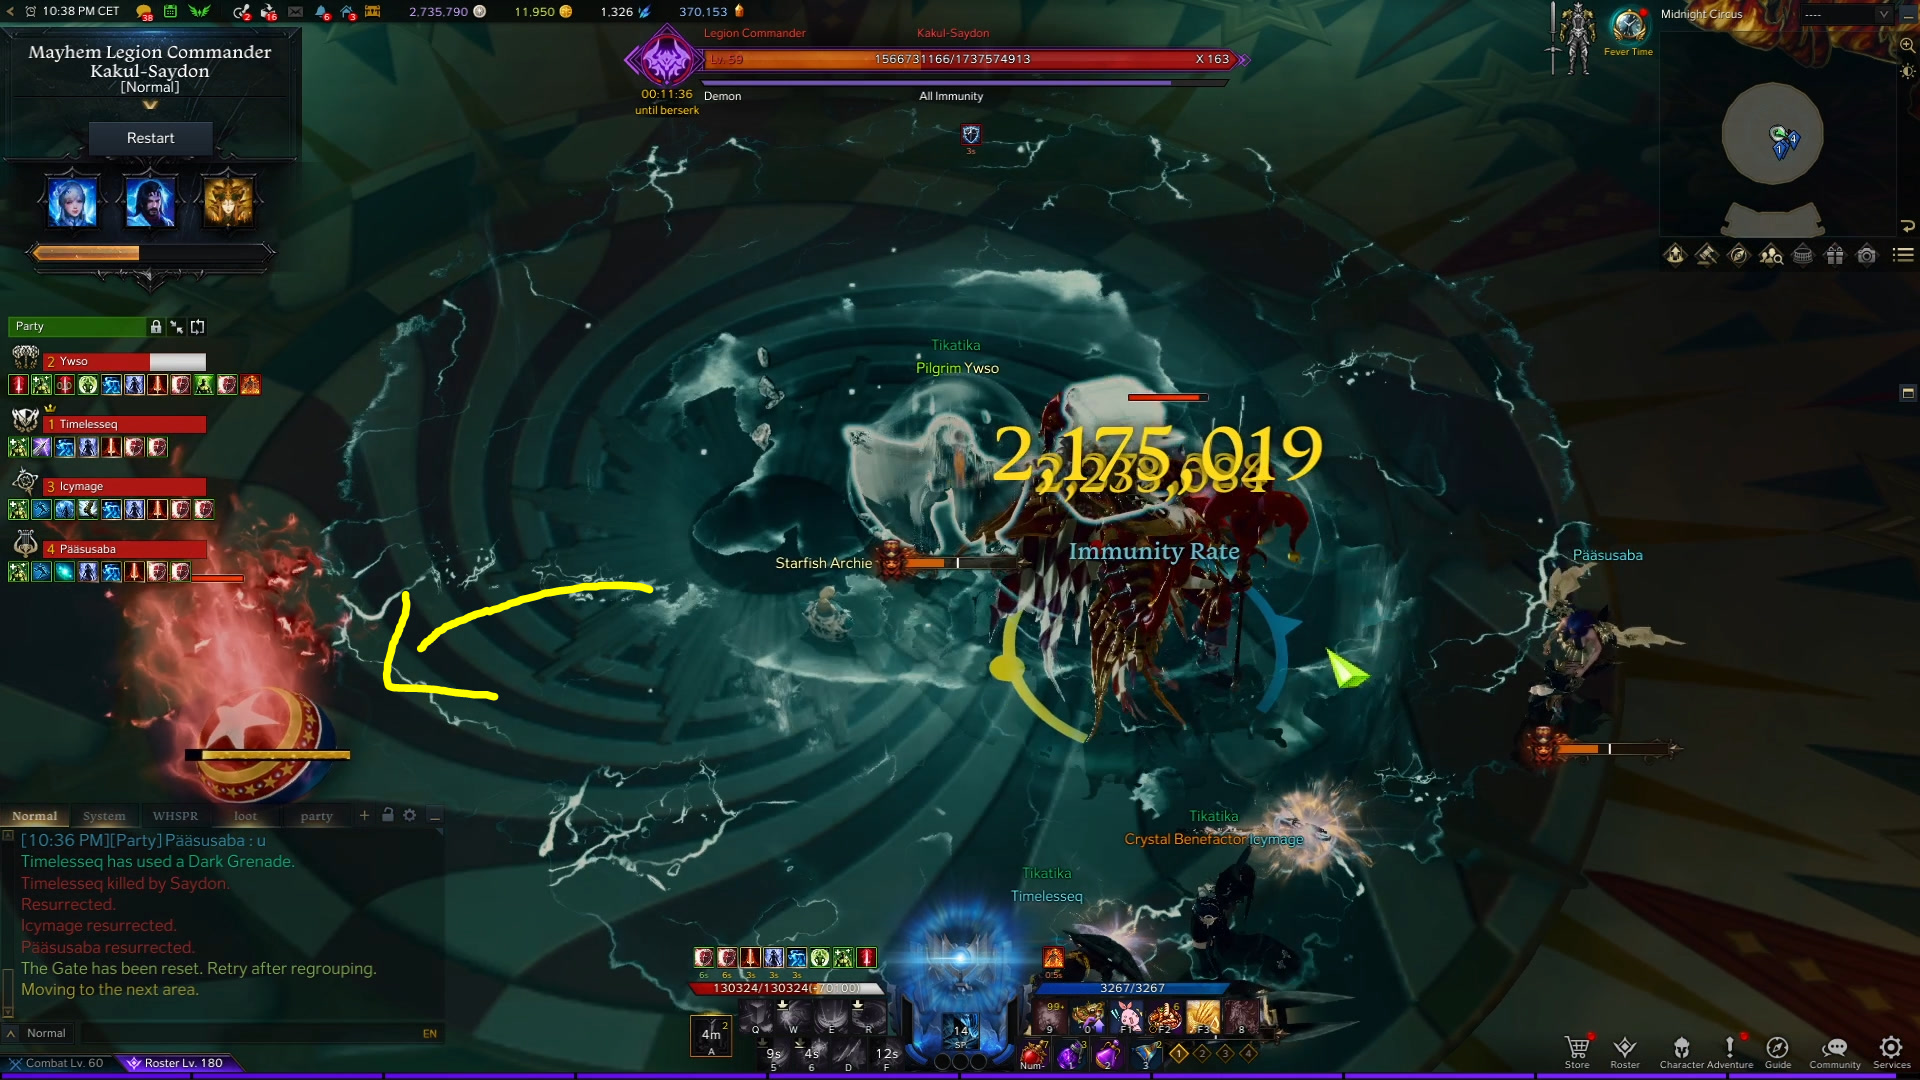
You have 12 minutes for the whole fight except Bingo which has a separate timer.
Kakul-Saydon Party Setup
A support class such as Bard or Paladin is recommended in any setup. As for the other three players, anything goes. Mobile and ranged classes have a slightly better time getting high uptime on the boss.
Kakul-Saydon Gear Requirements
DPS checks are not very strict, so completing the raid with an item level of 1475 is possible.
Four level 3 engravings, level 3 and 4 tripods and a mix of level 6 and 7 gems are sufficient in order for you to fine and feel good inside the raid.
As for card sets, the ![]() Lostwind Cliff set is a good choice assuming
your class benefits from the crit rate. If not, anything else that brings
value, such as HP, will do fine. Kakul does not take extra damage from Light
sources, so the Light of Salvation set does not help here.
Lostwind Cliff set is a good choice assuming
your class benefits from the crit rate. If not, anything else that brings
value, such as HP, will do fine. Kakul does not take extra damage from Light
sources, so the Light of Salvation set does not help here.
Kakul-Saydon Gate 3 Consumables
Bring Elemental HP Potions and, based on what you feel is missing, you can
equip a ![]() Time Stop Potion, Wind Robe,
Time Stop Potion, Wind Robe, ![]() Dark Grenade,
Dark Grenade,
![]() Adrophine Potion or Stimulant.
Adrophine Potion or Stimulant.
Kakul-Saydon Positioning
No traditional positioning is needed. Instead, deciding who is going to do a specific Mario game is important.
Kakul Saydon Gate 3 Mechanics
First Mario Game
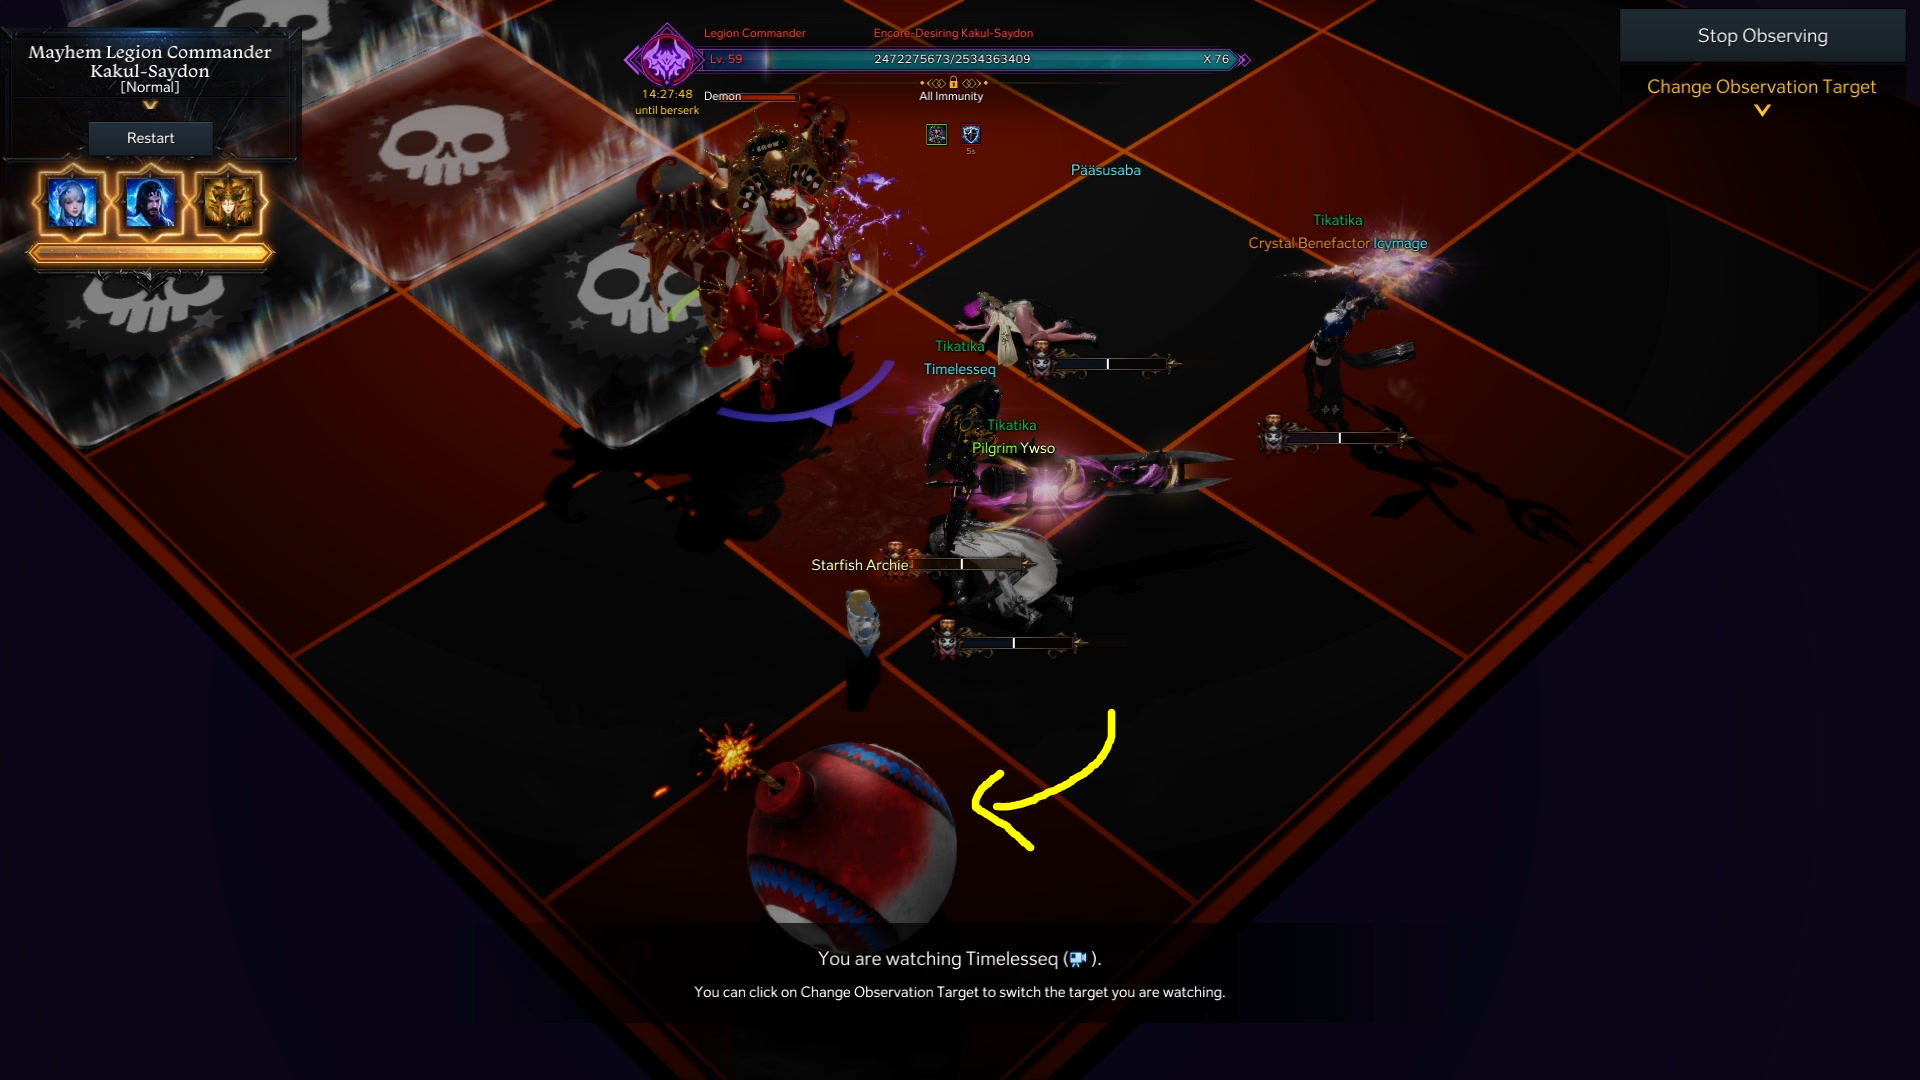
Same as with all Mario minigames, Kakul starts casting a Pentagram shaped area which does no damage but symbolizes the start of the mechanic. The mechanic will happen at 152 HP bars. This is how the start of the mechanic looks like for every Mario game:
The player assigned to the first Mario game should have their gauge filled to at least 50% and be ready to transform themselves into a clown by filling up the gauge to full. Transforming to a clown is the only way to enter the pink portal which appears in the middle of the room, teleporting them to the minigame. The markings on the ground do not hurt you, but the pink portal area in the center does:
A couple of things worth noting right before entering the portal:
- When you transform into a clown to enter the Mario game, it would be helpful if you can throw a bomb (skill Q as a clown), either on the flame turret or the boss, so that your group members get a damage boost while you are away.
- The skill on E by default, leaves a gift on the ground which can be destroyed and the closest players receive a gauge decrease. This is also helpful in some situations and very easy to do as you enter the portal.
The flame turret is a good way to gain the rest of your clown gauge, but needs to be destroyed after Mario starts as it moves around and might cause problems for the people left in the arena:
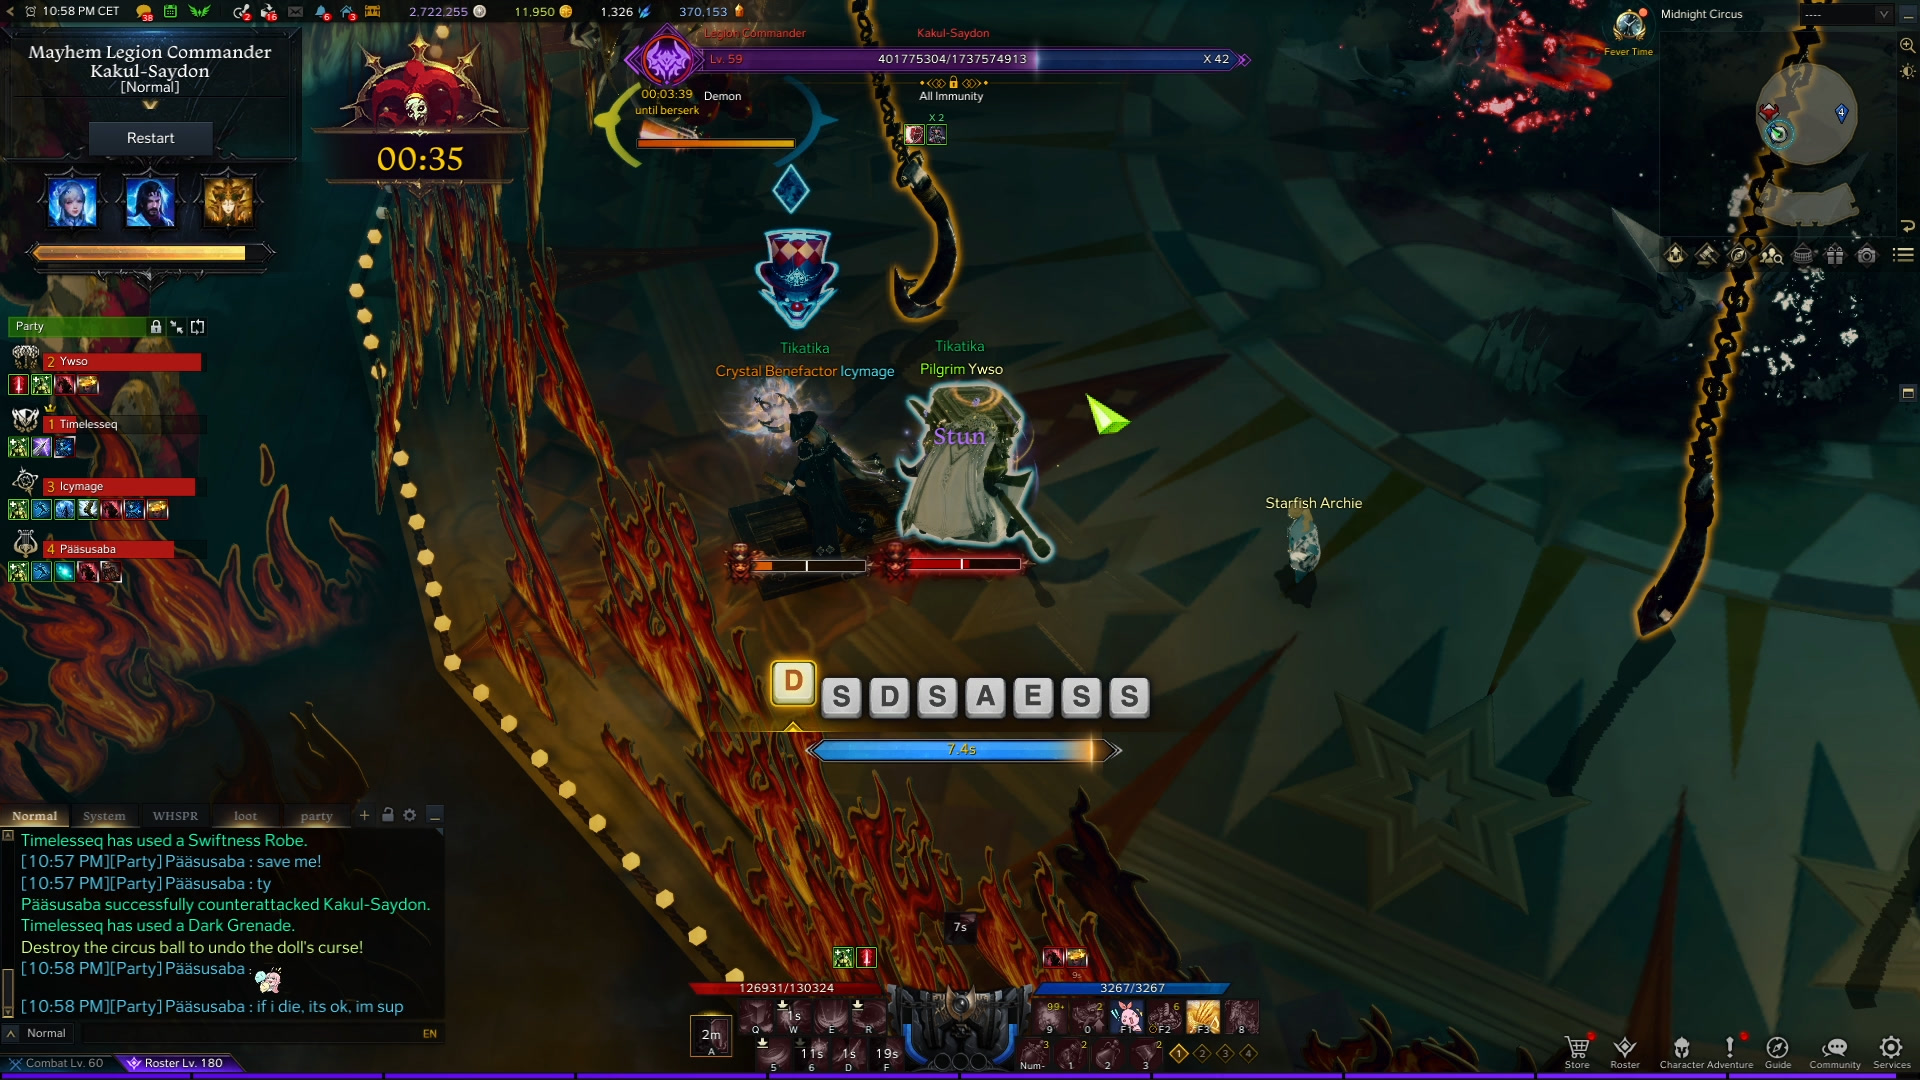
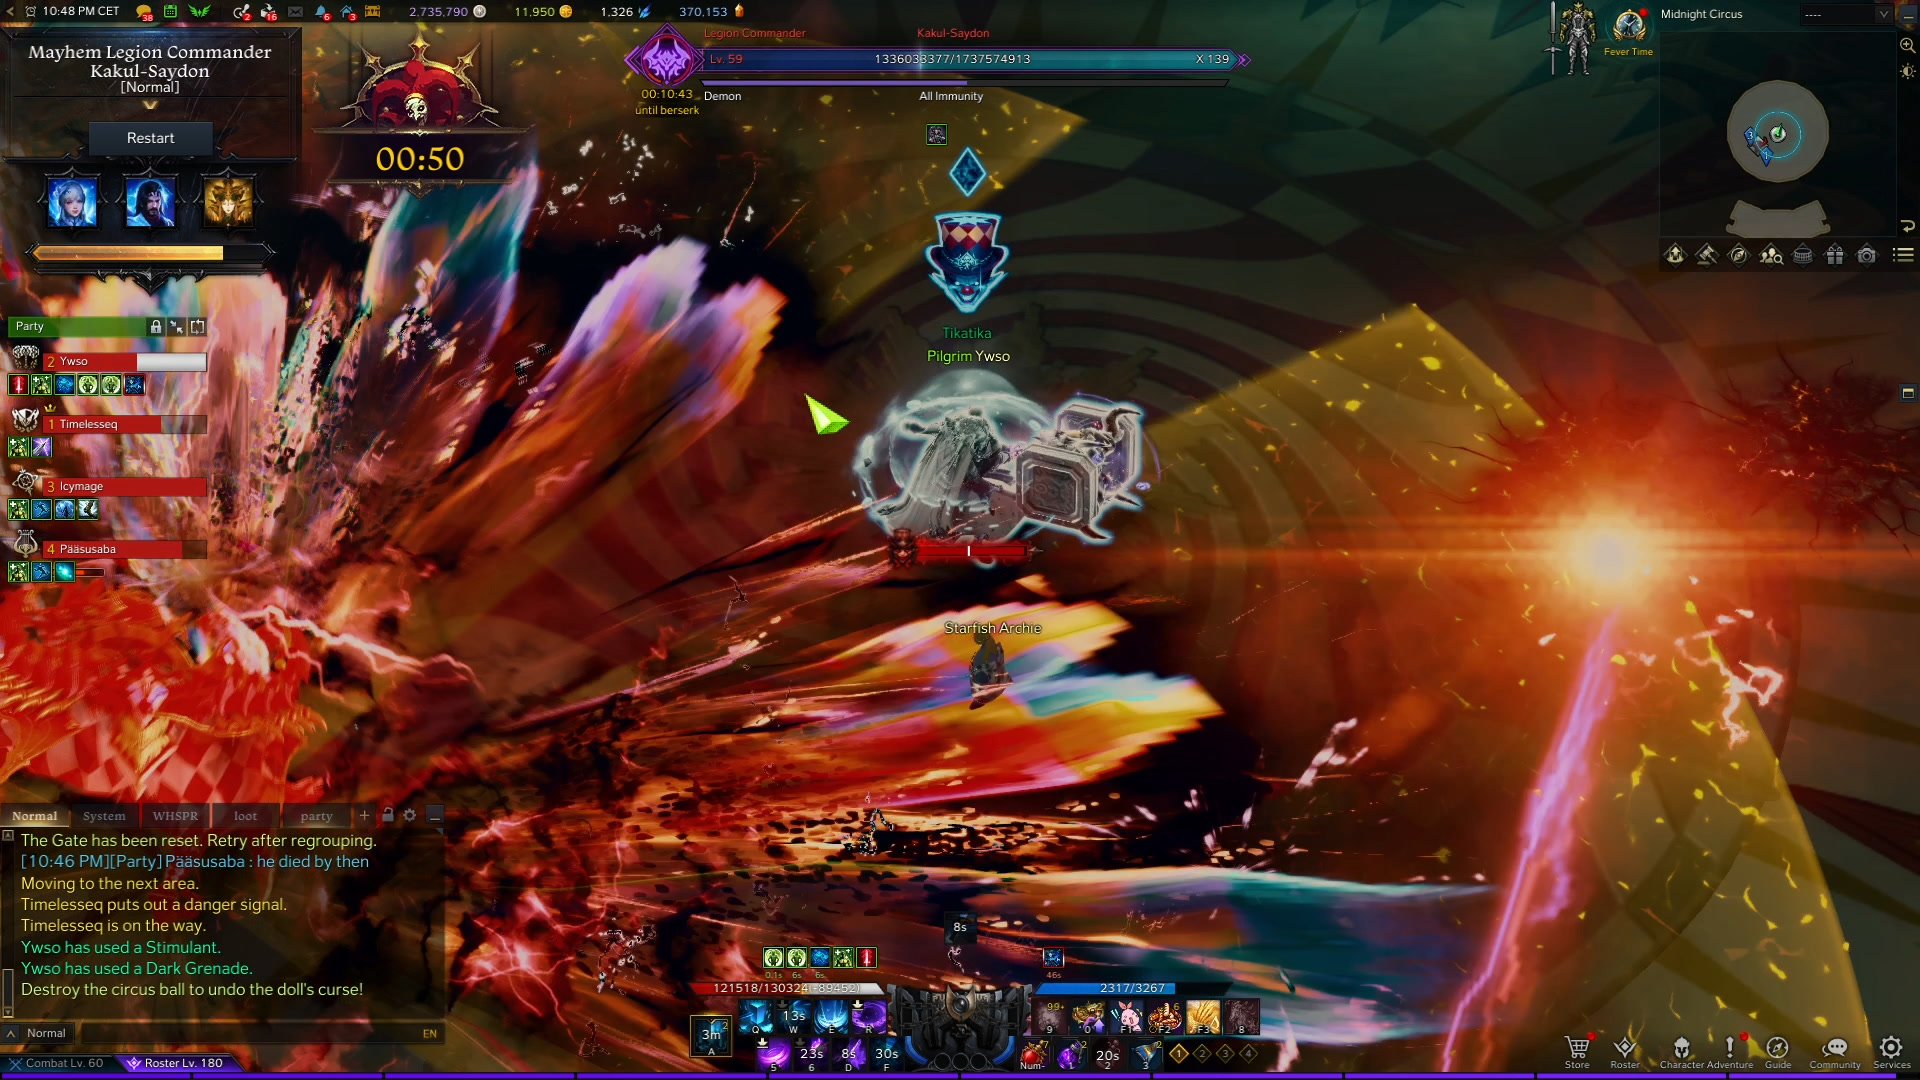
The moment a player enters the Mario game, another player at random receives a symbol on top of their head and has to call out it’s color (or symbol if you are color-blind) to the player inside the Mario game.
Mechanics for Mario Player
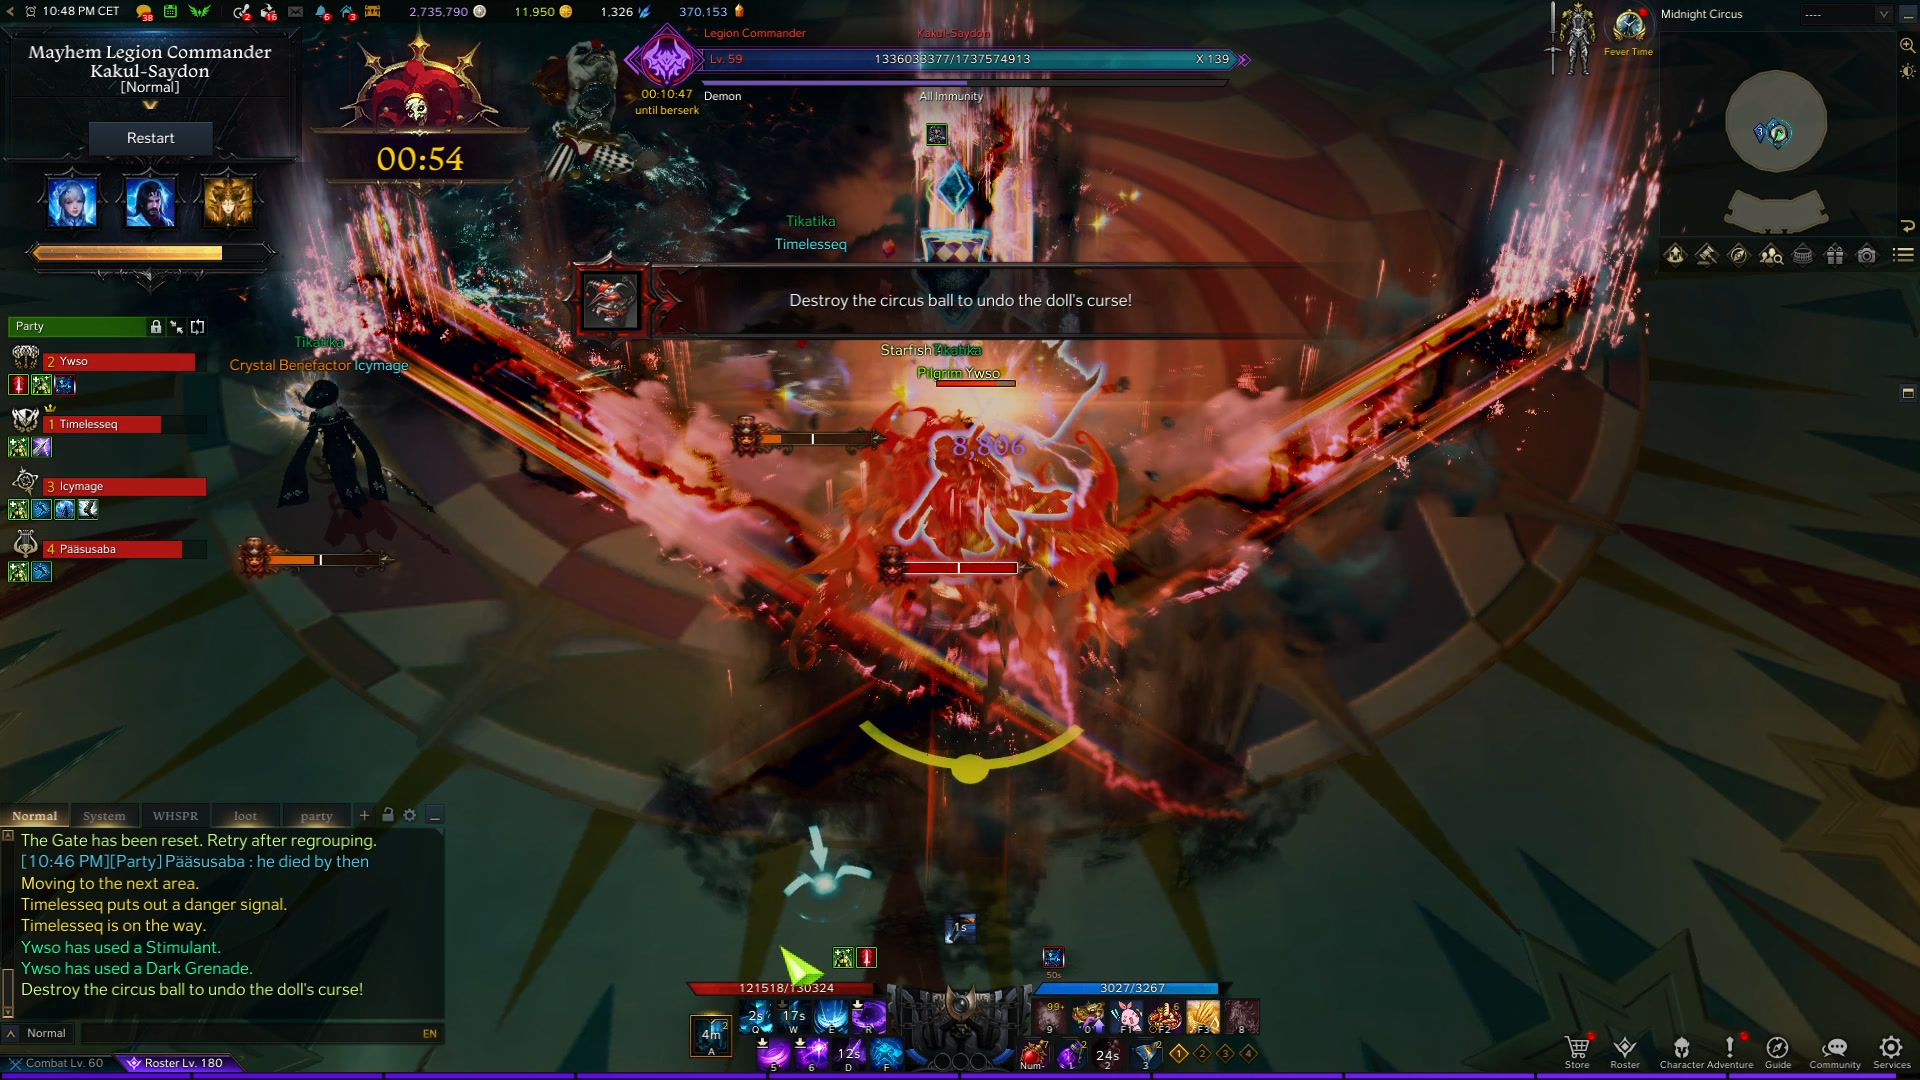
The point of the Mario game is to destroy three of the correct colored balls. This lifts the curse from the player outside. If you don’t kill three balls within the given Mario time, the player with the debuff dies. If you do not exit the Mario game in the given time, you die.
Here is an example of a full Mario 2 mini-game including the pre-enter mechanics:
Mechanics for Players Outside
Having that said, every time a Mario game takes place, the other three players have to do their share of mechanics in the room.
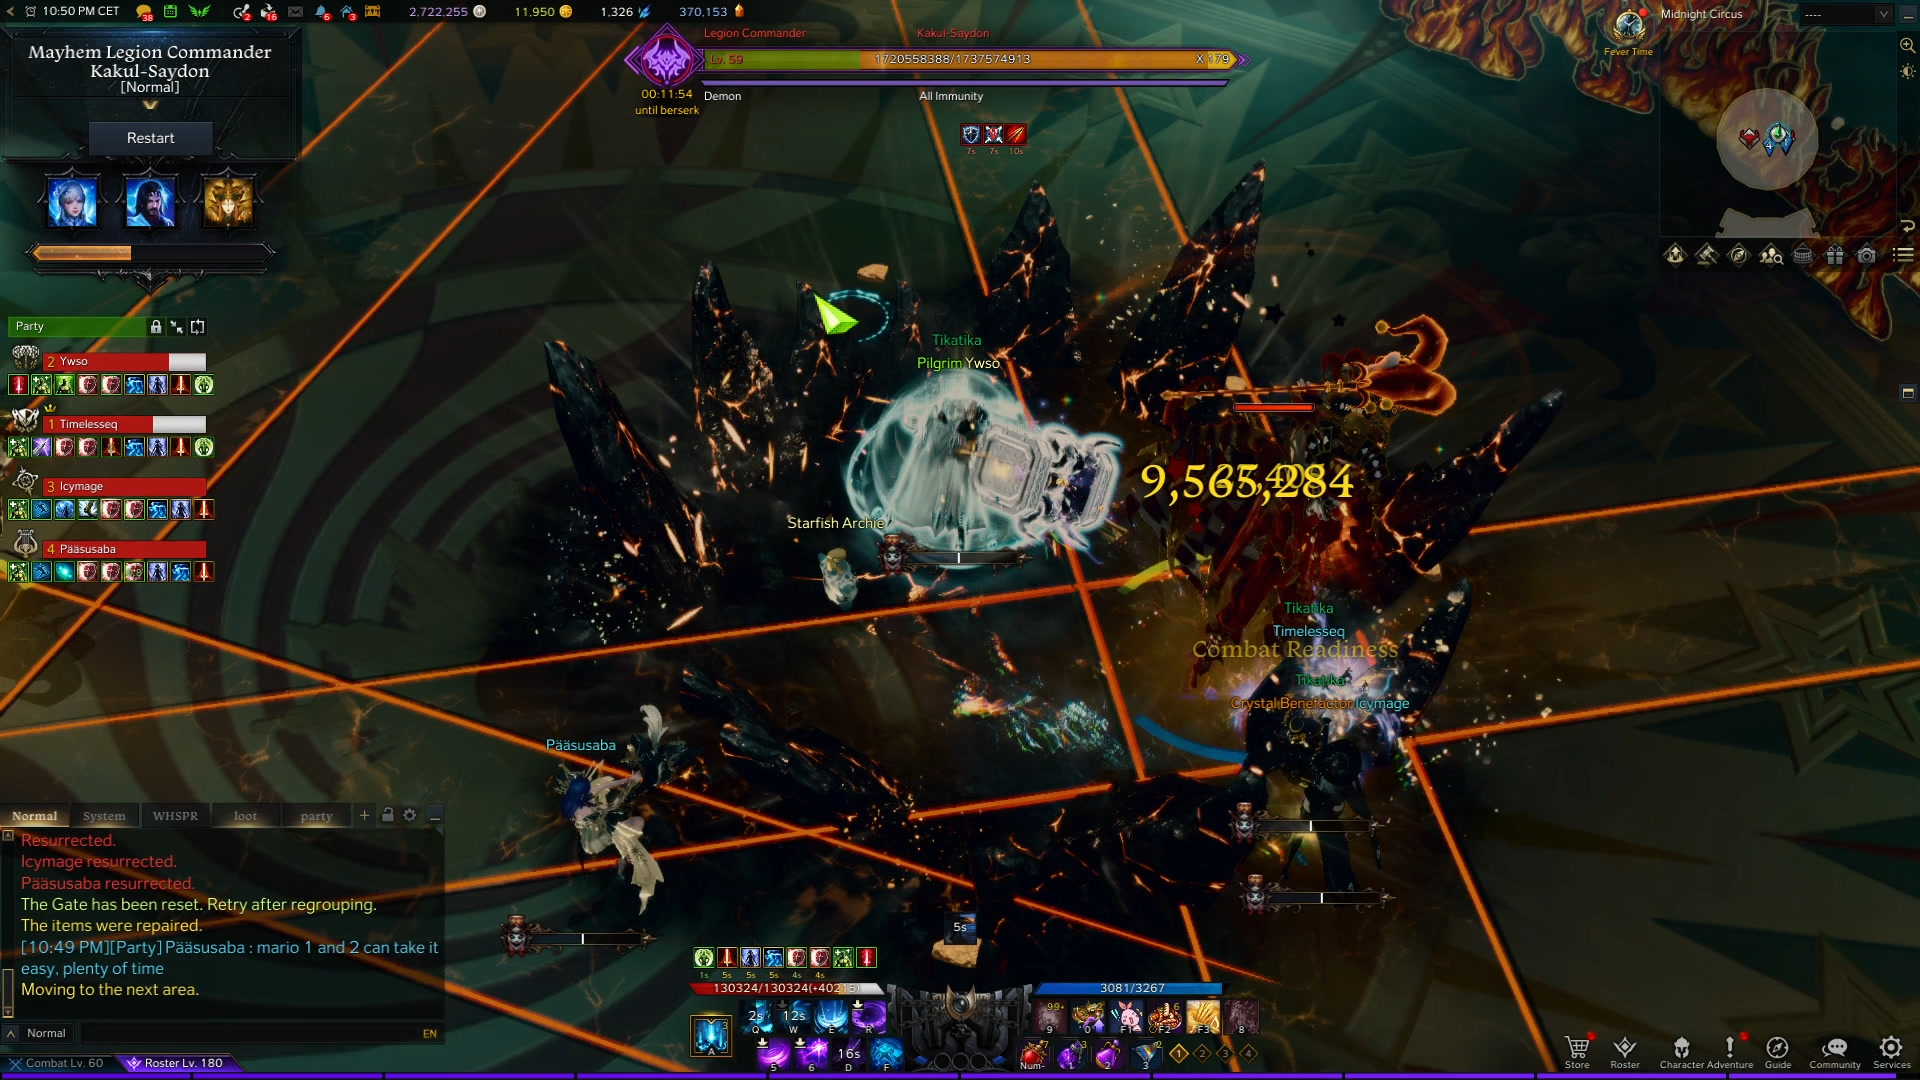
One player at random gets imprisoned and is unable to move, while a slow moving blade is coming towards him.
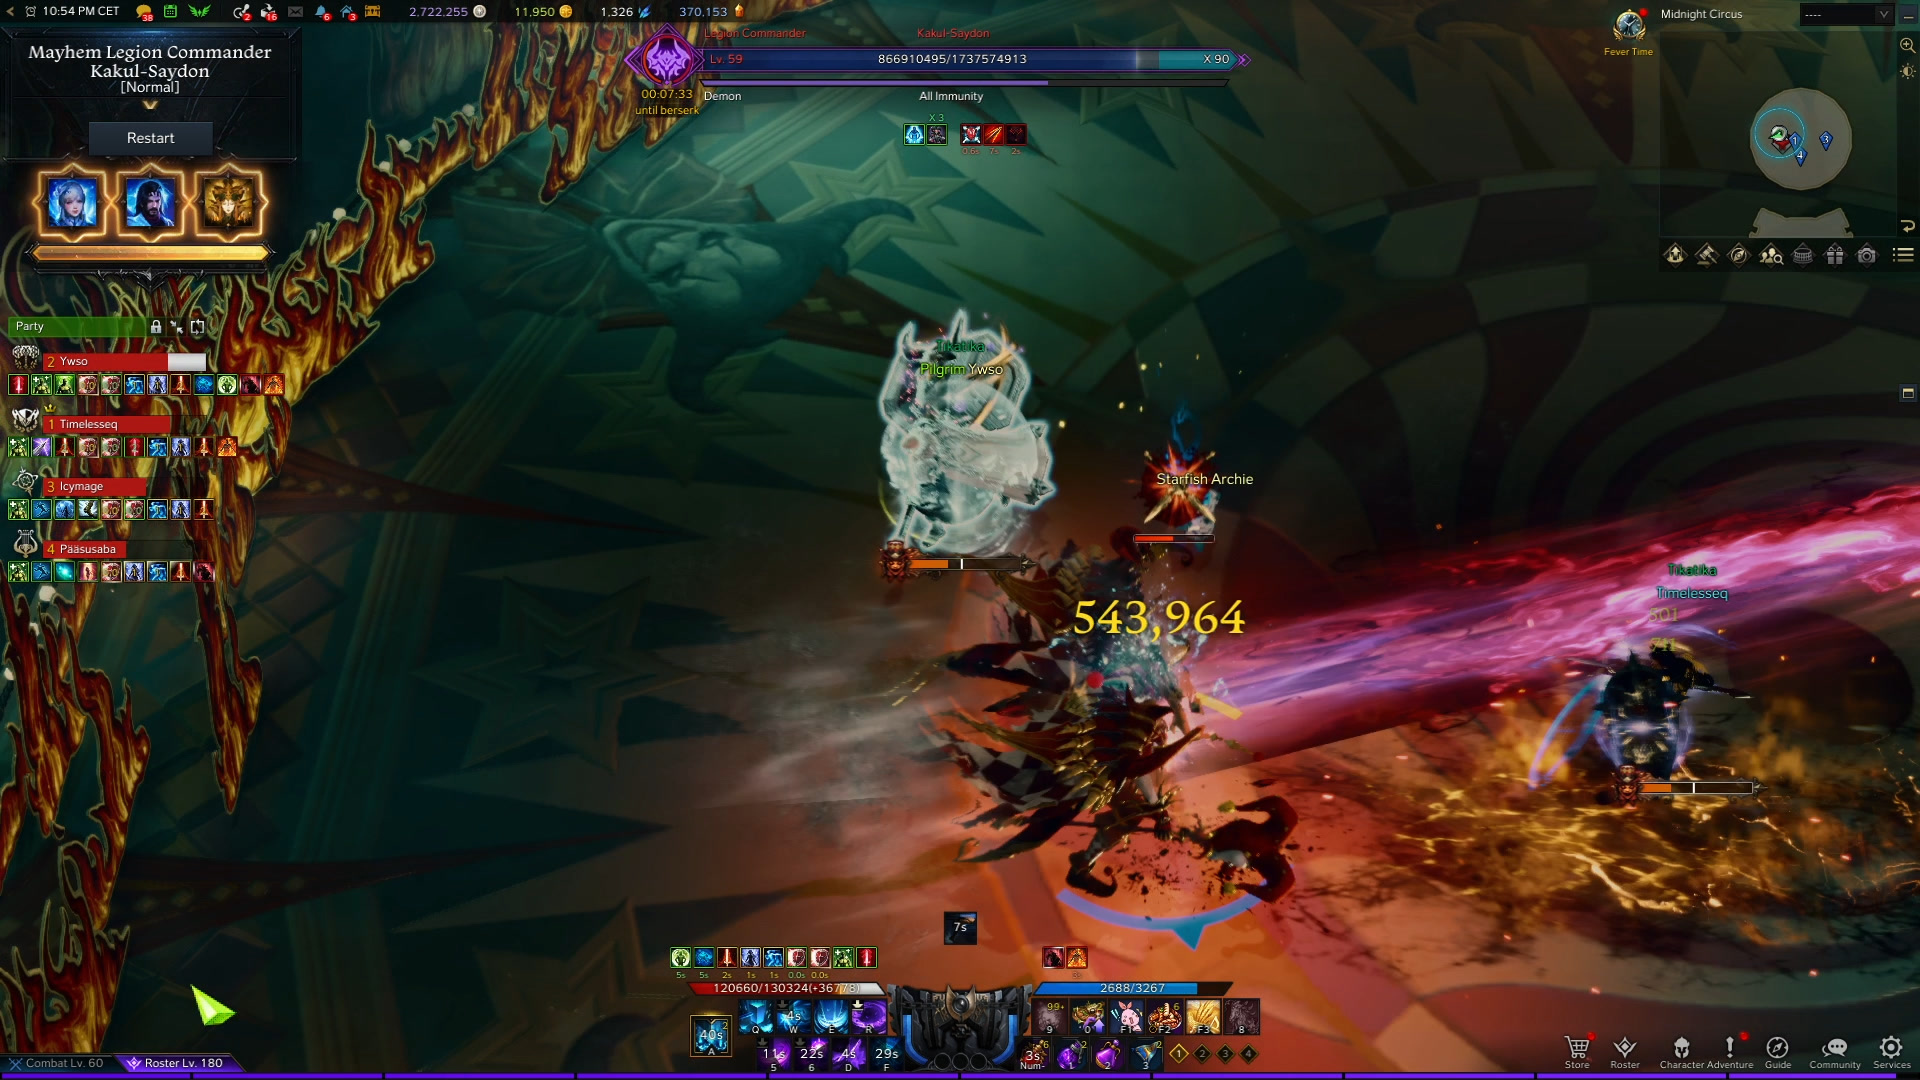
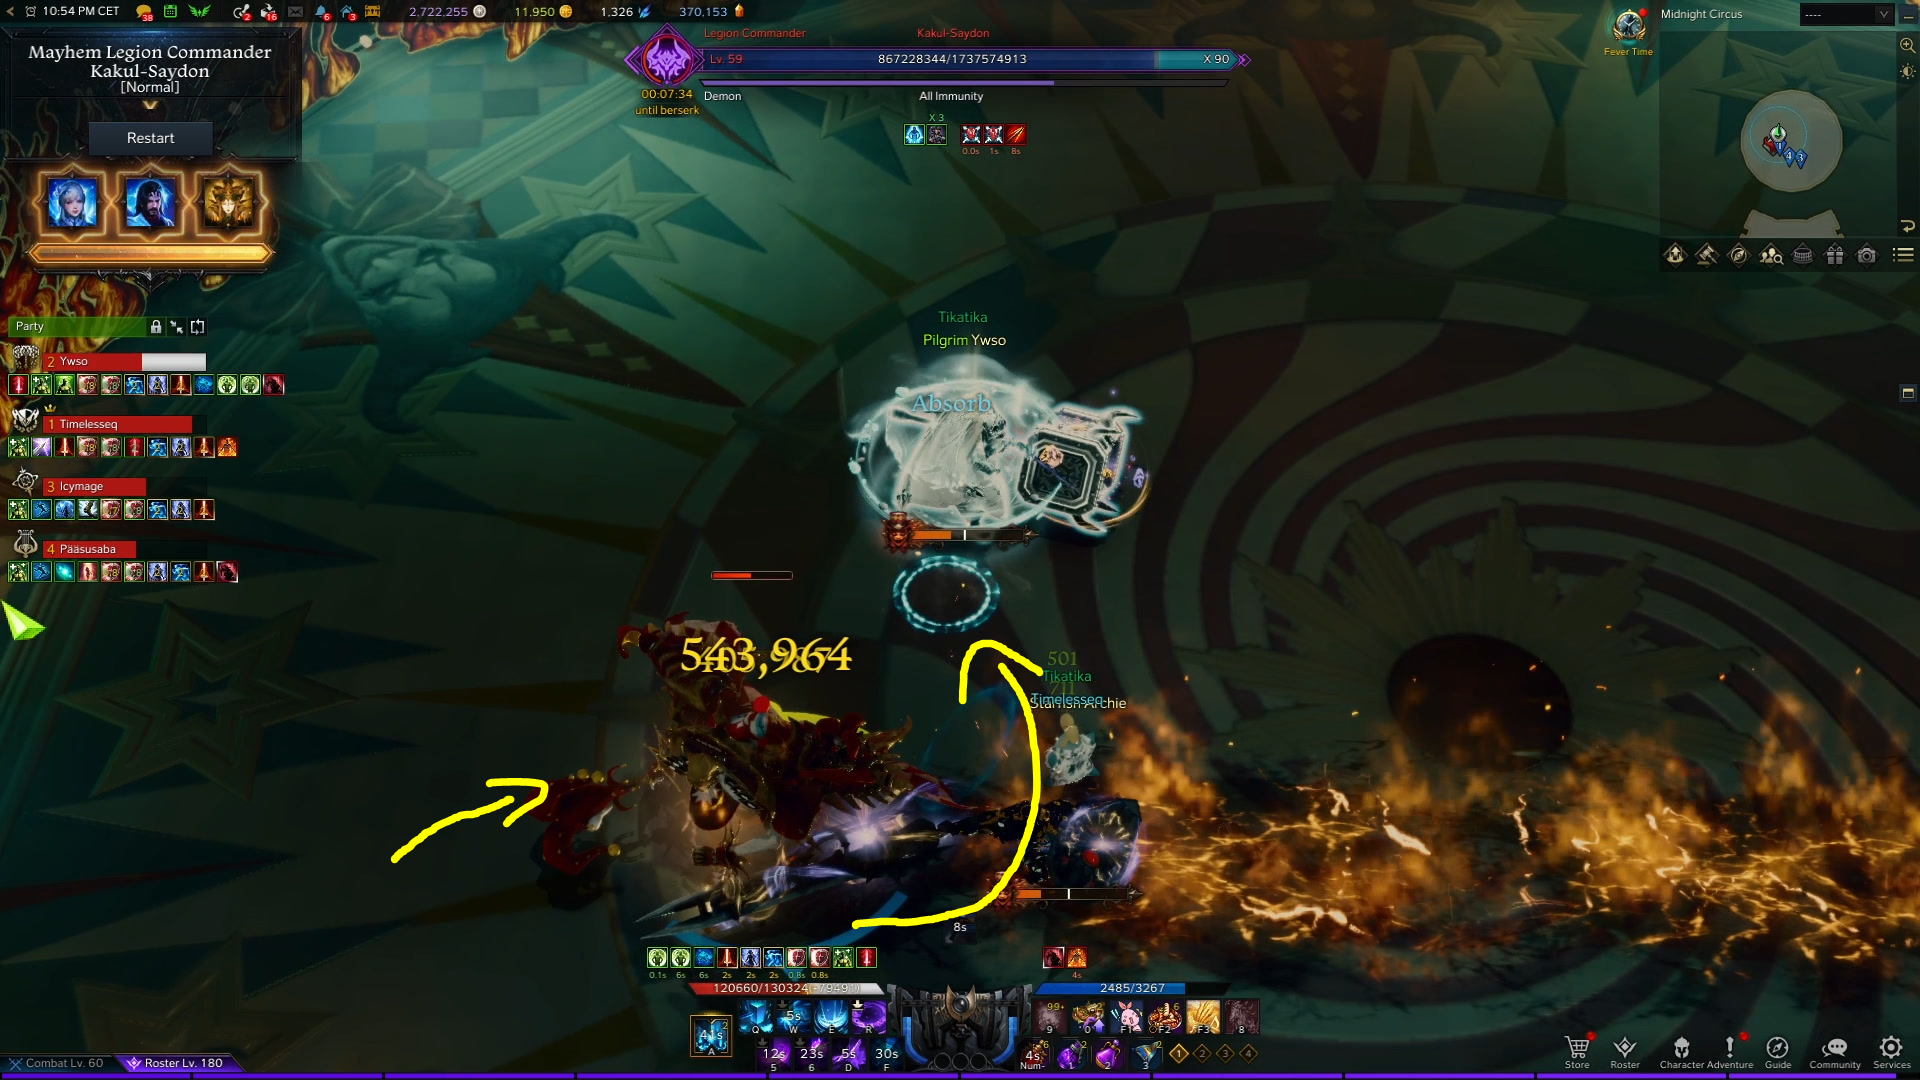
The remaining two players have to then run to the other side of the room, avoiding various obstacles in the way, and deplete an easy stagger bar on Kakul. The obstacles thrown at you are determined by which Mario game you are currently dealing with.
- During Mario 1, the dangerous objects are spinning blades that one shot you. The goal is to stagger Kakul.
- During Mario 2, the dangerous objects are hooks which drag you to the edge of the room but do not kill you. The goal is to stagger Kakul.
- During Mario 3 the dangerous objects are hooks and blades. The goal is to stagger Kakul.
- During Mario 4 the dangerous objects are hooks and blades. The goal is to complete two typing tests similar to Vykas G3 (one for each player), and then stagger Kakul.
Players who are free during Mario 4 will find two levers next to Kakul, one below and one above him. If you get close enough to a lever, you receive a typing test, after which you need to interact with that level. The player assigned to the top lever should try to avoid getting close to the bottom lever (picture below) because they too would be given the same typing test, and that will just consume more time.
Here is a full video example of the above mechanics during a Mario 3 phase:
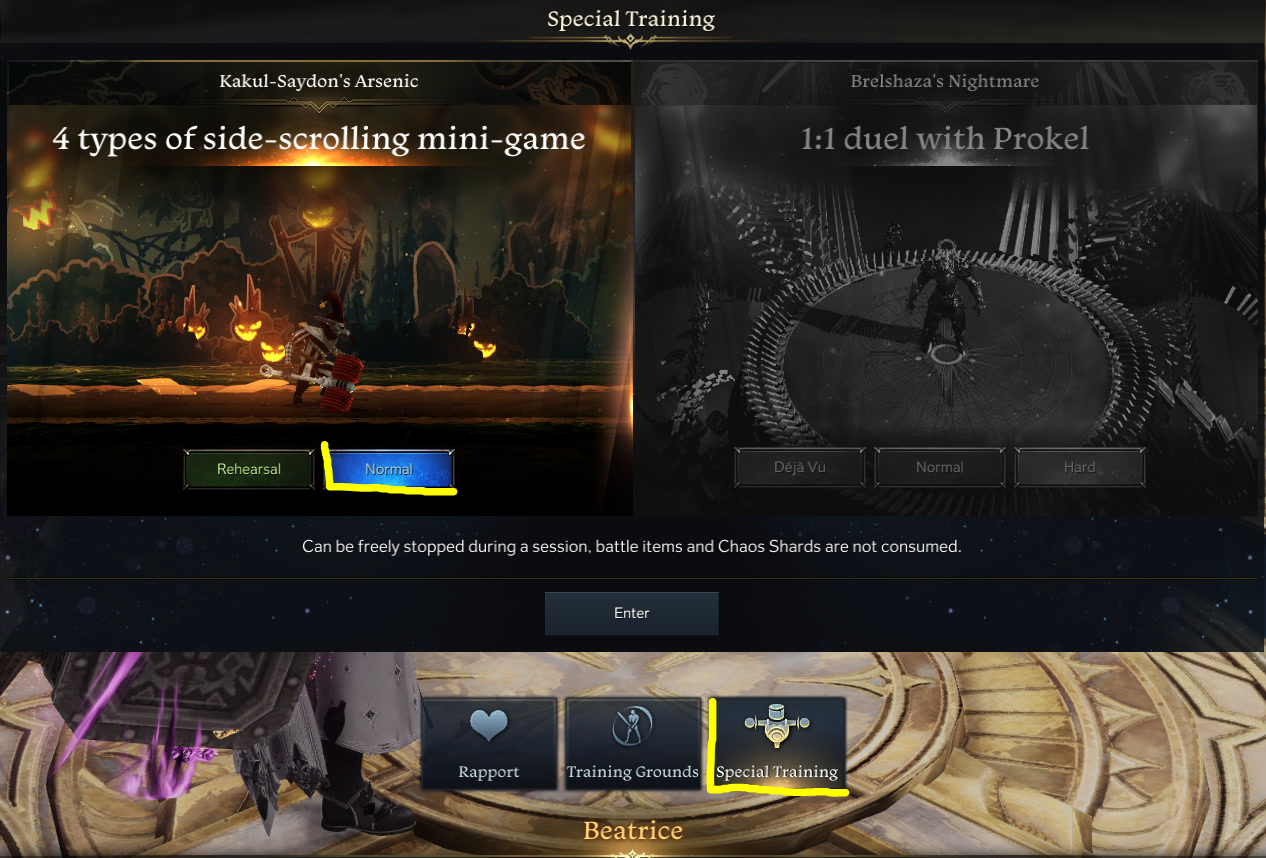
Feel free to practice your Mario game in Trixion by talking to Beatrice. All four versions can be practiced here.
Second Mario Game
At 125 HP bars you will encounter the second Mario mini-game. The idea and mechanics leading to it, are the same as with all other Mario games, but the actual mini-game is different. This one is the second easiest.
Showtime
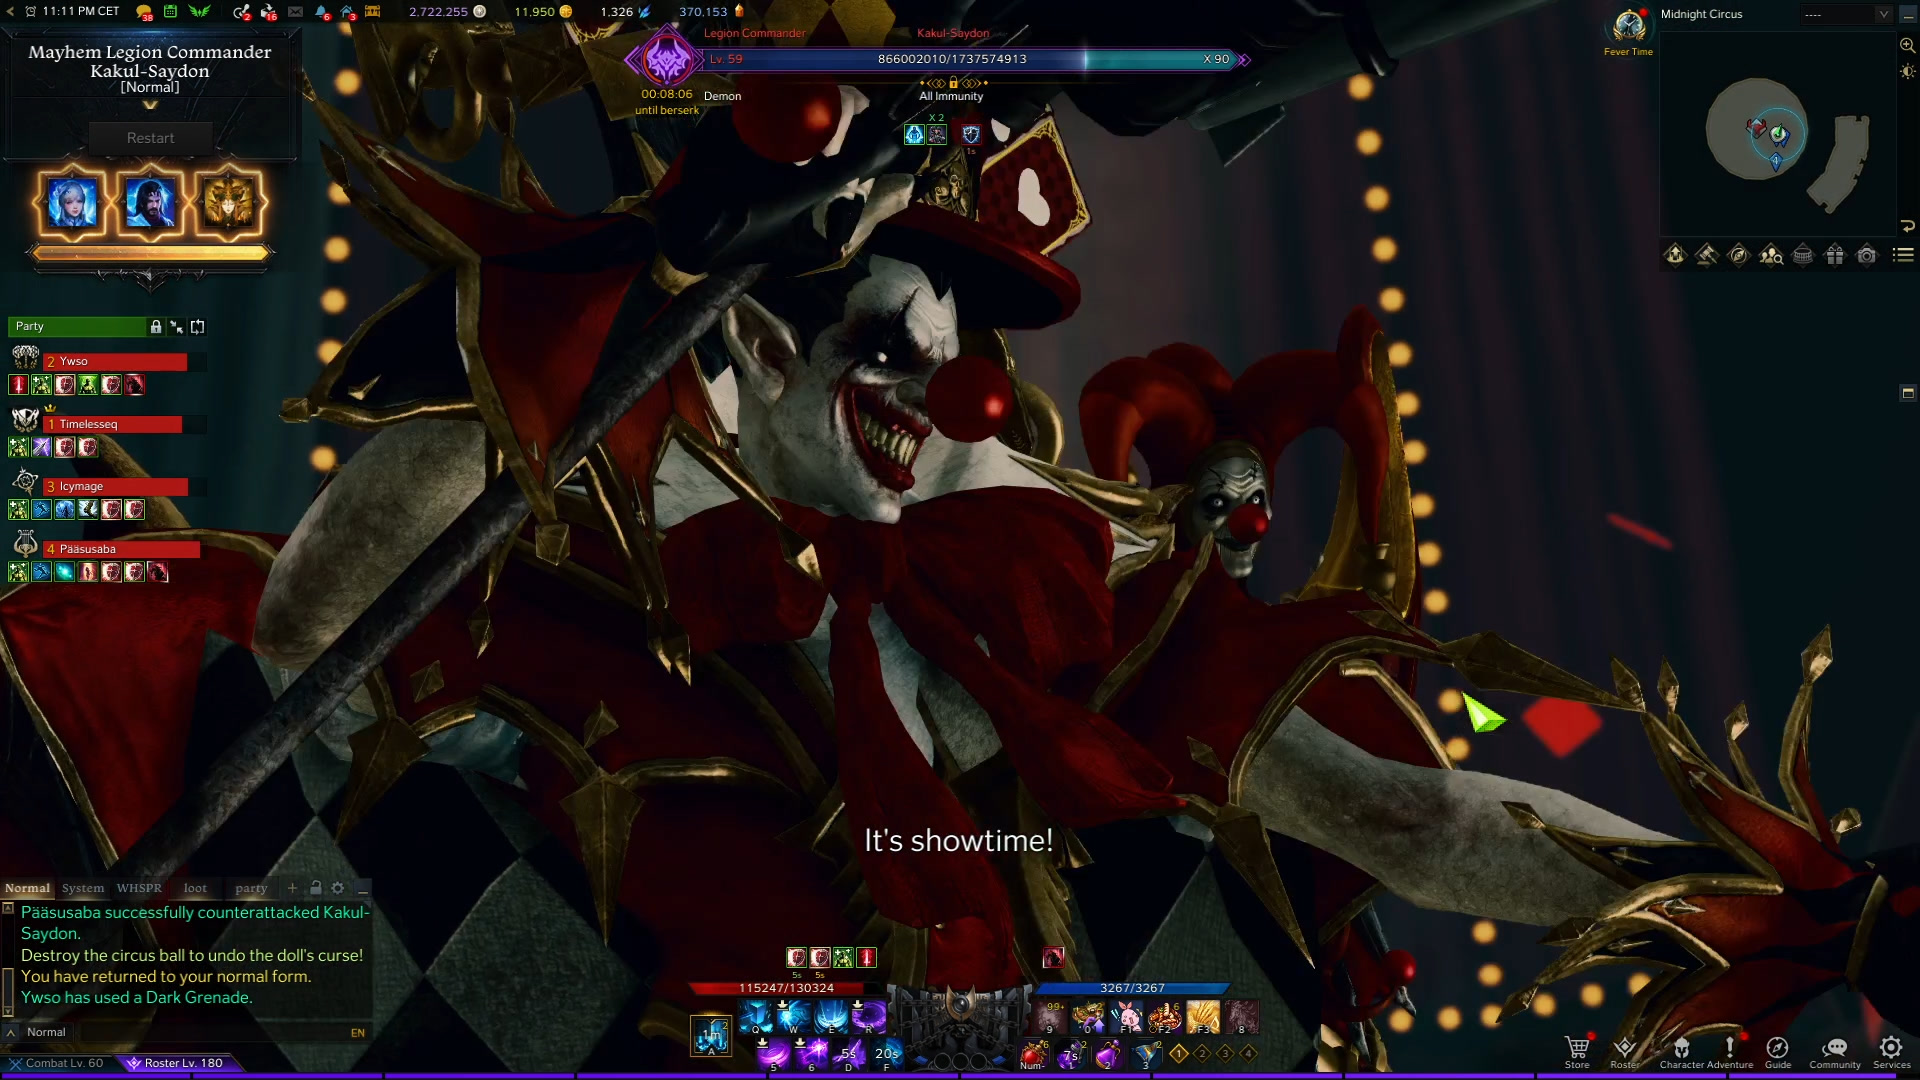
At 90 HP bars Kakul goes to the middle of the room and starts a series of chaotic and explosive events. The easiest way to deal with this mechanic is gathering up at the South point of the map and start walking together either clockwise or counterclockwise based on the direction he starts shooting the first machine gun. In this example, we walked counter clockwise:

An easy way to deal with this mechanic is to use the Sidereal skill Azena and Inanna after you reach North and have to start going towards the inside of the room. She negates most of the damage you take, cleanses your clown gauge and heals you.
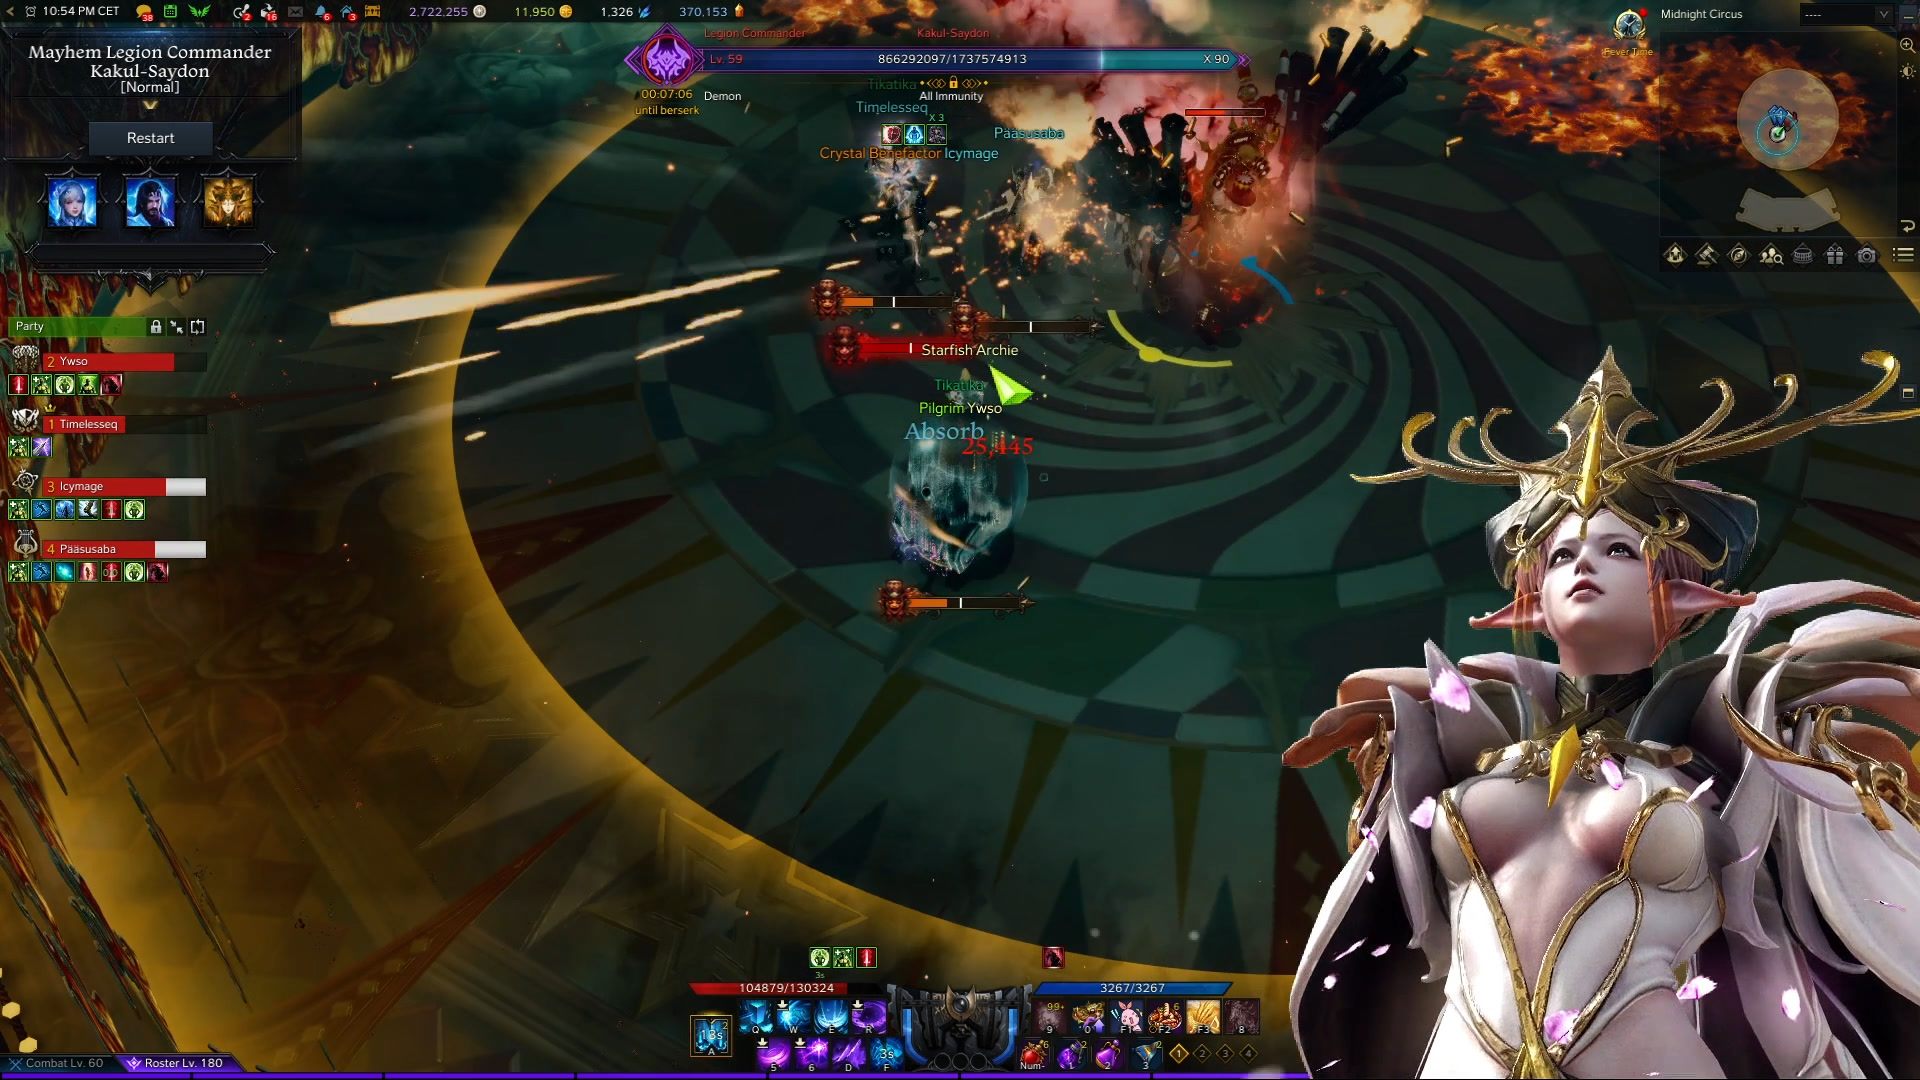
A very important part of the Showtime mechanic is destroying the two large bombs by aiming the yellow cone telegraph towards them:
The first bomb spawns randomly, and the cone telegraph also randomly targets a player, so be on your toes for this part otherwise it is a wipe. The second bomb spawns on the opposite side of the first bomb, so it is easier to notice.
After you destroy the bombs, you gather together at your desired point and start running as a group either clockwise or counterclockwise.
This is the last part of the Showtime mechanic, where you need to outrun target shaped red telegraphs and yellow orbs which chase you for a while.
Stacking together helps with having a clean path to run, but pay attention to everyone's movement speed as leaving someone behind may result in them stepping in your red telegraphs and dieing.
Dealing with Showtime patterns requires practice and quick fingers, however they are not hard to deal with even on your first attempts as long as you keep running.
Here is a full example of a Showtime mechanic:
Third Mario Game
At 79 HP bars you will encounter the third Mario mini-game. The idea and mechanics leading to it, are the same as with all other Mario games, but the actual mini-game is different. This one is the hardest one to complete.
Fourth Mario Game
At 52 HP bars you will encounter the fourth Mario mini-game. The idea and mechanics leading to it are the same as with all other Mario games, but the actual mini-game is different. This one is the longest one to complete.
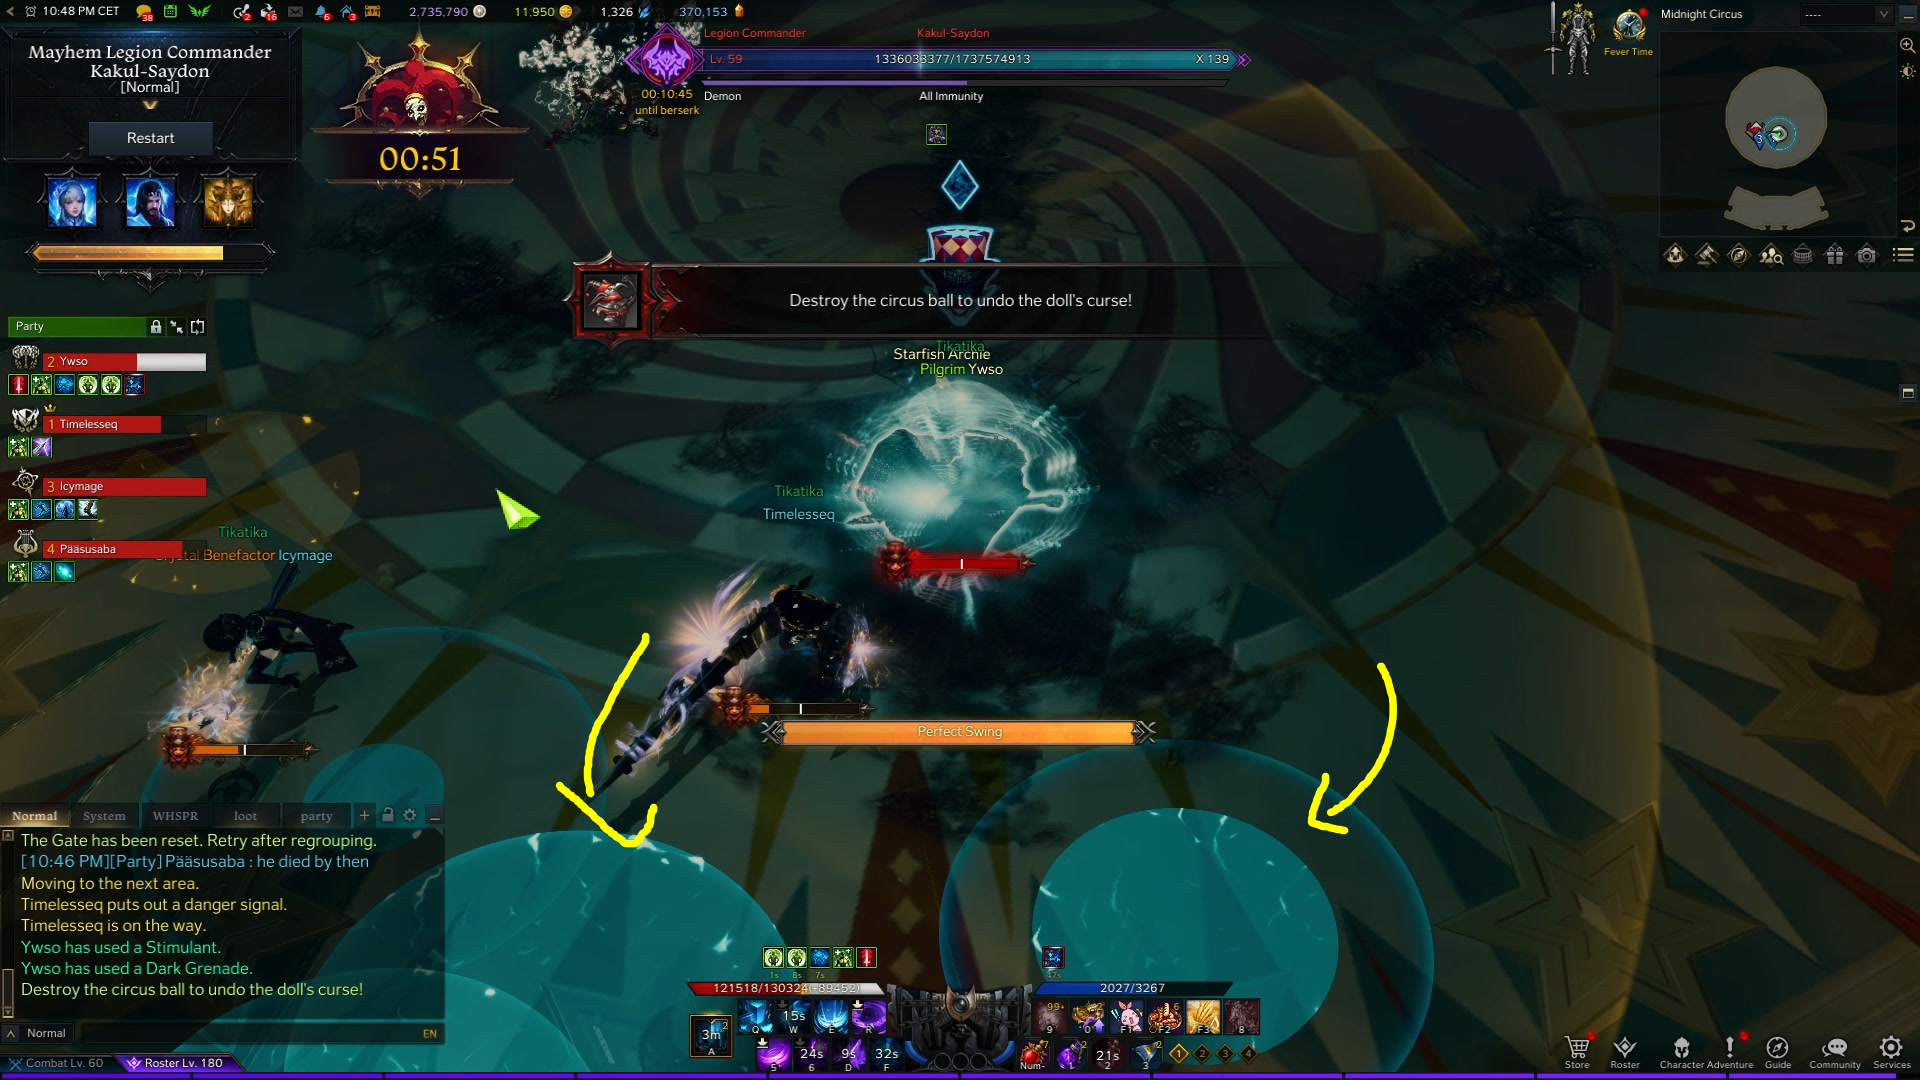
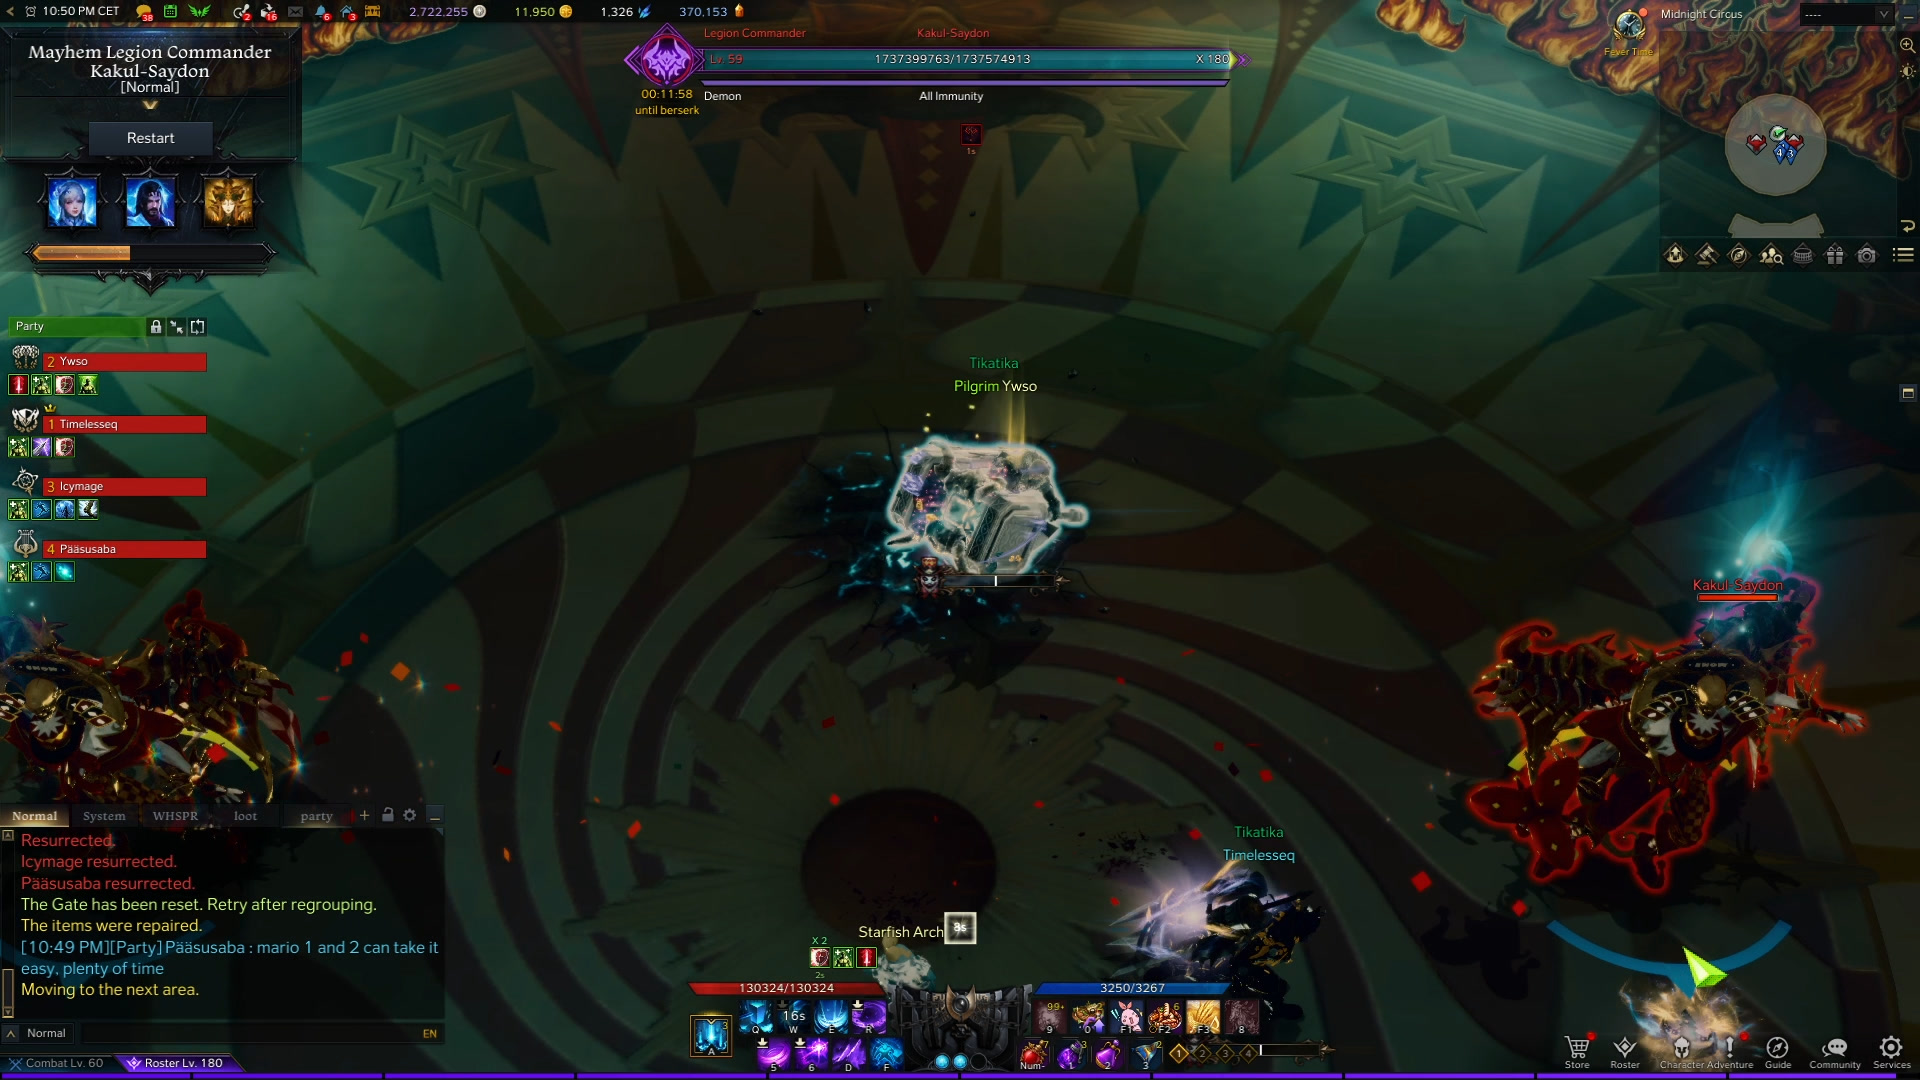
Bingo
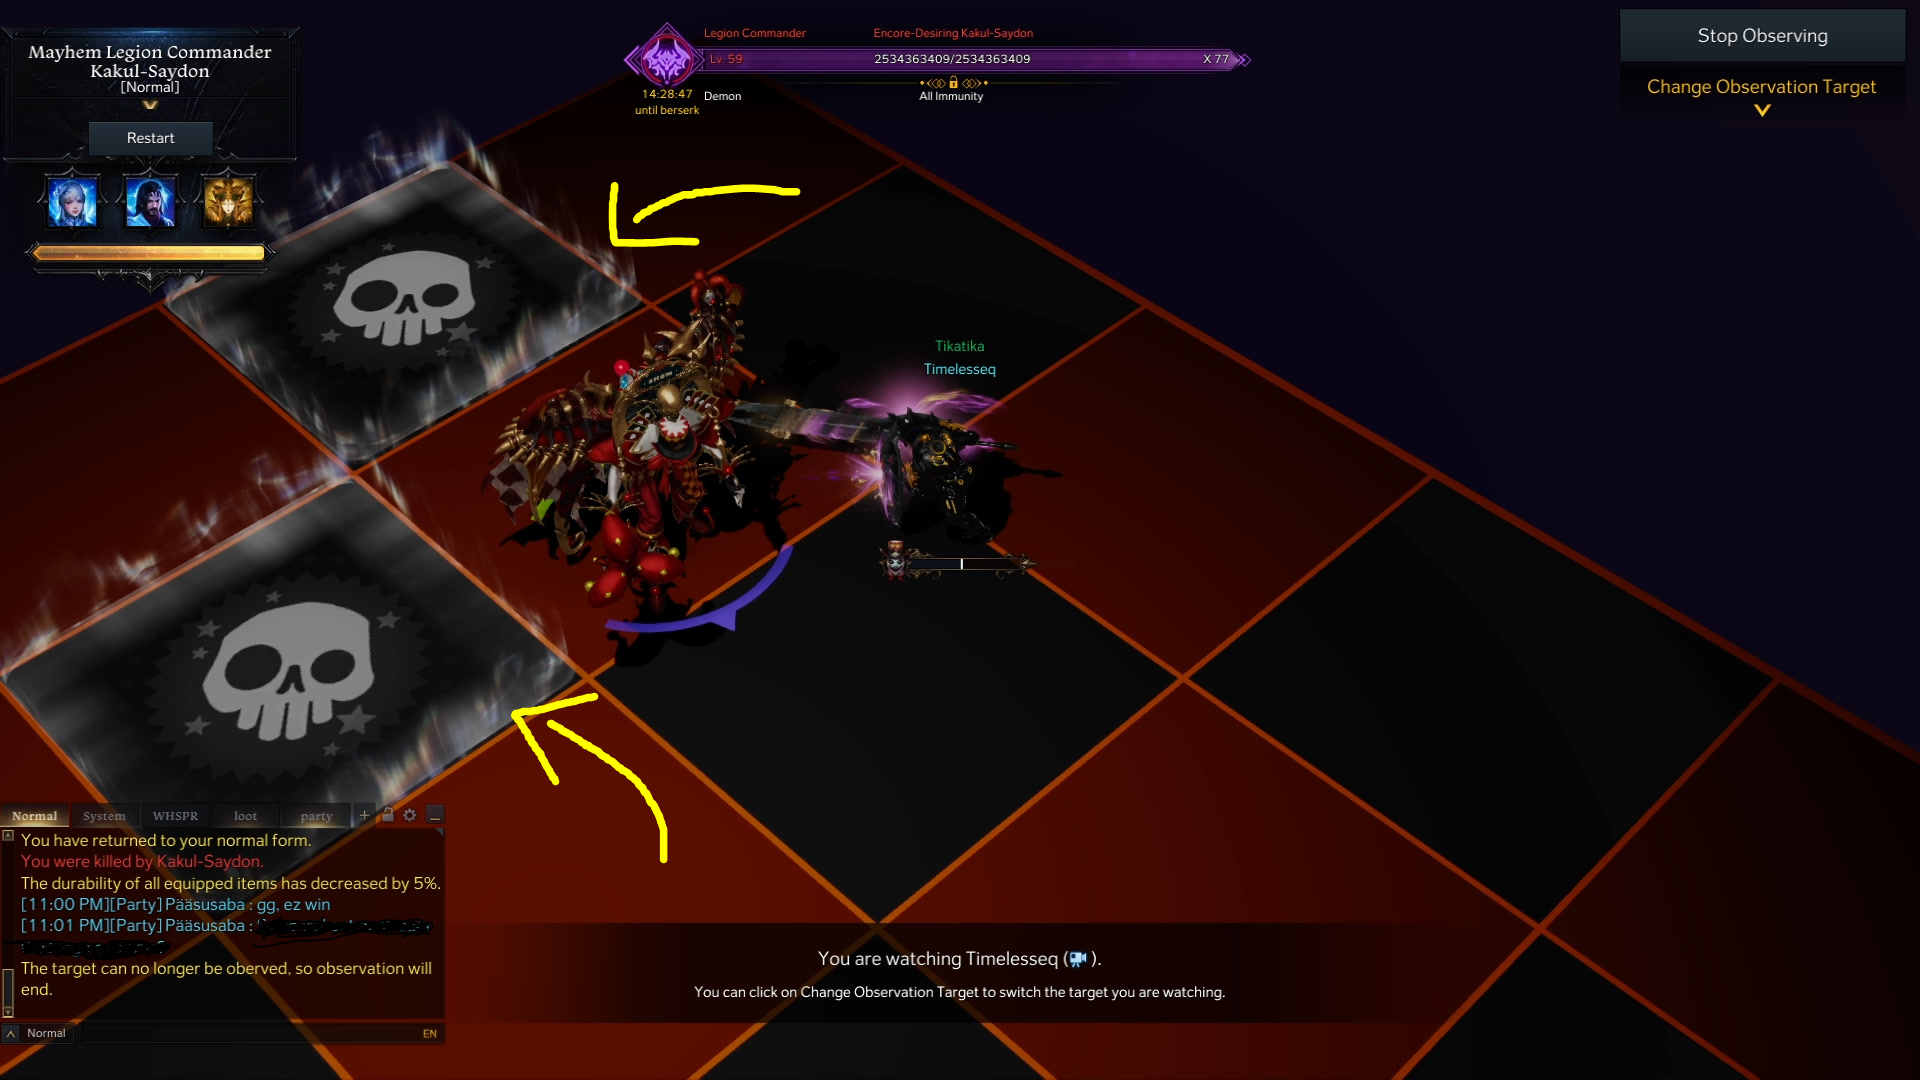
Last phase of the fight begins when Kakul has just a sliver of health left. The room turns into a checkerboard and the goal is to create enough Bingo lines to kill Kakul. Six bingo lines will deplete his HP, but you can also use regular skills to speed up the process. There is a 14 hour timer for this fight, so no rush at all!
The room starts with two white skull symbols on the ground, which will be your starting point leading towards bingo lines. The starting locations are always random.
A bingo line is any edge-to-edge line of skulls. It can be vertical, horizontal or diagonal. Five white skulls in a line creates a bingo line which deals damage equal to 10 HP bars. You create these lines with the help of a bomb, which a random player gets at certain time intervals.
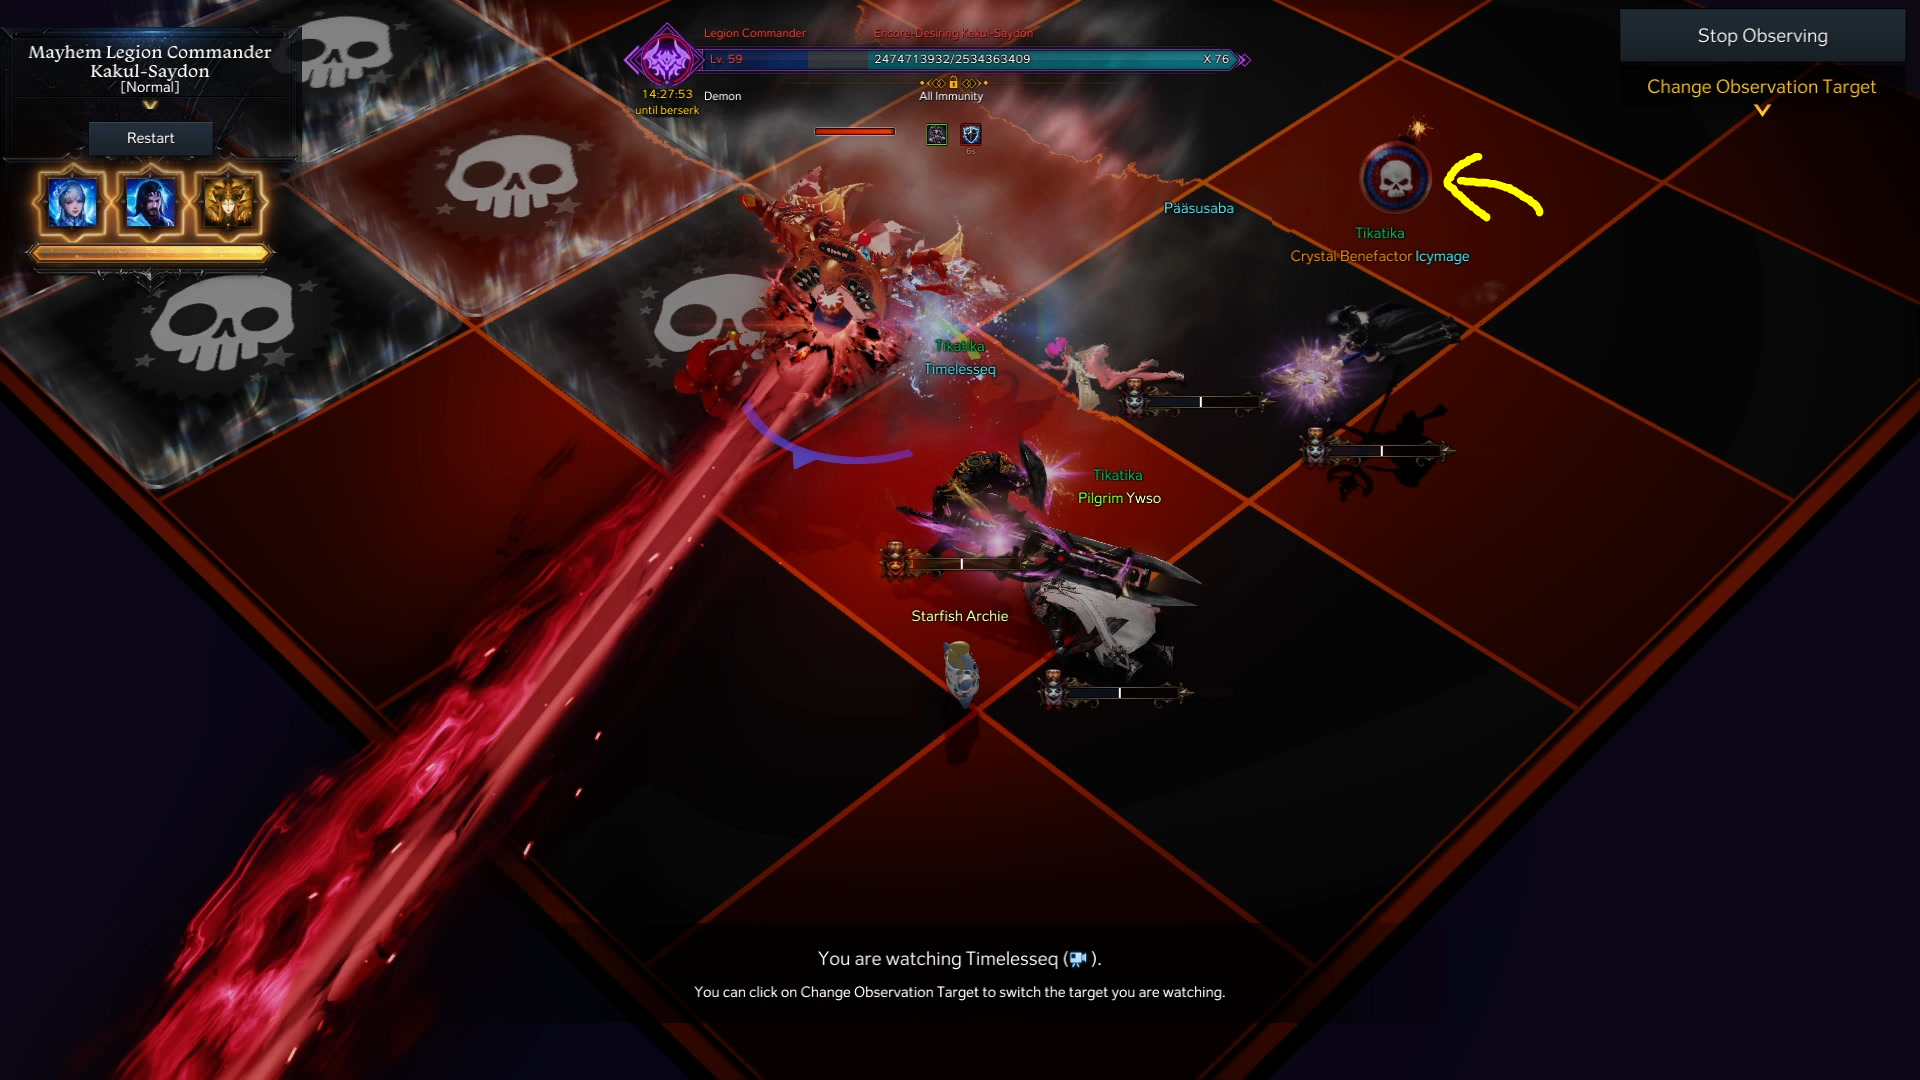
The targeted player moves to the desired cubicle and leaves the bomb there to explode:
Bombs create five white skulls in a cross shape upon explosion. So placing the bombs strategically in order to create a full line is important. The rule here is that every third bomb should always create a Bingo. If it does not, the raid wipes. Having that said, you can create a bingo any other time, as long as the third, sixth and ninth bomb spawned create a bingo line.
All skull tiles fill up your clown gauge very fast so try to avoid stepping on top of them.

During the bingo mechanic, Kakul still does some of the mechanics from previous gates, such as yellow spew, a gate 1 version of the laser, etc., but also a few specific mechanics such as a fear marked with purple mist towards his front.
Another Bingo stage mechanic is the hammer:
This will spawn one or more giant hammers at the edge of one of the rows, and show an arrow pattern where it will hit. Stay off that row as it will kill you.
Kakul-Saydon Gate 3 Side Mechanics
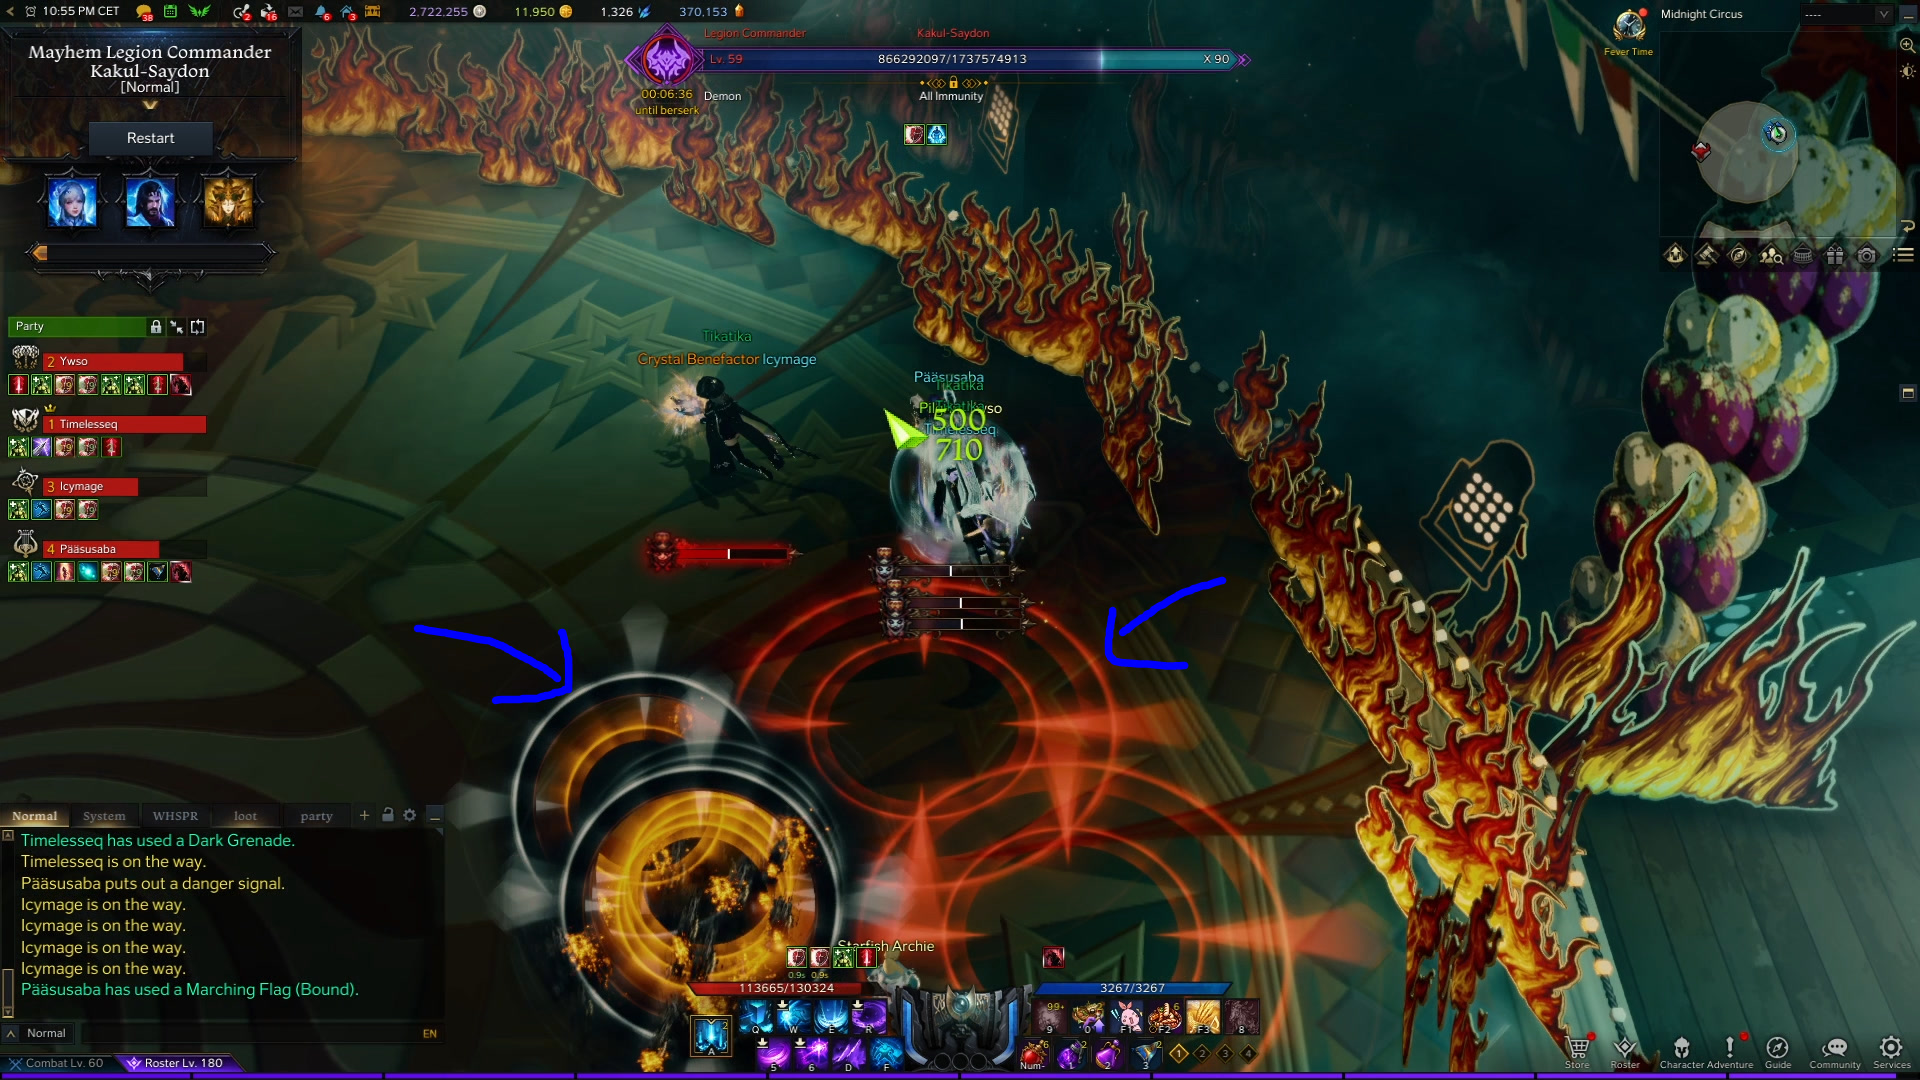
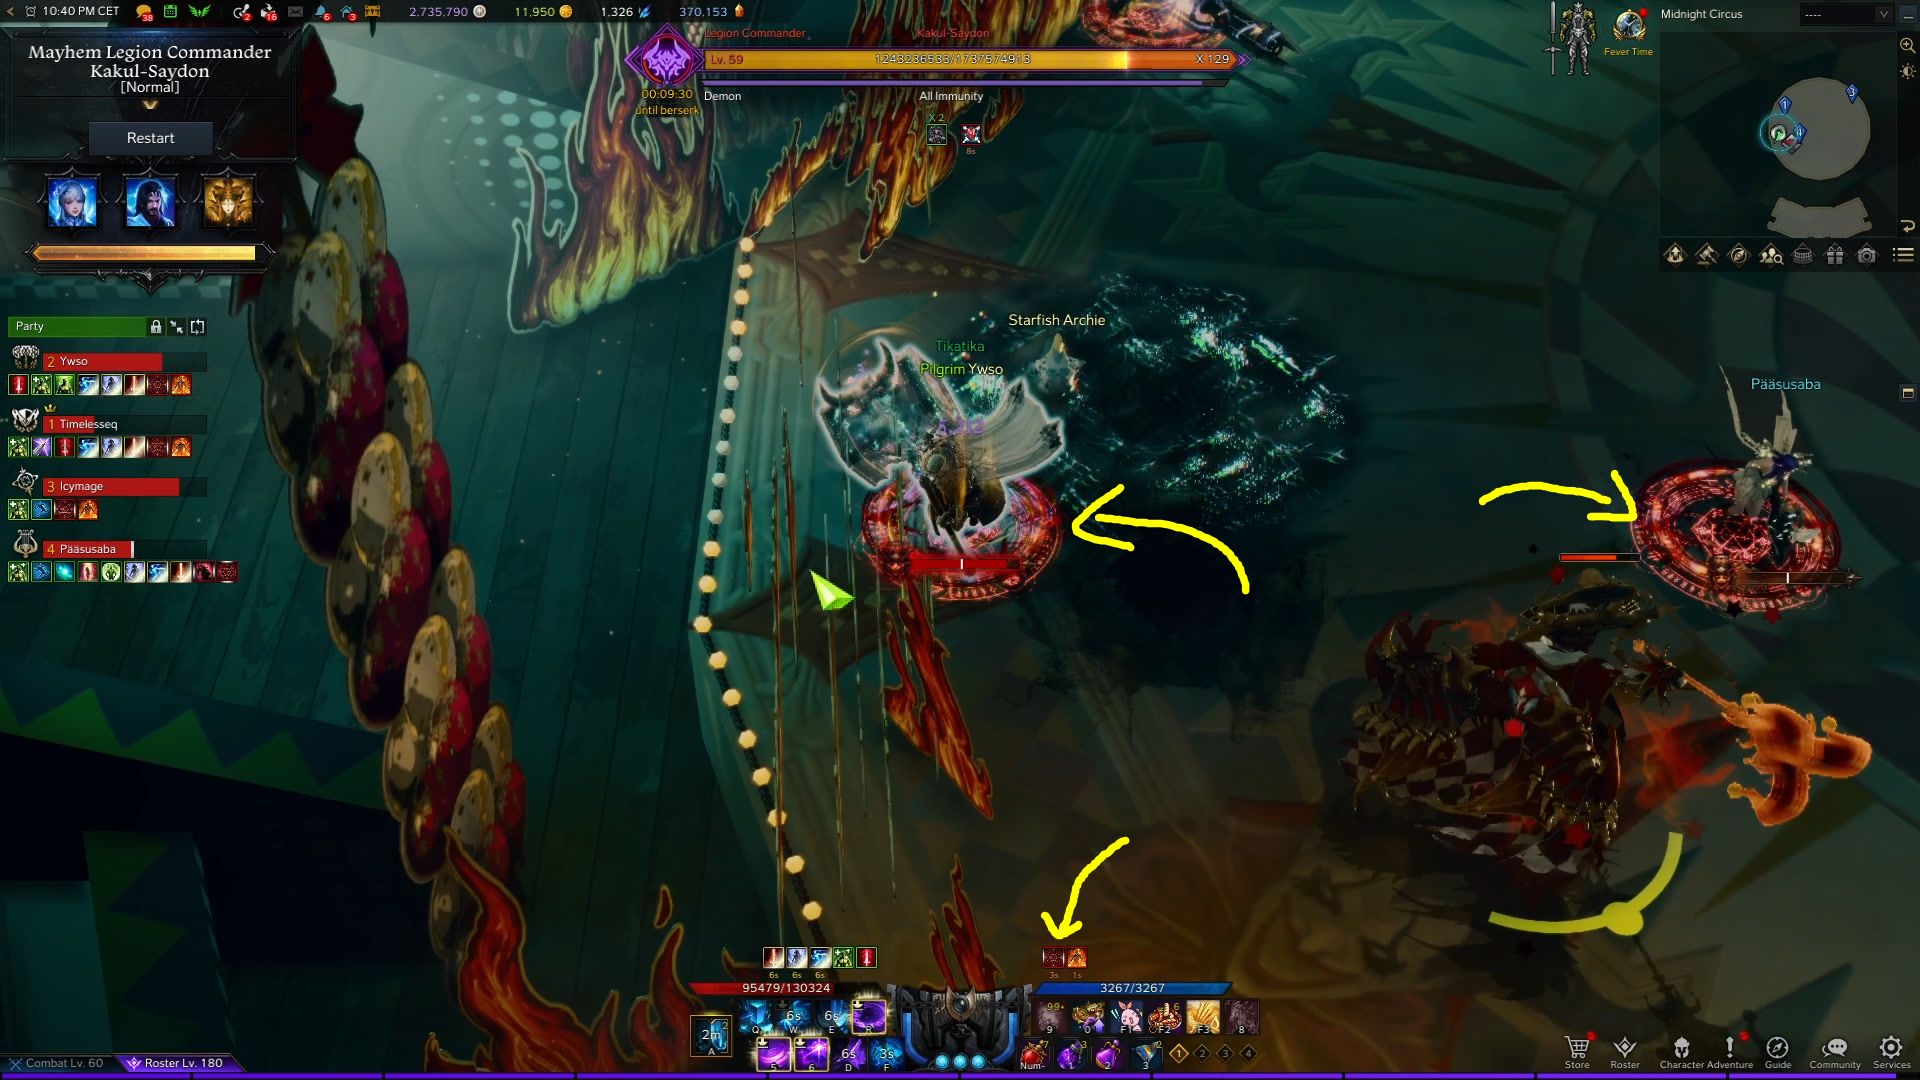
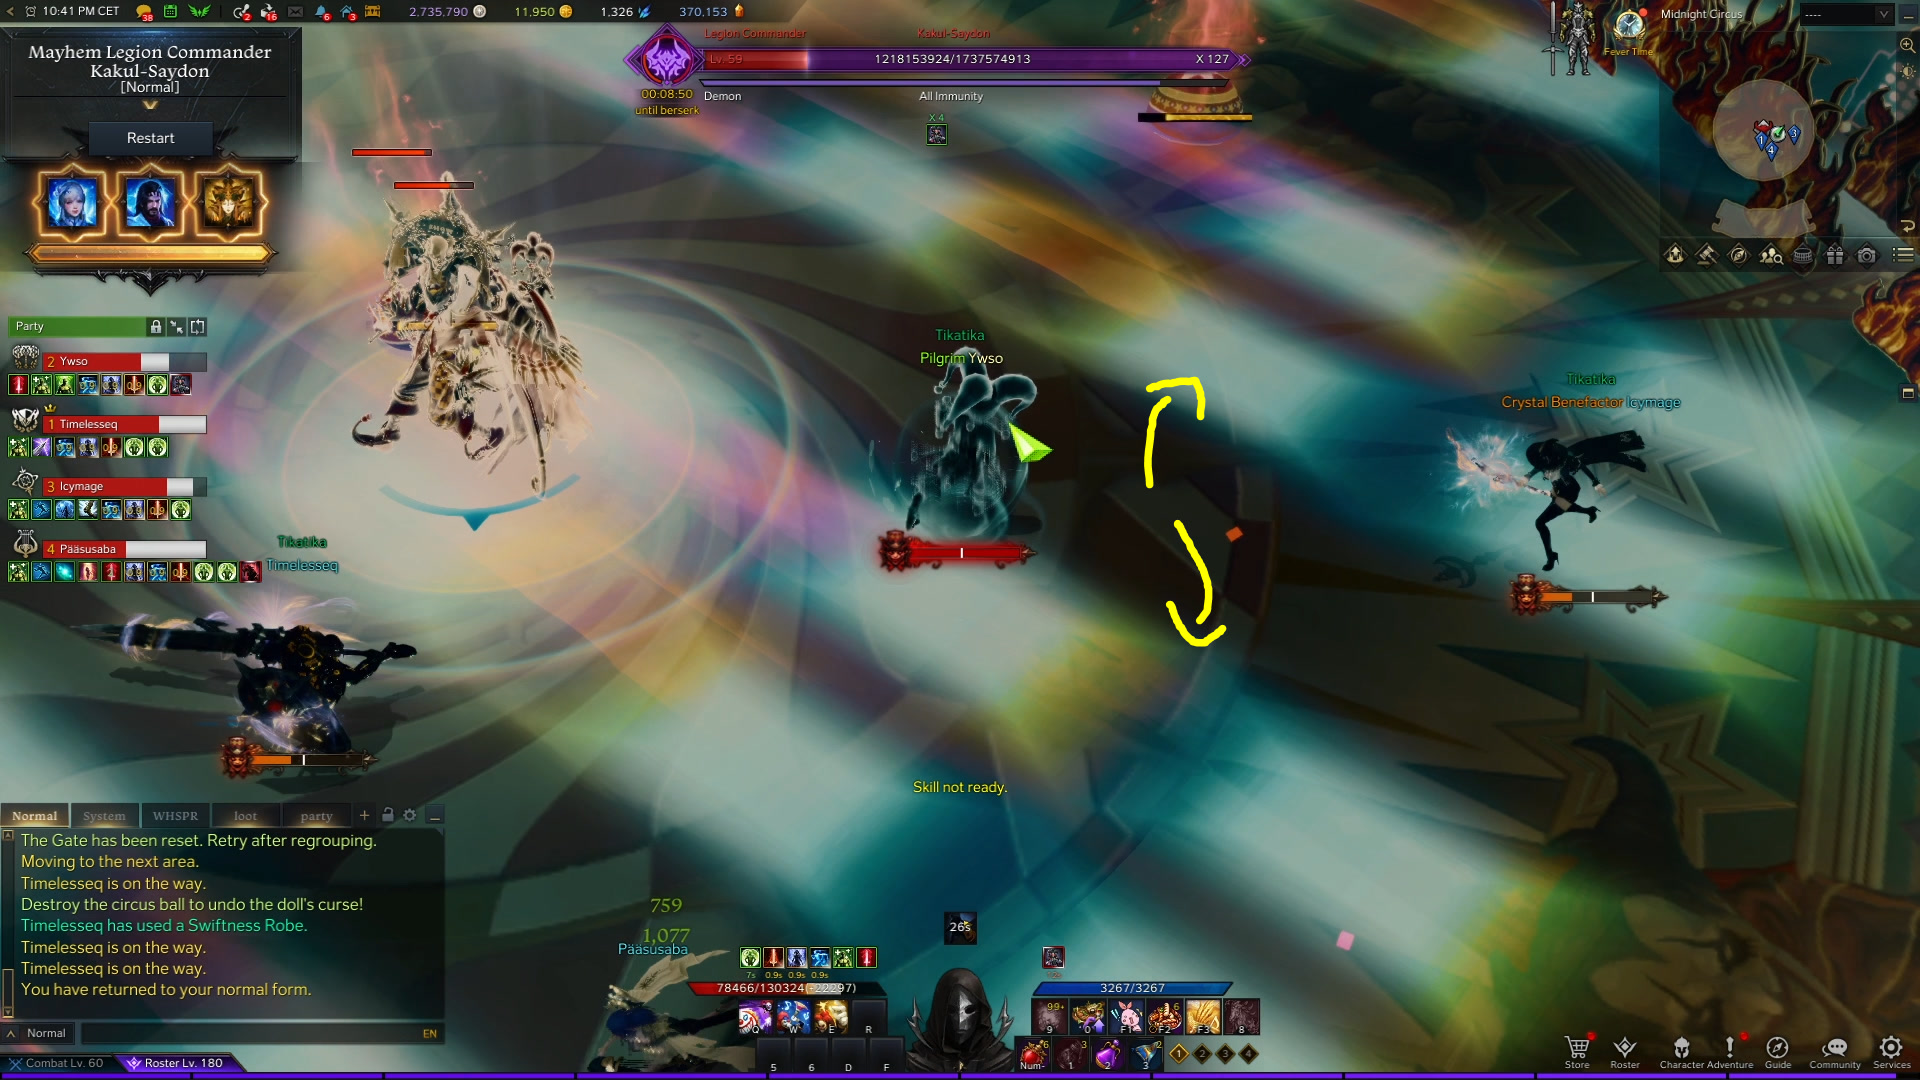
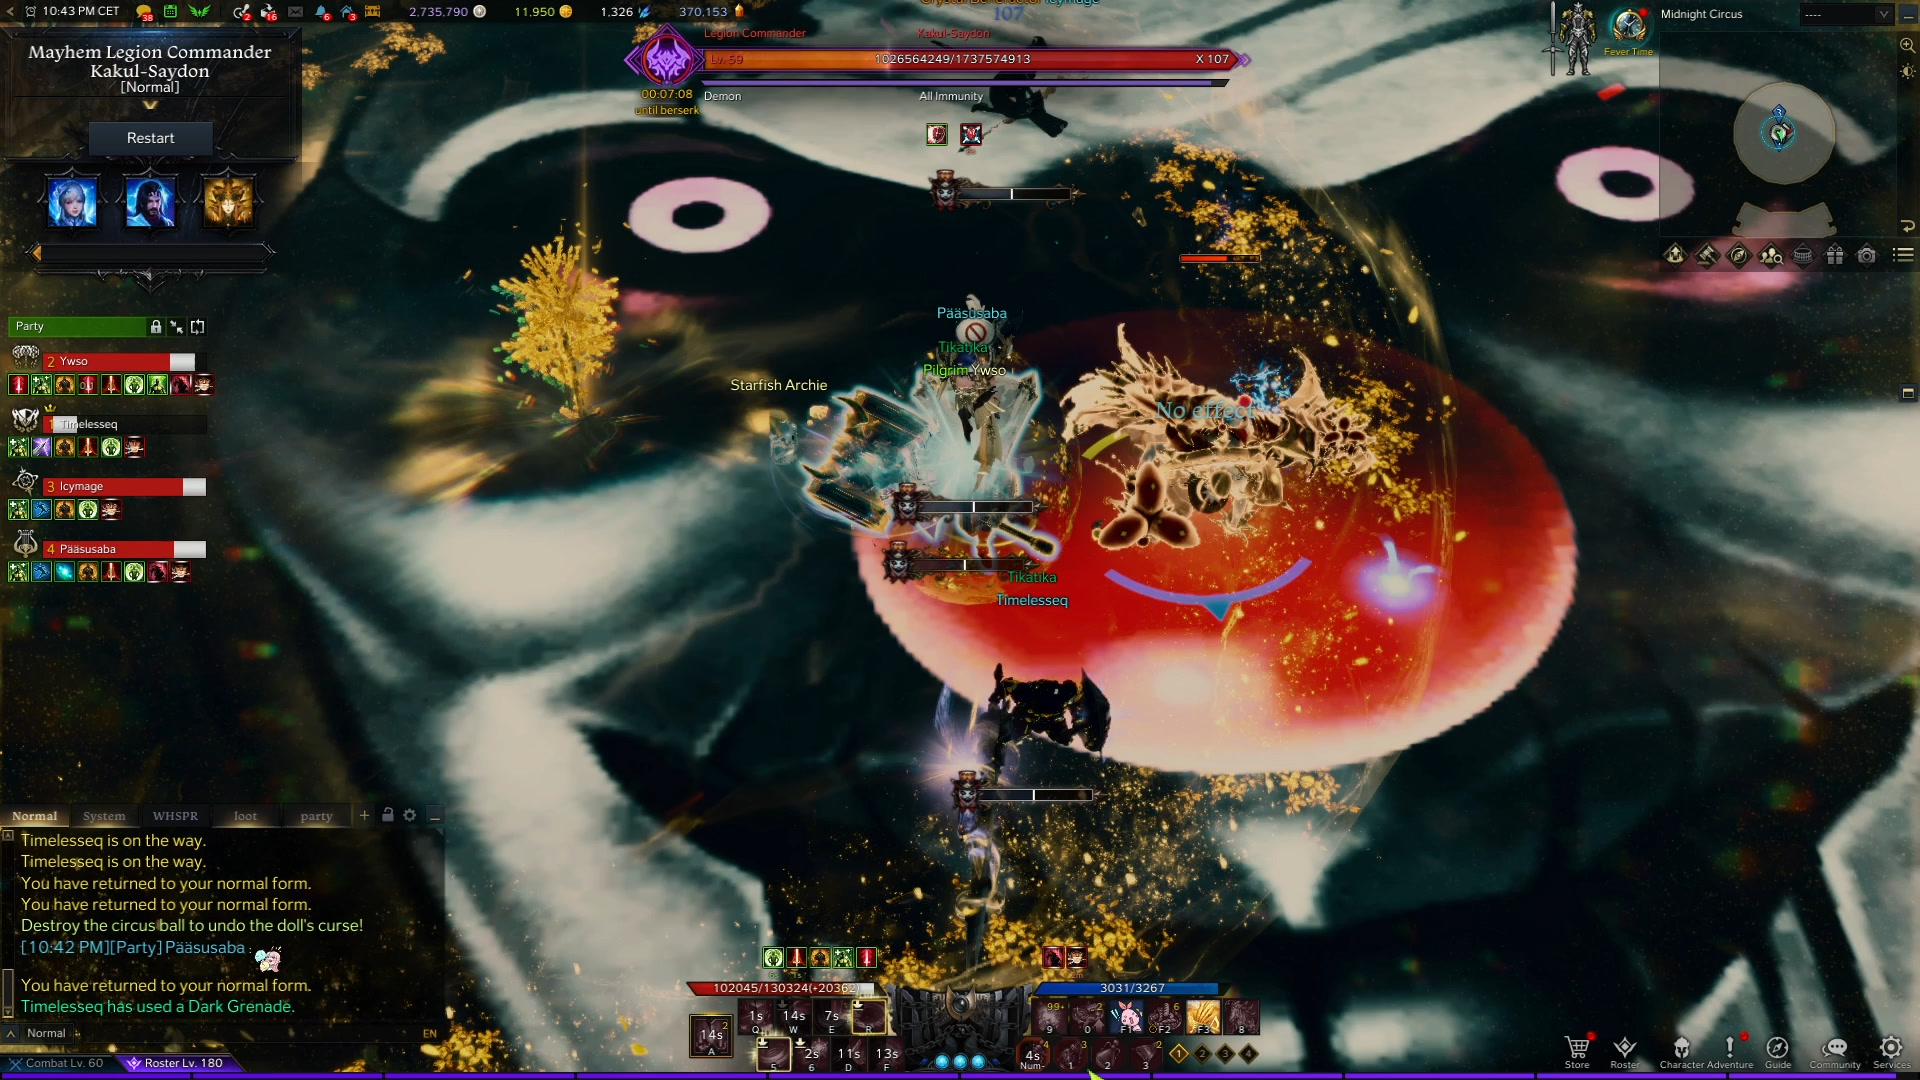
Starting with 180 HP bars, all the way to 0 bars, you will also encounter a variety of other mechanics.The ultimate goal would be to avoid getting clown gauge unless it is your turn to enter a Mario game. Here is a list of possible mechanics:
Statues:

These two statues are immobile and persist until you kill them. While they have a white glow, any player inside them gets clown gauge, so a good way to get some extra if you need it. While they do not have a glow, you may get near them without any harm.
Make sure to only leave them in the room if you need them, otherwise you can destroy them as soon as they spawn because after a while they explode for a lot of damage and have a large explosion range. Clear these up especially before a Mario phase.
HP Swap
If your damage was too low during a specific period of time, party members can get a 15 second debuff, which upon expiration, swaps your missing HP with your current HP. Ideally, you would have very few HP when the buff expires.
A good way to lose HP is to sit on the edge of the room in the moving flame animation.
Rainbows
Kakul goes to the middle of the room and a series of rainbow colored stripes appear. They appear either twice in a row, or four times in a row, in quick succession. There are free spaces in between the rainbow stripes.
Silence Phase
Fire Portals
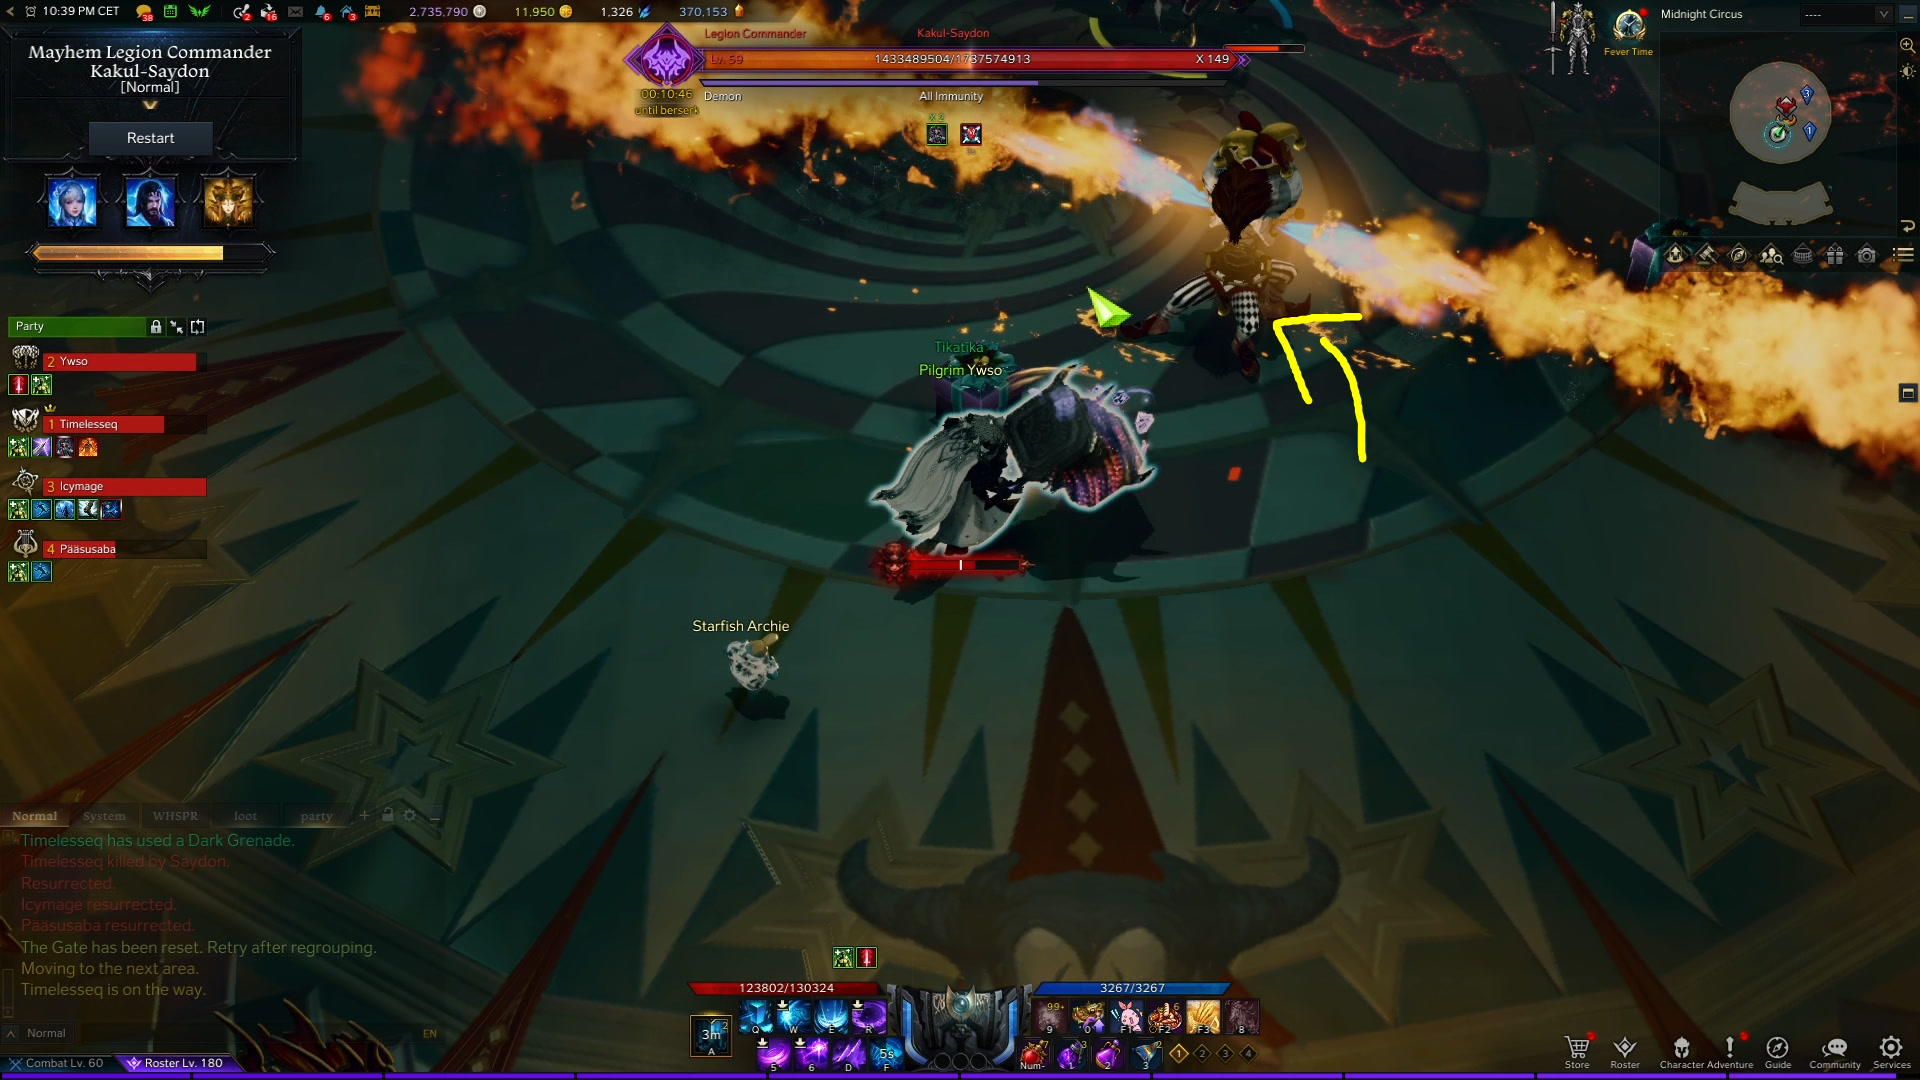
Kakul breathes fire and several other flamethrowers and fire rings appear on the map for a short duration. They are not very harmful but do give you clown gauge and a ticking debuff.

Blue Telegraphs
Kakul disappears and waves of blue telegraphs start appearing on the ground:
Kakul comes crashing down with a three line telegraph, then disappears again to spawn more blue telegraphs.
This happens three times during the same mechanic, only the third time he does a large yellow telegraph with small safe areas in between the pizza slices:
Split
Kakul splits in two and each clone targets one player with a cross shaped telegraph that follows them.
Try to stand still until the telegraph lines turn dark orange and then walk or dash out of it.
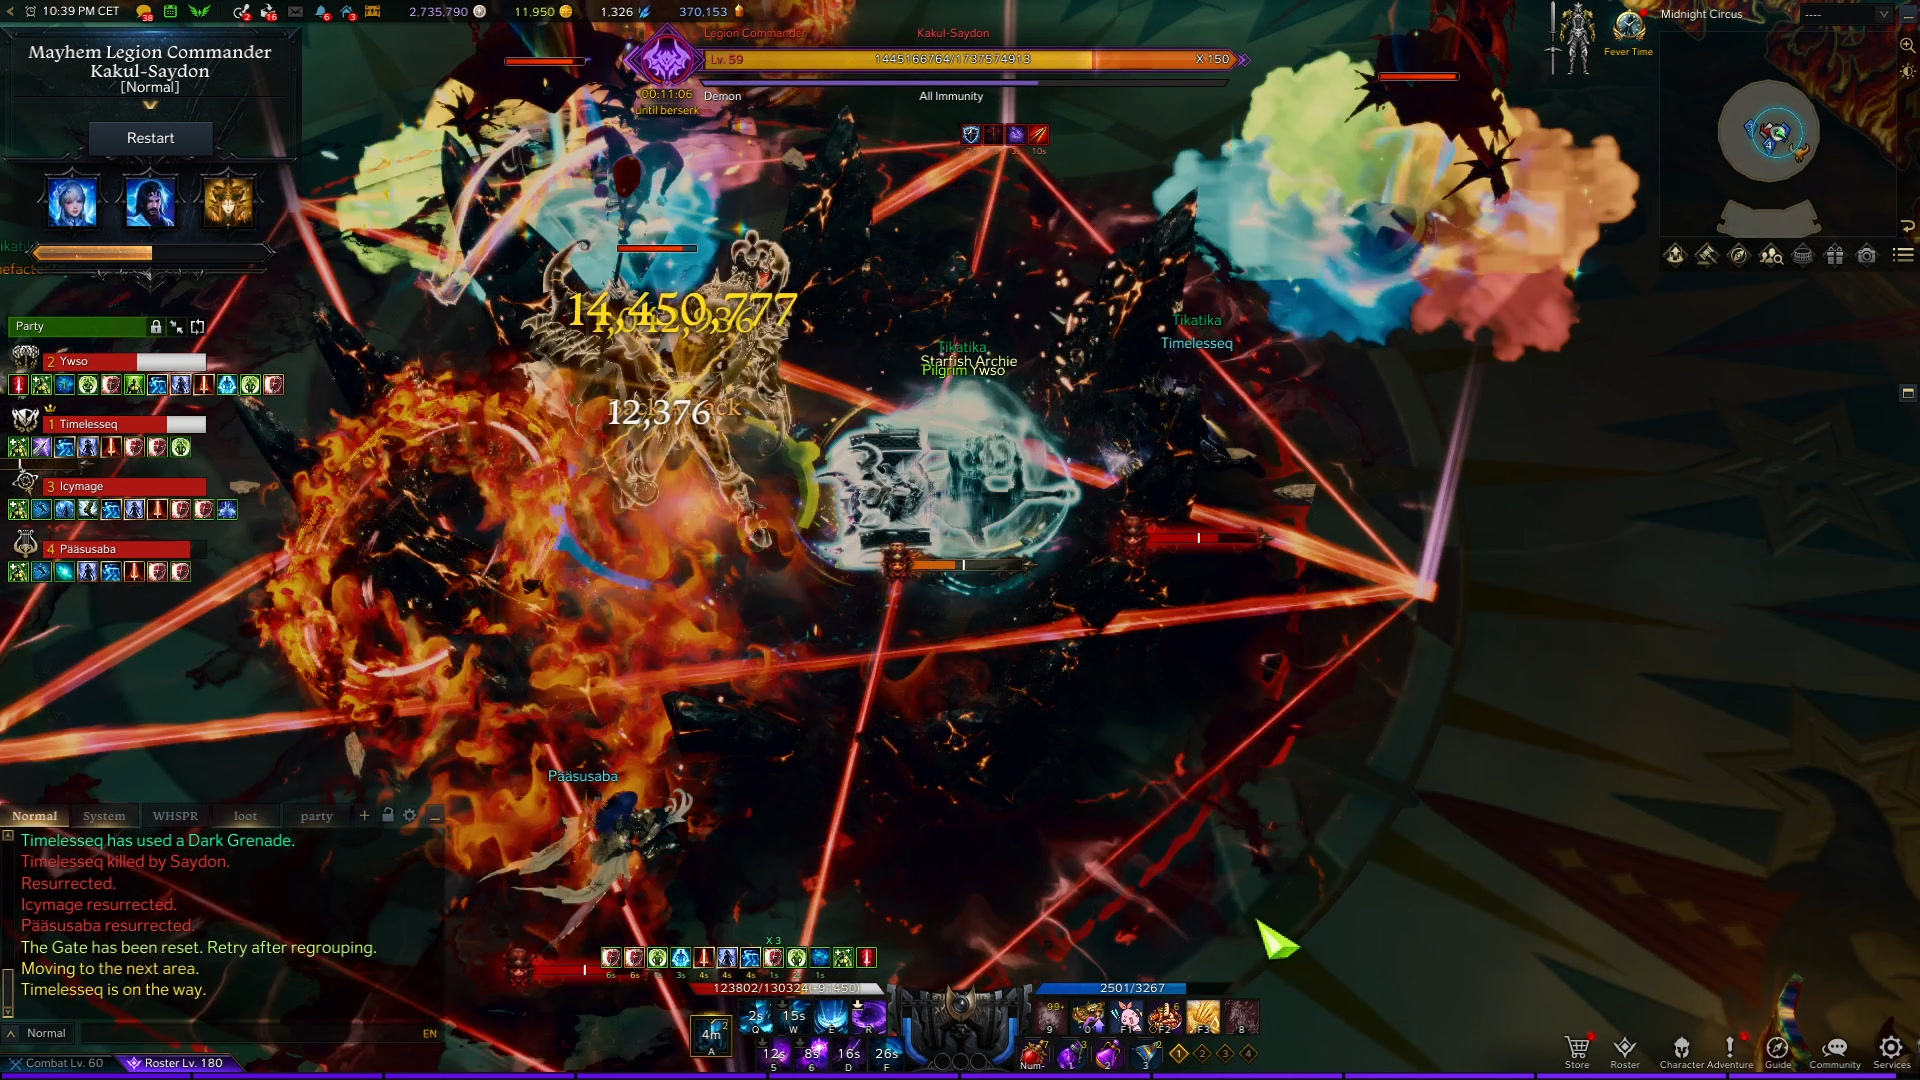
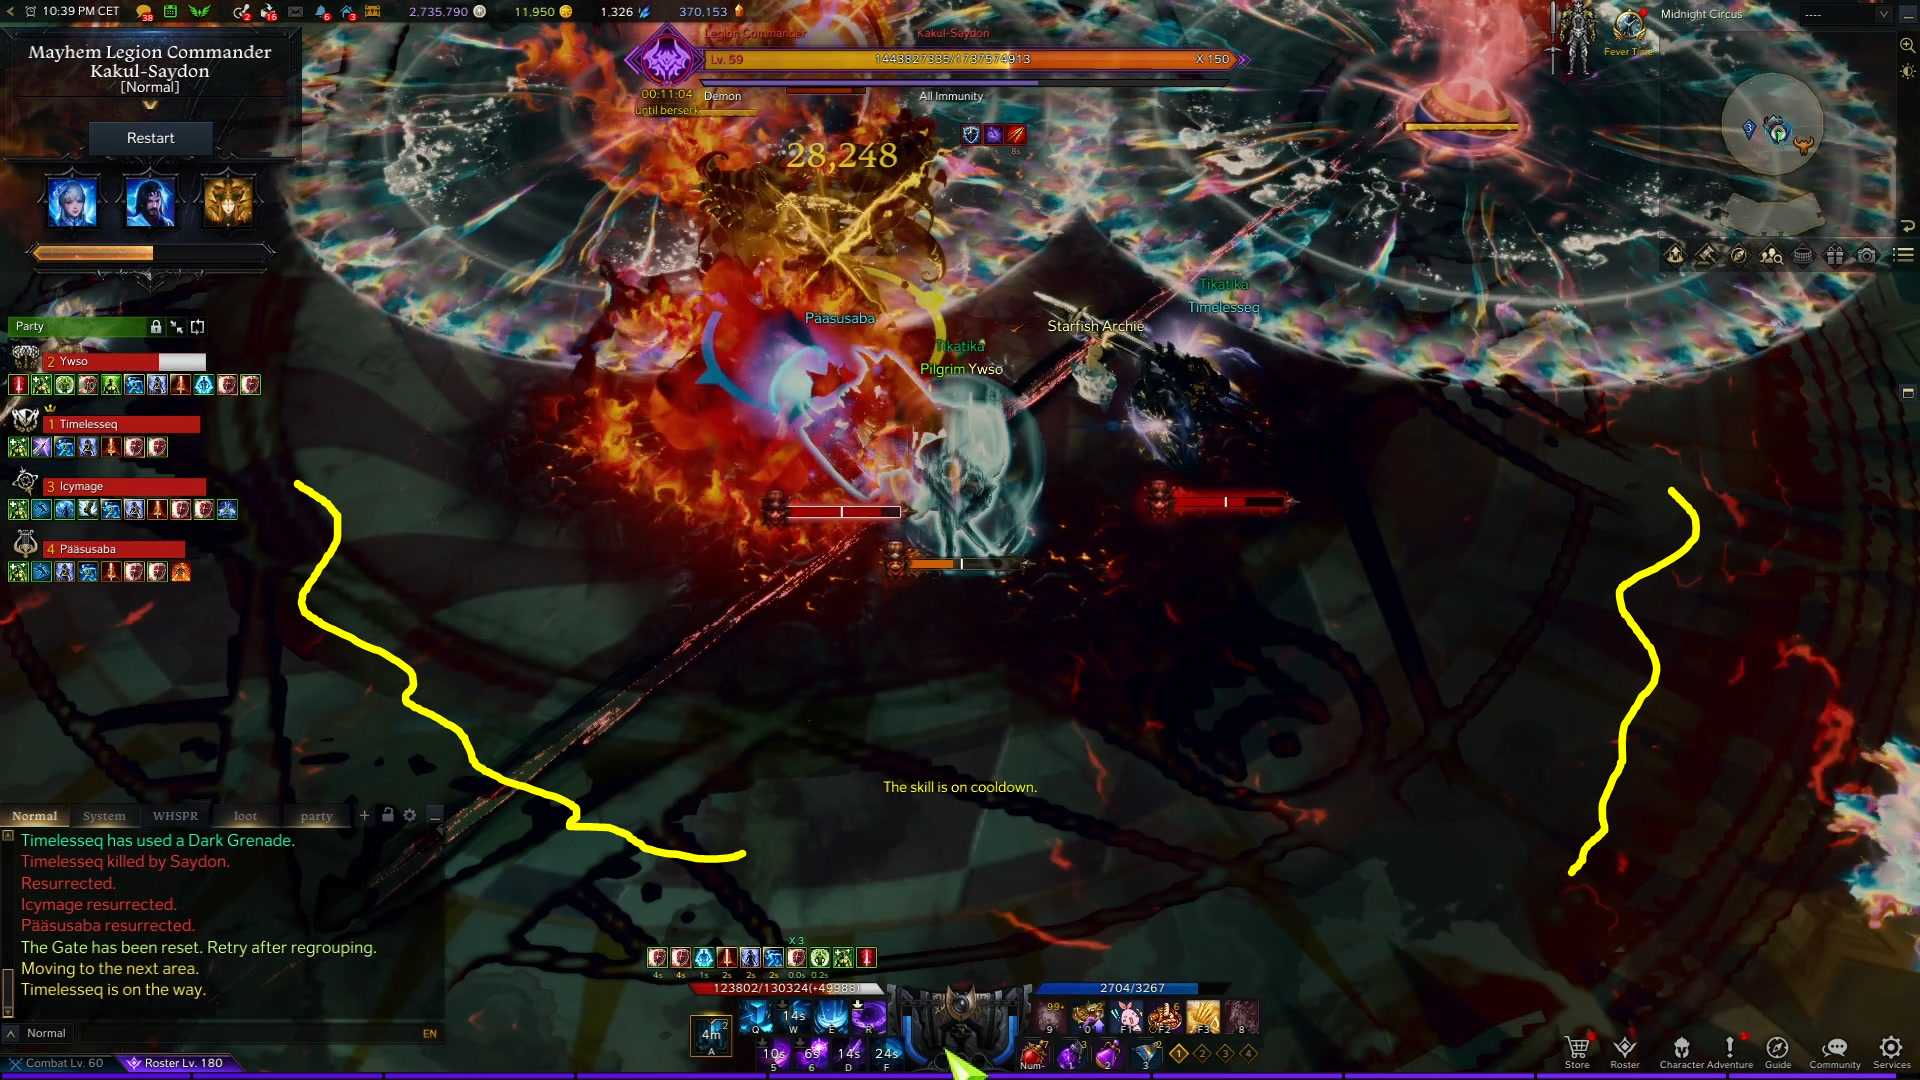
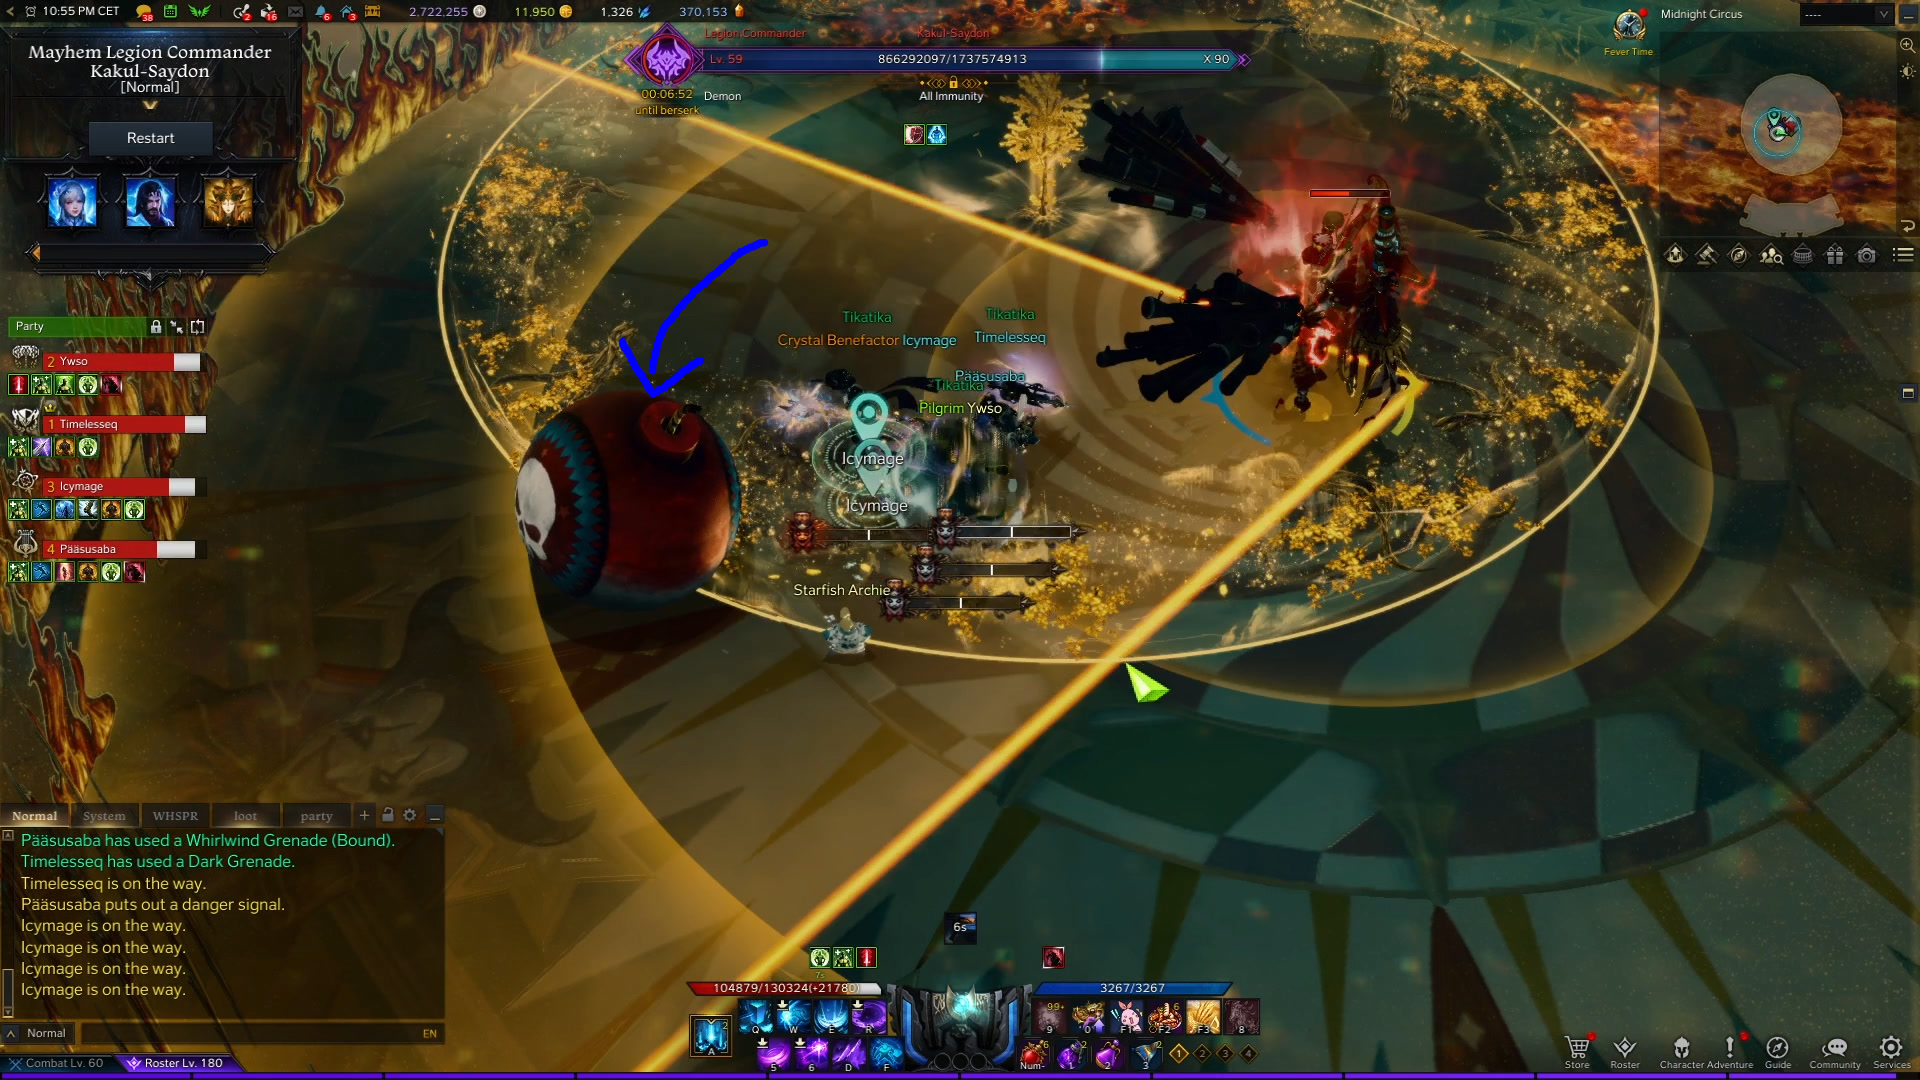
Laser
Kakul begins charging a laser telegraph which spins 180 degrees:
The laser always spins towards the direction of his higher shoulder, because as he is charging it, he leans on the weapon side:
Getting hit by it will stun you for a long time. You can avoid the stun by using skills that give you immunity, but it is easy to visually predict the direction and simply move away.
Changelog
- 03 Oct. 2022: Guide Added