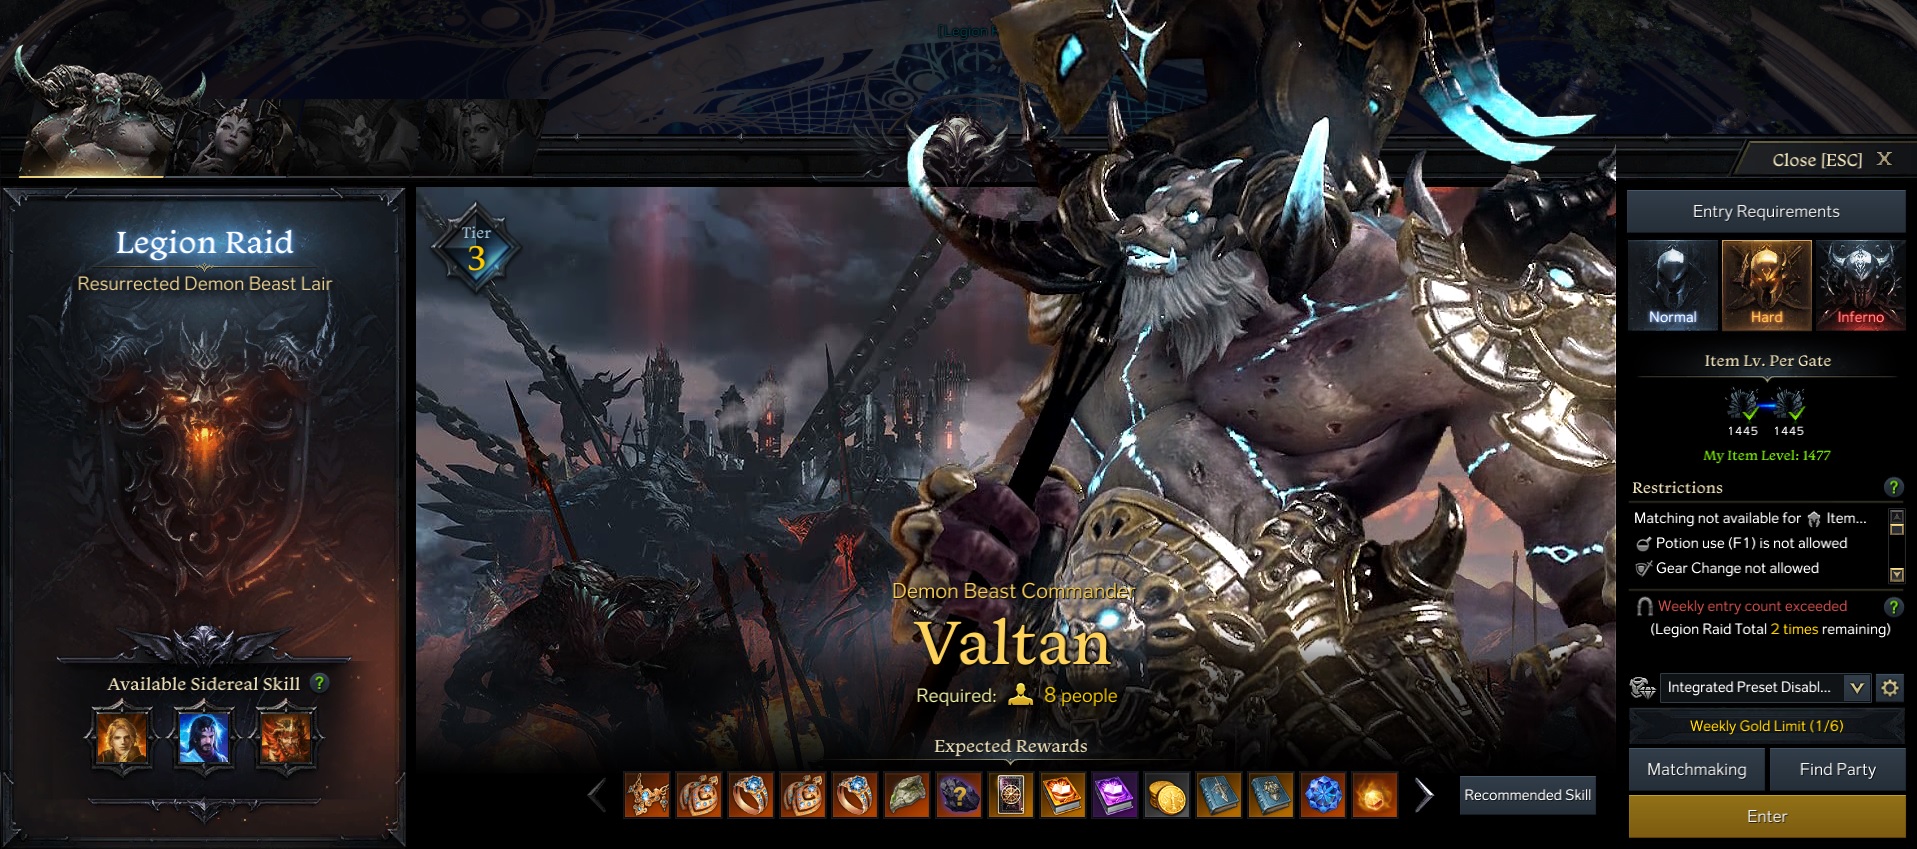
Legion Raid Guide for Valtan Gate 1
Valtan is the first Legion Raid introduced into Lost Ark and comes packed with various mechanics, new features and serves as the entry to an entirely new raid structure. The first gate pits eight players against two wolves. There are two difficulties to pick from, normal at item level 1415 and hard at item level 1445.
Valtan Gate 1 Introduction
Valtan is the very first Legion Raid which players get access to upon reaching item level 1415. Hard mode is accessible at item level 1445. A total of eight players are required to take on the challenge. Legion Raids are separated into something called "gates", which serve as checkpoints. This is a weekly entry similar to Argos other weekly content. Clearing each gate rewards the players with materials, gold and accessories.
Clearing a gate allows you and your party to step out, change setups or even bring other players into the second gate. Changing difficulties is also an option. The highest rewards are earned in hard.
Valtan Gate 1 Overview
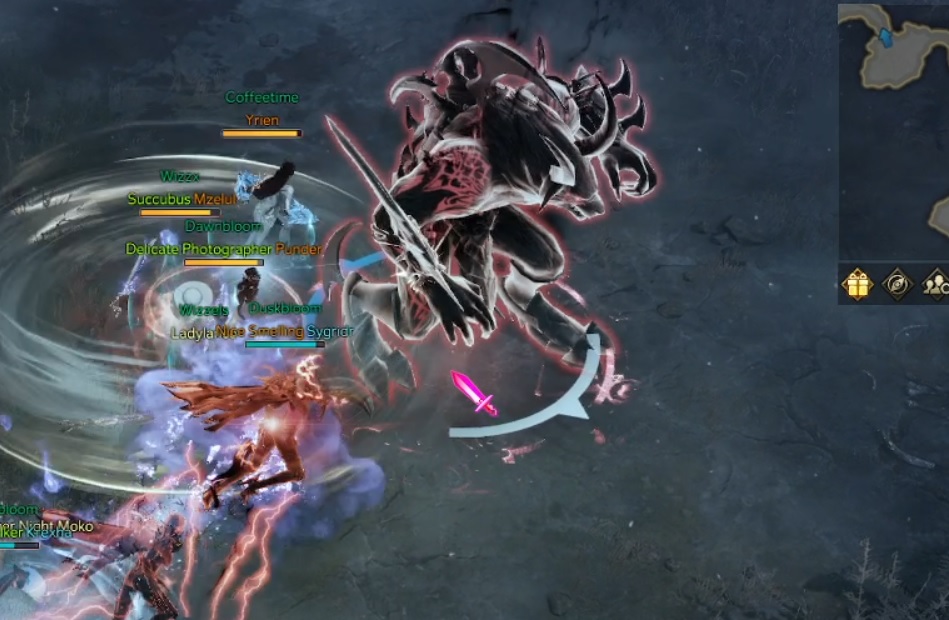
The first gate pits you against the Dark Mountain Predator, a purple wolf. He will split into a red and blue version throughout the fight, leaving you to fight both at times. There are two main mechanics in this fight which will be discussed in more detail down below.
The fight starts off with the purple version and 50 HP bars. The first transition starts at 46-45 bars (depending on your damage output.) Afterwards you will face the red version with a slightly changed moveset. The appearance of the second wolf will vary greatly depending on your overall DPS. The wolves need to be separated to avoid a damage reduction buff on them. You will encounter the second main mechanic at 30 and 15 HP bars, which is a stagger check combined with an orb pickup. Red and blue will change after the first successful stagger mechanic, introducing different attacks again. Finally, after clearing the second stagger, you will face the purple version again which now combines all attacks. Deplete the remaining HP and Gate 1 will be cleared.
Valtan Gate 1 Battle Items
Preparation is key, just like bringing the right items. While this encounter is not too mechanically demanding, you want to bring the right items to help yourself and your party.
Recommended battle items are:
- Whirlwind Grenade
 for the mechanics at 30 and 15 HP bars.
 - Panacea
 to cleanse the bleed on yourself.
 - Sacred Charm
 to cleanse the bleed of others.
Optional battle items are:
- Dark Grenade
- Flame Grenade
- Campfire

Valtan Gate 1 Mechanics
The two main mechanics will be explained in the following paragraphs. Note that some are not strictly bound to HP thresholds, so your own raid experience may differ. This is due to different damage outputs and player skill in each run.
Red and Blue Wolf
Once the Predator reaches 46 - 45 HP bars, he will move to the center and transition to the red version. A common spot to wait the transition out is the far west edge of the arena.
The red wolf is able to apply bleed stacks with some of his attacks, so make sure your cleanse is available or bring battle items accordingly, as the bleed damage can rack up quickly.
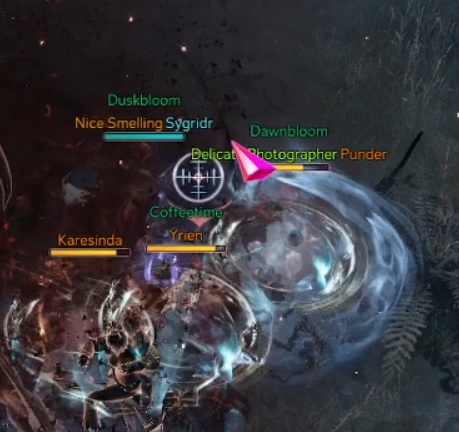
The next step will start once the blue wolf enters the arena. Four players will now get a buff which allows them to deal damage to the blue wolf, the other four players will keep attacking the red one. This is party independant, so check your buff bar. The two wolves need to be separated to avoid a damage reduction buff. A common practice is to move one party to the top, the other to the bottom, alternatively go left and right. Two players will also be marked with a crosshair above their heads, blue and red respectively. The bosses will target those players specifically, so they can easily move the boss around.
This mechanic will repeat itself just with inversed colors after successfuly completing another mechanic.
The blue wolf will disappear after enough time has passed or when reaching 30 HP bars which triggers the next mechanic.
Stagger Check and Orbs
This mechanic will appear twice, once at 30 and again at 15 HP bars, the execution is identical.
A common way to clear this mechanic is to use the Sidereal Wei to deplete most of the stagger bar.
The non-sidereal option is to throw Whirlwind Grenades![]() and
the use of stagger skills. You will also
encounter eight orbs while the stagger check is happening. Taking them in wrong order will result in
a wipe, so players need to be cautious about their positions.
and
the use of stagger skills. You will also
encounter eight orbs while the stagger check is happening. Taking them in wrong order will result in
a wipe, so players need to be cautious about their positions.
Sidereal Wei Cheese
Often also referred to as the cheesy method, using Wei allows for an easy stagger check if done right. The raid leader should stand at the bottom of the boss to make sure that all eight orbs are following him. Wei can be used before the orbs appear, and once aggro is established, should be moved to the top of the arena so that the remaining party members can finish the remaining stagger bar with attacks and items. The orbs will disappear after a while, just make sure to avoid them until they vanish.
Regular Stagger and Orbs
It is highly advised to establish the positions beforehand if Wei is not to be used or not available. The following image shows the positions players should take, including a number in which order the orbs should be taken. The order is an example, though this is the commonly used method.
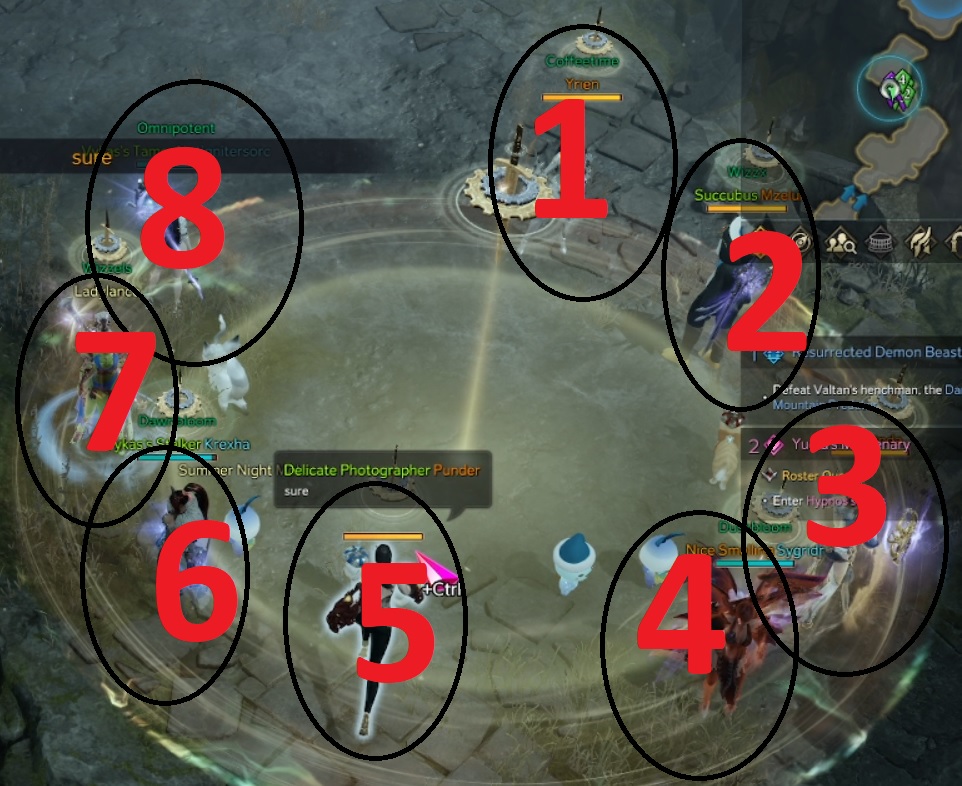
All players should throw their Whirlwind Grenades ![]() immediately
after the staggerbar appeared.
immediately
after the staggerbar appeared.
Second Stagger Follow-up
The boss will transform back to the purple version after successfully completing the second stagger check. Positioning yourself and your party at the bottom edge allows you to avoid the upcoming AoE and damage.
Valtan Gate 1 Attacks
The following paragraph highlights important and dangerous attacks to look out for.
Teleport with AoE follow-up
One of the most common attacks which can be easily recognized. The boss vanishes and reappears a few moments later at a different location. The follow-up spin does knock players up, so it is highly advised to stand back after he reappears to avoid being hit.
Bloody Lines
One of the more dangerous moves, the lines do not only cover alot of ground but also apply a stacking bleed upon hit, so make sure to avoid those hits. The first set of lines is announced with a roar and then indicated by the red markers on the ground. The follow-up starts at the center of the boss and then expands outwards in sets of two lines. The hitbox of the follow-up attack can be tricky, caution is advised when trying to step through them.
Tornado
The tornado forces the players to move around two stationary tornados while avoiding the moving wolf. While not particularly hard, the damage can rack up quickly. Make sure to get enough space between you and the boss and make sure to not touch the inner or outer boundaries.
Orb Explosions
The boss starts glowing and remains stationary while summoning small orbs on the ground that indicate the location of the explosion. Avoid those by moving out of the way. If you are comfortable, feel free to continue attacking the boss, as the patterns are random and there may be safe zones close to the boss.
Elemental Spin
The boss can build up a projectile attack with three different elements. Spotting this attack can be done by checking the arm and recognizing a glow in a specific color. Once filled, the boss will do a spinning attack, throwing out a timed explosion at each players location. The blue version freezes players and forks into multiple new projectiles upon hitting a player. The green darts create an expanding explosion. The red darts creates one large explosion. Stacking players prior to this attack will make all darts land in the same location, making dodging alot easier.
Valtan Gate 1 Rewards
Clearing the gate rewards you with materials, accessories, as well as gold. You also have the option to purchase an additional material reward with gold, which in return grants you more materials and accessories. This chest is useful if your character is new and you are trying to build any of the artifact sets quickly. After your character has all the items crafted, buying the chest depends on your personal goals. Check the market for prices and decide for yourself if the chest still holds enough value or if raw gold may be the better option for you.
Changelog
- 10 Sep. 2022: Guide Added