Legion Raid Guide for Vykas Gate 1
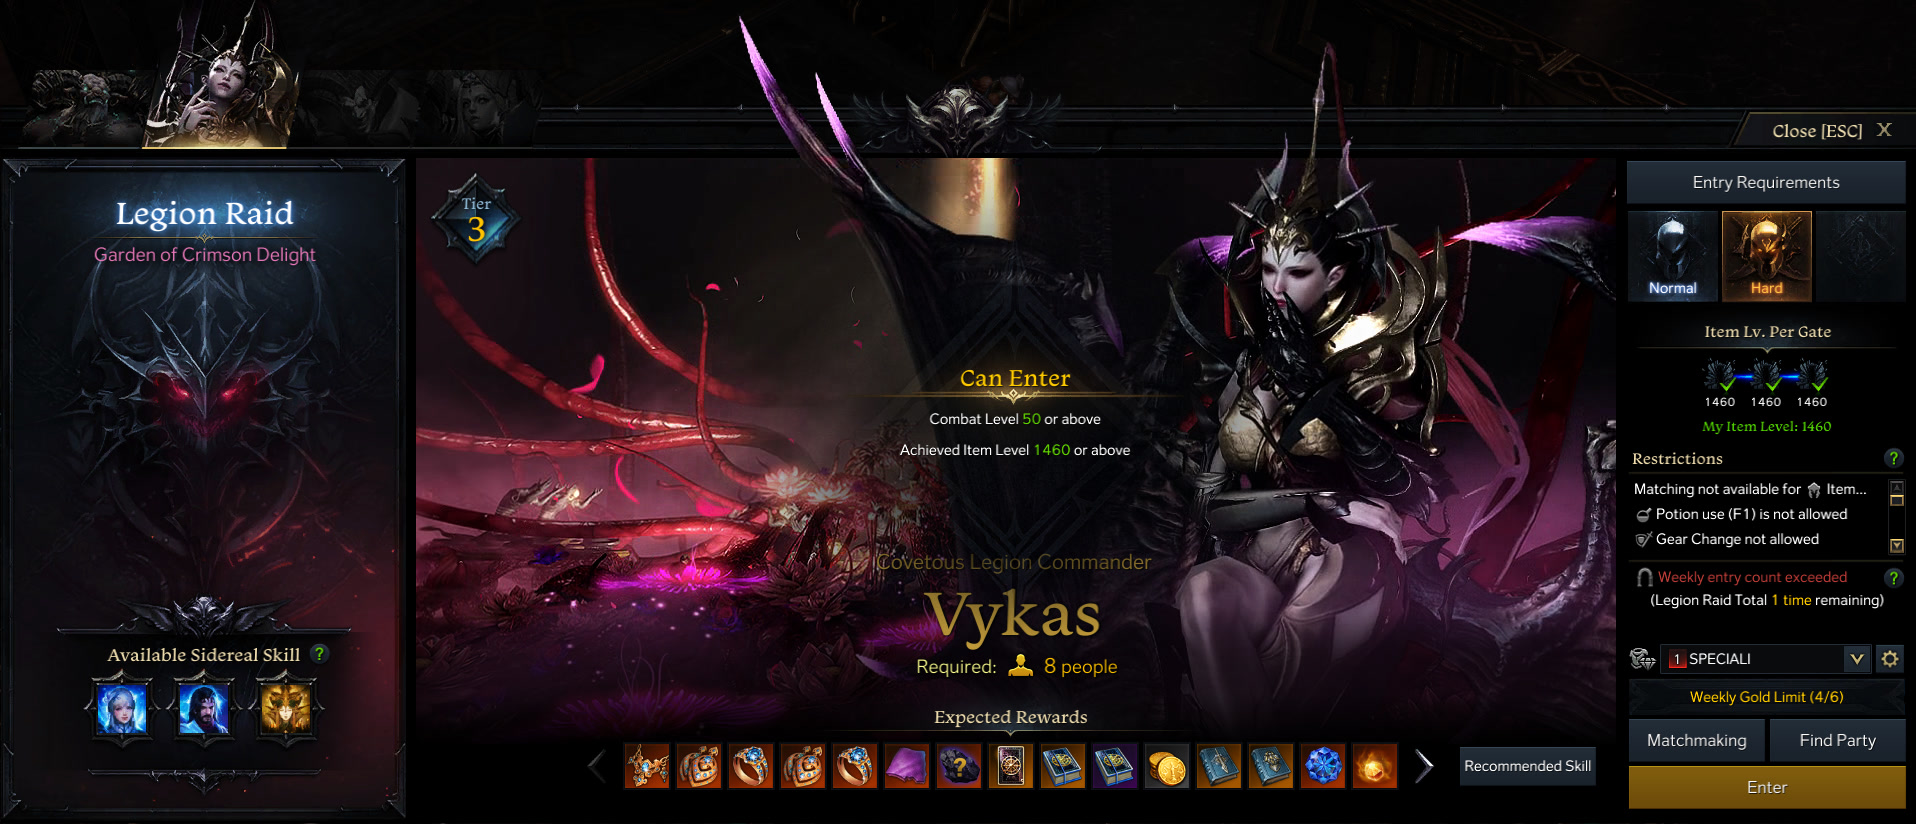
Vykas Gate 1 is the first encounter players face as part of an eight man Legion Raid. Vykas comes in two difficulties, Normal and Hard, which can be accessed upon achieving ilevel 1430 and 1460, respectively.
Vykas Raid Structure
Vykas has three gates, each of them requiring eight players and an item level of 1430 for normal mode, or 1460 for hard mode. This is a weekly cooldown content and the entry count resets every Wednesday.
As with all other Legion Raids, your progress is saved after completing a gate, so you can stop the run and re-enter at a later time, continuing from the gate you were left off at.
Assuming you have the item level required, you can also mix and match the difficulty of the gates, as you can choose to do one in hard mode and the other two in normal mode, or vice versa.
Party Setup
As with all other harder difficulty content, having a Bard or a Paladin makes things smoother.
For normal mode, you do not need any support classes as long as the group performs each mechanic perfectly.
For hard mode, a support class in each group is a great addition, especially during Gate 3 where there is a higher chance that a few mechanics, such as the typing test, can have mistakes where a support can carry through use of their Awakening skills.
As for DPS synergies, anything goes. Crit synergies are always great (Gunslinger, Deadeye, Arcanist), but my recommendation is to get at least one class with a Stagger buff such as Scrapper, Artillerist, or Destroyer, as it might prove to be useful during Gate 1 and Gate 3.
Vykas Gate 1 Overview
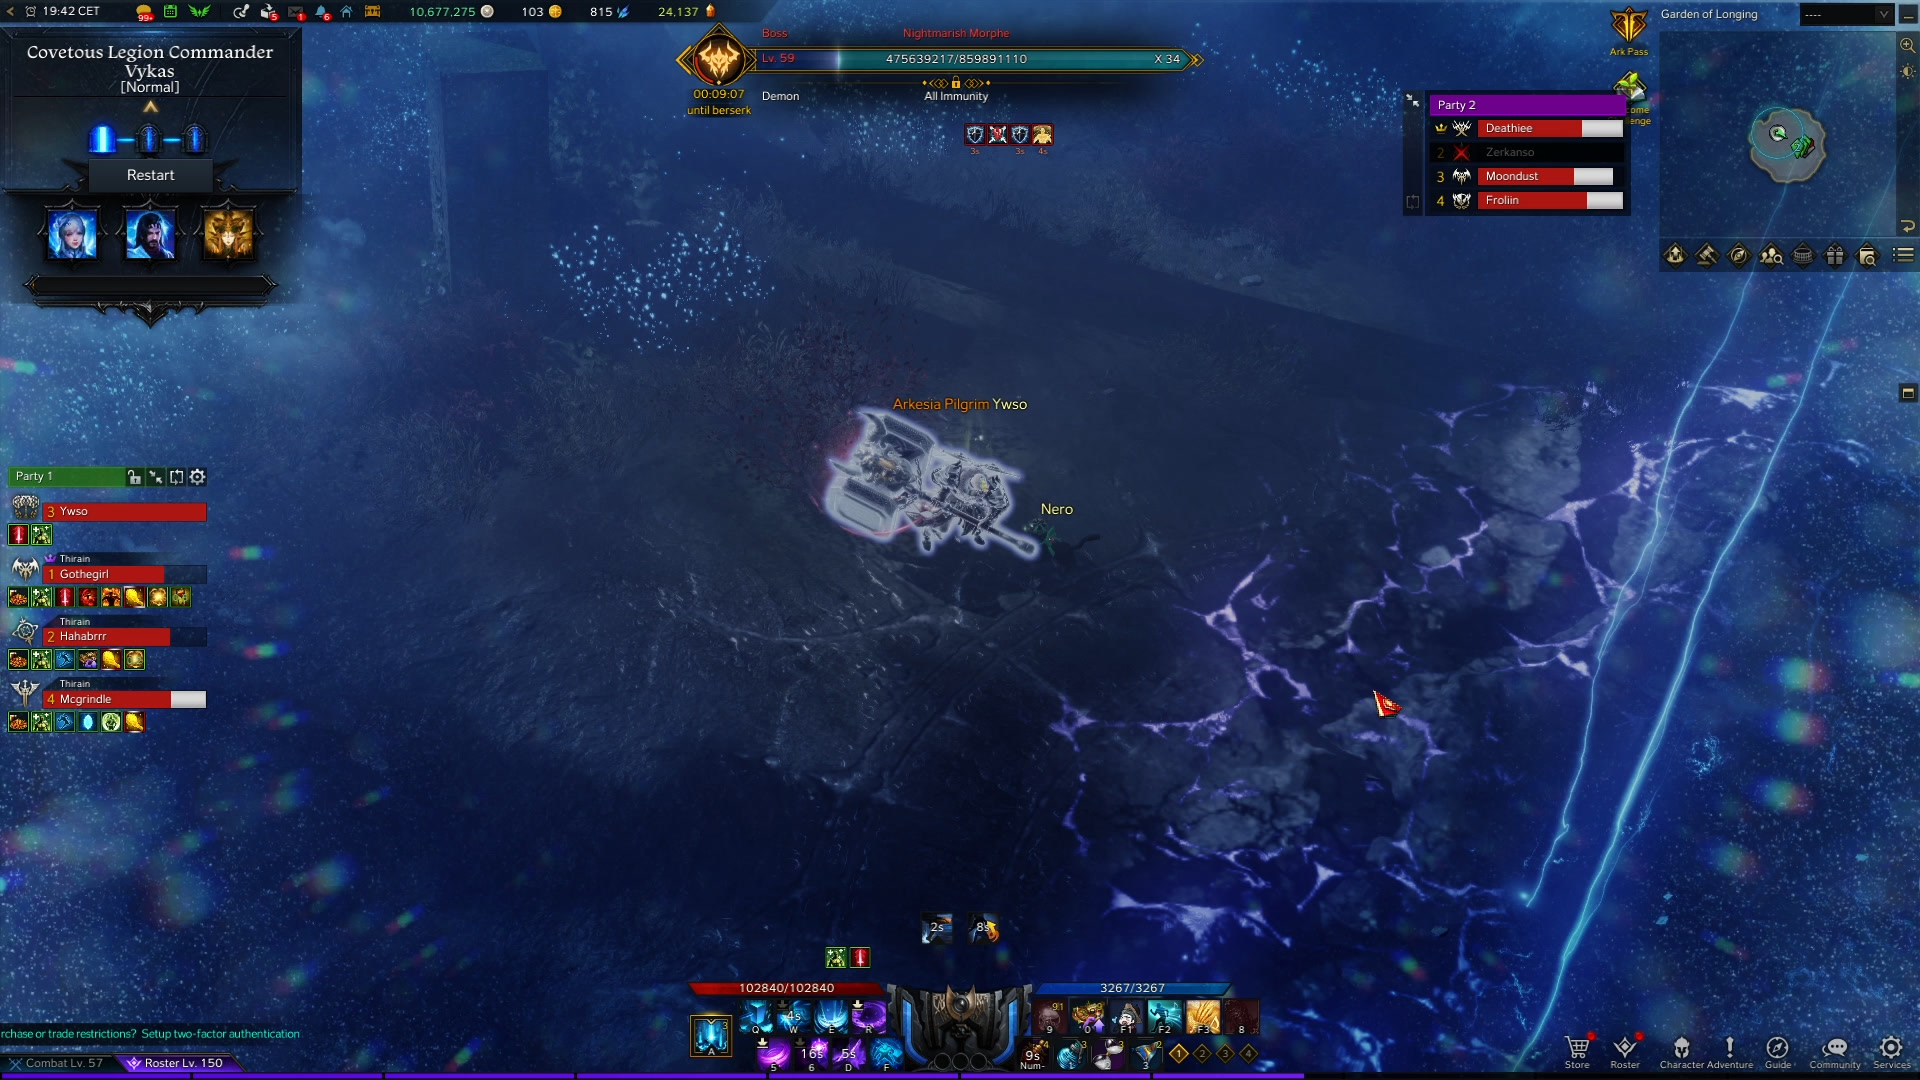
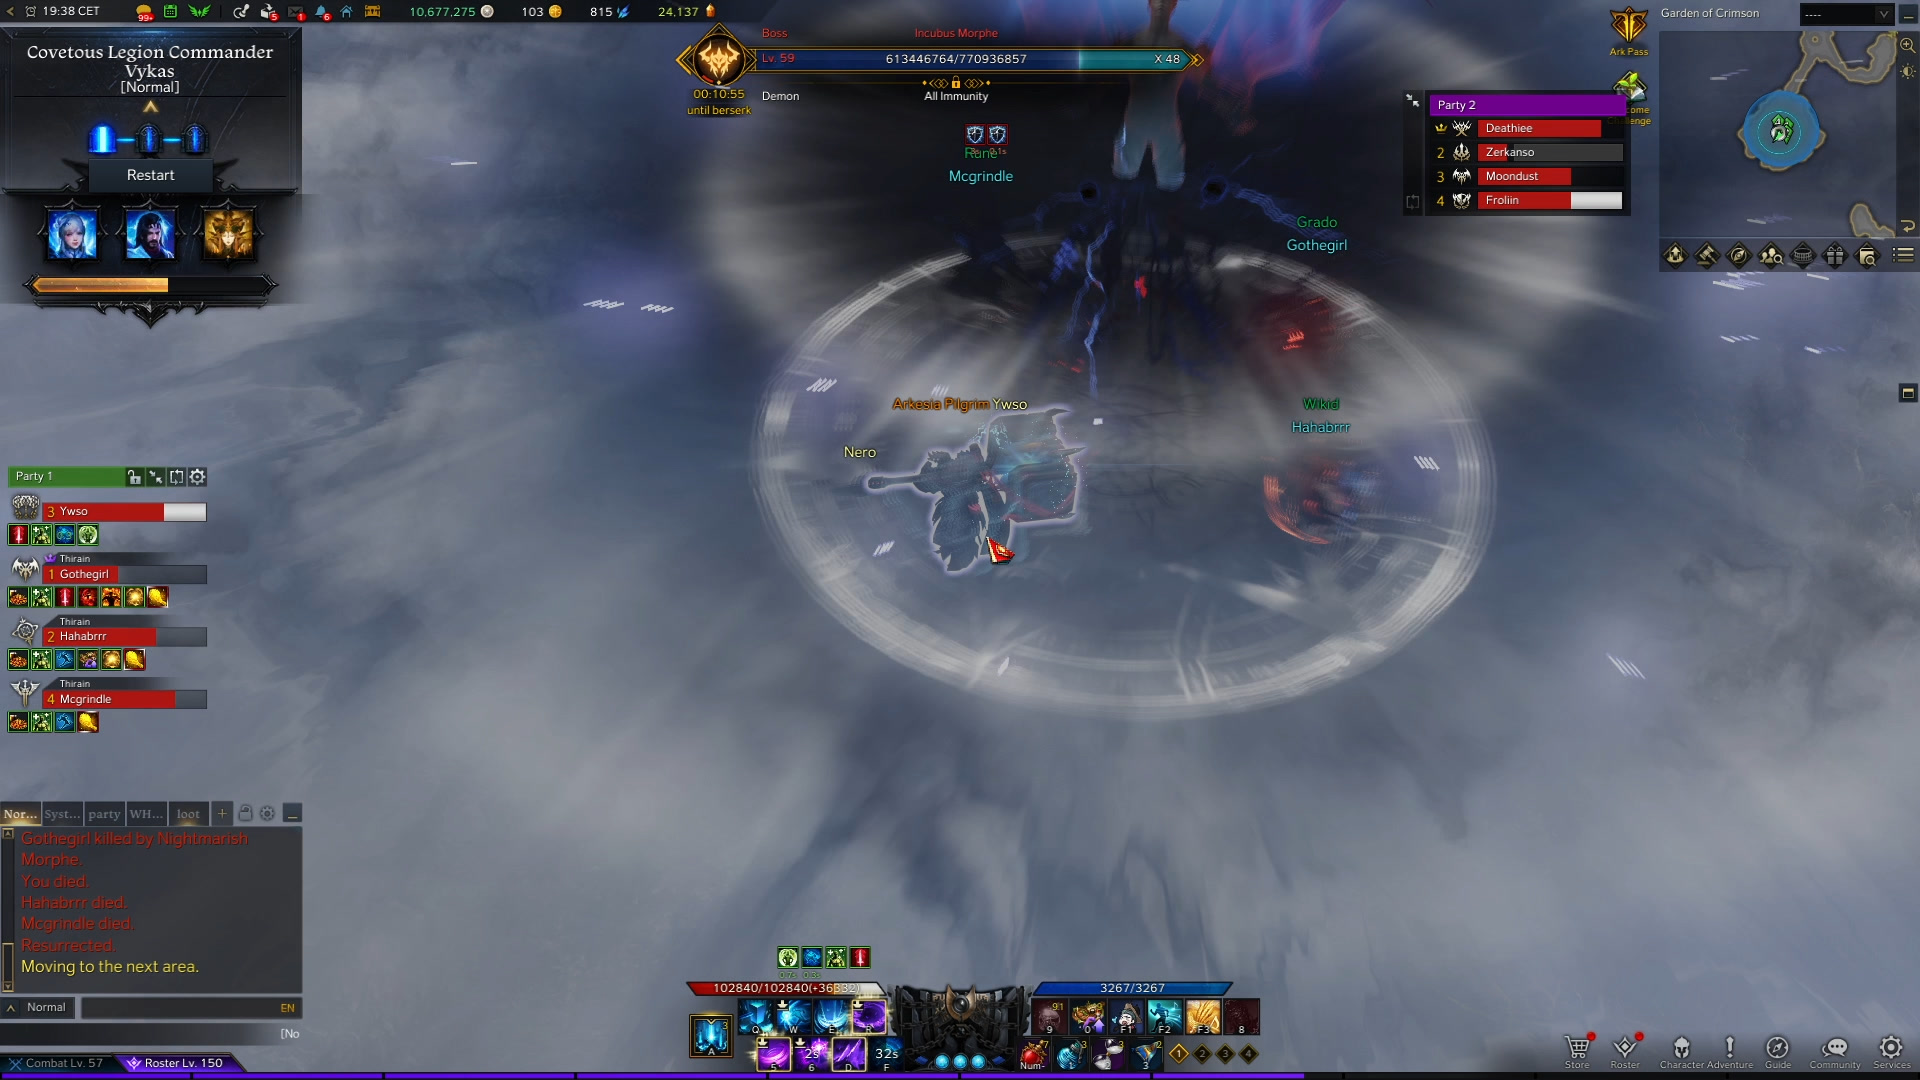
During Gate 1, we will be fighting the Nightmare Morphe and the Incubus Morphe.
For the first 5 bars of health, both parties are together, fighting the Incubus Morphe, after which, each party gets teleported to fight one of the two bosses until the party swap at 30 bars on each side.
The suggested battle items for Vykas Gate 1 is listed below:
- Useful battle items are Time Stop Potions, Whirlwind Grenades, and the Swiftness Robe or Marching Flag.
Upon completing Gate 1, you will be presented with specific loot depending on whether you have done the fight on normal or hard mode:
- Normal Mode Gate 1 rewards
- One Relic Accessory
- Two Covetous Fangs (Legendary Material)
- One Covetous Wing (Relic Material)
- 500 Gold
- Hard Mode Gate 1 rewards
- One Relic Accessory
- Two Covetous Wings (Relic Material)
- 1,000 Gold
The bonus chests from each difficulty are listed below:
- Normal Mode gate 1 Bonus Chest (Costs 400 Gold)
- One Relic Accessory
- Two Covetous Fangs (Legendary Material)
- One Covetous Wing (Relic Material)
- 300 Guardian Stone Crystals
- 150 Destruction Stone Crystals
- 480 Honor Shards
- Six Great Honor Leapstones
- Hard Mode Gate 1 Bonus Chest (Costs 700 Gold)
- One Relic Accessory
- Two Covetous Wings (Relic Material)
- 480 Guardian Stone Crystals
- 240 Destruction Stone Crystals
- 1,200 Honor Shards
- 10 Great Honor Leapstones
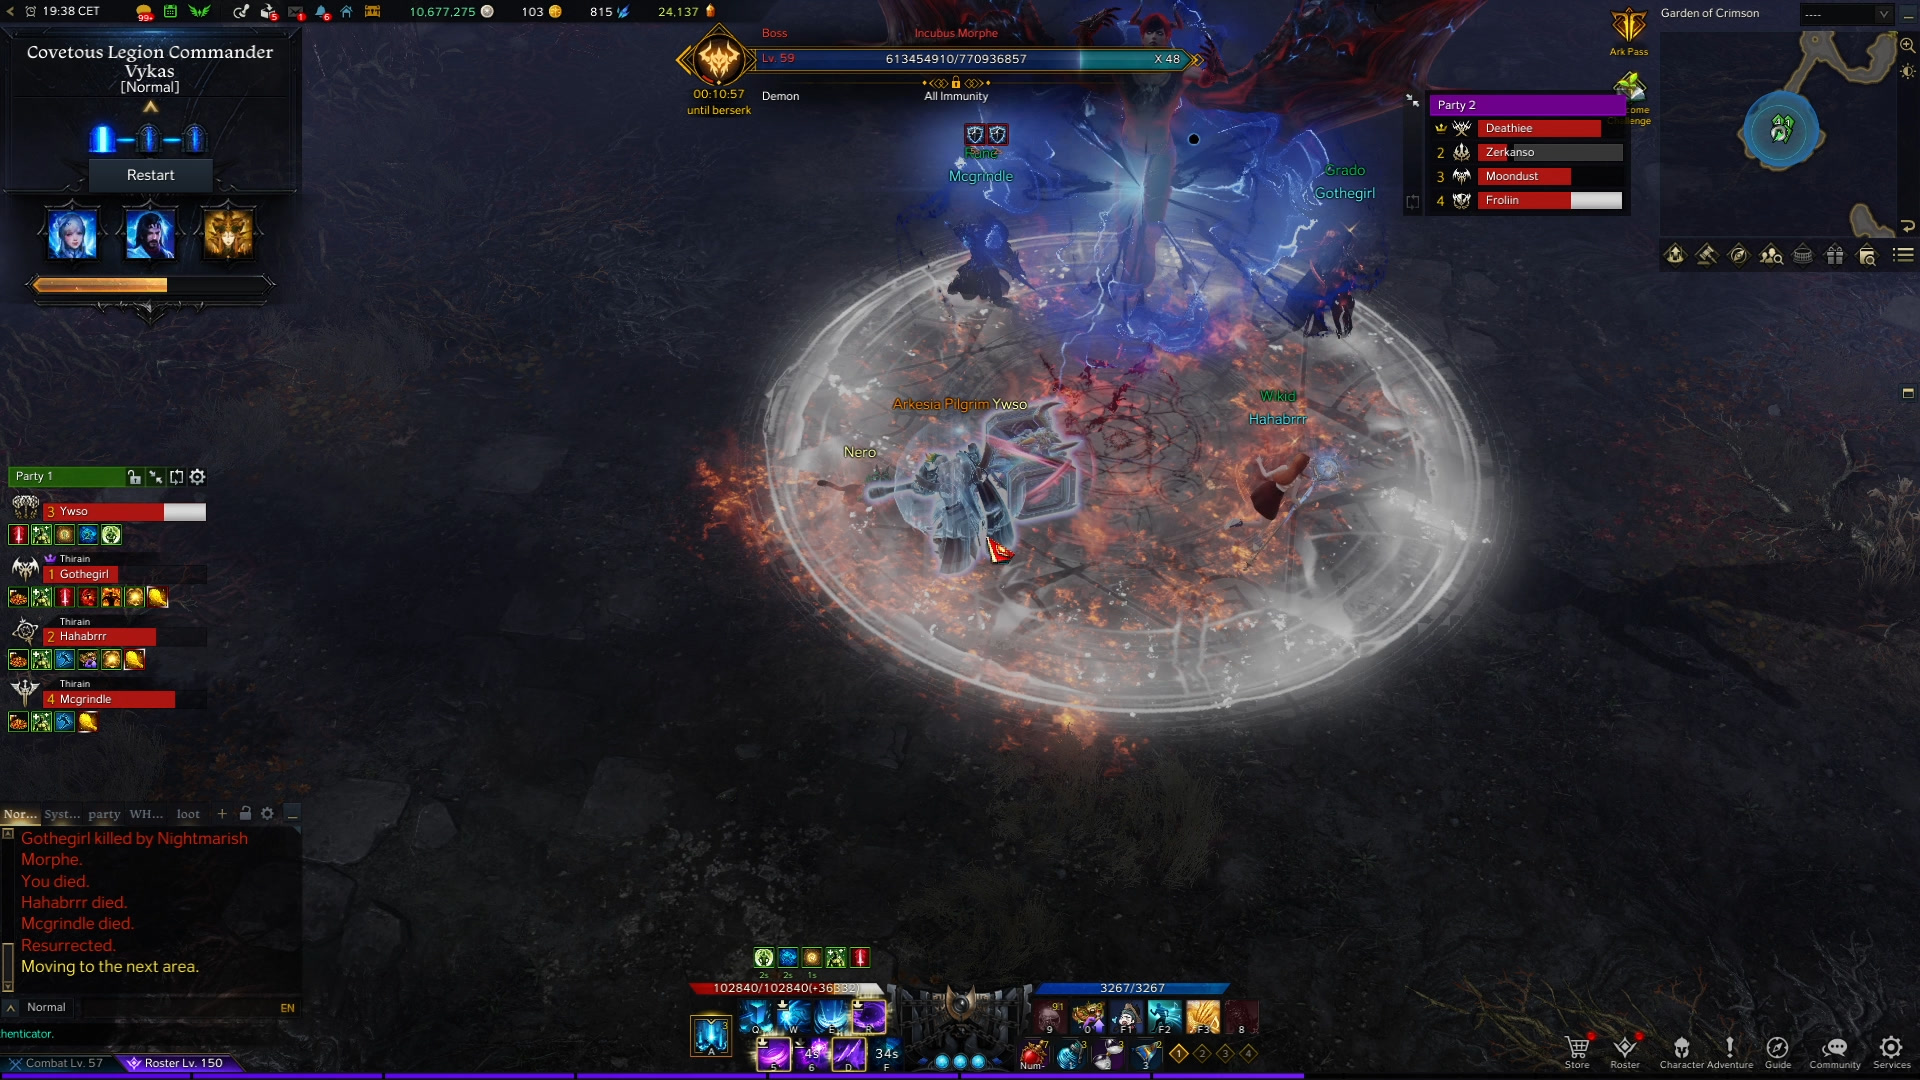
Note: If a mechanic is scripted to happen at specific health thresholds, it will be listed under the description of that mechanic. Depending on the damage of the group it is possible to push Vykas lower before the mechanic happens.
Pre-fight Preparation / Positioning
There are two mechanics that require player positioning, Portals and Memory game.
Prior to the fight starting, assign one player from each group to 11 o’clock, 1 o’clock, 5 o’clock and 7 o’clock.
Major Vykas Gate 1 Mechanics
During Gate 1, the two groups of players get randomly teleported to one of the two bosses:
- Nightmarish Morphe, where the room has a blue tint to it and the telegraphs are a blue-ish purple.
- Or the Incubus Morphe, where the room has no color tint and the telegraphs are mostly red.
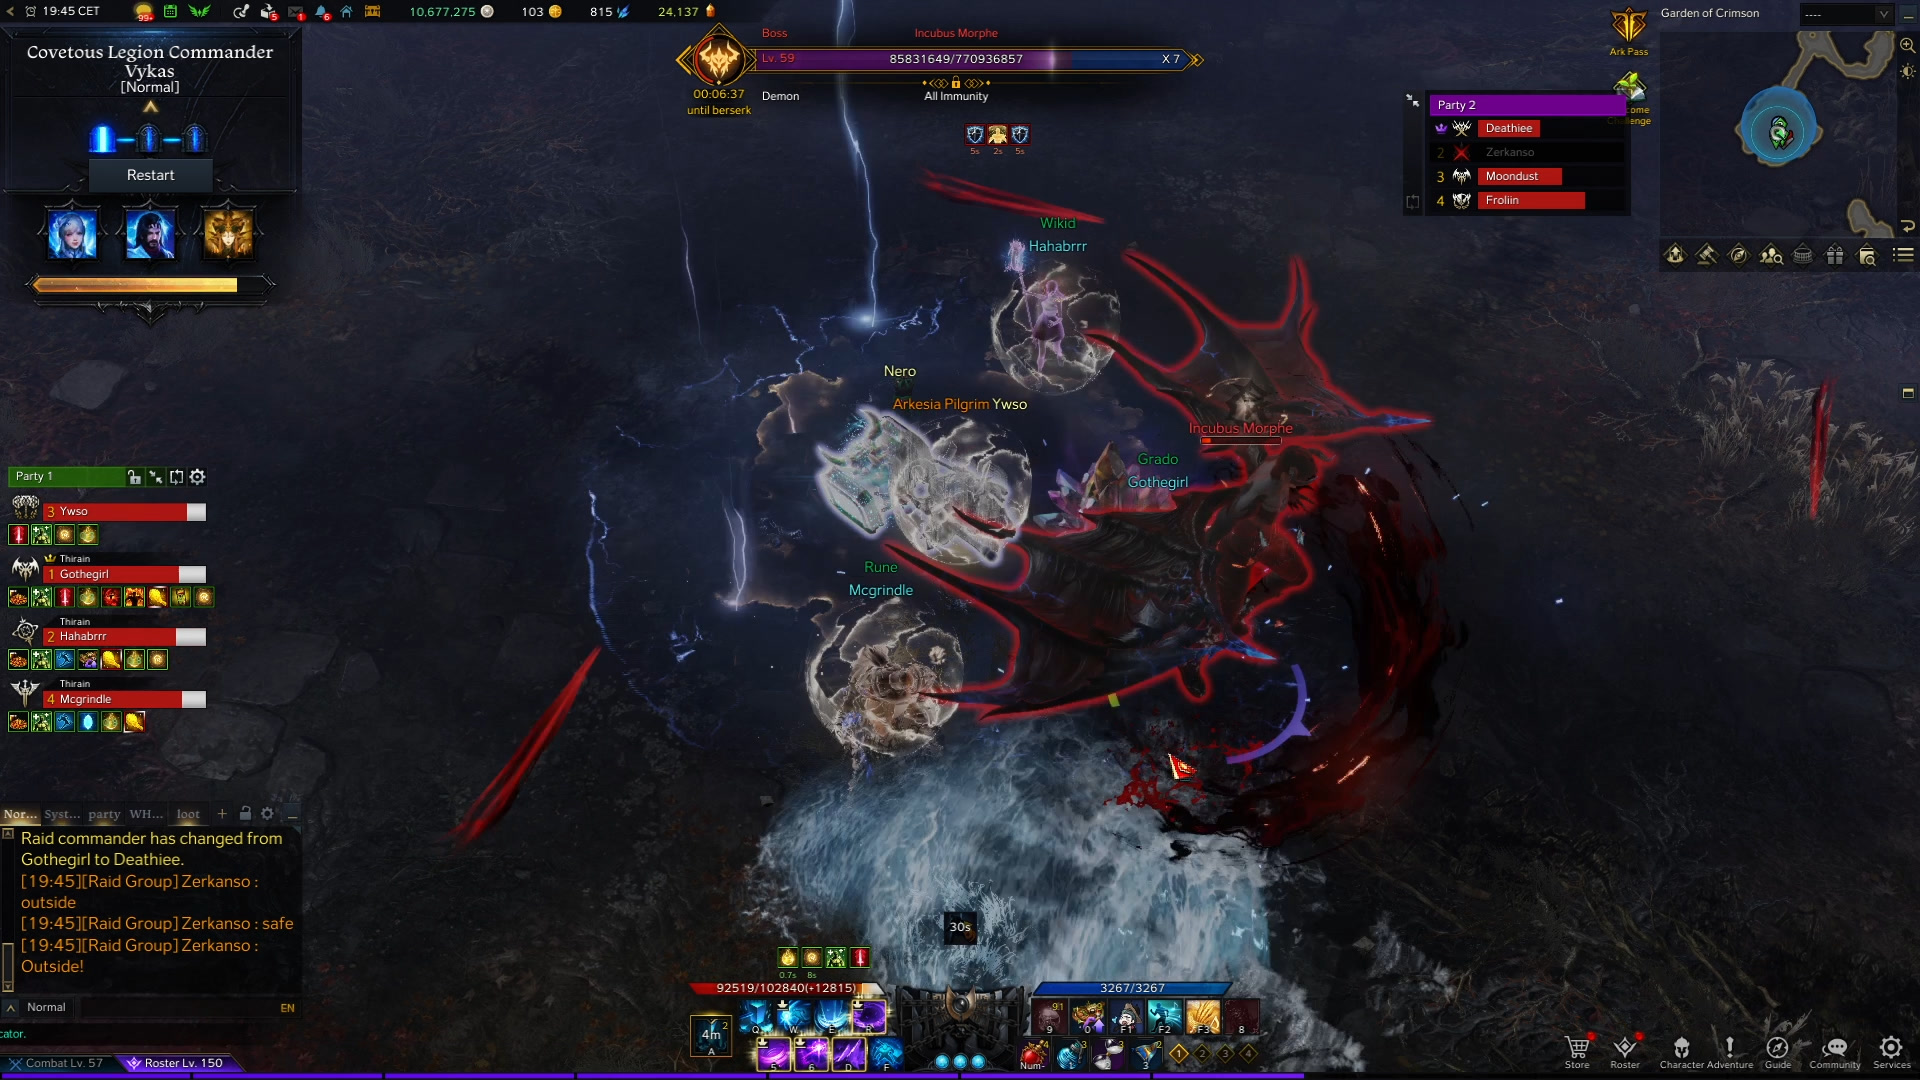
The leadership of the raid should be passed to someone that is fighting the Nightmare boss, so they can use the Sidereal skills on it. The reasoning for this is that the fight starts with both groups on the Incubus boss at 60 bars, and upon getting it down to 52 bars, the group split occurs. The group that remains on the Incubus side already has a 10 bar head start compared to the group who gets teleported to Nightmare, which starts again from 60 bars, but with only four players.
Upon both bosses reach 30 bars, the groups swap locations automatically, resulting in each group fighting both bosses regardless of starting point.
All of the important mechanics happen on the Incubus boss, but for the party fighting Nightmare, it is important to remember that the dotted purple telegraphs on the ground are safe zones, while the seemingly “safe” ground is the dangerous one - this is a mechanic you will get used to rather fast.
In the order of appearance, here are the important mechanics:
Portals
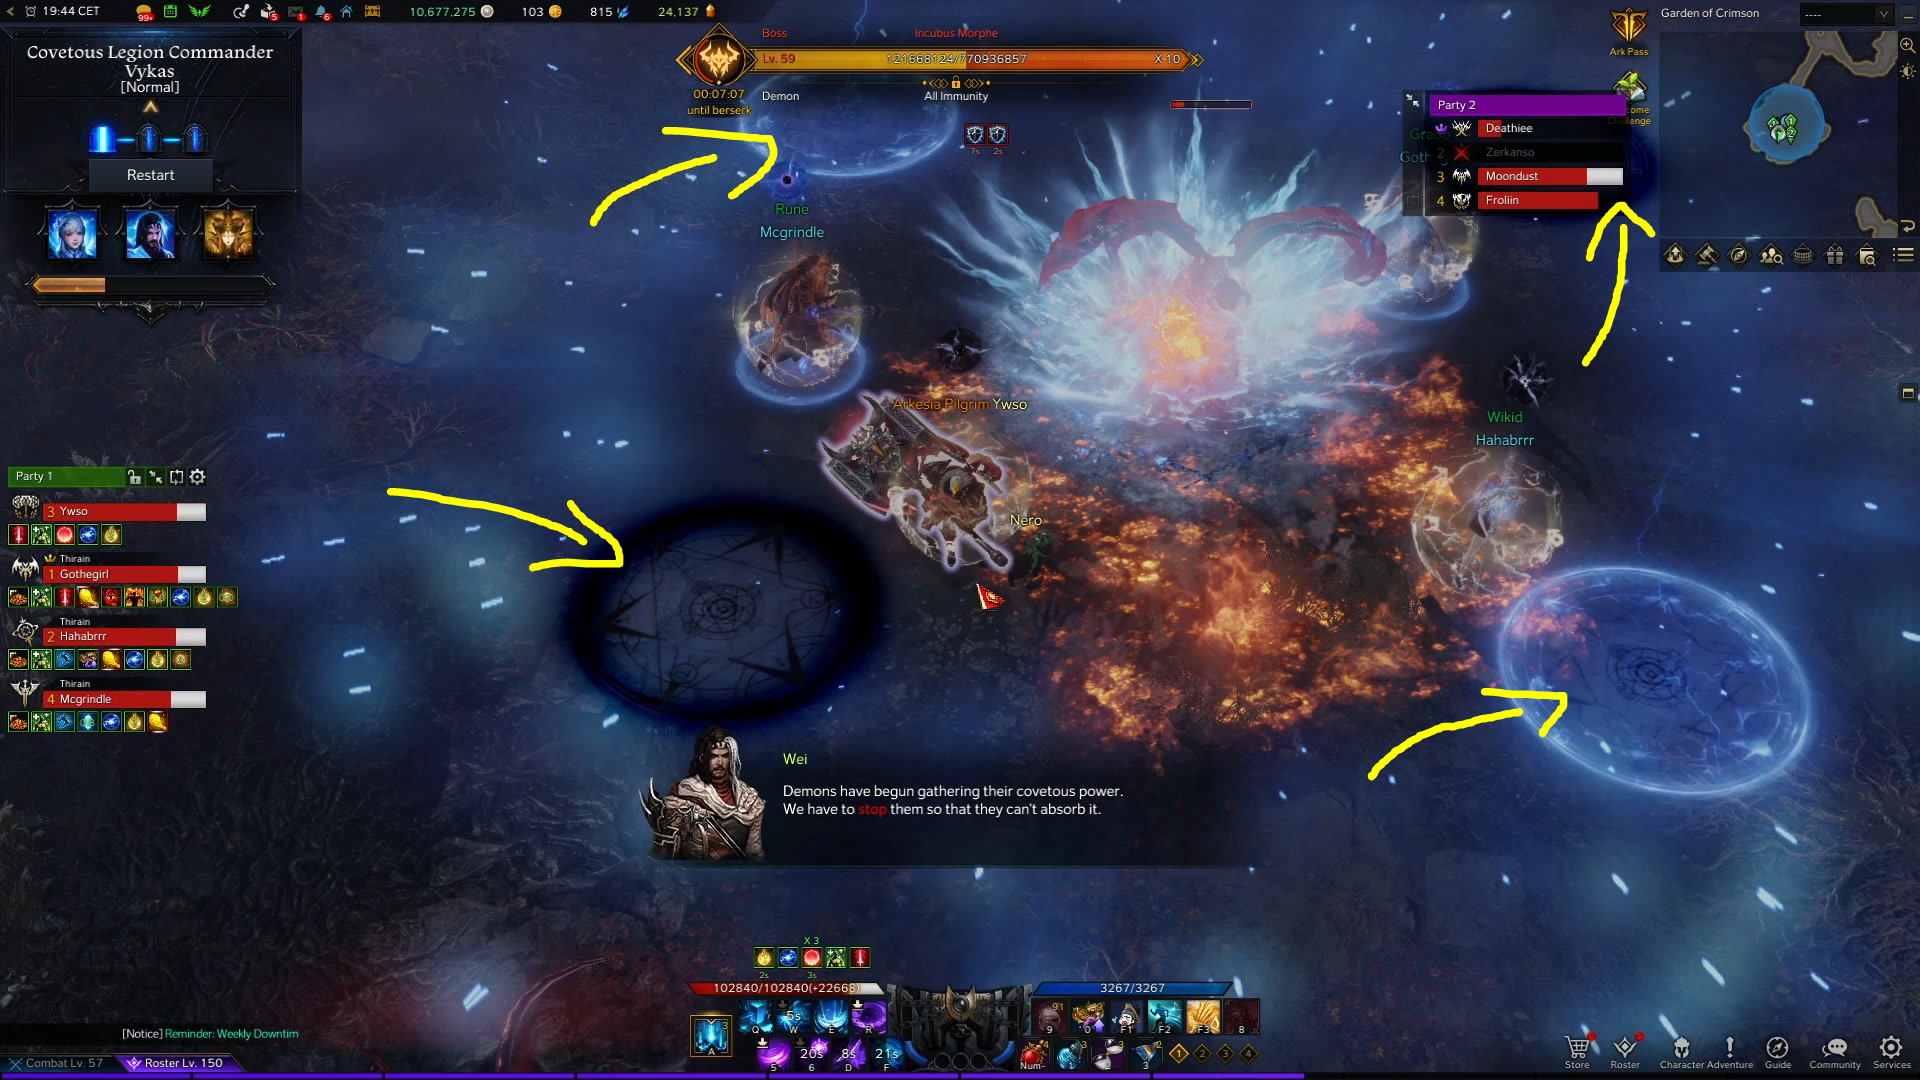
For the first wipe mechanic, you will need to assign each player in a party to one of the four spots - 11 o’clock or top left, 1 o’clock or top right, 5 o’clock or bottom right, and 7 o’clock or bottom left. Both parties should have this assignment as you never know which one will need it.
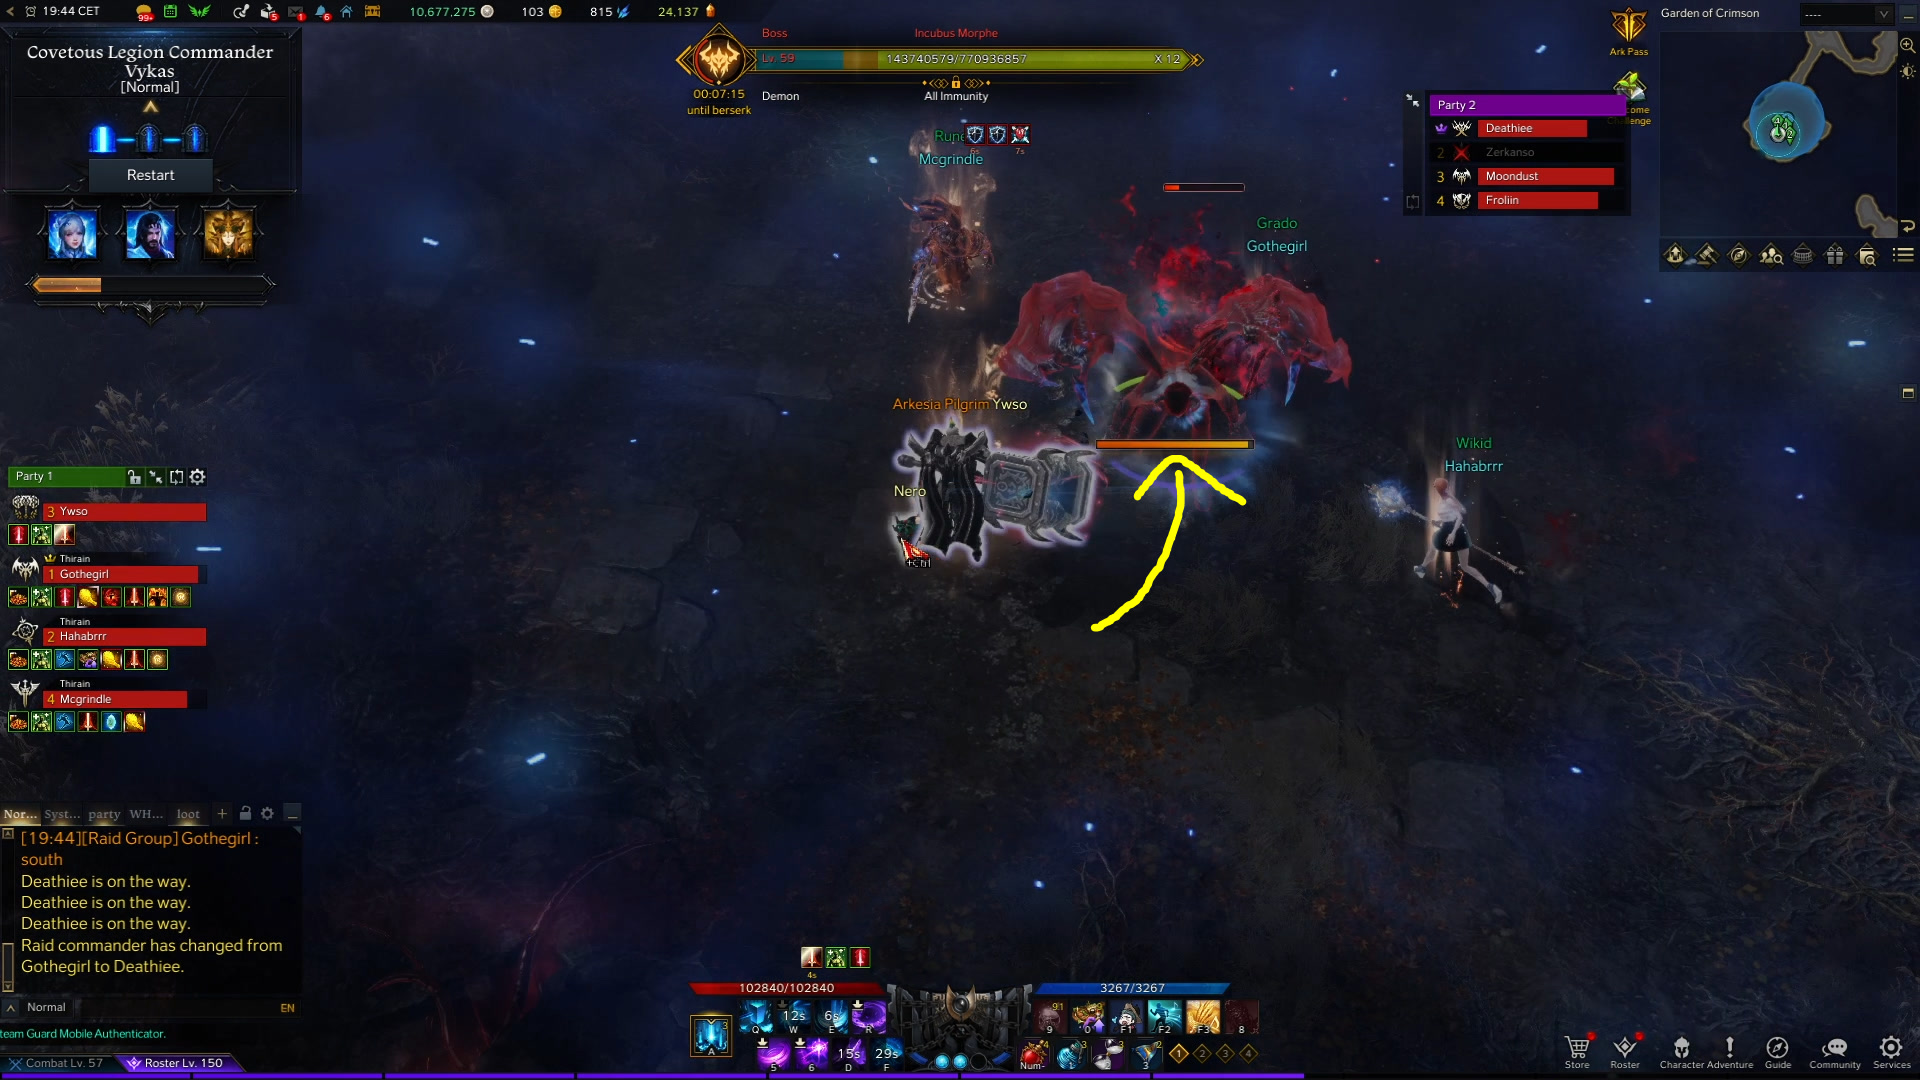
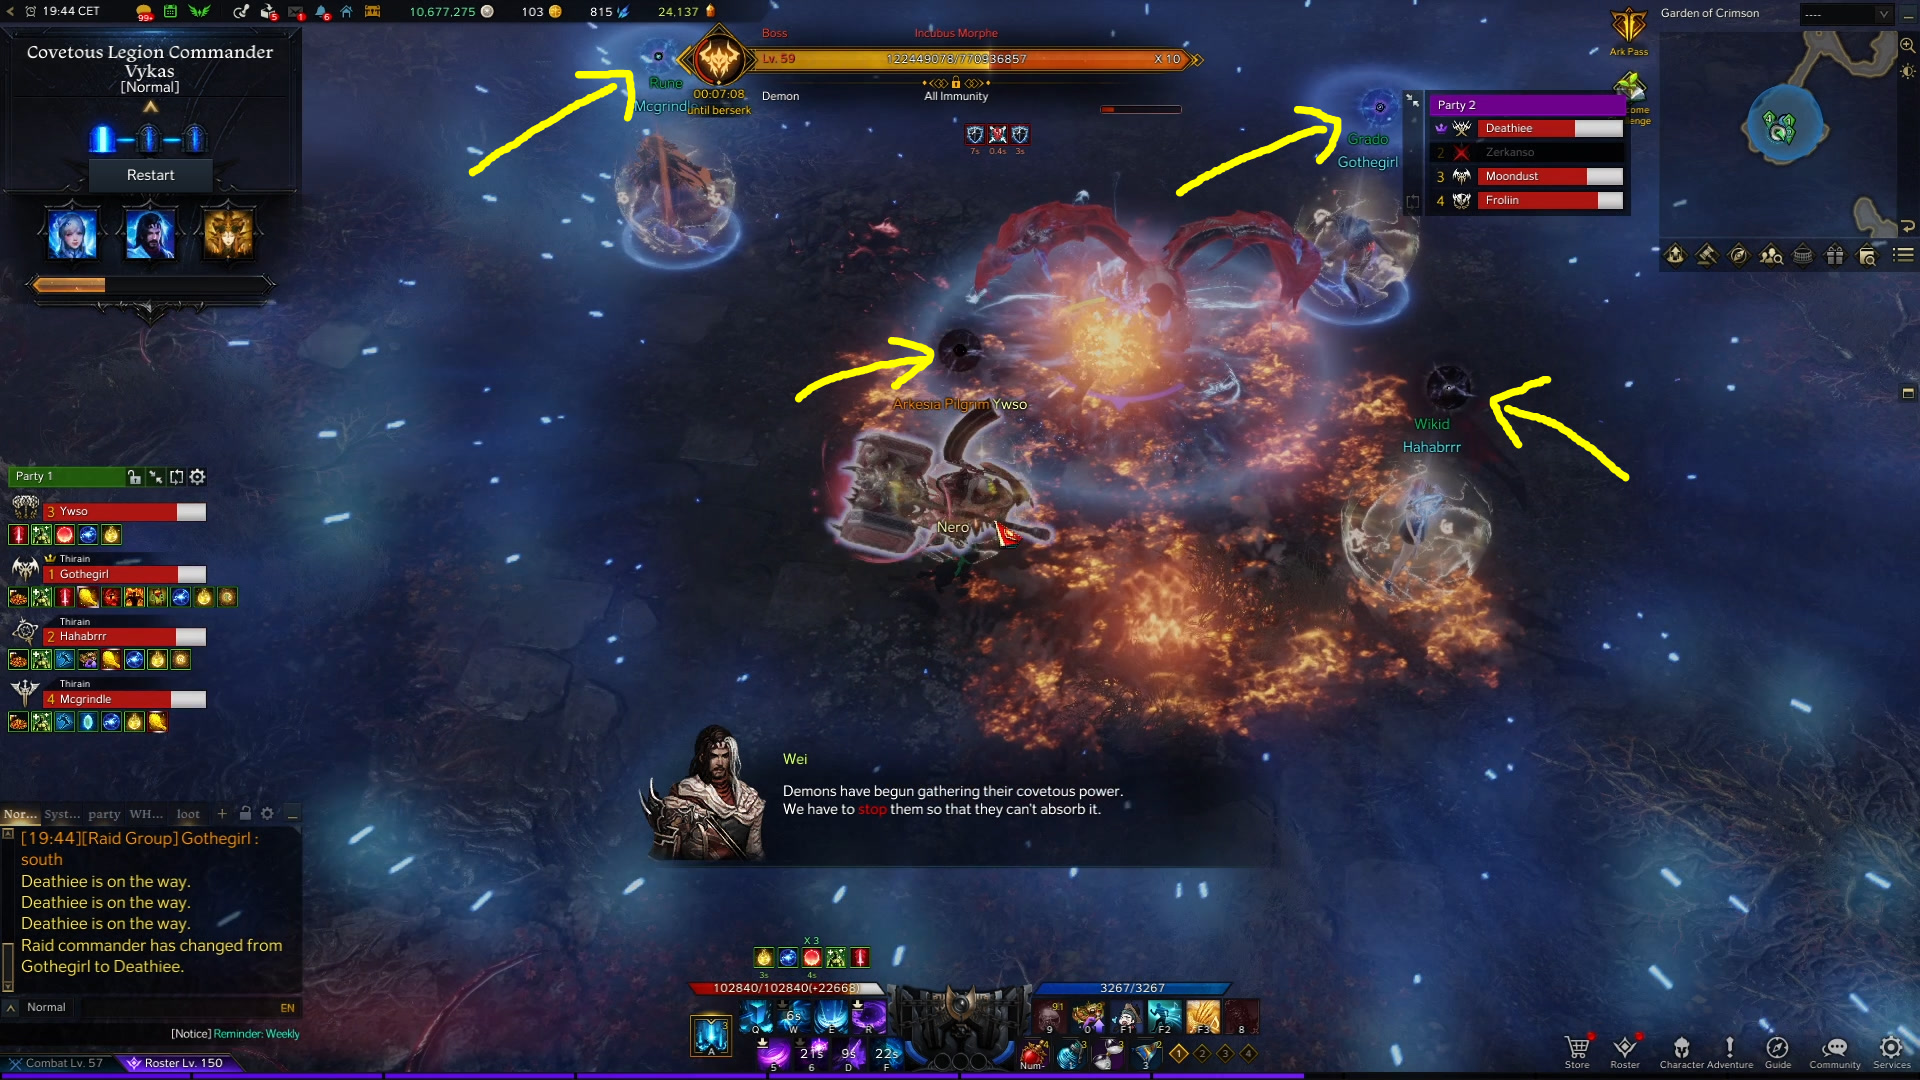
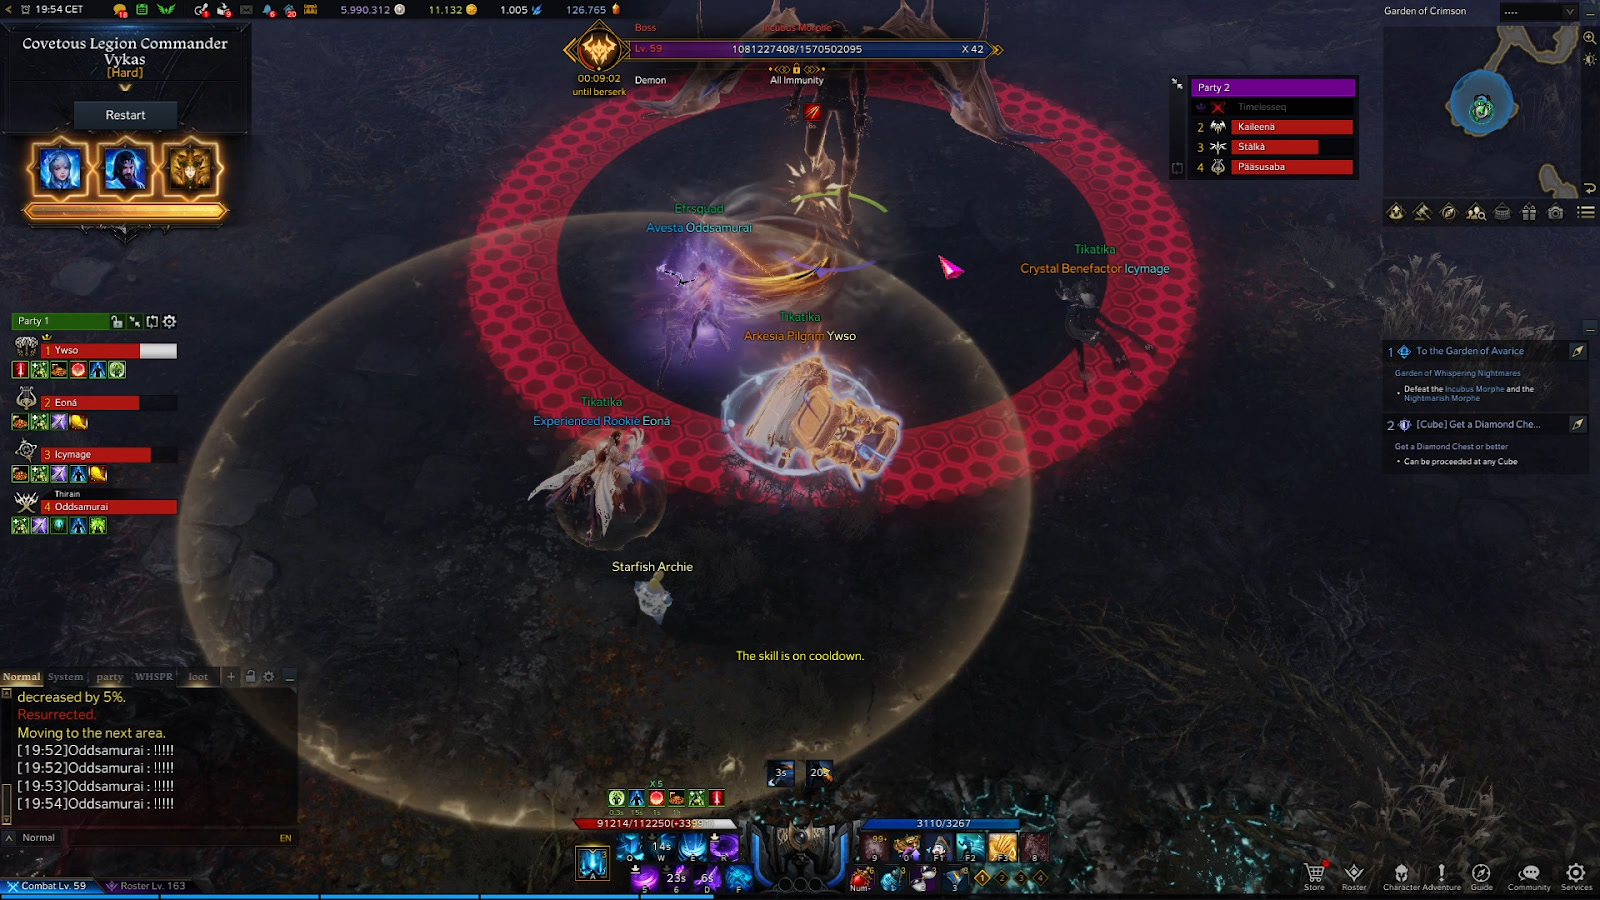
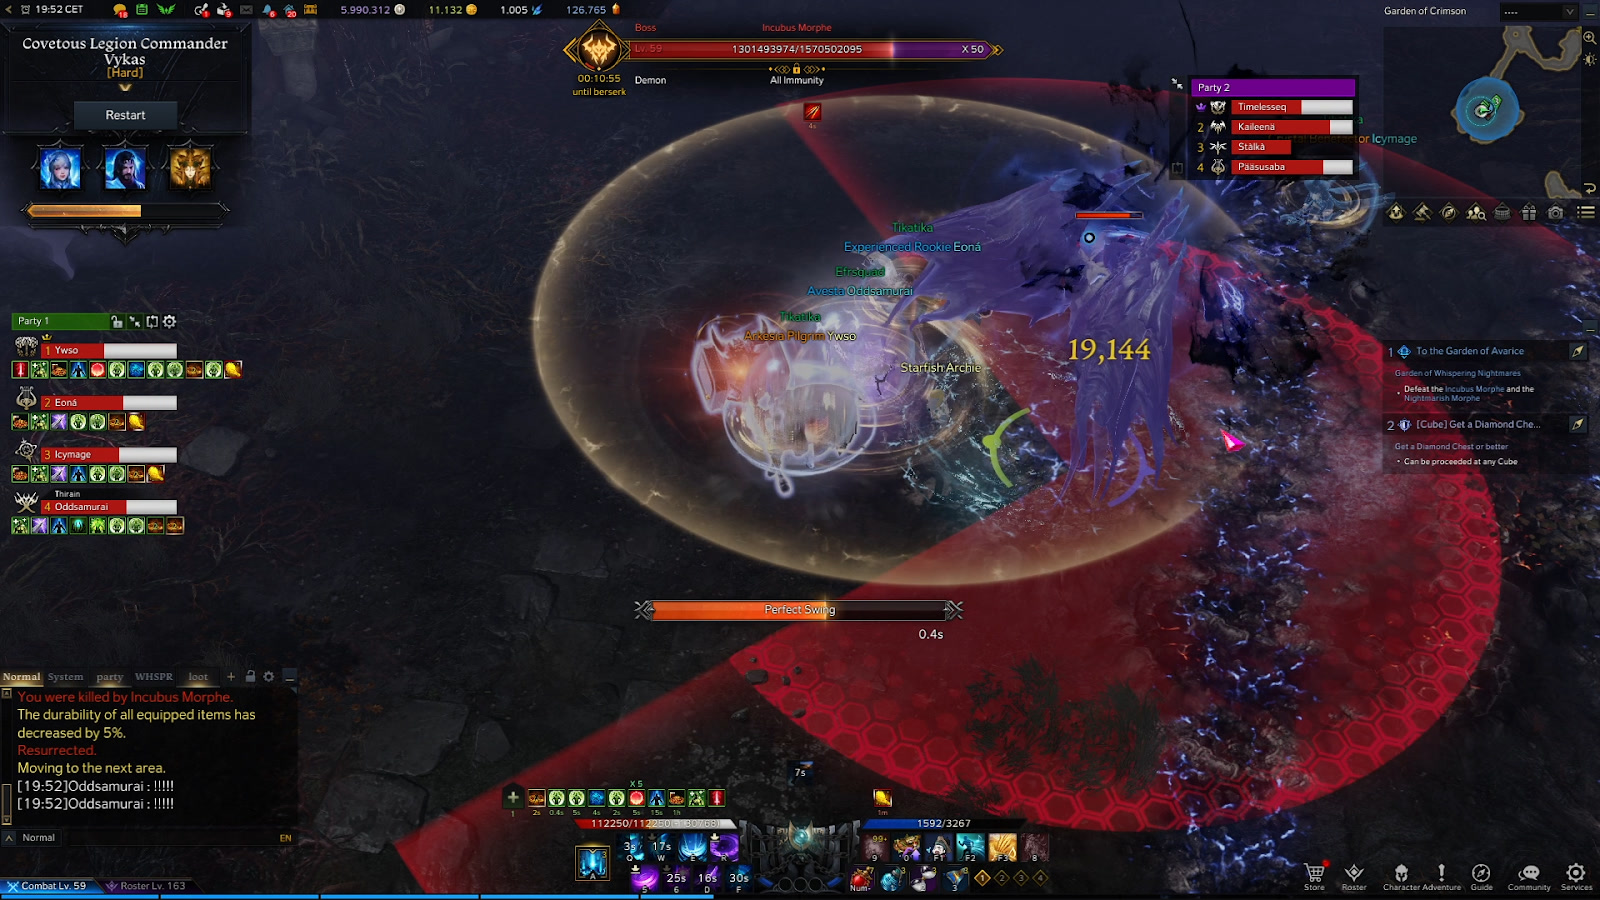
At around 49 bars, Incubus will teleport to the middle of the room and a bright white telegraph appears underneath him.
Each player needs to stand inside the telegraph and wait out the following explosion:
While inside the white telegraph, go to your preset positions, at 11, 1, 5, and 7 o’clock. After the explosion, each player should move out to their designated location where you will see a small portal and a telegraph near it. There are four portals and four telegraphs, one for each player.
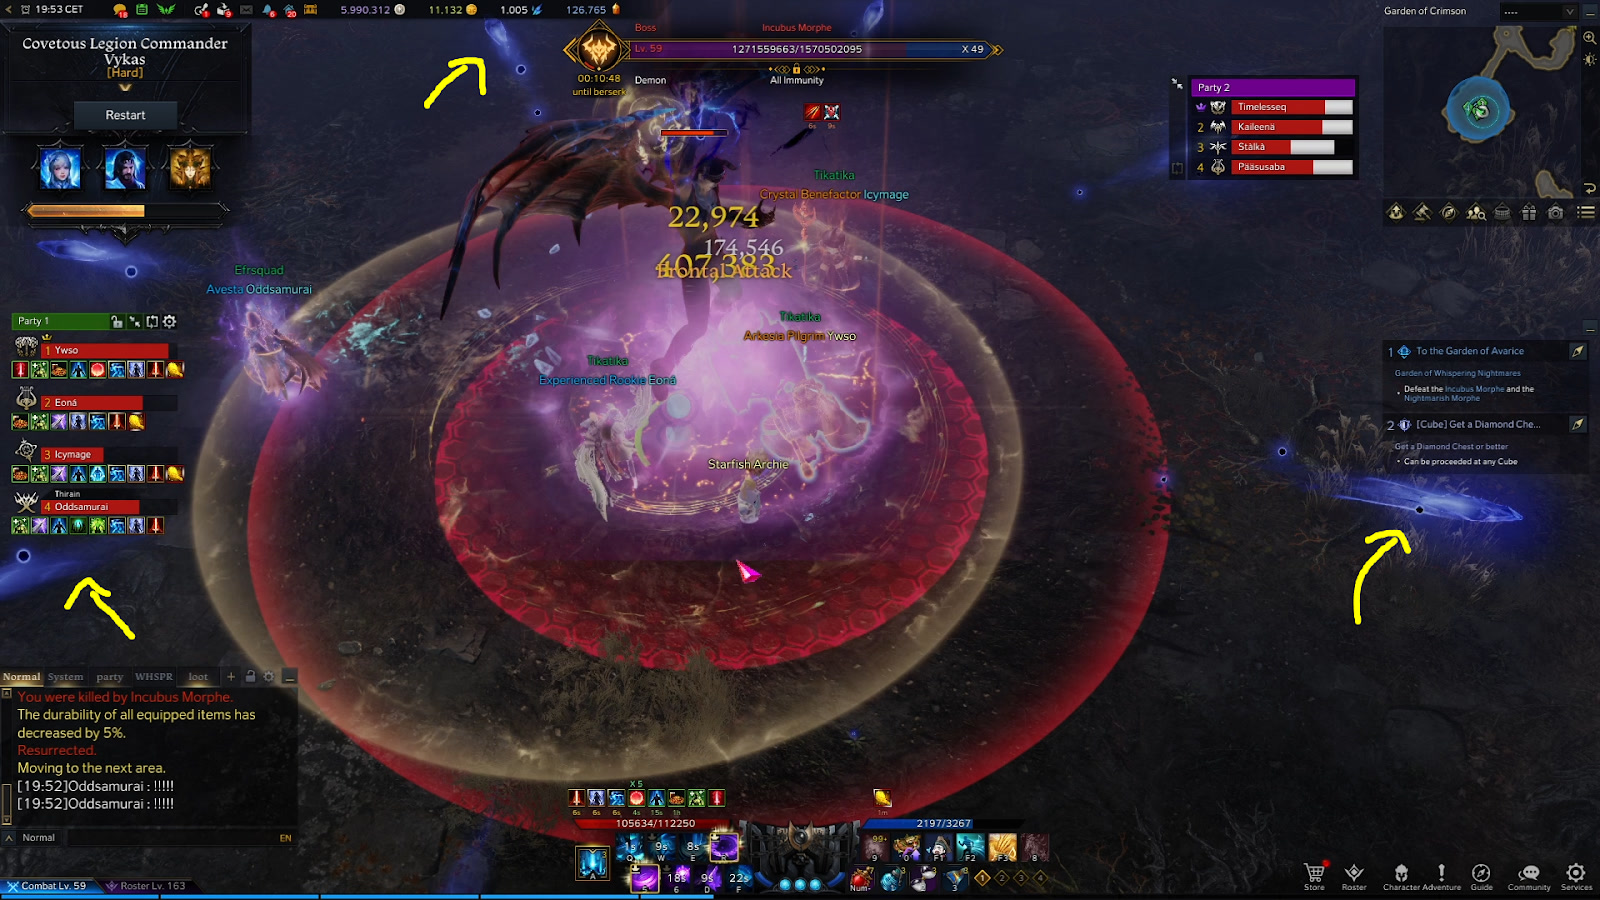
A moment later, a moving ball will spawn from the telegraph, and the portal will glow with a specific color. The goal is to lure the ball into the portal when both colors match, without touching the ball yourself.

Each of the four balls spawns as red, changing color every 2 seconds in a pre-set pattern. The pattern is red → blue → green → white → black → and then red again as the pattern resets.
Each of the four portals, however, can be one of the two colors.
- The portals at 5 and 11 o’clock can spawn either blue or black.
- The portals at 1 and 7 o’clock can spawn either red or green.
- In hard mode, the portals do not have a predefined spawn color.
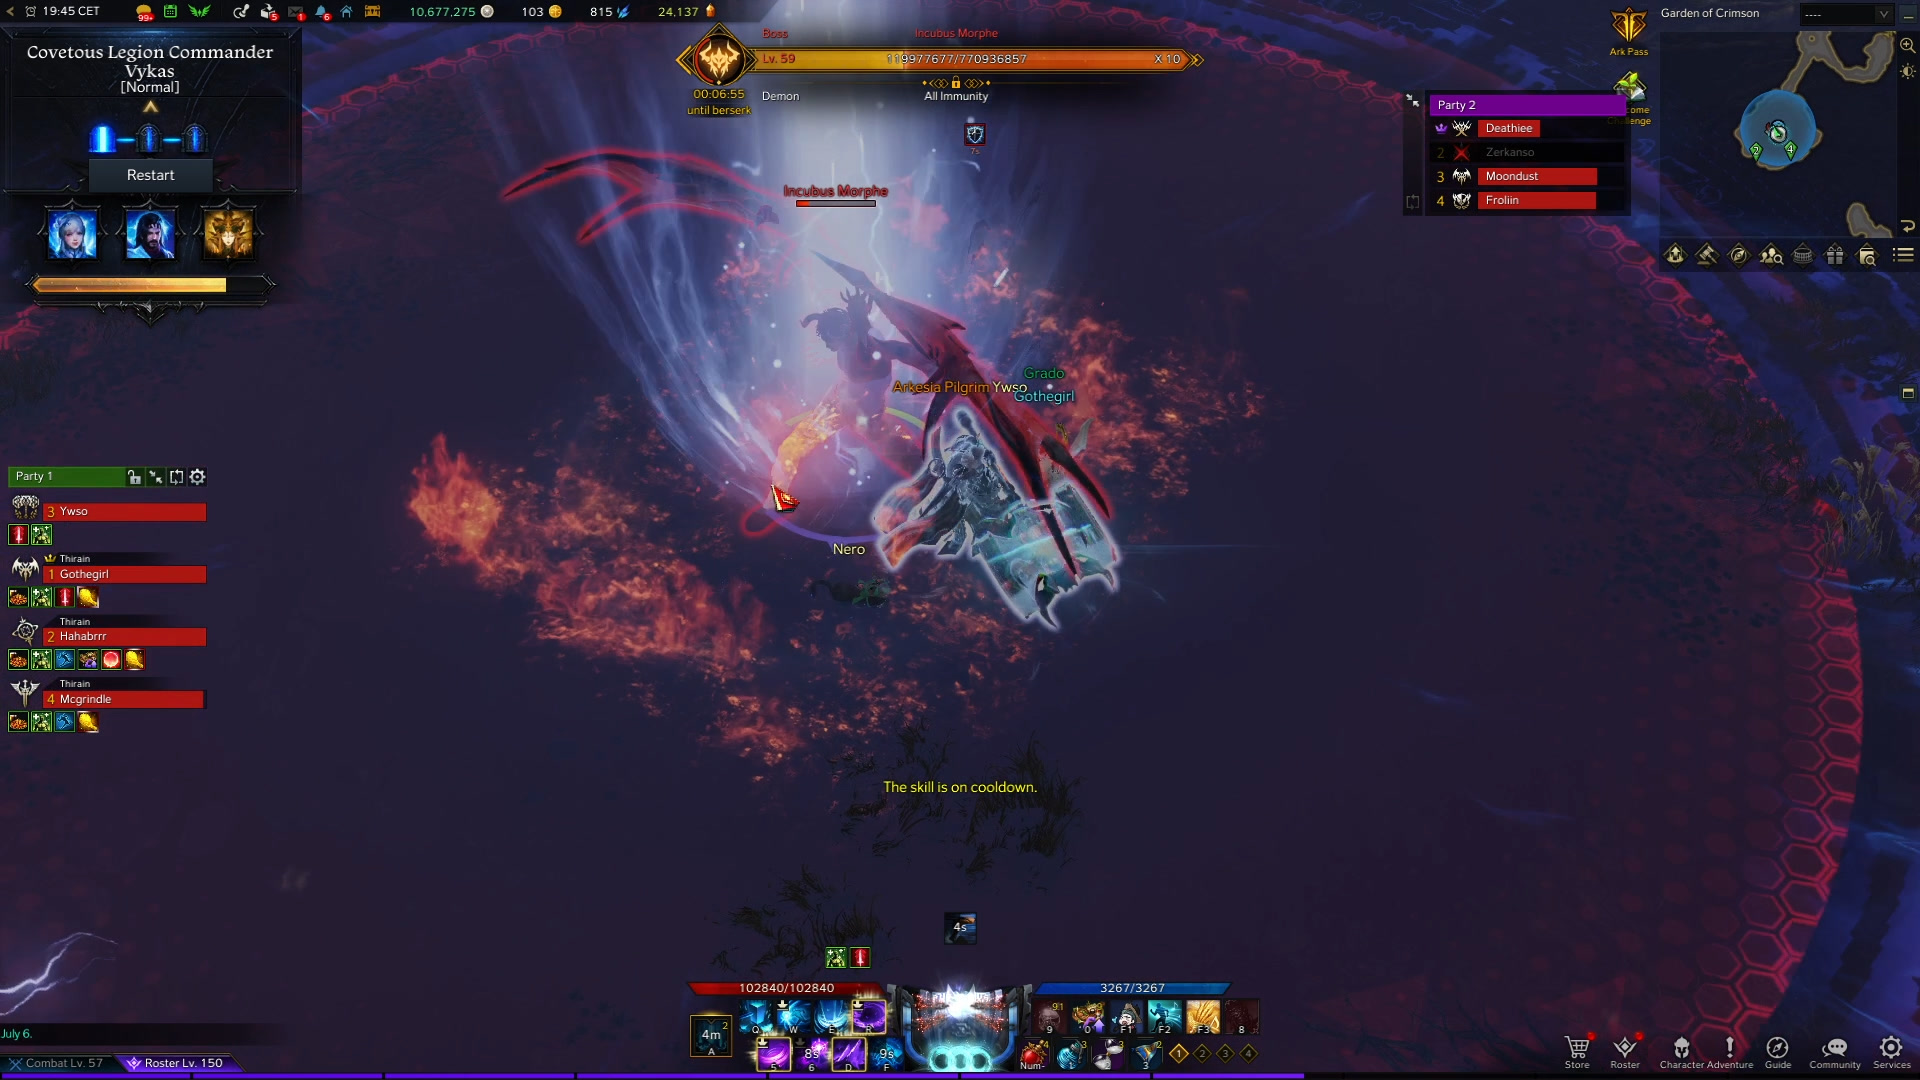
In the video example below, I am assigned to 7 o’clock, and the portal spawns as red, which means I can position myself in between the portal and telegraph, and run straight down because I know the ball always spawns as red.
However, for the sake of demonstration, I am taking the long route, and basically kiting the ball one full cycle, from red back to red and then luring it into the portal.
Make sure to be ready to take your ball when it spawns. If you are too far, it will decide on another player, and you can not take it back.
Take your time kiting if you need to. You can easily do a full cycle and return to the portal. While you kite, keep in mind that the player next to you might also need some space to kite theirs, so do not get uncomfortably close to them. You can not walk through the portal, so you will need to get around it.
Memory Game / Blue and Black Orbs
At around 36 bars and again at 14 bars, Incubus teleports to the middle of the room and pulls blue beams of energy to him. After which, a stagger check begins.
Depleting the stagger bar is relatively easy but you can use a Whirlwind Grenade if needed, and afterwards each player gets assigned one of the two colors at random - black or blue, displayed by a round mark above their head like so:
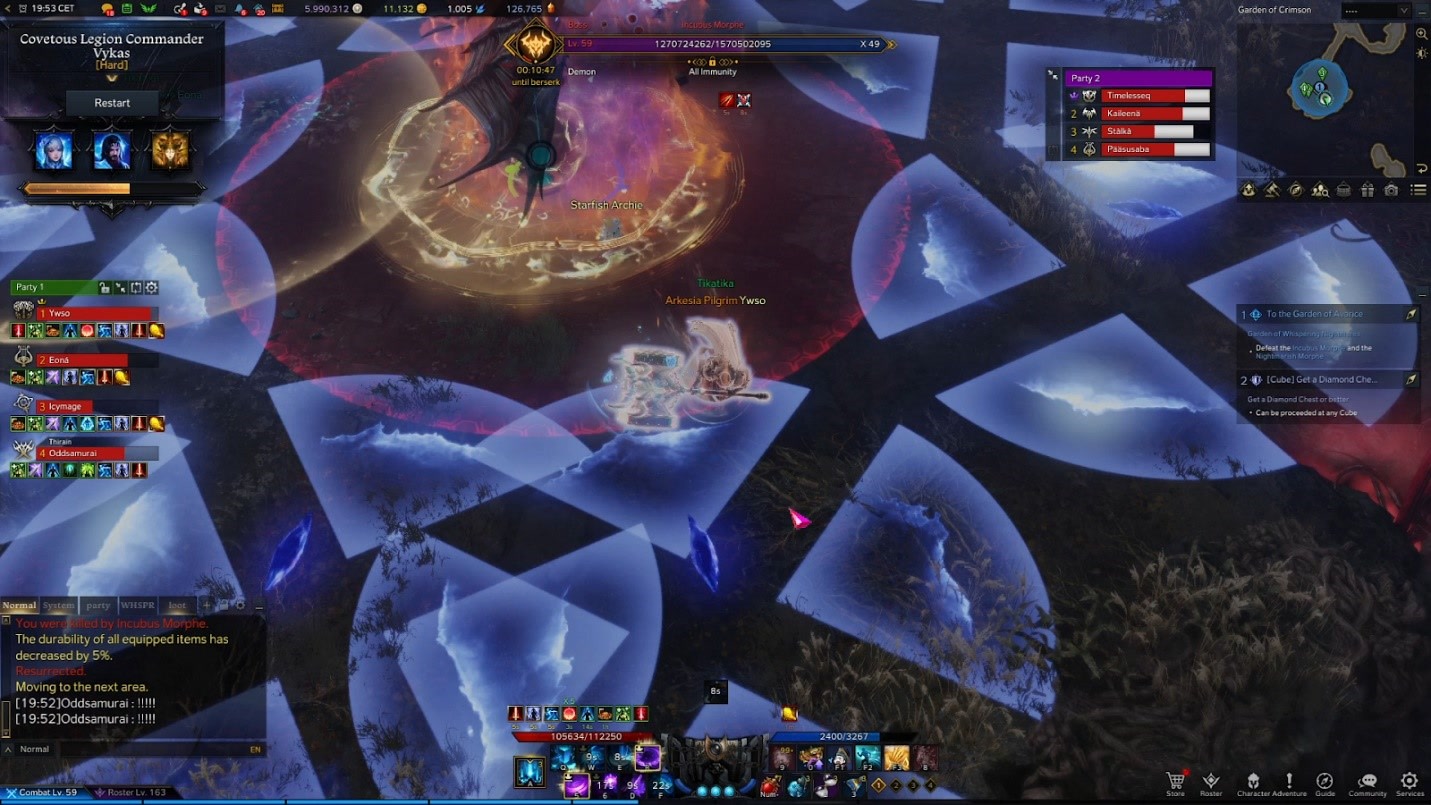
A moment later, the memory telegraphs start spawning in the four corners. The picture below shows the first spot for each pattern.
The circles on the ground can either be black or blue, and they spawn in a pattern that you need to memorize. Here is an example video:
Black telegraphs always spawn at 1 o’clock and 7 o’clock, while blue telegraphs always spawn at 5 o’clock and 11 o’clock. This makes it easier to determine where your starting point is based on what buff color you have on top of your head.
In the video example, I have a black buff, and since I was previously assigned to 7 o’clock for the portal mechanic, I am keeping my spot there for the sake of consistency. The player on top of me, at 11 o’clock, has a blue buff, which is also great because blue balls start spawning at 11 o’clock. The two players on the right side of the screen need to swap their position, because the player at 5 o’clock has a black buff, and his first ball spawns at 1 o’clock.
After a few seconds, the big balls start shooting from the edges of the room towards the boss. Your goal is to intercept the balls that correspond with the color of your buff. The trajectory of the balls coincides with the telegraphs we had to memorize, so those are the spots you need to pass through.
Each player has five balls to intercept, but in normal mode, you can miss four balls per group and still survive the mechanic.
Here is a video example of the full mechanic:
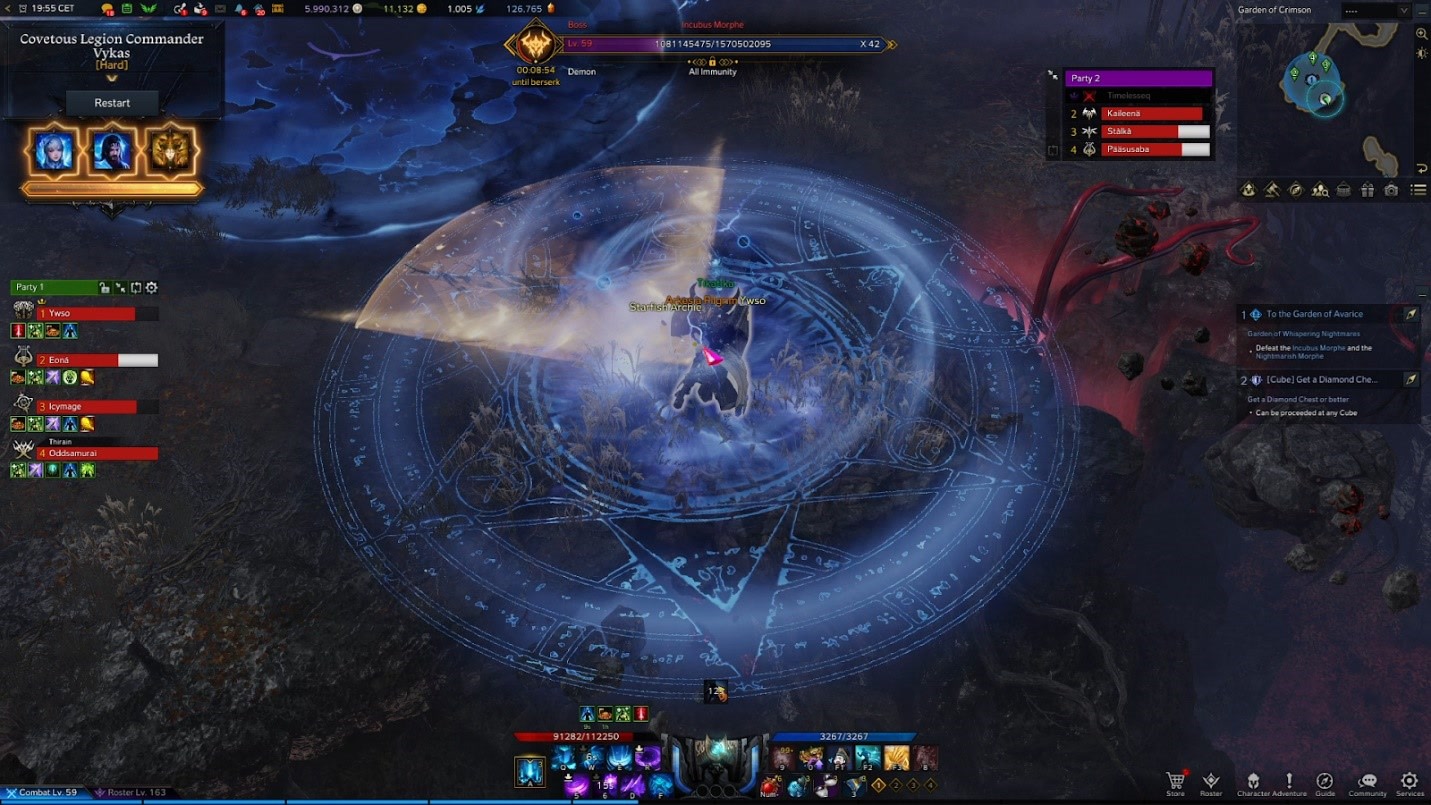
After successfully completing the mechanic, Incubus will begin casting a large red telegraph that does not deal damage to your party, but instead to the party fighting Nightmare. The Incubus group will need to communicate the location of this telegraph to them so they can avoid it. The telegraph can either be safe outside or safe inside.
The following image shows a “safe outside” for the other group.
Safe inside (for the Nightmare group) looks like this:
It is easier to do this mechanic when only caring about your own color and pattern on the ground. For example, if you have blue above your head, it should be known that you need to be at 5 or 11 o’clock. It is unnecessary to look at the other two spots as there is nothing you can do to assist them in any way.
The only thing you should care about is not going on top of the other player with the same color that you have. The choice is 50/50 and can be made very easily, as you only have to choose one spot out of the two possible and walk or dash there.
Memorizing the exact pattern is really not mandatory. You can also play it based on reaction because the ball has quite some traveling time. Do not worry about what other players are doing because if everyone is doing it correctly, you will not collide with each other.
General Vykas Gate 1 Mechanics
Besides the mechanics mentioned above, there are a variety of other, less harmful ones.
White Safe Zone
At around 25 bars on the Incubus side, the boss will teleport to the middle of the room and starts casting a large purple AoE telegraph. This does not deal damage. Right after finishing this cast, four large circles appear on the map in visual range, and three of them are darker, while one is white. You need to tell the Nightmare party, which cardinal point has the white one as they will see them too, but all four will be dark on their side.
Pizza attack (hard mode only)
This mechanic can happen at any amount of HP bars, and it is a miniature version of the pizza mechanic during the guardian raid Velganos. Both bosses can perform this, and they teleport to the center after which they begin to cast a large AOE with a safe zone inside.
When the AOE explodes, 4 purple balls spawn at the boss’ location and they chase each player in the group.

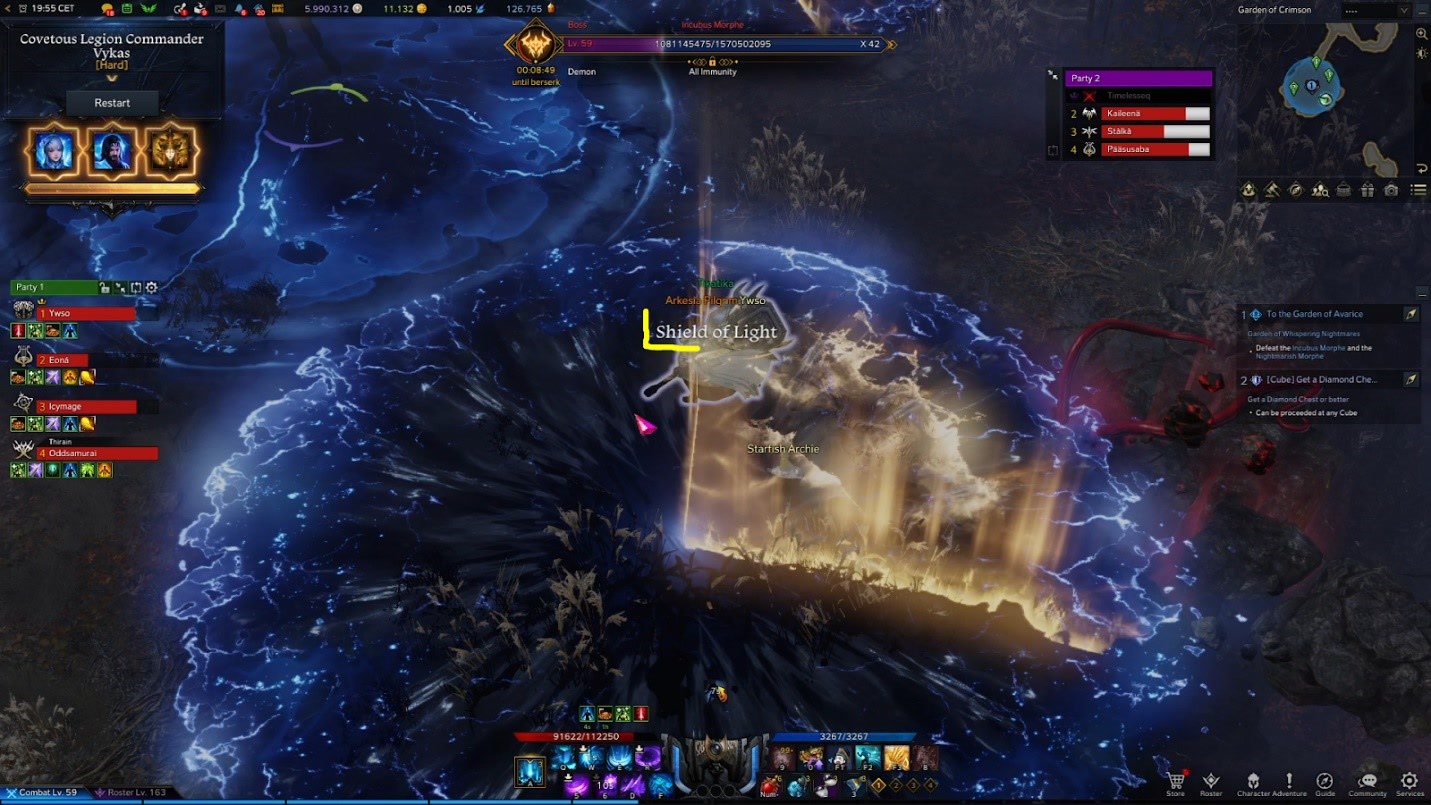
You need to quickly move towards the edge of the room at the positions you decided for the portal mechanic for example, and only then, allow the purple ball to touch you. Upon impact, a whirlwind and a light yellow pizza slice is created on that spot.
The whirlwind’s spin direction indicates where the next safe pizza slice is going to be, while the existing pizza slice indicates your starting point. The goal is to step in each safe pizza slice as it spins around 3 times. At the end of this mechanic, the goal is to get a buff called “Shield of Light”, assuming you took the buff from stepping on each golden colored pizza slice:
Here is a video example of the mechanic:
Other mechanics in Gate 1
Stripes followed by large frontal AOE
Incubus Morphe starts channeling three red colored stripes in front of him:
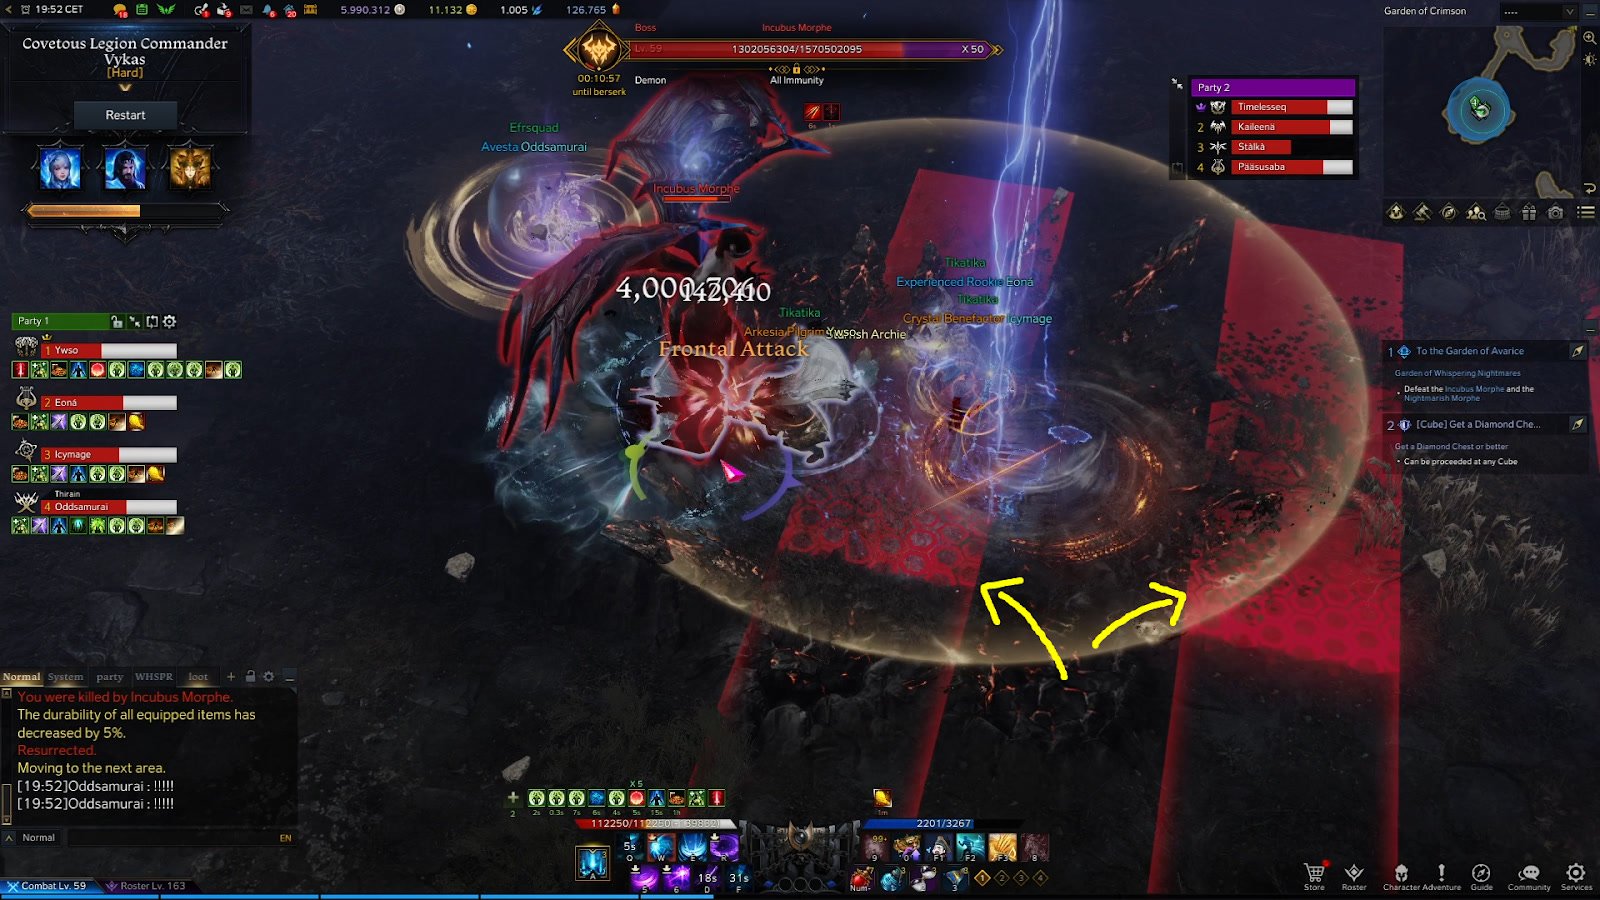
This is always followed by a large AOE towards his front with a safe zone behind him. The frontal AOE does a lot of damage so you can easily just start moving behind once you see the stripes:
Circular AOE and blue pizza slices
Incubus Morphe shoots blue bullet shaped energy from him, then casts an AOE around him marked with red, followed by blue pizza slices.
There are safe zones in between the pizza slices, but a timely shield from your support can block most damage from the red AOE.
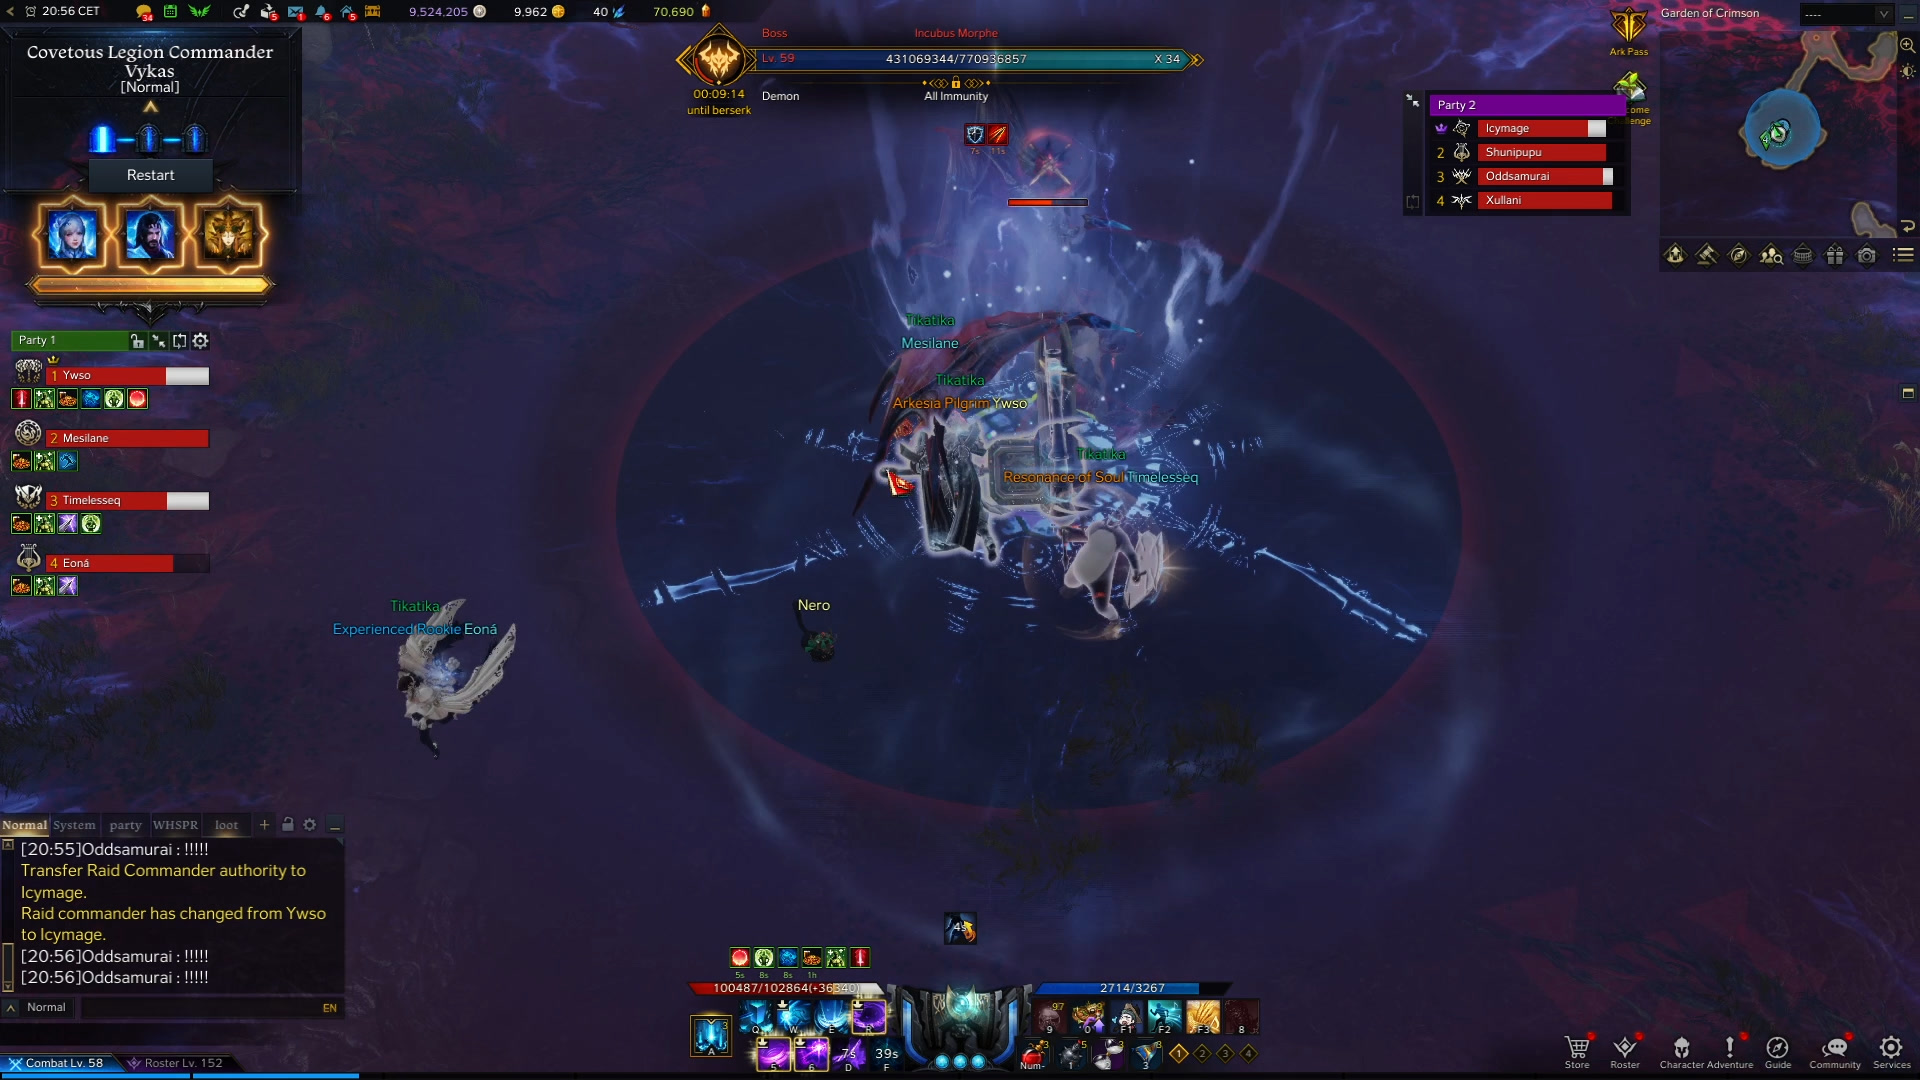
Group Swap
At 30 bars on each boss, the groups will swap places, so the players fighting the Nightmare get to fight the last 30 bars of the Incubus and vice versa. When this swap happens stay away from the center of the room as each boss will cast an explosion.
Changelog
- 16 Jul. 2022: Guide Added