Sethekk Halls Dungeon Guide
The recommended level range to run this dungeon on Normal is 67-70. Heroic
mode will require Level 70 and the ![]() Auchenai Key to enter.
Auchenai Key to enter.
Sethekk Halls will take approximately 20-30 minutes to complete with an average group. This dungeon is commonly abbreviated as "SH" or "Seth Halls". The dungeon is located on the Eastern side of the Auchindoun structure.
In this guide, we will cover dungeon quests, the layout of the dungeon, an overview of trash mobs, tactics for each boss, loot that can be obtained, and ideal group compositions.
The Sethekk Halls Quests
Before heading into Sethekk Halls, we advise you to get all the dungeon quests related to it. To make this process easier, we have written a separate guide for the quests and their chains.
Sethekk Halls Entrance Location
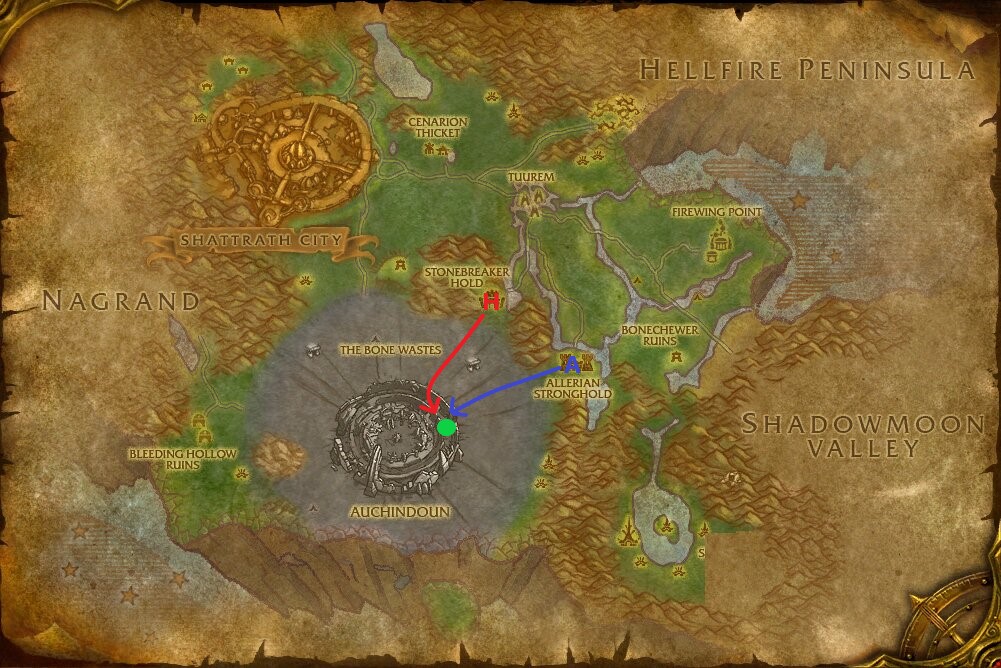
Conveniently, all dungeons in Terokkar Forest are located in one centralized location: Auchindoun. This structure can be easily found in the middle of the Bone Wastes.
To reach the bottom of this structure you will need to either fly down, take one of the passages found along the outside, or carefully jump from ledge to ledge. The summoning stone can be found in the very center of Auchindoun. Sethekk Halls is the dungeon found on the East side of Auchindoun.
If your faction controls the spirit towers in Terokkar Forest, you will get
![]() Spirit Shards from each boss you kill inside this dungeon. These can be
exchanged at the nearest town for various rewards.
Spirit Shards from each boss you kill inside this dungeon. These can be
exchanged at the nearest town for various rewards.
Layout of Sethekk Halls
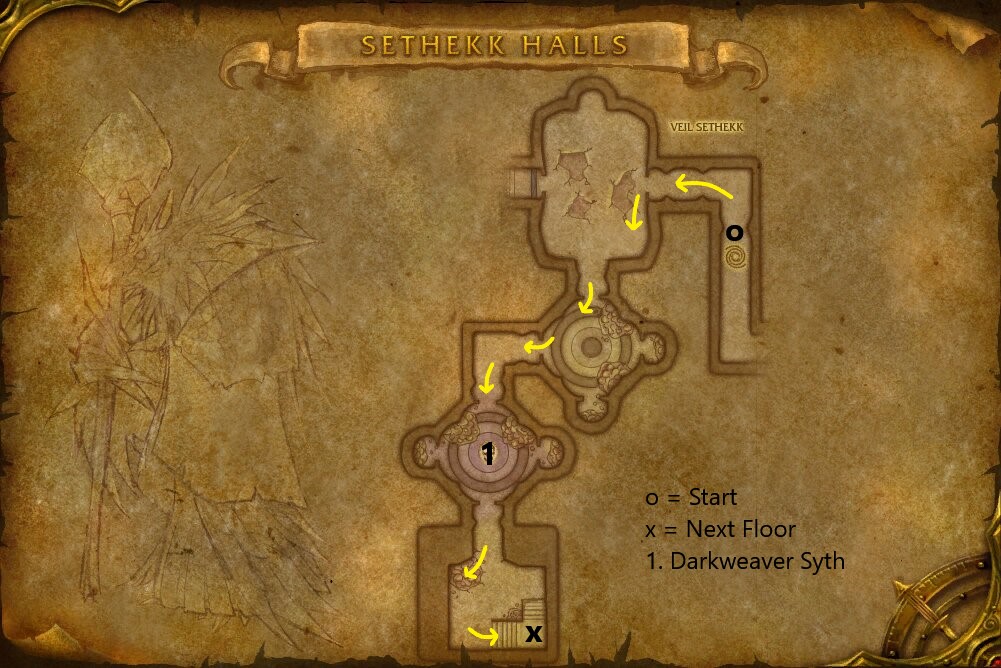
Sethekk Halls is a fairly straightforward dungeon. There are a few packs of trash mobs that can be skipped by following the arrows shown in the pictures here. On the first floor here you will fight your way through a few trash packs and work your way toward the staircase behind Darkweaver Syth, leading to the second level of the dungeon.
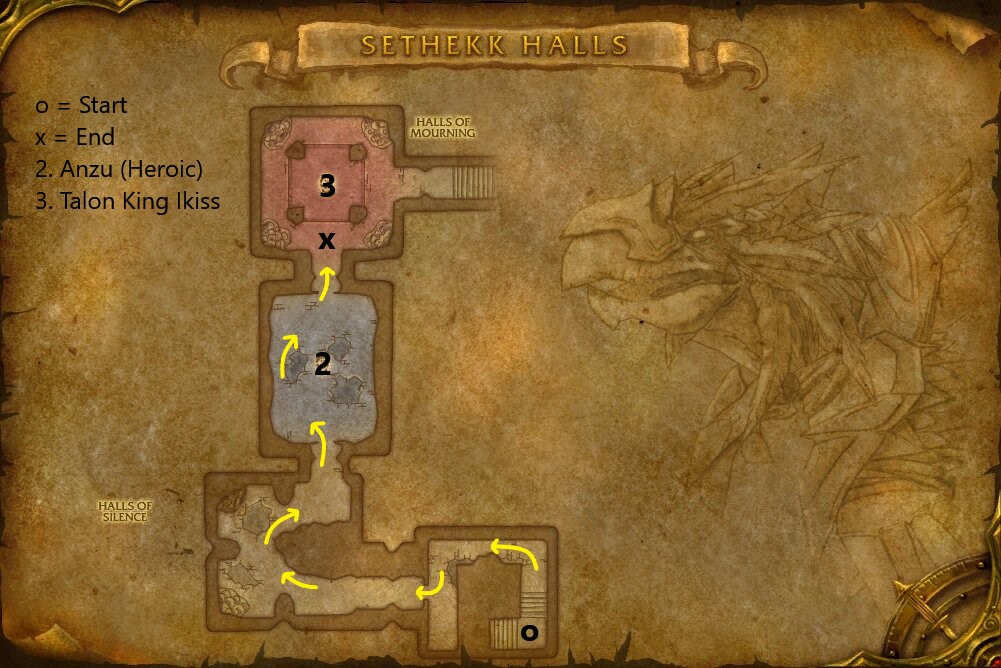
Here we have the second floor of the dungeon. This floor of the dungeon is
very easy to navigate, only having one path available. Anzu can only
be summoned by Druids that have obtained their
![]() Swift Flight Form, and only on Heroic difficulty. After defeating
Talon King Ikiss, players can walk down the pathway behind him to quickly
return to the start of the dungeon.
Swift Flight Form, and only on Heroic difficulty. After defeating
Talon King Ikiss, players can walk down the pathway behind him to quickly
return to the start of the dungeon.
Reputation From Sethekk Halls
Killing mobs in this instance grants Lower City reputation.
Normal Difficulty
- Most monsters grant 9 reputation each.
- Each boss grants 90 reputation.
- A Normal Sethekk Halls run will give around 850 reputation.
Heroic Difficulty
- Most monsters grant 15 reputation each.
- Each boss grants 250 reputation.
- A Heroic Sethekk Halls run will give around 1,700 reputation, 250 more if Anzu is summoned.
Notable Sethekk Halls Trash
In this section, we will briefly go over each of the trash mobs that pose a threat to you in this dungeon.
Sethekk Guard
These are fairly straight forward but it is worth mentioning them so you know
to tank them away from the ranged group as the ![]() Thunderclap
damage can add up quickly when hitting multiple party members.
Thunderclap
damage can add up quickly when hitting multiple party members.
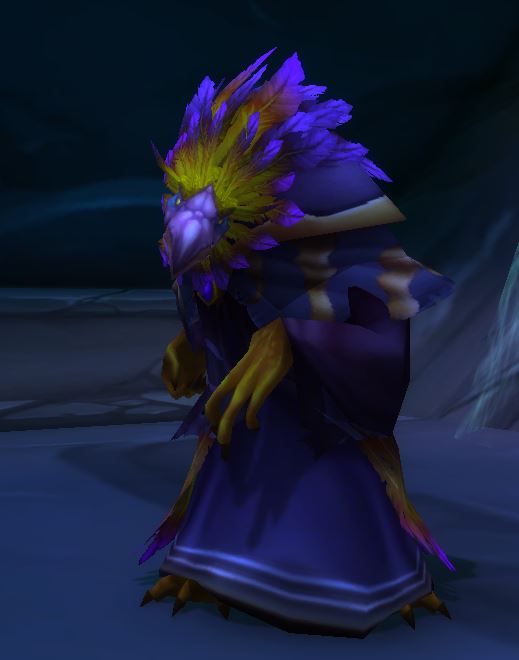
Sethekk Initiate
This is a basic mob that casters need to be careful on to avoid the spell reflects.
Avian Darkhawk
You will want to focus these down early as the ![]() Sonic Charge can
cause high damage if left alive for too long.
Sonic Charge can
cause high damage if left alive for too long.
Time-Lost Controller

You will want to either kill these first or use some form of crowd control on
them such as ![]() Shackle Undead as the Charming Totem
acts as a mind control for the most part. You can also kill the
Charming Totem to quickly free the charmed player.
Shackle Undead as the Charming Totem
acts as a mind control for the most part. You can also kill the
Charming Totem to quickly free the charmed player.
Sethekk Oracle

Try to interrupt or stun these to prevent the ![]() Arcane Lightning as
the silence can cause issues if timed well.
Arcane Lightning as
the silence can cause issues if timed well.
Sethekk Ravenguard
These are very straightforward enemies, but it is worth mentioning
that they deal high damage and you will be fighting two of them at a time. Use
any debuffs you can such as ![]() Curse of Weakness to reduce the damage
they deal to your tank.
Curse of Weakness to reduce the damage
they deal to your tank.
Cobalt Serpent
These are also basic caster-type mobs. They are fairly weak but it is worth mentioning that they have a large knockback, so make sure to face them away from the group and tank with your back against a wall.
Sethekk Prophet
These are one of the most dangerous mobs in the dungeon. You will want to
use any crowd control you have on these, or kill them first as they have two
very threatening abilities. The ![]() Fear itself can cause a
wipe if your tank gets feared while getting hit by multiple mobs or gets feared
into another pack. Ranged players can avoid this by standing max range.
Fear itself can cause a
wipe if your tank gets feared while getting hit by multiple mobs or gets feared
into another pack. Ranged players can avoid this by standing max range.
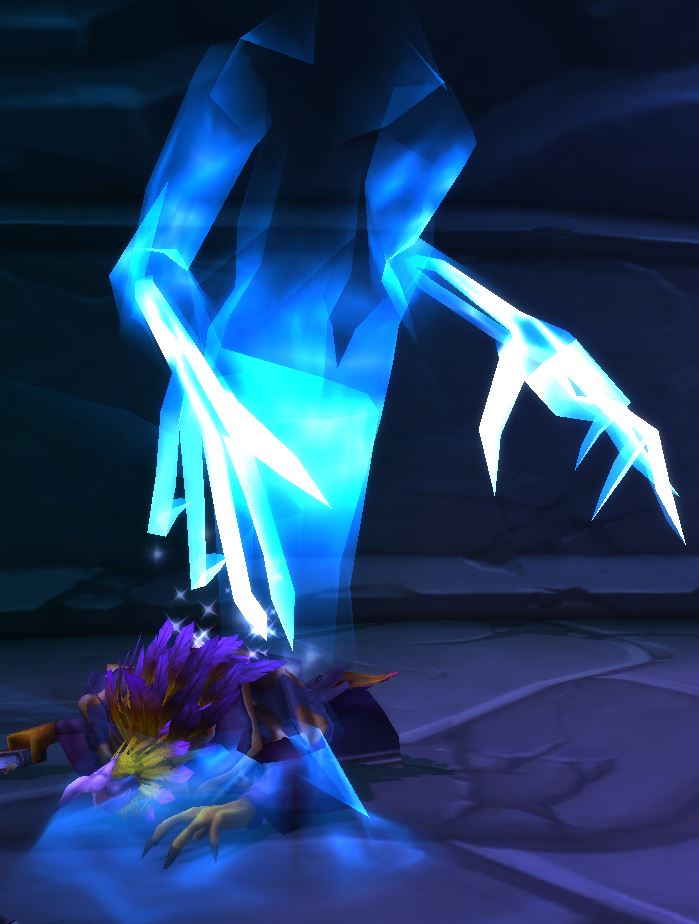
The Sethekk Spirit that gets summoned upon the Prophet's death can also cause a wipe by itself as it deals very high damage to anyone nearby. When the Prophet is near death, all players must be ready to move away from the spirit that will spawn. It will move slowly and chase down a random player; do not get in its path.
Sethekk Talon Lord
These are only a threat because of the stun from ![]() Talon of Justice.
Dispel it if you can, especially if it is on the tank.
Talon of Justice.
Dispel it if you can, especially if it is on the tank.
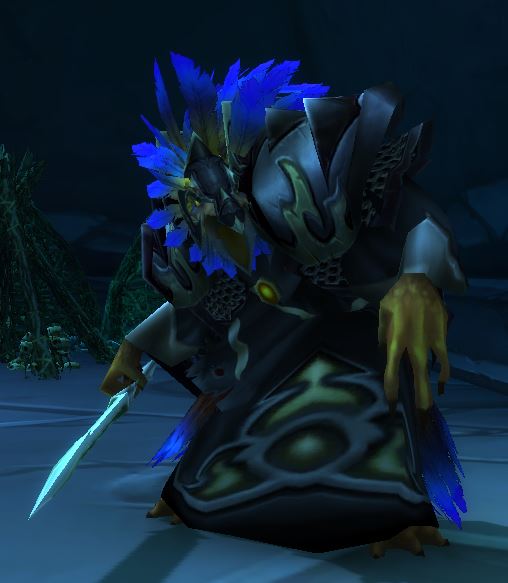
Avian Warhawk
These are an improved version of the earlier Avian Darkhawk. They do a bit more damage and now have a cleave attack that stuns anyone hit. Face these away from the group and kill them early or use crowd control on them to prevent the stun combos.
Overview of Sethekk Halls Bosses
Here we will give you a full rundown of what you can expect from each of the bosses found here on both Normal and Heroic difficulties as well as the items they drop.
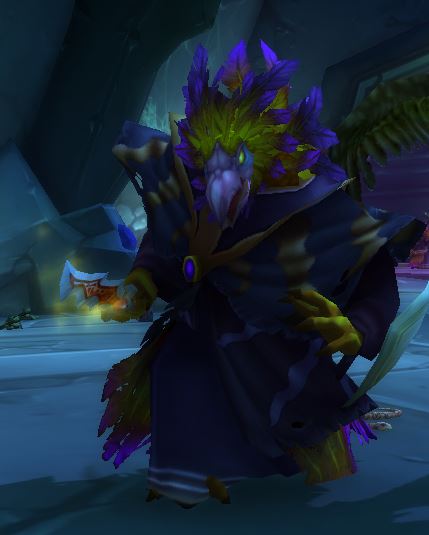
Darkweaver Syth
 Flame Shock
 Shadow Shock
 Arcane Shock
 Frost Shock
 Chain Lightning
- Summon Elementals — Darkweaver Syth summons a wave of 4 elementals whenever he drops to 90%, 55%, and 15% health. The elementals are fire, frost, shadow, and arcane types and are immune to their own school of magic.
You have a few different ways of handling this boss. The first way is
essentially an all-out nuke of the boss, ignoring the adds and killing the boss
as quickly as possible. Any form of crowd control should be used on the adds as
they spawn, such as ![]() Psychic Scream,
Psychic Scream, ![]() Intimidating Shout,
or
Intimidating Shout,
or ![]() Frost Nova. This is done much easier with a party full of geared
Level 70s and a
Frost Nova. This is done much easier with a party full of geared
Level 70s and a ![]() Bloodlust /
Bloodlust / ![]() Heroism.
Heroism.
The safer way is to kill the adds one at a time as they are summoned. They have low health and will die quickly, so just pick them off one at a time until they are all dead. It is still advised to ignore the last group of summoned elementals as they will spawn in when the boss is at 15% health.
If you ignore the adds and do not use any form of crowd control on them as mentioned earlier this fight can be very hard for a healer to keep up as the adds amplify the damage taken by the party. Use your best judgment to determine whether or not you can nuke the boss down or need to kill the elementals.
Loot from Normal
| Item | Required Level | Item Type | Slot |
|---|---|---|---|
| 68 | Plate | Wrist | |
| 68 | Cloth | Feet | |
| 68 | Leather | Feet | |
| 68 | Feet | ||
| 68 | Thrown | Ranged Weapon | |
| 68 | Libram | Relic | |
| 355 | Jewelcrafting Design | Misc |
Loot from Heroic
As with most end game Level 68+ dungeons, Rare drops are the same between Normal and Heroic difficulties. In this section, we will list the items specific to Heroic mode only.
| Item | Required Level | Item Type | Slot |
|---|---|---|---|
| BoP | Gem | Misc | |
| BoP | Gem | Misc | |
| BoP | Gem | Misc |
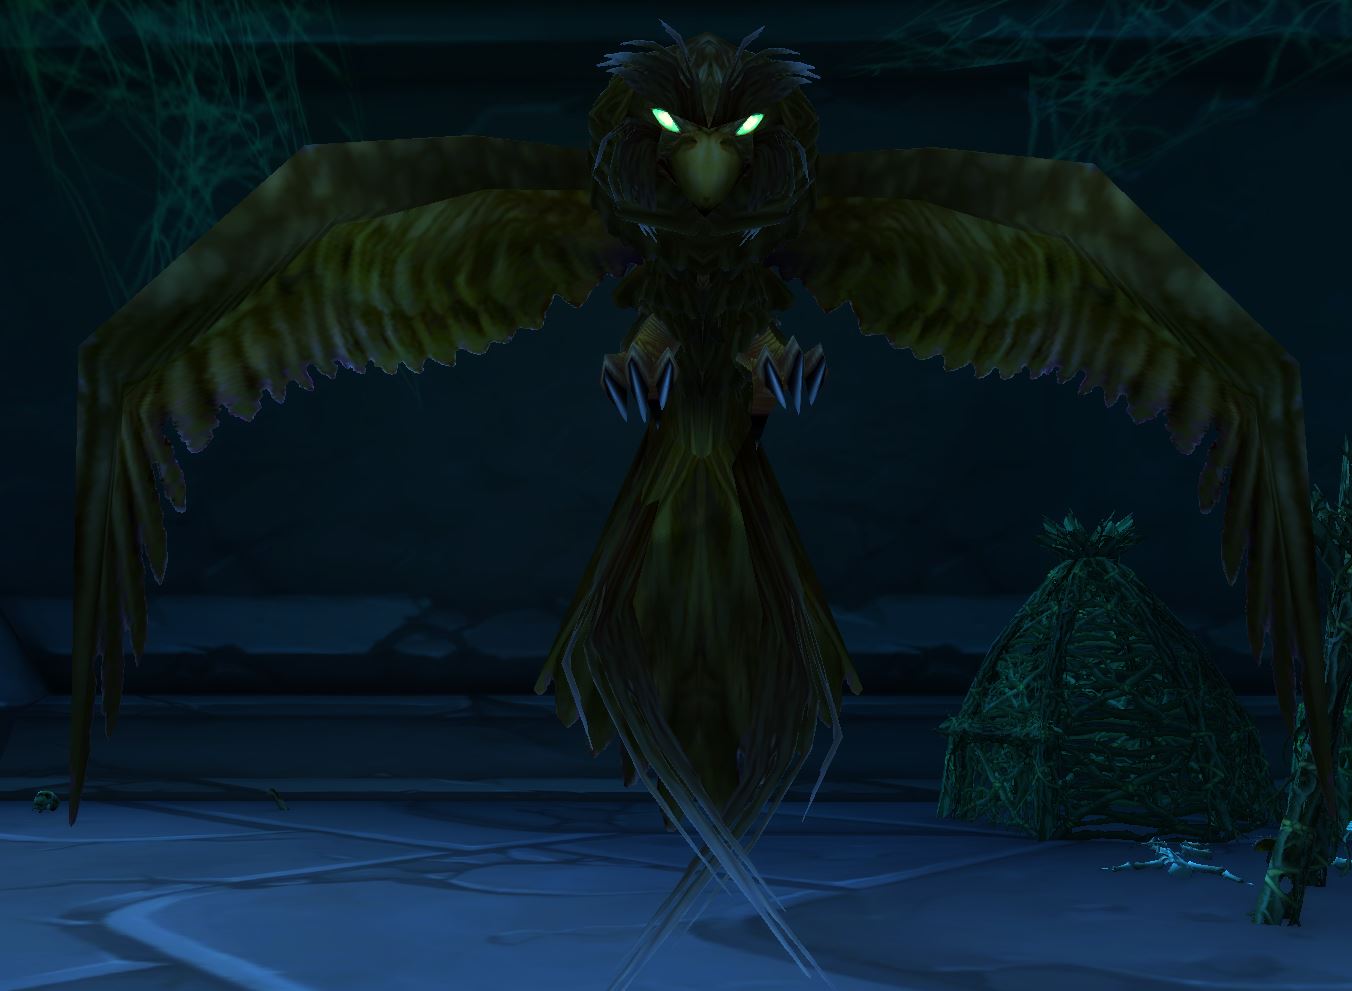
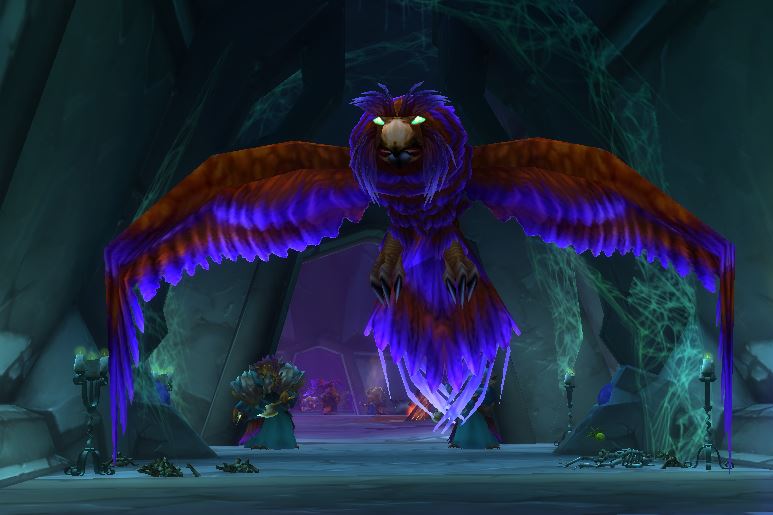
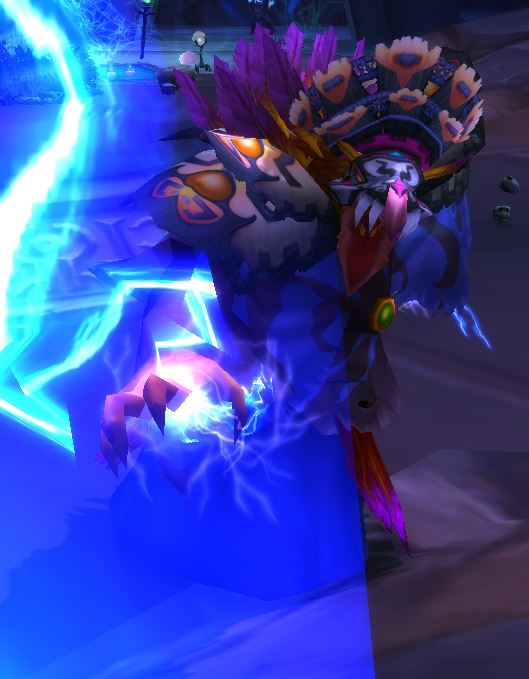
Anzu
 Spell Bomb
 Paralyzing Screech
 Cyclone of Feathers
- Banish & Spawn Birds — Periodically throughout the fight, Anzu will banish himself, becoming immune to all attacks and spells, and spawn in a large wave of birds.
- Bird statues — When Anzu is engaged, 3 friendly bird statues
will appear that will aid the party if a druid heal-over-time spell is used on
them.
- Hawk Spirit — All players receive 500 less damage from every attack.
- Eagle Spirit — Deals 300 damage every second to all enemies in the room.
- Falcon Spirit — Grants 25% movement speed increase, 25% ranged haste and 25% spell casting haste.
Anzu can only be summoned in Heroic difficulty, and only by
Druids who have unlocked their ![]() Swift Flight Form. Since
Anzu can only be summoned by a Druid, you will always have a Druid present on
this fight. They will always be able to use
Swift Flight Form. Since
Anzu can only be summoned by a Druid, you will always have a Druid present on
this fight. They will always be able to use ![]() Remove Curse to remove
the
Remove Curse to remove
the ![]() Spell Bomb and put
Spell Bomb and put ![]() Rejuvenations on the Bird
Statues to activate their powers.
Rejuvenations on the Bird
Statues to activate their powers.
The main threat of this fight is the constant ![]() Paralyzing Screech
that will go off, stunning the entire party. Anzu with also periodically
banish himself and summon a large pack of birds. If your Druid is keeping HoTs
on the bird statues, it will make dealing with these birds much easier.
Paralyzing Screech
that will go off, stunning the entire party. Anzu with also periodically
banish himself and summon a large pack of birds. If your Druid is keeping HoTs
on the bird statues, it will make dealing with these birds much easier.
Overall, this fight will take some time because of the constant stuns and
banish phases. Try not to cast any spells if you have the
![]() Spell Bomb debuff as this will quickly burn your Mana. Let the tank
grab the birds while Anzu is banished. It is very important that your
Druid keeps their heal-over-time spells up on the Bird Statues, as this is a
significant boost to survival and damage for the group.
Spell Bomb debuff as this will quickly burn your Mana. Let the tank
grab the birds while Anzu is banished. It is very important that your
Druid keeps their heal-over-time spells up on the Bird Statues, as this is a
significant boost to survival and damage for the group.
Loot from Heroic
As this boss is specific to Heroic difficulty only, he only has a Heroic loot table. In additions to the gear below, Anzu drops a Level-70 Rare chest piece that rolls with a random enchantment.
| Item | Required Level | Item Type | Slot |
|---|---|---|---|
| 70 | Leather | Waist | |
| 70 | Plate | Feet | |
| 70 | Accessory | Finger | |
| 70 | Dagger | Weapon | |
| 70 | Gun | Ranged Weapon | |
| 150 Riding Skill | Mount | Misc | |
| BoP | Gem | Misc | |
| BoP | Gem | Misc | |
| BoP | Gem | Misc |
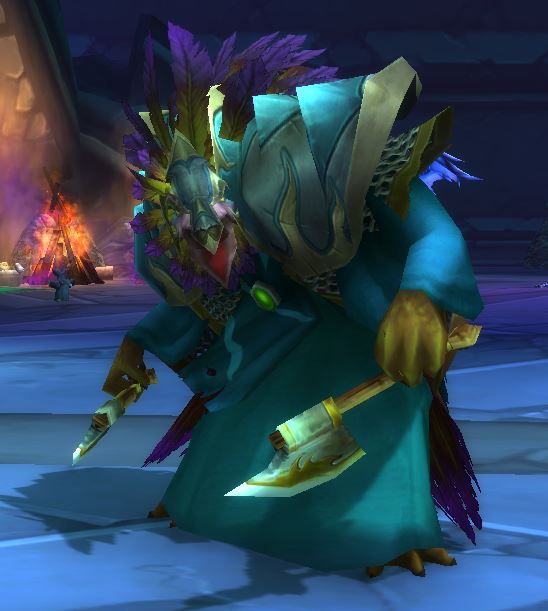
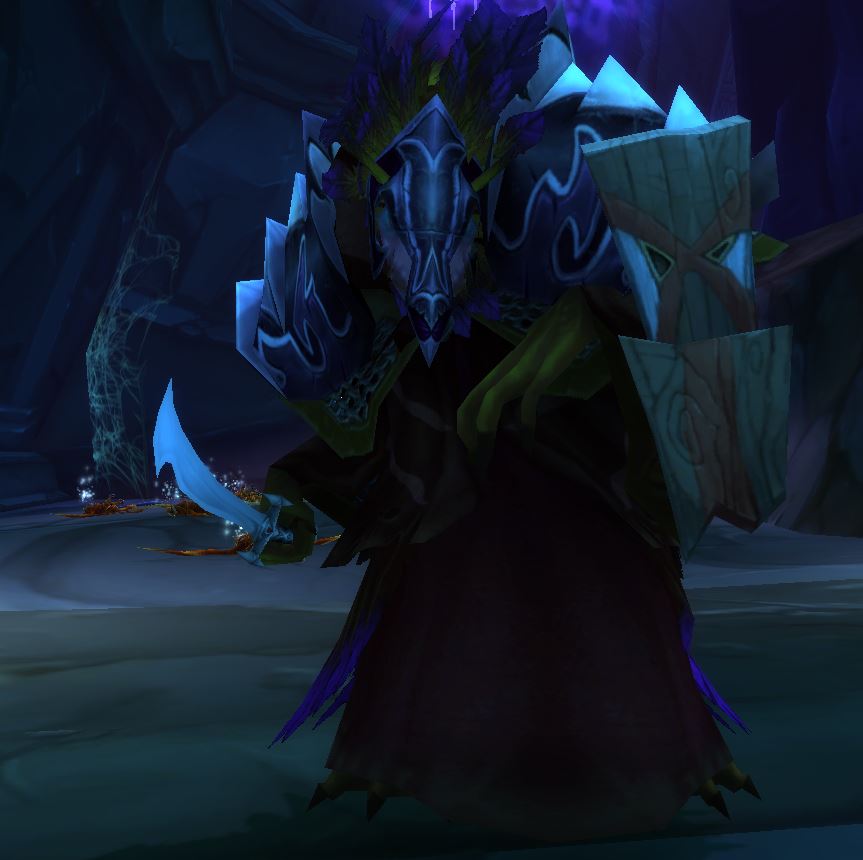
Talon King Ikiss

The main threat of this fight is the ![]() Arcane Explosion.
Every time Talon King Ikiss loses 25% of his health, he will teleport
into the open, shield himself with
Arcane Explosion.
Every time Talon King Ikiss loses 25% of his health, he will teleport
into the open, shield himself with ![]() Arcane Bubble, and start to cast
Arcane Explosion. The entire party will need to line-of-sight him around a pillar
to avoid taking massive Arcane damage. This is also a threat wipe, so tanks will
need to be ready to taunt the boss when the shield breaks, and DPS will need to
wait for the tank to build threat again.
Arcane Bubble, and start to cast
Arcane Explosion. The entire party will need to line-of-sight him around a pillar
to avoid taking massive Arcane damage. This is also a threat wipe, so tanks will
need to be ready to taunt the boss when the shield breaks, and DPS will need to
wait for the tank to build threat again.
The ![]() Slow and
Slow and ![]() Polymorph should
be dispelled if possible as these can easily cause a death when it is time to
line-of-sight the boss.
Polymorph should
be dispelled if possible as these can easily cause a death when it is time to
line-of-sight the boss. ![]() Arcane Volley will constantly be
blasting the group with moderate Arcane damage, so the healer will need to keep
everyone healed up as much as possible.
Arcane Volley will constantly be
blasting the group with moderate Arcane damage, so the healer will need to keep
everyone healed up as much as possible.
This fight is very healing-intensive. Players should be looking to use any
available healing spells they have to help the healer top the party up, such as
![]() Super Healing Potion or First Aid. The group should all pick
a pillar to stay near and move toward it at the start of the fight so they can
easily line-of-sight the boss. Healers should try to kite the boss during his
Super Healing Potion or First Aid. The group should all pick
a pillar to stay near and move toward it at the start of the fight so they can
easily line-of-sight the boss. Healers should try to kite the boss during his
![]() Arcane Bubble as the tank will not be able to taunt during
this shield.
Arcane Bubble as the tank will not be able to taunt during
this shield.
Loot from Normal
| Item | Required Level | Item Type | Slot |
|---|---|---|---|
| 70 | Leather | Shoulder | |
| 68 | Cloak | Back | |
| 68 | Cloak | Back | |
| 68 | Plate | Waist | |
| 70 | Cloth | Legs | |
| 70 | Cloth | Legs | |
| 68 | Cloth | Legs | |
| 68 | Legs | ||
| 68 | Accessory | Finger | |
| 68 | One-Handed Mace | Weapon | |
| 68 | Two-Handed Axe | Weapon |
Loot from Heroic
| Item | Required Level | Item Type | Slot |
|---|---|---|---|
| 70 | Plate | Shoulder | |
| 70 | Cloth | Wrist | |
| 70 | Wrist | ||
| 70 | Staff | Weapon | |
| BoP | Gem | Misc | |
| BoP | Gem | Misc | |
| BoP | Gem | Misc |
Recommended Sethekk Halls Group Composition
Sethekk Halls does not have any large pulls that require AoE. One form of
crowd control is strongly advised as there are multiple mobs in this dungeon
that are dangerous. A Priest can be very useful here for their
![]() Dispel Magic,
Dispel Magic, ![]() Fear Ward, and
Fear Ward, and
![]() Shackle Undead.
Shackle Undead.
A Mage is always strong in any dungeon, especially Heroic
difficulty, as ![]() Polymorph is the most reliable CC in the game for
PvE. It is recommended to grab either a Mage or Priest for this dungeon to help
remove one of the harder mobs from each pull until the end.
Polymorph is the most reliable CC in the game for
PvE. It is recommended to grab either a Mage or Priest for this dungeon to help
remove one of the harder mobs from each pull until the end.
Changelog
- 10 Jun. 2021: Added pictures of mobs.
- 26 May 2021: Guide added.
This guide has been written by Abide, TBC veteran for nearly a decade. Abide is a Warrior tank and multi-class expert currently playing on Faerlina as Horde. You can find him in the the Icy Veins Discord. You can also see him live on Twitch.
- UI Updates: Burning Crusade Classic Hotfixes, July 17th
- The Best Camelot Theory Yet Connects Classic+ to WoW’s Original Design
- Classic Era’s New UI Could Break Nameplate and Raid Frame Addons
- Icy Veins is Looking for Dedicated WoW Classic Writers
- WoW Classic+ Leak Claims Deadmines, Death Knights, and Karazhan Are Coming
- WoW Classic on a Phone?! This Player Shows It Actually Works
- Blizzard Confirms No Fresh Season of Discovery Servers, Fueling Classic+ Rumors
- XP Blocker Moves: Season of Discovery Hotfixes, June 25th