Temple of Namari Dungeon Guide
Temple of Namari is one of eight dungeons available at launch in Diablo Immortal, and is located within the Bilefen. Entering this dungeon requires your character to be at least Level 40 and will see you and your party members facing off Sargoth, a unique boss whose mechanics may vary between runs, to receive valuable Set items; read on to learn how to tackle this dungeon's unique challenges.
Temple of Namari Overview
The Temple of Namari is located in the Bilefen. It is a single-floor dungeon, and is (arguably) the shortest dungeon in the game — with three rooms and a single boss, Sargoth, to its name. Temple of Namari is notable for its varying final boss encounter, as the mini-bosses prior to Sargoth are picked at random between several options, and Sargoth himself randomizes his abilities from a pool of available choices. The need to constantly change the tactics necessary to overcome him vary up this miniscule dungeon a great deal.
Temple of Namari Dungeon Statistics
- Average Dungeon Runtime: 3-5 minutes
 Battle Points Reward: 15
- Required Level For Entry: 40
- Notable for: Quick completion time (can be helpful for Battle Pass progression). Good experience farming and loot potential.
Temple of Namari Dungeon Loot
- Hell I+:
 Shepherd and Leader (Shepherd's Call to Wolves
Set Boots)
Shepherd and Leader (Shepherd's Call to Wolves
Set Boots) - Hell I+:
 The Gaoler (Feasting Baron's Pack Set Belt)
 - Hell II+:
 Slit Throat (Grace of the Flagellant Set
Neck)
Slit Throat (Grace of the Flagellant Set
Neck) - Hell II+:
 Luminary's Urge (Vithu's Urges Set Hands)
 - Hell IV+:
 Mountebank's Misdirection
(Untouchable Mountebank Set Ring)
Mountebank's Misdirection
(Untouchable Mountebank Set Ring) - Hell IV+:
 Resting Fangs of Shal'baas (War Rags of Shal'baas
Set Ring)
Resting Fangs of Shal'baas (War Rags of Shal'baas
Set Ring)
Temple of Namari Strategy Guide
The strength of Temple of Namari is its simplicity and quick completion time; the biggest hurdle is waiting out animations, not the fights themselves. The dungeon only features a single boss fight, but it is fun and varied one. Sargoth can summon any combination of three mini-bosses between Cold Snap, Voracity, Torrid One, Perdition Siegebreaker, The Ashen Marauders and Fallen War Matron, before you get to face him. Thankfully, there is not a huge disparity in the difficulty of these fights, and they mostly provide visual variance and add to the fun factor of this dungeon's completion.
Section 1: Entrance and First Room
You face off against two packs of Skeletal Warriors and Skeletal Archers as you enter the dungeon and head to the first major room. Once you get to the room, talk to Namari in front of the altar-like structure to trigger the combat event. More undead — both Skeletal Warriors and Skeletal Archers — will spawn from the very ground, coming in two waves. You need to kill them all in order to progress.
Treasure Chests — one along the eastern wall of the room, and one at the dead-end corridor to the north — can be found, and you can grab their contents while waiting for the second undead wave to spawn, or for Namari to open the next section. Do not be concerned about timing, as Namari has a casting animation while she brings down the magical barrier to the next room.
Section 2: Second and Third Rooms
In the second room, you face off against three Skeletal Mage summoners, as well as a Demon Warrior in the middle of their summoning circle. Rumor has it that the Mages will summon more enemies to fight you if left unattended, but they have never lived long enough to prove it in the history of Diablo Immortal. If possible, do not stand too close to Skeletal Mages as they perish, since they blow up into projectiles when they die. Of course, you will once again have to wait for Namari to bring down the magical barrier to the next room.
In the third room, you once again face three Skeletal Mage summoners, but this time they are protected with magical shields that will not go down until you kill the undead waves they summon. In groups, you can optimize and have a player stand next to the Mage whose shield is about to go down, so that he is taken care of immediately. The Mages' shields drop in a fixed order of top left -> bottom -> top right. Once you are done with the Skeletal Mages and their summons, Namari will open the gate to the final chamber.
Section 3: Final Chamber
Interestingly, you will have to face off against three random mini-bosses from a bunch of options (see below), before you get to fight Sargoth himself.
- Torrid One: This flaming demon does a firebreathing attack in a wide arc in front of him, which is slow enough to be dodged either to the side, or behind his back. He also spits out fireballs that are easy to predict, telegraphed via glowing orange circles on the ground before they land. His most threatening trick is summoning exploding minions that charge to your location and detonate, dealing heavy damage. They are easy to kill, but just as easy to miss. Be careful.
- Fallen War Matron: This sizable demoness will start the fight by summoning minions to her side through four portals. The minions are nothing special, but should not be completely ignored either; lure them in and cleave them down alongside their mother. The Matron will also summon large orbs of arcane energy in the outer rim of the fight, and they will slowly begin moving toward her; anyone caught in their path will sustain heavy damage. Last but not least, she will slam her melee weapon on anyone within reach; this attack can be predicted and dodged by moving to a previously slammed location, as she will not strike the same spot twice.
- Siegebreaker: This simple brute of a demon has one very simple rule: do not stand in front of him. Siegebreaker draws a red line to telegraph his charging attack, which deals heavy damage and knocks back. When he stands up on his hind legs, it means Siegebreaker is about to do a quadruple slam in a wide arc in front of him; stand well away. If you needed any more convincing to backstab him, note that the Siegebreaker is shielded and impenetrable from the front. Act accordingly.
- Perdition: Much like the Siegebreaker, this war-oriented demon does a heavy charging attack that cleaves enemies foolish enough to stand in its telegraphed path. The same advice as the Siegebreaker applies; stay behind him, well out of reach of the twin blades, and watch out for its (very visibly) telegraphed attacks.
- Marauders of the Ashen Wastes: A trio of Marauder Demons, each wielding different weaponry (sword and shield, double axes, two-handed axe). By far the most dangerous of the three is the whirlwinding sword-and-shield Marauder, whose spinning attack can quickly kill you if caught off-guard. Kill him first. The two-handed axe Marauder does a sweeping cleave attack, so having your most durable party member draw his attention will be beneficial. Kill him off second. The dual axe-wielding Marauder does a throwing attack with a relatively small radius, so you can afford to put him off for last.
- Coldsnap: This massive, cold-flavored demon has several threatening attacks. His basic attack is a far reaching, near-180 degree sweep in front of him, which you decidedly should not tank unless you have to. Coldsnap will also slam his mace into the ground to create an AoE zone that Chills and deals damage to anyone caught within. Lastly, Coldsnap will spawn icy orbs that explode for massive damage after a brief period. These orbs can overlap, making the attack even more dangerous.
- Voracity: This gluttonous demon spits out a volley of poison that afflicts any player caught within its trajectory with a potent DoT. This usually affects ranged players; those in melee are more threatened by Voracity's vomiting attack, which it uses against anyone within a 15-yard radius. The conal projectile of the vomit is accompanied by deceptively small glob minions; they hit hard and need to be dealt with immediately. The most dangerous attack however comes from the persistent poisonous AoE zones Voracity creates; the whole chamber can be easily covered with it, if this mini-boss is not dealt with quickly.
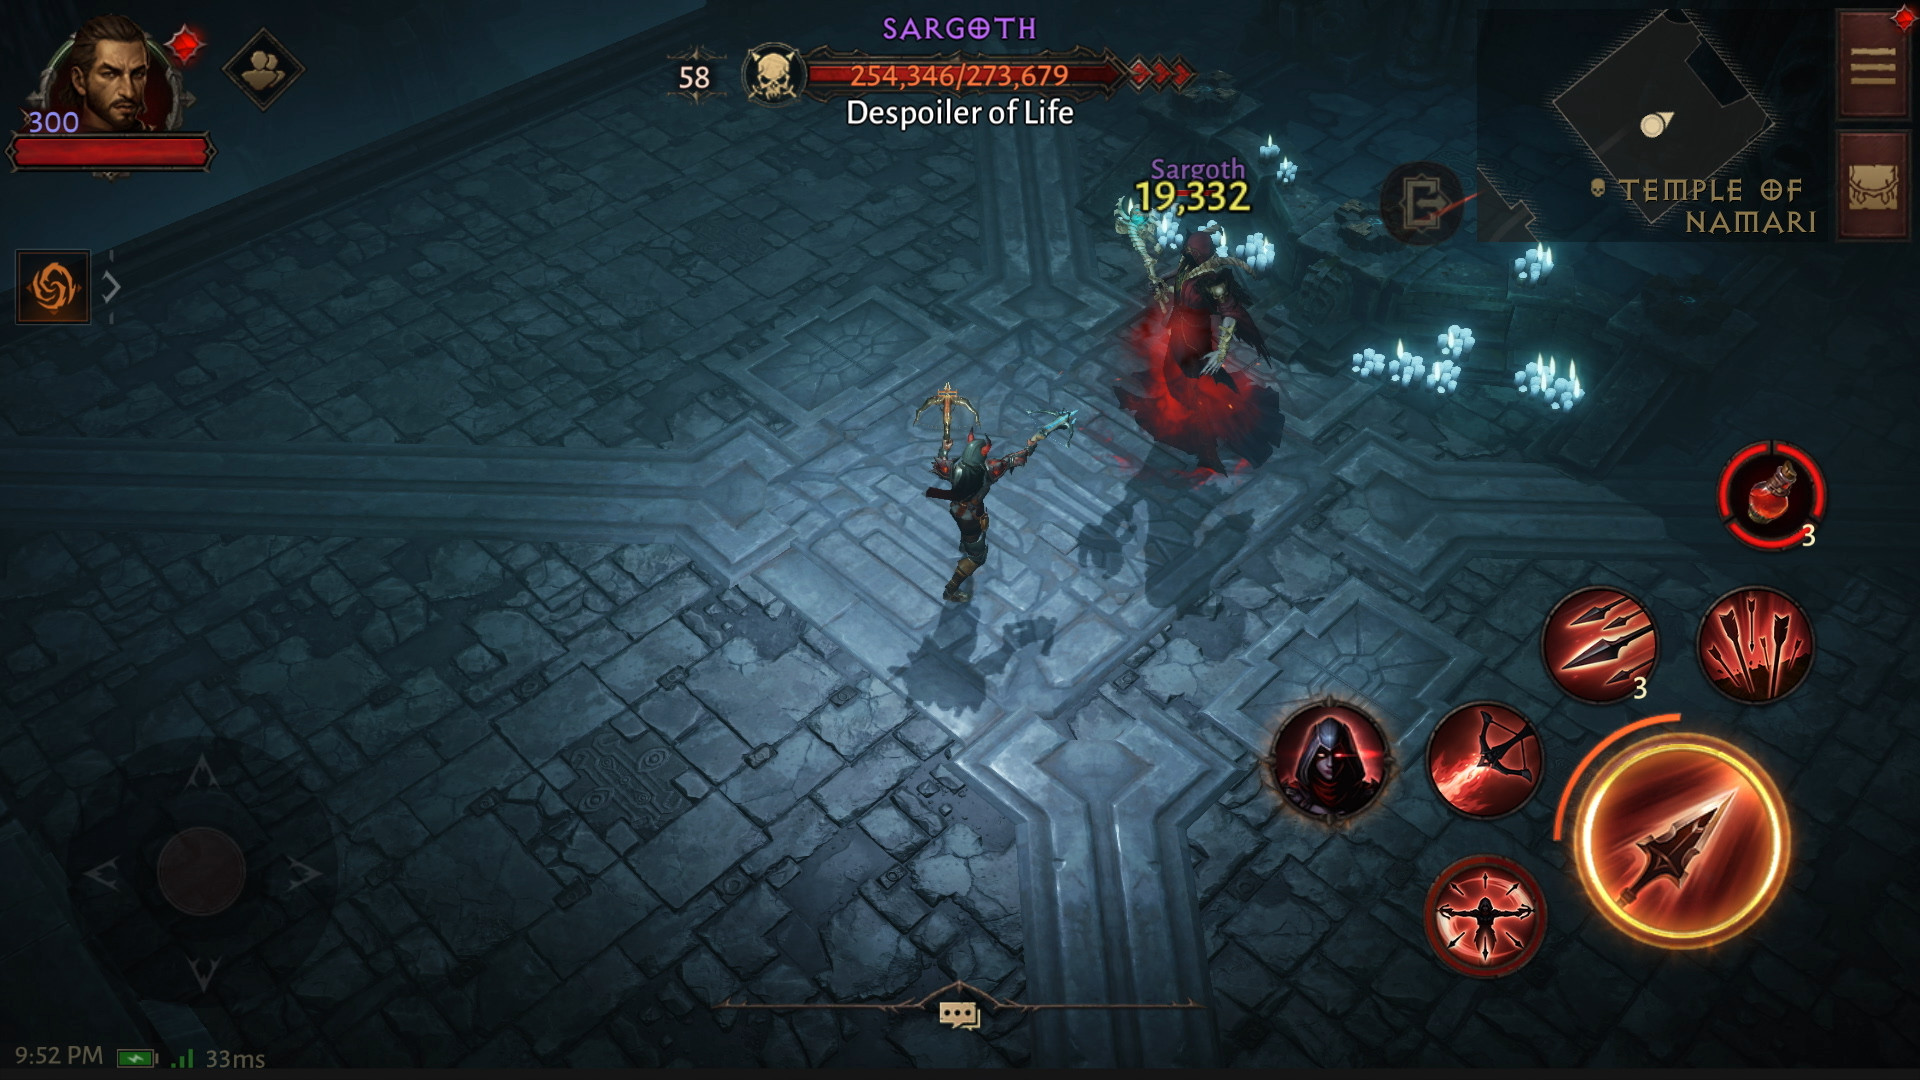
Finally, you face off against Sargoth. He has several notable abilities, and can roll with a semi-random combination of them:
- Crushing Hand — Sargoth marks the ground with a runic circle. Shortly afterwards, a giant hand slams on the ground, dealing heavy damage to players standing in the outline.
- Homing Missiles — Sargoth will throw missiles in the air; where they will fall can be predicted via the blueish circles on the ground. Once they land, they create a damage-over-time effect that will hurt a great deal if neglected.
- Charging Attack — Sargoth will mark the ground with a path outlined in red, and then charge in that direction, knocking back players and damaging them.
- Summon Nephalem Warriors — This is an ability Sargoth uses often. Take care of these summons in a timely fashion, lest they overwhelm you.
- Frozen Orbs — Sargoth's worst possible attack. He summons multiple frozen orbs on the ground, and they explode after a brief period. They can (and will) stack, and two or more just about means certain death. Stacking together on top of Sargoth, and then spreading out immediately once the frozen orbs are cast, is the preferred tactic.
Master this menagerie of bosses and you will overcome Sargoth, fulfilling Namari's mission and bringing this dungeon to an end.
Dungeon Summary
Dungeons are an integral part of Diablo Immortal and are tied to
daily quests, Contracts, Bounties, and the very finalization of your
character's gear overall. Always make sure you have checked your Codex,
since certain Dungeons will have extra ![]() Battle Points rewarded for their
completion at any given time. Dungeons are also the only place to obtain Sets
— which, once completed, are a powerful addition to your endgame gear.
But no two Dungeons drop the same pieces! Make sure to target-farm specific
Dungeons for the set pieces you need.
Battle Points rewarded for their
completion at any given time. Dungeons are also the only place to obtain Sets
— which, once completed, are a powerful addition to your endgame gear.
But no two Dungeons drop the same pieces! Make sure to target-farm specific
Dungeons for the set pieces you need.
Changelog
- 01 Jun. 2022: Page added.
This build is presented to you by Deadset, one of the very few professional Diablo 3 players. Deadset regularly publishes video guides on Youtube and streams on Twitch, where you can see how this and other builds play out in practice.
- Diablo Immortal x WoW Crossover Event: Frostmourne in Sanctuary!
- Icy Veins Seeking Writers for Zenless Zone Zero: Apply Today!
- Icy Veins Launches Genshin Impact Guides Section
- Icy Veins Podcast About Path of Exile
- ARPG Vault Discord Giveaway
- Diablo Immortal Destruction's Wake Update Notes: June 13th
- Icy Veins is Getting a New Look
- Diablo Immortal: Age of Falling Towers Content Update Notes