Onyxia Raid Guide for WotLK Classic
Onyxia is the first and only boss of the Onyxia's Lair raid in Wrath of the Lich King. Do not forget to be aware of the various Raid Buffs and Debuffs as you work to optimize your Raid Composition for this encounter's mechanics!
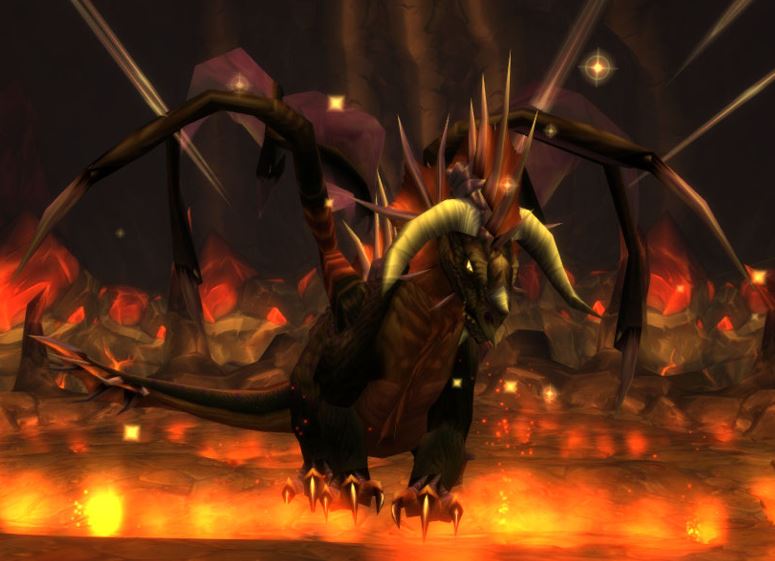
Overview of Onyxia in Wrath of the Lich King Classic
Onyxia's Lair was remade during original Wrath of the Lich King to celebrate World of Warcraft's 5 year anniversary. This updated raid encounter plays out almost exactly the same as the previous level 60 version, not having much changed. The main difference is the attunement being removed, allowing anyone to enter the raid without needing to complete an overly complex quest chain.
Role-Specific Tips for Onyxia
DPS Tips
- Melee DPS must make sure they are attacking Onyxia directly from her side to avoid getting hit by both the Cleave and Tail Sweep.
- Melee DPS are unable to attack Onyxia during the air phase, unlike the previous level 60 version. Melee DPS should focus on handling the adds during this phase instead.
- All DPS should be sure to spread out to prevent multiple people from being hit by Fire ball.
- Melee DPS should be sure to attack the Onyxian Lair Guards from behind at max melee range to avoid taking damage from the IgniteWeapon.
- Unlike the previous level 60 version of the encounter, threat is not dropped between phases 1 and 3. It is possible for ranged DPS to pull aggro when Onyxia lands.
Tank Tips
- The pull can be one of the most challenging parts of this encounter. Be sure to quickly flip Onyxia around to prevent her from hitting the raid with Cleave and Flame Breath. You must also be mindful of her tail position to prevent her from knocking back the raid with Tail Sweep.
- You may want to put your back to the wall to avoid being knocked-back too far by the frequent Wing Buffets.
- Quickly pick up the Onyxian Lair Guards as they come in. Drag them away from the raid group to prevent the Blast Nova from hitting others. Face them away from the melee DPS to allow them to out-range the Ignite Weapon damage.
Healer Tips
- Be ready to quickly follow the tank into battle while they position the boss at the start of the encounter.
- Be mindful of the tanks position so they don't out-range you when knocked-back by Wing Buffet.
- During the air phase, you will want to stand near a tank so they can easily get aggro on the many Onyxian Whelps that spawn during that phase.
Onyxia Abilities
Onyxia Phase 1 Abilities
- Cleave — Frequently attacks all enemies in a frontal cone.
- Flame Breath — Deals high Fire damage to all enemies in a wide frontal cone attack.
- Tail Sweep — Knocks-back any enemies directly behind her, sending them flying a far distance.
- Wing Buffet — Deals moderate Physical damage to all enemies in a small frontal cone attack and knocks them back a small distance.
Onyxia Phase 2 Abilities
- Breath — After a few seconds Onyxia will shower the floor beneath her with her deadly fire breath and fly in a straight line to the nearest wall, killing any enemies caught in the path.
- Fireball — Every 2 seconds deals Fire damage to a random target and any nearby allies.
- Onyxian Lair Guard — Frequently spawns in during phase 2. Uses Blast Nova and Ignite Weapon.
- Onyxian Whelp — Frequently spawns in waves while Onyxia is in the air or if anyone touches the eggs found in the area.
Onyxia Phase 3 Abilities
- Bellowing Roar — Fears all nearby enemies for 3 seconds.
- Eruption — Lava erupts from the cracks in the floor, dealing moderate Fire damage to anyone it hits.
Strategy for Onyxia
The most difficult part of phase one is the initial pull. Allow the tank to run in first to establish threat and position the boss. The raid should approach the boss from the side to avoid being hit by the Cleave, Flame Breath and Tail Sweep. The tank will want to position themselves with their back against the far-side wall to avoid being knocked-back far by the Wing Buffet. Phase one ends when Onyxia reaches 65%, then she will take off into the air for phase two.
The entire raid must always be aware of Onyxias position in the air as she can cast Breath at any time, dealing fatal Fire damage in a straight line at her current position. Always keep an eye on her position as she will frequently fly around the room to different areas. Whenever she emotes the line "Onyxia takes in a deep breath...", she will start her Breath and fly in a straight line. This must be avoided at all costs as the Breath will quickly kill anyone caught in Onyxias path.
While in the air, Onyxia will attack a random target every 2 seconds with Fireball. The raid should spread out as much as possible to prevent the Fireball from splashing and dealing additional damage to nearby allies.
Once Onyxia takes off and every so often during the air phase, she will spawn a wave of 40 Onyxian Whelps, 20 from each side of room. These must be quickly picked up by a tank and AoE'd down before they can deal too much damage. Healers should stand next to the designated AoE tank to make it easier for the whelps to be grabbed as they will likely have aggro on healers early on. Avoid touching the eggs on the sides as this will spawn additional whelps.
The other tank will need to pick up the Onyxian Lair Guards that spawn
every 30 seconds during the air phase. These must be dragged to a safe spot away
from all non-melee DPS, but still in range of the healers. Face them away from
the melee DPS and quickly burn them down. They will buff themselves with
Ignite Weapon, adding a large amount of Fire damage to their melee
attacks. When they do this, have someone ![]() Disarm them to prevent them
from dealing this extra damage, or have your tank use defensive cooldowns if no
disarm is available. If the Onyxian Lair Guard lives long enough, it will
cast Blast Nova, a 5 second cast that is almost guaranteed to kill any
nearby melee DPS that do not run away.
Disarm them to prevent them
from dealing this extra damage, or have your tank use defensive cooldowns if no
disarm is available. If the Onyxian Lair Guard lives long enough, it will
cast Blast Nova, a 5 second cast that is almost guaranteed to kill any
nearby melee DPS that do not run away.
Phase two will end when Onyxia reaches 40%, beginning phase three, the final phase of the encounter. Phase three plays out almost exactly like phase one. The tank must quickly position Onyxia, being sure to avoid her Cleave, FlameBreath and Tail Sweep from hitting the raid. Threat does not reset between phases one, two or three; it is possible that ranged DPS can pull aggro in phase three from damage dealt during the air phase.
The main addition in phase three is the Bellowing Roar that Onyxia will frequently cast, fearing all nearby enemies for 3 seconds. During these 3 seconds, the cracks in the ground will erupt with lava, dealing moderate Fire damage to anyone that touches them. Onyxia will cast her Bellowing Roar as soon as she lands and periodically throughout phase three.
It is crucial to prevent the tank from being feared by the
Bellowing Roar. Use any available ![]() Fear Wards on them to prevent
them from being feared. In addition, use things available like
Fear Wards on them to prevent
them from being feared. In addition, use things available like
![]() Tremor Totem to prevent the second tank and some healers from being
feared.
Tremor Totem to prevent the second tank and some healers from being
feared.
Onyxian Whelps will also periodically spawn throughout phase three, requiring a second tank to pick them up. Typically you will want to ignore these and focus on finishing off Onyxia herself and ending the fight.
Depending on your raid composition you will want to either use major
cooldowns such as ![]() Bloodlust or
Bloodlust or ![]() Heroism during phase two to bring
Onyxia down quicker, or during phase three after the first
Bellowing Roar to prevent the raid from being feared multiple times.
Heroism during phase two to bring
Onyxia down quicker, or during phase three after the first
Bellowing Roar to prevent the raid from being feared multiple times.
Onyxia Loot
10-Player
25-Player
Further Reading
Onyxia's Lair is just one of the many Raid instances you can tackle in Phase Three of Wrath of the Lich King Classic. If you would like to learn more about the others please see our pages below.
Changelog
- 08 May 2023: Page added.
This guide has been written by Abide, TBC and WotLK veteran for nearly a decade. Abide is a Warrior tank and multi-class expert currently playing on Faerlina Horde. You can find him in the Icy Veins Discord if you have any questions or concerns.
- UI Updates: Burning Crusade Classic Hotfixes, July 17th
- The Best Camelot Theory Yet Connects Classic+ to WoW’s Original Design
- Classic Era’s New UI Could Break Nameplate and Raid Frame Addons
- Icy Veins is Looking for Dedicated WoW Classic Writers
- WoW Classic+ Leak Claims Deadmines, Death Knights, and Karazhan Are Coming
- WoW Classic on a Phone?! This Player Shows It Actually Works
- Blizzard Confirms No Fresh Season of Discovery Servers, Fueling Classic+ Rumors
- XP Blocker Moves: Season of Discovery Hotfixes, June 25th